目录
[3)获取 client_id, client_secret](#3)获取 client_id, client_secret)
3)application-local.yaml中配置client
虽然可以使用浏览器的记住密码,或者登陆界面中提供的记住密码功能来快捷登陆,但这些方法都会不安全,密码容易泄露,容易被人登陆进行操作。ruoyi-vue-pro是已经提供了gitee登陆的接口,这里记录一下配置过程。
1、git授权登陆原理
这个过程就是oauth2 的code验证过程,ruoyi-vue-pro已经支持,前篇博文也使用oauth2集成了数据大屏应用。
2、准备gitee账号
这个比较简单,相信你已经有了,可以直接跳过,这里只是提一下。
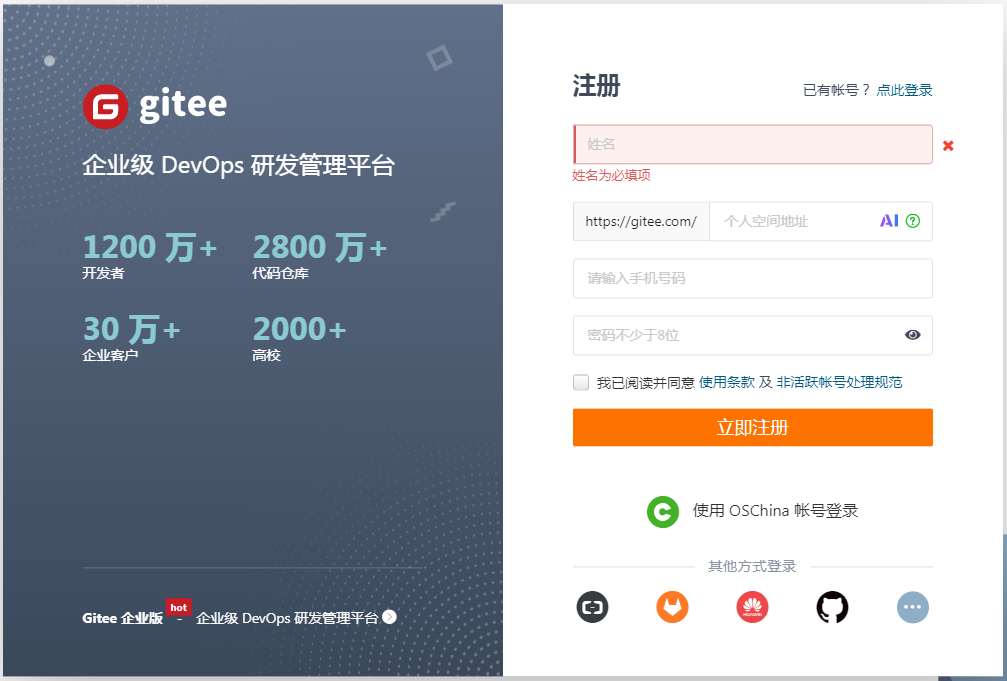
需要注册的访问 gitee用户注册 进行注册,把下面的信息填完提交就可以了。
3、创建配置码云应用
1)登陆创建应用
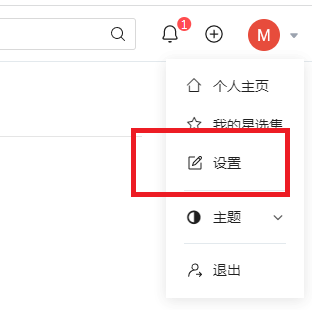
登陆成功后点击【我的】-【设置/账号设置】
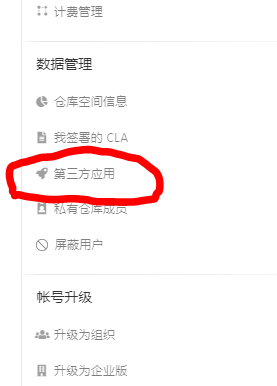
在左侧导航找到并点击 【第三方应用】
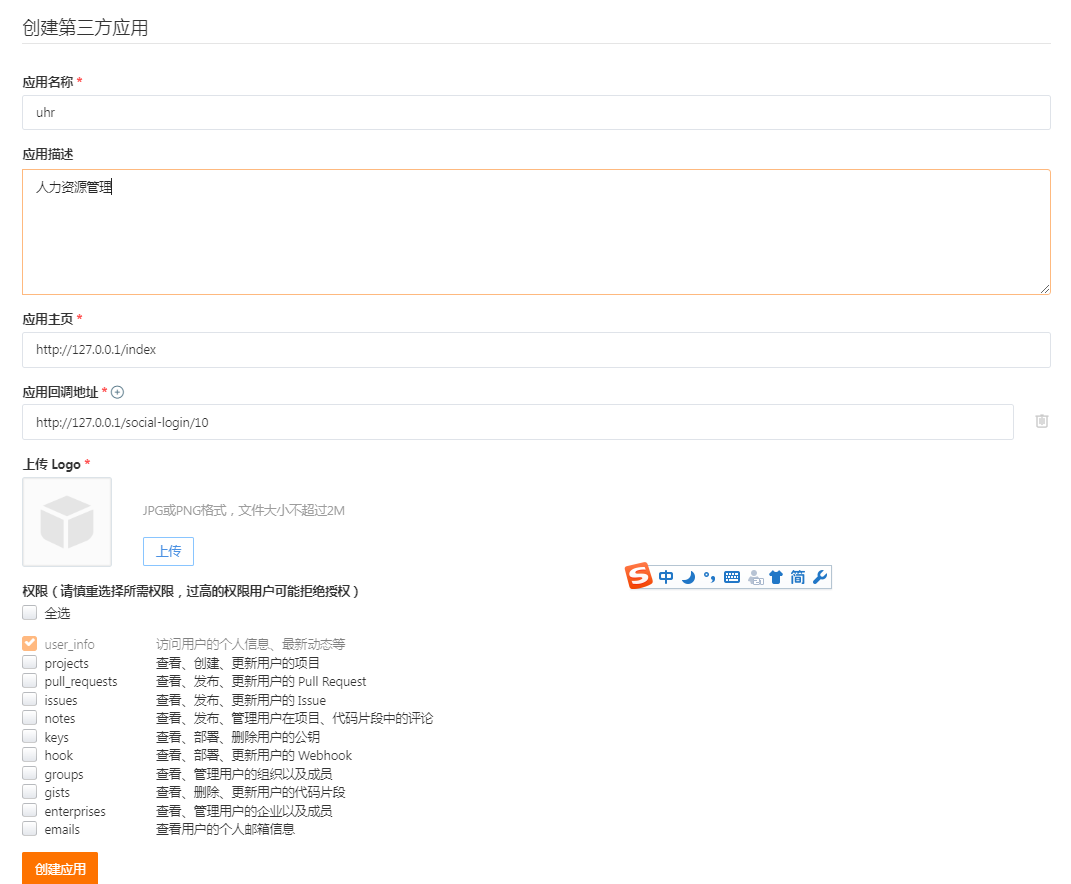
点击右上方的【创建应用】填写应用信息。
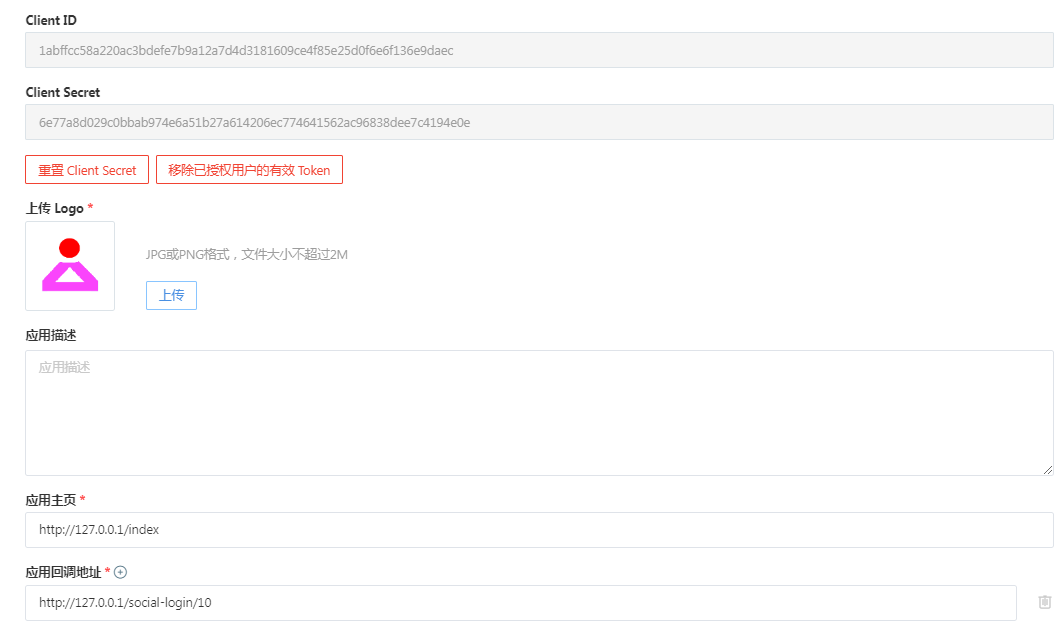
2)填写应用表单及callback地址
这里需要主要【应用回调地址】要填写正确并与后端配置一致,否则无法通过。提交表单完成应用创建。
3)获取 client_id, client_secret
在应用详情页面右侧即可看到client_id, client_secret。
4、配置钉钉应用信息
1)增加数据库字段大小
否则获取到gitee授权信息后数据库报错。
java
ALTER TABLE `ruoyi-vue-pro`.`system_social_user`
MODIFY COLUMN `raw_user_info` varchar(4000) CHARACTER SET utf8mb4 COLLATE utf8mb4_unicode_ci NOT NULL COMMENT '原始用户数据,一般是 JSON 格式' AFTER `avatar`;
2)新增码云登陆枚举
ruoyi-vue-pro\yudao-module-system\yudao-module-system-api\src\main\java\cn\iocoder\yudao\module\system\enums\social\SocialTypeEnum.java
java
GITEE(10, "GITEE"),3)application-local.yaml中配置client
复制 client_id, client_secret,将其配置到ruoyi-vue-pro\yudao-server\src\main\resources\application-local.yaml中如下位置:
justauth:
enabled: true
type:
DINGTALK: # 钉钉
client-id: dingaxxxxxxxxxxxxxxx
client-secret: dQQcXXXXXXXXXXXXXXXXXXXXXXXXXXXXXXXXXXXXXXXXXXXXXXXXXXXXXXX
redirect-uri: http://localhost/social-login/20
ignore-check-redirect-uri: true
GITEE: # gitee
client-id: 1abffccxxxxxxxxxxxxxxxxxxxxxxxxxx
client-secret: 6e77a8d0xxxxxxxxxxxxxxxxxxxxxxxxxxxxxxxxxxxxx
redirect-uri: http://127.0.0.1/social-login/10
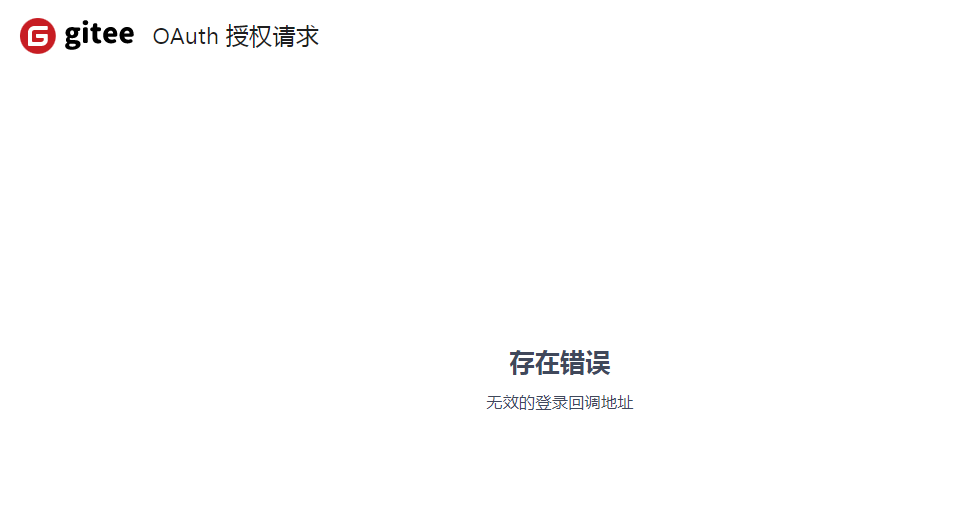
ignore-check-redirect-uri: trueredirect-uri: http://127.0.1/social-login/10 必须与创建应用时填写的配置的一样,源码中是没有配置的,会提示没有正确配置回调地址,郁闷了好久
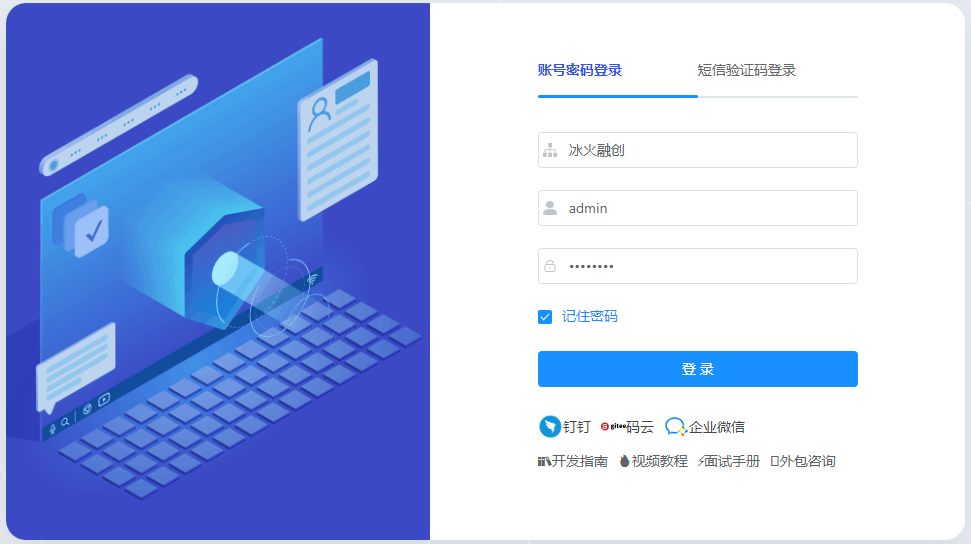
4)前台配置新增登陆配置
yudao-ui-admin-vue2\src\utils\constants.js中新增码云登陆,界面会新增一个可以点击登录的图标,如下图。
java
export const SystemUserSocialTypeEnum = {
  DINGTALK: {
    title: "钉钉",
    type: 20,
    source: "dingtalk",
    img: "https://s1.ax1x.com/2022/05/22/OzMDRs.png",
  },
  GITEE: {
    title: "码云",
    type: 10,
    source: "gitee",
    img: "https://gitee.com/static/images/logo-black.svg",
  },
  WECHAT_ENTERPRISE: {
    title: "企业微信",
    type: 30,
    source: "wechat_enterprise",
    img: "https://s1.ax1x.com/2022/05/22/OzMrzn.png",
  }
}
5)修改登陆页面中的doSocialLogin方法
yudao-ui-admin-vue2\src\views\login.vue中找到函数 doSocialLogin,将redirect参数丢掉,因为这个参数会变,而gitee中配置的回调地址不可变,如果两者不同回报错如下:
java
async doSocialLogin(socialTypeEnum) {
      // 设置登录中
      this.loading = true;
      let tenant = false;
      if (this.tenantEnable) {
        await this.$prompt('请输入租户名称', "提示", {
          confirmButtonText: "确定",
          cancelButtonText: "取消"
        }).then(async ({value}) => {
          await getTenantIdByName(value).then(res => {
            const tenantId = res.data;
            tenant = true
            if (tenantId && tenantId >= 0) {
              setTenantId(tenantId)
            }
          });
        }).catch(() => {
          // 取消登录按钮 loading状态
          this.loading = false;

          return false
        });
      } else {
        tenant = true
      }
     if(tenant){
       // 计算 redirectUri
       const redirectUri = location.origin + '/social-login?'
         + encodeURIComponent('type=' + socialTypeEnum.type );  //+ '&redirect=' + (this.redirect || "/")); // 重定向不能丢
       // const redirectUri = 'http://127.0.0.1:48080/api/gitee/callback';
       // const redirectUri = 'http://127.0.0.1:48080/api/dingtalk/callback';
       // 进行跳转
      //  socialAuthRedirect(socialTypeEnum.type, encodeURIComponent(redirectUri)).then((res) => {
       socialAuthRedirect(socialTypeEnum.type).then((res) => {
         // console.log(res.url);
         window.location.href = res.data;
       });
     }
    },
查看地址,发现就是这个redirect的问题。
6)后台jave相关的调用都去掉redirect参数
ruoyi-vue-pro\yudao-module-system\yudao-module-system-biz\src\main\java\cn\iocoder\yudao\module\system\controller\admin\auth\AuthController.java从这个类开始改,全部改掉就ok了,这里注意一下:
ruoyi-vue-pro\yudao-module-system\yudao-module-system-biz\src\main\java\cn\iocoder\yudao\module\system\service\social\SocialClientServiceImpl.java
java
    public String getAuthorizeUrl(Integer socialType, Integer userType) {
        // 获得对应的 AuthRequest 实现
        AuthRequest authRequest = buildAuthRequest(socialType, userType);
        // 生成跳转地址
        String authorizeUri = authRequest.authorize(AuthStateUtils.createState());
//        return HttpUtils.replaceUrlQuery(authorizeUri, "redirect_uri", redirectUri);
        return authorizeUri;
    }
7)修改social-login路由及白名单
E:\yudao\yudao-ui-admin-vue2\src\router\index.js代码如下:
java
  {
    path: '/social-login/:type(\\d+)',
    component: (resolve) => require(['@/views/socialLogin'], resolve),
    hidden: true
},修改yudao-ui-admin-vue2\src\views\socialLogin.vue,两处做替换
java
      // this.$router.push({ path: this.redirect || "/" }).catch(()=>{});
      this.$router.push({ path: "/index" }).catch(()=>{});
修改路由拦截yudao-ui-admin-vue2\src\permission.js 中找到 whiteList后加入/social-login/ 的处理
java
// 没有token
if (whiteList.indexOf(to.path) !== -1) {
// 在免登录白名单,直接进入
next()
} else if (to.path.indexOf('/social-login/') !== -1) {
// 在免登录白名单,直接进入
next()
} else {
const redirect = encodeURIComponent(to.fullPath) // 编码 URI,保证参数跳转回去后,可以继续带上
next(`/login?redirect=${redirect}`) // 否则全部重定向到登录页
NProgress.done()
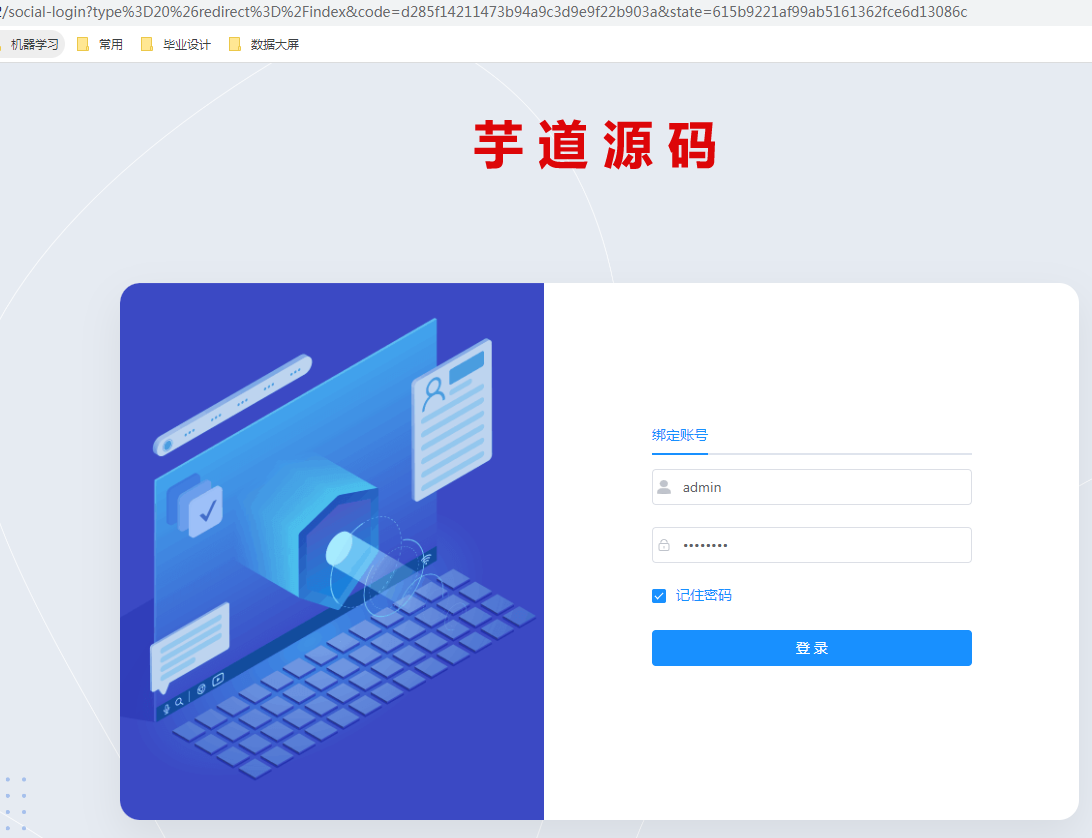
}5、在应用中使用码云授权登陆
在登陆页点击【码云图标】会提示输入租户名称,点击提交后会跳转进行登录。
首次登陆会提示绑定系统中已有的账号,如下,输入后登陆,以后登陆就会自动跳转了。
这里源码有一些小坑就不说了,如果遇到问题可以留言。