Nacos 作为阿里开源的动态服务发现、配置管理和服务管理平台,是微服务架构中不可或缺的核心组件。本文将以 Nacos 2.2.3 版本为例,详细讲解 Windows 系统下基于 MySQL8.4.0 持久化的单机版部署流程
1、windows必须先安装jdk8;
Nacos 基于 Java 开发,2.2.3 版本对 JDK8 兼容性最佳,高版本 JDK 可能出现兼容性问题,务必选择 JDK8。
2、安装MySQL840
Nacos 默认使用嵌入式数据库 Derby,重启后数据会丢失,生产 / 测试环境需改用 MySQL 持久化配置,本文选择 MySQL8.4.0 版本。
3、数据库(nacos_config)与表需要手动建立;
4、数据表建立语句
https://github.com/alibaba/nacos/blob/2.2.3/distribution/conf/mysql-schema.sql
部署过程中需要打开对应的版本git地址;
5、部署Nacos
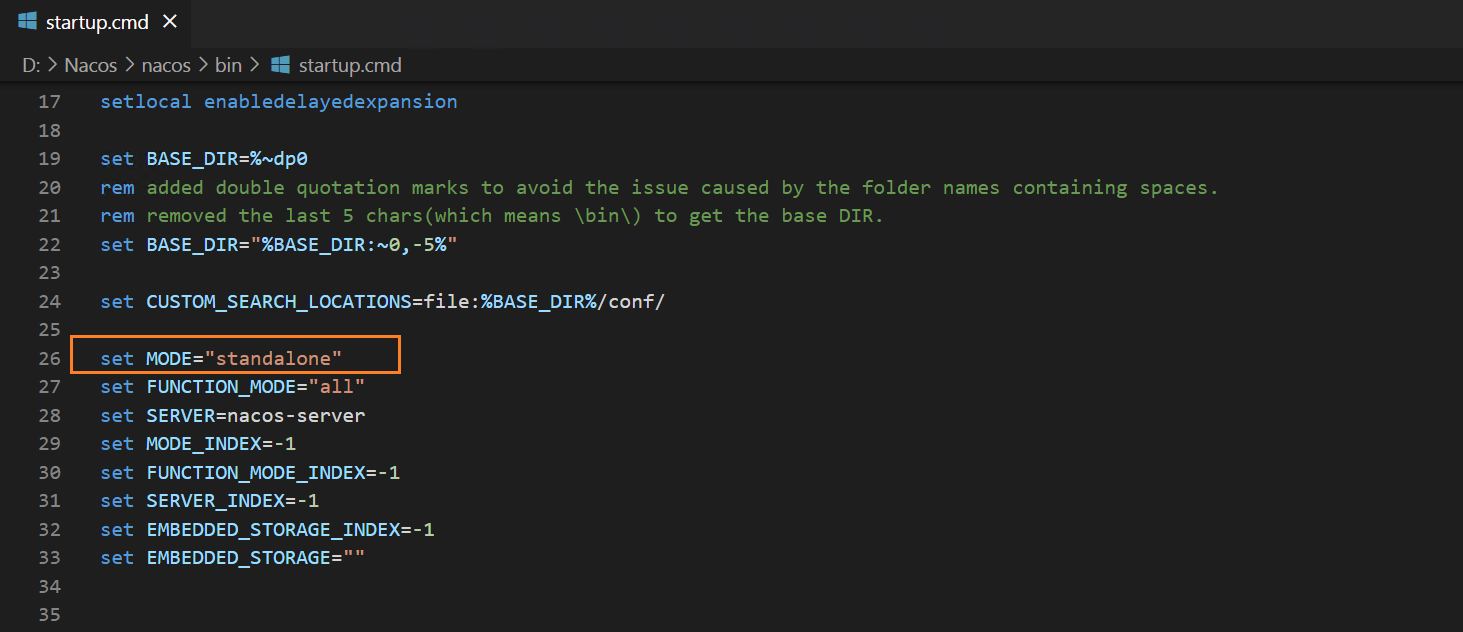
打开bin目录下的startup.cmd 设置mode为standalone 单机模式
运行startup.cmd文件
6、application.properties 内容如下:
# 基础单机配置(保留你的原有设置)
nacos.standalone=true
server.port=8848

# MySQL连接配置
spring.datasource.platform=mysql
db.num=1
db.url.0=jdbc:mysql://172.16.22.40:3306/nacos_config?characterEncoding=utf8&useSSL=false&serverTimezone=UTC&allowPublicKeyRetrieval=true
db.user.0=root
db.password.0=shhy123

# ========== 你的原有鉴权配置(完全保留,2.2.3适配,无需修改) ==========
nacos.core.auth.enabled=true
nacos.core.auth.plugin.enabled=true
nacos.core.auth.plugin.nacos.token.secret.key=SecretKey012345678901234567890123456789012345678901234567890123456789
nacos.core.auth.server.identity.key=custom-auth-key
nacos.core.auth.server.identity.value=custom-auth-value
nacos.core.auth.identity.key=custom-auth-key
nacos.core.auth.identity.value=custom-auth-value
nacos.core.auth.enable.userAgentAuthWhite=false
nacos.core.auth.plugin.nacos.token.empty.access=false

# 可选:解决Windows日志中文乱码(建议保留)
server.tomcat.uri-encoding=UTF-8
spring.http.encoding.force=true
spring.http.encoding.charset=UTF-8
spring.http.encoding.enabled=true