场景:浏览器发送**/hello**请求,返回"Hello,Spring Boot 3!"
开发步骤
- 创建Maven工程
- 添加依赖(springboot父工程依赖 , web启动器依赖)
- 编写启动引导类(springboot项目运行的入口)
- 编写处理器Controller
- 启动项目
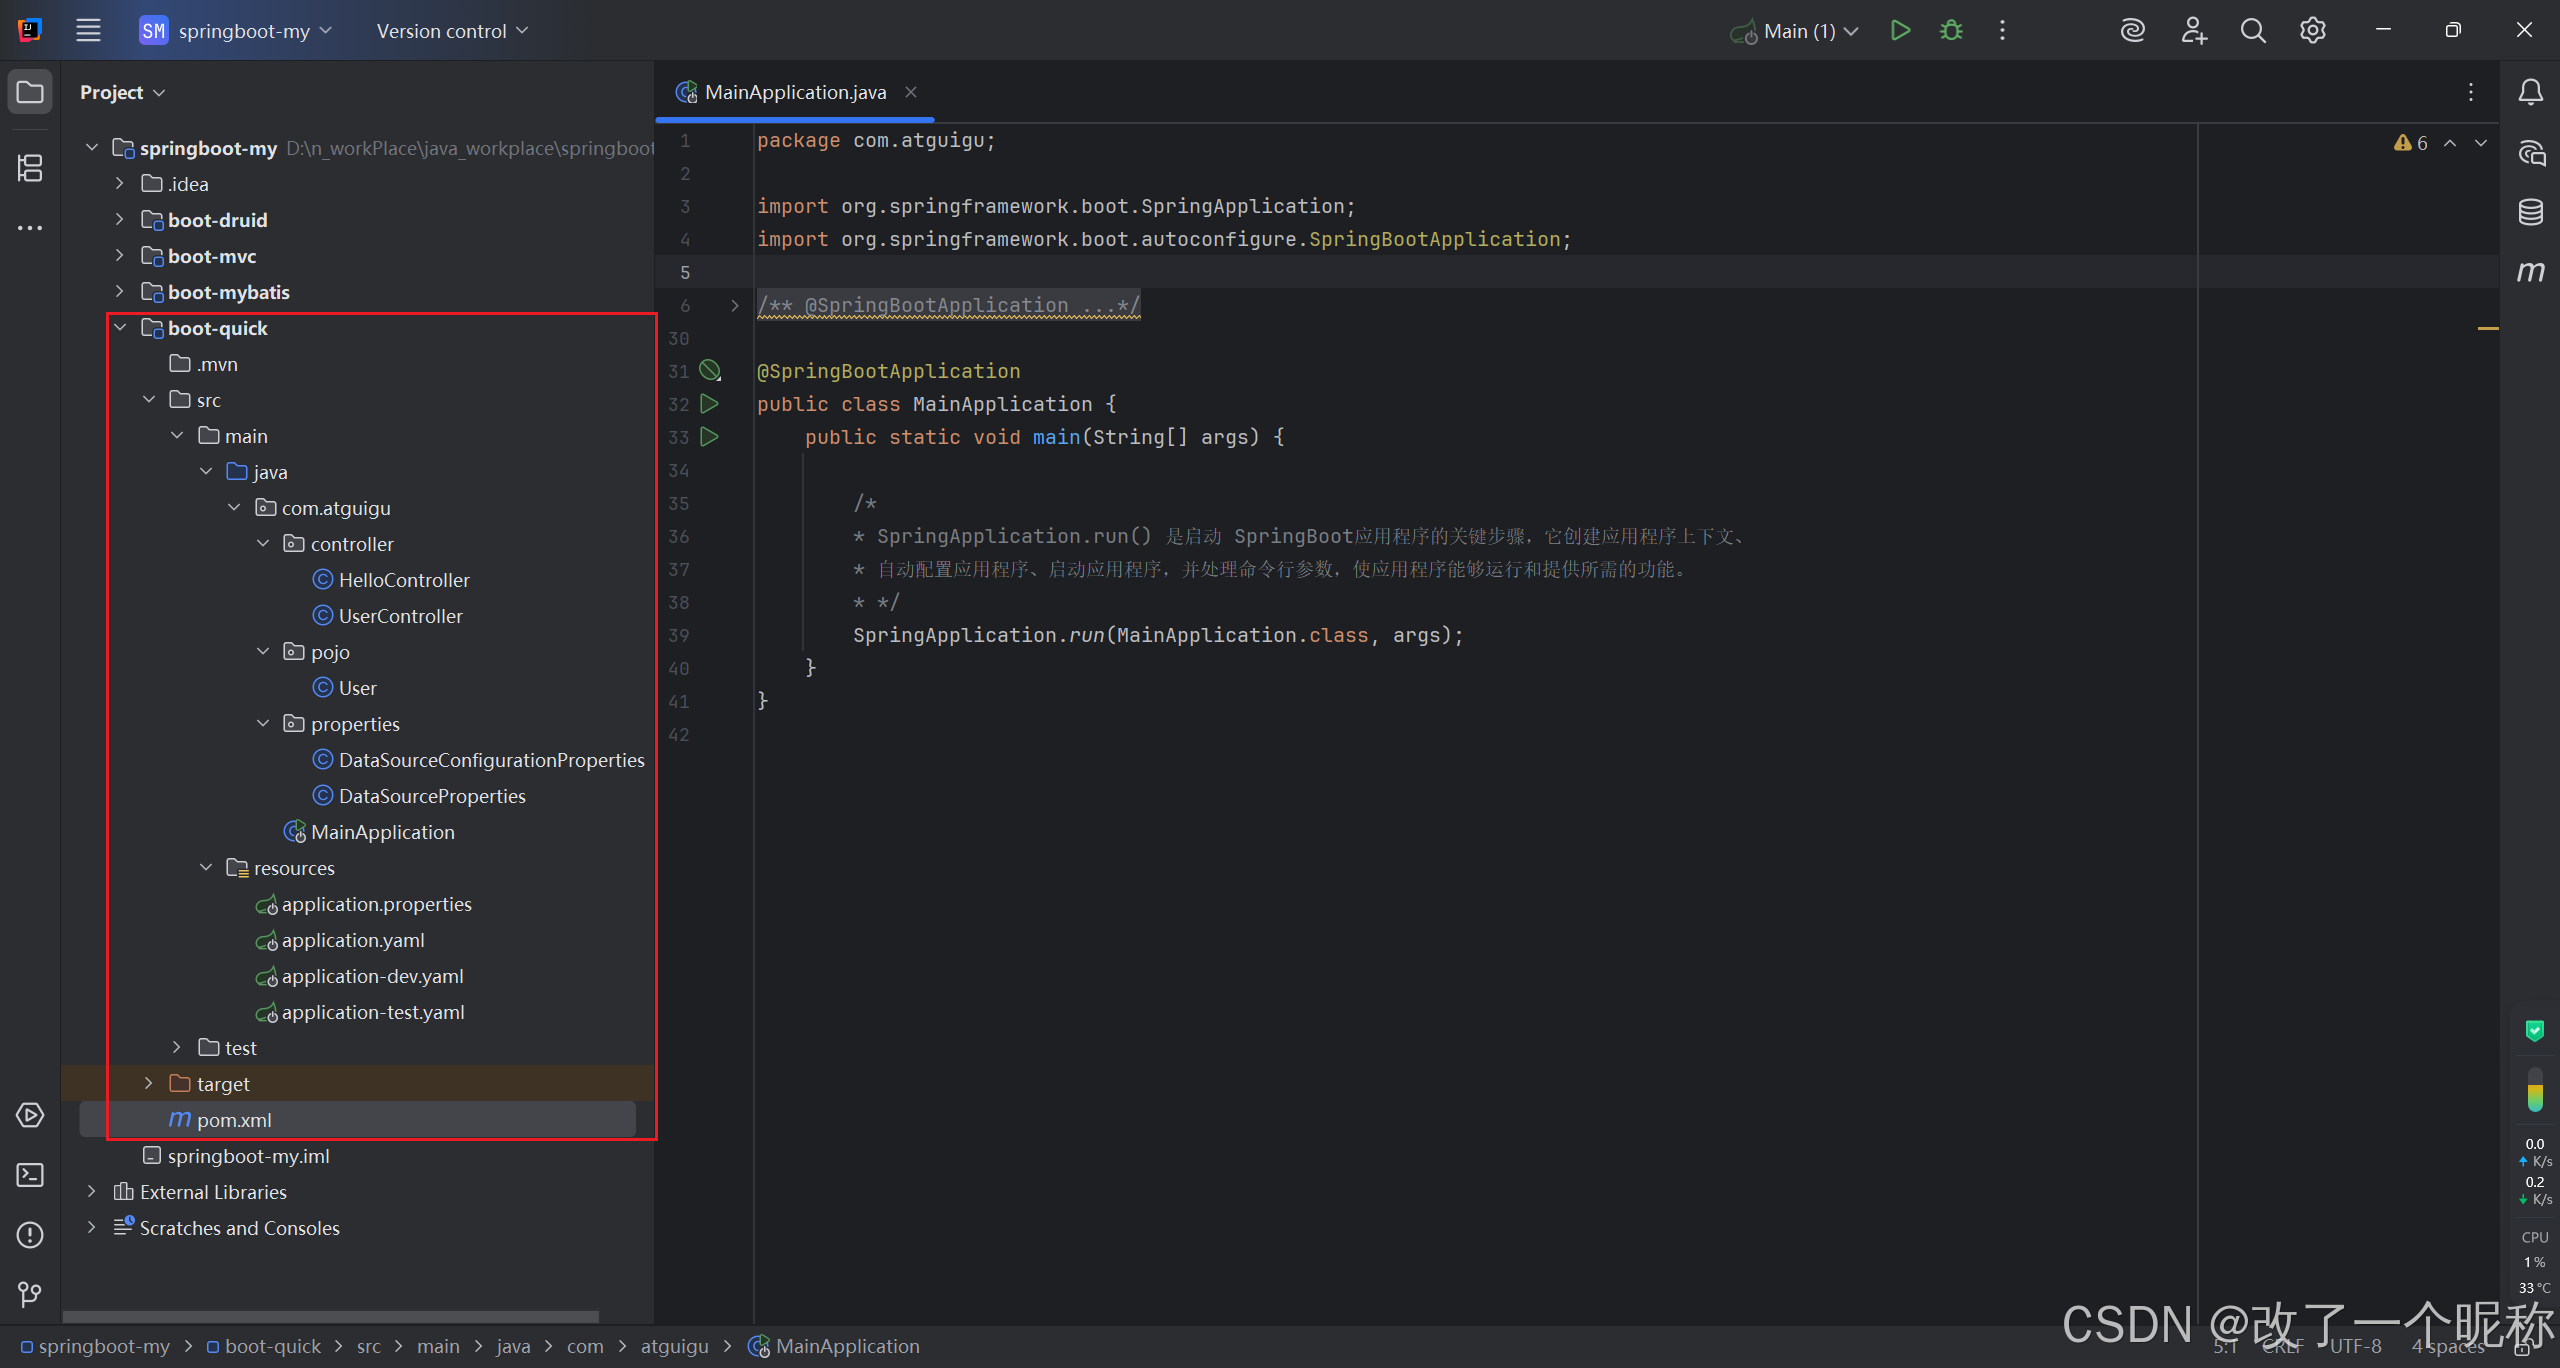
项目目录
pom.xml
-
SpringBoot 可以帮我们方便的管理项目依赖,
-
SpringBoot 提供了一个名为
spring-boot-starter-parent的工程,里面已经对各种常用依赖的版本进行了管理,我们的项目,必须,以这个项目为
父工程,这样,我们就不用操心依赖的版本问题了,需要什么依赖,直接引入坐标(不需要添加版本)即可
-
所有 springboot 项目,都必须继承自
spring-boot-starter-parent
xml
<?xml version="1.0" encoding="UTF-8"?>
<project xmlns="http://maven.apache.org/POM/4.0.0"
         xmlns:xsi="http://www.w3.org/2001/XMLSchema-instance"
         xsi:schemaLocation="http://maven.apache.org/POM/4.0.0 http://maven.apache.org/xsd/maven-4.0.0.xsd">
    <modelVersion>4.0.0</modelVersion>

    <!--
         SpringBoot可以帮我们方便的管理项目依赖,
         SpringBoot提供了一个名为 spring-boot-starter-parent 的工程,里面已经对各种常用依赖的版本进行了管理,
         我们的项目必须以这个项目为父工程,
         这样我们就不用操心依赖的版本问题了,需要什么依赖,直接引入坐标(不需要添加版本)即可
     -->
    <!-- 所有springboot项目,都必须继承自 spring-boot-starter-parent -->
    <parent>
        <groupId>org.springframework.boot</groupId>
        <artifactId>spring-boot-starter-parent</artifactId>
        <version>3.0.5</version>
    </parent>

    <groupId>com.atguigu</groupId>
    <artifactId>boot-quick</artifactId>
    <version>1.0-SNAPSHOT</version>

    <properties>
        <maven.compiler.source>17</maven.compiler.source>
        <maven.compiler.target>17</maven.compiler.target>
        <project.build.sourceEncoding>UTF-8</project.build.sourceEncoding>
    </properties>

    <dependencies>
        <!--
            SpringBoot提供了许多预定义的Starter,如:
                spring-boot-starter-web用于构建Web应用程序,
                spring-boot-starter-data-jpa用于使用JPA进行数据库访问,
                spring-boot-starter-security用于安全认证和授权,
                ...等等

            使用Starter非常简单,只需要在项目的构建文件(例如Maven的pom.xml)中添加所需的Starter依赖,
            SpringBoot会自动处理依赖管理和配置。

            springboot提供的全部启动器地址:
                [https://docs.spring.io/spring-boot/docs/current/reference/html/using.html#using.build-systems.starters](https://docs.spring.io/spring-boot/docs/current/reference/html/using.html#using.build-systems.starters)

            springboot启动器的命名规范:
                官方提供的:命名为:`spring-boot-starter-*`
                第三方提供:命名为:`*-spring-boot-starter`
        -->

        <!--web开发的场景启动器-->
        <dependency>
            <groupId>org.springframework.boot</groupId>
            <artifactId>spring-boot-starter-web</artifactId>
        </dependency>

        <dependency>
            <groupId>org.projectlombok</groupId>
            <artifactId>lombok</artifactId>
            <version>1.18.28</version>
        </dependency>
    </dependencies>

</project>
入口 Main
-
@SpringBootApplication用于标识一个 SpringBoot应用程序 的入口类。
作用:将三个常用注解组合在一起,简化了配置的过程。
-
具体而言,@SpringBootApplication 注解包含以下三个注解的功能:
-
@Configuration:将该类,标识为
应用程序的配置类,它允许使用Java代码定义和配置Bean。 -
@EnableAutoConfiguration:启用 SpringBoot 的自动配置机制,
它根据项目的依赖项,自动配置Spring应用程序的行为,
自动配置,根据类路径、注解、配置属性等条件,来决定要使用的功能和配置。
-
@ComponentScan:自动扫描并加载应用程序中的组件,
如:控制器、服务、存储库等。
它
默认扫描,@SpringBootApplication注解所在类的包、及其子包中的组件。
-
使用 @SpringBootApplication 注解,可以将上述三个注解的功能集中在一个注解上,
简化了:配置文件的编写、组件的加载和描过程,
它是 SpringBoot 应用程序的入口点,标识了应用程序的主类,
并告诉 SpringBoot 在启动时,应如何配置 和 加载应用程序。
java
package com.atguigu;

import org.springframework.boot.SpringApplication;
import org.springframework.boot.autoconfigure.SpringBootApplication;

@SpringBootApplication
public class MainApplication {
    public static void main(String[] args) {

        /*
        * SpringApplication.run() 是启动 SpringBoot应用程序的关键步骤,它创建应用程序上下文、
        * 自动配置应用程序、启动应用程序,并处理命令行参数,使应用程序能够运行和提供所需的功能。
        * */
        SpringApplication.run(MainApplication.class, args);
    }
}
配置文件
application.properties
yaml
server.port=80

spring.jdbc.datasource.driverClassName=com.mysql.cj.jdbc.driver
spring.jdbc.datasource.url=jdbc:mysql:///mybatis-example
spring.jdbc.datasource.username=root
spring.jdbc.datasource.password=root
application.yaml
yml
server:
port: 80
servlet:
context-path: /boot
spring:
jdbc:
datasource:
driverClassName: com.mysql.jdbc.Driver
url: jdbc:mysql:///mybatis-example
username: root
password: root
profiles:
active: dev,test # 激活外部配置 application-dev.yaml、application-test.yaml 的配置
# 如果 外部配置的key 和 application.yaml的key 发生重复了,以外部配置的key为准
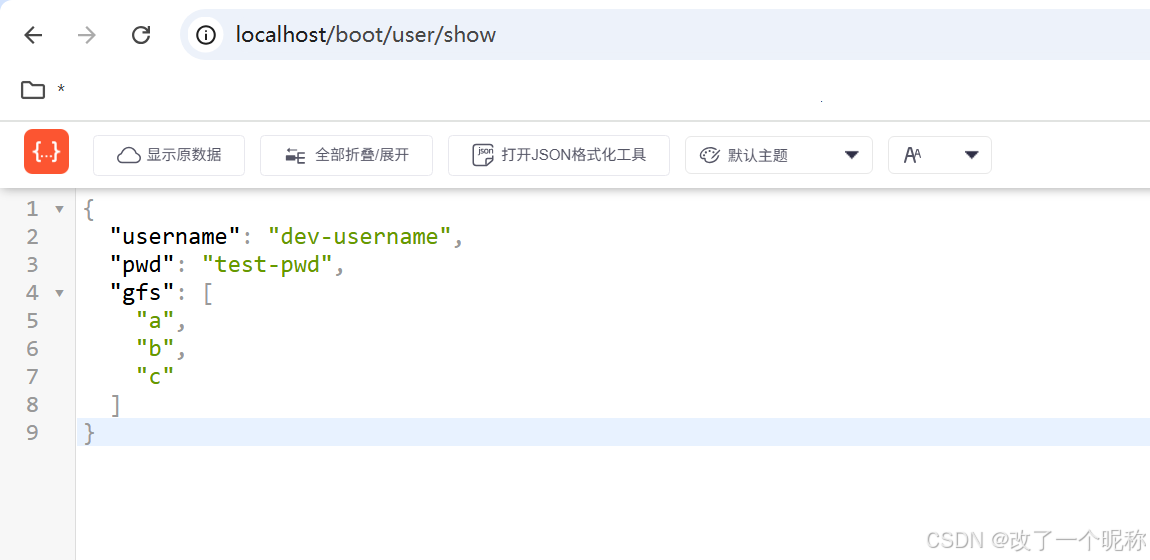
zwf:
user:
username: root
pwd: 123456
gfs: # 这就是集合
- a
- b
- capplication-dev.yaml
yml
zwf:
  user:
    username: dev-username
application-test.yaml
yml
zwf:
  user:
    pwd: test-pwd
实体类 User
java
package com.atguigu.pojo;

import lombok.Data;
import org.springframework.boot.context.properties.ConfigurationProperties;
import org.springframework.stereotype.Component;

import java.util.List;

@Data
@Component
@ConfigurationProperties(prefix = "zwf.user")
public class User {
    private String username;
    private String pwd;
    private List<String> gfs;
}
实体类 User 的 Controller
java
package com.atguigu.controller;

import com.atguigu.pojo.User;
import org.springframework.beans.factory.annotation.Autowired;
import org.springframework.web.bind.annotation.GetMapping;
import org.springframework.web.bind.annotation.RequestMapping;
import org.springframework.web.bind.annotation.RestController;

@RestController
@RequestMapping("user")
public class UserController {
    @Autowired
    private User user;

    @GetMapping("show")
    public User show(){
        return user;
    }
}
读取配置文件的2种方式
使用 @Value("xxx")手动读取
java
package com.atguigu.properties;

import org.springframework.beans.factory.annotation.Value;
import org.springframework.stereotype.Component;

@Component
public class DataSourceProperties {
    @Value("${spring.jdbc.datasource.driverClassName}")
    private String driverClassName;

    @Value("${spring.jdbc.datasource.url}")
    private String url;

    @Value("${spring.jdbc.datasource.username}")
    private String username;

    @Value("${spring.jdbc.datasource.password}")
    private String password;
}
自动读取 @ConfigurationProperties(prefix = "前缀")
java
package com.atguigu.properties;

import lombok.Data;
import org.springframework.boot.context.properties.ConfigurationProperties;
import org.springframework.stereotype.Component;

/*
    自动注入配置文件的属性:
        在类上通过 @ConfigurationProperties 注解,声明该类要读取配置属性
        prefix="spring.jdbc.datasource",代表,
            读取属性文件中,前缀为spring.jdbc.datasource的值。
            prefix前缀、类中的属性名 要和 配置文件中的key 一致,才可以注入成功

    使用 @Value(${xxx}) 手动注入配置属性,有个 bug,就是不能注入集合
    但是,使用 自动注入@ConfigurationProperties(prefix = "") 就没有这个bug
*/

@Data
@Component
@ConfigurationProperties(prefix = "spring.jdbc.datasource")
public class DataSourceConfigurationProperties {
    private String driverClassName;
    private String url;
    private String username;
    private String password;
}
测试 HelloController.java
java
package com.atguigu.controller;
import com.atguigu.properties.DataSourceConfigurationProperties;
import com.atguigu.properties.DataSourceProperties;
import org.springframework.beans.factory.annotation.Autowired;
import org.springframework.web.bind.annotation.GetMapping;
import org.springframework.web.bind.annotation.RestController;
@RestController
public class HelloController {
@Autowired
private DataSourceProperties dataSourceProperties;
@Autowired
private DataSourceConfigurationProperties dataSourceConfigurationProperties;
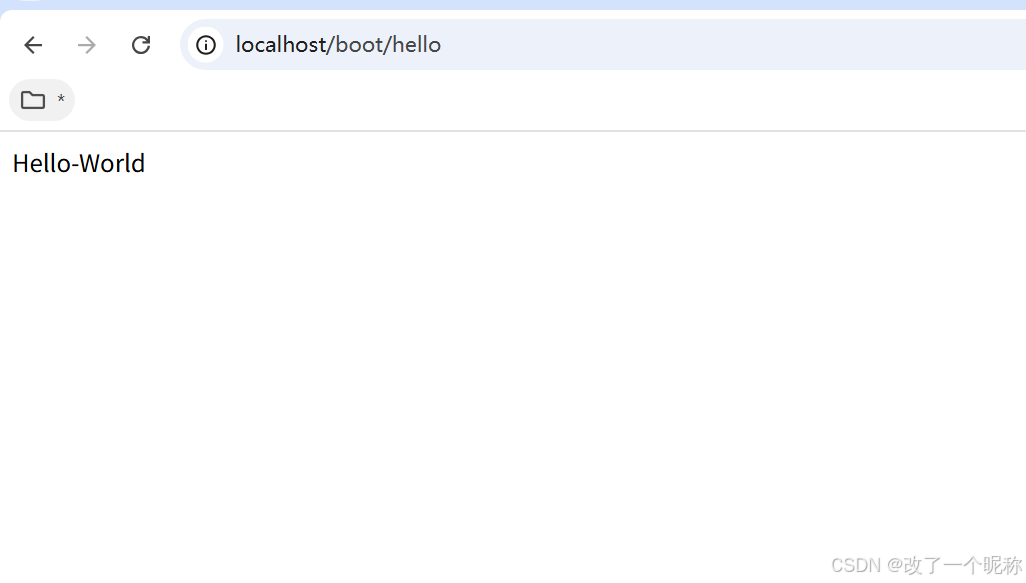
@GetMapping("hello")
public String hello(){
System.out.println("dataSourceProperties= " + dataSourceProperties);
// dataSourceProperties= com.atguigu.properties.DataSourceProperties@2080411b
return "Hello-World";
}
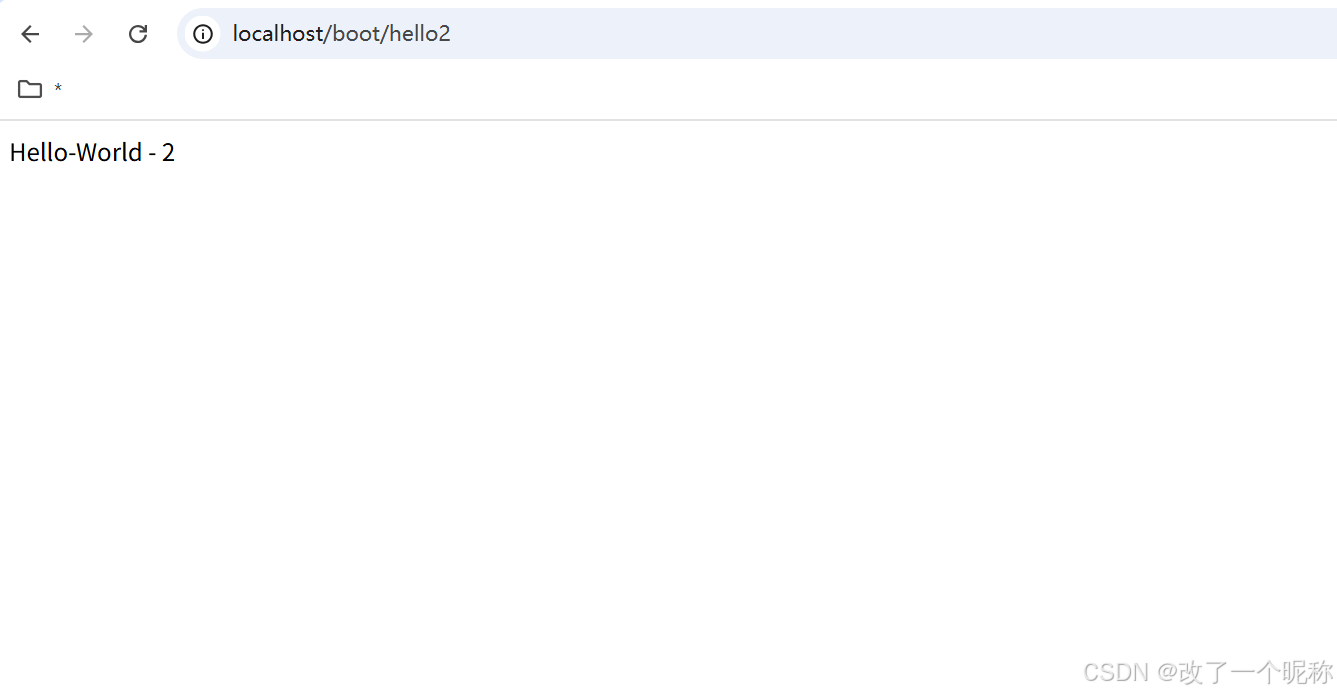
@GetMapping("hello2")
public String hello2(){
System.out.println("dataSourceConfigurationProperties= " + dataSourceConfigurationProperties);
// dataSourceConfigurationProperties= DataSourceConfigurationProperties(driverClassName=com.mysql.cj.jdbc.driver, url=jdbc:mysql:///mybatis-example, username=root, password=root)
return "Hello-World - 2";
}
}