简介
解析post请求
一、注册Post请求
cpp
void LogicSystem::RegPost(std::string url, HttpHandler handler) {
    _post_handlers.insert(make_pair(url, handler));
}
在const.h中添加ErrorCodes定义并且包含JsonCpp相关的头文件
cpp
#include <json/json.h>
#include <json/value.h>
#include <json/reader.h>
enum ErrorCodes {
    Success = 0,
    Error_Json = 1001,  //Json解析错误
    RPCFailed = 1002,  //RPC请求错误
};
然后在LogicSystem的构造函数里添加获取验证码的处理逻辑
cpp
	RegPost("/get_varifycode", [](std::shared_ptr<HttpConnection> connection) {
		auto body_str = boost::beast::buffers_to_string(connection->_request.body().data());
		std::cout << "receive body is " << body_str << std::endl;
		connection->_response.set(http::field::content_type, "text/json");
		Json::Value root;
		Json::Reader reader;
		Json::Value src_root;
		bool parse_success = reader.parse(body_str, src_root);
		if (!parse_success) {
			std::cout << "Failed to parse JSON data!" << std::endl;
			root["error"] = ErrorCodes::Error_Json;
			std::string jsonstr = root.toStyledString();
			beast::ostream(connection->_response.body()) << jsonstr;
			return true;
		}

		auto email = src_root["email"].asString();
		std::cout << "email is " << email << std::endl;
		root["error"] = 0;
		root["email"] = src_root["email"];
		std::string jsonstr = root.toStyledString();
		beast::ostream(connection->_response.body()) << jsonstr;
		return true;
		});
然后我们在LogicSystem中添加Post请求的处理
cpp
bool LogicSystem::HandlePost(std::string path, std::shared_ptr<HttpConnection> con) {
    if (_post_handlers.find(path) == _post_handlers.end()) {
        return false;
    }
    _post_handlers[path](con);
    return true;
}
在HttpConnection的HandleReq中添加post请求处理
cpp
void HttpConnection::HandleReq() {
//省略...
if (_request.method() == http::verb::post) {
bool success = LogicSystem::GetInstance()->HandlePost(_request.target(), shared_from_this());
if (!success) {
_response.result(http::status::not_found);
_response.set(http::field::content_type, "text/plain");
beast::ostream(_response.body()) << "url not found\r\n";
WriteResponse();
return;
}
_response.result(http::status::ok);
_response.set(http::field::server, "GateServer");
WriteResponse();
return;
}
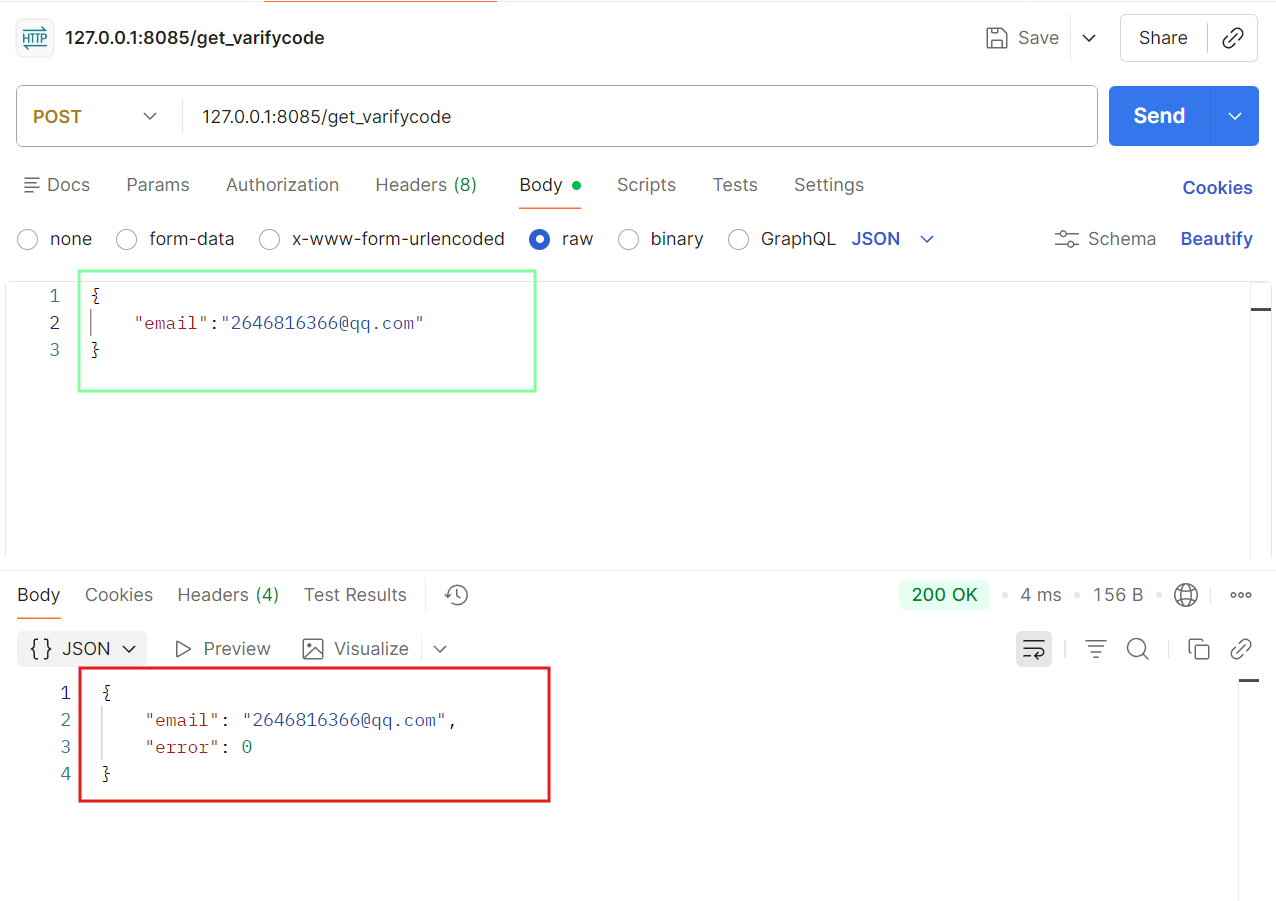
}然后我们启动服务器,然后打开postman,大家可以去官网下载
绿色的为post请求的json参数,红色的为服务器返回的json数据包。
二、客户端增加post逻辑
我们之前在客户端实现了httpmgr的post请求,在点击获取验证码的槽函数里添加发送http的post请求即可
cpp
//获取验证码按钮响应
void RegisterDialog::on_getBtn_clicked()
{
//验证邮箱的地址正则表达式
auto email = ui->email_Edit->text();
// 邮箱地址的正则表达式
QRegularExpression regex(R"((\w+)(\.|_)?(\w*)@(\w+)(\.(\w+))+)");
bool match = regex.match(email).hasMatch(); // 执行正则表达式匹配
if(match)
{
//发送http请求获取验证码
QJsonObject json_obj;
json_obj["email"]=email;
HttpMgr::GetInstance()->PostHttpReq(QUrl(gate_url_prefix+"/get_varifycode"),json_obj,
ReqId::ID_GETVARIFY_CODE,Modules::REGISTERMOD);
}else
{
ShowTips("邮箱地址不正确",false);
}
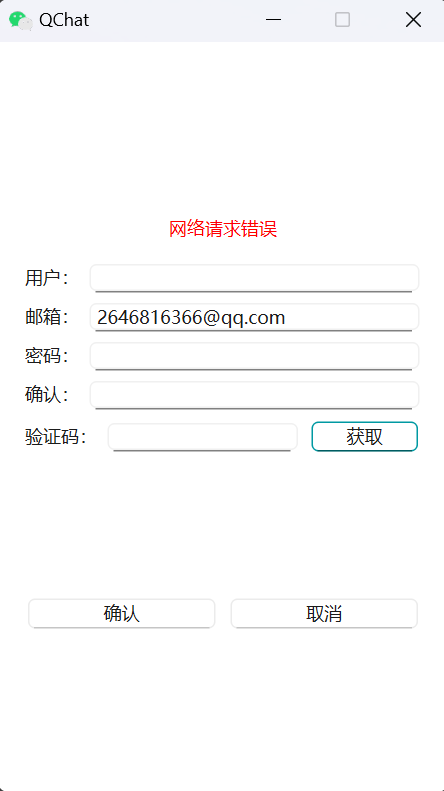
}当服务器不启动,客户端输入邮箱,点击获取验证码,客户端会收到网络连接失败的提示
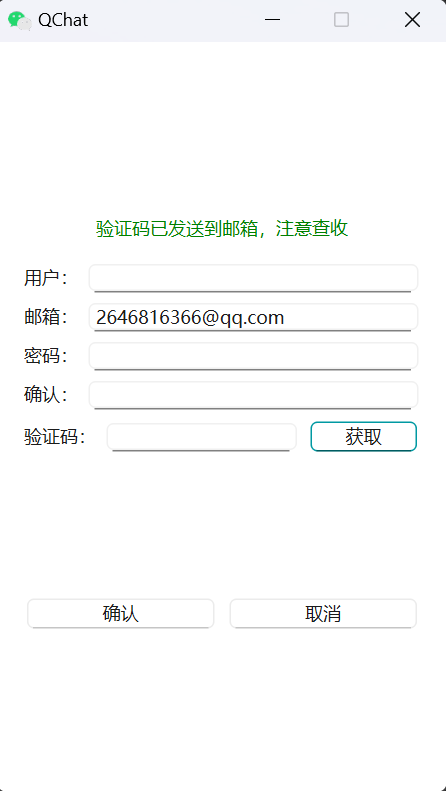
当服务器启动,客户端输入邮箱,点击获取验证码,就显示正确提示了
三、客户端配置管理
我们发现客户端代码中很多参数都是写死的,最好通过配置文件管理,我们在代码所在目录中新建一个config.ini文件, 内部添加配置
cpp
[GateServer]
host=localhost
port=8085
接着右键项目添加现有文件config.ini即可加入项目中。
因为我们的程序最终会输出的bin目录,所以在pro中添加拷贝脚本将配置也拷贝到bin目录
cpp
win32:CONFIG(release, debug | release)
{
    #指定要拷贝的文件目录为工程目录下release目录下的所有dll、lib文件,例如工程目录在D:\QT\Test
    #PWD就为D:/QT/Test,DllFile = D:/QT/Test/release/*.dll
    TargetConfig = $${PWD}/config.ini
    #将输入目录中的"/"替换为"\"
    TargetConfig = $$replace(TargetConfig, /, \\)
    #将输出目录中的"/"替换为"\"
    OutputDir =  $${OUT_PWD}/$${DESTDIR}
    OutputDir = $$replace(OutputDir, /, \\)
    //执行copy命令
    QMAKE_POST_LINK += copy /Y \"$$TargetConfig\" \"$$OutputDir\"
}
接着在global.h中添加声明
cpp
extern QString gate_url_prefix;在cpp中添加定义
cpp
QString gate_url_prefix = "";在main函数中添加解析配置的逻辑
cpp
 QString filename="config.ini";
    //获取当前应用程序的运行目录路径
    QString app_path=QCoreApplication::applicationDirPath();
    //拼接完整的配置文件路径,并转换为系统原生分隔符
    QString config_path=QDir::toNativeSeparators(app_path+ QDir::separator()+filename);
    //创建 QSettings 对象,用于读写 INI 文件
    QSettings settings(config_path,QSettings::IniFormat);
    //获取主机号和端口号
    QString gate_host=settings.value("GateServer/host").toString();
    QString gate_port=settings.value("GateServer/port").toString();
    //拼接成url
    gate_url_prefix="http://"+gate_host+":"+gate_port;
将RegisterDialog发送post请求修改为
cpp
HttpMgr::GetInstance()->PostHttpReq(QUrl(gate_url_prefix+"/get_varifycode"),json_obj,
                                             ReqId::ID_GETVARIFY_CODE,Modules::REGISTERMOD);
再次测试仍旧可以收到服务器回馈的http包。
这么做的好处就是客户端增加了配置,而且以后修改参数也方便。