目录
[二、JSON Schema](#二、JSON Schema)
[JSON Schema的数据类型](#JSON Schema的数据类型)
日志格式占位符表格
一、YAML
文件后辍是.yaml和 .yml支持不同数据类型,但写法有区别。
使用:经常作为配置文件使用,可以使用yaml库读取和写入YAML文件
python
pip install PyYAML==6.0.1
python
import yaml

#追加写⼊
def write_yaml(filename, data):
    with open(filename, encoding="utf-8", mode="a+") as f:
        yaml.safe_dump(data, stream=f)
#读取
def read_yaml(filename, key):
    with open(filename, encoding="utf-8", mode="r") as f:
        data = yaml.safe_load(f)
        return data[key]
#清空
def clear_yaml(filename):
    with open(filename, encoding="utf-8", mode="w") as f:
        f.truncate()

def test_yml():
#写⼊yaml⽂件
    data = {"str":"12345"}
    write_yaml('test.yml',data)
#读取yaml⽂件
    ret = read_yaml('test.yml',"str")
    print("ret:", ret)
#清空yaml⽂件
    clear_yaml('test.yml')
二、JSON Schema
这是用来定义和校验JSON的web规范,校验json是否符合预期。
python
pip install jsonschema==4.23.0JSON:
python
{
    "code": "SUCCESS",
    "errMsg": "",
    "data": false
}
JSON Schema:
python
{
    "type": "object",
    "required": [],
    "properties": {
        "code": {
            "type": "string"
        },
        "errMsg": {
            "type": "string"
        },
        "data": {
            "type": "string"
        }
    }
}
根据JSON Schema从多个方面对JSON数据中的字段进行校验。
JSON Schema的数据类型
| 类型 | 说明 |
|---|---|
| string | 字符串类型,用于文本数据 |
| number | 数字类型,用于表示浮点数 |
| integer | 整数类型,用于表示整数 |
| boolean | 布尔类型,值为 true 或 false |
| object | 对象类型,用于嵌套的 JSON 对象 |
| array | 数组类型,用于列表或集合 |
| null | 空值类型 |
python
{
    "type": "object",
    "properties": {
        "name": { "type": "string" },
        "age": { "type": "integer" }
    }
}
properties是一个验证关键字。当你定义properties时,你创建了一个对象,其中每个属性代表正在验证的JSON数据的一个键。
最大最小值
- minimun和maximun:指定数值最小最大值。
- exclusiveMinimun和exclusiveMaximun:指定数值必须严格大于或小于某个值(不包含等于)
整数校验
python
{
    "type": "object",
    "properties": {
        "age": {
            "type": "integer",
            "minimum": 0,
            "maximum": 120
        }
    }
}
指定age字段必须必须是整数,必须处于0~120之间。
字符串校验
pattern:使用正则表达式来验证字符串是否符合特定模式。
python
{
    "type": "object",
    "properties": {
    "email": {
        "type": "string"
    },
    "username": {
        "type": "string",
        "pattern": "\S+"
        }
    }
}
数组约束
- minItems和maxItems:指定数组最小和最大长度
- uniqueItems:确保数组中的元素是唯一的
- tems:定义数组中每个元素的类型和约束
python
{
    "type": "object",
    "properties": {
    "tags": {
        "type": "array",
        "items": { "type": "string" },
        "minItems": 1,
        "uniqueItems": True
        }
    }
}
对象约束
- minProperties和maxProperties:指定对象的最小和最大属性
- additionalProperties:控制是否允许对象中存在或未存在properties中定义的额外属性,默认是True
python
{
    "type": "object",
    "properties": {
        "name": { "type": "string" }
    },
    "minProperties": 1,
    "additionalProperties": False
}
必须属性
通过required关键字,JSON Schema可以指定哪些属性时必须的,如果JSON缺少这些必须属性,验证失败。
python
{
    "type": "object",
    "properties": {
        "name": { "type": "string" },
        "email": { "type": "string" }
     },
    "required": ["name", "email"]
}
依赖关系
dependentRequired可以定义属性之间的依赖关系。例如,某个属性存在,则必须存在另一个属性
python
{
    "type": "object",
    "properties": {
    "creditCard": { "type": "string" },
    "billingAddress": { "type": "string" }
    },
    "dependentRequired": {
        "creditCard": ["billingAddress"]
    }
}
三、logging日志模块
logging是python标准库中的一个模块,提供灵活日志记录功能。通过logging,开发者方便的将日志信息输出到控制台,文件,网络等目标。
使用
示例:全局logging
python
import logging

logging.basicConfig(level=logging.INFO)


logging.debug('This is a debug message')

logging.info('This is an info message')

logging.warning('This is a warning message')

logging.error('This is an error message')

logging.critical('This is a critical message')
示例:自定义logger并输出控制台
python
import logging

logging.basicConfig(level=logging.INFO)

#获取一个日志记录器对象,名称为当前模块的名称
logger = logging.getLogger(__name__)

#设置日志记录器级别为 DEBUG
#意味着所有级别为DEBUG及以上的日志全部被记录
logger.setLevel(logging.DEBUG)

if __name__ == "__main__":
    logger.debug('This is a debug message')
    logger.info('This is an info message')
    logger.warning('This is a warning message')
    logger.error('This is an error message')
logger.critical('This is a critical message')- 获取日志记录器:logging.getLogger(name)获取一个日志记录器对象,name是当前模块名称。
- 设置日志级别:logger.setLevel(loggging.DEBUG)设置日志级别
- 添加处理器:logger.addHandler(handler)将文件处理器添加到日志记录器中,这样日志记录器就会使用这个处理器处理日志
示例:设置日志格式
python
import logging

logging.basicConfig(level=logging.INFO)

#获取一个日志记录器对象,名称为当前模块的名称
logger = logging.getLogger(__name__)

#设置日志记录器级别为 DEBUG
#意味着所有级别为DEBUG及以上的日志全部被记录
logger.setLevel(logging.DEBUG)

#创建一个FileHandler对象,指定日志文件名称为"test.log"
#这个处理器会将日志信息写到指定文件中
handler = logging.FileHandler(filename="test.log")

#创建一个日志格式器对象
formatter = logging.Formatter(
"%(asctime)s %(levelname)s [%(name)s] [%(filename)s (%(funcName)s:%(lineno)d)] - %(message)s"
)

#将格式器设置到处理器上
handler.setFormatter(formatter)
#将这个处理器添加到日志记录器上
logger.addHandler(handler)

if __name__ == "__main__":
    logger.debug('This is a debug message')
    logger.info('This is an info message')
    logger.warning('This is a warning message')
    logger.error('This is an error message')
    logger.critical('This is a critical message')
logging.Formatter是用于定义日志输出的格式的类,在构造函数中,传递一个格式字符串,用于指定日治信息格式。格式字符串中使用了一些特殊占位符(%开头),这些占位符会被替换
以下是将日志格式占位符说明转化为表格的形式:
日志格式占位符表格
| 占位符 | 说明 |
|---|---|
%(asctime)s |
日志记录的时间戳,通常显示为日期和时间。 |
%(levelname)s |
日志级别(如 DEBUG、INFO、WARNING、ERROR、CRITICAL)。 |
%(name)s |
日志记录器的名称,通常为模块名称。 |
%(filename)s |
日志记录发生的文件名。 |
%(funcName)s |
日志记录发生的函数名。 |
%(lineno)d |
日志记录发生的行号。 |
%(message)s |
日志消息本身。 |
handler,setFormatter(formatter)将创建的格式器对象设置到处理器上,这意味着处理器在处理日志信息时,会使用这个格式器来格式化日志信息。
四、测试报告allure
官网:Allure Report Docs -- Pytest configuration
下载allure-pytest包
python
pip install allure-pytest==2.13.5下载Windows版本Allure报告
https://github.com/allure-framework/allure2/releases/download/2.30.0/allure-2.30.0.zip
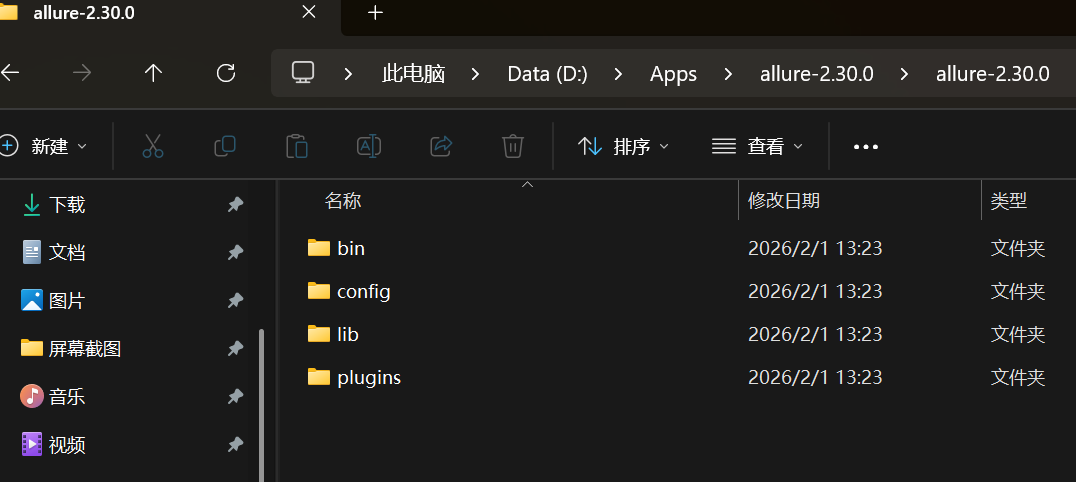
将bin添加到环境变量。打开cmd验证

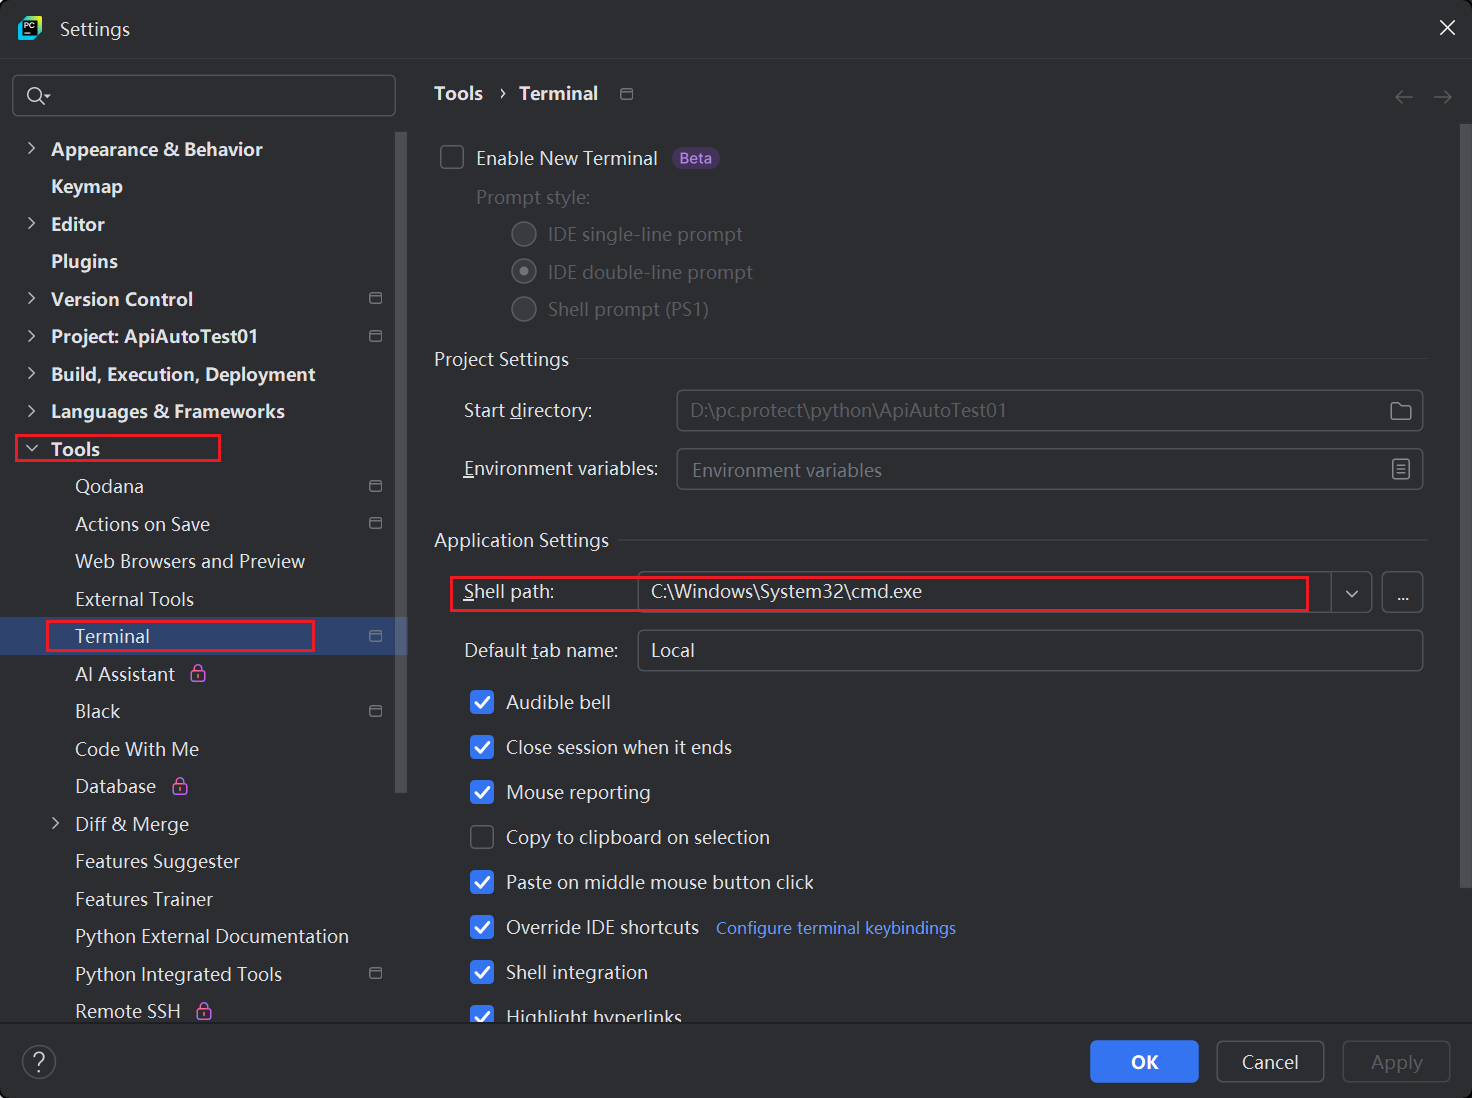
提示:如果cmd中可以打印版本但是pyCharm控制台执行命令提示找不到,则需要修改pyCharm中命令环境
allure使用
-
运行自动化,并指定测试报告防止路径
pythonpytest --alluredir=results_dir(保存测试报告的路径) #示例 pytest --alluredir=allure-results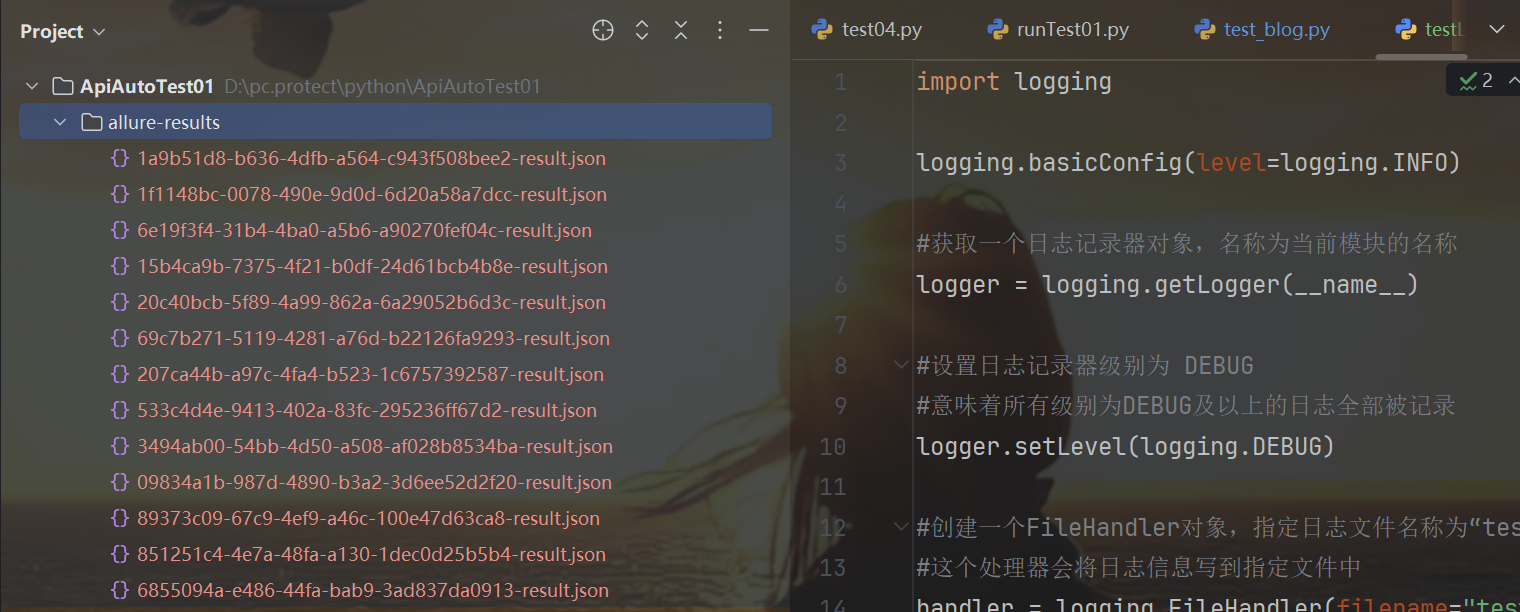
测试报告可以在控制台通过命令将结果保存在allure-results,也可以pytest.ini文件中配置路径。
pythonaddopts = -vs --alluredir allure-results -
查看测试报告
方法一:启动一个本地服务器在浏览器中展示测试报告
终端执行命令:allure serve options <allure-results>,自动在打开测试报告
--host:指定服务器监听的主机号,默认为localhost
--port:指定服务器监听的端口号,默认为0
--clean-alluredir:清除上一次生产的测试报告python#不指定端⼝号和主机地址 allure serve .\allure-results\ #指定端⼝号 allure serve --port 8787 .\allure-results\ #清除上⼀次⽣成的测试报告 allure serve .\allure-results\ --clean-alluredir方法二:从测试结果中生成测试报告
pythonallure generate .\allure-results\ -o .\allure-report --clean