一、Spring AI 简介
Spring AI项目旨在简化包含AI功能的应用程序的开发。官方文档:https://docs.spring.io/spring-ai/reference/index.html.

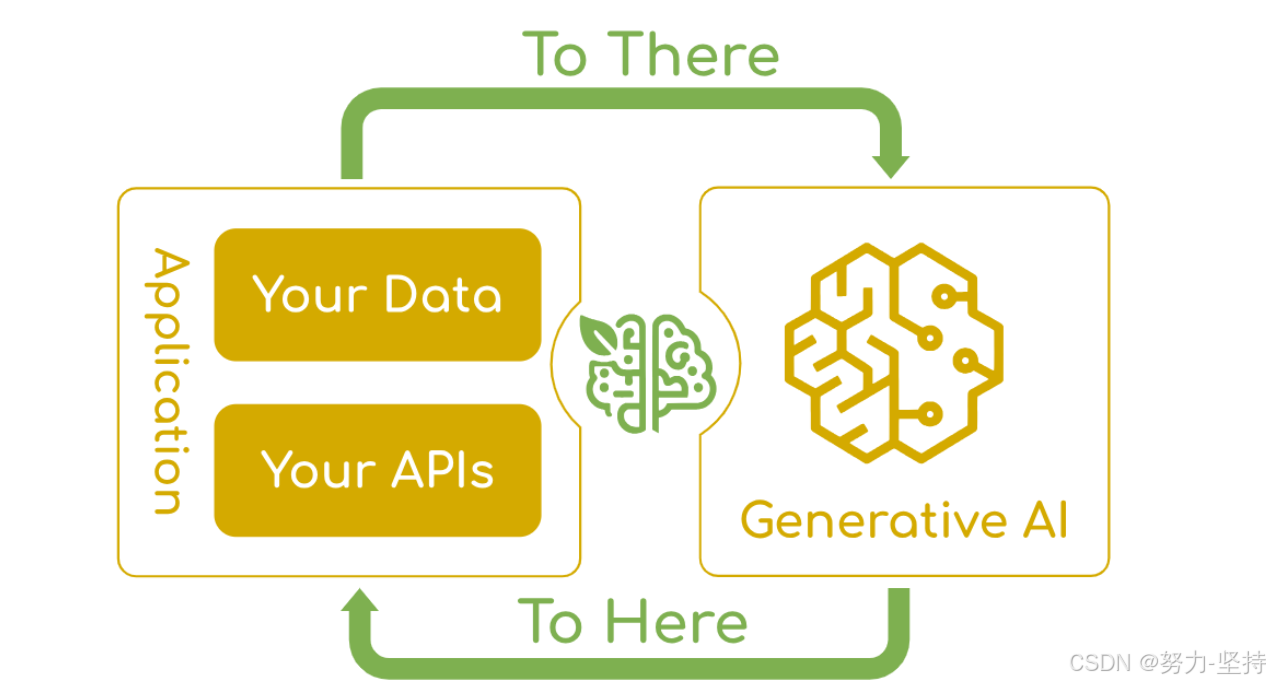
Spring AI就是将你的应用程序(数据和API)与 大模型连接起来。Connecting your enterprise Data and APIs with AI Models。
使用Spring AI调用大模型.
step1. 搭建工程.
step2.导入依赖.
引入springboot、lombok基本的依赖,还没有引入spring-ai,但是已经引入了spring-ai-bom,也就是spring-ai相关的依赖都定义好了,所以,只需要引入spring-ai-xxx-spring-boot-starter的依赖即可,其中xxx代表对接不同的不模型。
我们先使用OpenAI的标准接口,所以,需要导入 spring-ai-openai-spring-boot-starter 依赖。
可参考官方文档:
https://docs.spring.io/spring-ai/reference/1.0/api/chat/openai-chat.html
xml
<dependencyManagement>
    <dependencies>
        <!-- Spring AI BOM -->
        <dependency>
            <groupId>org.springframework.ai</groupId>
            <artifactId>spring-ai-bom</artifactId>
            <version>${spring-ai.version}</version>
            <type>pom</type>
            <scope>import</scope>
        </dependency>
    </dependencies>
</dependencyManagement>

<!-- Spring AI OpenAI 依赖 -->
<dependency>
    <groupId>org.springframework.ai</groupId>
    <artifactId>spring-ai-openai-spring-boot-starter</artifactId>
</dependency>
step3.编写配置
编写配置,需要参考官方文档:
yml
server:
  port: 8099  #端口
  tomcat:
    uri-encoding: UTF-8   #服务编码
spring:
  application:
    name: my-spring-ai
  ai:
    openai: #openai配置
      base-url: https://api.chatanywhere.tech #api地址
      api-key: ${OPENAI_API_KEY} #读取环境变量中的api key
      chat:
        options:
          model: gpt-3.5-turbo #模型名称
step4.启动项目进行测试,可以正常启动。
step5.参考官方文档(Chat Client API)调用OpenAI
参考官方文档中的示例代码编写:
https://docs.spring.io/spring-ai/reference/1.0/api/chatclient.html#_creating_a_chatclient
java
@RestController
class MyController {

    private final ChatClient chatClient;

    public MyController(ChatClient.Builder chatClientBuilder) {
        this.chatClient = chatClientBuilder.build();//通过Bulider构造出client
    }

    @GetMapping("/ai")
    String generation(String userInput) {
        return this.chatClient.prompt()//通过client发送请求
            .user(userInput)
            .call()
            .content();//获得相应内容.
    }
}
step6. 构造ChatClient
按照文档中的示例代码得知,ChatClient是核心关键点,负责与大模型交互,而得到ChatClient对象是通过ChatClient.Builder构建得到的,并且需要将ChatClient对象放入到Spring容器,方便注入使用。
所以,需要写一个配置类,来完成上述的事情。
java
import org.springframework.ai.chat.client.ChatClient;
import org.springframework.context.annotation.Bean;
import org.springframework.context.annotation.Configuration;

@Configuration
public class SpringAIConfig {

    /**
     * 创建并返回一个ChatClient的Spring Bean实例。
     *
     * @param builder 用于构建ChatClient实例的构建者对象
     * @return 构建好的ChatClient实例
     */
    @Bean
    public ChatClient chatClient(ChatClient.Builder builder) {
        return builder.build();
    }

}
step7.编写ChatService
先创建ChatService接口,再创建实现类ChatServiceImpl。
java
public interface ChatService {

    /**
     * 普通聊天
     *
     * @param question 用户提问
     * @return 大模型的回答
     */
    String chat(String question);

}ChatServiceImpl实现类:
java
import cn.it.service.ChatService;
import groovy.util.logging.Slf4j;
import lombok.RequiredArgsConstructor;
import org.springframework.ai.chat.client.ChatClient;
import org.springframework.stereotype.Service;

@lombok.extern.slf4j.Slf4j
@Slf4j
@Service
@RequiredArgsConstructor
public class ChatServiceImpl implements ChatService {

    private final ChatClient chatClient;

    /**
     * 与聊天客户端进行交互,发送用户问题并获取响应内容。
     *
     * @param question 用户输入的问题内容
     * @return 聊天客户端返回的响应内容
     */
    @Override
    public String chat(String question) {
        // 调用聊天客户端处理用户问题并获取响应内容
        var content = this.chatClient.prompt()
                        .user(question)
                        .call()
                        .content();
        log.info("question: {}, content: {}", question, content);
        return content;
    }

}
step8.编写测试用例
java
import jakarta.annotation.Resource;
import org.junit.jupiter.api.Test;
import org.springframework.boot.test.context.SpringBootTest;

import static org.junit.jupiter.api.Assertions.*;

@SpringBootTest
class ChatServiceTest {

    @Resource
    ChatService chatService;

    @Test
    void chat() {
        this.chatService.chat("讲一个笑话");
        this.chatService.chat("java是什么");
    }
}
以下是测试结果的输出示例:
step9.编写Controller
java
import lombok.RequiredArgsConstructor;
import org.springframework.web.bind.annotation.PostMapping;
import org.springframework.web.bind.annotation.RequestBody;
import org.springframework.web.bind.annotation.RequestMapping;
import org.springframework.web.bind.annotation.RestController;

@RestController
@RequiredArgsConstructor
@RequestMapping("/chat")
public class ChatController {

    private final ChatService chatService;

    @PostMapping
    public String chat(@RequestBody String question) {
        return chatService.chat(question);
    }

}
step10.测试接口
创建接口:

配置开发环境:

SpringAI对接大模型的案例写完了,相对于openai-java-sdk的写法,简化很多!
二、项目集成Spring AI
step1.创建xt-aigc微服务:
step2.在父工程的pom.xml文件中加入子模块:
step3.导入依赖:
xml
<?xml version="1.0" encoding="UTF-8"?>
<project xmlns="http://maven.apache.org/POM/4.0.0"
         xmlns:xsi="http://www.w3.org/2001/XMLSchema-instance"
         xsi:schemaLocation="http://maven.apache.org/POM/4.0.0 http://maven.apache.org/xsd/maven-4.0.0.xsd">
    <modelVersion>4.0.0</modelVersion>
    <parent>
        <groupId>com.it</groupId>
        <artifactId>xt</artifactId>
        <version>1.2.0</version>
    </parent>

    <artifactId>xt-aigc</artifactId>

    <properties>
        <maven.compiler.source>17</maven.compiler.source>
        <maven.compiler.target>17</maven.compiler.target>
        <project.build.sourceEncoding>UTF-8</project.build.sourceEncoding>
    </properties>

    <dependencyManagement>
        <dependencies>
            <!-- Spring AI BOM -->
            <dependency>
                <groupId>org.springframework.ai</groupId>
                <artifactId>spring-ai-bom</artifactId>
                <version>${spring-ai.version}</version>
                <type>pom</type>
                <scope>import</scope>
            </dependency>
        </dependencies>
    </dependencyManagement>

    <dependencies>
        <!--api-->
        <dependency>
            <groupId>com.tianji</groupId>
            <artifactId>tj-api</artifactId>
            <version>1.0.0</version>
        </dependency>
        <!--auth-->
        <dependency>
            <groupId>com.tianji</groupId>
            <artifactId>tj-auth-resource-sdk</artifactId>
            <version>1.0.0</version>
        </dependency>
        <!--web-->
        <dependency>
            <groupId>org.springframework.boot</groupId>
            <artifactId>spring-boot-starter-web</artifactId>
        </dependency>
        <!--swagger依赖-->
        <dependency>
            <groupId>com.github.xiaoymin</groupId>
            <artifactId>knife4j-openapi3-jakarta-spring-boot-starter</artifactId>
        </dependency>
        <!--Redis-->
        <dependency>
            <groupId>org.springframework.boot</groupId>
            <artifactId>spring-boot-starter-data-redis</artifactId>
        </dependency>
        <!--discovery-->
        <dependency>
            <groupId>com.alibaba.cloud</groupId>
            <artifactId>spring-cloud-starter-alibaba-nacos-discovery</artifactId>
        </dependency>
        <!--config-->
        <dependency>
            <groupId>com.alibaba.cloud</groupId>
            <artifactId>spring-cloud-starter-alibaba-nacos-config</artifactId>
        </dependency>
        <!--loadbalancer-->
        <dependency>
            <groupId>org.springframework.cloud</groupId>
            <artifactId>spring-cloud-starter-loadbalancer</artifactId>
        </dependency>
        <dependency>
            <groupId>com.alibaba.cloud.ai</groupId>
            <artifactId>spring-ai-alibaba-starter</artifactId>
            <version>1.0.0-M6.1</version>
        </dependency>

        <!--数据库相关-->
        <!-- mybatis plus 管理 -->
        <dependency>
            <groupId>com.baomidou</groupId>
            <artifactId>mybatis-plus-spring-boot3-starter</artifactId>
        </dependency>
        <dependency>
            <groupId>mysql</groupId>
            <artifactId>mysql-connector-java</artifactId>
        </dependency>

    </dependencies>

    <build>
        <finalName>${project.artifactId}</finalName>
        <plugins>
            <plugin>
                <groupId>org.springframework.boot</groupId>
                <artifactId>spring-boot-maven-plugin</artifactId>
                <executions>
                    <execution>
                        <goals>
                            <goal>build-info</goal>
                        </goals>
                    </execution>
                </executions>
                <configuration>
                    <mainClass>com.tianji.AIGCApplication</mainClass>
                </configuration>
            </plugin>
        </plugins>
    </build>
</project>
step4.创建启动类:
java
import lombok.extern.slf4j.Slf4j;
import org.springframework.boot.SpringApplication;
import org.springframework.boot.autoconfigure.SpringBootApplication;
import org.springframework.boot.builder.SpringApplicationBuilder;
import org.springframework.core.env.Environment;
import org.springframework.scheduling.annotation.EnableAsync;

import java.net.InetAddress;
import java.net.UnknownHostException;

@Slf4j
@EnableAsync
@SpringBootApplication
public class AIGCApplication {

    public static void main(String[] args) throws UnknownHostException {
        SpringApplication app = new SpringApplicationBuilder(AIGCApplication.class).build(args);
        Environment env = app.run(args).getEnvironment();
        String protocol = "http";
        if (env.getProperty("server.ssl.key-store") != null) {
            protocol = "https";
        }
        log.info("--/\n---------------------------------------------------------------------------------------\n\t" +
                        "Application '{}' is running! Access URLs:\n\t" +
                        "Local: \t\t{}://localhost:{}\n\t" +
                        "External: \t{}://{}:{}\n\t" +
                        "Profile(s): \t{}" +
                        "\n---------------------------------------------------------------------------------------",
                env.getProperty("spring.application.name"),
                protocol,
                env.getProperty("server.port"),
                protocol,
                InetAddress.getLocalHost().getHostAddress(),
                env.getProperty("server.port"),
                env.getActiveProfiles());
    }
}
step5.创建配置文件。
每个微服务都会有4个配置文件:
- application.yml 主配置文件,配置了端口号、服务名称、swagger接口等信息。
- application-dev.yml 运行在虚拟机环境的配置文件,配置了nacos注册中心、配置中心、日志级别等信息。
- application-local.yml 运行在本地环境的配置文件,配置了nacos注册中心、配置中心、日志级别等信息。
- application-test.yml 运行在测试环境的配置文件,配置了nacos注册中心、配置中心、日志级别等信息。
yml
server:
  port: 8094  #端口
  tomcat:
    uri-encoding: UTF-8   #服务编码
spring:
  profiles:
    active: local
  application:
    name: aigc-service
  main:
    allow-circular-references: true # 允许循环引用
tj:
  swagger:
    enable: true
    package-path: com.tianji.aigc.controller
    title: 学堂 - AIGC接口文档
    description: 该服务包含AI相关功能
    contact-name: admin
    contact-url: http://www.it.com/
    contact-email: XXX@163.cn
    version: v2.0
    enableResponseWrap: true
  auth:
    resource:
      enable: true
  jdbc:
    database: tj_aigc #指定使用的数据库名
step5.Nacos配置.
在nacos中创建配置文件aigc-service.yaml:(微服务的名字,配置Spring AI相关的项).
nacos地址:http://192.168.10.168:/.
yml
tj:
  ai:
    dashscope:
      key: sk-9bf0xxxxxxxxxxxx  #换成你自己的阿里百炼key
spring:
  ai:
    dashscope:
      api-key: ${tj.ai.dashscope.key}
      chat:
        enabled: true
        options:
          model: qwen-plus
          # model: qwen2.5-1.5b-instruct  免费模型
      embedding:
        enabled: true
        options:
          model: text-embedding-v3 #向量模型
          dimensions: 1024 #向量维度维度
step6.启动项目进行测试:查看已经注册到Nacos.
step7.配置网关
在xt-gateway项目的配置文件中,添加请求映射:
yml
- id: ais
  uri: lb://aigc-service
  predicates:
    - Path=/ais/**
配置以 /ais/** 开头的请求,转发到aigc-service。
修改完配置后,要重启xt-gateway服务。