1、环境配置
python3.12+nodejs22+uv环境
nodejs22可以通过exe程序安装,自动完成pnpm安装
pip install uv
验证:
pnpm --version
uv --version
2、更改配置
(1)拷贝config.example.yaml为congif.yaml
去掉一个模型配置为自己的api,我这里配置为deepseek v3
  # Example: DeepSeek model (with thinking support)
  - name: deepseek-v3
    display_name: DeepSeek V3 (Thinking)
    use: deerflow.models.patched_deepseek:PatchedChatDeepSeek
    model: deepseek-reasoner
    api_key: 自己的key
    max_tokens: 16384
    supports_thinking: true
    supports_vision: false  # DeepSeek V3 does not support vision
    when_thinking_enabled:
      extra_body:
        thinking:
          type: enabled
(2)拷贝当前目录下.env.example为.env.local
去掉跨域请求注释,允许本地请求
CORS_ORIGINS=http://localhost:3000
(3)cd frontend,拷贝.env.example为.env.loca
去掉这两个的注释
NEXT_PUBLIC_BACKEND_BASE_URL="http://localhost:8001"
NEXT_PUBLIC_LANGGRAPH_BASE_URL="http://localhost:2024"
3、启动后端
bash
cd backendend

#添加当前目录为工作目录
$env:PYTHONPATH = "."

# 创建环境
uv venv

# 安装依赖
uv sync

#启动
uv run uvicorn app.gateway.app:app --host 0.0.0.0 --port 8001
另外开启一个窗口,启动langgraph 2024端口服务
bash
uv run langgraph dev --no-browser --allow-blocking --no-reload4、启动前端
bash
cd frontend

#安装依赖
pnpm install

#启动
pnpm dev启动成功提示:
▲ Next.js 16.1.6 (Turbopack)
-
Local: http://localhost:3000
-
Network: http://192.168.0.103:3000
-
Environments: .env.local
✓ Starting...
✓ Ready in 10.9s
○ Compiling /workspace/chats/thread_id ...
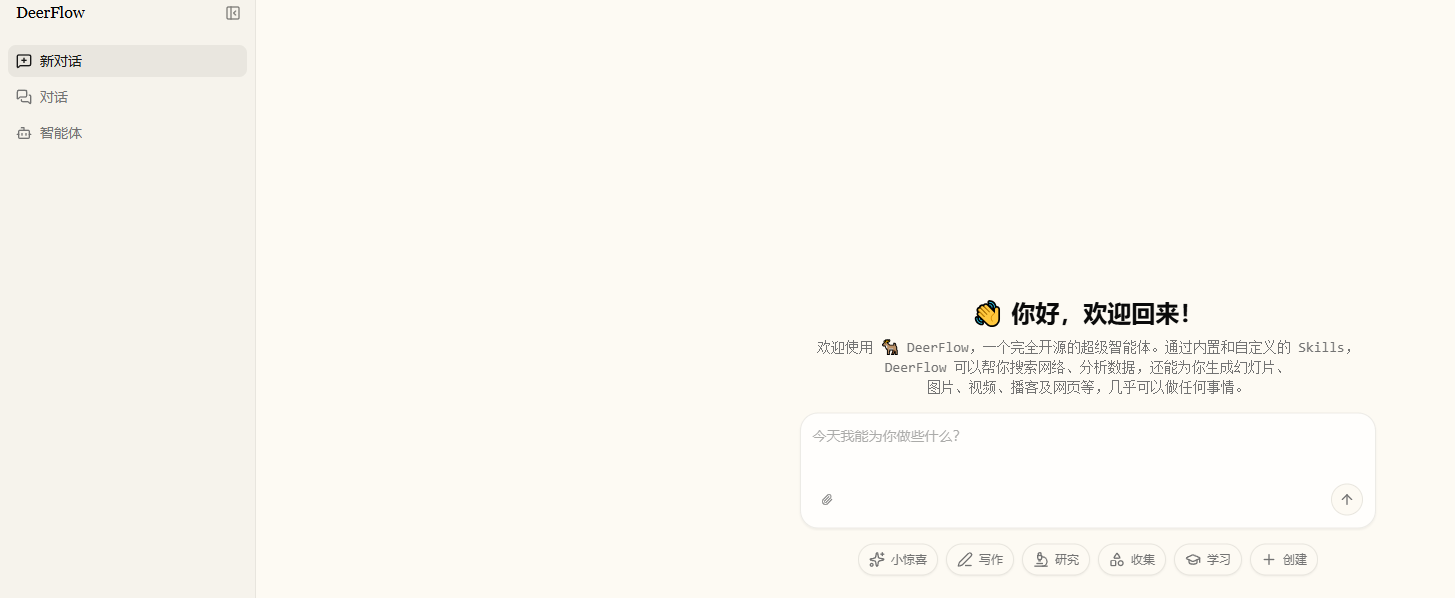
访问
http://localhost:3000/workspace/chats/new
可以看到前端收到的是event块,然后整块渐变增加的,不是很连续。