一、图片旋转
方法一
python
import numpy as np


np.rot90(image, k)
参数介绍:
image:
需要旋转的图片
k:旋转的次数(每次旋转 90 度)
正数:逆时针旋转(k=1→90°,k=2→180°)
负数:顺时针旋转(k=-1→90°,k=-2→180°)
注意:图片旋转 90 度后,宽高会互换
示例:
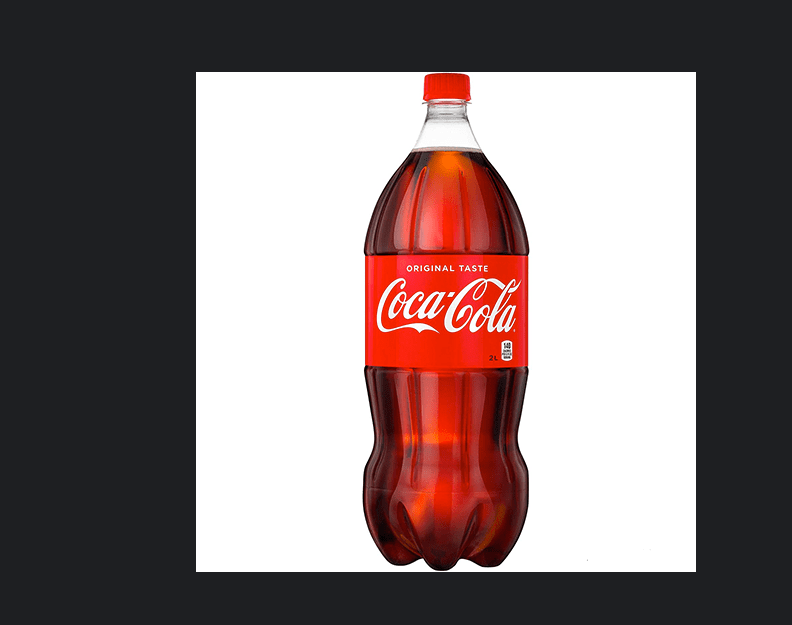
待旋转图片:
python
import cv2
import numpy as np

#方法1
img = cv2.imread('../data/kele.png')
#旋转90度,k = -1,表示顺时针旋转90 度
rotated_image1 = np.rot90(img,k=-1)
#旋转90 度,k=1表示逆时针旋转90 度
rotated_image2 = np.rot90(img, k=1)
cv2.imshow(  'yuantu',img)
cv2.imshow( 'rotated_imagel',rotated_image1)
cv2.imshow( 'rotated_image2',rotated_image2)
cv2.waitKey(0)
cv2.destroyAllWindows()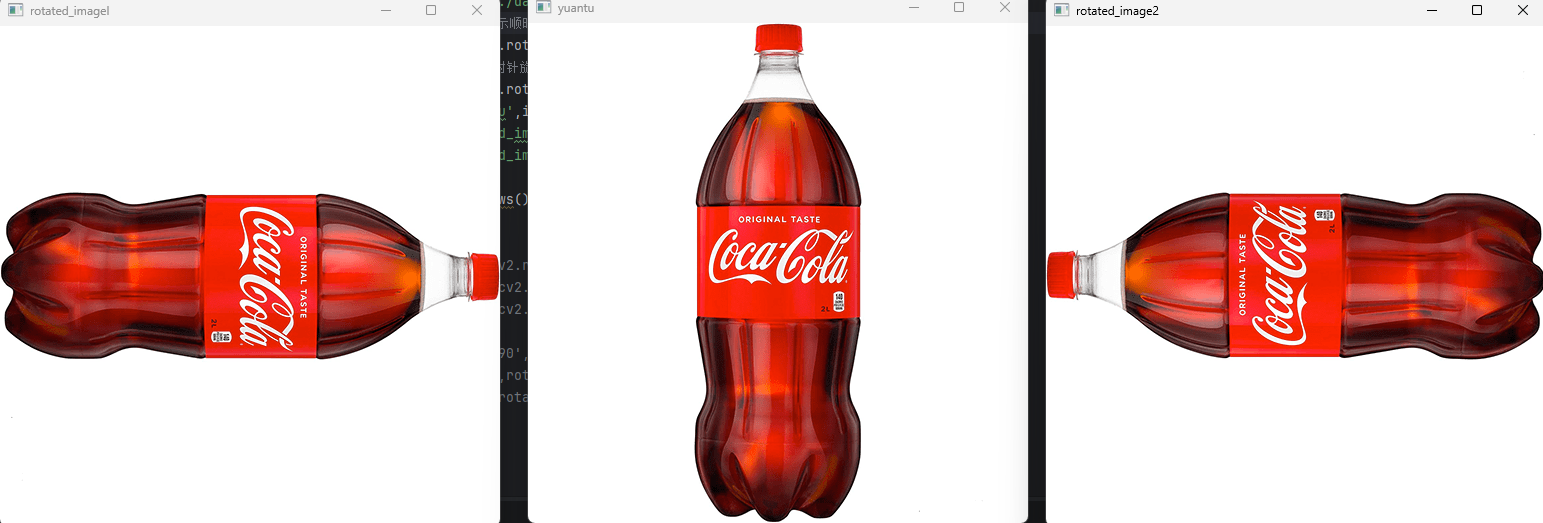
方法二
python
import cv2

cv2.rotate(src, rotateCode)
参数介绍:
src:
待旋转的原始图像(灰度图 / 彩色图均可)
rotateCode:指定旋转角度和方向(仅 3 个可选值)
cv2.ROTATE_90_CLOCKWISE:顺时针旋转 90°
cv2.ROTATE_90_COUNTERCLOCKWISE:逆时针旋转 90°
cv2.ROTATE_180:旋转 180°
示例:
待旋转图片:
python
import cv2
import numpy as np


img = cv2.imread('../data/kele.png')

#方法二
rotated_image = cv2.rotate(img, cv2.ROTATE_90_CLOCKWISE)#顺时针90度
rotated_image1 = cv2.rotate (img, cv2.ROTATE_90_COUNTERCLOCKWISE)#逆时针90度
rotated_image2 = cv2.rotate(img, cv2.ROTATE_180)#旋转180度

cv2.imshow( 'shun90',rotated_image)
cv2.imshow('ni90',rotated_image1)
cv2.imshow('180',rotated_image2)

cv2.waitKey(0)
cv2.destroyAllWindows()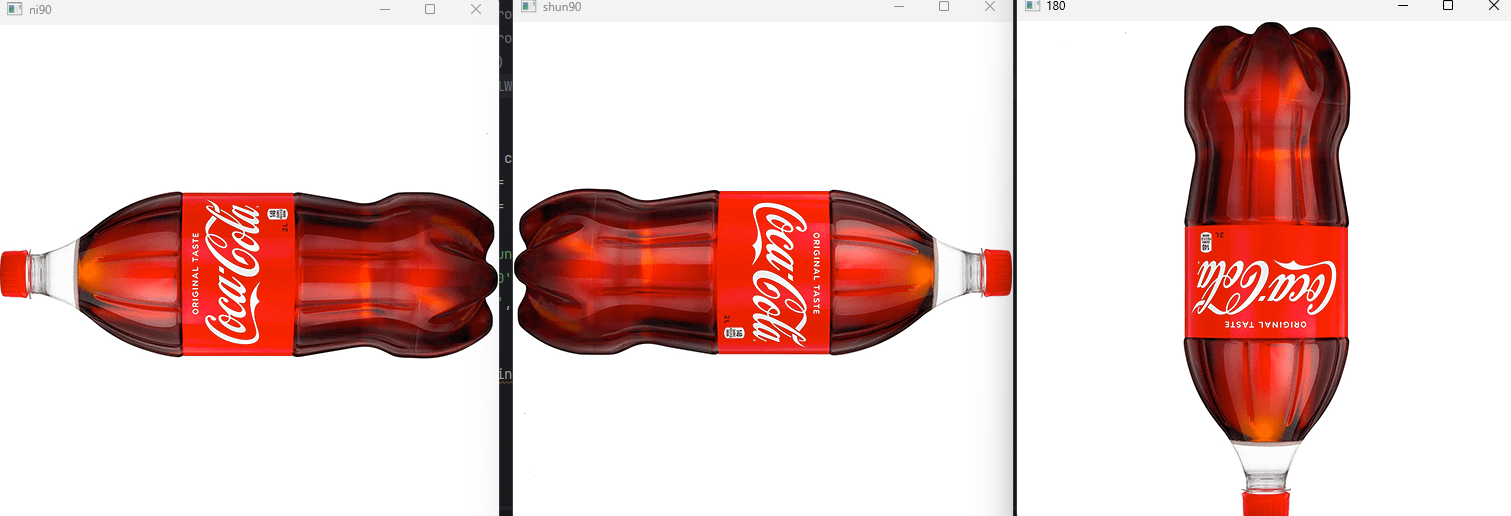
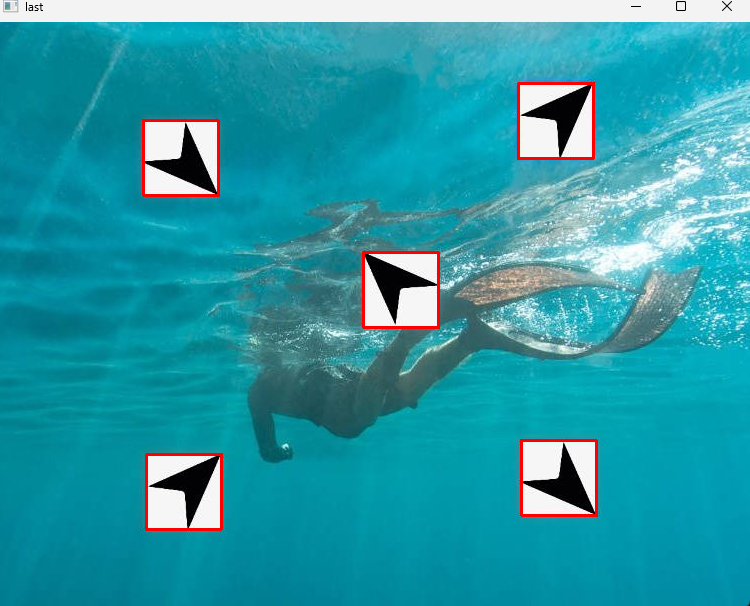
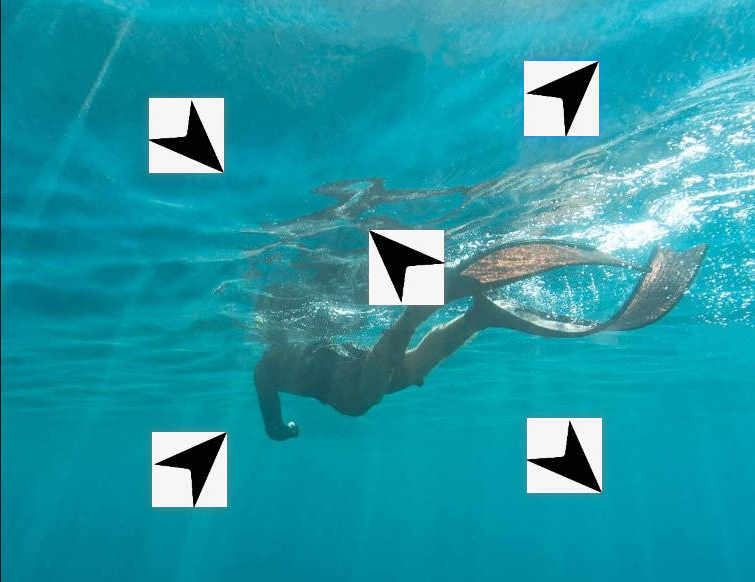
二、多模板匹配
如图所示,将指针经过旋转等操作使得与上图匹配

思路步骤:
1、准备目标图像 和基础模板
2、预处理 ------ 统一图像格式(转灰度图,降噪,尺寸一致等)
3、创建不同形态的模板变体(本例为旋转)
4、逐模板匹配 ------ 计算匹配得分
5、设定阈值
6、可视化 ------ 绘制匹配框并验证结果
python
import cv2
import numpy as np

img_rgb = cv2.imread('../data/image_zhizhen.jpg')
img_gray = cv2.cvtColor(img_rgb,cv2.COLOR_BGR2GRAY)

template = cv2.imread('../data/zhizhen.jpg',0)
template_shun_90 = np.rot90(template,k=-1)
template_ni_90 = np.rot90(template,1)

h,w = template.shape[:2]
# 使用模板匹配方法 cv2.matchTemplate 进行模板匹配
res_1 = cv2.matchTemplate(img_gray,template,cv2.TM_CCOEFF_NORMED)
res_2 = cv2.matchTemplate(img_gray,template_shun_90,cv2.TM_CCOEFF_NORMED)
res_3 = cv2.matchTemplate(img_gray,template_ni_90,cv2.TM_CCOEFF_NORMED)
# 设定匹配阈值
threshold = 0.9
# 获取匹配结果中所有符合阈值的点的坐标
loc1 = np.where((res_1 > threshold))
loc2 = np.where((res_2 > threshold))
loc3 = np.where((res_3 > threshold))

print(loc1)
print(loc2)
print(loc3)

# 遍历所有匹配点
for pt in zip(*loc1[::-1]):
    cv2.rectangle(img_rgb,pt,(pt[0]+w,pt[1]+h),(0,0,255),1)
for pt in zip(*loc2[::-1]):
    cv2.rectangle(img_rgb,pt,(pt[0]+w,pt[1]+h),(0,0,255),1)
for pt in zip(*loc3[::-1]):
    cv2.rectangle(img_rgb,pt,(pt[0]+w,pt[1]+h),(0,0,255),1)

cv2.imshow('last',img_rgb)
cv2.waitKey(0)下图代码中loc1::-1是将找到的匹配轮廓索引(行,列)(行对应图片的垂直方向(上下) → 程序里叫 y坐标(纵向位置),列对应图片的水平方向(左右) → 程序里叫 x坐标(横向位置))倒转为cv2.rectangle()需要的格式(列,行)
python
for pt in zip(*loc1[::-1]):
    cv2.rectangle(img_rgb,pt,(pt[0]+w,pt[1]+h),(0,0,255),1)
for pt in zip(*loc2[::-1]):
    cv2.rectangle(img_rgb,pt,(pt[0]+w,pt[1]+h),(0,0,255),1)
for pt in zip(*loc3[::-1]):
    cv2.rectangle(img_rgb,pt,(pt[0]+w,pt[1]+h),(0,0,255),1)