QEMU学习之路(11)--- 使用VSCode调试qemu-system-riscv64
一、前言
VSCode调试参考:Visual Studio Code (VSCode) 中使用 GDB 进行调试
二、安装QEMU
使用源码安装qemu,参考:QEMU学习之路(3)--- qemu-system-riscv64安装
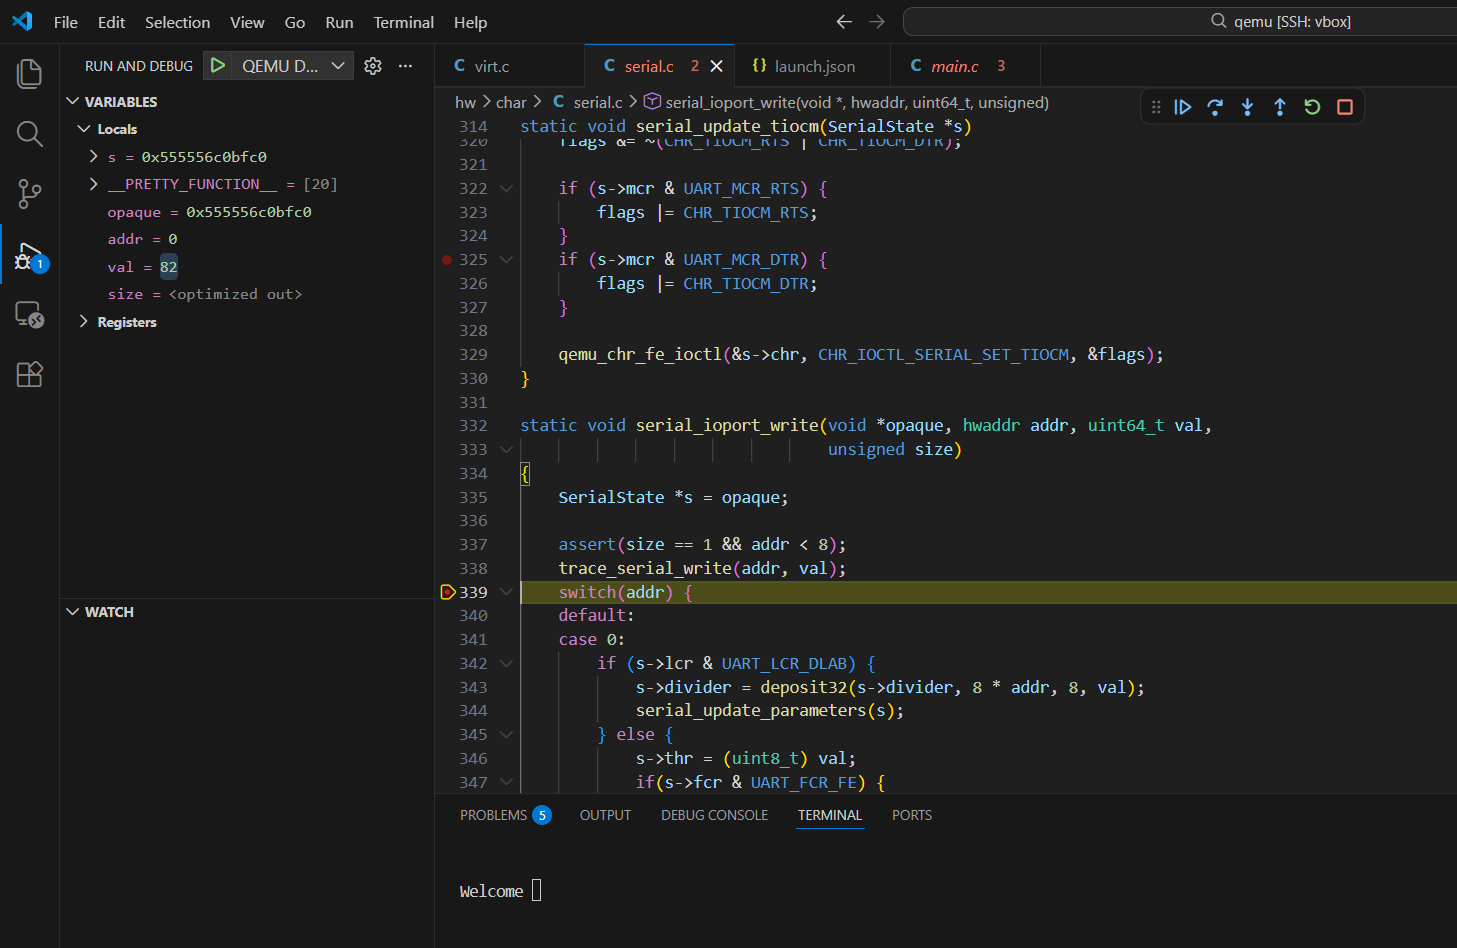
三、调试qemu程序
使用VSCode打开qemu源码工程,创建launch.json 文件如下所示:
javascript
{
    "version": "0.2.0",
    "configurations": [
        {
            "name": "QEMU Debug",
            "type": "cppdbg",
            "request": "launch",
            "program": "/opt/qemu/bin/qemu-system-riscv64",
            "args": [
                "-machine", "virt",
                "-m", "128M",
                "-nographic",
                "-bios", "/home/vbox/project/learn/riscv64/01_hello/build/bootrom.bin"
            ],
            "stopAtEntry": false,
            "cwd": "${workspaceFolder}",
            "environment": [],
            "externalConsole": false,
            "MIMode": "gdb",
            "setupCommands": [
                {
                    "description": "Enable pretty-printing for gdb",
                    "text": "-enable-pretty-printing",
                    "ignoreFailures": true
                },
                {
                    "description": "Set Disassembly Flavor to Intel",
                    "text": "-gdb-set disassembly-flavor intel",
                    "ignoreFailures": true
                }
            ],
            "logging": {
                "engineLogging": false
            }
        }

    ]
}在hw/char/serial.c文件中添加断点,进行调试
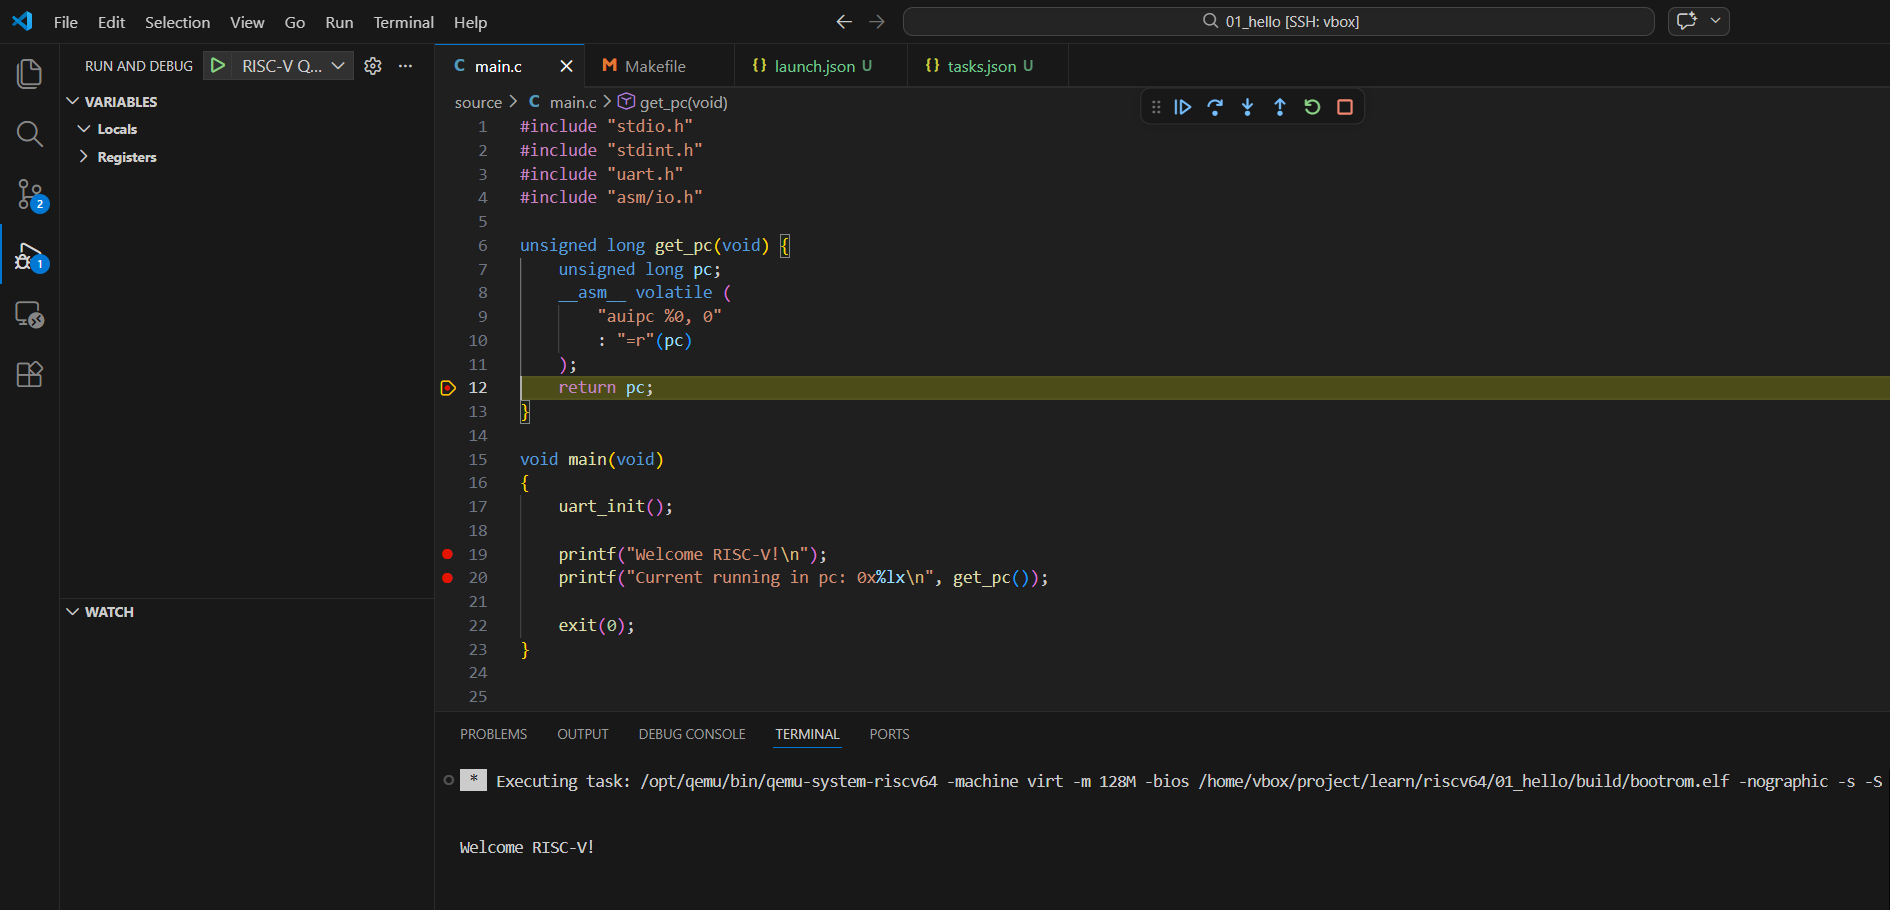
四、调试RISCV程序
使用VSCode打开riscv源码工程,创建launch.json 文件如下所示:
javascript
{
    "version": "0.2.0",
    "configurations": [
        {
            "name": "RISC-V QEMU Debug",
            "type": "cppdbg",
            "request": "launch",
            "program": "${workspaceFolder}/build/bootrom.elf",      // 待调试的 ELF 文件路径
            "args": [],
            "stopAtEntry": true,                                    // 启动后立即停在程序入口(main/_start)
            "cwd": "${workspaceFolder}",
            "environment": [],
            "externalConsole": false,
            "MIMode": "gdb",                                        // 调试器模式为 GDB
            "miDebuggerPath": "riscv64-unknown-linux-gnu-gdb",      // GDB调试器路径
            "miDebuggerServerAddress": "localhost:1234",            // 连接 QEMU 的 GDB 端口
            "preLaunchTask": "qemu-riscv64-debug",                  // 关联 tasks.json 中的任务名称
            "setupCommands": [
                {
                    "description": "Enable pretty-printing for gdb",
                    "text": "-enable-pretty-printing",
                    "ignoreFailures": true
                },
                {
                    "description": "Set architecture for RISC-V 64",
                    "text": "set architecture riscv:rv64",
                    "ignoreFailures": true
                }
            ],
            "logging": {
                "engineLogging": false
            }
        }
    ]
}创建tasks.json 文件如下所示:
javascript
{
    "version": "2.0.0",
    "tasks": [
        {
            "label": "qemu-riscv64-debug",                          // 任务名称,在 launch.json 会引用
            "type": "shell",
            "command": "/opt/qemu/bin/qemu-system-riscv64",         // QEMU 可执行文件路径
            "args": [
                "-machine", "virt",
                "-m", "128M",
                "-bios", "${workspaceFolder}/build/bootrom.elf",
                "-nographic",
                "-s",                                               // 等价于 -gdb tcp::1234,监听 1234 端口
                "-S"                                                // 启动后暂停,等待 GDB 连接
            ],
            "problemMatcher": [],
            "isBackground": true,                                   // 标记为后台任务(VSCode 不阻塞)
            "presentation": {
                "echo": true,
                "reveal": "always",
                "focus": false,
                "panel": "dedicated"                                // 专用终端面板,避免输出混乱
            }
        }
    ]
}在source/main.c文件中添加断点,进行调试