目录
一、内容渲染指令

常见的内容渲染指令如下。
1、v-text
代码:创建src\components\VText.vue文件
<template>
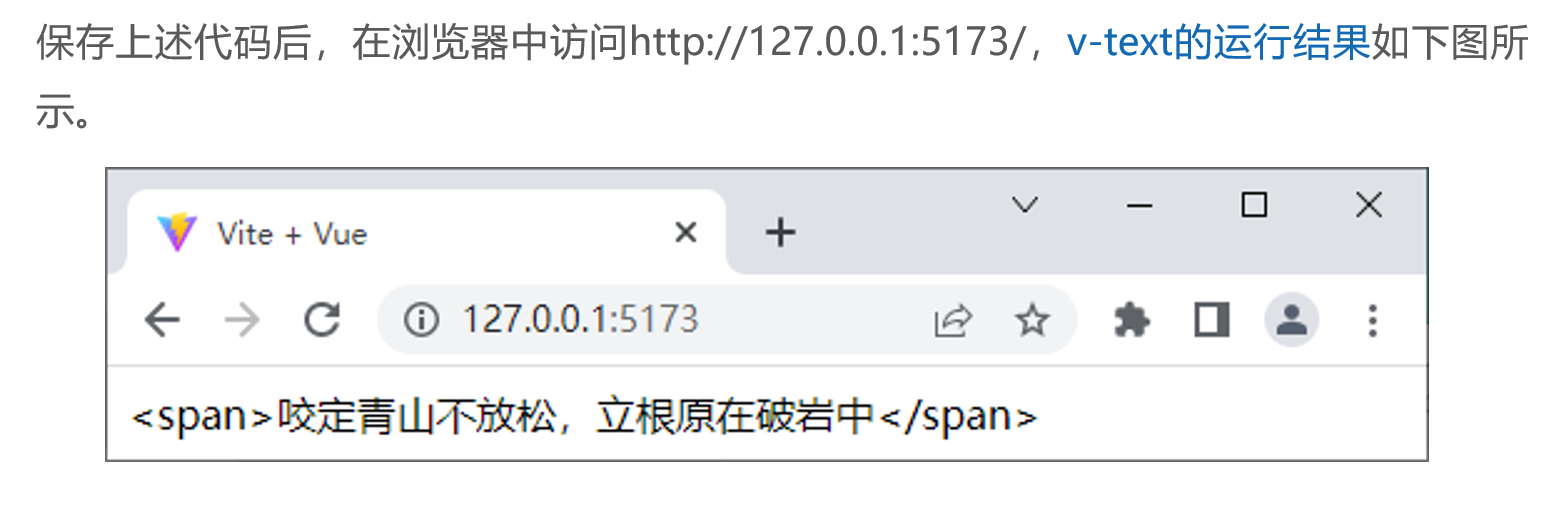
<div v-text="message"></div>
</template>
<script setup>
const message = '<span>咬定青山不放松,立根原在破岩中</span>'
</script>运行结果:
vue中 插值表达式 {{ }} 和 v-text 用法区别: https://blog.csdn.net/wakaka112233/article/details/106378750
2、v-html

代码:创建src\components\VHtml.vue文件
<template>
  <div v-html="html"></div>
</template>
<script setup>
const html = '<strong>千磨万击还坚劲,任尔东西南北风</strong>'
</script>
运行结果

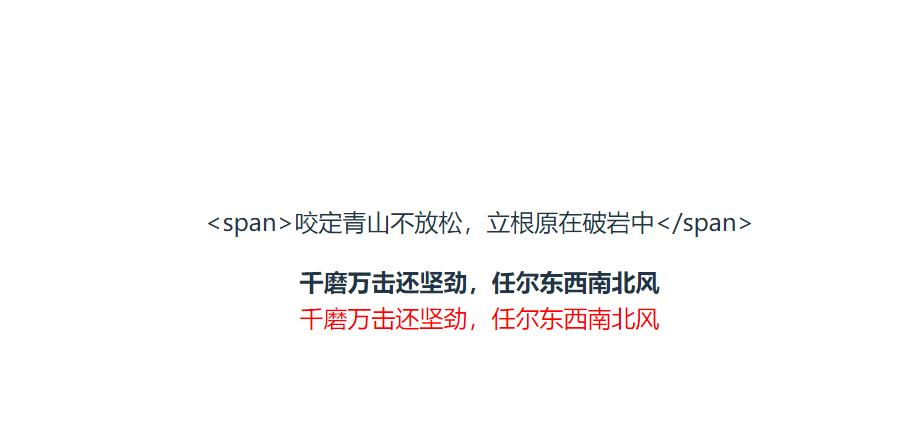
3、v-text 和v-html 的区别,
<template>
  <!-- 根节点只能有一个,所有内容包在一个 div 里 -->
  <div>
    <p v-text="message"></p>
    <div v-html="html"></div>
    <div v-html="html1"></div>
  </div>
</template>
<script setup>
// 纯文本:v-text 会把标签当字符串输出
const message = '<span>咬定青山不放松,立根原在破岩中</span>'
// v-html 会解析渲染HTML标记语言
const html = '<strong>千磨万击还坚劲,任尔东西南北风</strong>'
const html1 = '<span style="color:red">千磨万击还坚劲,任尔东西南北风</span>'
</script>
输出结果
二、属性绑定指令

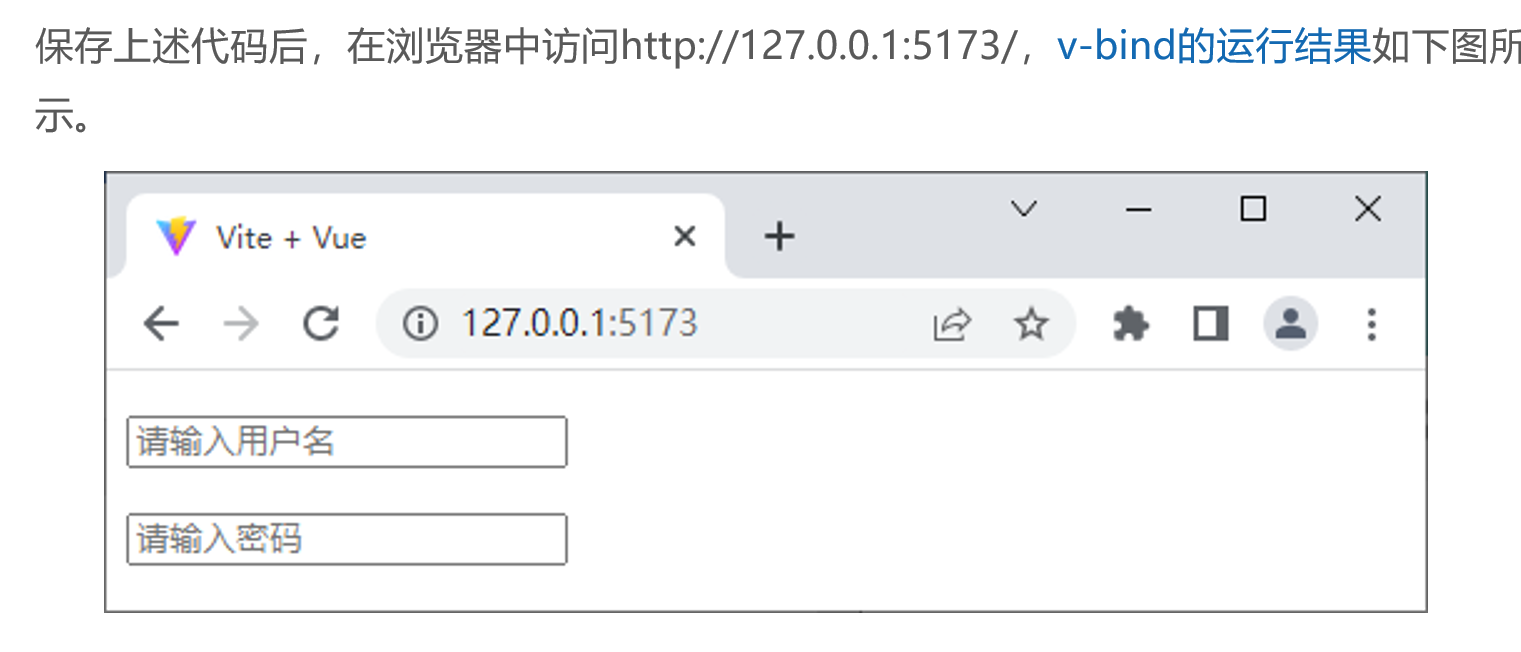
演示v-bind的使用方法
代码:创建src\components\VBind.vue文件
<template>
  <p><input type="text" v-bind:placeholder="username"></p>
  <p><input type="password" :placeholder="password"></p>
</template>
<script setup>
const username = '请输入用户名'
const password = '请输入密码'
</script>
运行结果
三、事件绑定指令

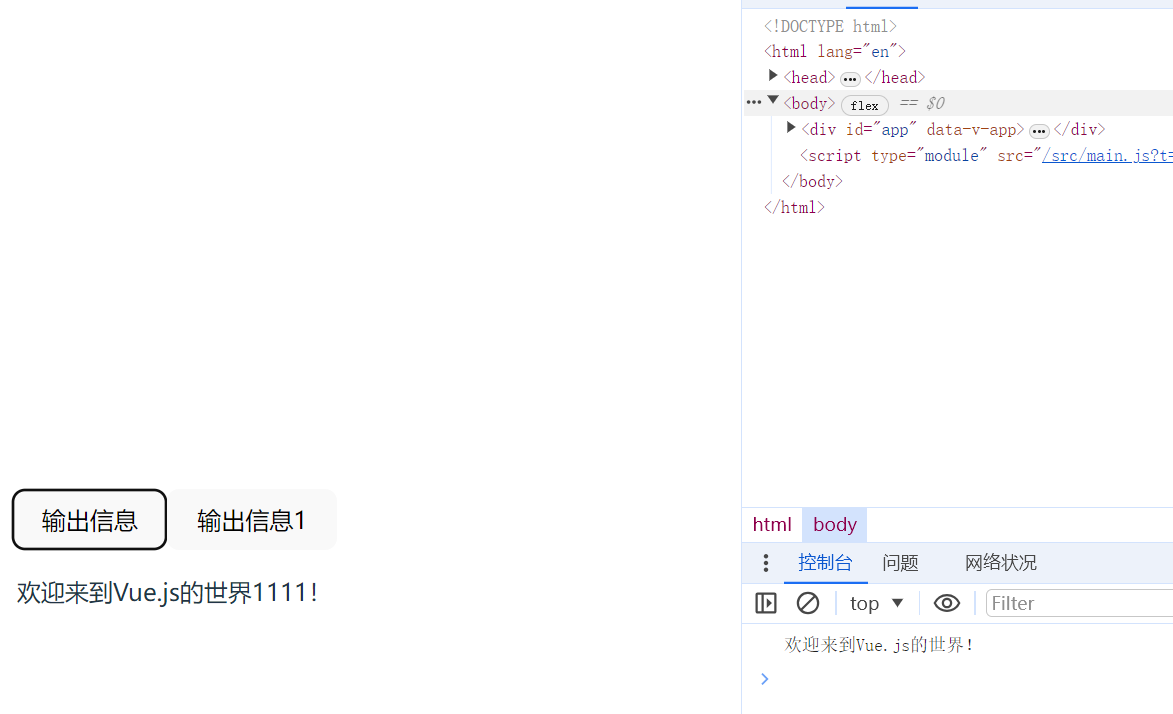
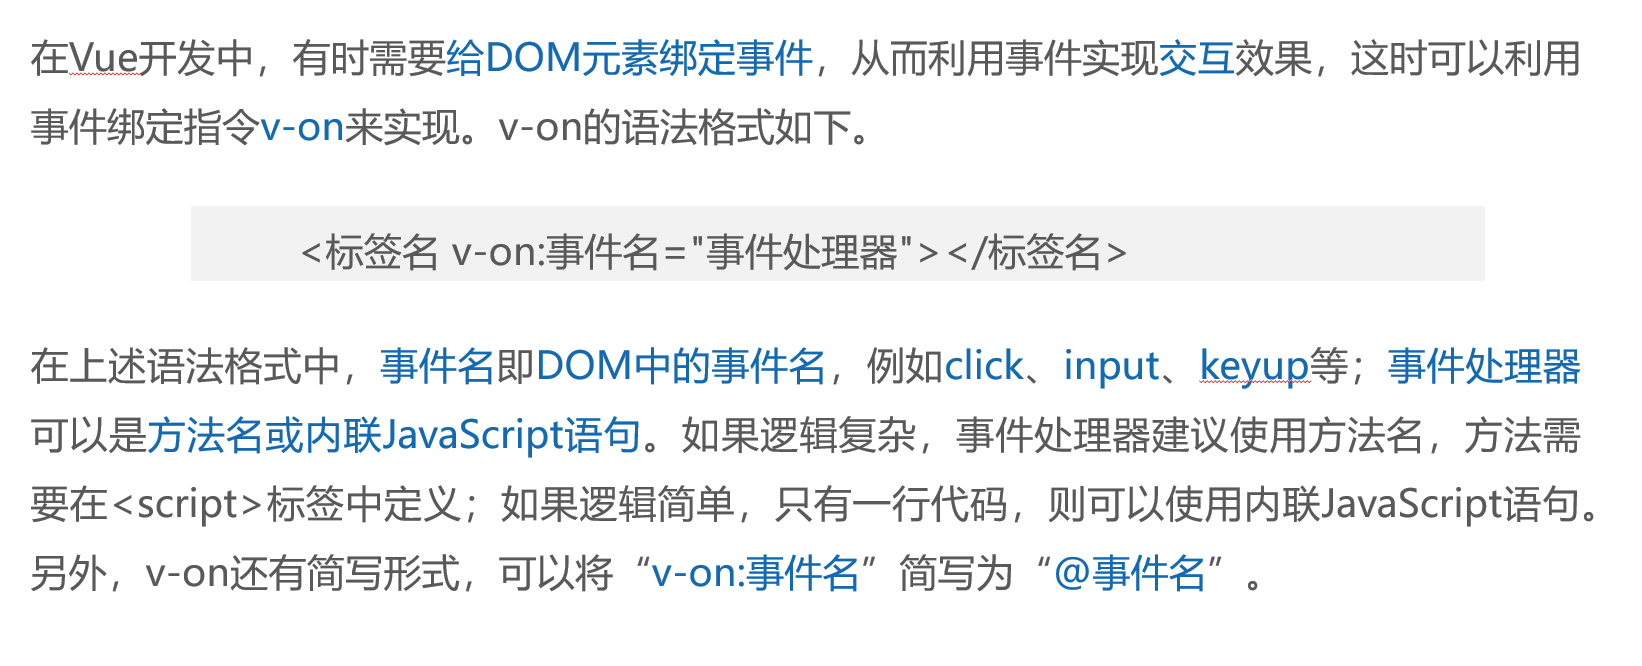 演示v-on的使用方法
<template>
  <button @click="showInfo">输出信息</button>
    <button @click="showInfo1">输出信息1</button>
  <p>{{ msg }}</p>
</template>
<script setup>
const showInfo = () => {
  console.log('欢迎来到Vue.js的世界!')
}
import { ref } from 'vue'
const msg = ref('')

const showInfo1 = () => {
  msg.value = '欢迎来到Vue.js的世界!'
}
setTimeout(() => {
    msg.value = '欢迎来到Vue.js的世界1111!'
}, 5000);
</script>
运行结果
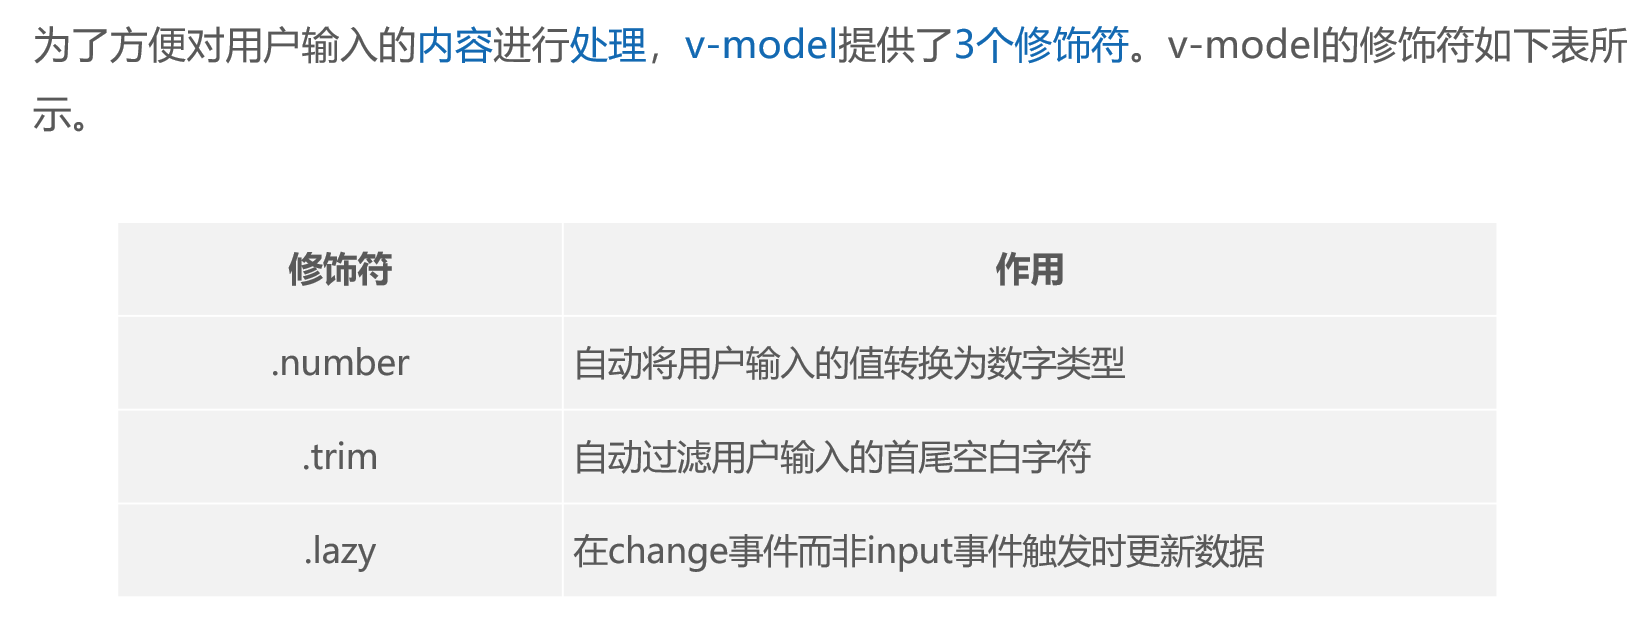
四、双向数据绑定指令
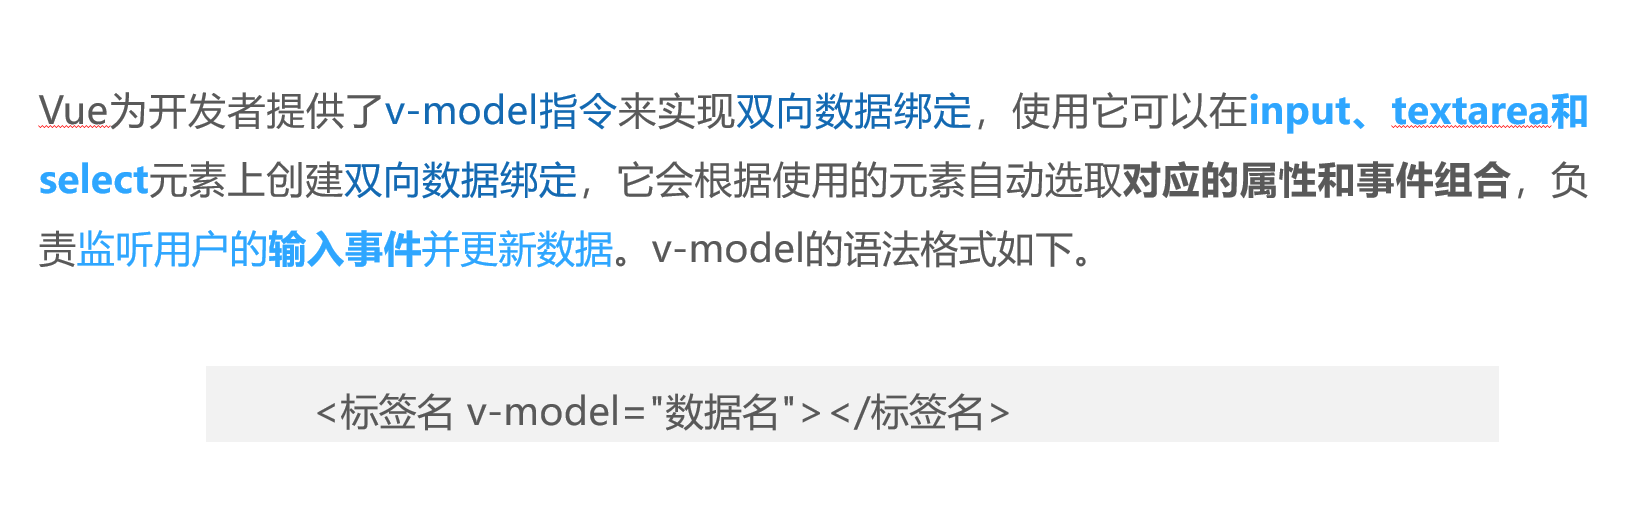
v-model 是什么?
- Vue 专门用来做表单双向绑定的指令
- 数据变 → 视图变;视图变 → 数据变
- 适用于:input、textarea、select 等表单元素
演示v-model的使用方法
<template>
    <!-- 视图变化,数据变化 -->
  请输入姓名:<input type="text" v-model="username">
  <div>姓名是:{{ username }}
    <p><button @click="sjbh">数据变化,视图改变</button></p>

  </div>

</template>
<script setup>
import { ref } from 'vue'
const username = ref('zhangsan')
const sjbh=()=>{
    username.value='李四'
}
</script>
运行结果

.number 用法演示
<template>
    <!-- 视图变化,数据变化 -->
  请输入姓名:<input type="text" v-model="username">
  <div>姓名是:{{ username }}
    <p><button @click="sjbh">数据变化,视图改变</button></p>
     <!-- .未使用number属性用法的结果 -->
    <p>未使用number属性用法的结果</p>
    <input type="text" v-model="n1"> + <input type="text" v-model="n2">= {{ n1 + n2 }}
    <!-- .使用number属性用法的结果 -->
     <p>使用number属性用法的结果</p>
    <input type="text" v-model.number="n3"> + <input type="text" v-model.number="n4">
= {{ n3 + n4 }}

  </div>

</template>
<script setup>
import { ref } from 'vue'
const username = ref('zhangsan')
const sjbh=()=>{
    username.value='李四'
}
//  .number属性用法
const n1 = ref(1)
const n2 = ref(2)

const n3 = ref(1)
const n4 = ref(2)

</script>
运行结果

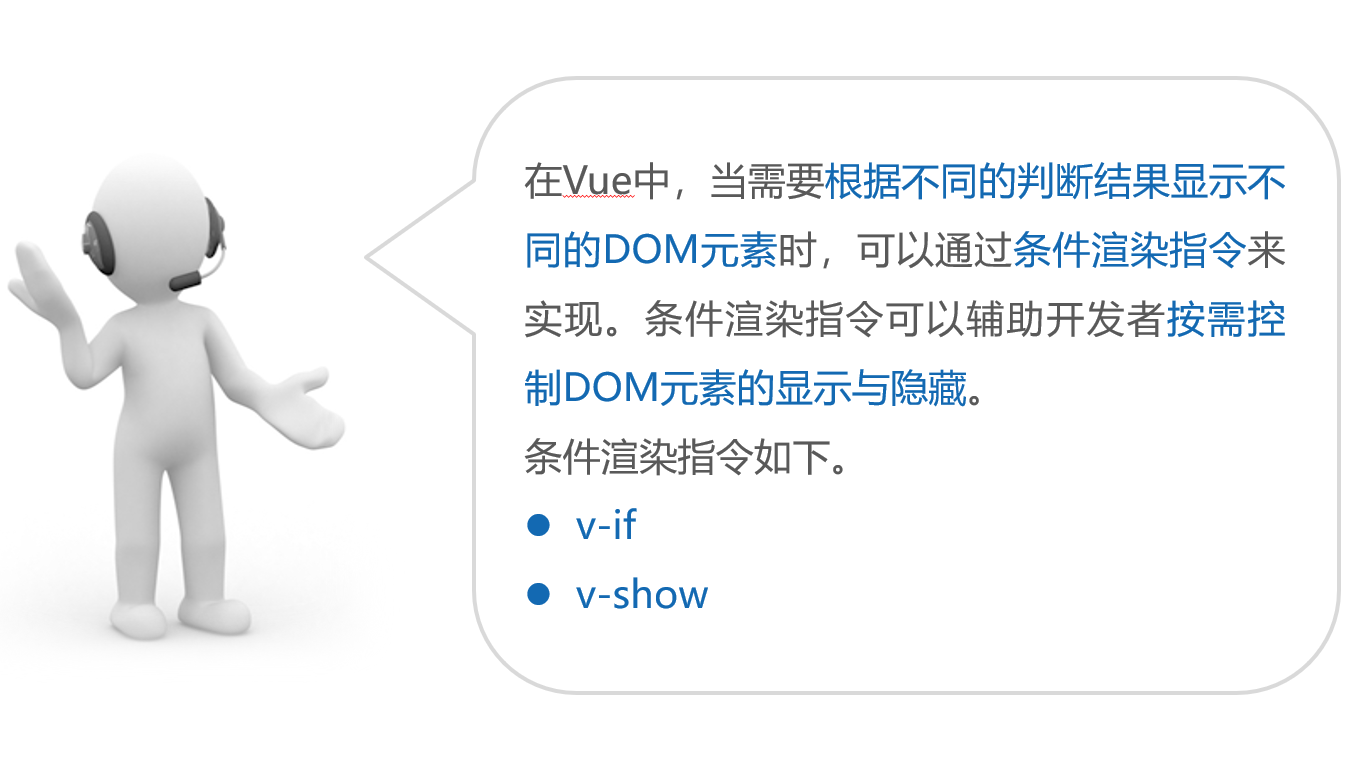
五、条件渲染指令
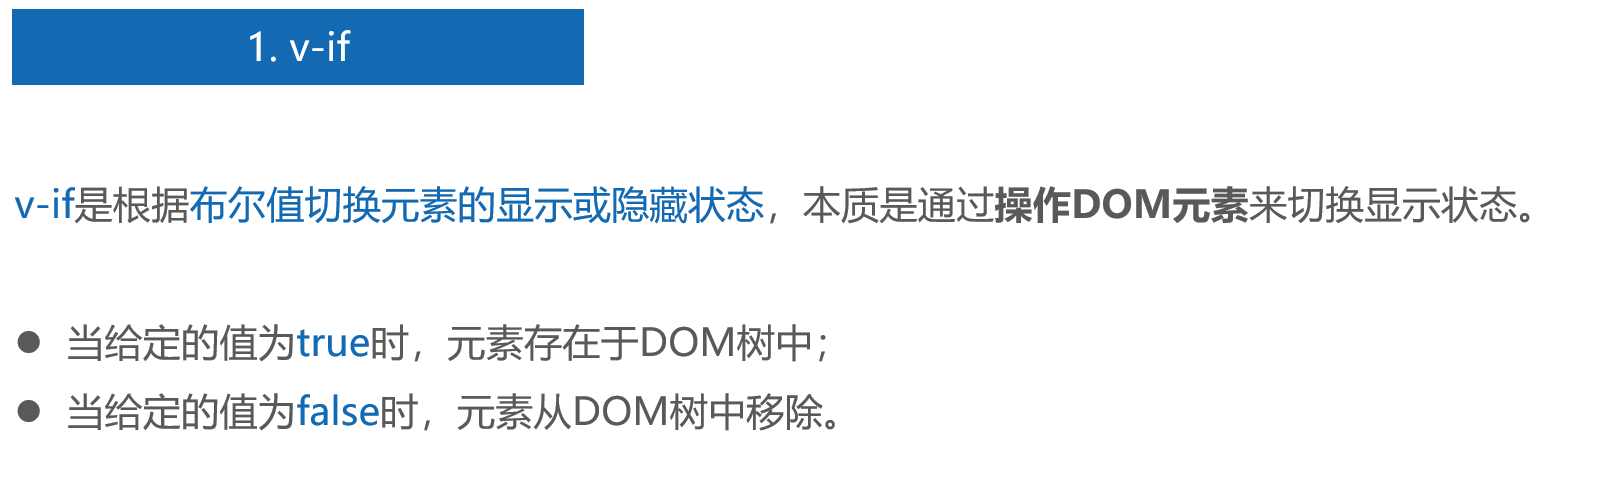
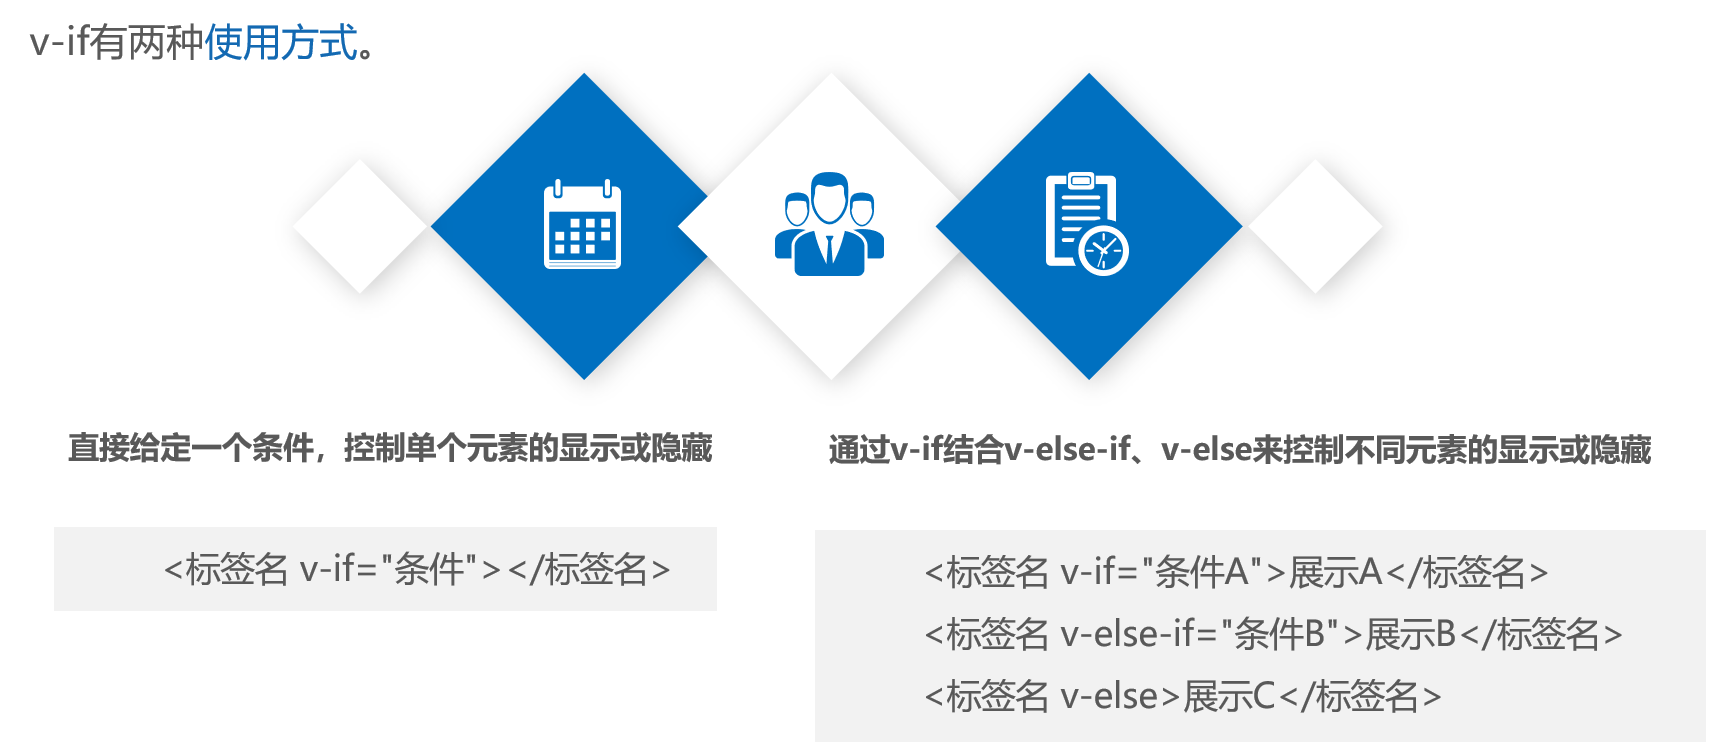
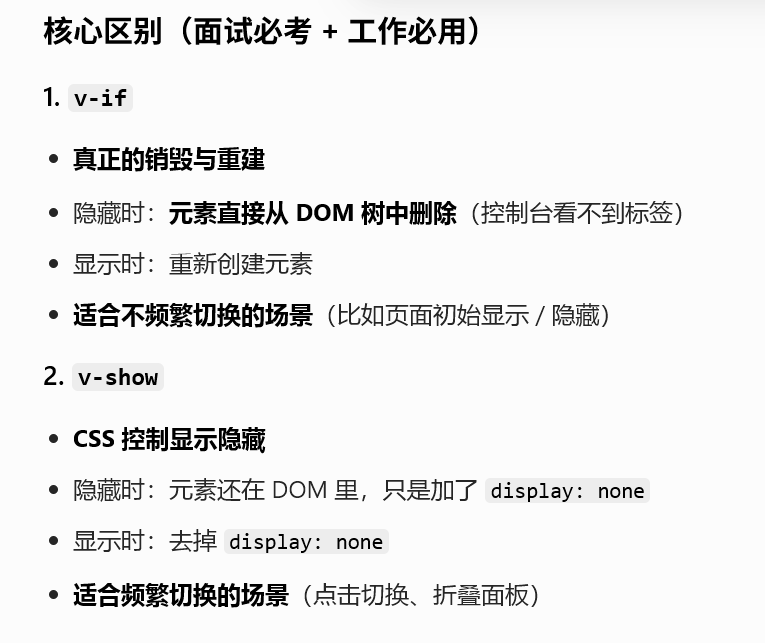
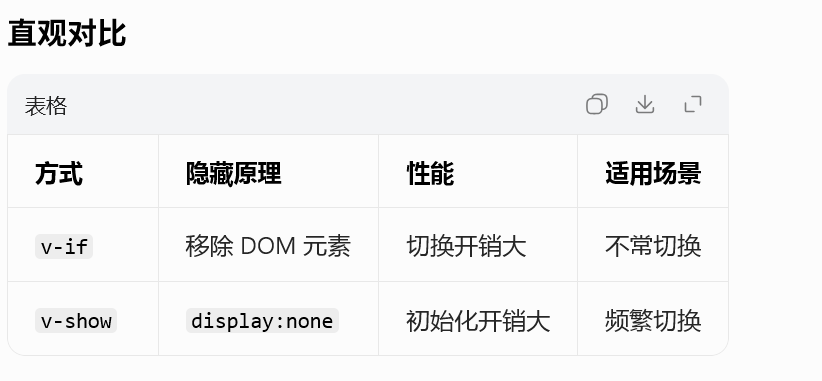
1、v-if
- v-show
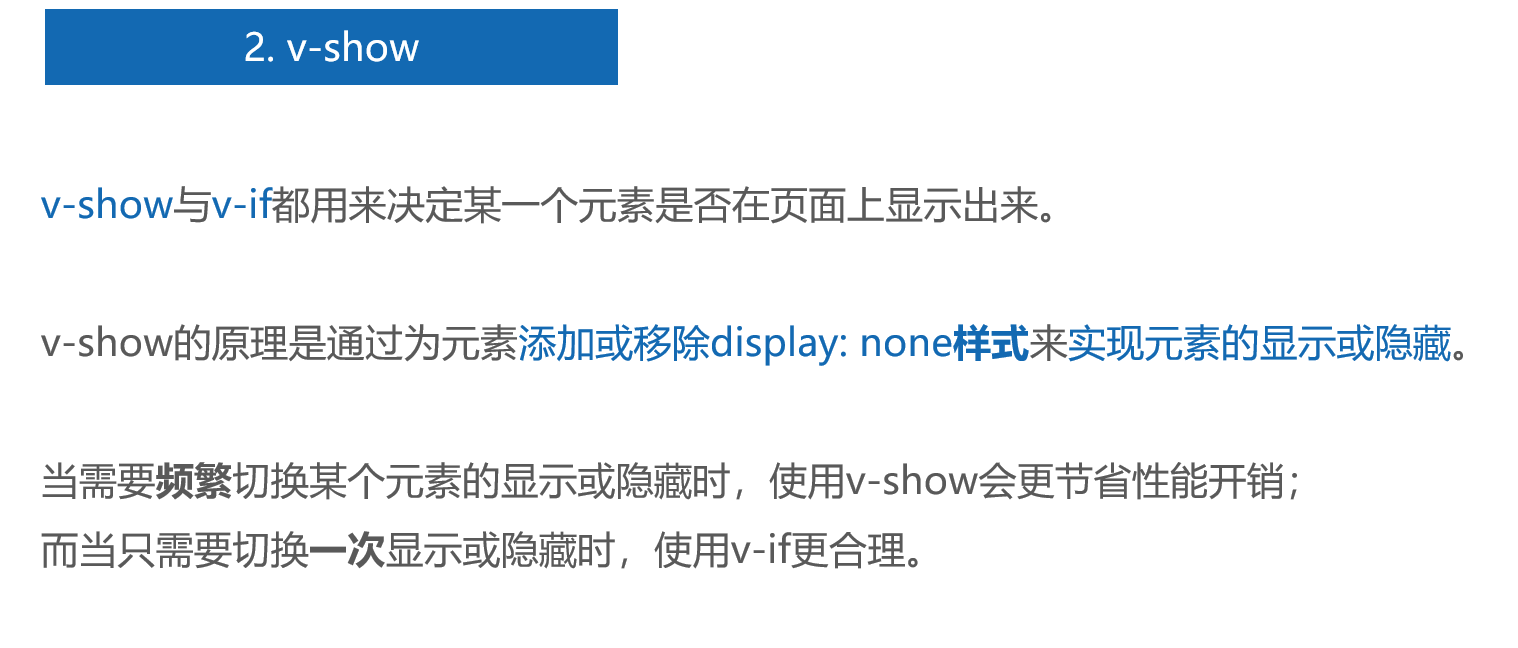
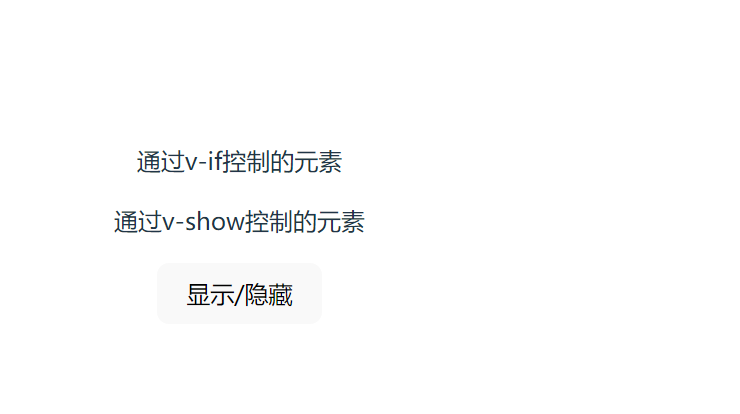
<template>
  <p v-if="flag">通过v-if控制的元素</p>
  <p v-show="flag">通过v-show控制的元素</p>
  <button @click="flag = !flag">显示/隐藏</button>
</template>
<script setup>
import { ref } from 'vue'
const flag = ref(true)
</script>
运行结果
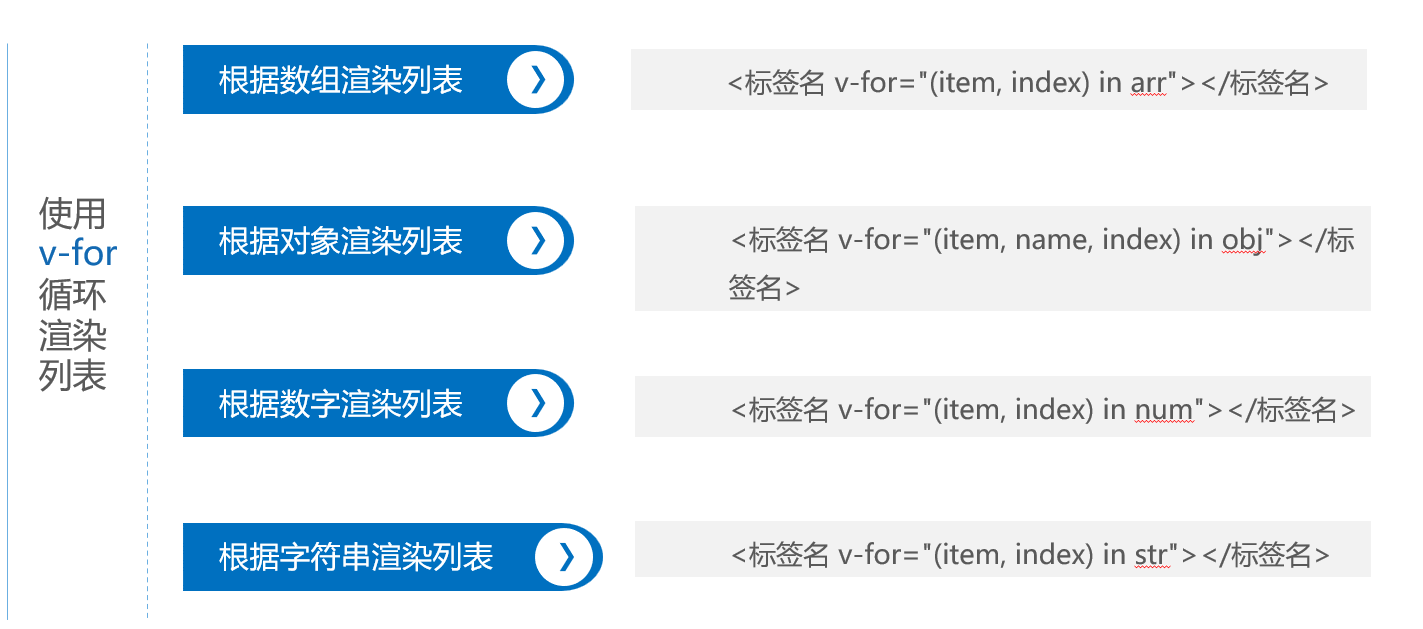
六、列表渲染指令

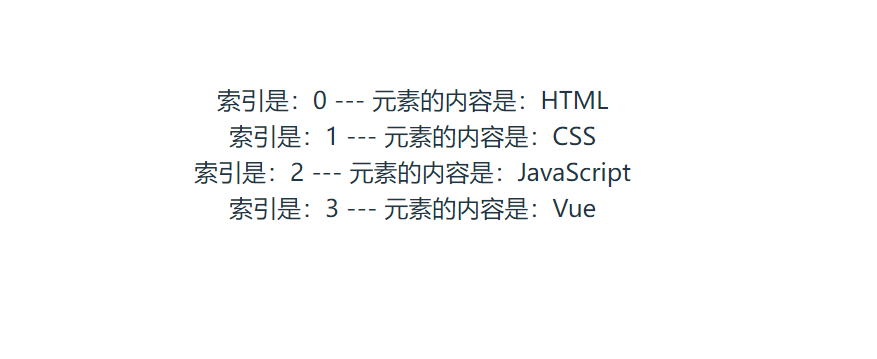
 5.1 演示使用v-for根据一维数组渲染列表
<template>
  <div v-for="(item, index) in list" :key="index">
    索引是:{{ index }} --- 元素的内容是:{{ item }}
  </div>
</template>
<script setup>
import { ref,onMounted,reactive } from 'vue'
// reactive 声明普通数组 / 基础类型变量是错误用法,会导致数据无法响应式更新。推荐用ref
const list = ref(['HTML', 'CSS', 'JavaScript'])

// 组件挂载后修改数组
onMounted(() => {
  // 正确:ref 声明的数组直接修改,页面会自动更新
  list.value.push('Vue')
})
</script>
运行结果
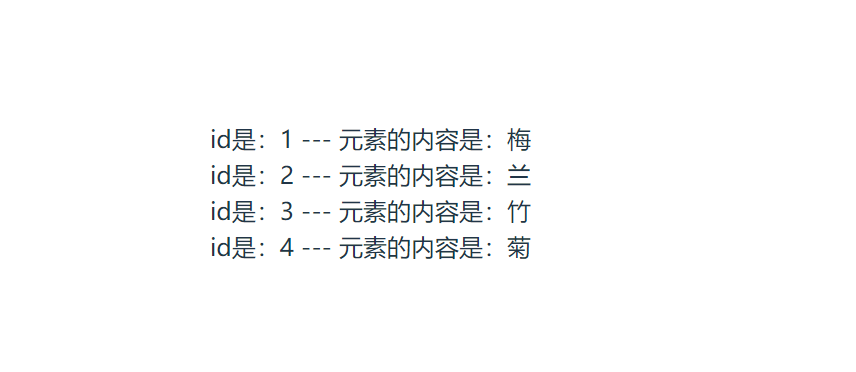
5.2 演示使用v-for根据对象数组渲染列表
<template>
  <div v-for="item in list" :key="item.id">
    id是:{{ item.id }} --- 元素的内容是:{{ item.message }}
  </div>
</template>
<script setup>
import { reactive } from 'vue'
const list = reactive([
  { id: 1, message: '梅', }, { id: 2, message: '兰', },
  { id: 3, message: '竹', }, { id: 4, message: '菊', }
])
</script>
运行结果
5.3 演示使用v-for根据对象渲染列表
<template>
  <div v-for="(value, name) in user" :key="name">
    属性名是:{{ name }} --- 属性值是:{{ value }}
  </div>
</template>
<script setup>
import { reactive } from 'vue'
const user = reactive({ id: 11, name: '小明', gender: '男' })
</script>
运行结果
