下记略掉内容同Spring2.0一样,参照: 创建SpringWeb项目(Spring2.0)-CSDN博客
前言
开发工具:Eclipse, JDK:1.8
引入JAR包:(略)
1 创建项目
Eclipse > File > new > web > Dynamic Web Project > 项目名(略)
1.1 配置web.xml
WEB-INF/web.xml(略)
1.2 配置springmvc-servlet.xml
WEB-INF/springmvc-servlet.xml(略)
1.3 配置applicationContext.xml
WEB-INF/applicationContext.xml(略)
2 过滤器
WEB-INF/web.xml(略)
3 拦截器
WEB-INF/springmvc-servlet.xml(略)
创建类PermissionInterceptor(略)
创建类LoginInterceptor(略)
创建类ApiInterceptor(略)
4 控制器
WEB-INF/springmvc-servlet.xml
XML
<?xml version="1.0" encoding="UTF-8"?>
<beans xmlns="http://www.springframework.org/schema/beans"
       ...>
    <!-- 自动注册组件, 解析Controller, RequestMapping注解 -->
    <mvc:annotation-driven/>
    <!-- 扫描注册类,多个包用逗分割 -->
    <context:component-scan base-package="com.example.controller" />

</beans>
XML
<!--
注释:use-default-filters
(是否扫描Component,Controller,Service)
include(包含)exclude(不包含)
<context:component-scan base-package="包.包" use-default-filters="false">
	<context:include-filter type="annotation" expression="包.Controller" />
</context:component-scan>
<context:component-scan base-package="包.包" use-default-filters="true">
	<context:exclude-filter type="annotation" expression="包.Service" />
</context:component-scan>
-->
创建类LoginController
java
package com.example.controller;
import javax.servlet.http.HttpServletRequest;
import javax.servlet.http.HttpServletResponse;
import org.springframework.beans.factory.annotation.Autowired;
import org.springframework.stereotype.Controller;
import org.springframework.web.bind.annotation.RequestMapping;
import com.example.pojo.User;
import com.example.service.LoginService;
@Controller
public class LoginController{
@Autowired
private LoginService service;
@RequestMapping("/login")
public String login(HttpServletRequest req, HttpServletResponse res) throws Exception {
String username = req.getParameter("user");
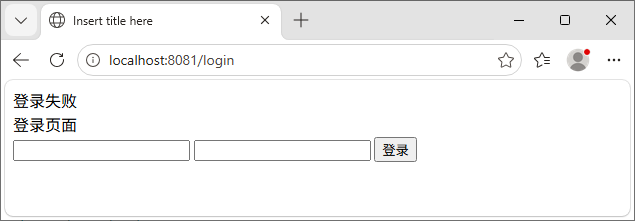
if (username == null || username.isEmpty()) {
req.setAttribute("msg", "登录失败");
return "Login";
}
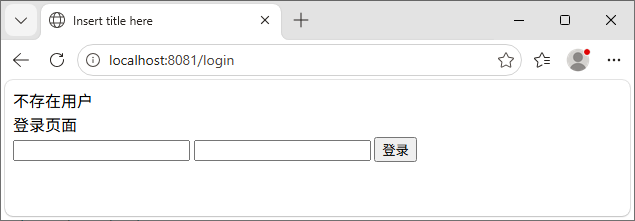
User user = service.getUser(username);
if (user == null) {
req.setAttribute("msg", "不存在用户");
return "Login";
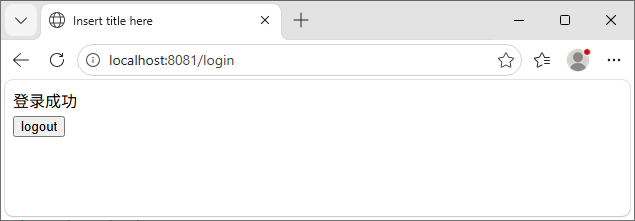
} else {
req.getSession().setAttribute("user", username);
req.setAttribute("msg", "登录成功");
return "Home";
}
}
}创建类IndexController
java
package com.example.controller;
import javax.servlet.http.HttpServletRequest;
import javax.servlet.http.HttpServletResponse;
import org.springframework.stereotype.Controller;
import org.springframework.web.bind.annotation.RequestMapping;
@Controller
public class IndexController{
@RequestMapping("/")
public String index(HttpServletRequest req, HttpServletResponse res) throws Exception {
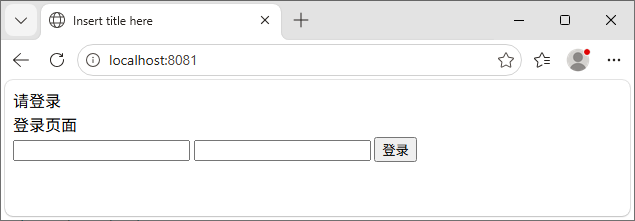
req.setAttribute("msg", "请登录");
return "Login";
}
}创建类LogoutController
java
package com.example.controller;
import javax.servlet.http.HttpServletRequest;
import javax.servlet.http.HttpServletResponse;
import org.springframework.stereotype.Controller;
import org.springframework.web.bind.annotation.RequestMapping;
@Controller
public class LogoutController {
	@RequestMapping("/logout")
	public String logout(HttpServletRequest req, HttpServletResponse res) {
		req.getSession().invalidate();
		req.setAttribute("msg", "登出成功");
		return "Login";
	}
}
创建登录页面Login.jsp(略)
创建首页Home.jsp(略)
5 数据访问
创建表: create table user(username varchar(20) primary key, password varchar(20) not null);
登录数据:insert user values('zhangsan', '123456');
5.1 Mybatis配置文件
src/mybatis-config.xml(略)
5.2 配置业务代码
(1) 创建Model(src/com/example/pojo/User.java)(略)
(2) 创建Dao(src/com/example/mapper/LoginMapper.java)(略)
(3) 创建Mapper.xml(src/com/example/mapper/LoginMapper.xml)(略)
(4) 创建Service(src/com/example/service/LoginService)(略)
5.3 配置applicationContext.xml
(1) 创建数据库连接信息(src/jdbc.properties)(略)
(2) 配置数据源(WEB-INF/applicationContext.xml)(略)
(3) 配置事务控制(WEB-INF/applicationContext.xml)(略)
(4) 配置注解驱动(WEB-INF/applicationContext.xml)(略)
5.4 整合mybatis
WEB-INF/applicationContext.xml(略)
5.5 扫描Bean
WEB-INF/applicationContext.xml(略)
6 配置视图解析器
WEB-INF/springmvc-servlet.xml
XML
<?xml version="1.0" encoding="UTF-8"?>
<beans xmlns="http://www.springframework.org/schema/beans"
       ...>
    <bean id="viewResolver" class="org.springframework.web.servlet.view.InternalResourceViewResolver" >
	    <property name="prefix" value="/WEB-INF/jsp/" /> <!-- 页面前缀 -->
	    <property name="suffix" value=".jsp" /> <!-- 页面后缀 -->
	</bean>

</beans>
7 效果演示
(1) 首页访问
(2) 未输入用户名登录
(3) 输入错误用户名登录
(4) 输入正确用户名登录
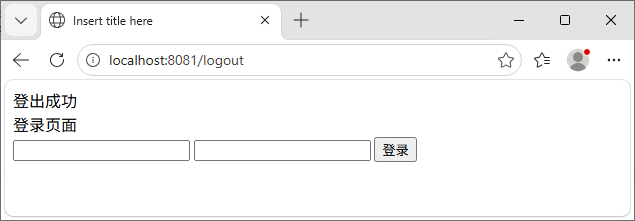
(5) 退出登录
8 请求与响应
8.1 请求类型
8.1.1 基本类型
(1) public String xx(Integer id) // 表单 name=id
(2) public String xx(@RequestParam(value="id") Integer myId) // 表单name=id
(3) public String xxx(String req_id, int req_num, Model mode) // model.addAttribute("key", val);
8.1.2 对象
(1) public String xx(User user)
java
public class User {
  private String name;
  private List<String> hobby;
  private Address address;
  private List<Son> sons;
}

public class Address {
  private String house_number;
}

public class Son {
  private String name;
}
html
<!-- 表单 -->
<input type="text" name="name"/>
<input type="checkbox" name="hobby" value="a"/>...
<input type="text" name="address.house_number"/>
<input type="test" name="sons[0].name"/>
8.1.3 数组
(1) public String xxx(String\[\] hobby) {
html
<!-- 表单 -->
<input type="checkbox" name="hobby" value="a"/>
<input type="checkbox" name="hobby" value="b"/>
8.1.4 集合
(1) public String xxx(@RequestParam List<String> hobby) {
html
<!-- 表单 -->
<input type="checkbox" name="hobby" value="a"/>
<input type="checkbox" name="hobby" value="b"/>
8.1.5 日期
(1) public String xxx(Date date) // 默认日期格式:"yyyy/MM/dd"
(2) public String xxx(@DateTimeFormat(pattern="yyyy-MM-dd") Date date)
html
<!-- 表单 -->
<input type="text" value="2026/12/31"/>
<input type="text" value="2026-12-31"/>
<!-- 注释:时间格式"yyyy-MM-dd HH:mm:ss" -->
8.1.6 其它
(1) 请求头:public String xx(@RequestHeader(value="xx" String xxx)
(2) 请求Cookie:public String xx(@CoolieValue(value="JSESSIONID", required=true) String sessionid)
(3) 请求响应参数:public String xx(HttpServletRequest req, HttpServletResponse res)
8.2 响应
(1) ModelAndView // 返回视图与数据
java
// 注释:ModelAndView设定的视图不能设定视图解析器,否则路径与后缀名重复
@RequestMapping("/xx")
public ModelAndView xx(Integer id) {
	ModelAndView m = new ModelAndView();
	m.addObject("key","values");
	m.setViewName("无后缀文件名");
	return m;
}
(2) String + Model // 配置视图解析器后,return "xx"; 可返回 /WEB-INF/xx.jsp页面
java
@RequestMapping("/xx")
public String xx(HttpServletRequest req, HttpServletResponse res, Model model) {
	model.addAttribute("msg", "内容"); // 存放到请求域中
	return "/WEB-INF/jsp/xx.jsp";
}

@RequestMapping("/xx")
public String xx(@ModelAttribute(value="id") String id) {
	return "/WEB-INF/jsp/xx.jsp";
}
// 注释:@ModelAttribute(value="id"), 等价于 参数Model, model.addAttribute("参数名", 参数值);
(3) String + Map
java
@RequestMapping("/xx")
public String xx(Map<String, Object> map, String id) {
	map.put("key", "value"); // request域取值
	return "/WEB-INF/jsp/xx.jsp";
}
// 注释:类注解@SessionAttribute({"mapkey"}) 使入参Map的值同时put到session中