基于 Ollama + OrbStack + frp + Nginx,在 Mac 上部署 Gemma 4 大模型,构建 HTTP API 服务,并通过内网穿透暴露到公网,实现任意设备远程调用本地 AI 的完整闭环。
架构总览
数据流:用户请求 → Nginx 反代 → frps → frp 隧道 → frpc 容器 → chat-api 容器 → Ollama 本地进程 → Gemma 4 模型推理 → 原路返回
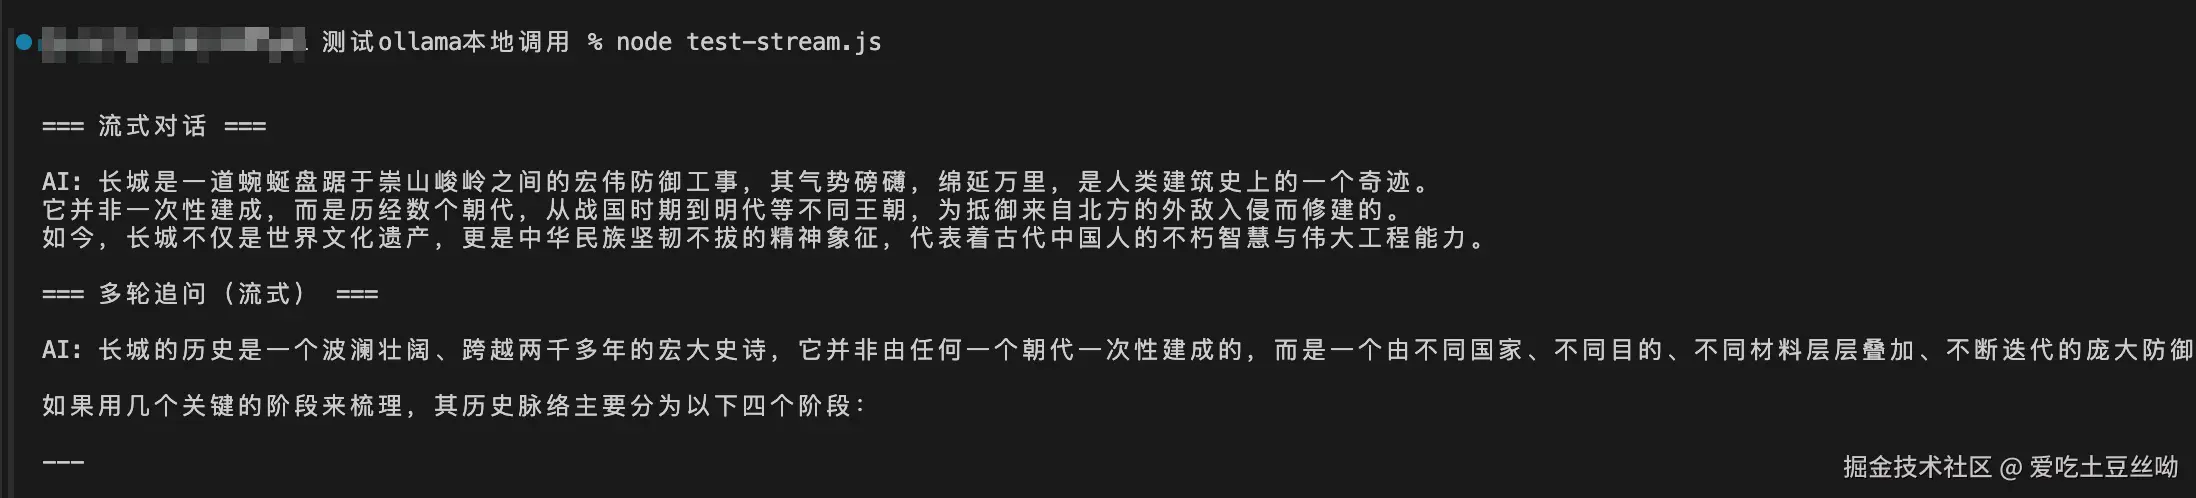
效果展示
第一层:Ollama + Gemma 4(模型层)
1.1 安装 Ollama
前往 ollama.com/download 下载 macOS 版本,拖入应用程序文件夹,双击启动。菜单栏出现 Ollama 图标即表示服务已运行。
或者使用 Homebrew:
bash
brew install ollama
ollama serve
1.2 下载并运行 Gemma 4
一条命令搞定,首次运行自动下载模型(约 5GB):
bash
ollama run gemma4下载完成后直接进入交互式对话,输入 /bye 退出。
1.3 验证 API 可用
Ollama 启动后在 localhost:11434 提供 HTTP API:
bash
# 确认服务运行
curl http://localhost:11434
# 返回: Ollama is running

# 测试对话
curl -X POST http://localhost:11434/api/chat \
  -H "Content-Type: application/json" \
  -d '{"model":"gemma4","messages":[{"role":"user","content":"你好"}],"stream":false}'
1.4 硬件建议
| 项目 | 建议 |
|---|---|
| 芯片 | Apple Silicon(M1/M2/M3/M4)体验最佳 |
| 内存 | 至少 8GB,推荐 16GB+ |
| 磁盘 | 预留 20GB+ |
第二层:OrbStack + Chat API(服务层)
Ollama 原生 API 比较底层,我们用 Node.js 封装一层更友好的 HTTP API,并通过 OrbStack(Docker)容器化部署。
2.1 安装 OrbStack
OrbStack 是 Mac 上 Docker Desktop 的轻量替代品,资源占用更低:
前往 orbstack.dev 下载安装,或:
bash
brew install orbstack安装后 docker 命令自动可用。
2.2 编写 API 服务
创建项目目录:
bash
mkdir ~/gemma4-api && cd ~/gemma4-api创建 server.js,封装以下接口:
| 方法 | 路径 | 说明 |
|---|---|---|
| GET | /health |
健康检查 |
| GET | /models |
查看可用模型 |
| POST | /chat |
对话(支持流式/非流式、多轮上下文) |
| GET | /conversations |
对话列表 |
| GET | /conversations/:id |
对话详情(含完整历史消息) |
| DELETE | /conversations/:id |
删除单个对话 |
| DELETE | /conversations |
清空所有对话 |
核心代码:
javascript
const http = require("http");
const crypto = require("crypto");

const OLLAMA_URL = process.env.OLLAMA_URL || "http://host.docker.internal:11434";
const PORT = process.env.PORT || 3000;

// 内存存储对话历史
const conversations = new Map();

function getOrCreateConversation(id) {
  if (!id) id = crypto.randomUUID();
  if (!conversations.has(id)) {
    conversations.set(id, {
      id,
      messages: [],
      createdAt: new Date().toISOString(),
      updatedAt: new Date().toISOString(),
      title: "",
    });
  }
  return conversations.get(id);
}

// 调用 Ollama
async function chatWithOllama(messages, stream, model = "gemma4") {
  const res = await fetch(`${OLLAMA_URL}/api/chat`, {
    method: "POST",
    headers: { "Content-Type": "application/json" },
    body: JSON.stringify({ model, messages, stream }),
  });
  if (!res.ok) throw new Error(`Ollama error: ${res.status}`);
  return res;
}

const server = http.createServer(async (req, res) => {
  // CORS 处理
  res.setHeader("Access-Control-Allow-Origin", "*");
  res.setHeader("Access-Control-Allow-Methods", "GET, POST, DELETE, OPTIONS");
  res.setHeader("Access-Control-Allow-Headers", "Content-Type");

  // POST /chat - 核心对话接口
  if (req.method === "POST" && req.url === "/chat") {
    const body = JSON.parse(await readBody(req));
    const conv = getOrCreateConversation(body.conversation_id);
    conv.messages.push({ role: "user", content: body.message });

    if (body.stream !== false) {
      // 流式返回 (SSE)
      res.writeHead(200, { "Content-Type": "text/event-stream" });
      const ollamaRes = await chatWithOllama(conv.messages, true);
      // ... 逐块写入 res
    } else {
      // 一次性返回
      const ollamaRes = await chatWithOllama(conv.messages, false);
      const data = await ollamaRes.json();
      conv.messages.push({ role: "assistant", content: data.message.content });
      res.end(JSON.stringify({ conversation_id: conv.id, content: data.message.content }));
    }
  }

  // GET /conversations/:id - 获取对话历史
  // DELETE /conversations/:id - 删除对话
  // ... 其他路由
});

server.listen(PORT);
完整源码见项目中的
server.js。
关键点 :host.docker.internal 是 Docker 容器访问 Mac 宿主机的特殊域名,通过它连接本地运行的 Ollama。
2.3 编写 Dockerfile
创建 Dockerfile.api:
dockerfile
FROM node:20-slim
WORKDIR /app
COPY server.js .
EXPOSE 3000
CMD ["node", "server.js"]
2.4 编写 docker-compose.yml
yaml
services:
  api:
    build:
      context: .
      dockerfile: Dockerfile.api
    container_name: chat-api
    ports:
      - "3000:3000"
    environment:
      - OLLAMA_URL=http://host.docker.internal:11434
      - PORT=3000
    restart: unless-stopped
2.5 启动服务
bash
docker compose up -d --build2.6 验证
bash
# 健康检查
curl http://localhost:3000/health

# 非流式对话
curl -X POST http://localhost:3000/chat \
  -H "Content-Type: application/json" \
  -d '{"message":"你好","stream":false}'

# 查看对话列表
curl http://localhost:3000/conversations

# 查看对话详情
curl http://localhost:3000/conversations/<conversation_id>
2.7 host.docker.internal 说明
这是理解整个架构的关键概念:
| 场景 | localIP 应填 | 原因 |
|---|---|---|
| 程序跑在 Mac 本机 | 127.0.0.1 |
访问自己 |
| 程序跑在 Docker 容器中,要访问 Mac | host.docker.internal |
容器内 127.0.0.1 是容器自身 |
第三层:frp 内网穿透(隧道层)
Mac 在内网没有公网 IP,通过 frp 把本地服务暴露到公网服务器。
3.1 frp 架构
3.2 服务端配置(公网服务器)
在公网服务器上安装 frps:
bash
# 下载 frp (以 Linux amd64 为例)
wget https://github.com/fatedier/frp/releases/download/v0.61.1/frp_0.61.1_linux_amd64.tar.gz
tar -xzf frp_0.61.1_linux_amd64.tar.gz
cd frp_0.61.1_linux_amd64
创建 frps.toml:
toml
bindPort = 7000

auth.method = "token"
auth.token = "your-secure-token"
启动:
bash
./frps -c frps.toml建议用 systemd 管理:
ini
# /etc/systemd/system/frps.service
[Unit]
Description=frps
After=network.target

[Service]
ExecStart=/path/to/frps -c /path/to/frps.toml
Restart=always

[Install]
WantedBy=multi-user.target
bash
sudo systemctl enable --now frps3.3 客户端配置(Mac 本地)
创建 frpc.toml:
toml
serverAddr = "45.207.210.130"    # 你的公网服务器 IP
serverPort = 7000

auth.method = "token"
auth.token = "your-secure-token"  # 与服务端一致

[[proxies]]
name = "gemma4-chat"
type = "tcp"
localIP = "host.docker.internal"  # frpc 在容器中运行,指向宿主机
localPort = 3000                  # chat-api 的端口
remotePort = 6100                 # 公网暴露的端口
注意 localIP 的选择:
- 如果 frpc 跑在 Docker 容器里 → 填
host.docker.internal - 如果 frpc 直接跑在 Mac 本机 → 填
127.0.0.1
3.4 启动 frpc
方式一:直接在 Mac 上运行
bash
brew install frpc
frpc -c frpc.toml
方式二:Docker 容器运行(推荐,统一管理)
如果 frpc 已经在一个容器中运行(如你已有的 frp-cliext 项目),只需在 frpc.toml 中追加 [[proxies]] 段落,然后重启 frpc 容器即可。
3.5 验证穿透
bash
# 从任意外网机器测试
curl http://45.207.210.130:6100/health
# 返回: {"status":"ok","model":"gemma4",...}
第四层:Nginx 反向代理(接入层)
裸露 IP + 端口号不安全也不美观,用 Nginx 加上域名和 HTTPS。
4.1 安装 Nginx(公网服务器)
bash
# Ubuntu/Debian
sudo apt update && sudo apt install nginx certbot python3-certbot-nginx -y
4.2 配置反向代理
创建 /etc/nginx/sites-available/ai.conf:
nginx
server {
    listen 80;
    server_name ai.yourdomain.com;

    location / {
        proxy_pass http://127.0.0.1:6100;
        proxy_set_header Host $host;
        proxy_set_header X-Real-IP $remote_addr;
        proxy_set_header X-Forwarded-For $proxy_add_x_forwarded_for;

        # SSE 流式响应支持
        proxy_buffering off;
        proxy_cache off;
        proxy_read_timeout 300s;   # 模型推理可能较慢

        # WebSocket 支持(可选)
        proxy_http_version 1.1;
        proxy_set_header Upgrade $http_upgrade;
        proxy_set_header Connection "upgrade";
    }
}
启用配置:
bash
sudo ln -s /etc/nginx/sites-available/ai.conf /etc/nginx/sites-enabled/
sudo nginx -t && sudo systemctl reload nginx
4.3 配置 HTTPS(Let's Encrypt)
前提:将 ai.yourdomain.com 的 DNS A 记录指向公网服务器 IP。
bash
sudo certbot --nginx -d ai.yourdomain.com自动完成证书申请和 Nginx 配置修改,之后即可通过 HTTPS 访问。
4.4 验证完整链路
bash
# 健康检查
curl https://ai.yourdomain.com/health

# 对话
curl -X POST https://ai.yourdomain.com/chat \
  -H "Content-Type: application/json" \
  -d '{"message":"你好,介绍一下你自己","stream":false}'

# 查看对话历史
curl https://ai.yourdomain.com/conversations
4.5 可选:添加 API Key 鉴权
防止接口被滥用,在 Nginx 层添加简单的 API Key 校验:
nginx
server {
    # ...

    location / {
        # API Key 校验
        if ($http_x_api_key != "your-secret-api-key") {
            return 401 '{"error":"Unauthorized"}';
        }

        proxy_pass http://127.0.0.1:6100;
        # ... 其他配置同上
    }
}
调用时带上 header:
bash
curl -X POST https://ai.yourdomain.com/chat \
  -H "Content-Type: application/json" \
  -H "X-API-Key: your-secret-api-key" \
  -d '{"message":"你好","stream":false}'
完整调用示例
Node.js 调用
javascript
const API_URL = "https://ai.yourdomain.com";

// 非流式
async function chat(message, conversationId) {
  const res = await fetch(`${API_URL}/chat`, {
    method: "POST",
    headers: { "Content-Type": "application/json" },
    body: JSON.stringify({ message, conversation_id: conversationId, stream: false }),
  });
  return await res.json();
}

// 使用
const reply = await chat("你好");
console.log(reply.content);
console.log(reply.conversation_id); // 用于多轮对话

// 多轮对话
const reply2 = await chat("继续说", reply.conversation_id);
Python 调用
python
import requests

API_URL = "https://ai.yourdomain.com"

# 非流式对话
resp = requests.post(f"{API_URL}/chat", json={
    "message": "你好",
    "stream": False
})
data = resp.json()
print(data["content"])

# 多轮对话
resp2 = requests.post(f"{API_URL}/chat", json={
    "message": "继续说",
    "conversation_id": data["conversation_id"],
    "stream": False
})
curl 调用
bash
# 非流式
curl -X POST https://ai.yourdomain.com/chat \
  -H "Content-Type: application/json" \
  -d '{"message":"你好","stream":false}'

# 流式 (SSE)
curl -N -X POST https://ai.yourdomain.com/chat \
  -H "Content-Type: application/json" \
  -d '{"message":"你好","stream":true}'

# 查看所有对话
curl https://ai.yourdomain.com/conversations

# 查看某个对话的完整历史
curl https://ai.yourdomain.com/conversations/<id>

# 删除对话
curl -X DELETE https://ai.yourdomain.com/conversations/<id>
运维与排错
各层检查命令
bash
# 1. Ollama 是否运行
curl http://localhost:11434

# 2. chat-api 容器是否正常
docker ps | grep chat-api
docker logs chat-api --tail 20

# 3. 容器能否访问 Ollama
docker exec chat-api node -e "fetch('http://host.docker.internal:11434').then(r=>r.text()).then(console.log)"

# 4. 本地 API 是否可用
curl http://localhost:3000/health

# 5. frp 隧道是否通
curl http://45.207.210.130:6100/health

# 6. Nginx 反代是否正常
curl https://ai.yourdomain.com/health
常见问题
| 问题 | 原因 | 解决方案 |
|---|---|---|
fetch failed |
chat-api 连不上 Ollama | 检查 OLLAMA_URL 环境变量,容器中必须用 host.docker.internal |
| frpc 连不上 frps | token 不匹配或端口未放行 | 核对两端 token,检查服务器防火墙 ufw allow 7000 |
| Nginx 502 | frps 未运行或 remotePort 未映射 | 检查 frps 进程和 frpc 日志 |
| 流式响应卡住 | Nginx 缓冲了 SSE | 确认配置了 proxy_buffering off |
| 首次请求很慢 | 模型冷启动加载到内存 | 正常现象,后续请求会快很多 |
重启服务
bash
# 重启 chat-api 容器
docker compose restart

# 重建容器(修改代码后)
docker compose up -d --build

# 重启 Ollama
# 方式一:菜单栏图标 → Quit,再重新打开
# 方式二:命令行
pkill ollama && ollama serve
总结
四层架构各司其职:
| 层级 | 组件 | 作用 | 运行位置 |
|---|---|---|---|
| 模型层 | Ollama + Gemma 4 | AI 推理引擎 | Mac 本机 |
| 服务层 | Node.js chat-api | HTTP API 封装、对话管理 | OrbStack 容器 |
| 隧道层 | frpc ↔ frps | 内网穿透 | Mac 容器 ↔ 公网服务器 |
| 接入层 | Nginx + HTTPS | 域名、SSL、鉴权 | 公网服务器 |
整条链路建立后,你可以从世界上任何有网络的地方,通过一个 HTTPS 接口调用跑在你 Mac 上的本地大模型。