一、介绍
这是一个很好用的设计模式,当程序里创建了很多对象,但它们分散在不同地方、又拿不到彼此的引用时,就很难直接操作。这时候可以用观察者模式(也叫发布-订阅模式),通过"通知"的方式让对象之间通信,从而实现解耦。
本文介绍的 PNotificationCenter,就是一个用很少代码实现这种机制的简单通知中心。
二、代码
cs
using System;
using System.Collections.Generic;

namespace PiFramework
{
    public class PNotificationCenter
    {
        private static PNotificationCenter instance;
        private static readonly object locker = new object(); // 线程安全
        private readonly Dictionary<string, Action<string, object, Dictionary<string, object>>> observers;

        // 单例模式,确保全局唯一
        public static PNotificationCenter Instance()
        {
            if (instance == null)
            {
                lock (locker)
                {
                    if (instance == null)
                    {
                        instance = new PNotificationCenter();
                    }
                }
            }
            return instance;
        }

        private PNotificationCenter()
        {
            observers = new Dictionary<string, Action<string, object, Dictionary<string, object>>>();
        }

        // 添加观察者
        public void AddObserver(string notificationName, Action<string, object, Dictionary<string, object>> callback)
        {
            if (!observers.ContainsKey(notificationName))
            {
                observers[notificationName] = callback;
            }
            else
            {
                observers[notificationName] += callback; // 允许多个观察者监听同一个通知
            }
        }

        // 移除观察者
        public void RemoveObserver(string notificationName, Action<string, object, Dictionary<string, object>> callback)
        {
            if (observers.ContainsKey(notificationName))
            {
                observers[notificationName] -= callback;
                if (observers[notificationName] == null)
                {
                    observers.Remove(notificationName);
                }
            }
        }

        // 发送通知
        public void PostNotification(string notificationName, object sender, Dictionary<string, object> userInfo)
        {
            if (observers.ContainsKey(notificationName))
            {
                observers[notificationName]?.Invoke(notificationName, sender, userInfo);
            }
        }


    }
}
三、代码说明
主要围绕三个方法展开,并应用了两种经典设计模式:
设计模式应用
单例模式 (Singleton):通过私有构造方法和静态属性 DefaultCenter(),确保全局只有一个通知中心实例。这保证了所有模块使用的是同一个消息总线,避免了消息丢失或多实例管理的混乱。
观察者模式 (Observer) / 发布-订阅模式 (Pub-Sub):这是该类的核心灵魂。发送者(发布者)只负责发送消息,接收者(订阅者)只负责处理消息,两者互不知晓对方的存在。
核心方法解析
AddObserver:订阅通知。调用方传入一个通知名(字符串)和一个回调委托。内部使用 Dictionary 存储,如果同一个通知名有多个订阅者,会利用委托的 += 特性将它们合并为一个多播委托。
RemoveObserver:取消订阅。为了防止内存泄漏,观察者(尤其是在游戏对象销毁时)必须显式调用此方法移除自身。代码通过 -= 将特定回调从委托链中移除。
PostNotification:发布通知。发送者只需指定通知名和可选参数。内部会查找对应键的委托并调用 Invoke,所有订阅了该通知的方法都会被执行。
委托参数设计
Action<string, object, Dictionary<string, object>> 这个委托签名提供了很好的灵活性:
string:通知名称。
object:发送者对象,方便接收方判断消息来源。
Dictionary<string, object>:自定义参数字典,可以传递任意复杂的数据结构
四、使用场景
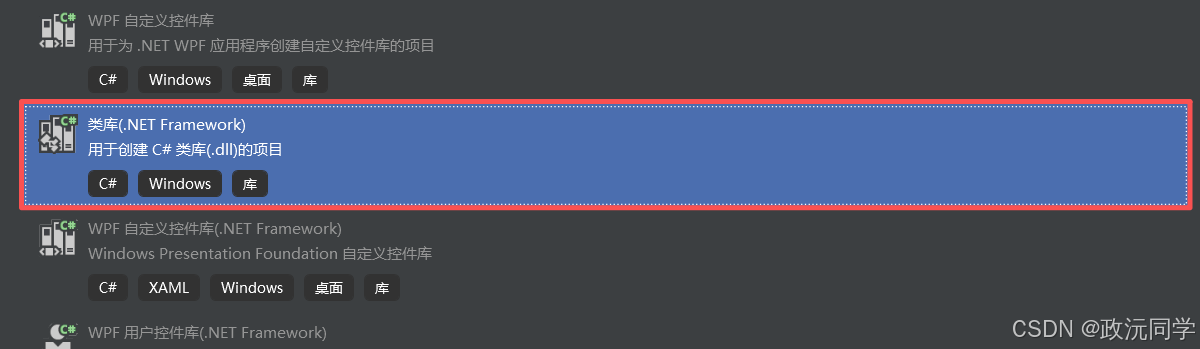
1.将该类做成DLL,方便以后使,创建项目
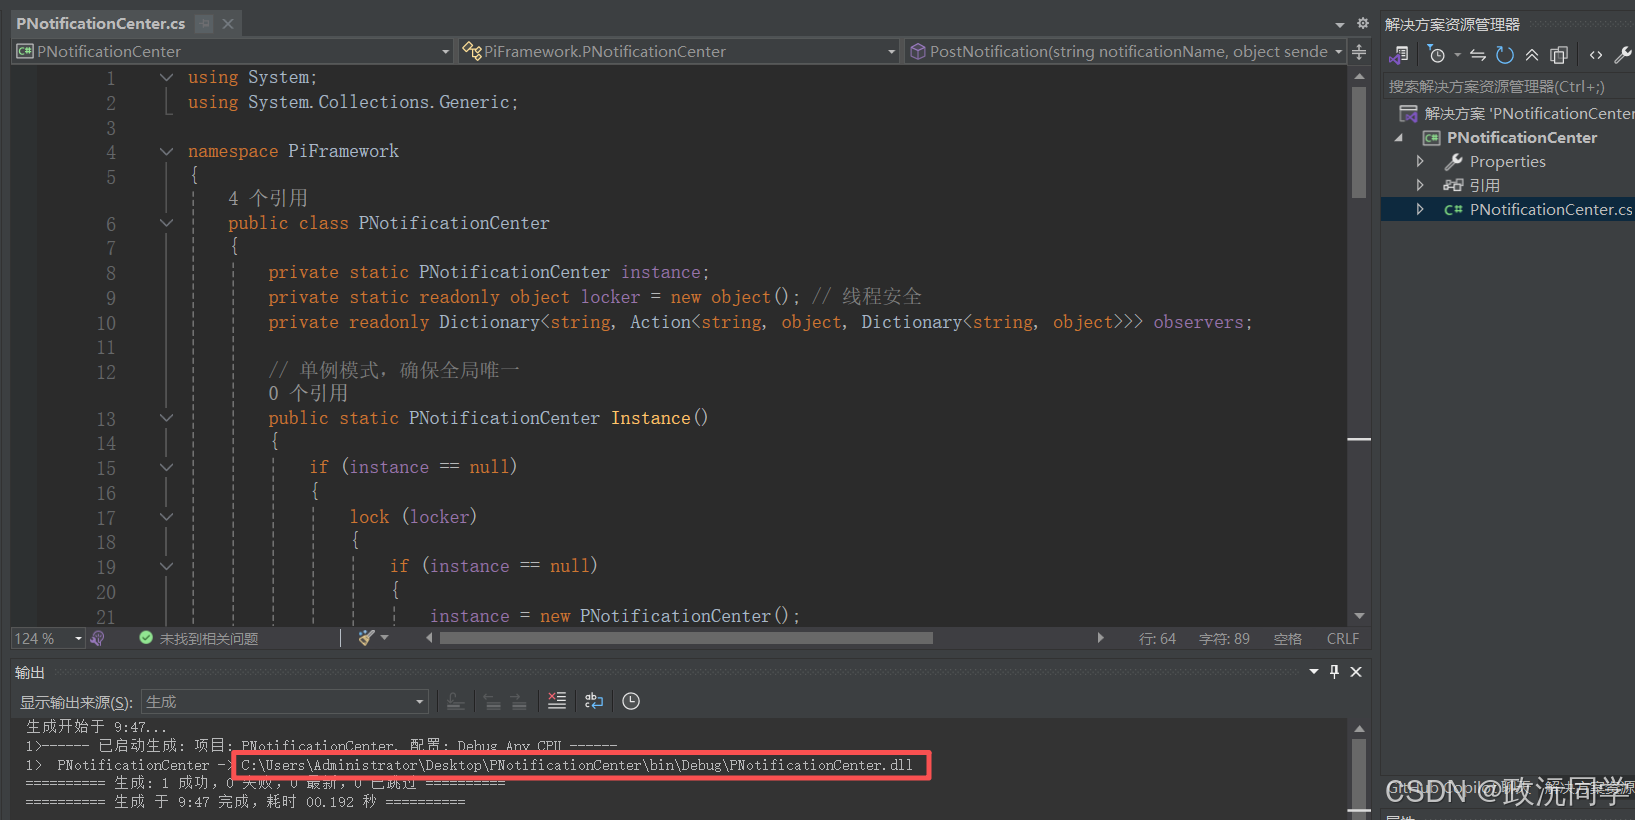
2.生成DLL
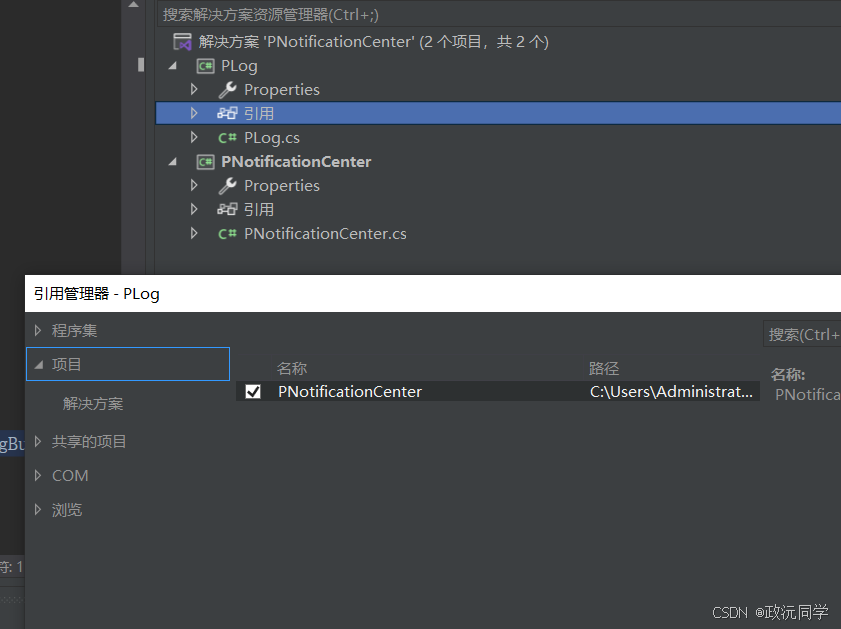
3.添加日志对象,同时要引用PNotificationCenter
运行日志上一章 C# 日志开发 有说过,我这边就给源代码
cs
using System;
using System.Collections.Concurrent;
using System.Collections.Generic;
using System.IO;
using System.Runtime.InteropServices;
using System.Text;
using System.Threading.Tasks;
using System.Threading;
namespace PiFramework
{
public class PLog
{
private static readonly Lazy<PLog> _instance = new Lazy<PLog>(() => new PLog()); // 线程安全单例!
public static PLog Instance => _instance.Value; //获取日志接口
private static string logDirectory = "logs"; // 日志文件夹
private static string logFilePath = $"{logDirectory}/log-{DateTime.Now:yyyy-MM-dd}.txt"; // 每天一个日志文件
private static ConcurrentQueue<string> _logQueue = new ConcurrentQueue<string>(); //日志队列,线程安全
private static Task _logWriterTask; //写入日志的后台任务
private static CancellationTokenSource _cts; //用于控制日志写入任务的取消
private static readonly object _writerTaskLock = new object(); // 用于控制writer Task的启动/停止
// 私有构造函数,单例模式
private PLog()
{
EnsureLogDirectory(); //判断日志文件夹是否存在,不存在则创建
StartLogWriterTask();
}
private void EnsureLogDirectory()
{
try
{
logFilePath = $"{logDirectory}/log-{DateTime.Now:yyyy-MM-dd}.txt"; // 每次启动时更新日志文件路径,确保每天一个文件
if (!Directory.Exists(logDirectory))
{
Directory.CreateDirectory(logDirectory);
}
}
catch (Exception ex)
{
Console.WriteLine("创建日志目录失败: " + ex.Message);
}
}
// ====== 异步写入任务的启动和停止 ======
private void StartLogWriterTask()
{
lock (_writerTaskLock)
{
if (_logWriterTask == null || _logWriterTask.Status == TaskStatus.Faulted || _logWriterTask.IsCompleted)
{
_cts = new CancellationTokenSource();
_logWriterTask = Task.Run(() => WriteLogEntries(_cts.Token));
Console.WriteLine("异步日志写入任务已启动。");
}
}
}
public void StopLogWriterTask()
{
lock (_writerTaskLock)
{
if (_cts != null && !_cts.IsCancellationRequested)
{
_cts.Cancel(); // 请求取消任务
Console.WriteLine("正在请求停止异步日志写入任务...");
}
// 等待任务完成,确保所有队列中的日志都写入磁盘
if (_logWriterTask != null)
{
_logWriterTask.Wait(TimeSpan.FromSeconds(5)); // 等待最多5秒
Console.WriteLine("异步日志写入任务已停止。");
}
}
}
private async Task WriteLogEntries(CancellationToken cancellationToken)
{
// 使用StreamWriter,因为File.AppendAllTextAsync每次都会打开关闭文件,效率低
// StreamWiter会在内部缓冲,效率更高,但需要确保关闭时flush
EnsureLogDirectory(); // 确保日志目录存在,避免文件打开失败
using (var writer = new StreamWriter(logFilePath, true, Encoding.UTF8))
{
writer.AutoFlush = false; // 先禁用自动刷新,手动控制刷新时机以提高效率
while (!cancellationToken.IsCancellationRequested || !_logQueue.IsEmpty)
{
if (_logQueue.TryDequeue(out string logEntry))
{
await writer.WriteLineAsync(logEntry); // 异步写入一行
}
else
{
// 队列为空时,刷新缓冲区并短暂等待
await writer.FlushAsync();
await Task.Delay(100, cancellationToken); // 短暂等待,避免CPU空转,并响应取消请求
}
}
// 任务取消或完成前,确保将所有剩余日志写入磁盘
while (_logQueue.TryDequeue(out string logEntry))
{
await writer.WriteLineAsync(logEntry);
}
await writer.FlushAsync(); // 最终刷新确保全部写入
}
Console.WriteLine("异步日志写入任务已安全退出。");
}
// 写入日志
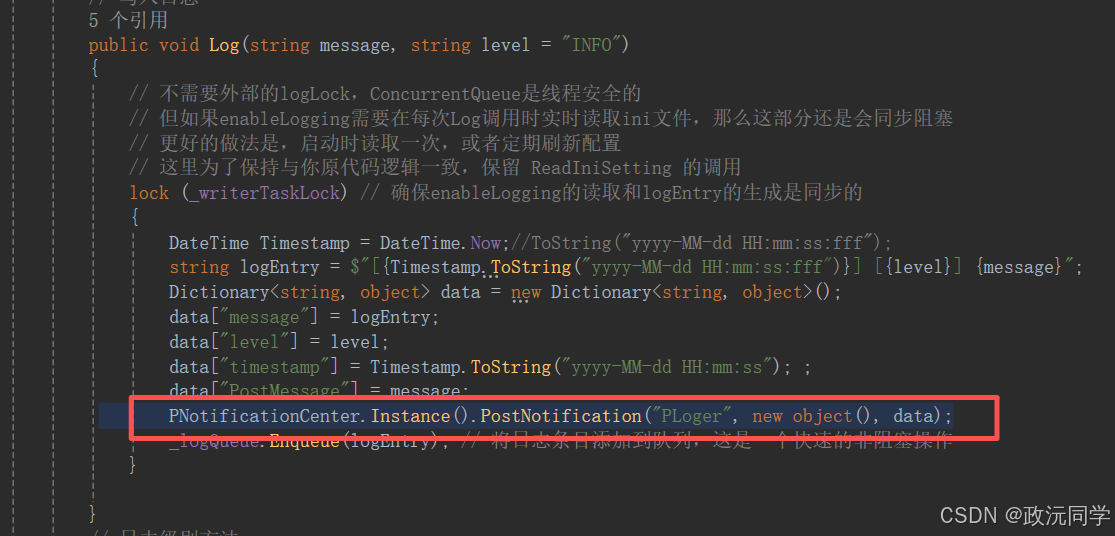
public void Log(string message, string level = "INFO")
{
// 不需要外部的logLock,ConcurrentQueue是线程安全的
// 但如果enableLogging需要在每次Log调用时实时读取ini文件,那么这部分还是会同步阻塞
// 更好的做法是,启动时读取一次,或者定期刷新配置
// 这里为了保持与你原代码逻辑一致,保留 ReadIniSetting 的调用
lock (_writerTaskLock) // 确保enableLogging的读取和logEntry的生成是同步的
{
DateTime Timestamp = DateTime.Now;//ToString("yyyy-MM-dd HH:mm:ss:fff");
string logEntry = $"[{Timestamp.ToString("yyyy-MM-dd HH:mm:ss:fff")}] [{level}] {message}";
Dictionary<string, object> data = new Dictionary<string, object>();
data["message"] = logEntry;
data["level"] = level;
data["timestamp"] = Timestamp.ToString("yyyy-MM-dd HH:mm:ss"); ;
data["PostMessage"] = message;
PNotificationCenter.Instance().PostNotification("PLoger", new object(), data);
_logQueue.Enqueue(logEntry); // 将日志条目添加到队列,这是一个快速的非阻塞操作
}
}
// 日志级别方法
public void Info(string message) => Log(message, "INFO");
public void Warning(string message) => Log(message, "WARNING");
public void Error(string message) => Log(message, "ERROR");
public void Debug(string message) => Log(message, "DEBUG");
public void Log(string message) => Log(message, "LOG");
// 读取 INI 配置的 API
[DllImport("kernel32", CharSet = CharSet.Unicode)]
private static extern int GetPrivateProfileString(string section, string key, string def, StringBuilder retVal, int size, string filePath);
}
}注意,在此处添加了发布通知事件

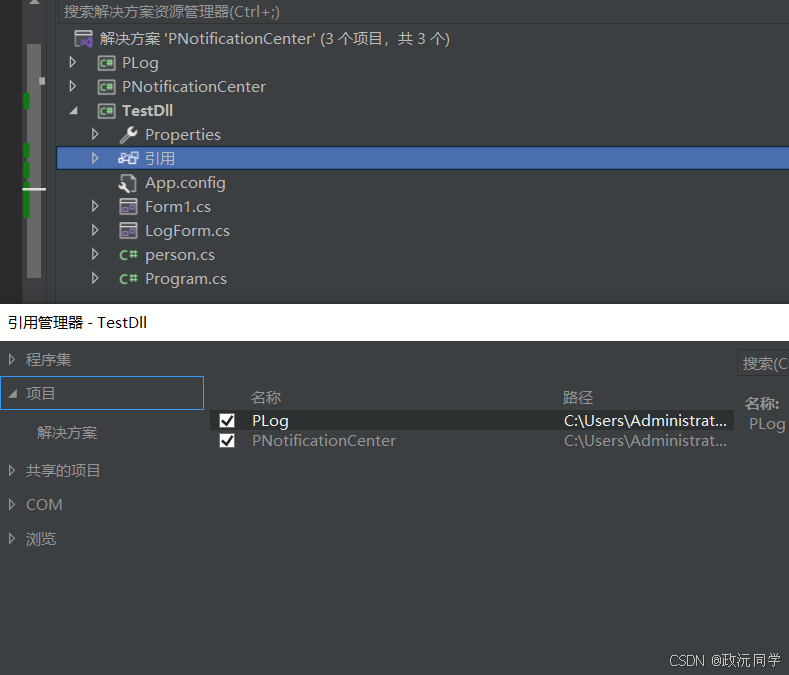
4.创建测试项目TestDll。引用PNotificationCenter 和 PLog
创建一个 person Class 测试点阅日志的信息
cs
using System;
using System.Collections.Generic;
using PiFramework;


namespace TestDll
{
    public class person
    {
        public person() {


            PNotificationCenter.Instance().AddObserver("PLoger", this.OnNotification); //来自PLoger的通知,调用OnNotification方法


        }

        // 处理通知的方法
        public void OnNotification(string name, object sender, Dictionary<string, object> userInfo)
        {

            if (name == "PLoger") {
                Console.WriteLine("我是personClass,我接收到了 PLoger  信息");
            }

        }

    }
}
AddObserver 订阅了 PLoger 。处理通知的方法是 OnNotification ,对应着发布者是
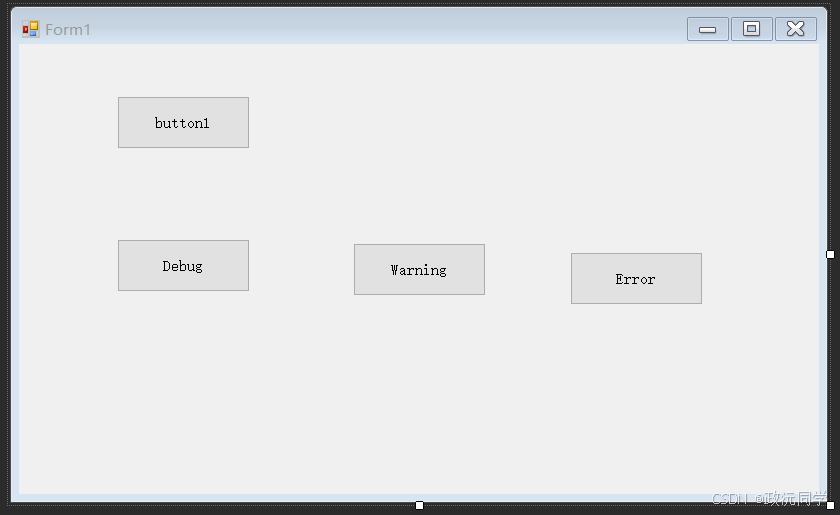
5.创建Form1窗口,通过按钮来触发日志 发布通知
cs
using PiFramework;
using System;
using System.Collections.Generic;
using System.Windows.Forms;
namespace TestDll
{
public partial class Form1 : Form
{
public Form1()
{
InitializeComponent();
person person1 = new person();
}
private void button1_Click(object sender, EventArgs e)
{
Dictionary<string, object> userInfo = new Dictionary<string, object>();
userInfo["data"] = "这是一个测试通知";
PNotificationCenter.Instance().PostNotification("PLoger", this, userInfo);
}
private void button2_Click(object sender, EventArgs e)
{
PLog.Instance.Debug("Debug");
}
private void button3_Click(object sender, EventArgs e)
{
PLog.Instance.Warning("Warning");
}
private void button4_Click(object sender, EventArgs e)
{
PLog.Instance.Error("Error");
}
}
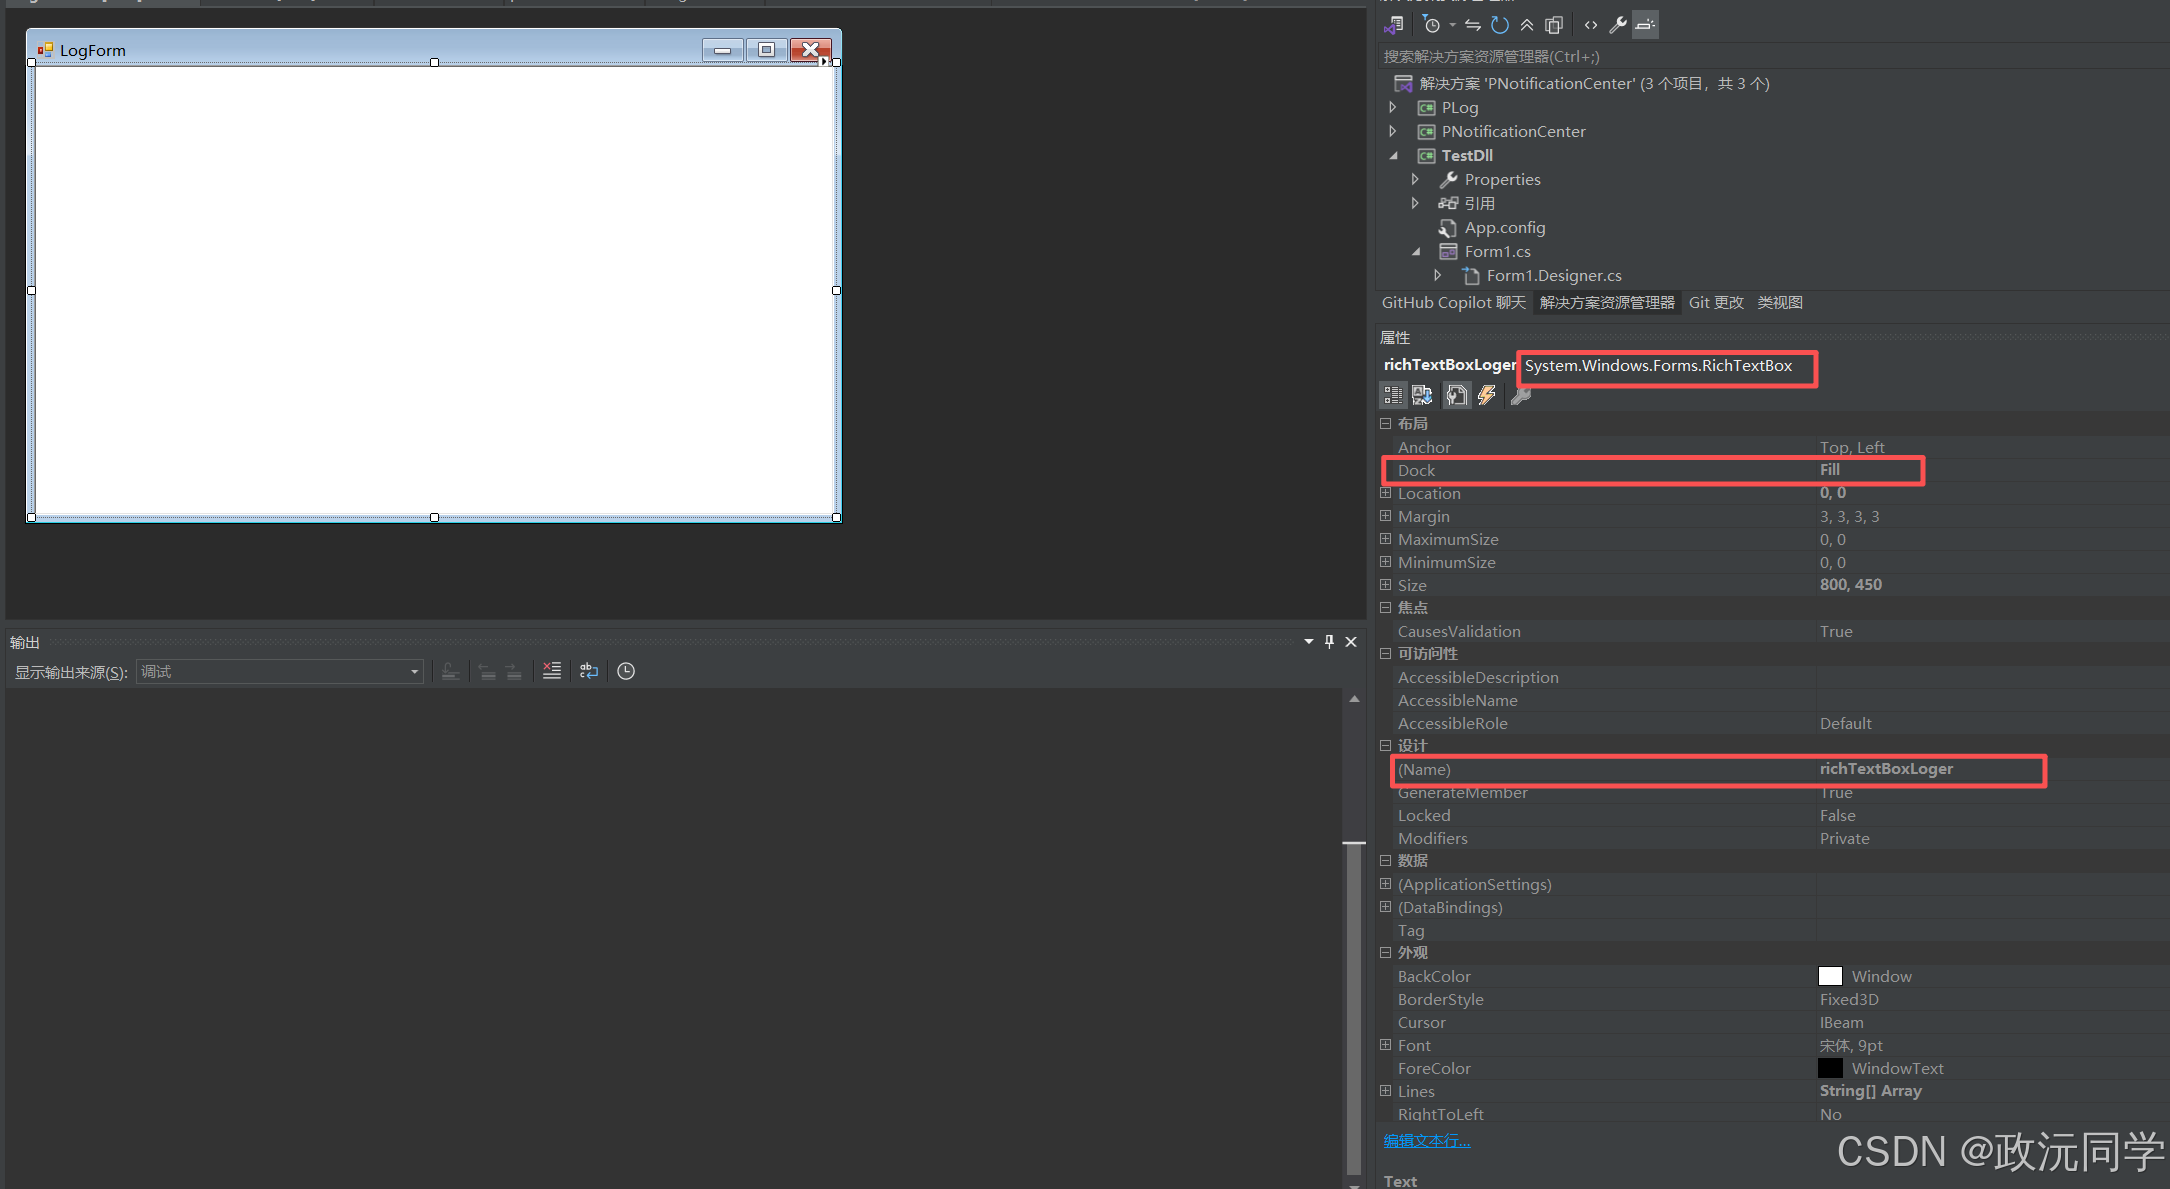
}5.创建LogForm窗口,接受日志显示
cs
using PiFramework;
using System;
using System.Collections.Generic;
using System.Drawing;
using System.Windows.Forms;
namespace TestDll
{
public partial class LogForm : Form
{
public LogForm()
{
InitializeComponent();
PNotificationCenter.Instance().AddObserver("PLoger", this.OnNotification);
}
public void OnNotification(string name, object sender, Dictionary<string, object> userInfo)
{
if (this.IsHandleCreated) // 确保控件句柄已创建,避免跨线程操作异常
{
if (name == "PLoger")
{
if (!userInfo.ContainsKey("message")) {
return;
}
if (!userInfo.ContainsKey("level"))
{
return;
}
string message = userInfo["message"].ToString();
string level = userInfo["level"].ToString();
Color color = Color.Black; // 默认颜色,确保不设置时是黑色
if (level == "LOG")
{
color = Color.Black;
}
else if (level == "DEBUG")
{
color = Color.Green;
}
else if (level == "INFO")
{
color = Color.Blue;
}
else if (level == "WARNING")
{
color = Color.DarkOrange;
}
else if (level == "ERROR")
{
color = Color.Red;
}
Invoke(new Action(() =>
{
richTextBoxLoger.SelectionStart = richTextBoxLoger.TextLength;
richTextBoxLoger.SelectionLength = 0; // 确保没有选中任何文本
// 设置即将添加文本的颜色
richTextBoxLoger.SelectionColor = color;
// 添加日志信息
richTextBoxLoger.AppendText(message + Environment.NewLine);
// 重置 SelectionColor 为默认值(或黑色),防止影响后续文本的颜色
richTextBoxLoger.SelectionColor = richTextBoxLoger.ForeColor; // 重置为控件的默认前景色,通常是黑色
// 或者:richTextBoxLoger.SelectionColor = Color.Black;
// 限制日志的最大行数
// 这个逻辑需要调整,Lines属性赋值会重置所有颜色。
// 更好的做法是手动构建新文本,或者只删除第一行
if (richTextBoxLoger.Lines.Length > 1000)
{
// 更高效的删除旧行的方法:
// 找到第一行的开始位置
int firstLineEndIndex = richTextBoxLoger.Text.IndexOf(Environment.NewLine);
if (firstLineEndIndex != -1)
{
// 删除从开始到第一行结束的所有文本(包括换行符)
richTextBoxLoger.Select(0, firstLineEndIndex + Environment.NewLine.Length);
richTextBoxLoger.SelectedText = "";
}
// 注意:这种逐行删除在大日志量下效率不高,但比Lines = newLines要好一点
// 对于非常大的日志量,建议使用更专业的日志控件或自定义逻辑
}
// 确保滚动条在底部
// richTextBoxLoger.ScrollToCaret() 在 AppendText 后可能不够用
// 更可靠的滚动到底部:
richTextBoxLoger.SelectionStart = richTextBoxLoger.TextLength;
richTextBoxLoger.ScrollToCaret();
}));
}
}
}
}
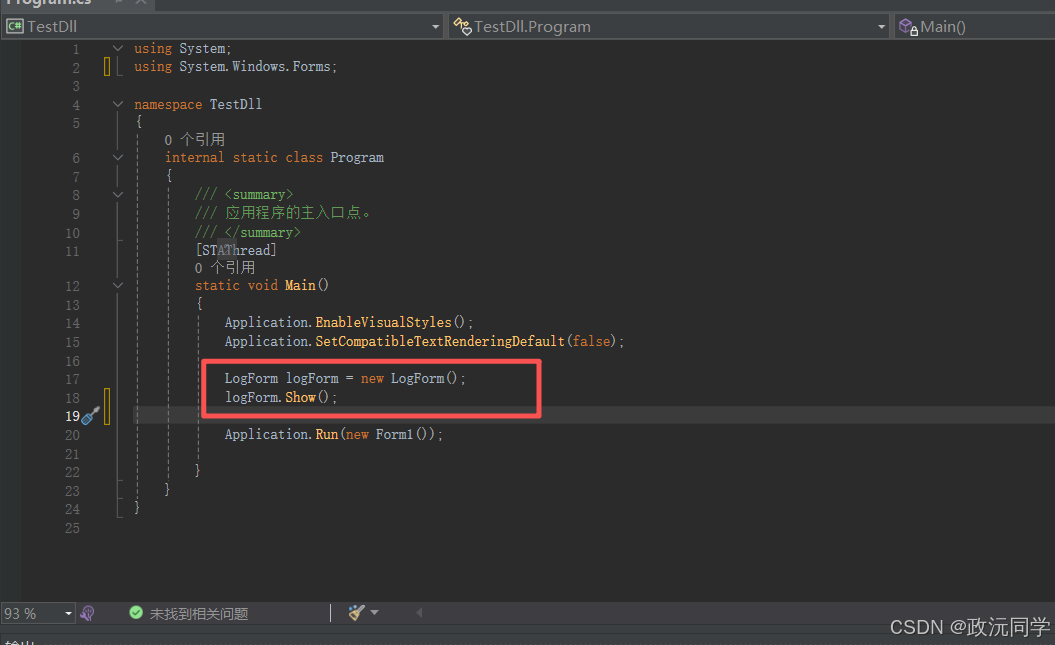
}6.在Main 函数独立new LogForm 对象
7. PNotificationCenter 触发效果
五、总结
通过引入 PNotificationCenter 通知中心,我们实现了一个轻量级的发布-订阅机制,让各个模块之间无需直接引用即可通信。
在本示例中:
- PLog 作为发布者,负责发送日志通知
- person 和 LogForm 作为订阅者,分别接收并处理通知
- 各模块之间完全解耦,互不依赖,却能协同工作
这种方式带来的好处:
- 降低耦合:对象之间不需要互相持有引用
- 易于扩展:新增订阅者无需修改原有代码
- 统一通信:通过通知中心集中管理消息分发
- 线程安全:结合队列与异步任务,提高性能
适用于:
- 日志系统
- UI 刷新(跨窗体通信)
- 模块间事件通知
- 插件式架构
后续文章还有很多应用场景举例