任务
本次任务完成陨石的制作,陨石的控制,陨石的生成
制作陨石
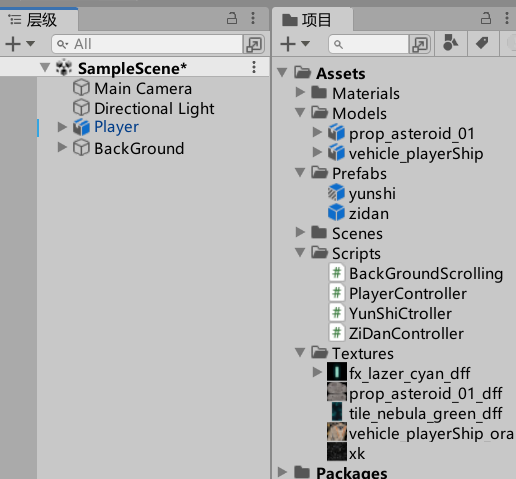
- 把Models目录中的prop_asteroid_01拖拽的层级中
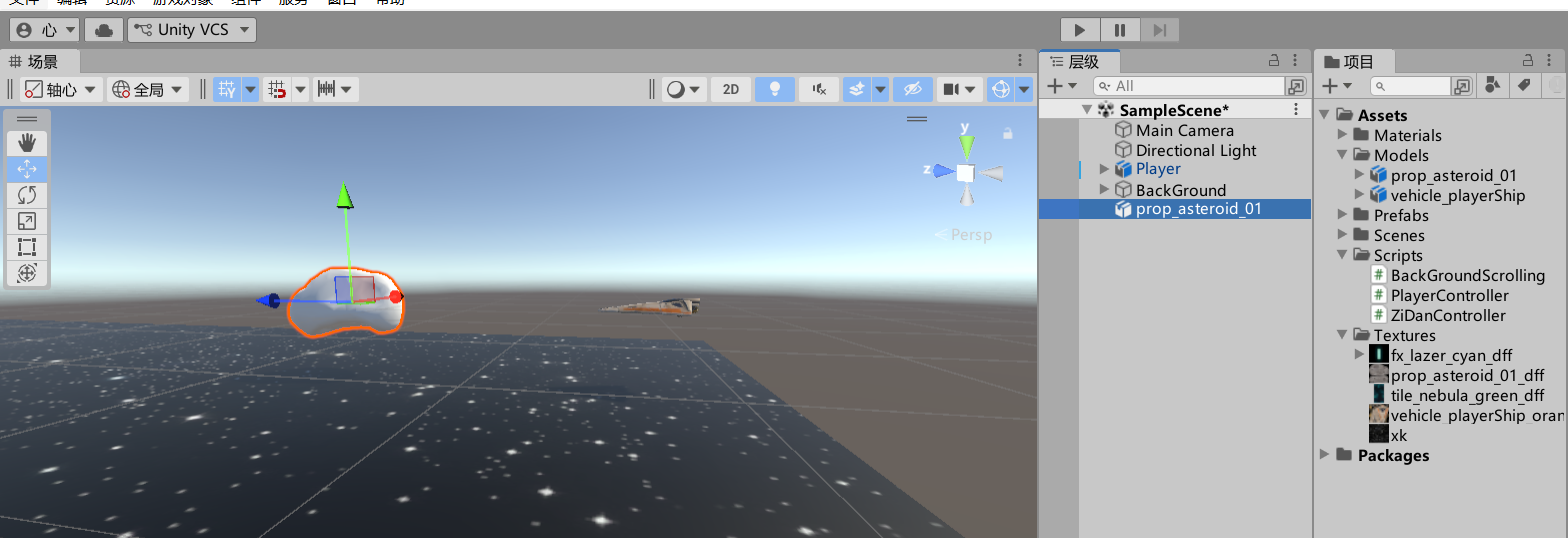
- 修改名称为yunshi,如下图
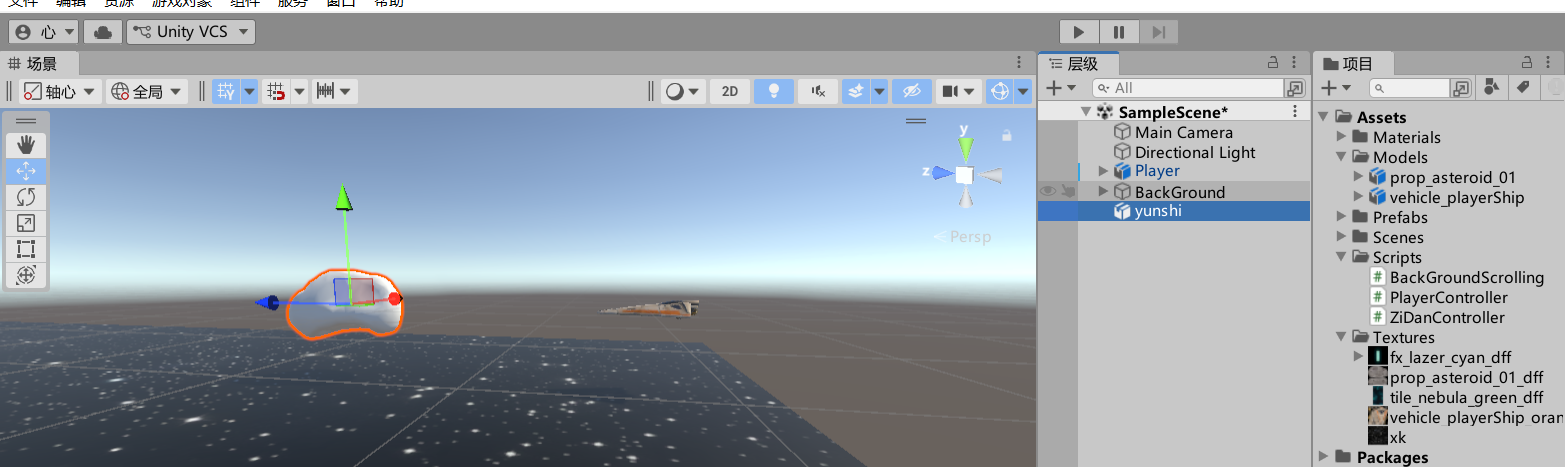
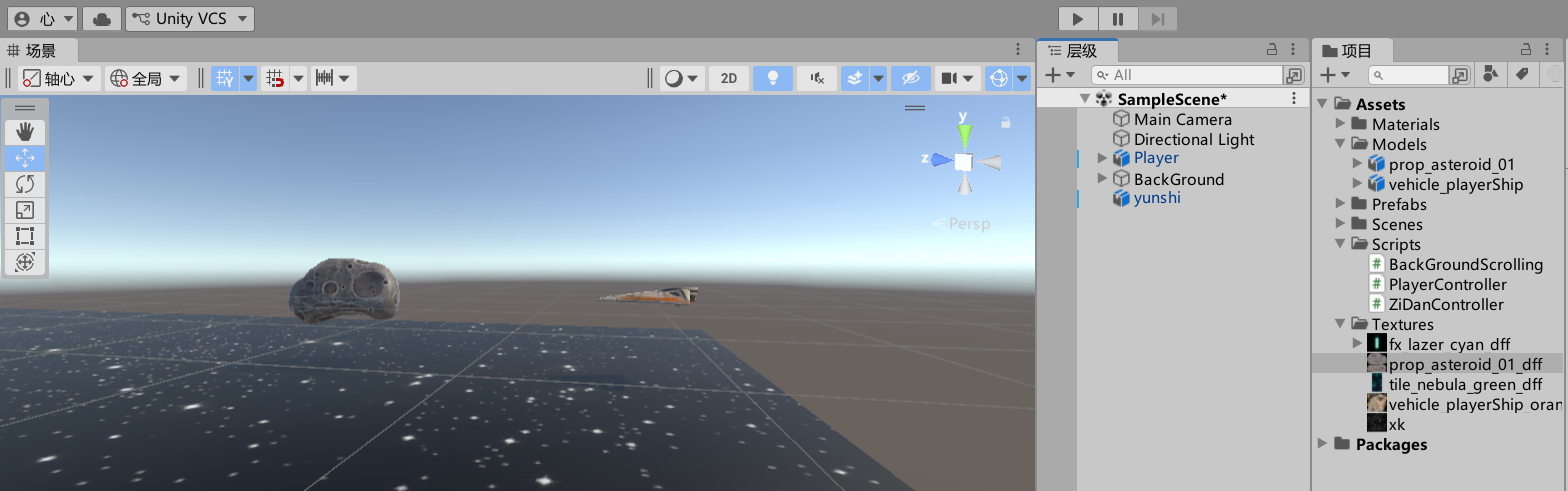
- 给陨石添加贴图,把Textures中的prop_asteroid_01_dff文件拖拽到陨石对象上效果如下
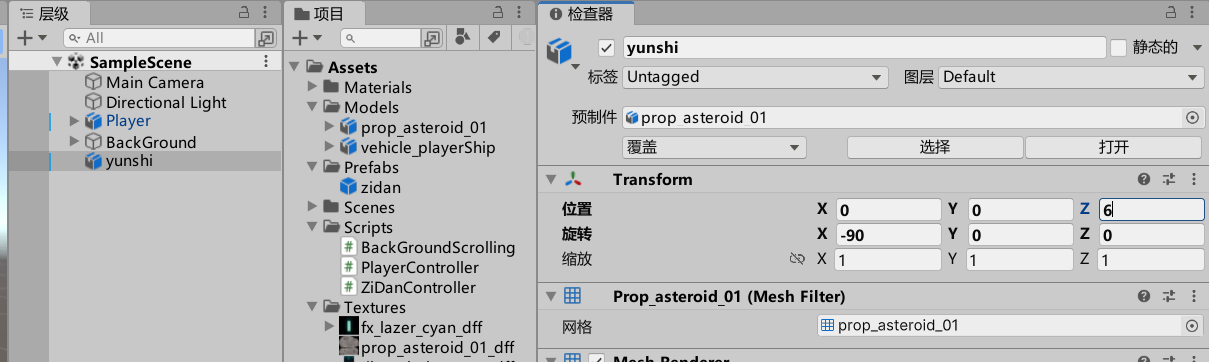
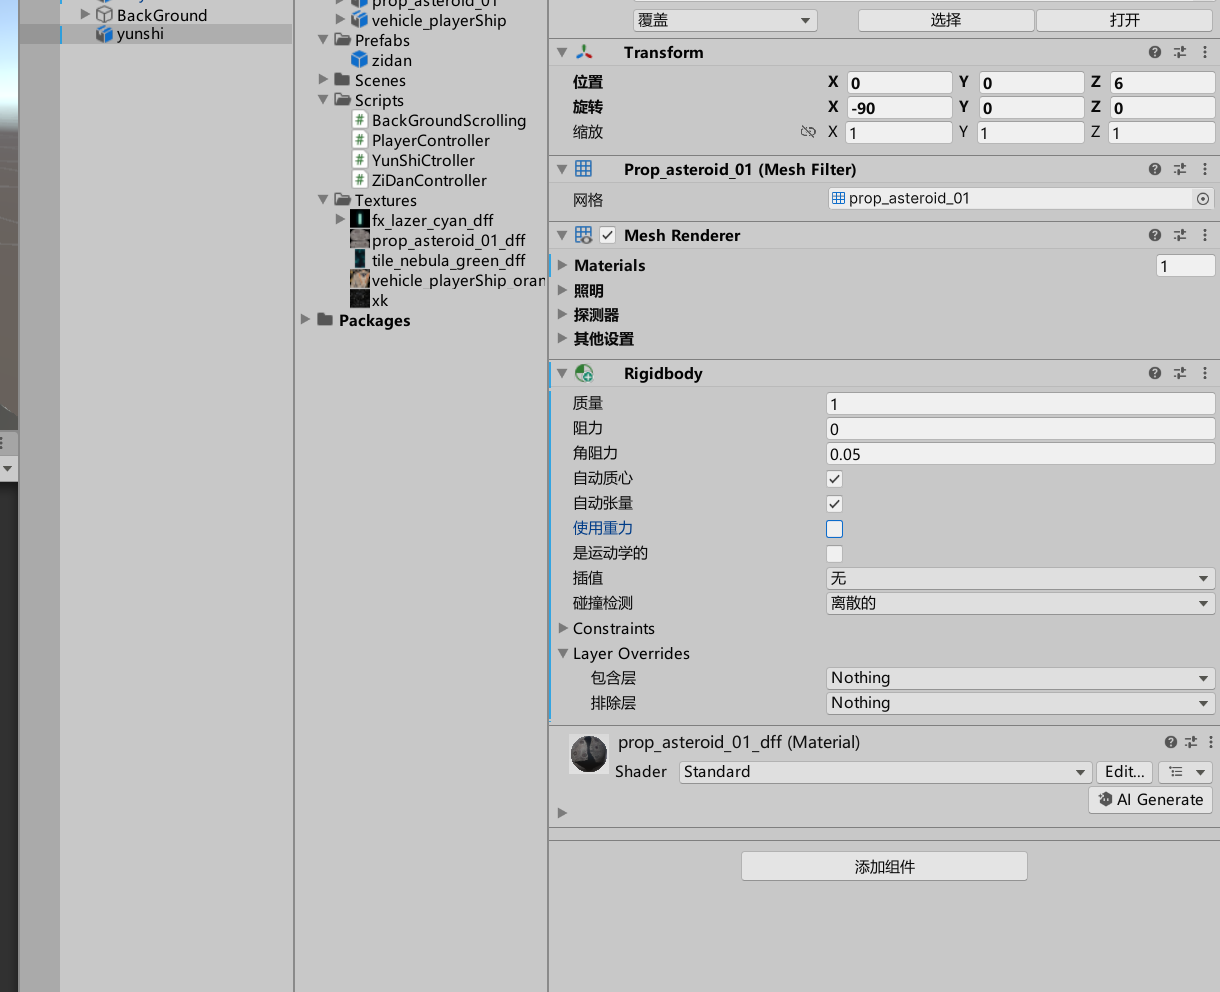
- 修改陨石的位置,如下图:
- 给陨石添加rigidbody,去除使用重力选项
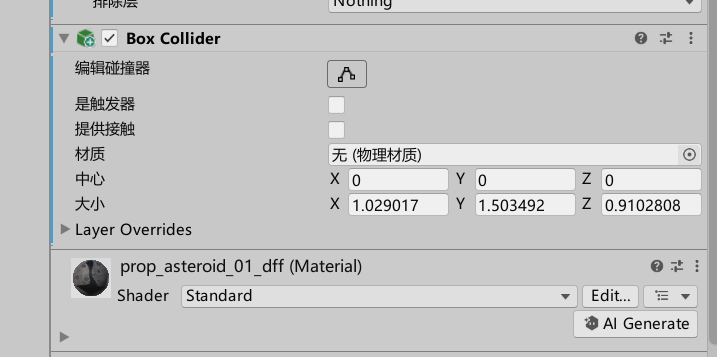
- 给陨石添加 box Collider
制作控制陨石的脚本
- 在Scripts目录中创建YunShiCtroller的脚本
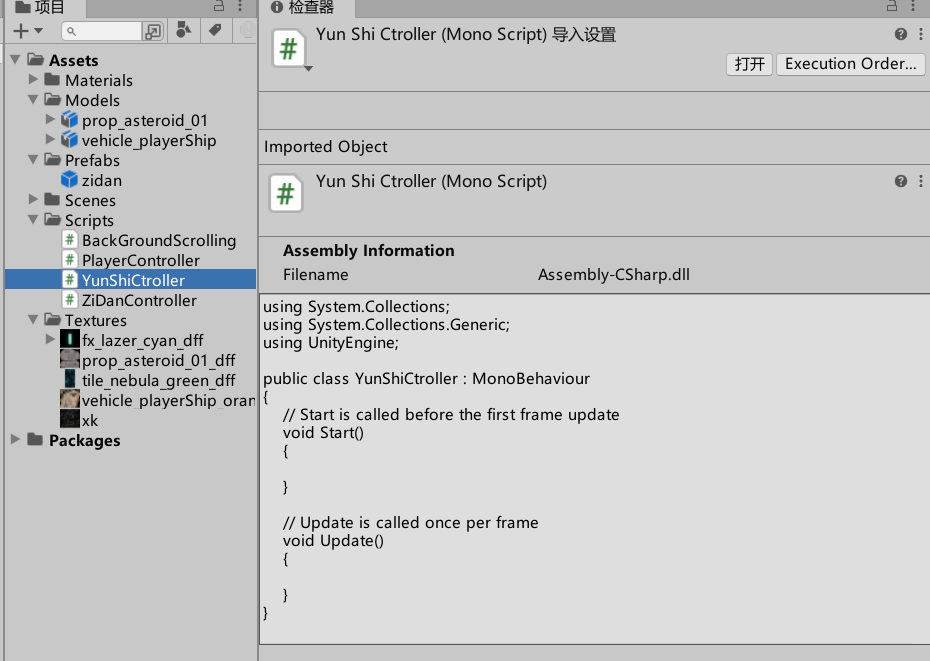
- 在其中输入以下内容:
c#
using System.Collections;
using System.Collections.Generic;
using UnityEngine;

public class YunShiCtroller : MonoBehaviour
{
    // Start is called before the first frame update
    public float speed = 5f;
    public float maxTime = 7f;
    private float currentTime = 0;
    void Start()
    {
        GetComponent<Rigidbody>().velocity = Vector3.back * speed;
    }

    // Update is called once per frame
    void Update()
    {
        currentTime += Time.deltaTime;
        if(currentTime>maxTime)
        {
            Destroy(gameObject);
        }
    }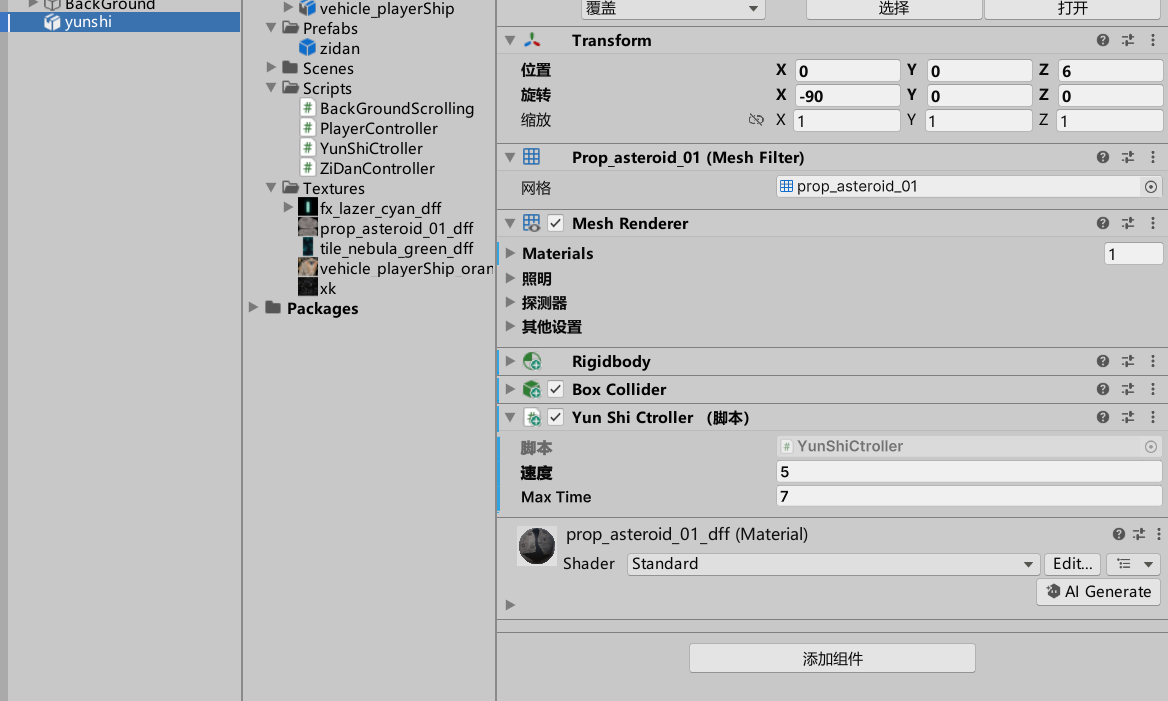
}- 挂载脚本到yunshi对象
修改陨石特性
- 让陨石的大小随机,在YunShiCtroller的脚本文件的Start方法中添加以下内容
c#
float x = Random.Range(0.1f, 0.5f);
transform.localScale = Vector3.one * x;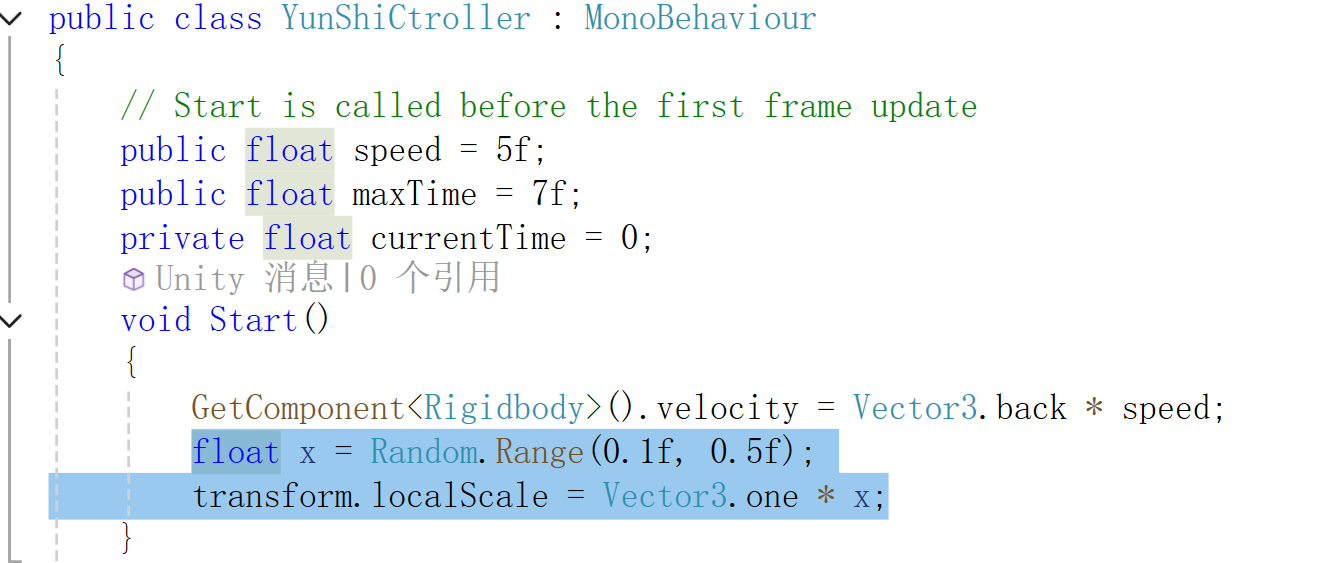
- 让陨石可以翻滚,在YunShiCtroller的脚本中Update方法中添加以下内容
c#
float x = Random.Range(0.1f, 0.5f);
float y = Random.Range(0.1f, 0.5f);
float z = Random.Range(0.1f, 0.5f);
transform.Rotate(new Vector3(x, y, z));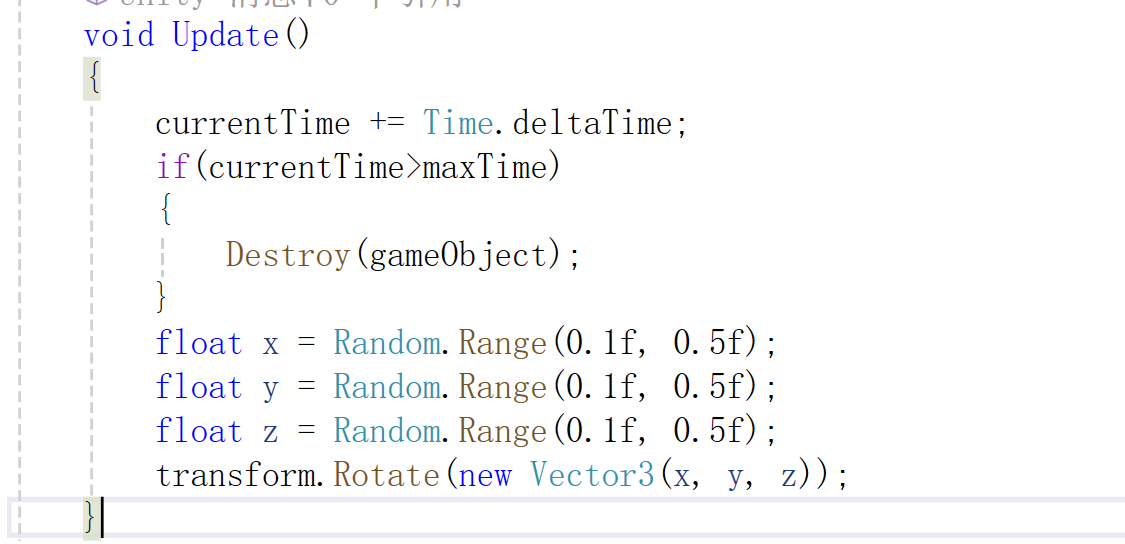
制作预制体
把yunshi对象拖拽到Prefabs目录下,并删除层级中的yunshi对象
程序启动生成陨石
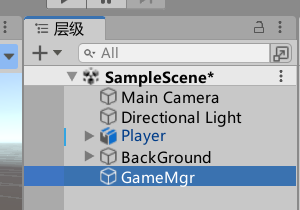
- 创建空对象,命名为GameMgr
- 创建GameMgr脚本
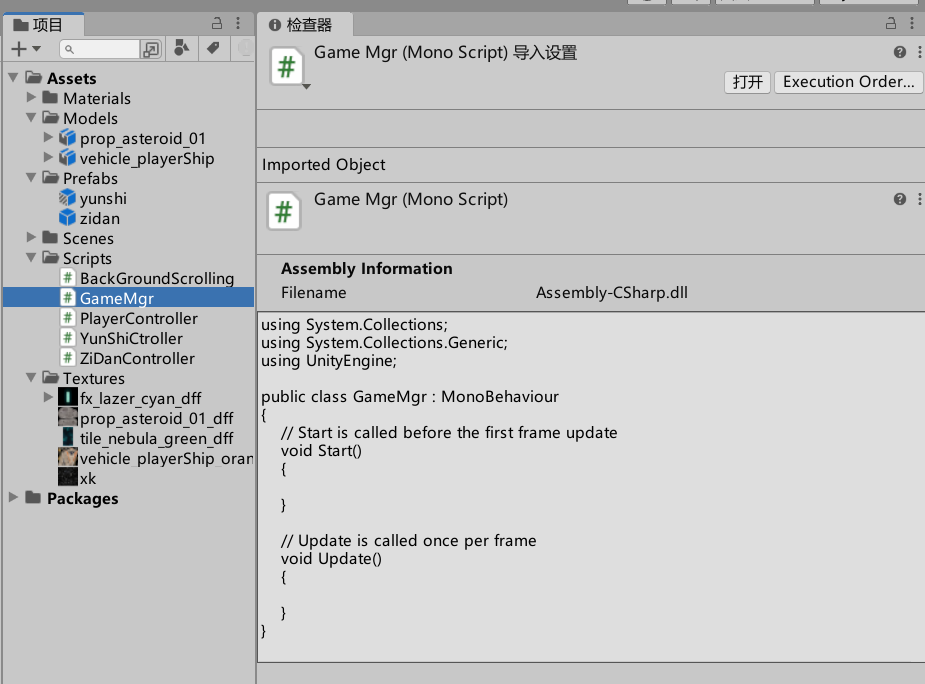
- 添加以下内容
c#
using System.Collections;
using System.Collections.Generic;
using UnityEngine;

public class GameMgr : MonoBehaviour
{
    // Start is called before the first frame update
    public int num = 3;
    public GameObject ysPrefab;
    public Transform ysTransform;
    void Start()
    {
        StartCoroutine("CreateYunShi");
    }
    IEnumerator CreateYunShi()
    {
        Vector3 position = Vector3.zero;
        while(true)
        {
            yield return new WaitForSeconds(3f);
            for(int i=1;i<=num;i++)
            {
                position.x = Random.Range(-3.5f, 3.5f);
                position.z = ysTransform.position.z;
                Instantiate(ysPrefab, position, ysTransform.rotation);
                yield return new WaitForSeconds(1f);
            }
        }
    }
    // Update is called once per frame
    void Update()
    {

    }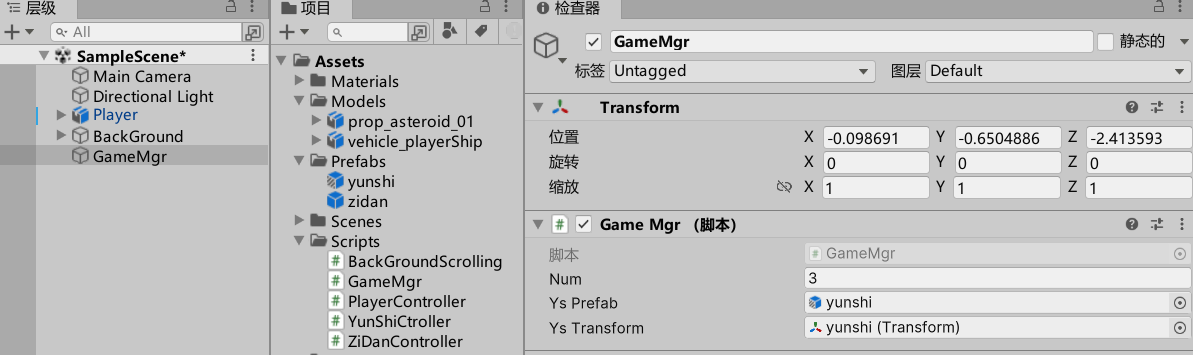
}- 把脚本GameMgr挂载到GameMgr上,并把yunshi的预制体拖拽到对应的位置,如下图
启动程序
可以看到需要的效果