
在制作 PowerPoint 演示文稿时,文本框是最常用的元素之一。通过编程方式添加和设置文本框,可以实现批量创建演示文稿、自动化报告生成等任务。本文将介绍如何使用 Python 在 PowerPoint 中添加文本框,并设置文本内容、格式和边距等属性。
环境配置
首先需要安装 Spire.Presentation 库:
bash
pip install Spire.Presentation基本文本框操作
创建包含文本框的演示文稿
在 PowerPoint 中,文本框实际上是一种特殊的形状(Shape)。通过添加矩形形状并设置其 TextFrame 属性,可以创建文本框。
python
from spire.presentation.common import *
from spire.presentation import *

# 创建演示文稿实例
ppt = Presentation()

# 添加一个矩形形状作为文本框
shape = ppt.Slides[0].Shapes.AppendShape(
    ShapeType.Rectangle,
    RectangleF.FromLTRB(50, 100, 500, 250)
)

# 设置文本内容
shape.TextFrame.Text = "这是一个示例文本框"

# 保存文档
ppt.SaveToFile("TextBox.pptx", FileFormat.Pptx2013)
ppt.Dispose()
生成的 PowerPoint 演示文稿如下:
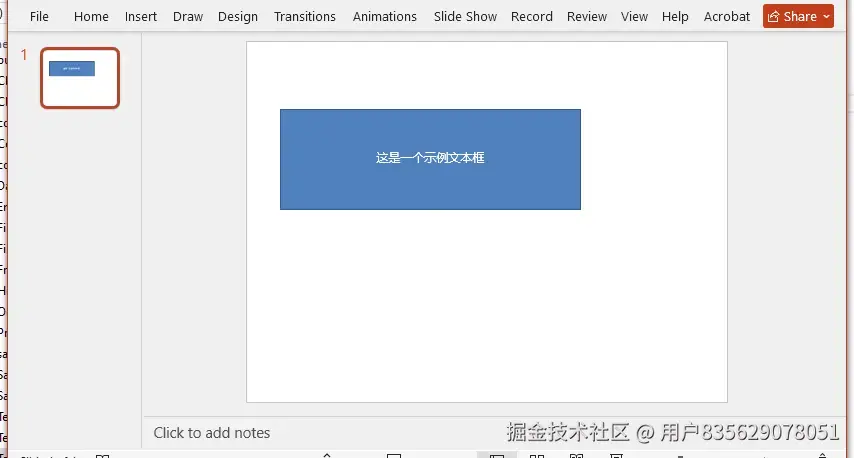
在这段代码中,AppendShape 方法用于在幻灯片上添加形状。RectangleF.FromLTRB 指定了形状的位置和大小,参数依次为左、上、右、下边界的坐标。
设置文本格式
文本框中的文本可以设置字体、颜色、大小等格式属性:
python
from spire.presentation.common import *
from spire.presentation import *

ppt = Presentation()

# 添加文本框
shape = ppt.Slides[0].Shapes.AppendShape(
    ShapeType.Rectangle,
    RectangleF.FromLTRB(50, 100, 500, 250)
)

# 设置文本内容
shape.TextFrame.Text = "PowerPoint 自动化处理"

# 设置文本格式
paragraph = shape.TextFrame.Paragraphs[0]
textRange = paragraph.TextRanges[0]

# 设置字体
textRange.LatinFont = TextFont("微软雅黑")
textRange.FontHeight = 24  # 字体大小

# 设置字体颜色
textRange.Fill.FillType = FillFormatType.Solid
textRange.Fill.SolidColor.Color = Color.get_Red()

# 设置加粗
textRange.Format.IsBold = TriState.TTrue

# 设置形状边框
shape.ShapeStyle.LineColor.Color = Color.get_Black()

ppt.SaveToFile("FormattedTextBox.pptx", FileFormat.Pptx2013)
ppt.Dispose()
生成的 PowerPoint 演示文稿如下:
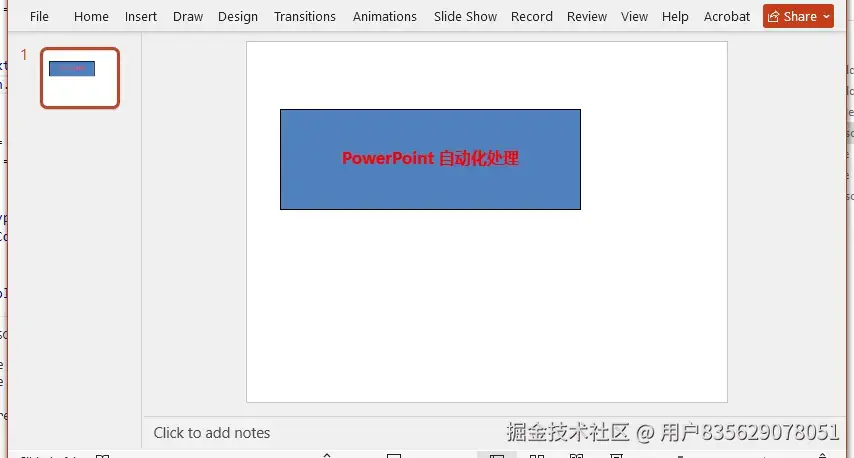
这里通过 TextFrame.Paragraphs[0] 访问第一个段落,通过 TextRanges[0] 访问第一个文本范围,然后设置字体属性。
多段落文本框
文本框可以包含多个段落,每个段落可以有不同的格式:
python
from spire.presentation.common import *
from spire.presentation import *

ppt = Presentation()

# 添加文本框
shape = ppt.Slides[0].Shapes.AppendShape(
    ShapeType.Rectangle,
    RectangleF.FromLTRB(50, 80, 650, 320)
)

# 获取 TextFrame
tf = shape.TextFrame

# 设置第一个段落
para0 = tf.Paragraphs[0]
para0.Text = "第一段:标题文本"
para0.TextRanges[0].FontHeight = 20
para0.TextRanges[0].Fill.FillType = FillFormatType.Solid
para0.TextRanges[0].Fill.SolidColor.Color = Color.get_DarkBlue()
para0.TextRanges[0].Format.IsBold = TriState.TTrue

# 添加第二个段落
para1 = TextParagraph()
tf.Paragraphs.Append(para1)
para1.Text = "第二段:正文内容"
para1.TextRanges[0].FontHeight = 16
para1.TextRanges[0].Fill.FillType = FillFormatType.Solid
para1.TextRanges[0].Fill.SolidColor.Color = Color.get_Black()

# 添加第三个段落
para2 = TextParagraph()
tf.Paragraphs.Append(para2)
para2.Text = "第三段:补充说明"
para2.TextRanges[0].FontHeight = 14
para2.TextRanges[0].Fill.FillType = FillFormatType.Solid
para2.TextRanges[0].Fill.SolidColor.Color = Color.get_Gray()

ppt.SaveToFile("MultiParagraphTextBox.pptx", FileFormat.Pptx2013)
ppt.Dispose()
生成的 PowerPoint 演示文稿如下:

通过 TextParagraph() 创建新段落,然后使用 tf.Paragraphs.Append() 方法添加到文本框中。
设置文本框边距
文本框的内边距控制文本与边框之间的距离:
python
from spire.presentation.common import *
from spire.presentation import *

ppt = Presentation()

# 添加文本框
shape = ppt.Slides[0].Shapes.AppendShape(
    ShapeType.Rectangle,
    RectangleF.FromLTRB(50, 100, 500, 250)
)

# 设置文本内容
shape.TextFrame.Text = "设置了内边距的文本框,文本与边框之间有合适的间距。"

# 设置文本框内边距
shape.TextFrame.MarginTop = 15      # 上边距
shape.TextFrame.MarginBottom = 20   # 下边距
shape.TextFrame.MarginLeft = 25     # 左边距
shape.TextFrame.MarginRight = 25    # 右边距

# 设置段落对齐方式
shape.TextFrame.Paragraphs[0].Alignment = TextAlignmentType.Left

# 设置形状样式
shape.Fill.FillType = FillFormatType.Solid
shape.Fill.SolidColor.Color = Color.get_LightBlue()
shape.ShapeStyle.LineColor.Color = Color.get_Black()

ppt.SaveToFile("TextBoxWithMargins.pptx", FileFormat.Pptx2013)
ppt.Dispose()
生成的 PowerPoint 演示文稿如下:
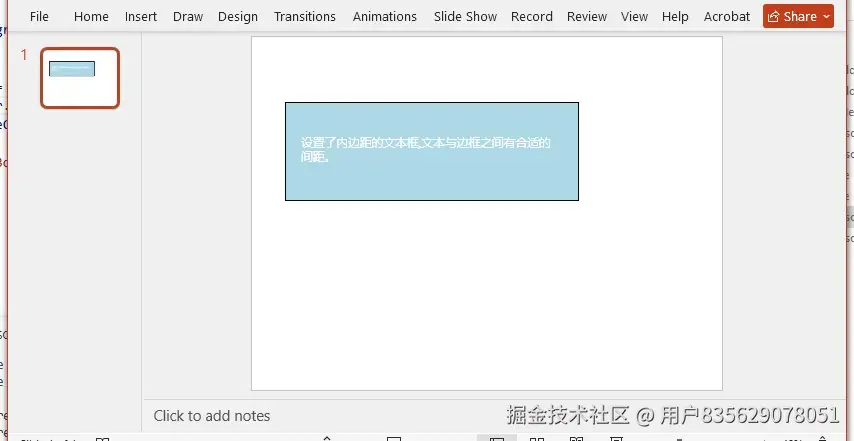
边距的单位是磅(point),适当设置边距可以让文本框内容更加美观。
段落对齐和缩进
文本框中的段落可以设置对齐方式和缩进:
python
from spire.presentation.common import *
from spire.presentation import *

ppt = Presentation()

# 添加文本框
shape = ppt.Slides[0].Shapes.AppendShape(
    ShapeType.Rectangle,
    RectangleF.FromLTRB(50, 80, 650, 350)
)

tf = shape.TextFrame

# 第一段:左对齐,无缩进
para0 = tf.Paragraphs[0]
para0.Text = "左对齐文本"
para0.Alignment = TextAlignmentType.Left
para0.Indent = 0

# 第二段:居中对齐
para1 = TextParagraph()
tf.Paragraphs.Append(para1)
para1.Text = "居中对齐文本"
para1.Alignment = TextAlignmentType.Center

# 第三段:右对齐
para2 = TextParagraph()
tf.Paragraphs.Append(para2)
para2.Text = "右对齐文本"
para2.Alignment = TextAlignmentType.Right

# 第四段:左对齐,带缩进
para3 = TextParagraph()
tf.Paragraphs.Append(para3)
para3.Text = "缩进文本示例"
para3.Alignment = TextAlignmentType.Left
para3.Indent = 50  # 缩进50磅

ppt.SaveToFile("TextBoxAlignment.pptx", FileFormat.Pptx2013)
ppt.Dispose()
生成的 PowerPoint 演示文稿如下:
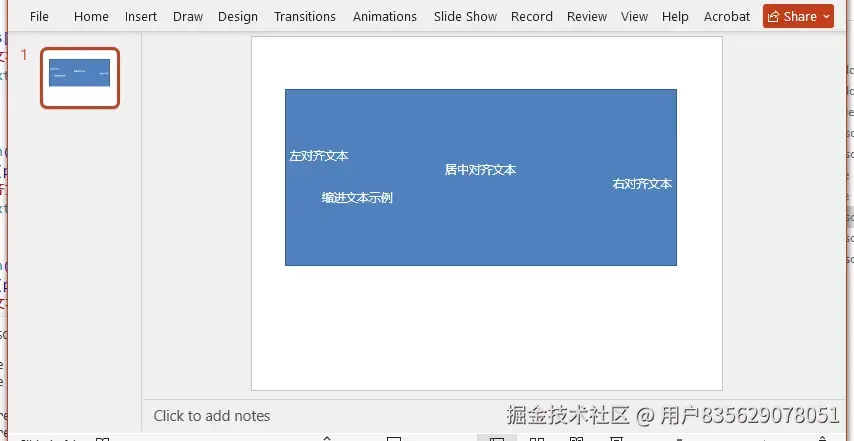
TextAlignmentType 枚举提供了多种对齐方式,包括 Left、Center、Right、Justify 等。
实用技巧
设置行间距
python
shape.TextFrame.Paragraphs[0].LineSpacing = 150 # 1.5倍行距行间距以百分比表示,100 表示单倍行距,150 表示 1.5 倍行距,200 表示双倍行距。
设置文本方向
python
shape.TextFrame.Paragraphs[0].TextDirection = TextDirectionType.Vertical文本可以设置为水平或垂直方向,适用于特殊排版需求。
移除文本框
如果需要从幻灯片中移除文本框:
python
from spire.presentation.common import *
from spire.presentation import *

ppt = Presentation()
ppt.LoadFromFile("input.pptx")

slide = ppt.Slides[0]

# 遍历并移除所有形状(包括文本框)
i = 0
while i < slide.Shapes.Count:
    shape = slide.Shapes[i] if isinstance(slide.Shapes[i], IAutoShape) else None
    if shape:
        slide.Shapes.Remove(shape)
    else:
        i += 1

ppt.SaveToFile("RemovedTextBox.pptx", FileFormat.Pptx2013)
ppt.Dispose()
总结
本文介绍了使用 Python 在 PowerPoint 中添加和设置文本框的基本方法,包括创建文本框、设置文本格式、添加多段落内容、设置边距和对齐方式等操作。通过这些技术,可以实现演示文稿的自动化生成,提高工作效率。在实际应用中,可以根据需要组合使用这些功能,创建符合特定需求的演示文稿模板。