SpringBoot整合Junit-Redis-打包
1.整合Junit
- 在springboot项目中使用Junit进行单元测试,添加依赖
xml
<dependency>
	<groupId>org.springframework.boot</groupId>
	<artifactId>spring-boot-starter-test</artifactId>
</dependency>- 在测试包下面编写测试类
在测试类上面必须加上@Springboot注解
编写测试类:service\UserServiceTest.java
java
import com.itheima.pojo.User;
import org.junit.Test;
import org.junit.runner.RunWith;
import org.springframework.beans.factory.annotation.Autowired;
import org.springframework.boot.test.context.SpringBootTest;
import org.springframework.test.context.junit4.SpringRunner;
import java.util.Date;
@RunWith(SpringRunner.class)
@SpringBootTest
public class UserServiceTest {
	@Autowired
	private UserService userService;
	@Test
	public void queryById() {
		User user = userService.queryById(1L);
		System.out.println("user = " + user);
	}
	@Test
	public void saveUser() {
		User user = new User();
		user.setUserName("test");
		user.setName("test");
		user.setPassword("123456");
		user.setSex(1);
		user.setAge(20);
		user.setCreated(new Date());
		userService.saveUser(user);
	}
2.整和Redis
- 在pom.xml文件中添加依赖
xml
<dependency>
	<groupId>org.springframework.boot</groupId>
	<artifactId>spring-boot-starter-data-redis</artifactId>
</dependency>- 配置application.yml
yml
spring:
	redis: localhost
port: 6379- 编写\redis\RedisTest.java 测试代码
java
import org.junit.Test;
import org.junit.runner.RunWith;
import org.springframework.beans.factory.annotation.Autowired;
import org.springframework.boot.test.context.SpringBootTest;
import org.springframework.data.redis.core.RedisTemplate;
import org.springframework.test.context.junit4.SpringJUnit4ClassRunner;
import org.springframework.test.context.junit4.SpringRunner;

import java.util.List;
import java.util.Set;
@RunWith(SpringRunner.class)
@SpringBootTest
public class RedisTest {
	@Autowired
	private RedisTemplate redisTemplate;
	@Test
	public void test(){
		//string字符串
		//redisTemplate.opsForValue().set("str", "heima");
		redisTemplate.boundValueOps("str").set("heima");
		System.out.println("str = " + redisTemplate.opsForValue().get("str"));
		//hash散列
		redisTemplate.boundHashOps("h_key").put("name", "黑马");
		redisTemplate.boundHashOps("h_key").put("age", 13);

		//获取所有域对应的值
		Set set = redisTemplate.boundHashOps("h_key").keys();
		System.out.println("hash散列所有的域:" + set);
		List list = redisTemplate.boundHashOps("h_key").values();
		System.out.println("hash散列所有的域值:" + list);
		//list列表
		redisTemplate.boundListOps("l_key").leftPush("c");
		redisTemplate.boundListOps("l_key").leftPush("b");
		redisTemplate.boundListOps("l_key").leftPush("a");
		list = redisTemplate.boundListOps("l_key").range(0, -1);
		System.out.println("列表的值:" + list);
		//set集合
		redisTemplate.boundSetOps("set_key").add("a", "b", "c");
		set = redisTemplate.boundSetOps("set_key").members();
		System.out.println("集合的元素:" + set);
		//sorted set有序集合
		redisTemplate.boundZSetOps("z_key").add("a", 30);
		redisTemplate.boundZSetOps("z_key").add("b", 20);
		redisTemplate.boundZSetOps("z_key").add("c", 10);
		set = redisTemplate.boundZSetOps("z_key").range(0, -1);
		System.out.println("有序集合的元素:" + set);
		}
}- 解决Reids乱码配置类:RedisConfig.java
java
import com.fasterxml.jackson.annotation.JsonAutoDetect;
import com.fasterxml.jackson.annotation.PropertyAccessor;
import com.fasterxml.jackson.databind.ObjectMapper;
import org.springframework.context.annotation.Bean;
import org.springframework.context.annotation.Configuration;
import org.springframework.data.redis.connection.RedisConnectionFactory;
import org.springframework.data.redis.core.RedisTemplate;
import org.springframework.data.redis.serializer.Jackson2JsonRedisSerializer;
import org.springframework.data.redis.serializer.StringRedisSerializer;

@Configuration
public class RedisConfig {

    @Bean
    public RedisTemplate<String, Object> redisTemplate(RedisConnectionFactory factory) {
        RedisTemplate<String, Object> template = new RedisTemplate<>();
        template.setConnectionFactory(factory);

        // 序列化配置
        StringRedisSerializer stringSerializer = new StringRedisSerializer();
        Jackson2JsonRedisSerializer<Object> jsonSerializer = new Jackson2JsonRedisSerializer<>(Object.class);

        ObjectMapper om = new ObjectMapper();
        om.setVisibility(PropertyAccessor.ALL, JsonAutoDetect.Visibility.ANY);
        om.activateDefaultTyping(om.getPolymorphicTypeValidator(), ObjectMapper.DefaultTyping.NON_FINAL);
        jsonSerializer.setObjectMapper(om);

        // KEY 用 String 序列化
        template.setKeySerializer(stringSerializer);
        template.setHashKeySerializer(stringSerializer);

        // VALUE 用 JSON 序列化(解决乱码)
        template.setValueSerializer(jsonSerializer);
        template.setHashValueSerializer(jsonSerializer);

        template.afterPropertiesSet();
        return template;
    }
}
3. SpringBoot项目部署
- 项目打包
添加项目的pom.xml插件;在pom.xml要显式的加入插件spring-boot-maven-plugin,否则无法产生 jar 清单
文件,导致打出来的 jar 无法使用命令运行;
xml
<build>
	<plugins>
	<!-- 打jar包时如果不配置该插件,打出来的jar包没有清单文件 -->
		<plugin>
			<groupId>org.springframework.boot</groupId>
			<artifactId>spring-boot-maven-plugin</artifactId>
		</plugin>
	</plugins>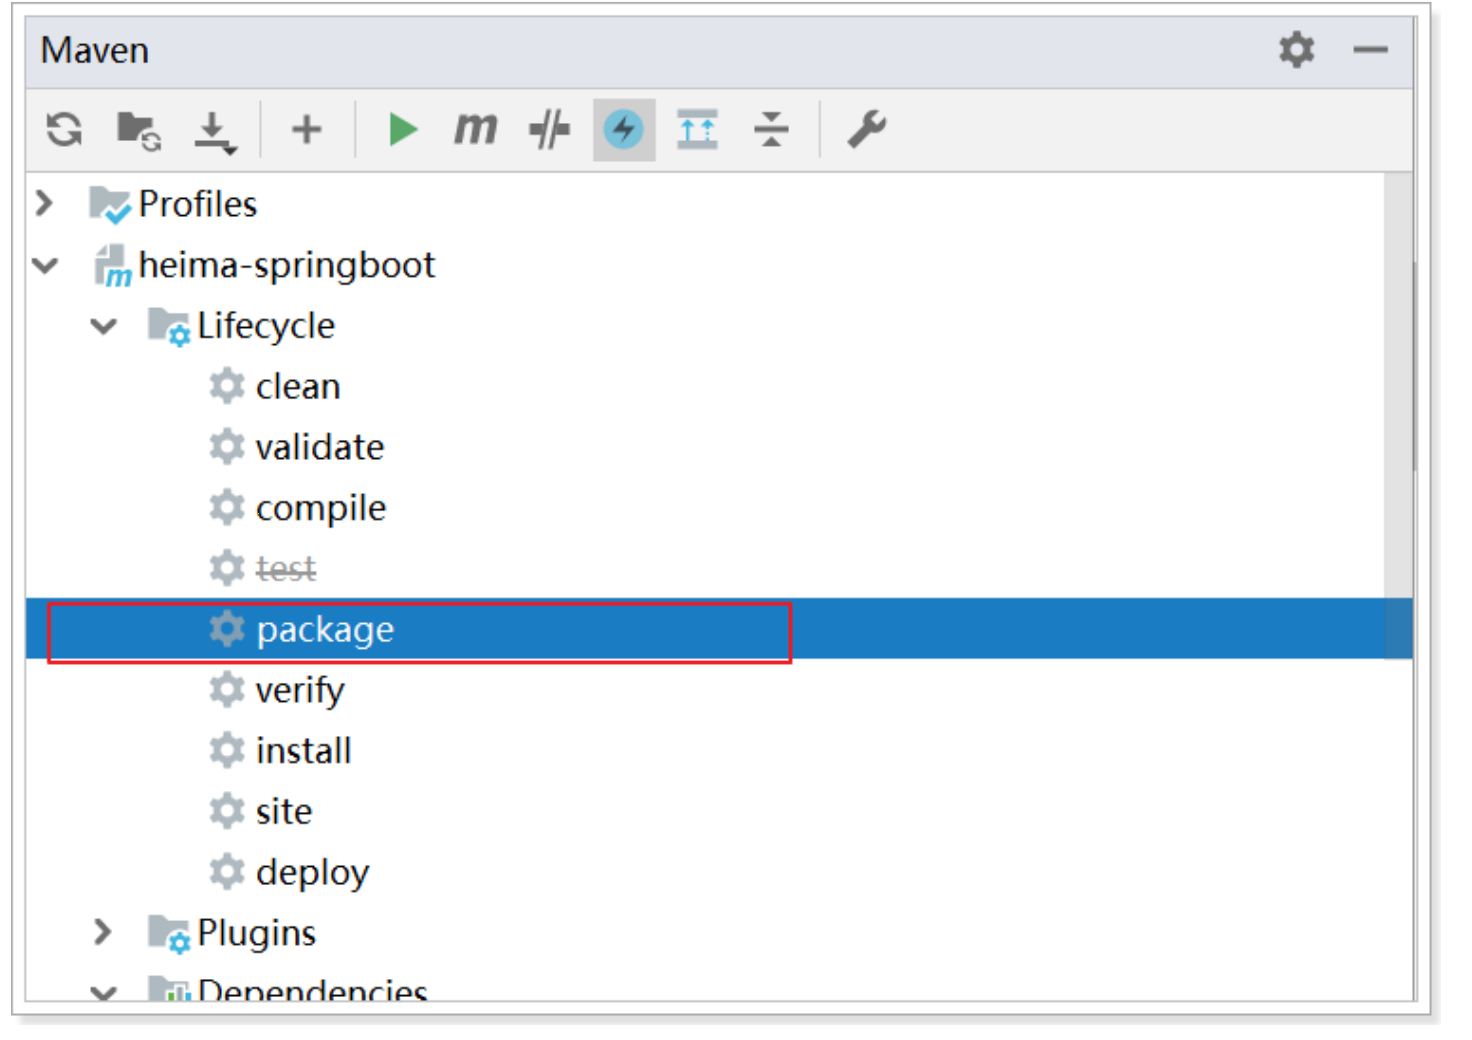
</build>- 使用maven命令package打包
之后在项目下的 target 目录中将有如下jar包: - 运行jar包
java -jar xxx-1.0-SNAPSHOT.jar