1.栈
1.1栈的概念及结构
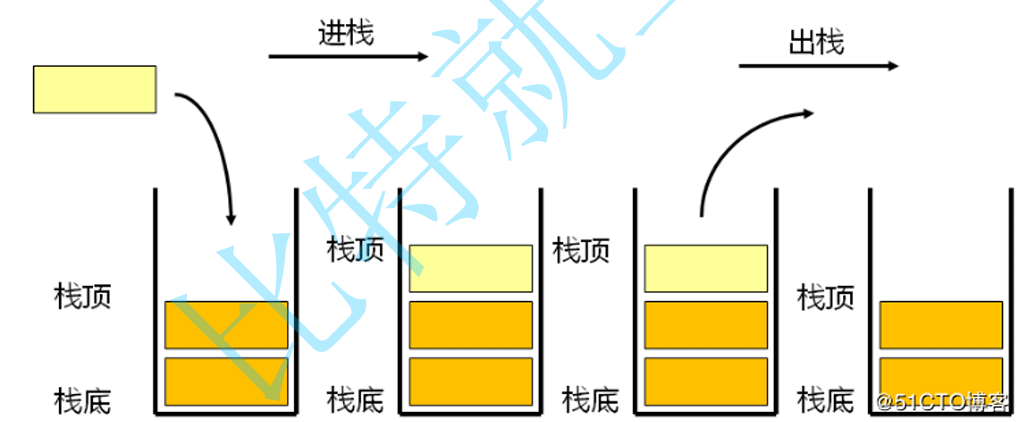
栈:一种只允许在固定的一端对元素进行插入和删除操作的线性表。
进行数据插入和删除操作的一端称为栈顶,另一端称为栈底。
栈中的数据遵循**后进先出LIFO(Last In First Out)**的原则。
压栈 :向栈顶插入新元素。
出栈 :从栈顶移除元素。
该过程的示意图如下:
1.2栈的实现
画图进行分析,可知栈可用数组,双向链表或者单向链表来实现。
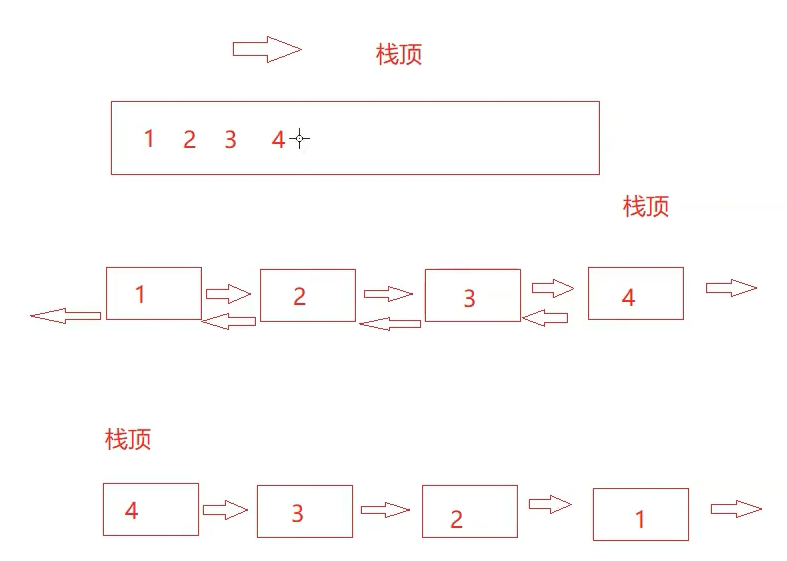
· 双向链表:需要维护双指针,实现起来很麻烦,直接排除
· 单向链表:需要头插法模拟栈顶进行插入或删除操作,逻辑可行
· 数组:缓存命中率高,尾插尾删代价小,效率最优。
综合对比,我们优先选择数组来实现栈。
1.3用数组实现栈
首先我们创建三个文件:Stack.h,Stack.c,test.c
接下来我们在Stack.h中写出核心接口:
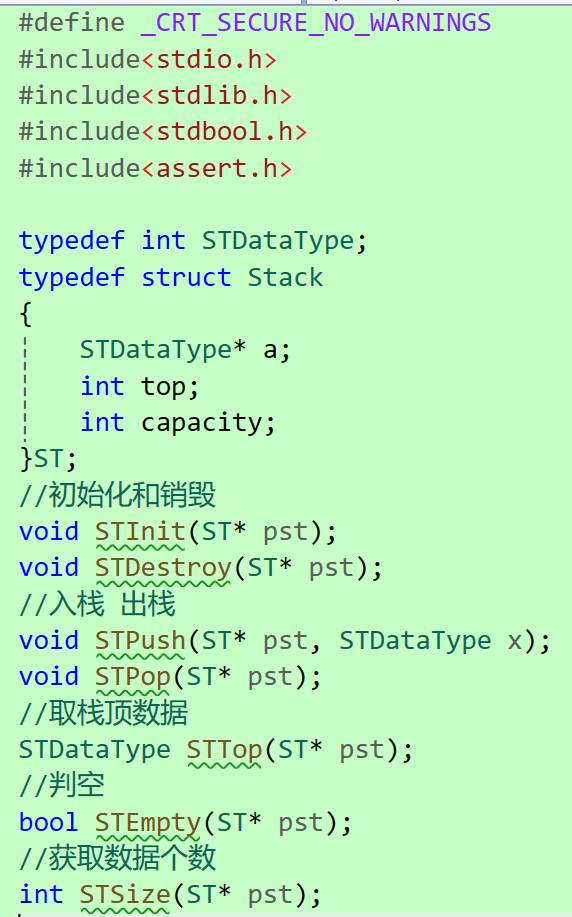
然后我们在Stack.c中实现各个接口:
1.3.1 初始化与销毁
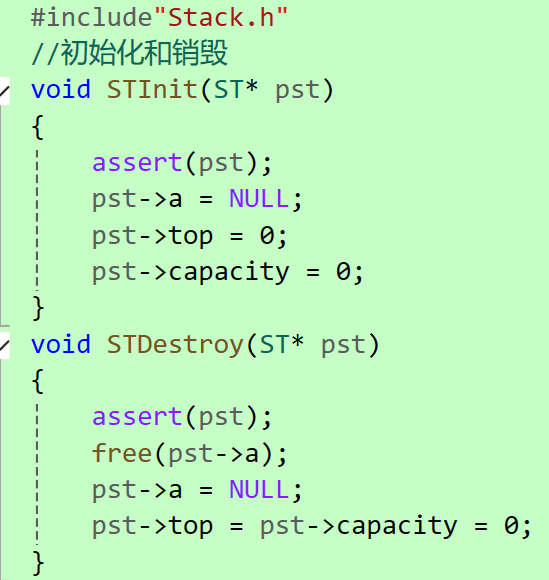
top初始值有两种主流设计:
1.top指向栈顶数据(初始值为-1)

top值等价当前栈顶下标
2.top指向栈顶数据的下一个

top值等价于栈内元素总数
注意:两种方式逻辑不同,判满,入栈出栈的边界条件也需要对应调整。
1.3.2 入栈与出栈
代码如下:
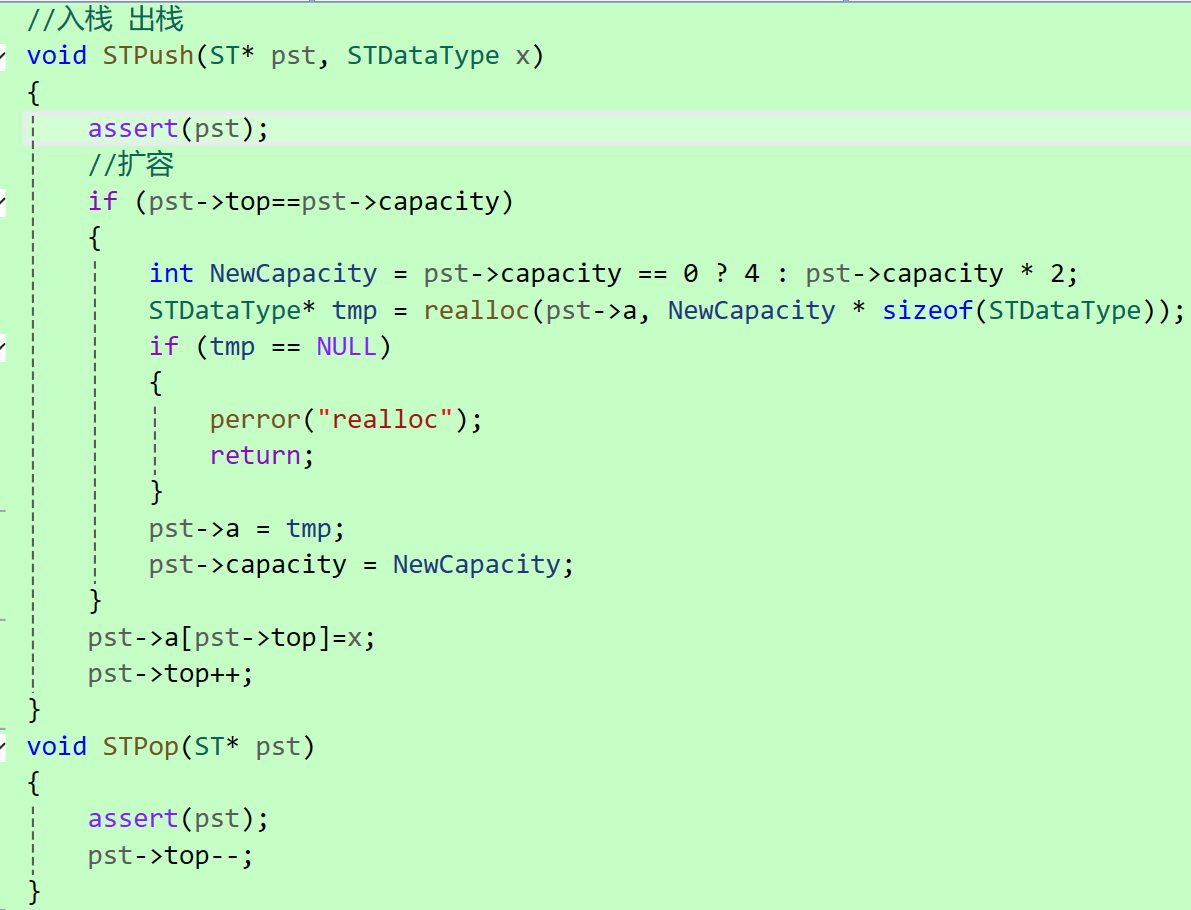
补充:如果采用top=-1的方案,入栈前必须先top++,同时栈满条件变为 top+1==capacity。
1.3.3 取栈顶数据
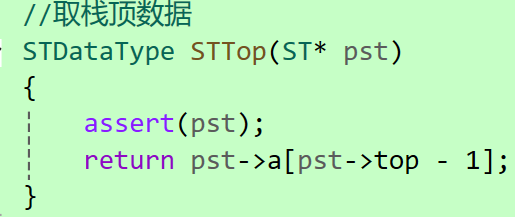
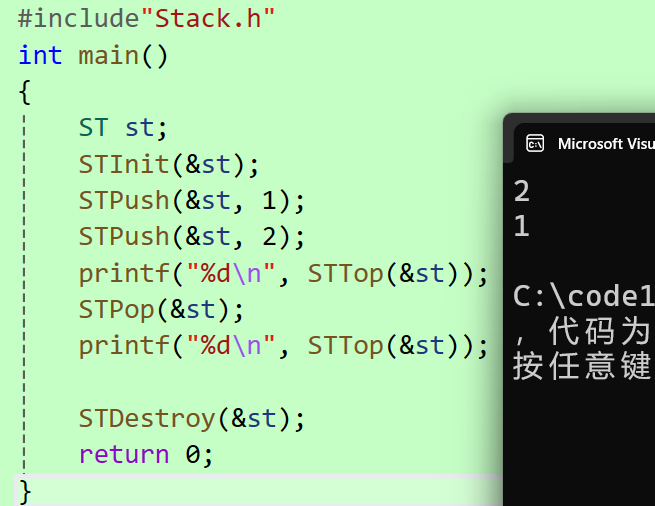
接下来我们在test.c中测试一下:
1.3.4判空与获取数据个数
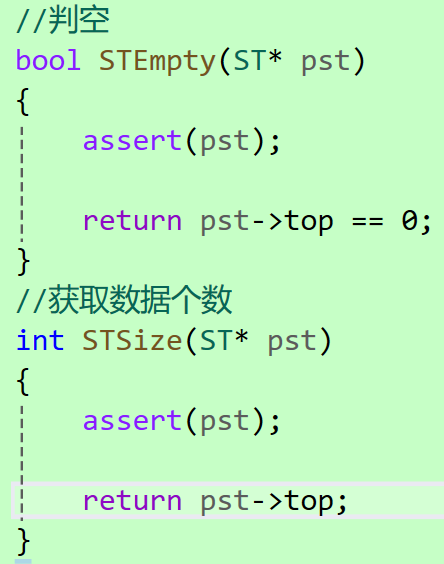
在test.c中再进行测试:
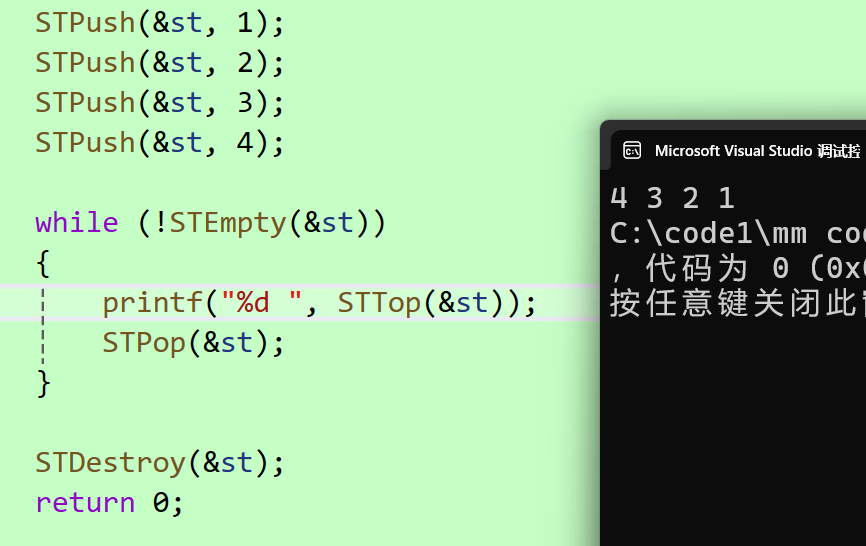
注:入栈顺序是1 2 3 4,出栈顺序不一定绝对是4 3 2 1,因为边入边出的话顺序就仍然是1 2 3 4。
完整代码如下:
Stack.h文件:
cs
#define _CRT_SECURE_NO_WARNINGS
#include<stdio.h>
#include<stdlib.h>
#include<stdbool.h>
#include<assert.h>

typedef int STDataType;
typedef struct Stack
{
	STDataType* a;
	int top;
	int capacity;
}ST;
//初始化和销毁
void STInit(ST* pst);
void STDestroy(ST* pst);
//入栈 出栈
void STPush(ST* pst, STDataType x);
void STPop(ST* pst);
//取栈顶数据
STDataType STTop(ST* pst);
//判空
bool STEmpty(ST* pst);
//获取数据个数
int STSize(ST* pst);
Stack.c文件:
cs
#include"Stack.h"
//初始化和销毁
void STInit(ST* pst)
{
	assert(pst);
	pst->a = NULL;
	pst->top = 0;
	pst->capacity = 0;
}
void STDestroy(ST* pst)
{
	assert(pst);
	free(pst->a);
	pst->a = NULL;
	pst->top = pst->capacity = 0;
}
//入栈 出栈
void STPush(ST* pst, STDataType x)
{
	assert(pst);
	//扩容
	if (pst->top==pst->capacity)
	{
		int NewCapacity = pst->capacity == 0 ? 4 : pst->capacity * 2;
		STDataType* tmp = realloc(pst->a, NewCapacity * sizeof(STDataType));
		if (tmp == NULL)
		{
			perror("realloc");
			return;
		}
		pst->a = tmp;
		pst->capacity = NewCapacity;
	}
	pst->a[pst->top]=x;
	pst->top++;
}
void STPop(ST* pst)
{
	assert(pst);
	pst->top--;
}
//取栈顶数据
STDataType STTop(ST* pst)
{
	assert(pst);
	return pst->a[pst->top - 1];
}
//判空
bool STEmpty(ST* pst)
{
	assert(pst);

	return pst->top == 0;
}
//获取数据个数
int STSize(ST* pst)
{
	assert(pst);

	return pst->top;
}
test.c文件:
cs
#include"Stack.h"
int main()
{
	ST st;
	STInit(&st);
	/*STPush(&st, 1);
	STPush(&st, 2);
	printf("%d\n", STTop(&st));
	STPop(&st);
	printf("%d\n", STTop(&st));*/

	STPush(&st, 1);
	STPush(&st, 2);
	STPush(&st, 3);
	STPush(&st, 4);

	while (!STEmpty(&st))
	{
		printf("%d ", STTop(&st));
		STPop(&st);
	}

	STDestroy(&st);
	return 0;
}
2.队列
2.1队列的概念及结构
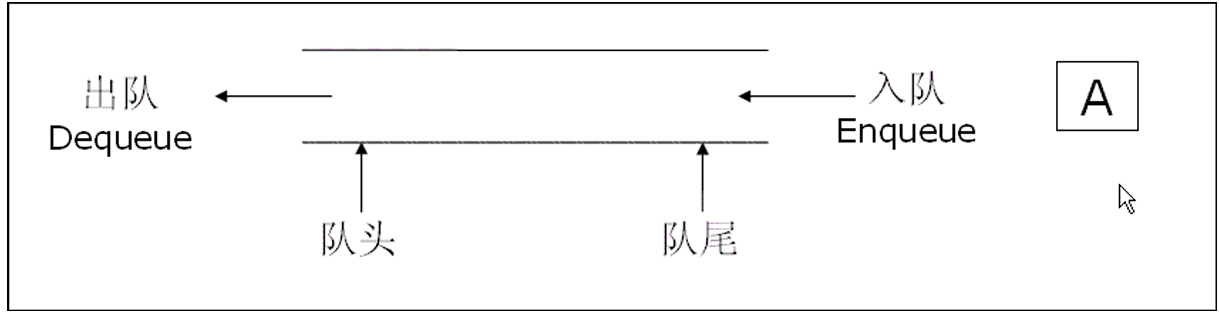
队列:一种只允许在一端进行插入数据操作,在另一端进行删除数据操作的线性表。
队列遵循**先进先出 FIFO(First In First Out)**的原则。
入队列:进行插入操作的一端称为队尾
出队列:进行删除操作的一端称为队头
2.2队列的实现
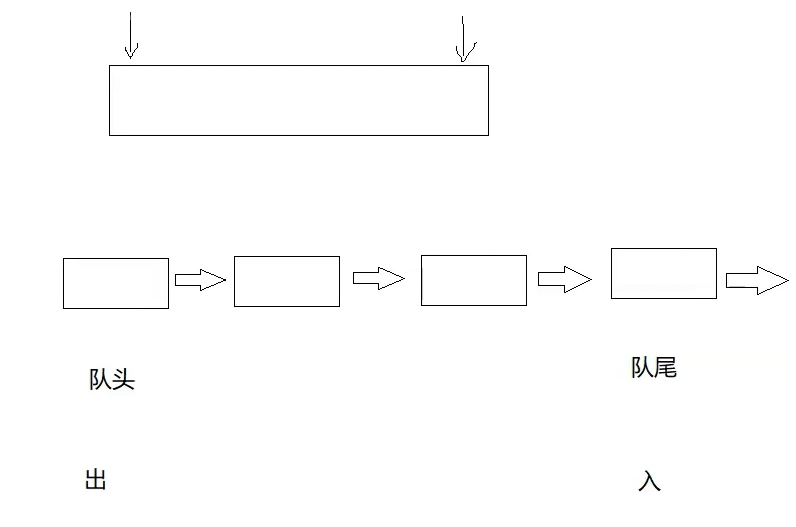
画图进行分析,可知用数组难以实现队列,单链表与双向链表均可实现。但是出于对空间利用率的考量,我们优先选用单链表。
2.3用单链表实现队列
首先我们创建三个文件:Queue.h,Queue.c,test.c
然后我们创建链表节点,存储数据与指向下一个节点的指针:
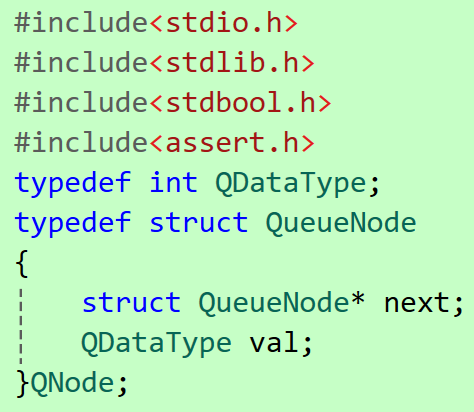
通过分析可得我们需要创建两个指针phead与ptail,用于进行队尾插入跟队头删除。
接下来我们再额外封装一个结构体,维护phead与ptail:
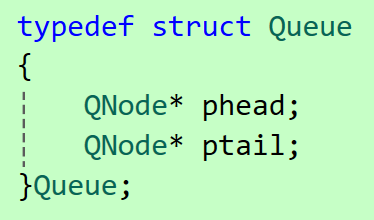
创建两个结构体的好处是:既避免了传多个参数,又避免了传二级指针
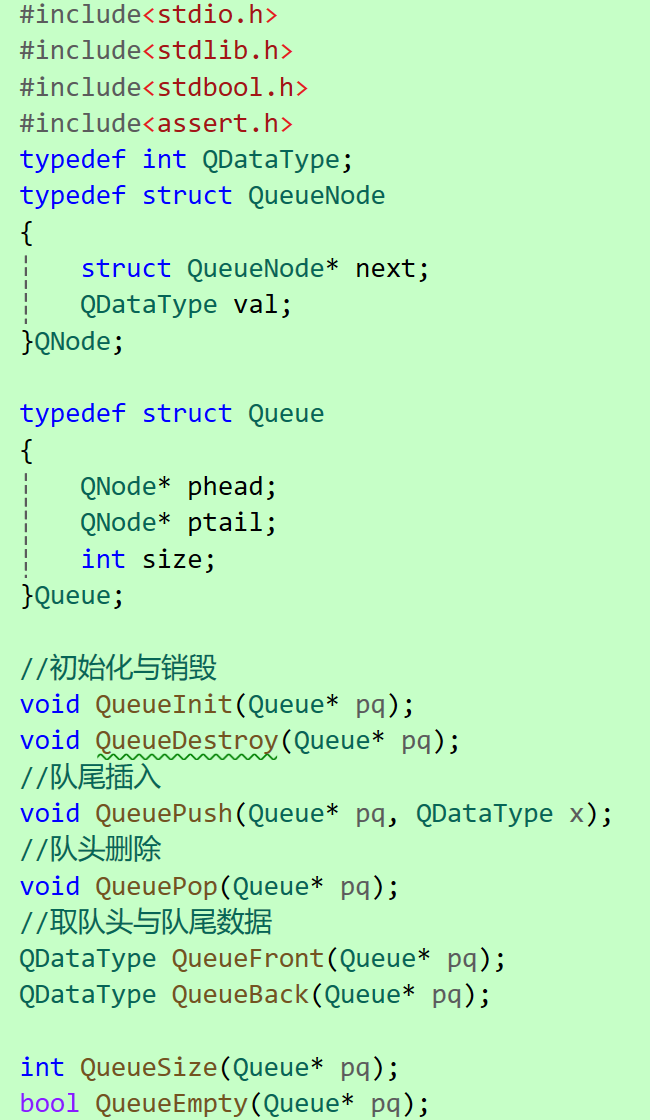
最后我们可以在第二个结构体中增加一个整型变量size来记录数据个数,可O(1)获取队列长度,无需遍历链表。
Queue.h文件中的代码如下:
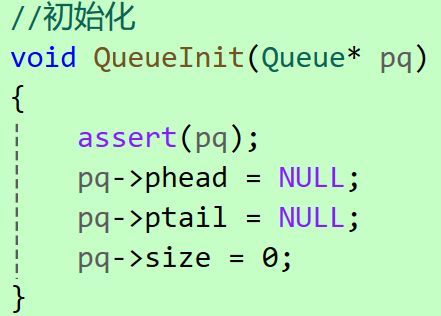
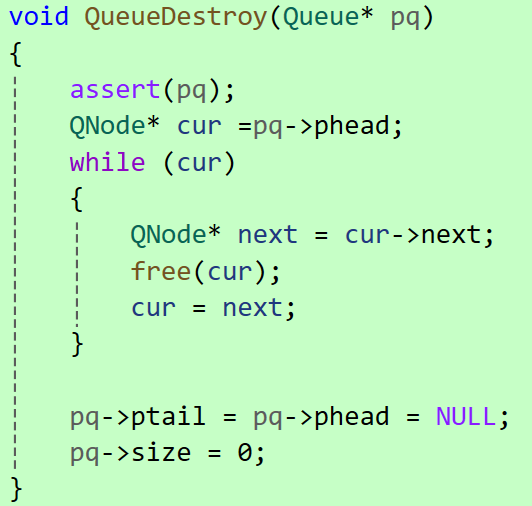
2.3.1初始化与销毁
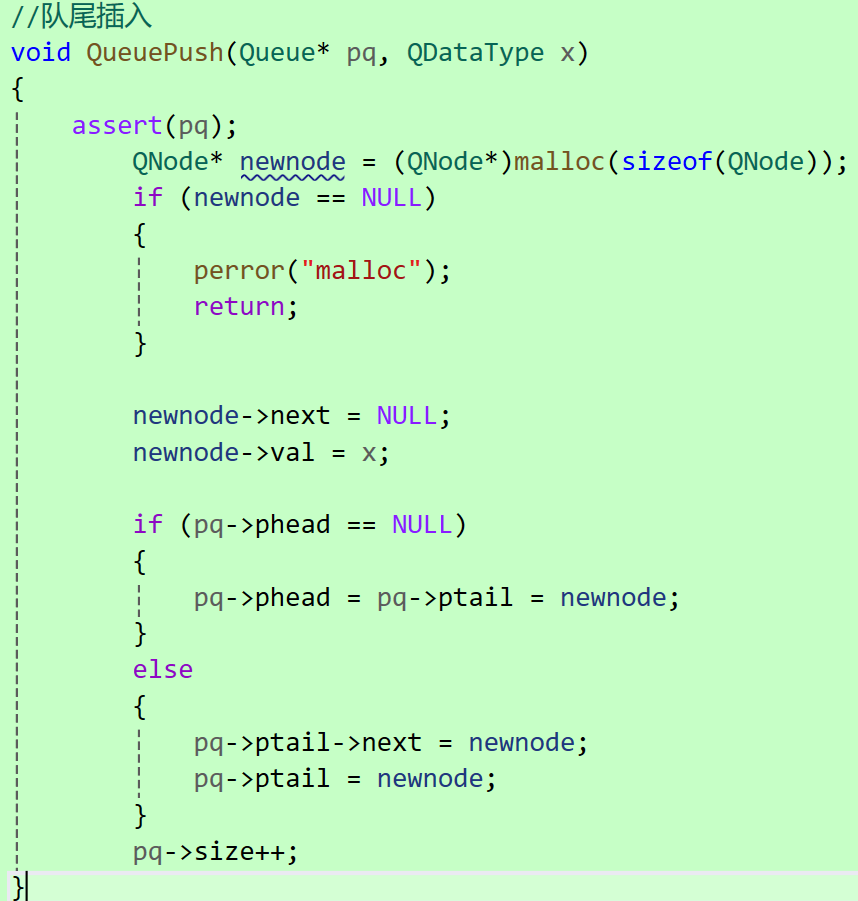
2.3.2 队尾插入
2.3.3 队头删除
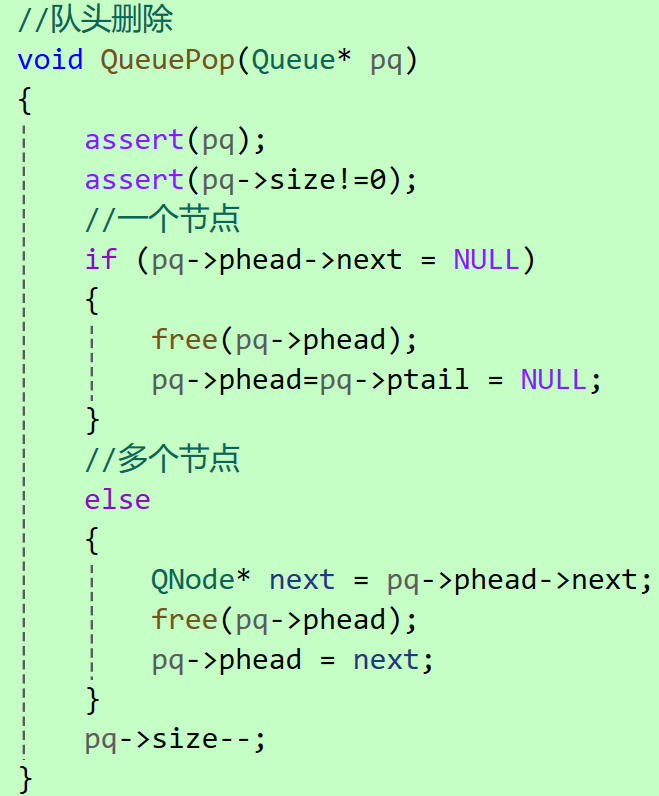
队头删除分为两种情况:
1.链表中还存在多个节点
2.链表中还剩下一个节点
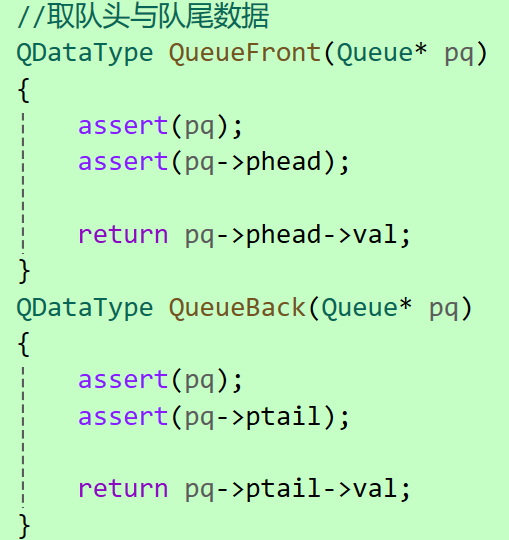
2.3.4 取队头与队尾数据
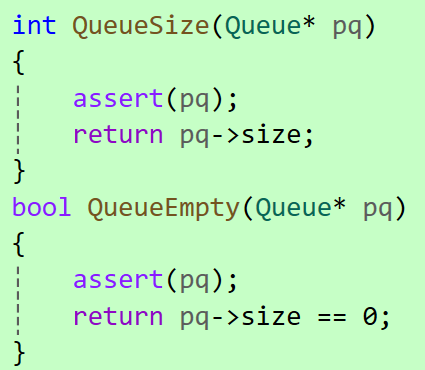
2.3.5 判空与获取数据个数
最后我们测试一下:
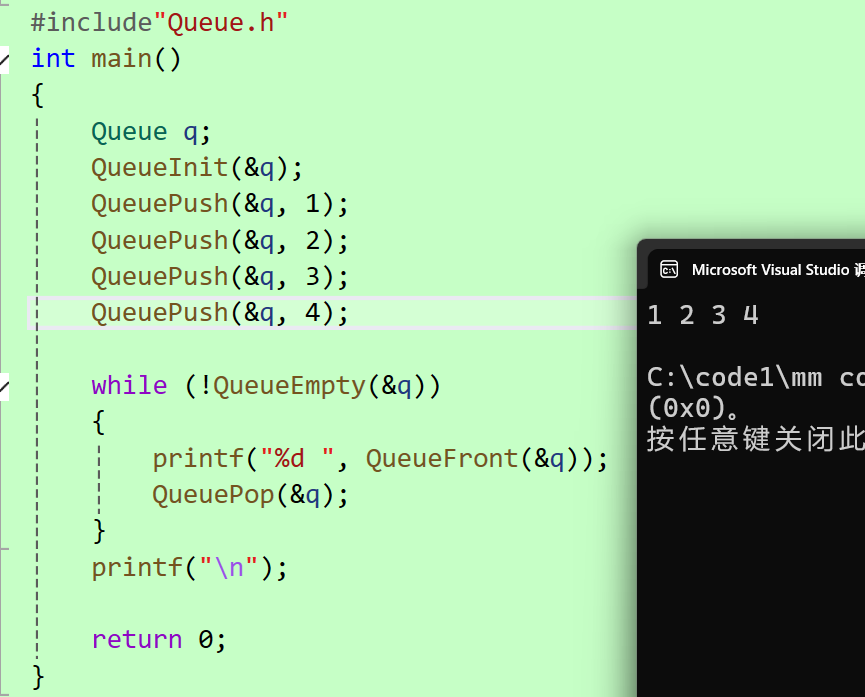
完整代码如下:
Queue.h文件:
cs
#include<stdio.h>
#include<stdlib.h>
#include<stdbool.h>
#include<assert.h>
typedef int QDataType;
typedef struct QueueNode
{
	struct QueueNode* next;
	QDataType val;
}QNode;

typedef struct Queue
{
	QNode* phead;
	QNode* ptail;
	int size;
}Queue;

//初始化与销毁
void QueueInit(Queue* pq);
void QueueDestroy(Queue* pq);
//队尾插入
void QueuePush(Queue* pq, QDataType x);
//队头删除
void QueuePop(Queue* pq);
//取队头与队尾数据
QDataType QueueFront(Queue* pq);
QDataType QueueBack(Queue* pq);

int QueueSize(Queue* pq);
bool QueueEmpty(Queue* pq);
Queue.c文件:
cs
#include"Queue.h"
//初始化
void QueueInit(Queue* pq)
{
	assert(pq);
	pq->phead = NULL;
	pq->ptail = NULL;
	pq->size = 0;
}
//队尾插入
void QueuePush(Queue* pq, QDataType x)
{
	assert(pq);
		QNode* newnode = (QNode*)malloc(sizeof(QNode));
		if (newnode == NULL)
		{
			perror("malloc");
			return;
		}

		newnode->next = NULL;
		newnode->val = x;

		if (pq->phead == NULL)
		{
			pq->phead = pq->ptail = newnode;
		}
		else
		{
			pq->ptail->next = newnode;
			pq->ptail = newnode;
		}
		pq->size++;
}
//队头删除
void QueuePop(Queue* pq)
{
	assert(pq);
	assert(pq->size!=0);
	//一个节点
	if (pq->phead->next == NULL)
	{
		free(pq->phead);
		pq->phead=pq->ptail = NULL;
	}
	//多个节点
	else
	{
		QNode* next = pq->phead->next;
		free(pq->phead);
		pq->phead = next;
	}
	pq->size--;
}
//取队头与队尾数据
QDataType QueueFront(Queue* pq)
{
	assert(pq);
	assert(pq->phead);

	return pq->phead->val;
}
QDataType QueueBack(Queue* pq)
{
	assert(pq);
	assert(pq->ptail);

	return pq->ptail->val;
}

int QueueSize(Queue* pq)
{
	assert(pq);
	return pq->size;
}
bool QueueEmpty(Queue* pq)
{
	assert(pq);
	return pq->size == 0;
}

void QueueDestroy(Queue* pq)
{
	assert(pq);
	QNode* cur =pq->phead;
	while (cur)
	{
		QNode* next = cur->next;
		free(cur);
		cur = next;
	}

	pq->ptail = pq->phead = NULL;
	pq->size = 0;
}
test.c文件:
cs
#include"Queue.h"
int main()
{
	Queue q;
	QueueInit(&q);
	QueuePush(&q, 1);
	QueuePush(&q, 2);
	QueuePush(&q, 3);
	QueuePush(&q, 4);

	while (!QueueEmpty(&q))
	{
		printf("%d ", QueueFront(&q));
		QueuePop(&q);
	}
	printf("\n");

	return 0;
}