经过前面五个版本的迭代,下面是一个企业级web版本的前后端分离学生系统
技术栈:SpringBoot3 + Vue3 + MySQL + MyBatis
整体架构说明
- 后端:SpringBoot 提供接口(增删改查)
- 数据库:MySQL(student 表)
- 前端:Vue3 + Element Plus(浏览器网页)
- 交互方式:HTTP 请求(前后端分离)
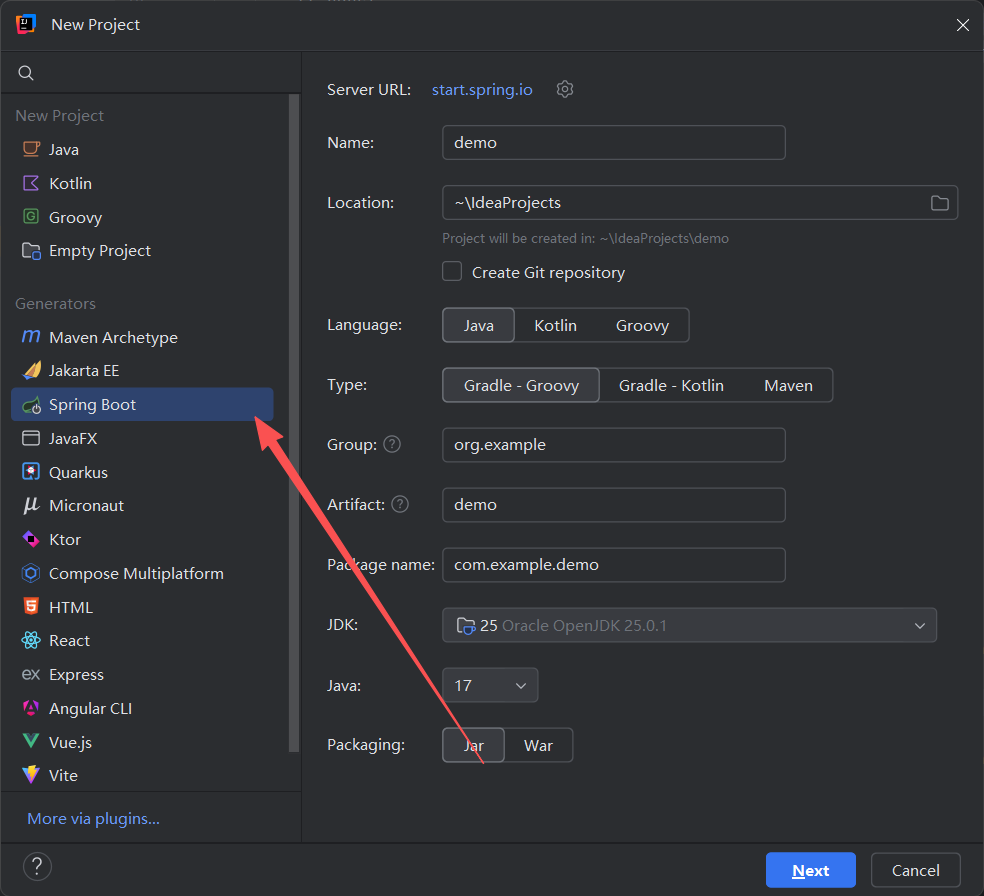
先在idea里面创建一个springboot项目(以下方法没成功,换了新建maven然后修改pom.xml的办法,但是也记录一下吧)
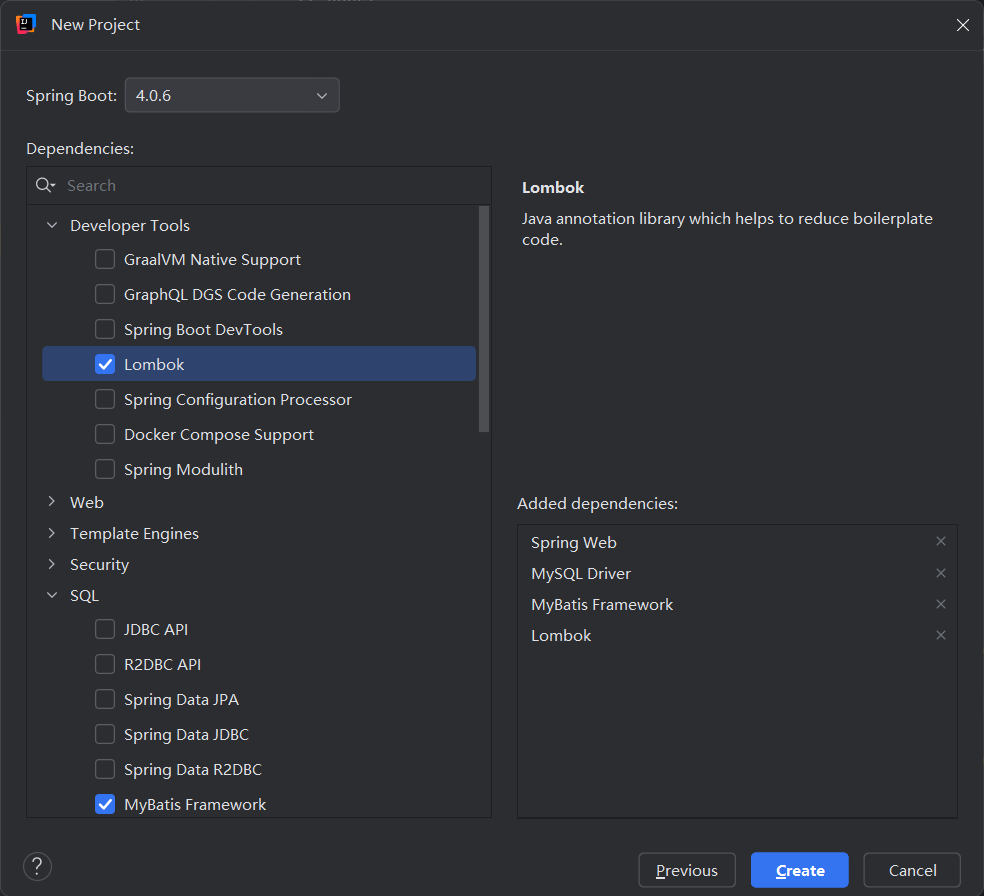 依赖勾选:
依赖勾选:
- Spring Web
- MySQL Driver
- MyBatis Framework
- Lombok
但是很不巧,下载构建spring boot的速度太慢了,始终没反应,还是按照创建maven项目的方法来吧
在maven项目的pom.xml里面粘贴以下配置,把它变成 Spring Boot 项目
<?xml version="1.0" encoding="UTF-8"?>
<project xmlns="http://maven.apache.org/POM/4.0.0"
         xmlns:xsi="http://www.w3.org/2001/XMLSchema-instance"
         xsi:schemaLocation="http://maven.apache.org/POM/4.0.0 http://maven.apache.org/xsd/maven-4.0.0.xsd">
    <modelVersion>4.0.0</modelVersion>

    <!-- Spring Boot 父项目 -->
    <parent>
        <groupId>org.springframework.boot</groupId>
        <artifactId>spring-boot-starter-parent</artifactId>
        <version>3.4.0</version>
        <relativePath/>
    </parent>

    <groupId>com.baosight</groupId>
    <artifactId>student-system</artifactId>
    <version>0.0.1-SNAPSHOT</version>

    <properties>
        <maven.compiler.source>21</maven.compiler.source>
        <maven.compiler.target>21</maven.compiler.target>
        <project.build.sourceEncoding>UTF-8</project.build.sourceEncoding>
    </properties>

    <dependencies>
        <!-- Spring Web -->
        <dependency>
            <groupId>org.springframework.boot</groupId>
            <artifactId>spring-boot-starter-web</artifactId>
        </dependency>

        <!-- MySQL Driver -->
        <dependency>
            <groupId>com.mysql</groupId>
            <artifactId>mysql-connector-j</artifactId>
            <scope>runtime</scope>
        </dependency>

        <!-- MyBatis -->
        <dependency>
            <groupId>org.mybatis.spring.boot</groupId>
            <artifactId>mybatis-spring-boot-starter</artifactId>
            <version>3.0.3</version>
        </dependency>

        <!-- Lombok -->
        <dependency>
            <groupId>org.projectlombok</groupId>
            <artifactId>lombok</artifactId>
            <optional>true</optional>
        </dependency>
    </dependencies>

    <build>
        <plugins>
            <!-- Spring Boot 打包插件 -->
            <plugin>
                <groupId>org.springframework.boot</groupId>
                <artifactId>spring-boot-maven-plugin</artifactId>
                <configuration>
                    <excludes>
                        <exclude>
                            <groupId>org.projectlombok</groupId>
                            <artifactId>lombok</artifactId>
                        </exclude>
                    </excludes>
                </configuration>
            </plugin>
        </plugins>
    </build>
</project>
然后创建springboot入口类(启动类)
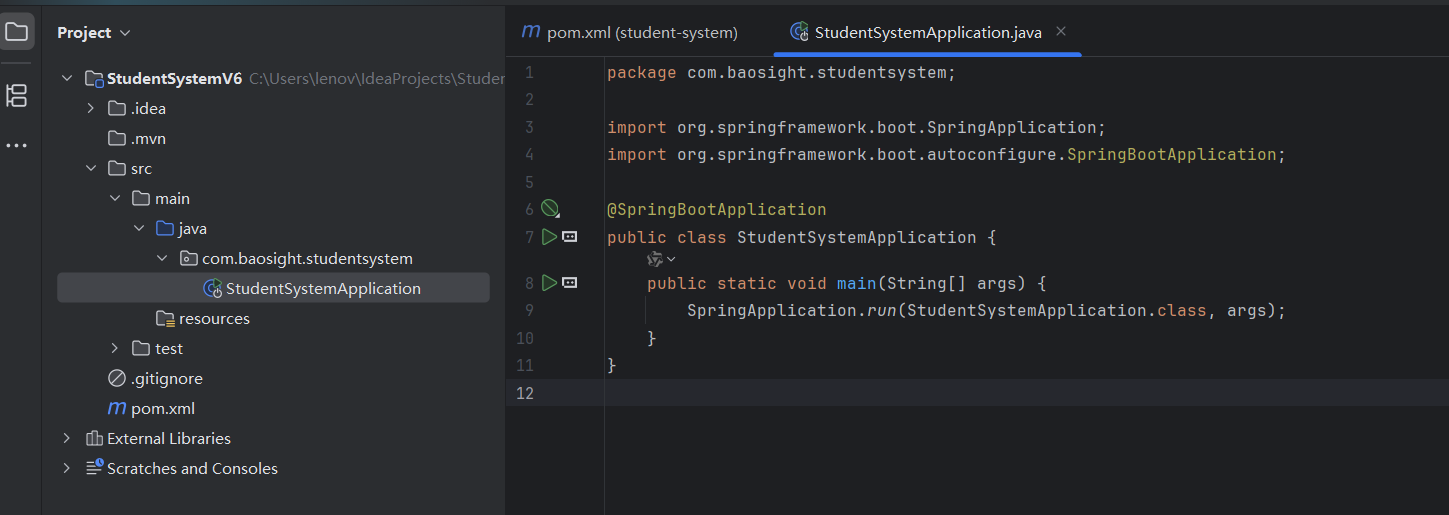
package com.baosight.studentsystem;

import org.springframework.boot.SpringApplication;
import org.springframework.boot.autoconfigure.SpringBootApplication;

@SpringBootApplication
public class StudentSystemApplication {
    public static void main(String[] args) {
        SpringApplication.run(StudentSystemApplication.class, args);
    }
}
创建配置文件
在resources文件夹下new一个file,文件名是application.properties
server.port=8080
# MySQL 连接配置
spring.datasource.url=jdbc:mysql://localhost:3306/student_system?useSSL=false&serverTimezone=UTC&characterEncoding=utf8
spring.datasource.username=root
spring.datasource.password=123456
spring.datasource.driver-class-name=com.mysql.cj.jdbc.Driver
# MyBatis 配置
mybatis.mapper-locations=classpath:mapper/*.xml
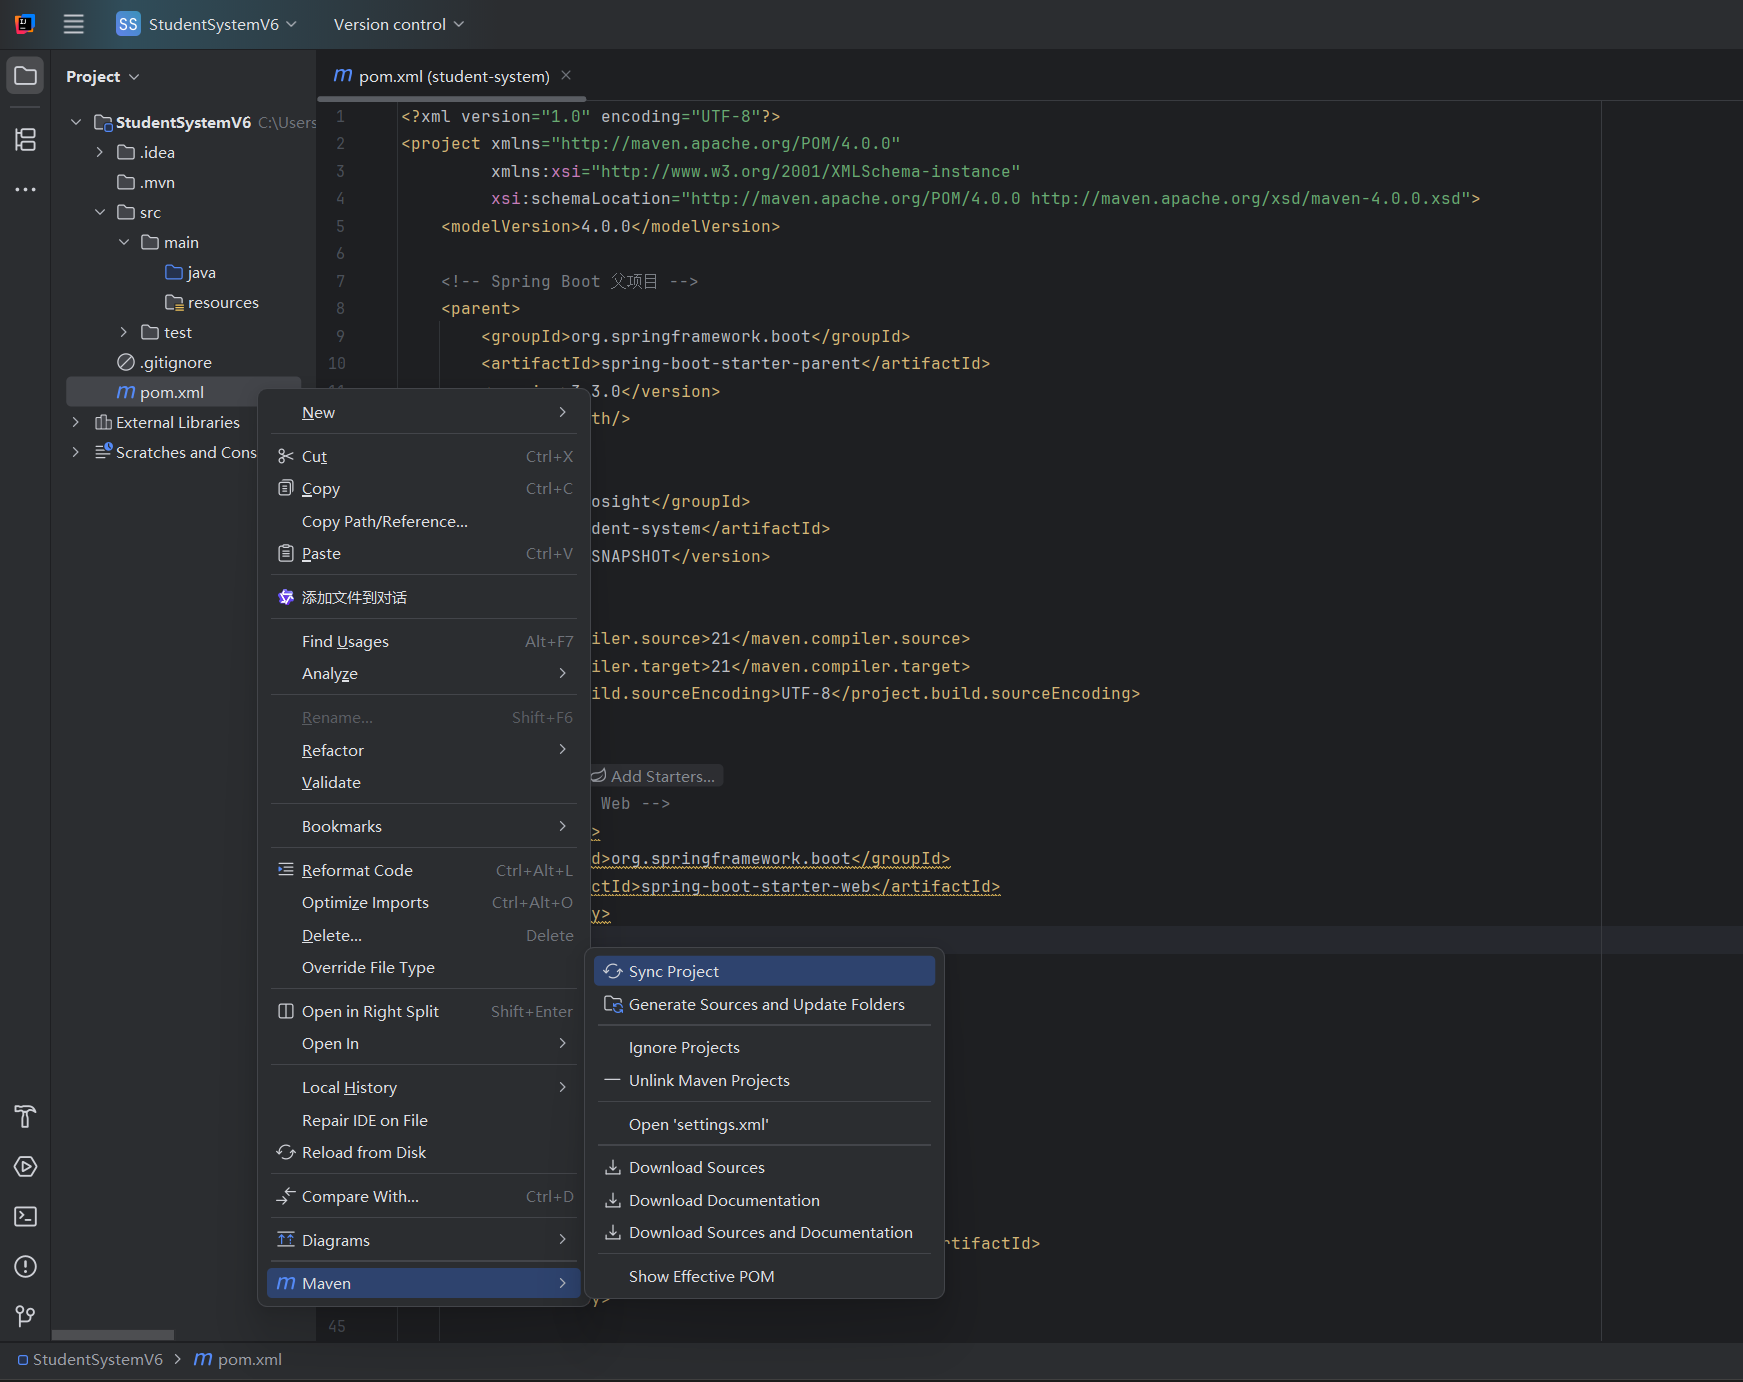
mybatis.type-aliases-package=com.baosight.studentsystem.entity然后再刷新maven依赖,这样子再external Libraries里面就会有相关包

但是还是跑不起来,查看后发现是jdk版本25太高,需要21
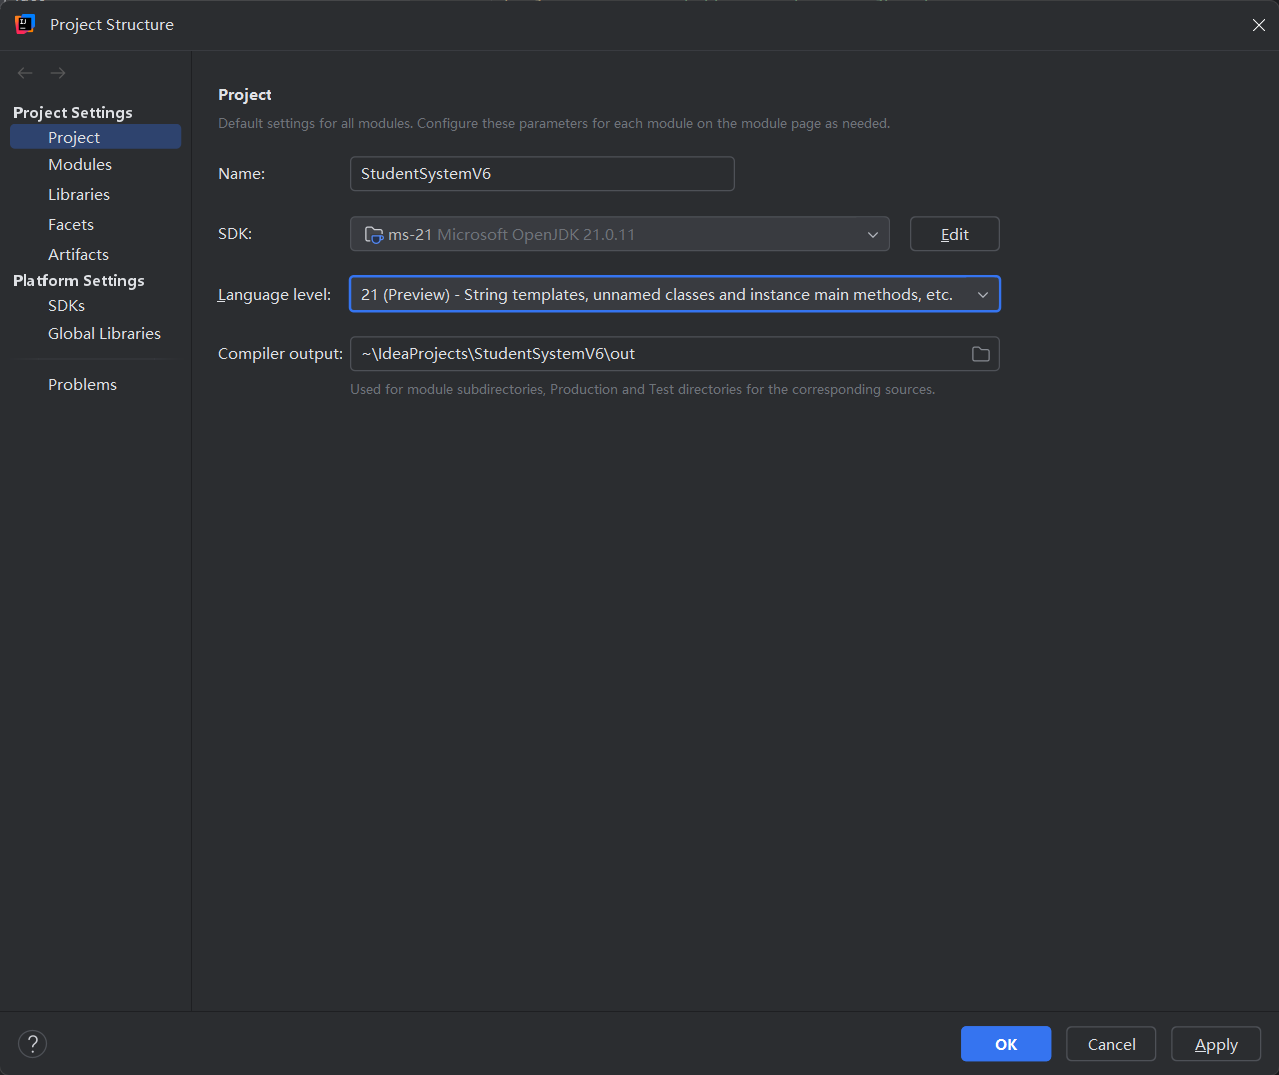
安装好jdk21就能运行了
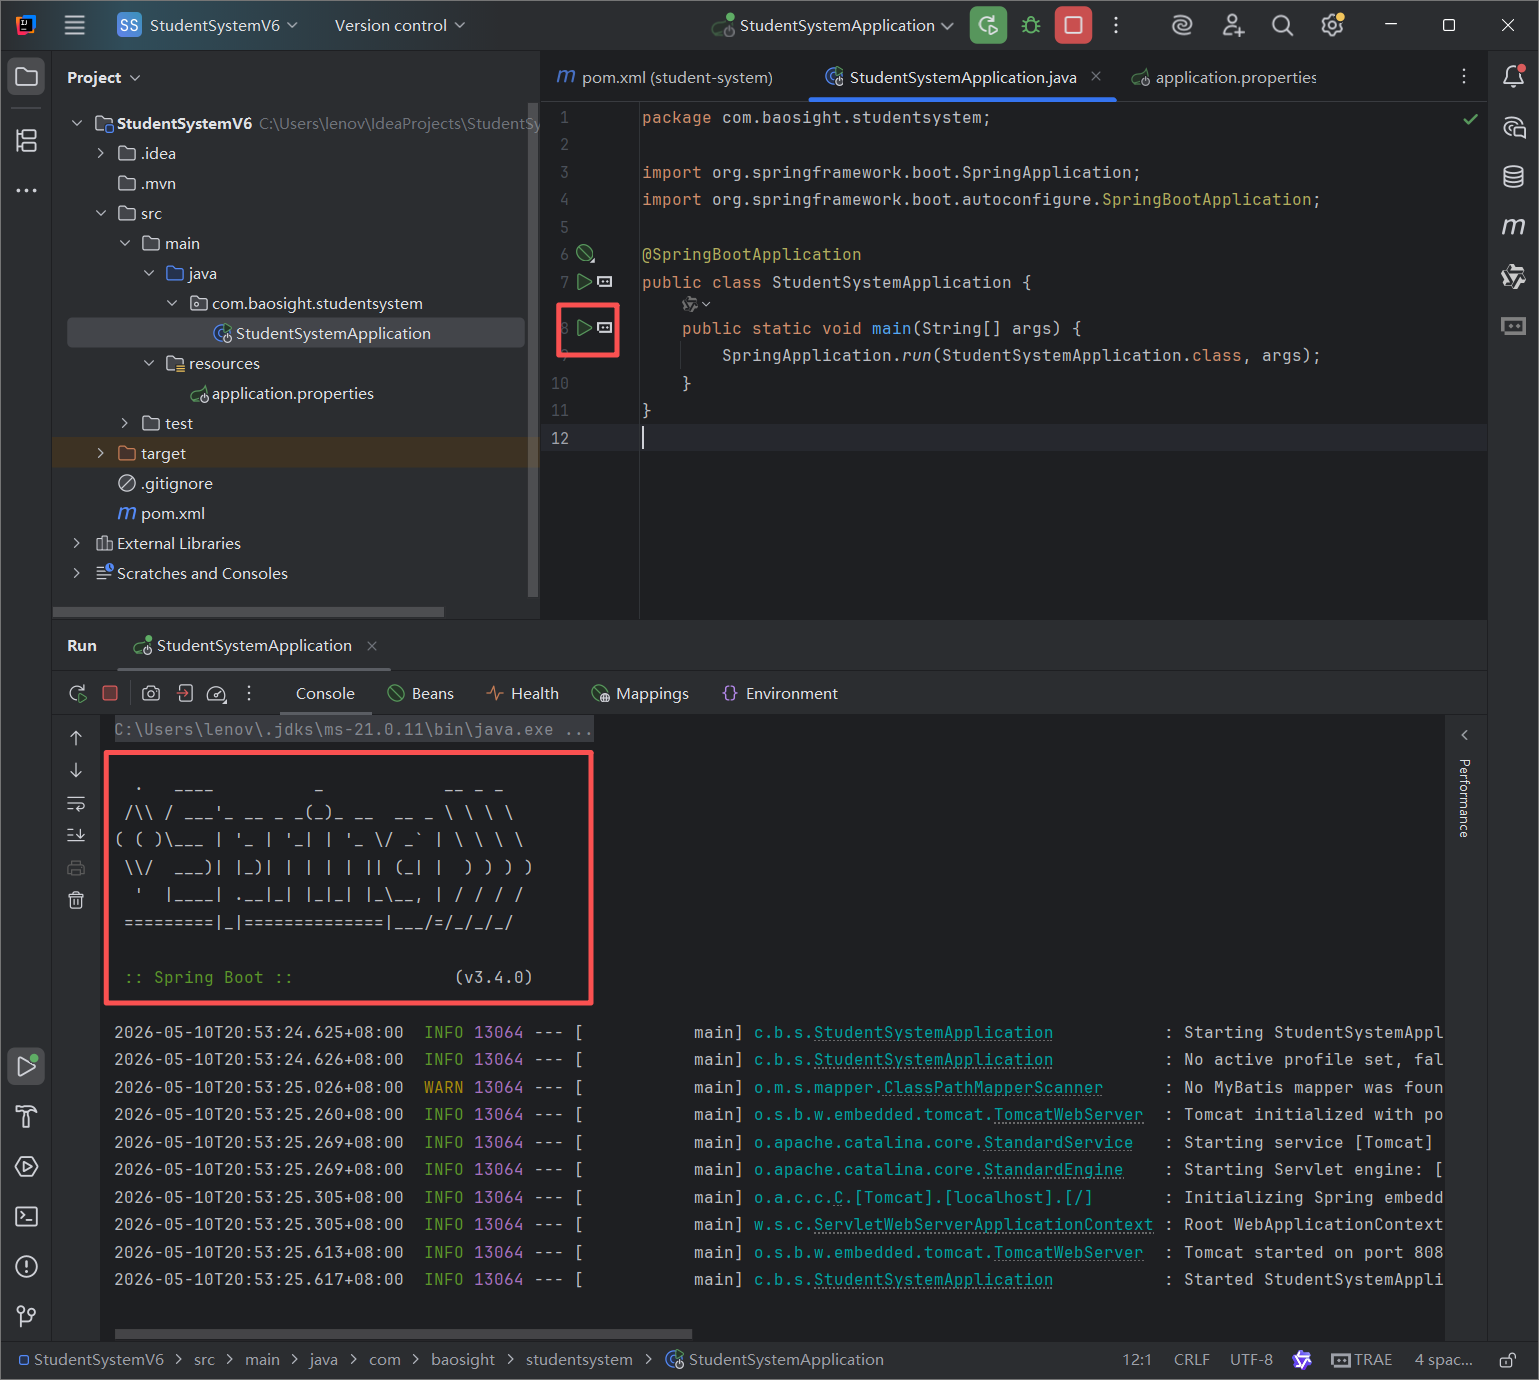
测试启动成功,改一下启动类,位置com.baosight.StudentSystemApplication
package com.baosight;

import org.mybatis.spring.annotation.MapperScan;
import org.springframework.boot.SpringApplication;
import org.springframework.boot.autoconfigure.SpringBootApplication;

@SpringBootApplication
@MapperScan("com.baosight.mapper")
public class StudentSystemApplication {
    public static void main(String[] args) {
        SpringApplication.run(StudentSystemApplication.class, args);
    }
}
这里@开头的叫做注释,是给程序看的一种标签或者指令
@SpringBootApplication
作用:这是整个项目的 "总开关"
@MapperScan("com.baosight.mapper")
作用:告诉 SpringBoot 去哪里找数据库操作文件
这两加起来就是" 我是启动类,项目从我这跑,并且去 mapper 包找数据库操作**"**
以后还会遇到的高频注解(超级重要)
Controller 层(接口层)
@RestController     // 这是接口控制器,返回JSON
@RequestMapping("/student")  // 设置访问路径 如:localhost:8080/student
@GetMapping          // 查询用
@PostMapping         // 新增用
@DeleteMapping       // 删除用
@PutMapping // 修改用作用:接收前端 Vue 的请求
Service 层(业务层)
@Service // 这是业务类,交给Spring管理Mapper 层(数据库层)
@Mapper // 标记这是数据库操作接口(和@MapperScan二选一即可)实体类 Entity(和表对应)
@Data          // Lombok注解:自动生成get/set/toString
@TableName("student")  // 对应数据库表名
常用功能注解
@Autowired     // 自动注入对象(不用new)
@Component     // 通用组件
@Configuration // 配置类
超简记忆口诀
- @SpringBootApplication → 启动
- @MapperScan → 找数据库
- @RestController → 写接口
- @Service → 写业务
- @Autowired → 自动拿对象
- @Data → 自动生成 get set
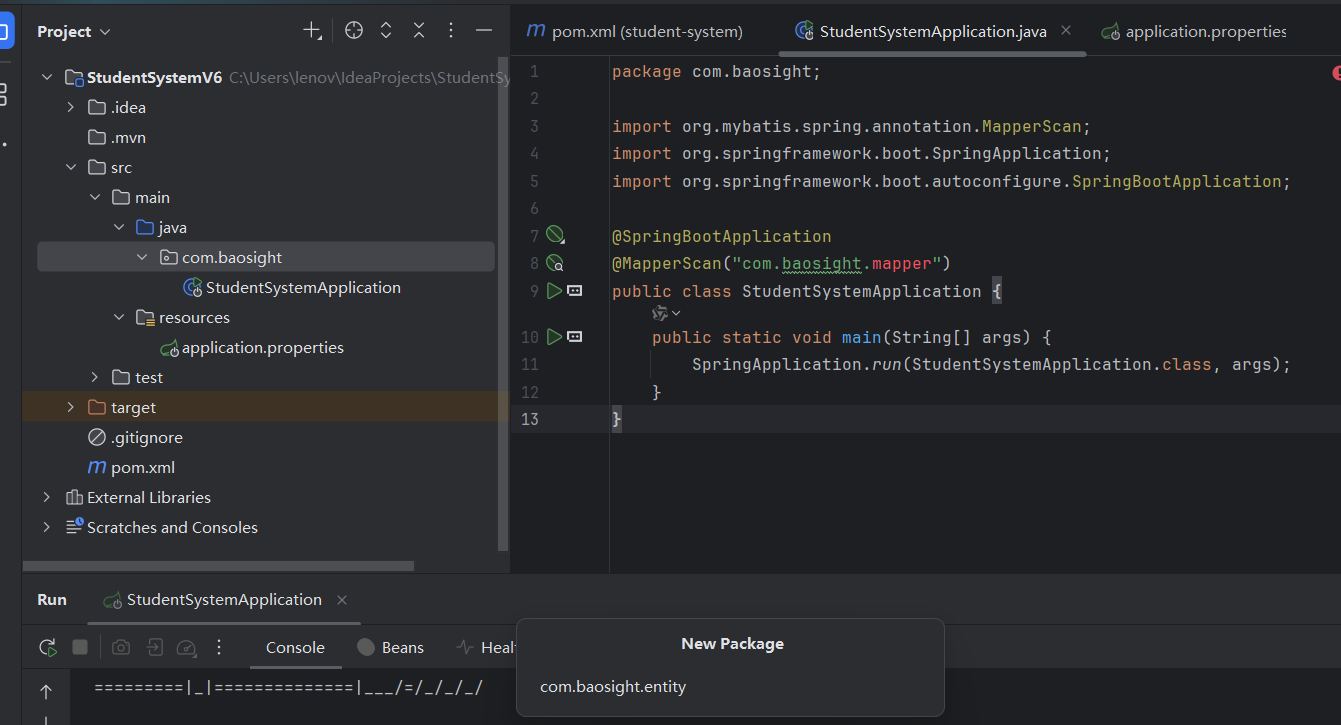
新建一下entity包,作为实体类,创建一个Student类,位置com.baosight.entity.Student
package com.baosight.entity;

import lombok.Data;

@Data
public class Student {
    private String id;
    private String name;
    private Integer age;
}
在 com.baosight 包下新建 entity 子包
- 右键
com.baosight包 →New→Package - 输入包名:
com.baosight.entity - 回车,就能看到
entity子包了。
在 entity 包下新建 Student 类
- 右键
com.baosight.entity→New→Java Class - 输入类名:
Student - 回车,文件自动生成
com.baosight.entity.Student
我们先把所有的包结构都创建好
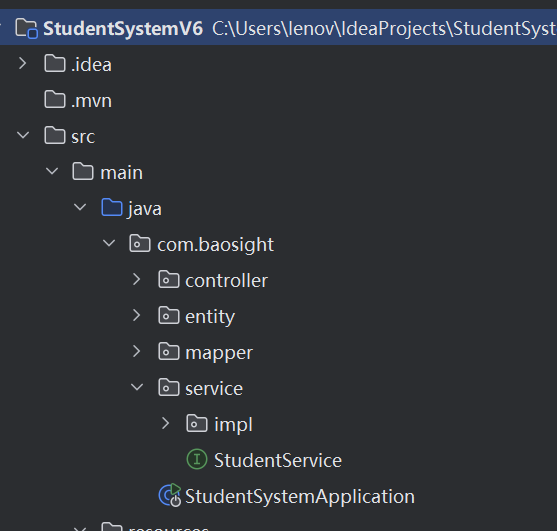
每层对应什么角色
1. controller 控制器
对应 MVC 里的 C(Controller)
- 接收前端发的请求(浏览器 / Vue / 小程序)
- 接收参数、返回结果(JSON)
- 不写业务逻辑,只负责接请求、调 service
2. service 业务层 + impl 实现类
- 写核心业务逻辑
- 比如:登录判断、新增学生、分页查询、权限判断
- 规范:
- service 放接口(抽象方法)
- service/impl 放接口的实现类,加 @Service
3. mapper 数据访问层
对应 SSM 里的 Dao 层
- 专门和数据库 MySQL 打交道
- 写 SQL、查数据、增删改查
- MyBatis 里:mapper 接口 + xml 映射文件
4. entity 实体类
对应 MVC 里的 M(Model)
- 和数据库表一一对应
- 学生表 → Student 类,字段一模一样
- 用来封装数据,在各层之间传递
5. 启动类
SpringBoot 入口,一键启动整个项目,自动加载所有配置、扫描注解。
com.baosight
   ├── StudentSystemApplication.java  启动类
   ├── entity        实体
   ├── mapper        数据库
   ├── service       业务
   │    ├── impl     实现类
   ├── controller    接口
这个结构之后一直会用到
- 几乎所有标准 SpringBoot / SSM 后台项目,都是这套目录结构
- 本质就是:SSM 分层架构 + MVC 设计模式 结合出来的固定规范
1. 先讲 MVC 模式
MVC 三层:
- M Model →
entity实体模型 - V View → 前端页面 / Vue 页面(后台项目一般不写 View,只给接口)
- C Controller →
controller控制器
后台接口项目没有 View 视图 ,只保留:M + C,中间加业务层、数据库层。
2. 再讲 SSM 分层架构(Spring + SpringMVC + MyBatis)
SSM 标准四层架构:
- Controller 控制层 → 这里的 controller
- Service 业务层 → 这里的 service + impl
- Dao/Mapper 数据层 → 这里的 mapper
- Entity 实体层 → 这里的 entity
前端 Vue 发请求 →Controller 接收请求 →调用 Service 接口 →ServiceImpl 实现类 写业务逻辑 →调用 Mapper →Mapper 操作 MySQL 数据库 →数据原路返回给 Controller →返回 JSON 给前端
每层只干自己的事,互不越界
- Controller 不写 SQL、不写业务
- Service 不直接操作数据库,只调 Mapper
- Mapper 只写 SQL,不处理业务判断
题外话:mvc和ssm的关系
MVC 只有 3 层:M+V+C
SSM 在 MVC 基础上,扩充成了 5 层:Entity (M) → Mapper(dao) → Service → Controller (C) → View (V)
所以:**SSM 完全包含 MVC,还比 MVC 多了业务层、数据库层。**SpringBoot 项目结构 = SSM 分层 = 升级版 MVC
启动类
entity     ← 对应 MVC 的 M
mapper     ← SSM 额外加的数据库层
service    ← SSM 额外加的业务层
controller ← 对应 MVC 的 C
前端Vue    ← 对应 MVC 的 V
创建Mapper 接口(数据库操作)位置com.baosight.mapper.StudentMapper
package com.baosight.mapper;

import com.baosight.entity.Student;
import org.apache.ibatis.annotations.*;
import java.util.List;

@Mapper
public interface StudentMapper {

    @Select("select * from student")
    List<Student> findAll();

    @Insert("insert into student(id,name,age) values(#{id},#{name},#{age})")
    int add(Student student);

    @Delete("delete from student where id=#{id}")
    int delete(String id);

    @Update("update student set name=#{name},age=#{age} where id=#{id}")
    int update(Student student);
}
Mapper 层(数据库)注解
- @Mapper → 我是数据库操作类
- @Select → 查询
- @Insert → 新增
- @Delete → 删除
- @Update → 修改
创建Service 接口(业务层)位置com.baosight.service.StudentService
package com.baosight.service;

import com.baosight.entity.Student;
import java.util.List;

public interface StudentService {
    List<Student> list();
    boolean add(Student student);
    boolean delete(String id);
    boolean update(Student student);
}
创建Service 实现类,位置com.baosight.service.impl.StudentServiceImpl
Service 层(业务)注解
-
@Service → 我是业务处理类
-
@Resource → 自动把 Mapper 拿过来用
-
@Override :重写 / 覆盖父接口 / 父类的方法 ,就是重新实现一遍接口里定义的空方法。
package com.baosight.service.impl;
import com.baosight.entity.Student;
import com.baosight.mapper.StudentMapper;
import com.baosight.service.StudentService;
import org.springframework.stereotype.Service;
import javax.annotation.Resource;
import java.util.List;@Service
public class StudentServiceImpl implements StudentService {@Resource private StudentMapper studentMapper; @Override public List<Student> list() { return studentMapper.findAll(); } @Override public boolean add(Student student) { return studentMapper.add(student) > 0; } @Override public boolean delete(String id) { return studentMapper.delete(id) > 0; } @Override public boolean update(Student student) { return studentMapper.update(student) > 0; }}
创建Controller(接口层,给前端调用)位置com.baosight.controller.StudentController
package com.baosight.controller;

import com.baosight.entity.Student;
import com.baosight.service.StudentService;
import org.springframework.web.bind.annotation.*;
import javax.annotation.Resource;
import java.util.HashMap;
import java.util.List;
import java.util.Map;

@RestController
@CrossOrigin
@RequestMapping("/student")
public class StudentController {

    @Resource
    private StudentService studentService;

    @GetMapping("/list")
    public Map<String, Object> list() {
        Map<String, Object> res = new HashMap<>();
        res.put("code", 200);
        res.put("data", studentService.list());
        return res;
    }

    @PostMapping("/add")
    public Map<String, Object> add(@RequestBody Student student) {
        Map<String, Object> res = new HashMap<>();
        boolean flag = studentService.add(student);
        res.put("code", flag ? 200 : 500);
        res.put("msg", flag ? "添加成功" : "添加失败");
        return res;
    }

    @PostMapping("/update")
    public Map<String, Object> update(@RequestBody Student student) {
        Map<String, Object> res = new HashMap<>();
        boolean flag = studentService.update(student);
        res.put("code", flag ? 200 : 500);
        res.put("msg", flag ? "修改成功" : "修改失败");
        return res;
    }

    @GetMapping("/delete")
    public Map<String, Object> delete(String id) {
        Map<String, Object> res = new HashMap<>();
        boolean flag = studentService.delete(id);
        res.put("code", flag ? 200 : 500);
        res.put("msg", flag ? "删除成功" : "删除失败");
        return res;
    }
}
这个类 = 前端 Vue 的 "入口" 前端要查学生、加学生、删学生,全都先来找这个类 !它就是 Controller 层(接口层)。
@CrossOrigin作用是跨域允许前端 Vue(localhost:5173)调用后端(localhost:8080)
- @RestController → 我是接口,返回 JSON
- @CrossOrigin → 允许前端调用
- @RequestMapping("/student") → 统一前缀
- @Resource → 注入 service
查询所有学生接口详解
-
@GetMapping("/list")→ GET 请求 ,地址:/student/list→ 前端用这个地址查所有学生 -
Map<String,Object> res = new HashMap<>();→ 创建一个返回给前端的统一格式(code + data) -
res.put("code",200)→ 给前端状态码:200 = 成功 -
res.put("data", studentService.list())→ 调用 service 查数据,把学生列表放进 data 返回 -
return res→ 返回 JSON 给前端
返回给前端的样子
{
  "code":200,
  "data":[{学生1},{学生2}]
}
这个类的作用总结
它就是后端给前端开的 4 个接口:
/student/list→ 查询/student/add→ 新增/student/update→ 修改/student/delete→ 删除
前端只需要调用这 4 个地址,就能完成学生管理系统所有功能!
然后创建springboot配置文件 application.yml,在 resources 下新建 application.yml
之前测试的 application.properties 可以删掉
项目里现在还有一个 application.properties 文件,它和 application.yml 功能是一样的,保留一个就行。右键点它,选择 Delete 删掉就可以了,避免配置冲突。
spring:
  datasource:
    url: jdbc:mysql://localhost:3306/student_system?useUnicode=true&characterEncoding=utf8&serverTimezone=Asia/Shanghai
    username: root
    password: 123456
    driver-class-name: com.mysql.cj.jdbc.Driver

server:
  port: 8080

mybatis:
  configuration:
    map-underscore-to-camel-case: true
数据库表我已经创建好了,之前就有的student表
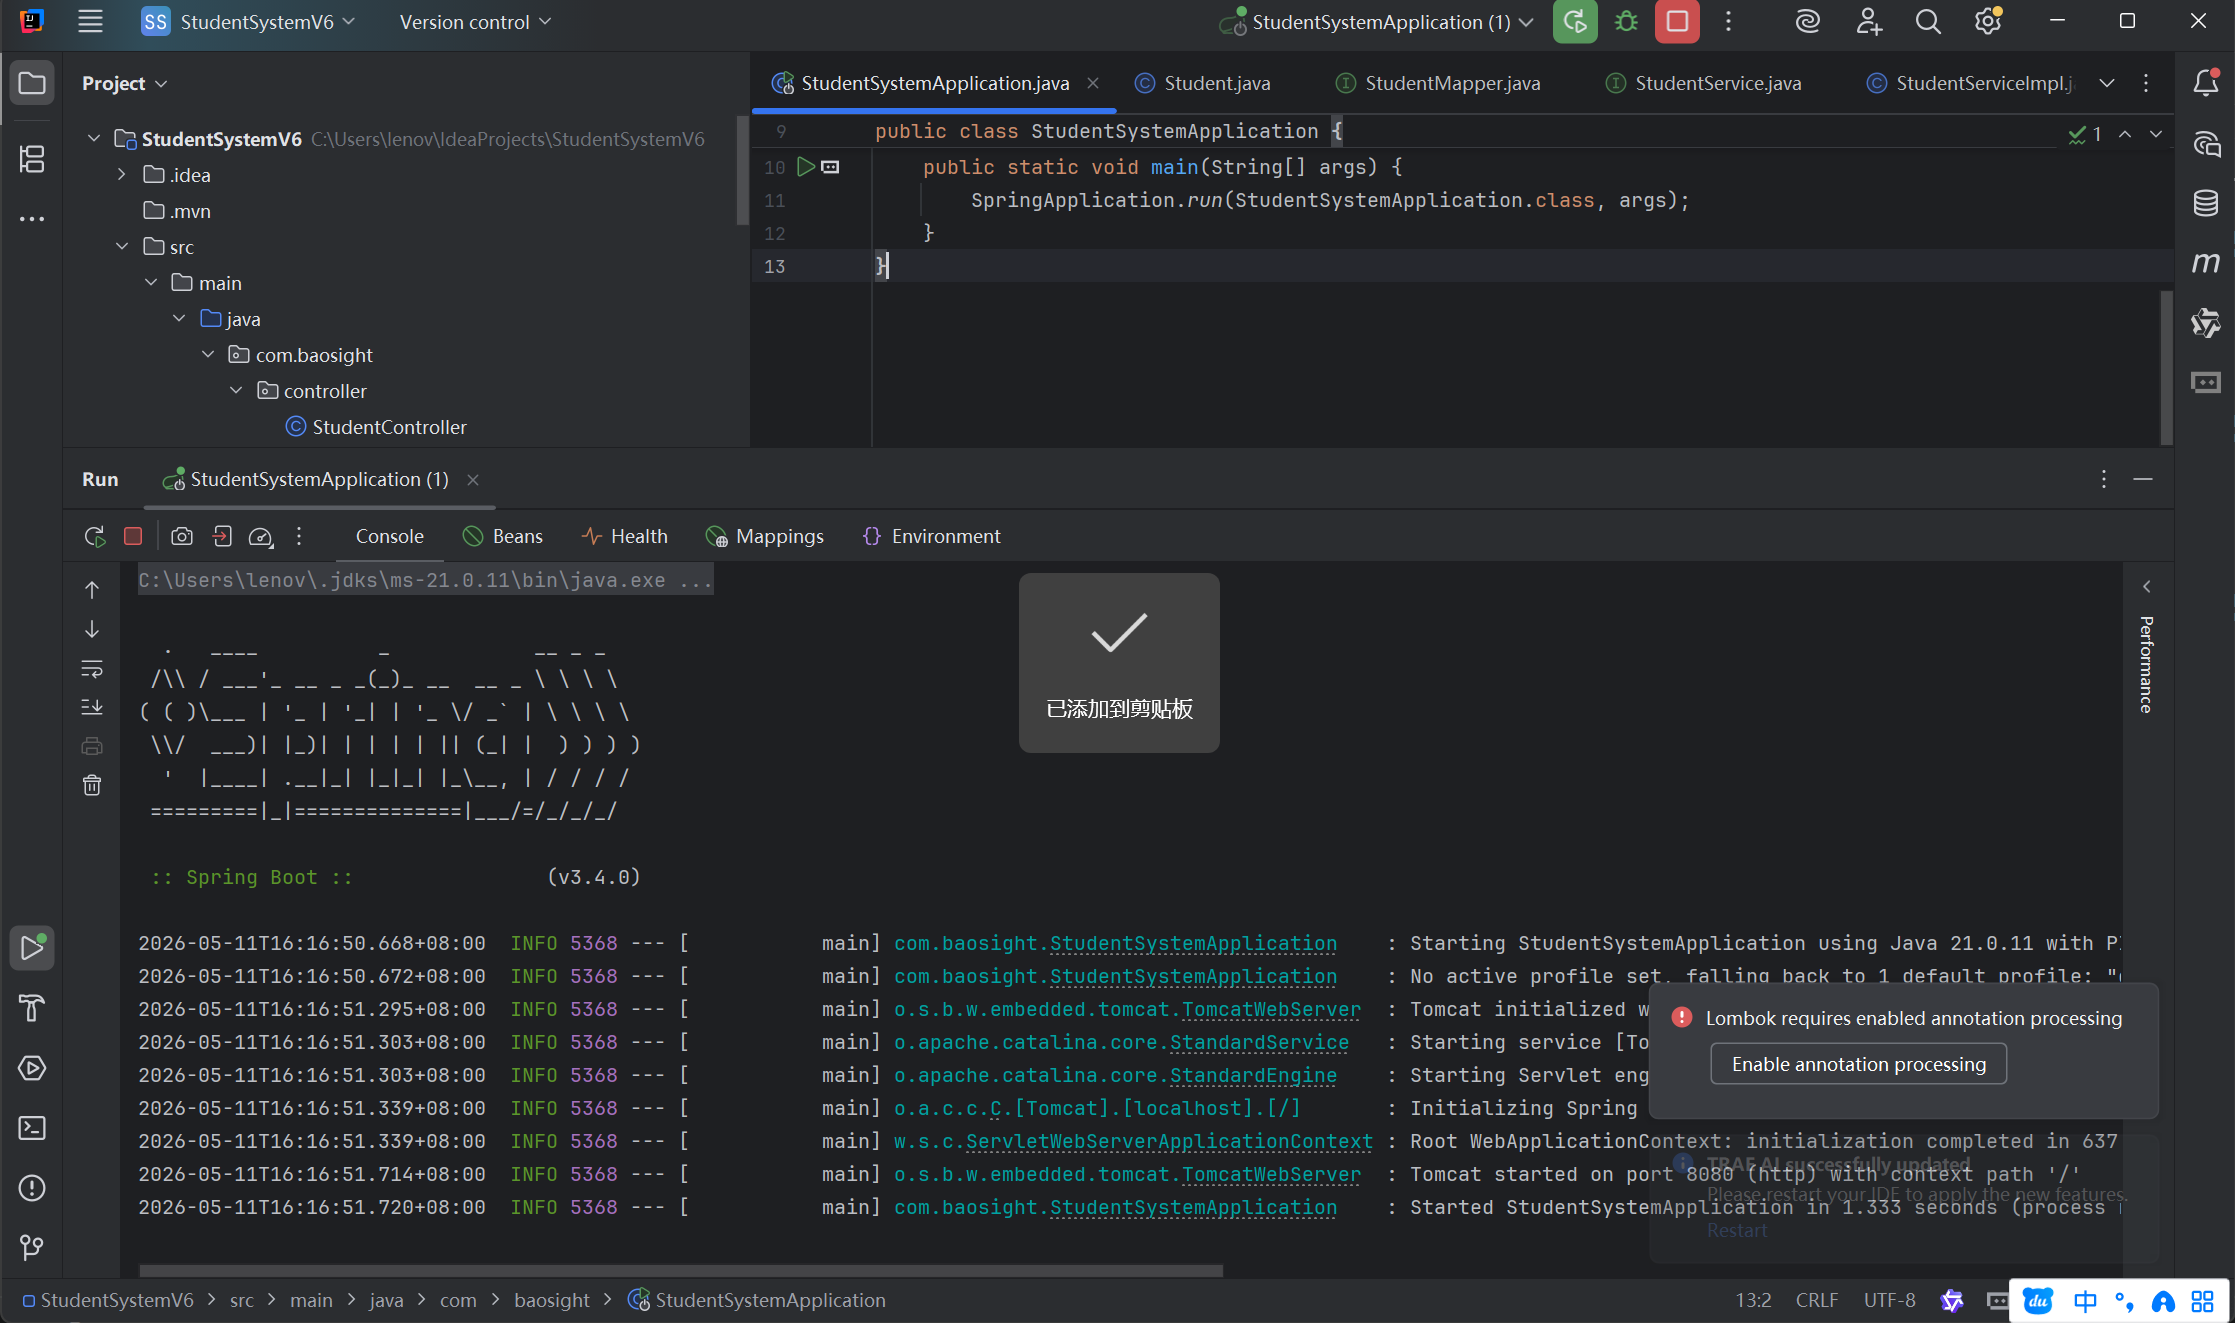
现在后端就是做好了。运行 StudentSystemApplication
- 查询:http://localhost:8080/student/list
- 添加:POST /student/add
- 修改:POST /student/update
- 删除:GET /student/delete?id=1
针对与前端:
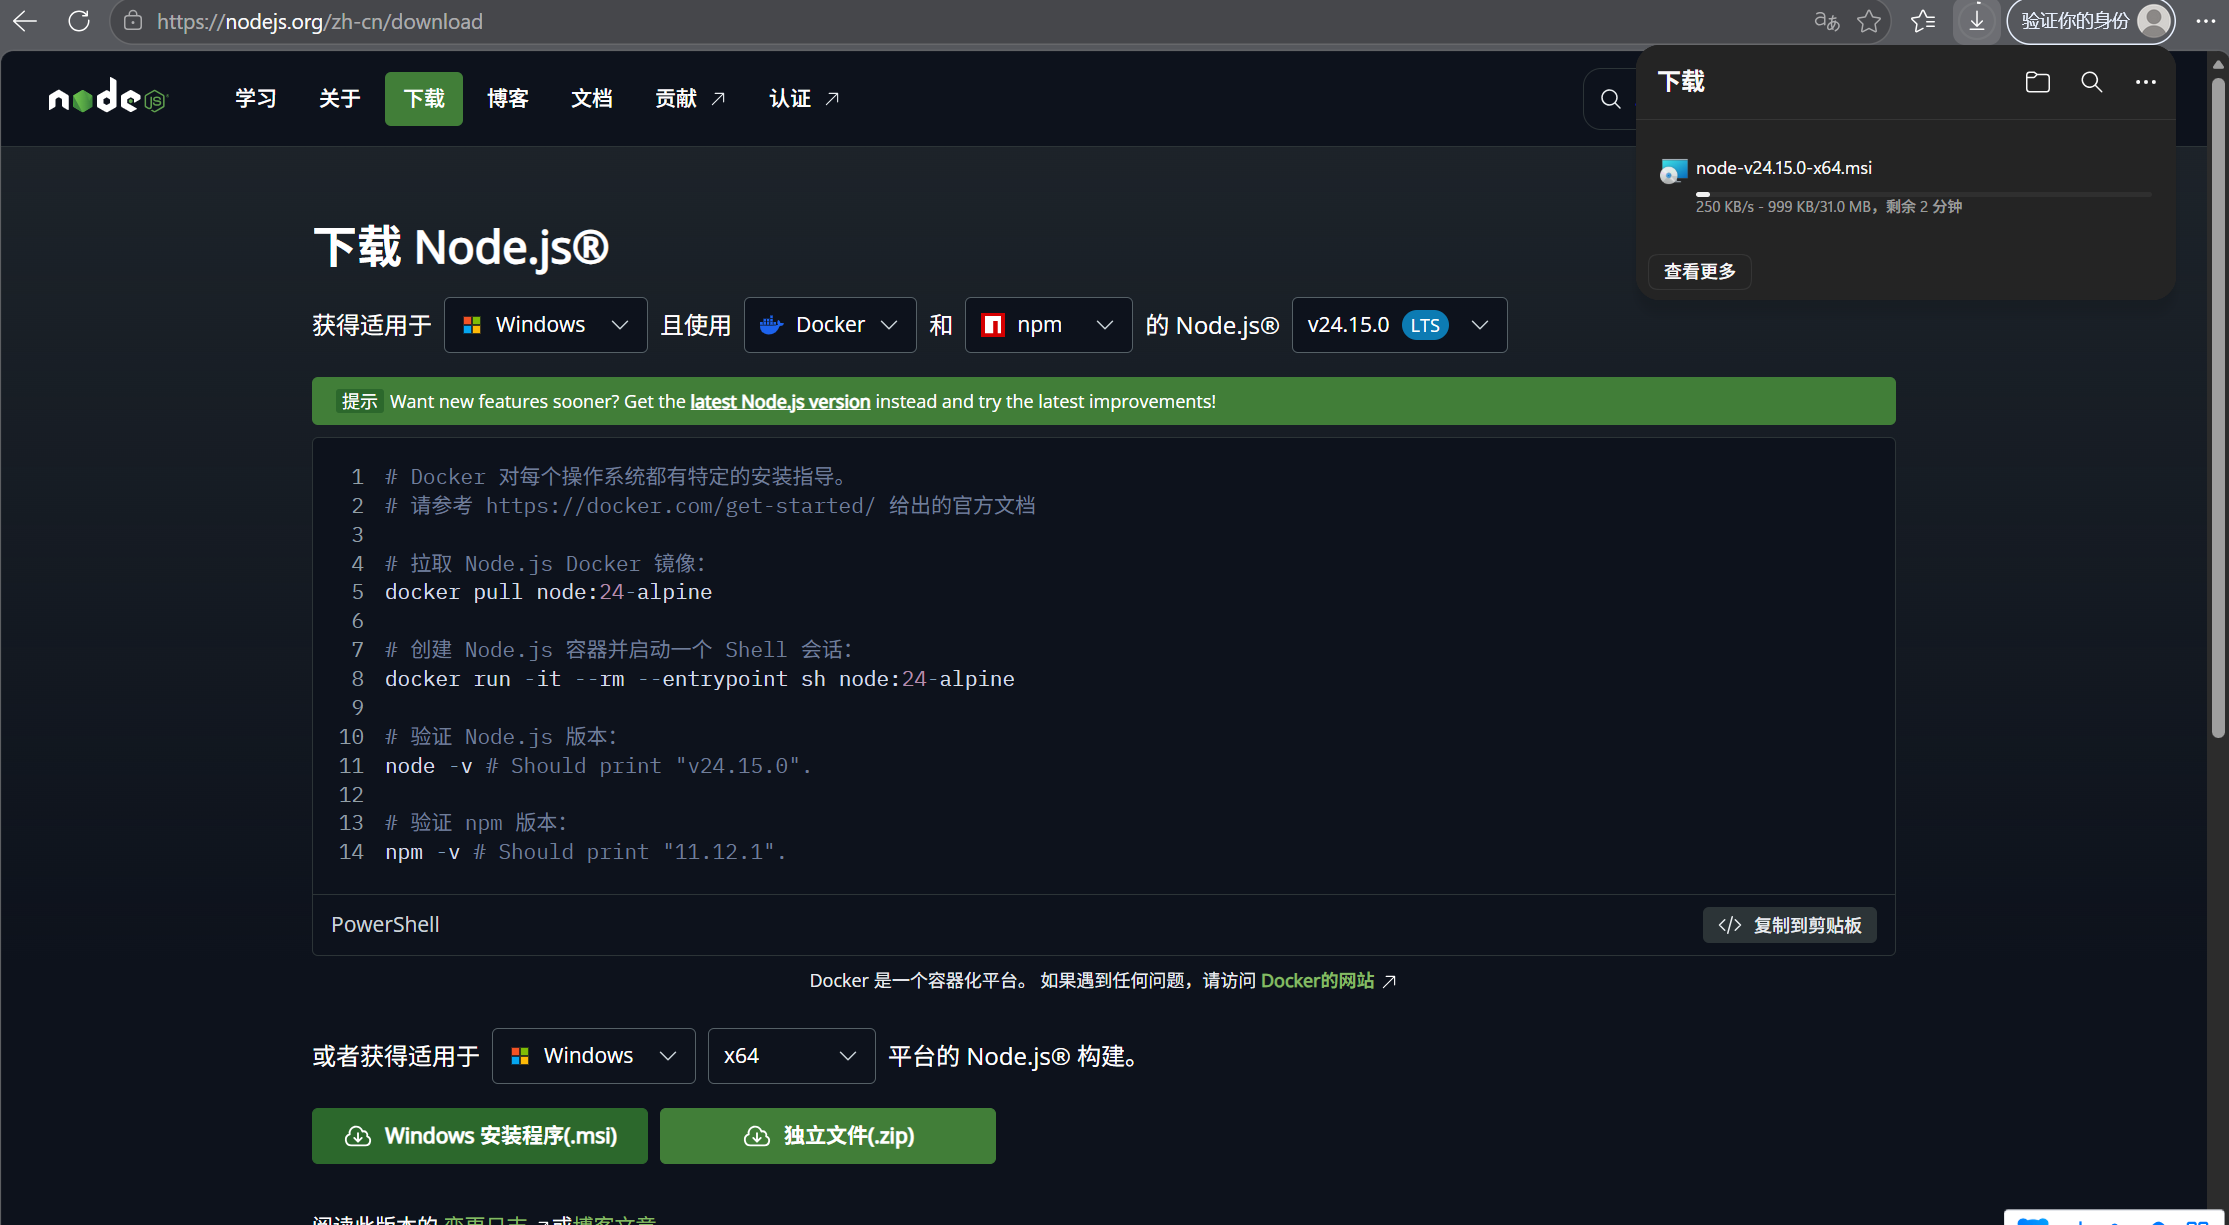
在针对vue开发时需要用到node.js,我们先来安装一下https://nodejs.org/
选择Windows的安装,一直点next就行
Node.js 是一个能让 JavaScript 在电脑本地运行的环境。
以前的 JavaScript 只能在浏览器里跑,用来写网页交互。Node.js 让 JavaScript 可以像 Python/Java 一样,直接在电脑上执行命令、管理文件、创建项目。
Vue3 前端项目,就是用 JavaScript 写的。要创建 Vue 项目、安装依赖、启动前端服务,都必须靠 Node.js 里的 npm 命令才能完成。
安装好后点开cmd查看一下node -v和npm -v可以看到版本号就行了
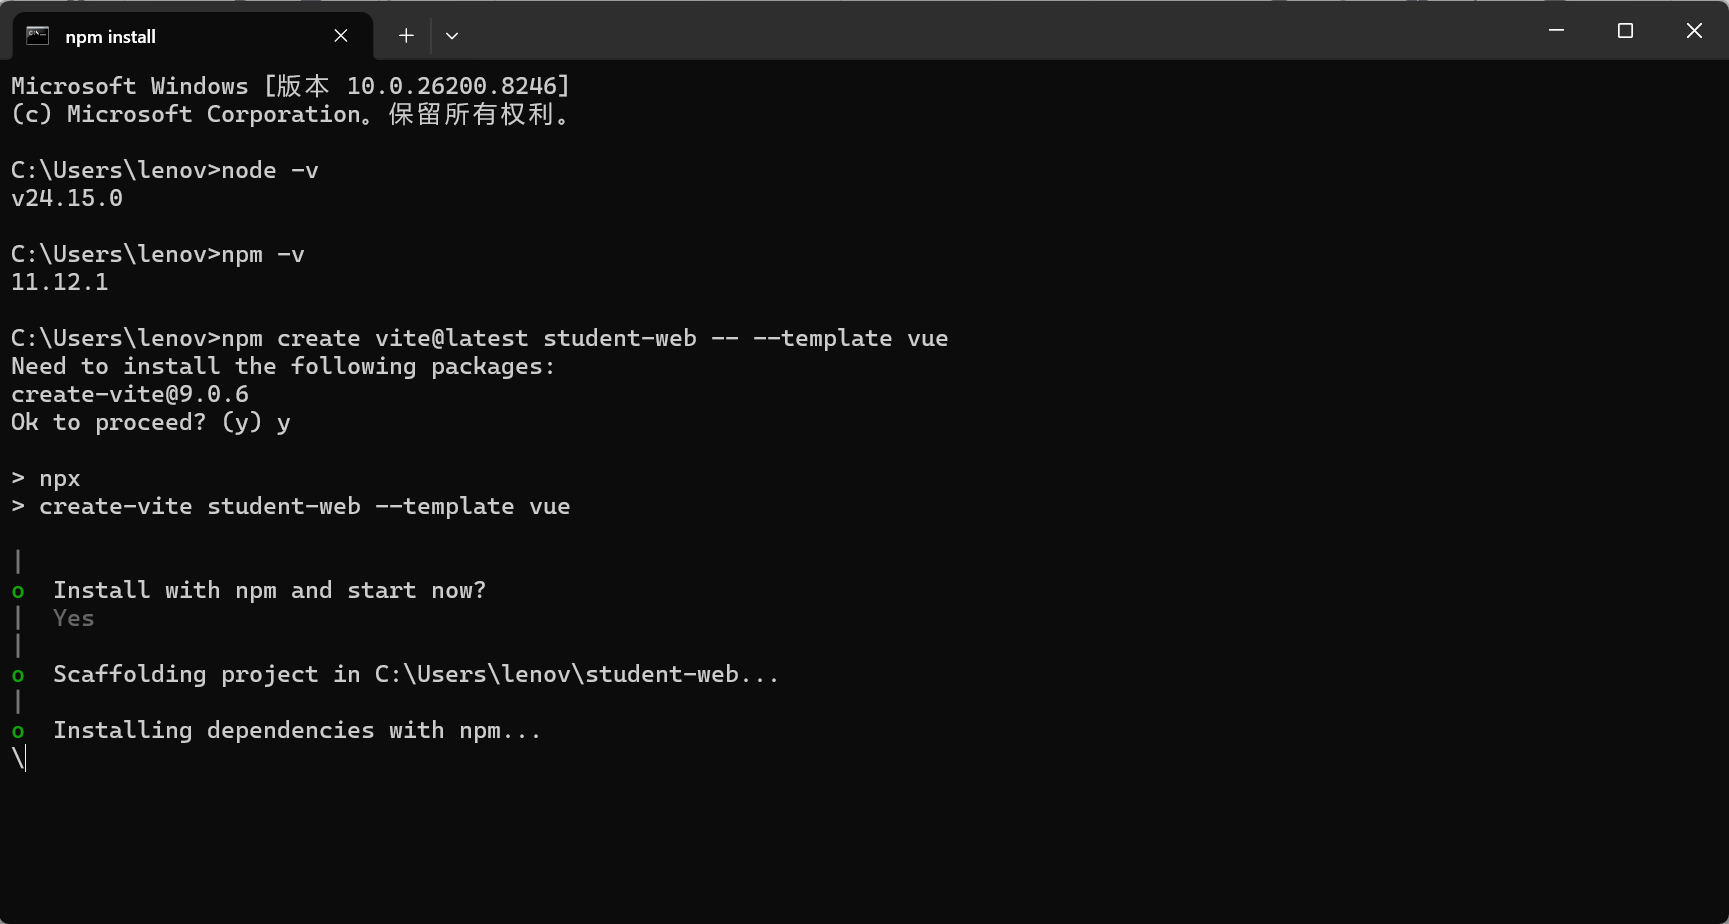
这里有四个命令来建立一个vue项目
# 1. 创建 Vue3 项目(名字叫 student-web)
npm create vite@latest student-web -- --template vue

# 2. 进入项目文件夹
cd student-web

# 3. 安装项目基础依赖
npm install

# 4. 安装 axios 和 element-plus
npm install axios element-plus
element-plus = Vue3 的现成 UI 组件库;axios = 专门负责 "发请求拿数据" 的工具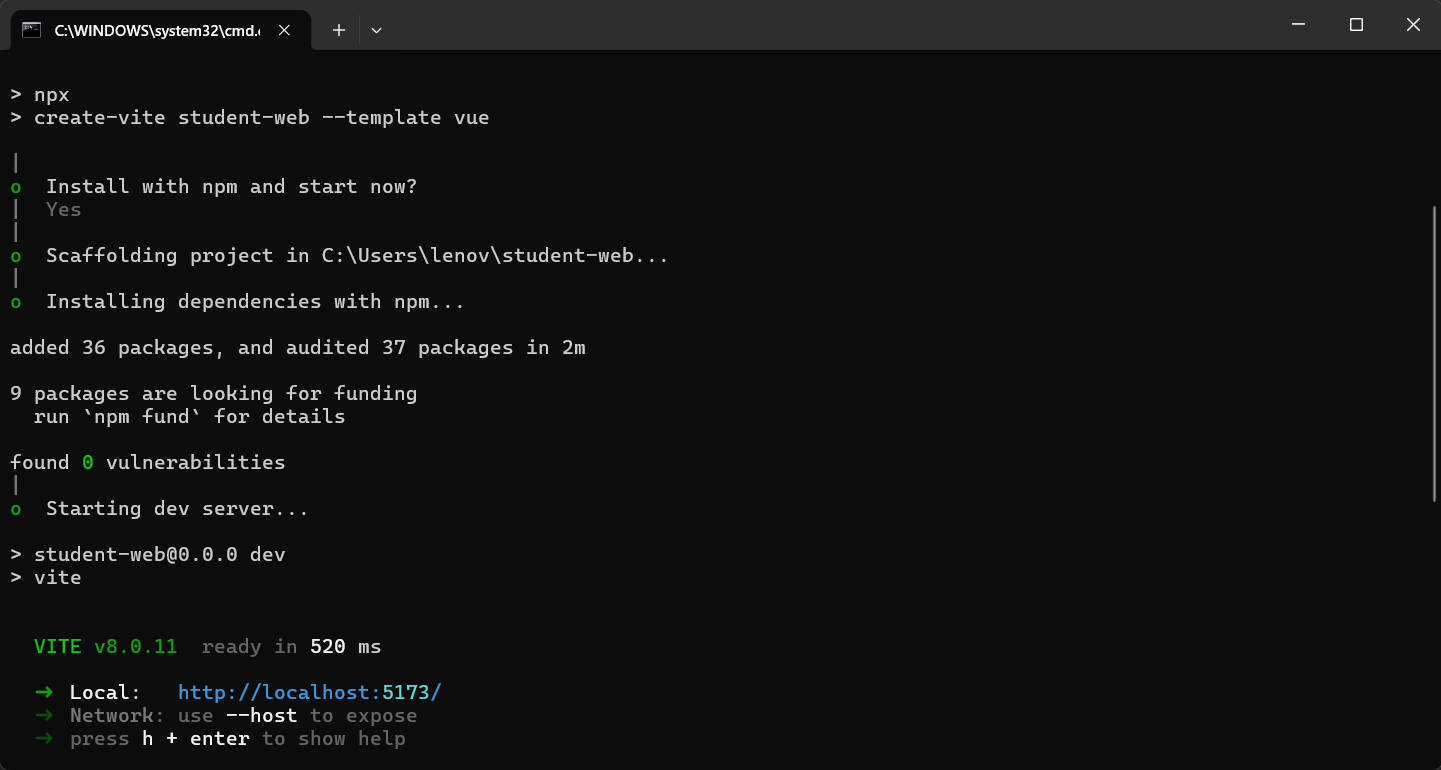
电脑上会生成一个 student-web 文件夹,这就是前端项目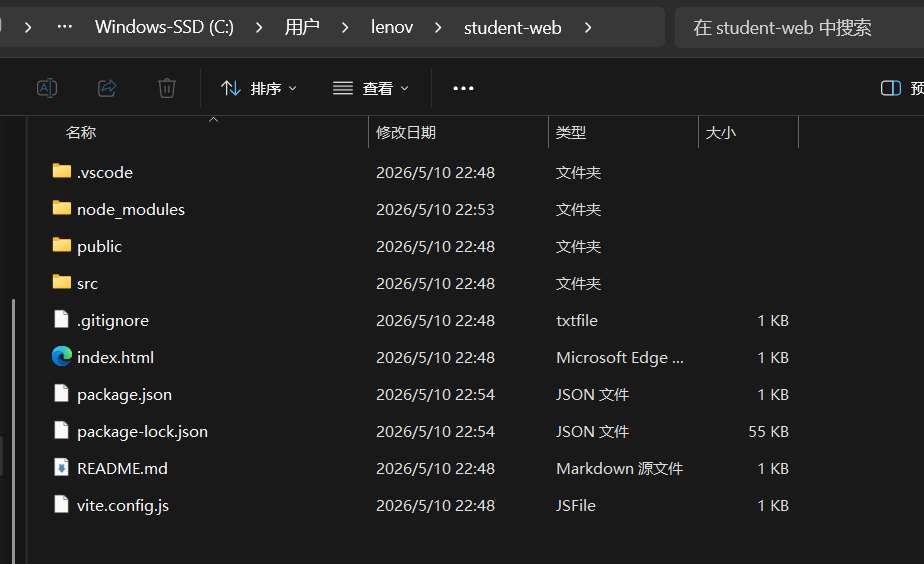
平时在启动项目的时候也要起这个vue才行,不然前台就没起来
用vscode打开看到结构是这样
student-web/
├─ src/
│  ├─ main.js      ← 要修改的文件
│  ├─ App.vue      ← 要修改的文件
│  └─ style.css
└─ package.json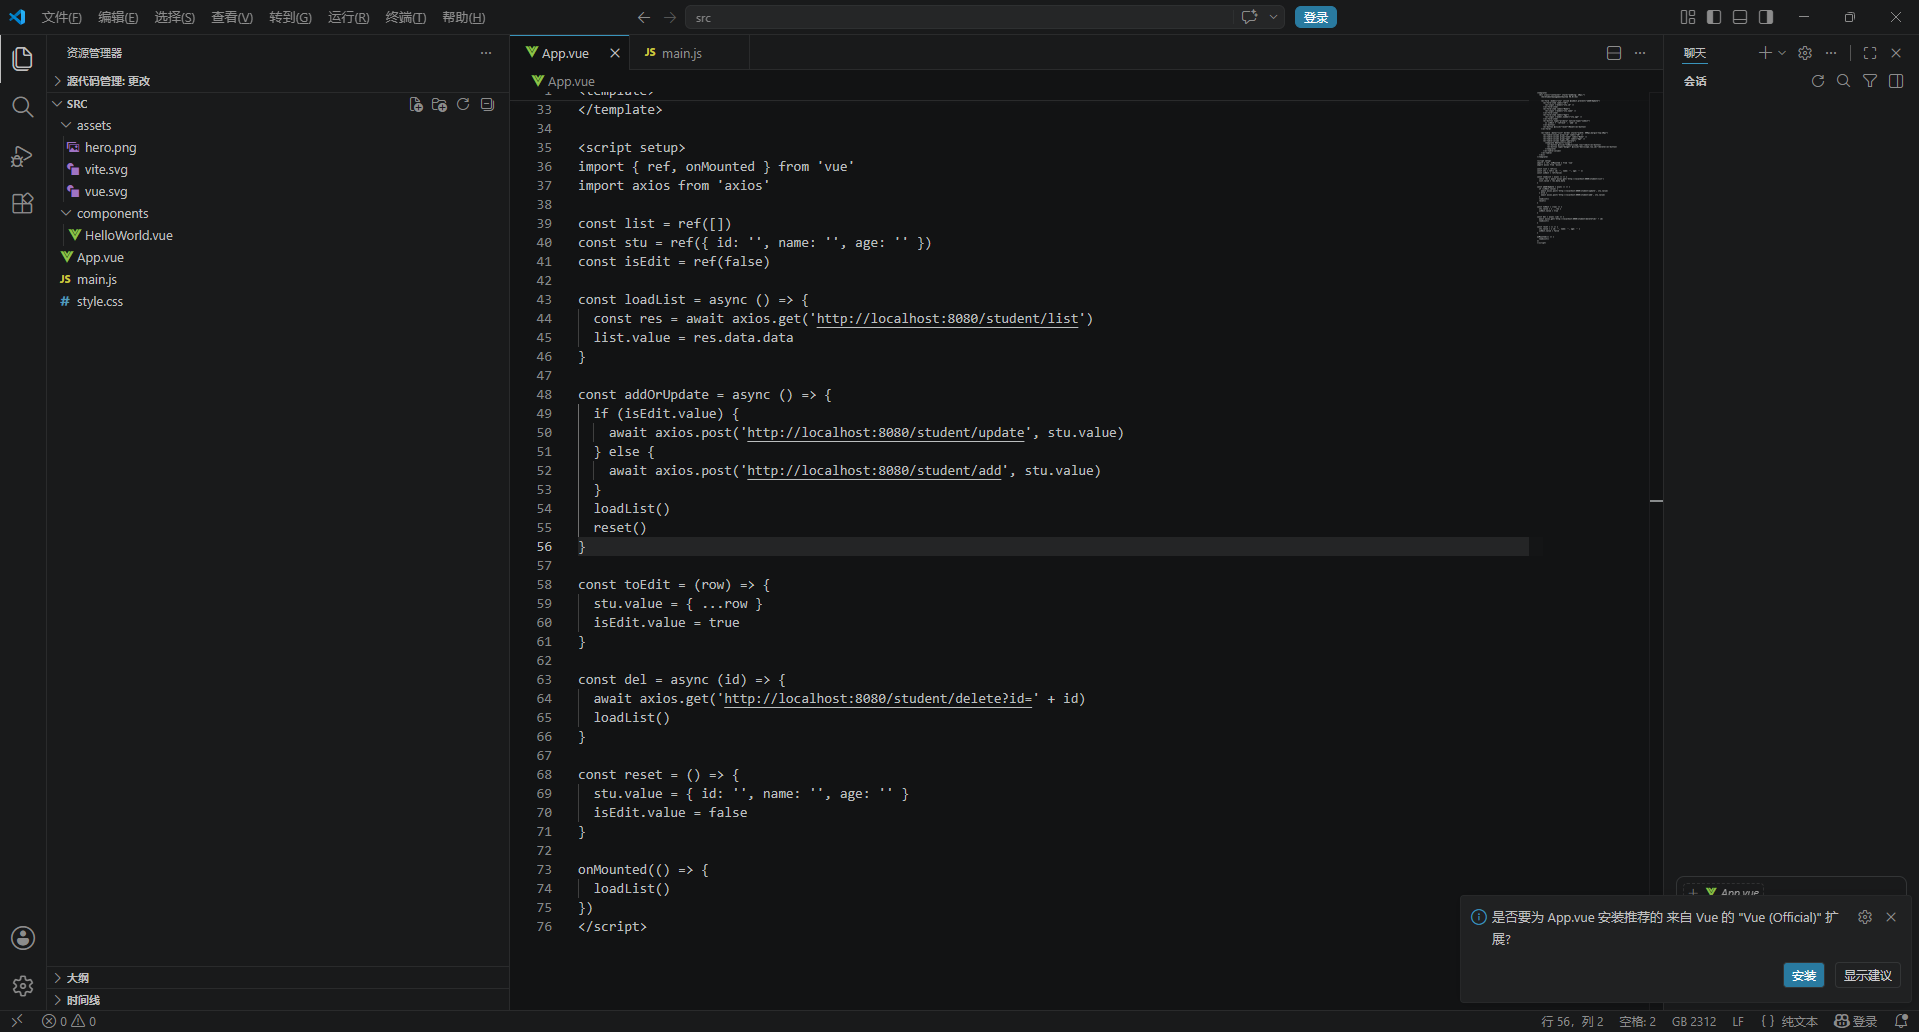
打开 src/main.js(main.js = Vue 项目的总入口、启动类),把原来的代码全部删掉,替换成下面这段:
import { createApp } from 'vue'
import './style.css'
import App from './App.vue'
import ElementPlus from 'element-plus'
import 'element-plus/dist/index.css'
import * as ElementPlusIconsVue from '@element-plus/icons-vue' // 新增
import axios from 'axios'

const app = createApp(App)

// 全局注册所有图标
for (const [key, component] of Object.entries(ElementPlusIconsVue)) {
  app.component(key, component)
}

app.config.globalProperties.$axios = axios
app.use(ElementPlus)
app.mount('#app')
main.js 一共干 5 件事:
- 创建 Vue 应用
- 导入全局样式
- 安装 ElementPlus(组件 + 图标)
- 挂载 axios(全局发请求)
- 挂载到页面,启动项目
打开 src/App.vue,把原来的代码全部删掉,替换成下面这段:
<template>
  <div class="container" style="padding: 20px;">
    <h2>StudentmanagementSystem V6.0</h2>

    <el-form :model="stu" inline @submit.prevent="addOrUpdate">
      <el-form-item label="ID">
        <el-input v-model="stu.id" />
      </el-form-item>
      <el-form-item label="Name">
        <el-input v-model="stu.name" />
      </el-form-item>
      <el-form-item label="Age">
        <el-input v-model.number="stu.age" />
      </el-form-item>
      <el-button type="primary" native-type="submit">
        {{ isEdit ? 'refresh' : 'add' }}
      </el-button>
      <el-button @click="reset">Reset</el-button>
    </el-form>

    <el-table :data="list" border style="width: 600px;margin-top:20px">
      <el-table-column prop="id" label="ID" />
      <el-table-column prop="name" label="Name" />
      <el-table-column prop="age" label="Age" />
      <el-table-column label="operate">
        <template #default="scope">
          <el-button @click="toEdit(scope.row)">edit</el-button>
          <el-button type="danger" @click="del(scope.row.id)">delete</el-button>
        </template>
      </el-table-column>
    </el-table>
  </div>
</template>

<script setup>
import { ref, onMounted } from 'vue'
import axios from 'axios'

const list = ref([])
const stu = ref({ id: '', name: '', age: '' })
const isEdit = ref(false)

const loadList = async () => {
  const res = await axios.get('http://localhost:8080/student/list')
  list.value = res.data.data
}

const addOrUpdate = async () => {
  if (isEdit.value) {
    await axios.post('http://localhost:8080/student/update', stu.value)
  } else {
    await axios.post('http://localhost:8080/student/add', stu.value)
  }
  loadList()
  reset()
}

const toEdit = (row) => {
  stu.value = { ...row }
  isEdit.value = true
}

const del = async (id) => {
  await axios.get('http://localhost:8080/student/delete?id=' + id)
  loadList()
}

const reset = () => {
  stu.value = { id: '', name: '', age: '' }
  isEdit.value = false
}

onMounted(() => {
  loadList()
})
</script>
准备就绪后,跑起来Springapplication
然后再cmd里面输入npm run dev
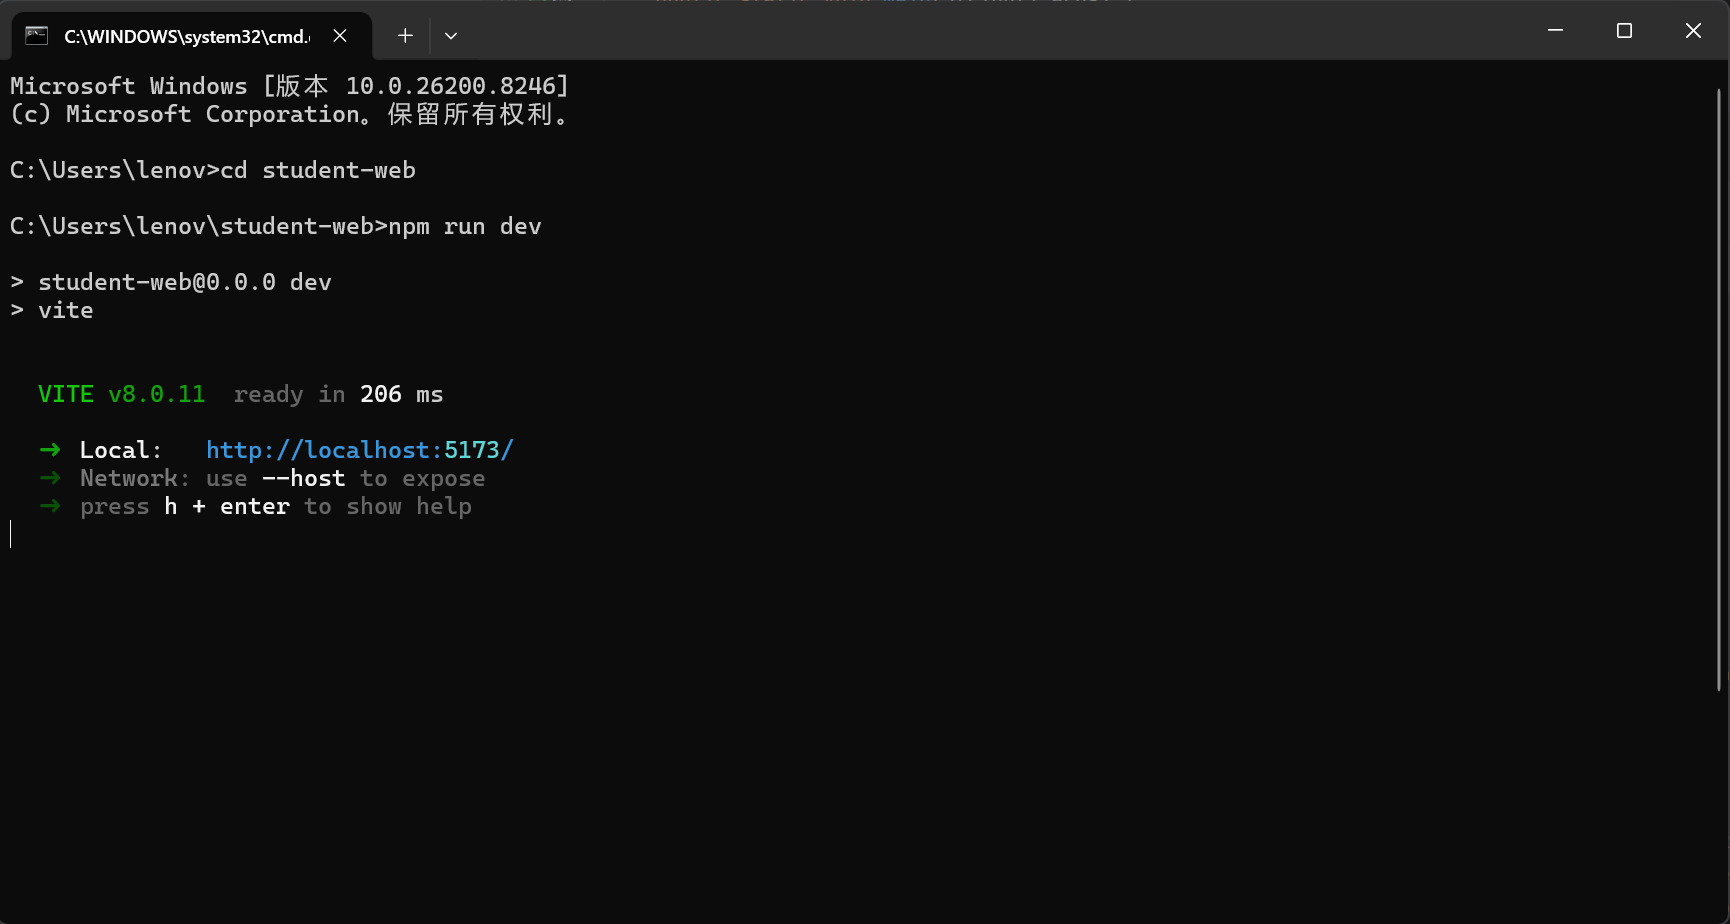
点击前端网址http://localhost:5173
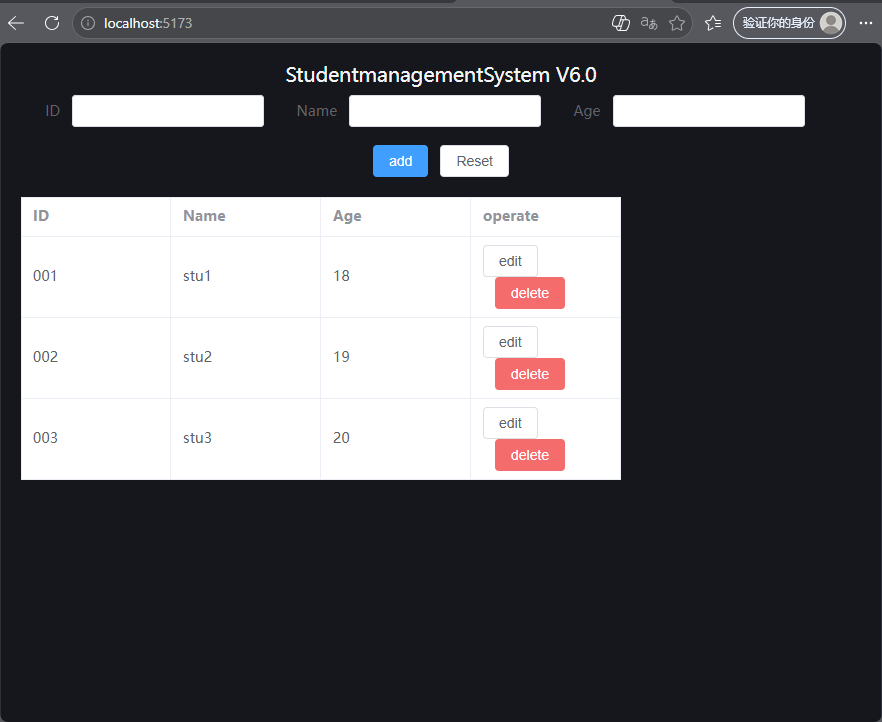
可见项目运行成功