目录
[三、插槽VS 作用域插槽区别](#三、插槽VS 作用域插槽区别)
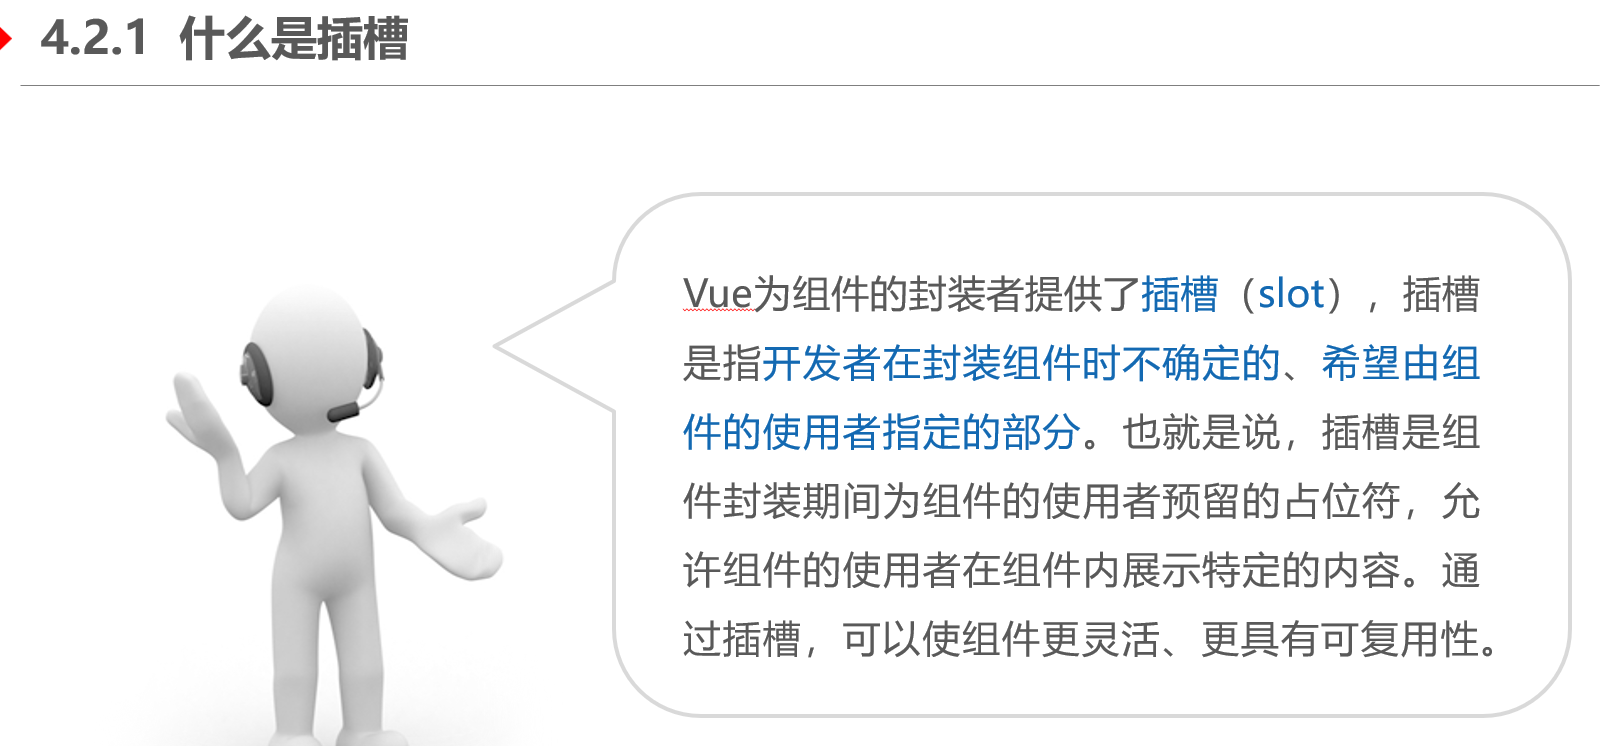
一、插槽
1、概念
2、代码及演示
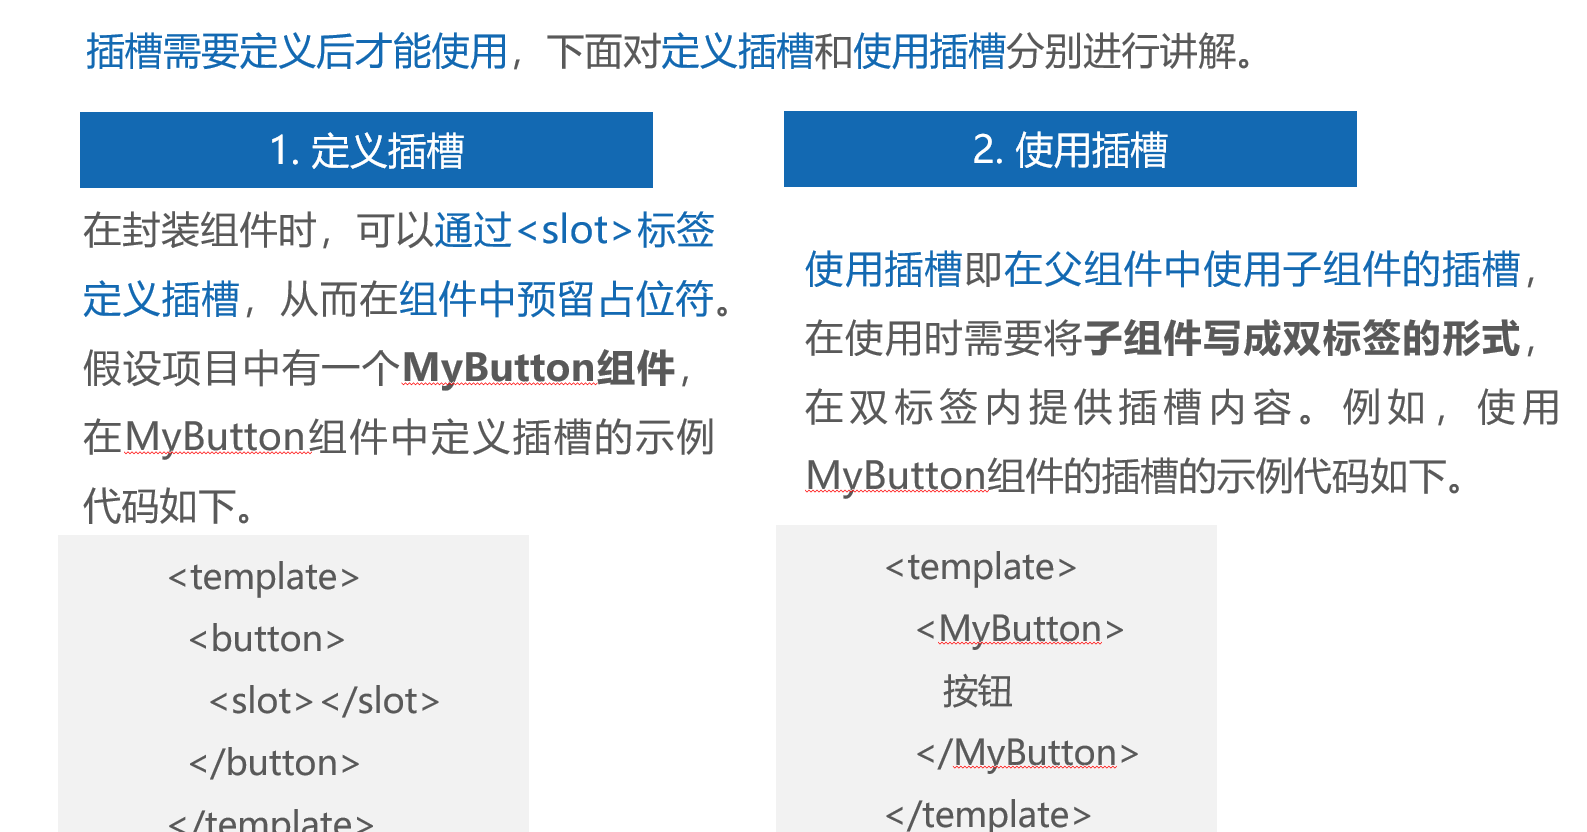
创建src\components\SlotSubComponent.vue文件,展示子组件的内容
<template>
  <div>测试插槽的组件</div>
  <slot></slot>
</template>
创建src\components\MySlot.vue文件,用于展示插槽的相关内容。
<template>
父组件-----{{ message }}
<hr>
<!-- 子组件需要写成双标签形式 -->
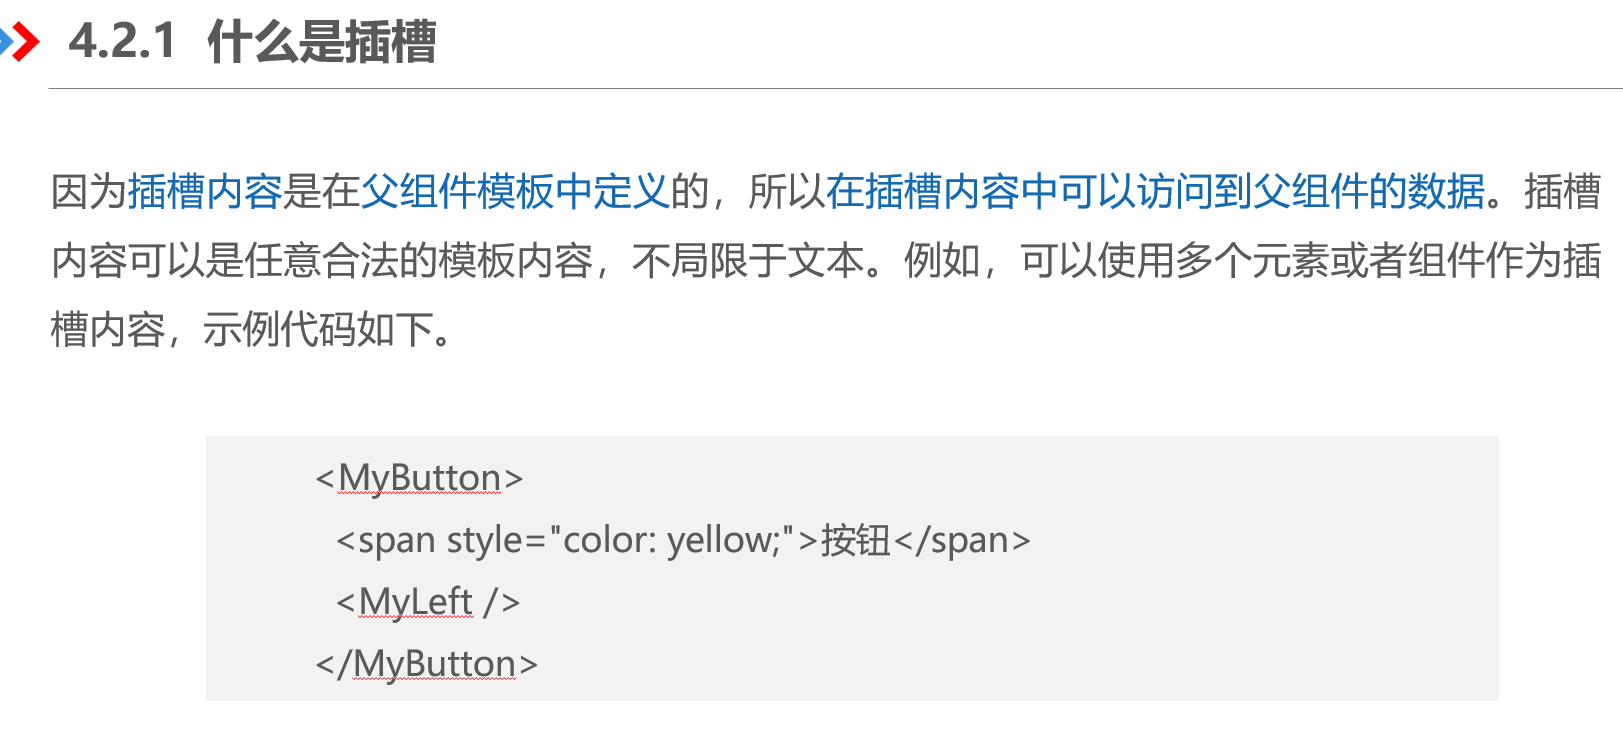
<SlotSubComponent>
<!-- 这是传给子组件插槽的内容 -->
<span style="color: blue;">下面是测试插槽组件,并传递数据给插槽</span>
<p>{{ message }}</p>
</SlotSubComponent>
</template>
<script setup>
import SlotSubComponent from './SlotSubComponent.vue'
const message = '这是组件的使用者自定义的内容'
</script>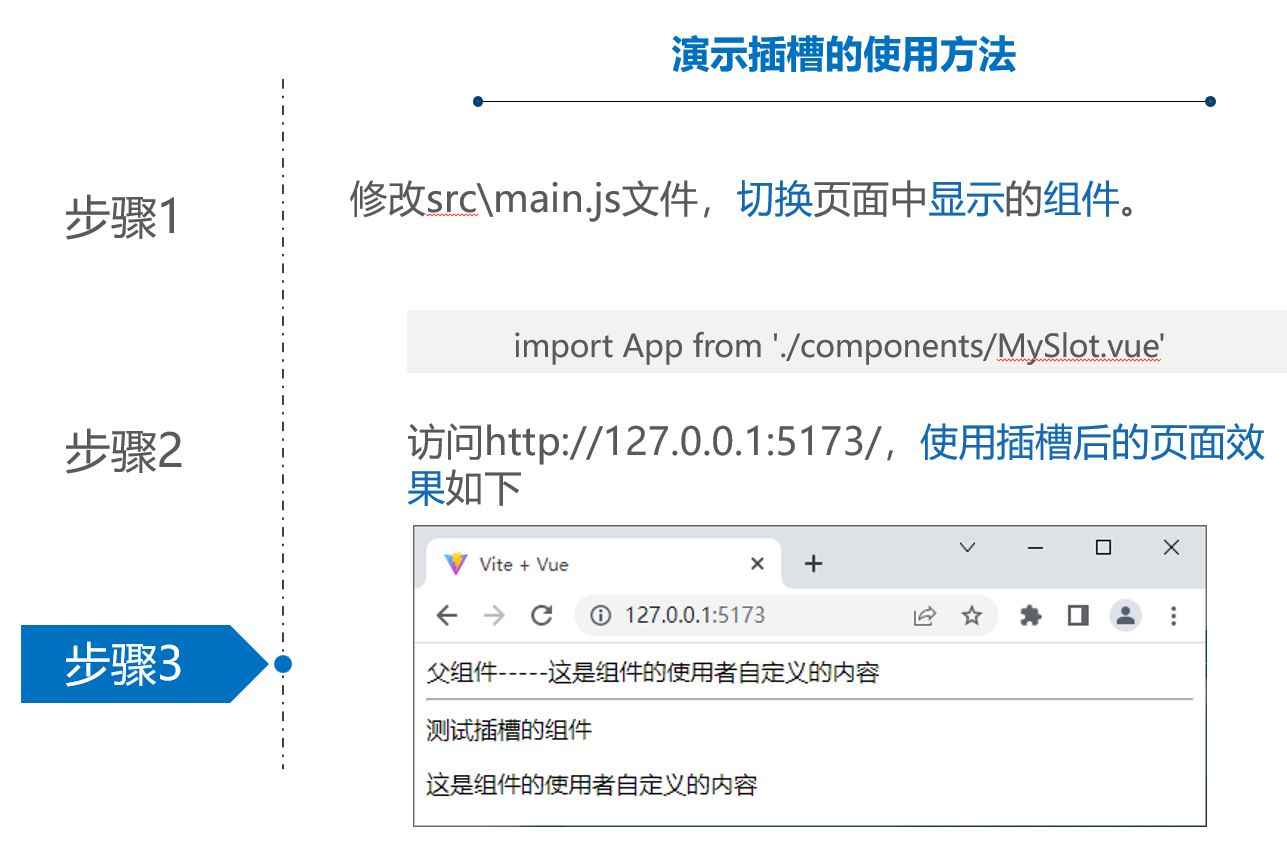
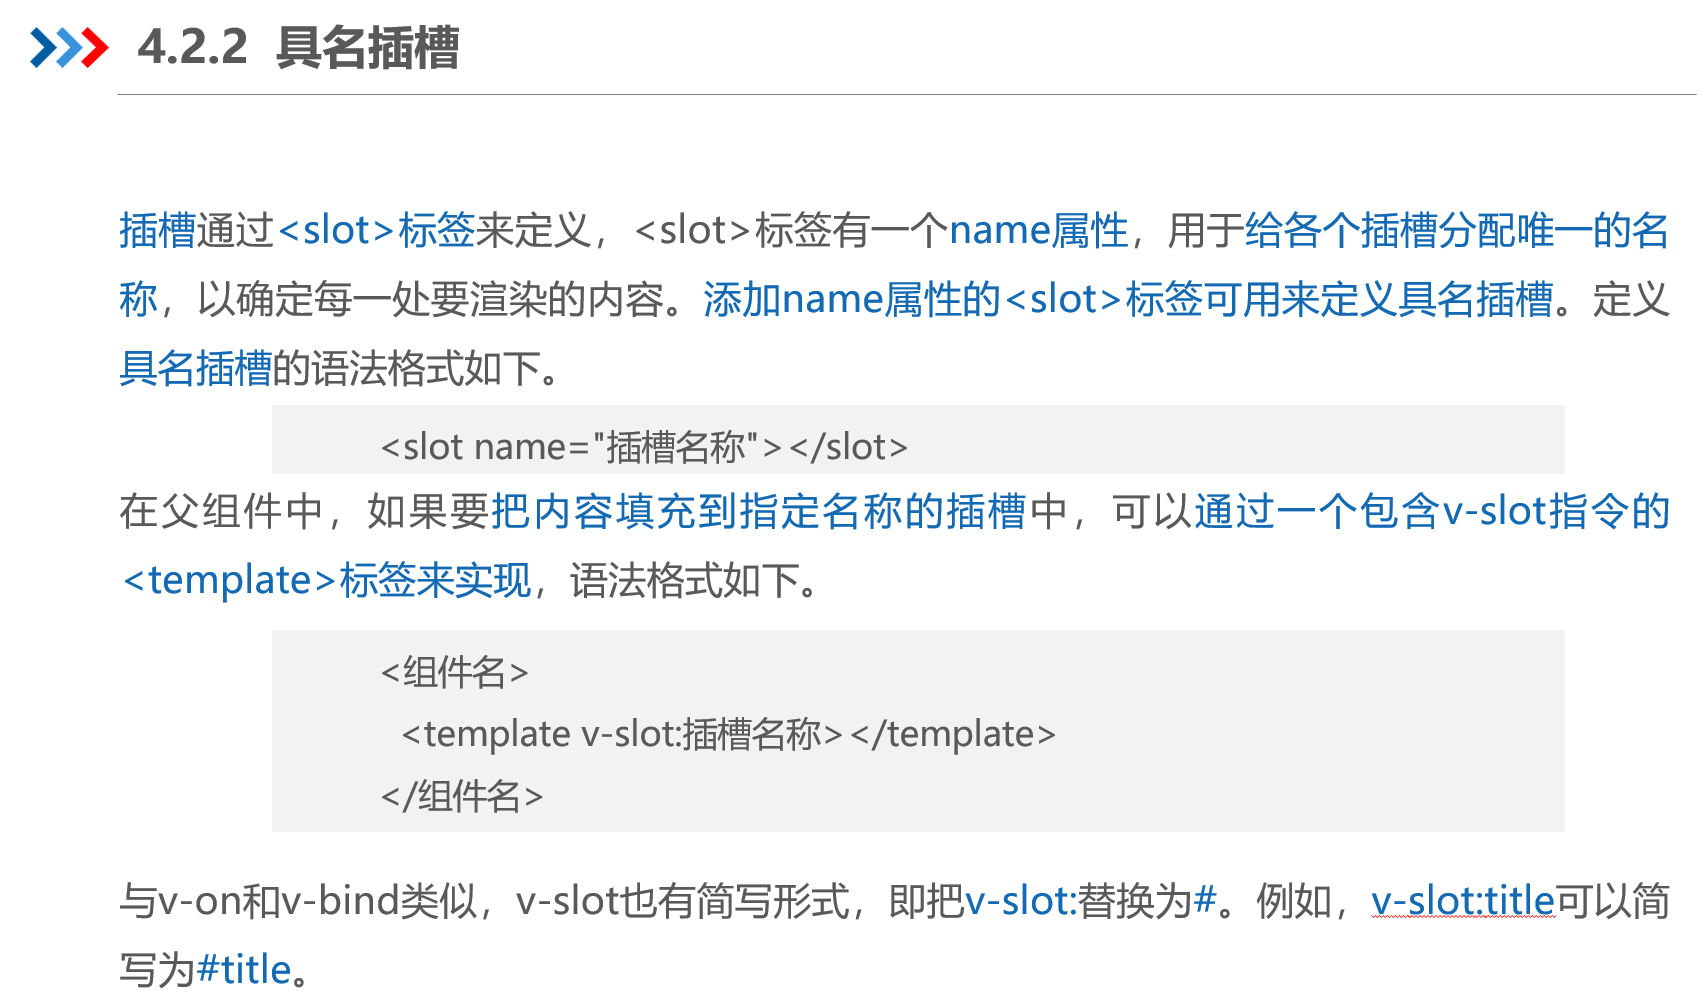
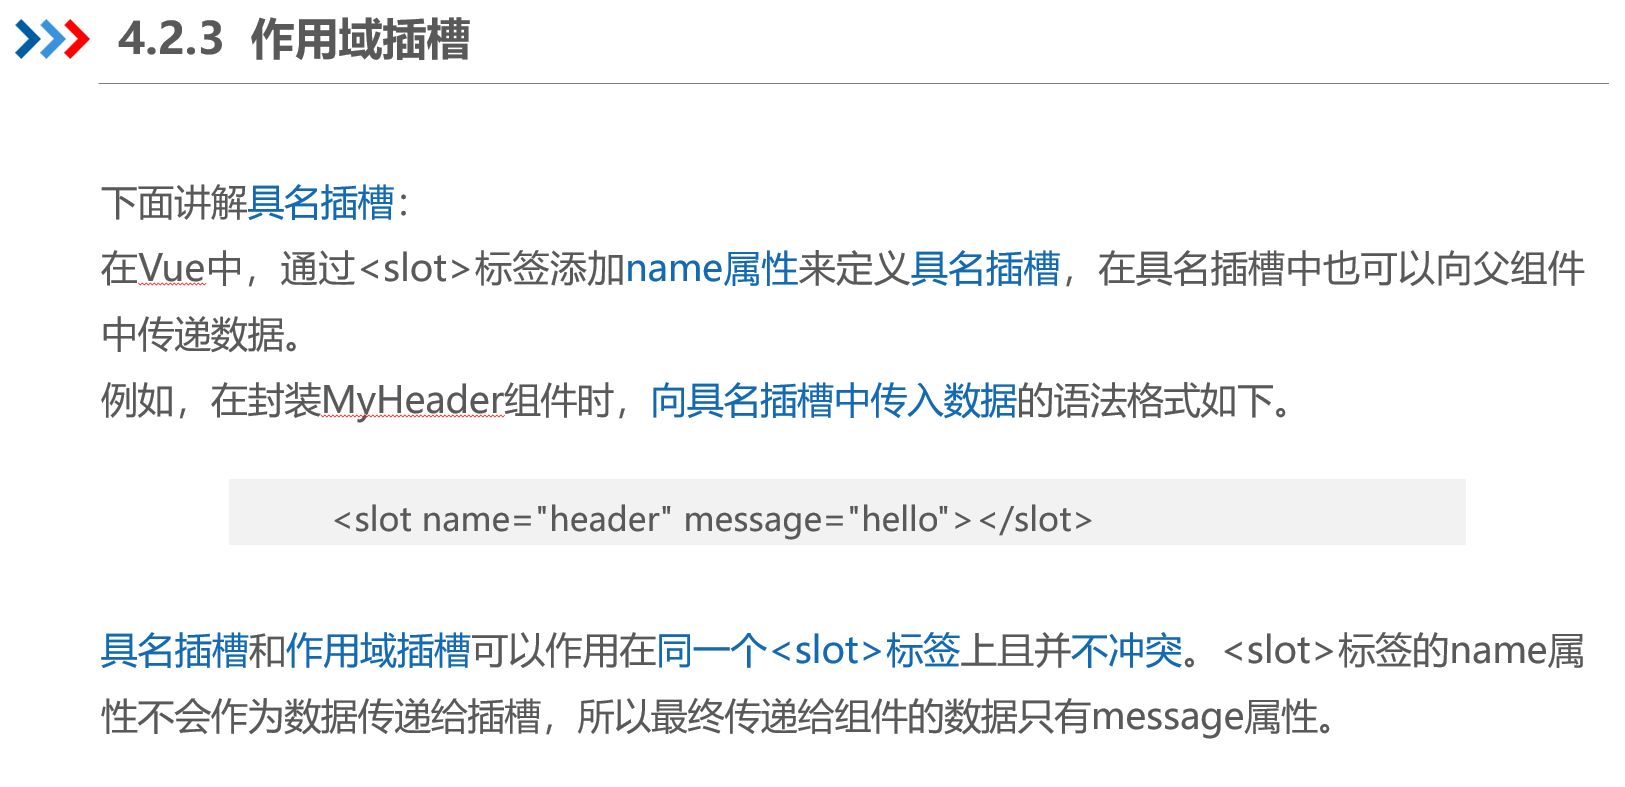
具名插槽
代码及演示效果
创建src\components\ArticleInfo.vue文件,用于展示文章内容模板。
<template>
  <div class="article-container">
    <div class="header-box"><slot name="header"></slot></div>
    <div class="content-box"><slot name="content"></slot></div>
    <div class="footer-box"><slot name="footer"></slot></div>
  </div>
</template>
<style>
.article-container > div { border: 1px solid black; }
</style>
创建src\components\MyArticle.vue文件,用于提供文章数据,在MyArticle组件中导入并使用ArticleInfo组件,并在<ArticleInfo>标签中为不同插槽添加不同的信息。
<template>
  <ArticleInfo>
    <template v-slot:header><p>这是文章的头部区域</p></template>
    <template v-slot:content><p>这是文章的内容区域</p></template>
    <template #footer><p>这是文章的尾部区域</p></template>
  </ArticleInfo>
</template>
<script setup>import ArticleInfo from './ArticleInfo.vue' </script>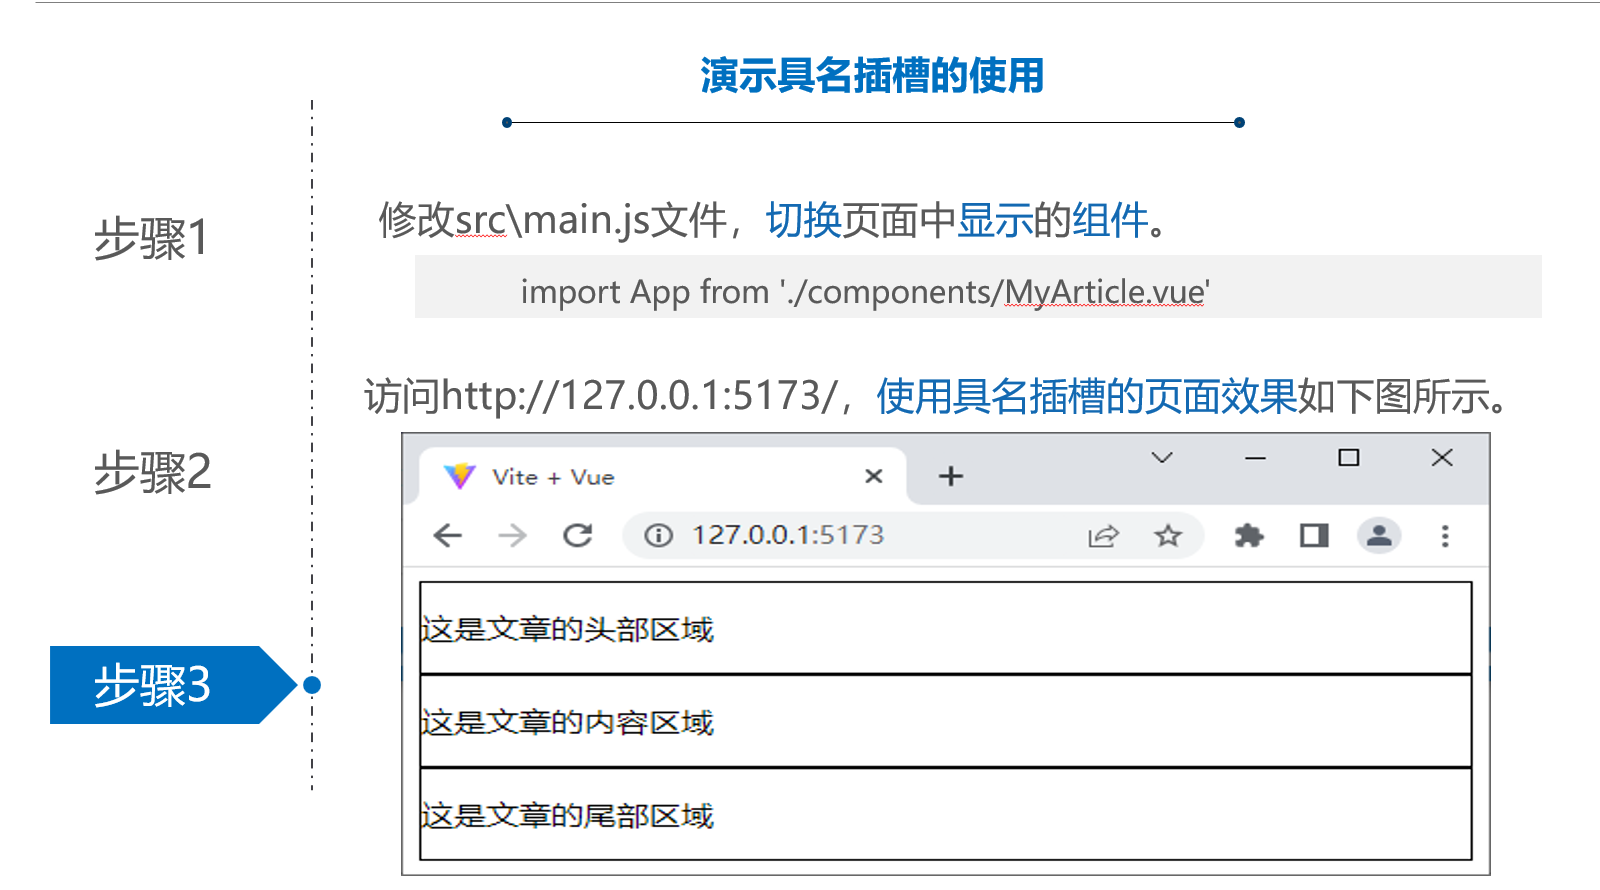
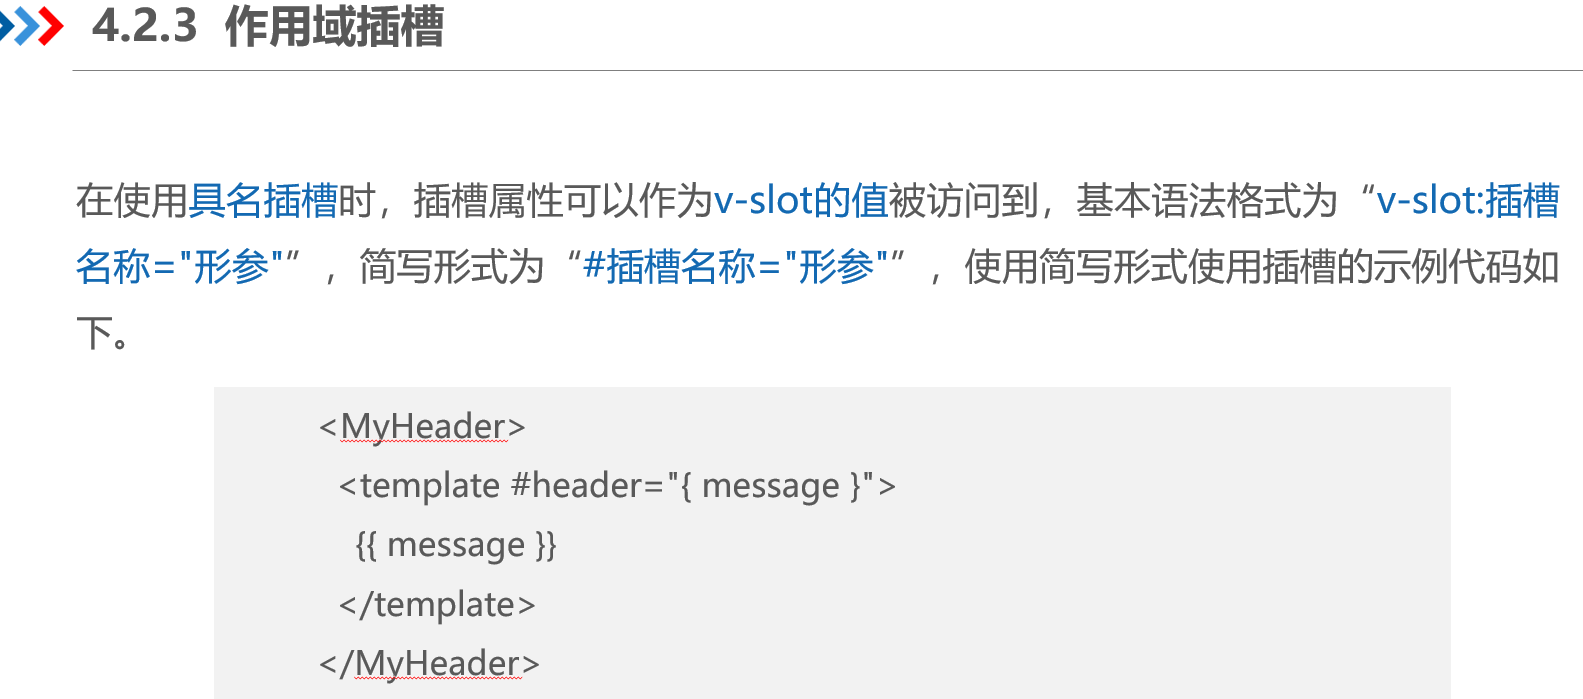
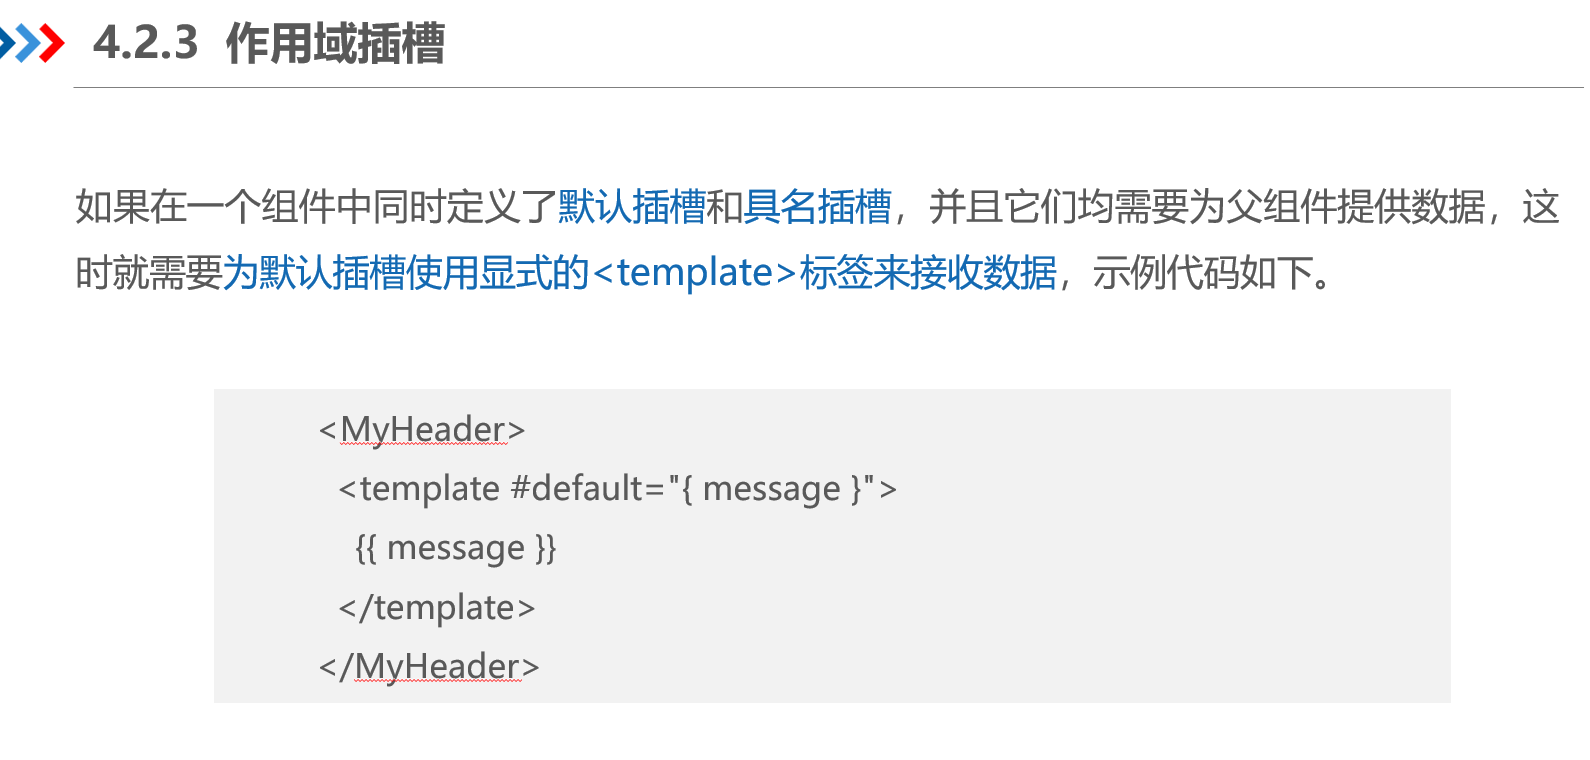
二、作用域插槽
1、概念


2、代码及演示
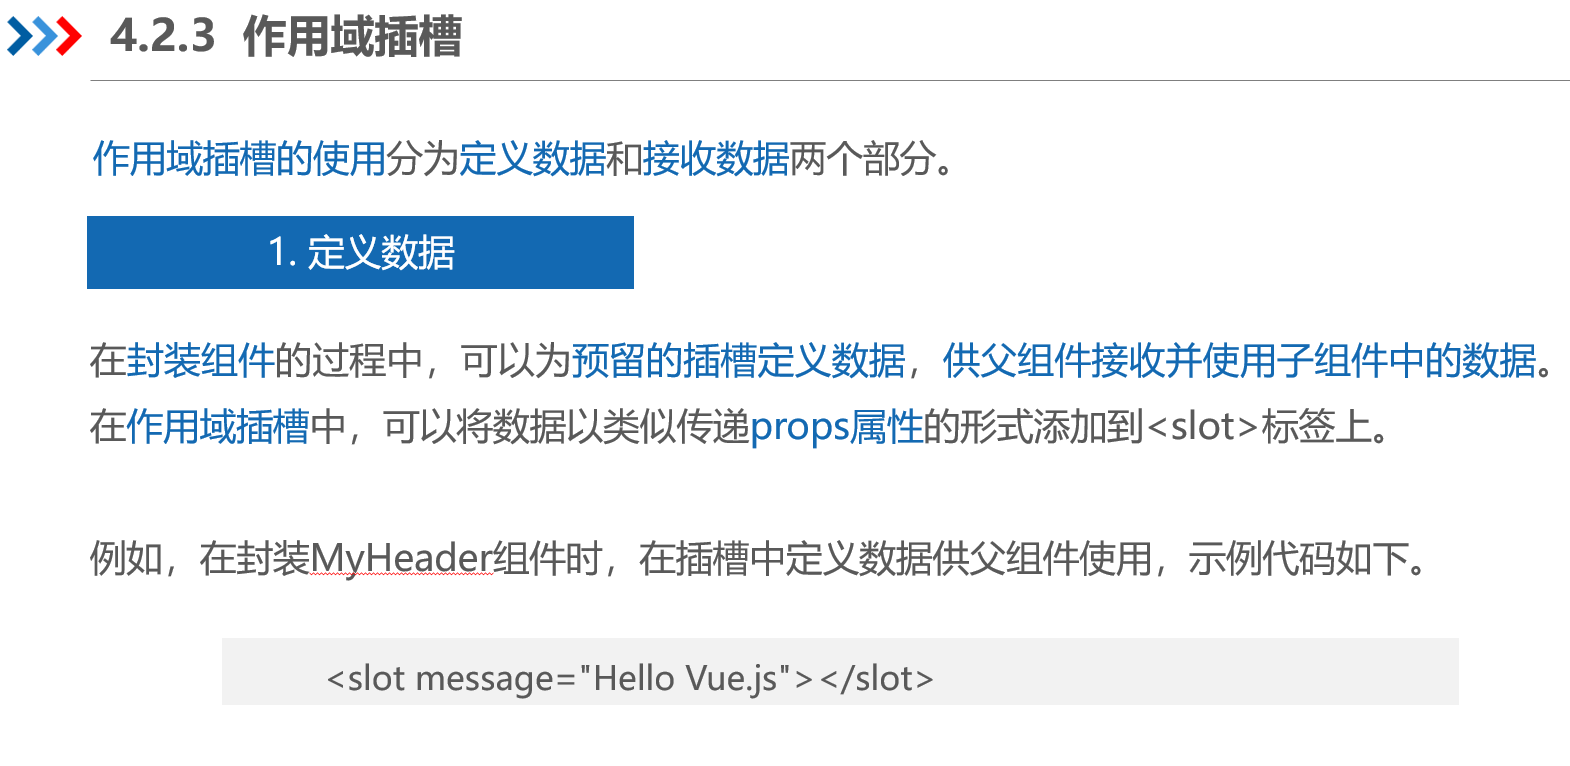
创建src\components\SubScopeSlot.vue文件,用于作用域插槽--定义数据。
<template>
<slot message="Hello 默认插槽"></slot>
<hr>
<slot message="Hello Vue.js" name="header"></slot>
<hr>
<slot :user="user" name="content"></slot>
</template>
<script setup>
import { reactive } from 'vue'
const user = reactive({ name: 'xiaoyuan', age: '15' })
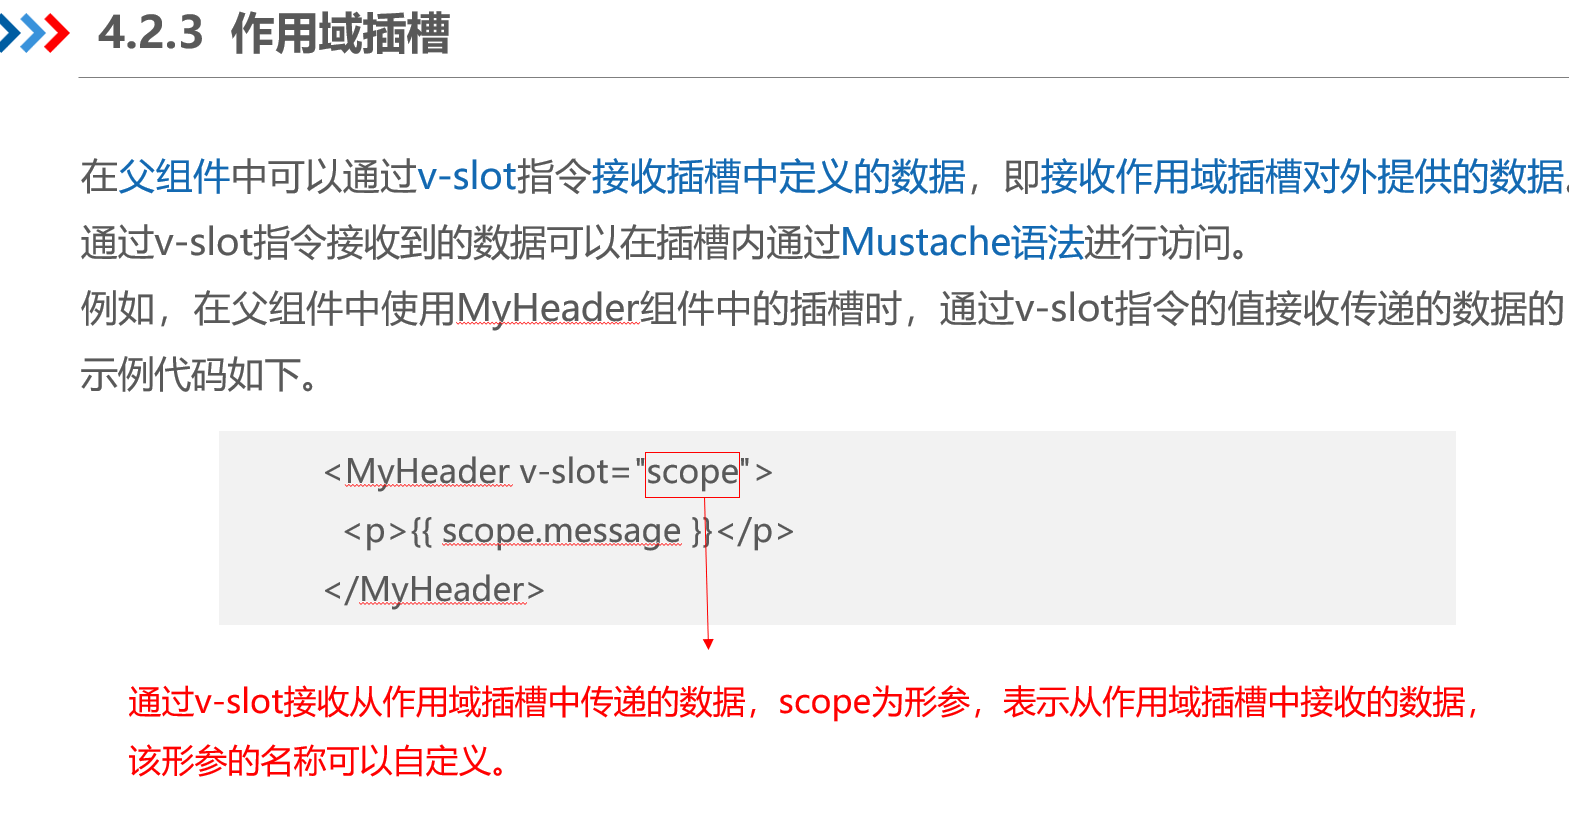
</script>创建src\components\ScopeSlot.vue文件,用于 接收从作用域插槽传递的数据。
<template>
<SubScopeSlot>
<template v-slot:default="scope"><p>{{ scope }}</p></template>
<template v-slot:header="scope">
<p>{{ scope }}</p><p>{{ scope.message }}</p>
</template>
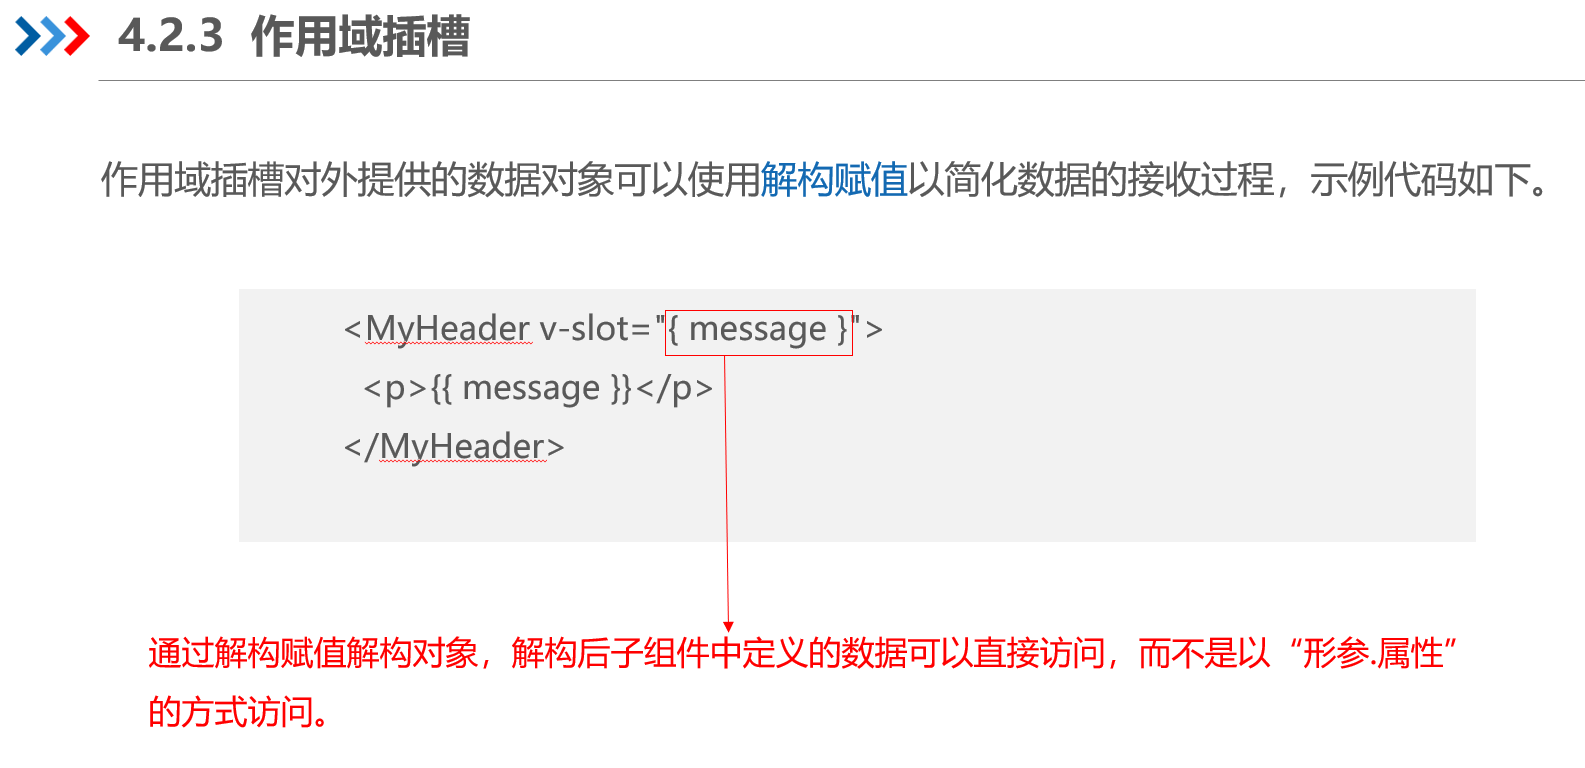
<template #content="{ user }">
<p>{{ user.name }}</p><p>{{ user.age }}</p></template>
</SubScopeSlot>
</template>
<script setup>import SubScopeSlot from './SubScopeSlot.vue'</script>修改main.js ,切换显示ScopeSlot
import ScopeSlot from './components/ScopeSlot.vue'
createApp(ScopeSlot).mount('#app')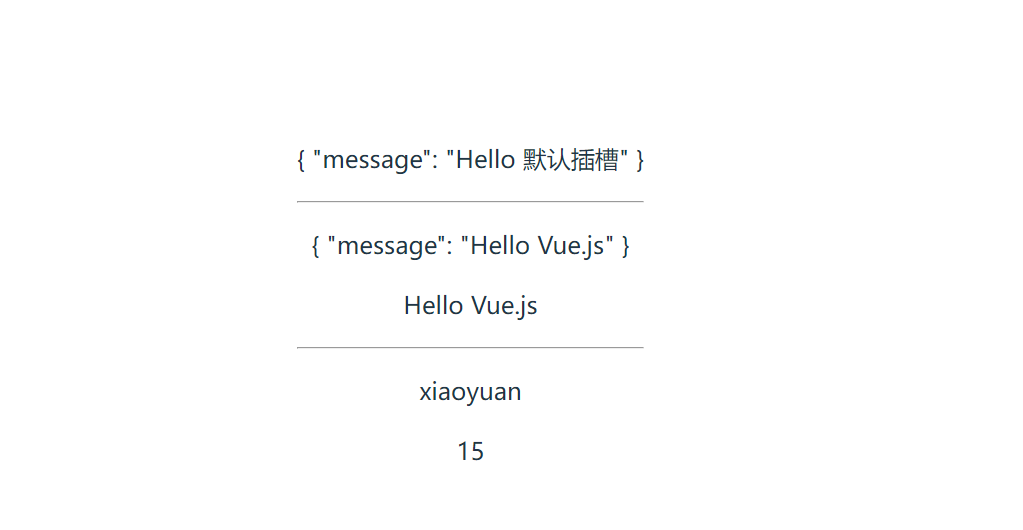
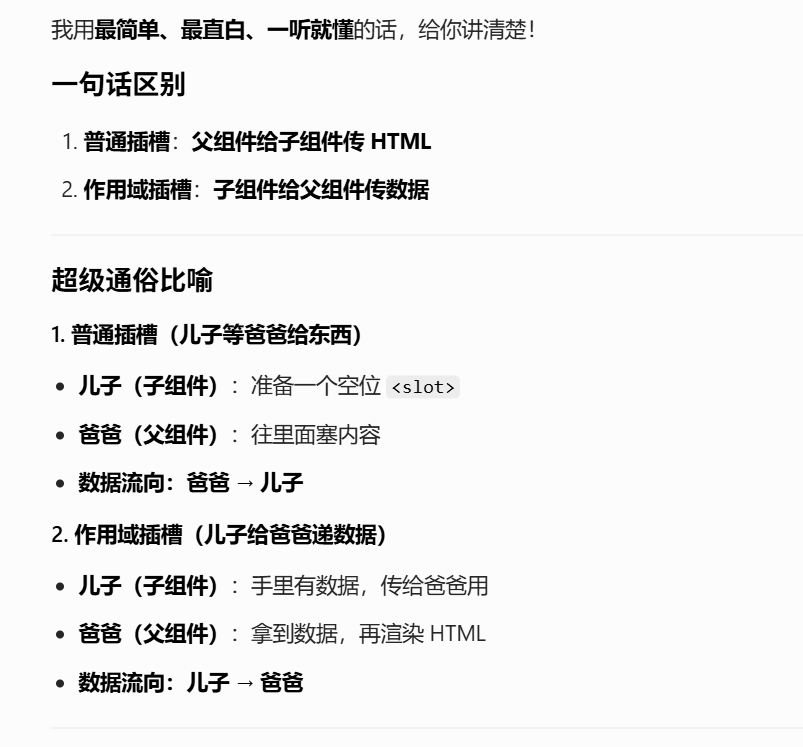
三、插槽VS 作用域插槽区别
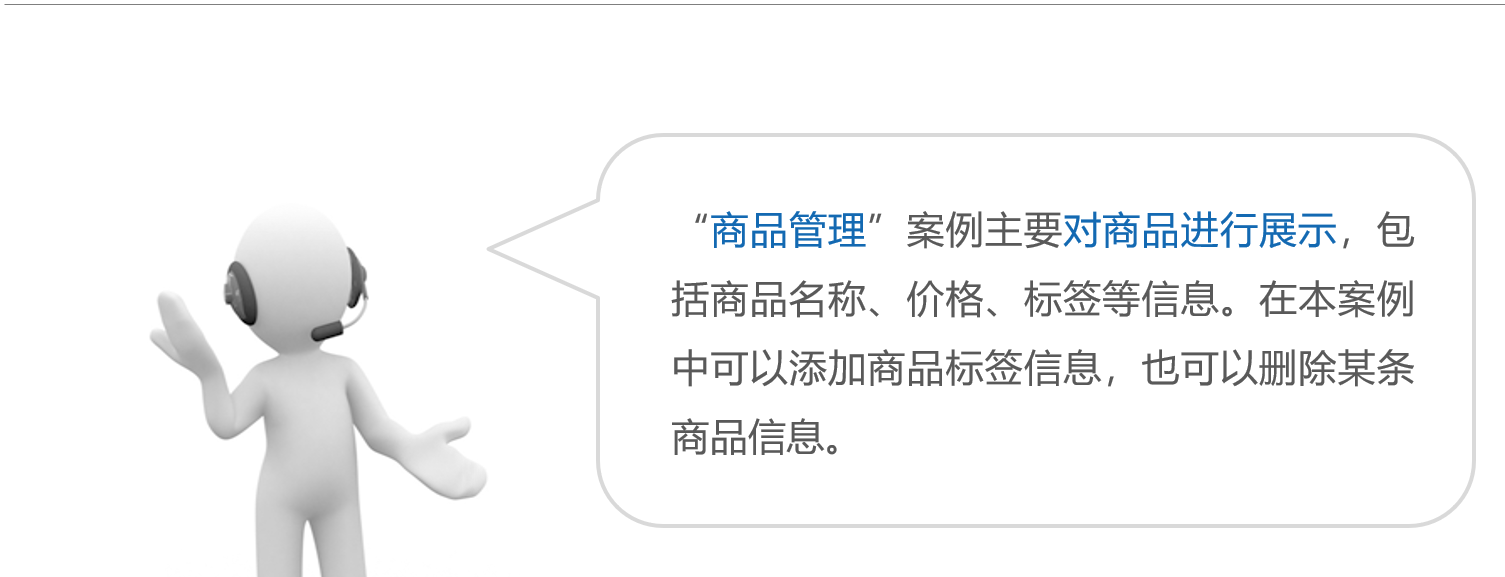
四:阶段案例-商品管理
1、概念

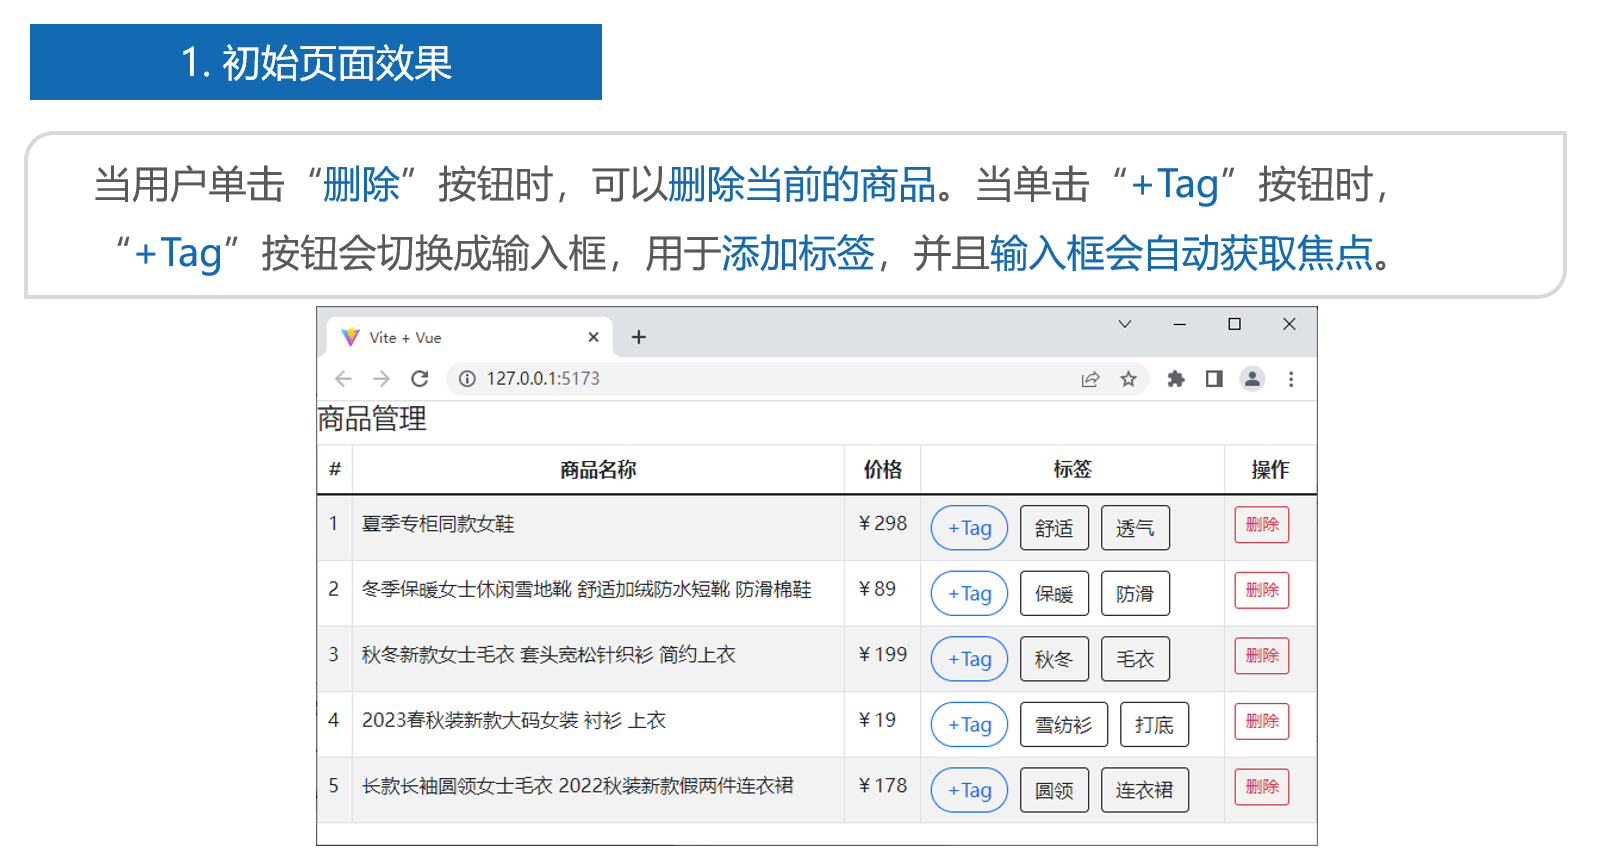
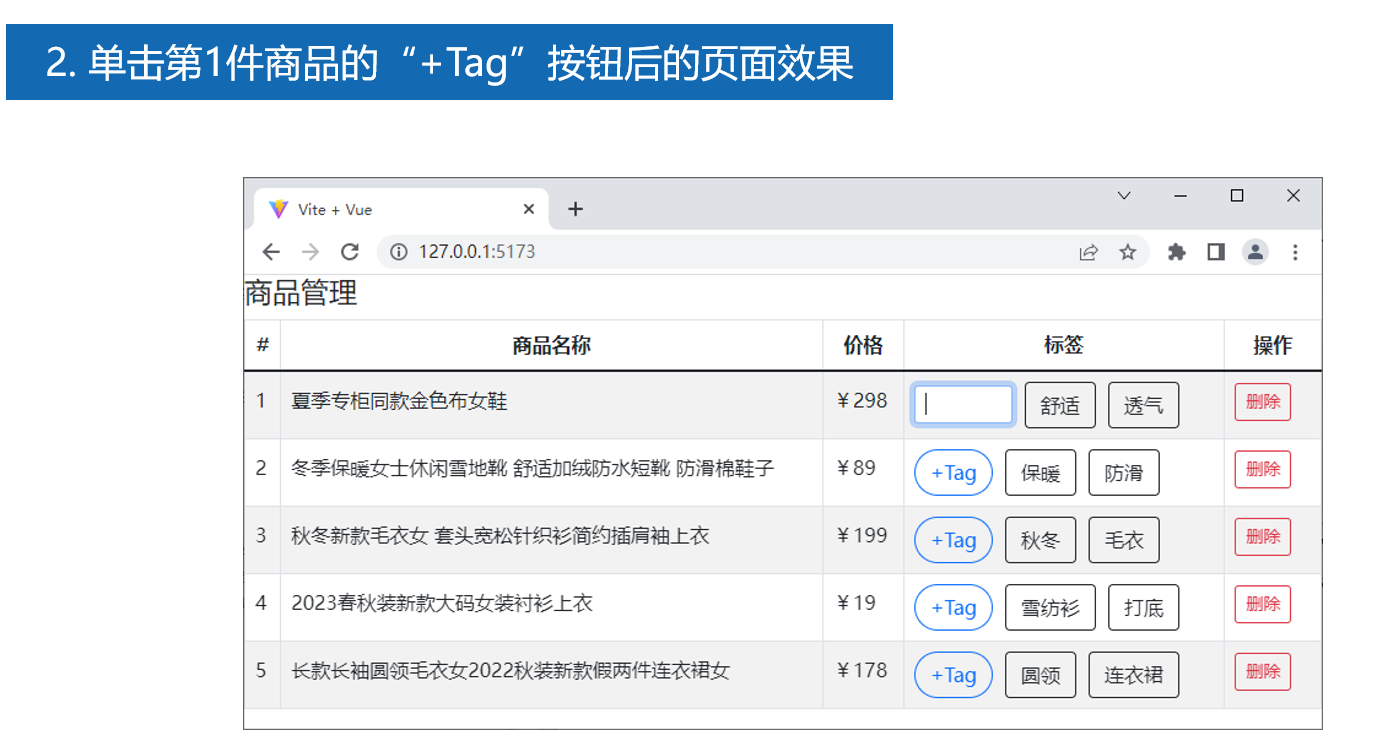
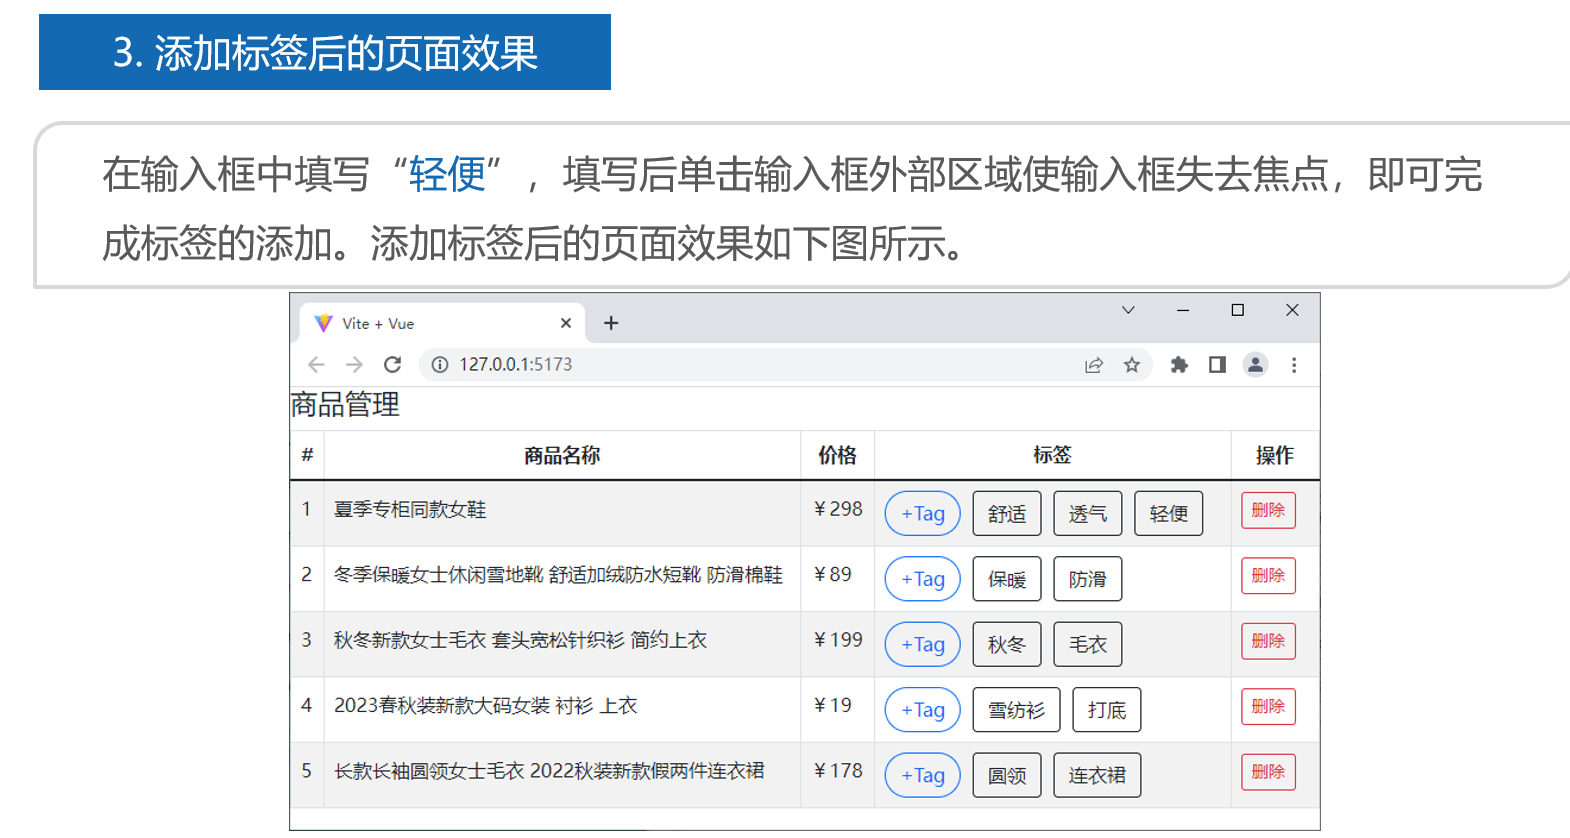
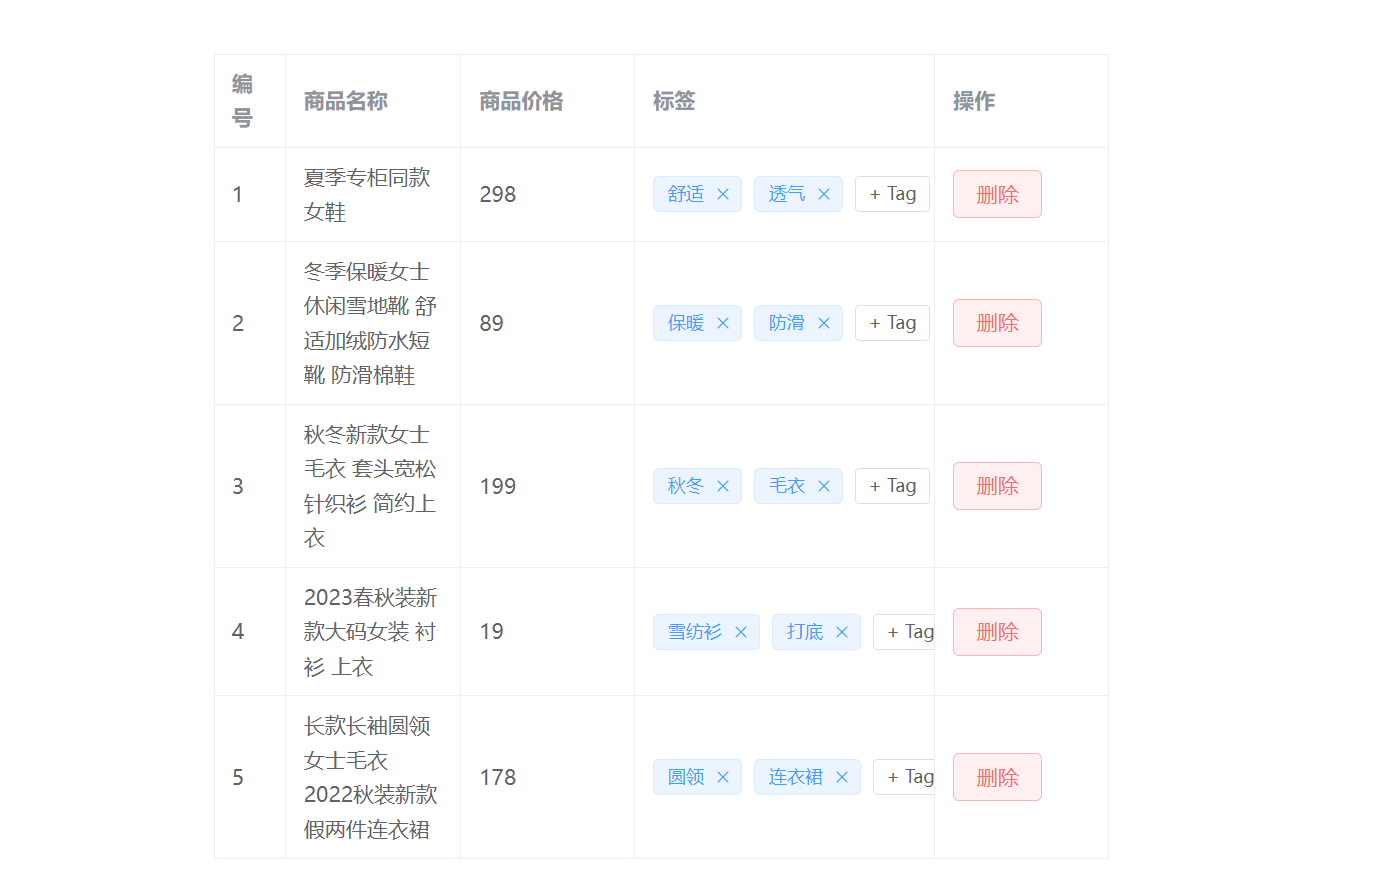
2、代码及演示效果
2.1、安装并全局引入Element Plus 组件
npm install element-plus2.2、全部代码
创建src\components\shangpin.vue文件,用于作用域插槽--定义数据。
<!-- 商品管理完整可运行代码 -->
<template>
<el-table :data="goodsList" border style="width: 100%">
<!-- 编号列 -->
<el-table-column type="index" label="编号" />
<!-- 商品名称 -->
<el-table-column prop="goods_name" label="商品名称" />
<!-- 商品价格 -->
<el-table-column prop="goods_price" label="商品价格" />
<!-- 标签列(作用域插槽) -->
<el-table-column label="标签">
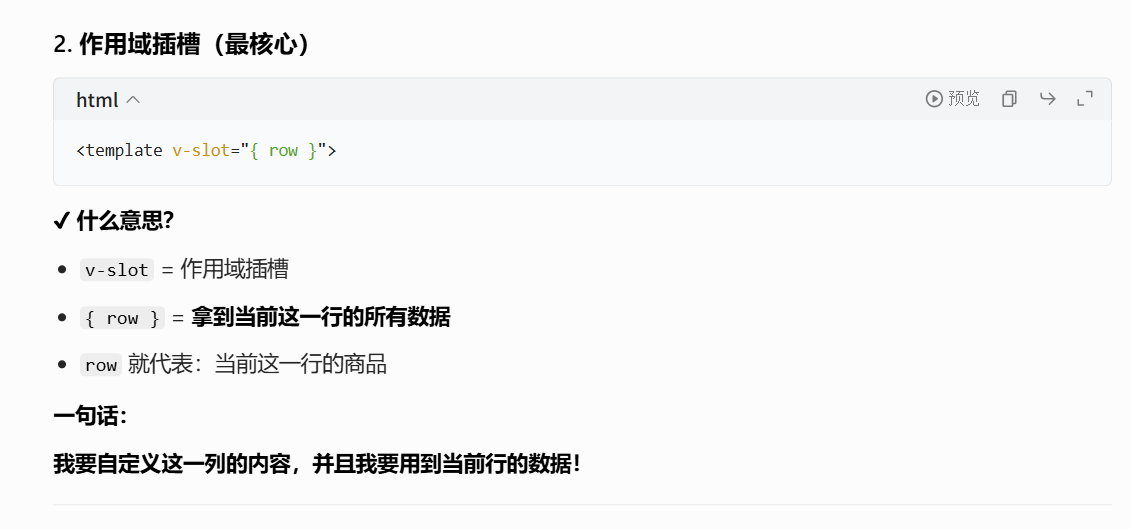
<template v-slot="{ row }">
<div class="flex gap-2 items-center">
<!-- 标签循环 -->
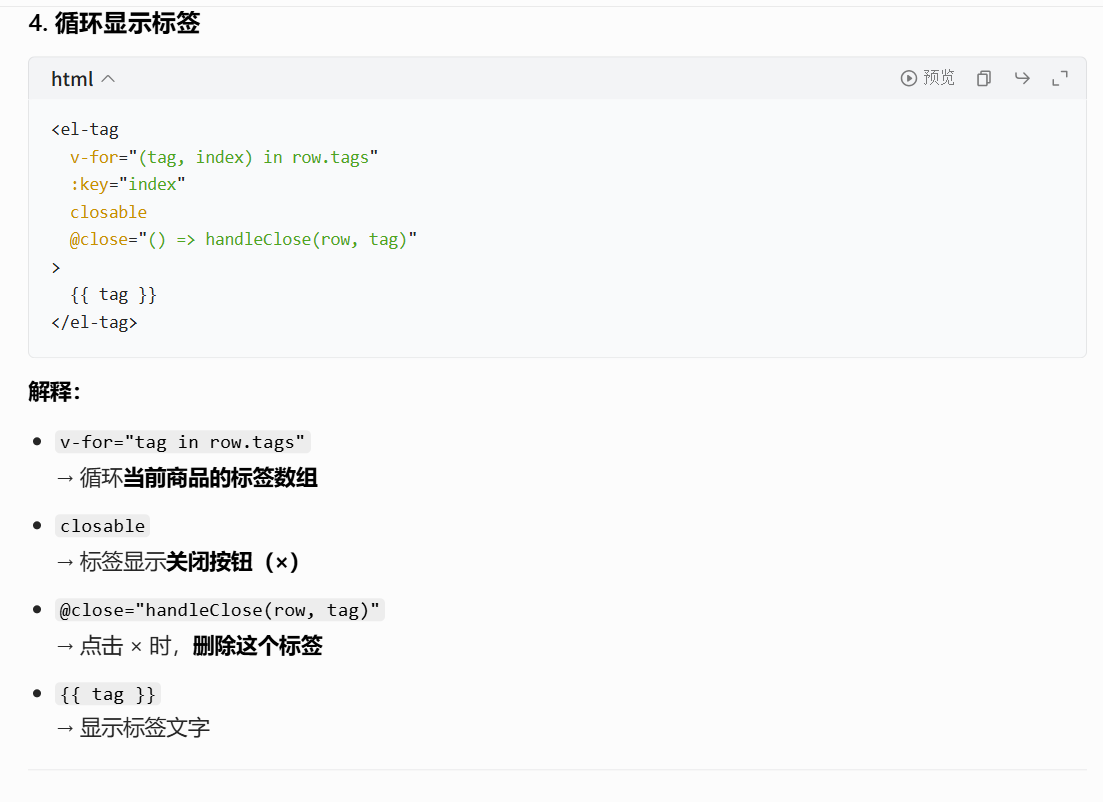
<el-tag
v-for="(tag, index) in row.tags"
:key="index"
closable
disable-transitions
@close="() => handleClose(row, tag)"
>
{{ tag }}
</el-tag>
<!-- 新增标签输入框 -->
<el-input
v-if="row.inputVisible"
v-model="row.inputValue"
size="small"
class="w-20"
@keyup.enter="() => handleInputConfirm(row)"
@blur="() => handleInputConfirm(row)"
/>
<!-- +Tag 按钮 -->
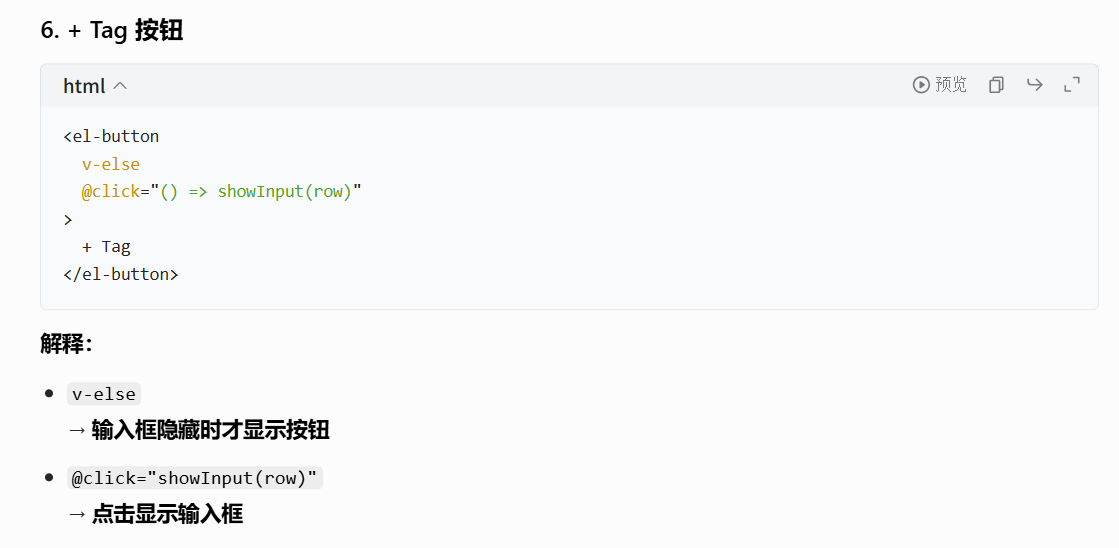
<el-button
v-else
class="button-new-tag"
size="small"
@click="() => showInput(row)"
>
+ Tag
</el-button>
</div>
</template>
</el-table-column>
<!-- 操作列 -->
<el-table-column label="操作">
<template v-slot="{ row }">
<el-button type="danger" plain @click="onRemove(row.id)">
删除
</el-button>
</template>
</el-table-column>
</el-table>
</template>
<script setup>
import { ref, nextTick } from 'vue'
// 商品列表数据
const goodsList = ref([
{
id: 1,
goods_name: '夏季专柜同款女鞋',
goods_price: 298,
tags: ['舒适', '透气'],
inputVisible: false,
inputValue: ''
},
{
id: 2,
goods_name: '冬季保暖女士休闲雪地靴 舒适加绒防水短靴 防滑棉鞋',
goods_price: 89,
tags: ['保暖', '防滑'],
inputVisible: false,
inputValue: ''
},
{
id: 3,
goods_name: '秋冬新款女士毛衣 套头宽松针织衫 简约上衣',
goods_price: 199,
tags: ['秋冬', '毛衣'],
inputVisible: false,
inputValue: ''
},
{
id: 4,
goods_name: '2023春秋装新款大码女装 衬衫 上衣',
goods_price: 19,
tags: ['雪纺衫', '打底'],
inputVisible: false,
inputValue: ''
},
{
id: 5,
goods_name: '长款长袖圆领女士毛衣 2022秋装新款假两件连衣裙',
goods_price: 178,
tags: ['圆领', '连衣裙'],
inputVisible: false,
inputValue: ''
}
])
// 关闭标签
const handleClose = (row, tag) => {
const i = row.tags.indexOf(tag)
if (i >= 0) row.tags.splice(i, 1)
}
// 显示输入框
const showInput = async (row) => {
row.inputVisible = true
await nextTick()
// 让输入框自动聚焦
const input = document.querySelector('.el-input__inner:focus')
input?.focus()
}
// 确认添加标签
const handleInputConfirm = (row) => {
if (row.inputValue.trim()) {
row.tags.push(row.inputValue.trim())
}
row.inputValue = ''
row.inputVisible = false
}
// 删除整行
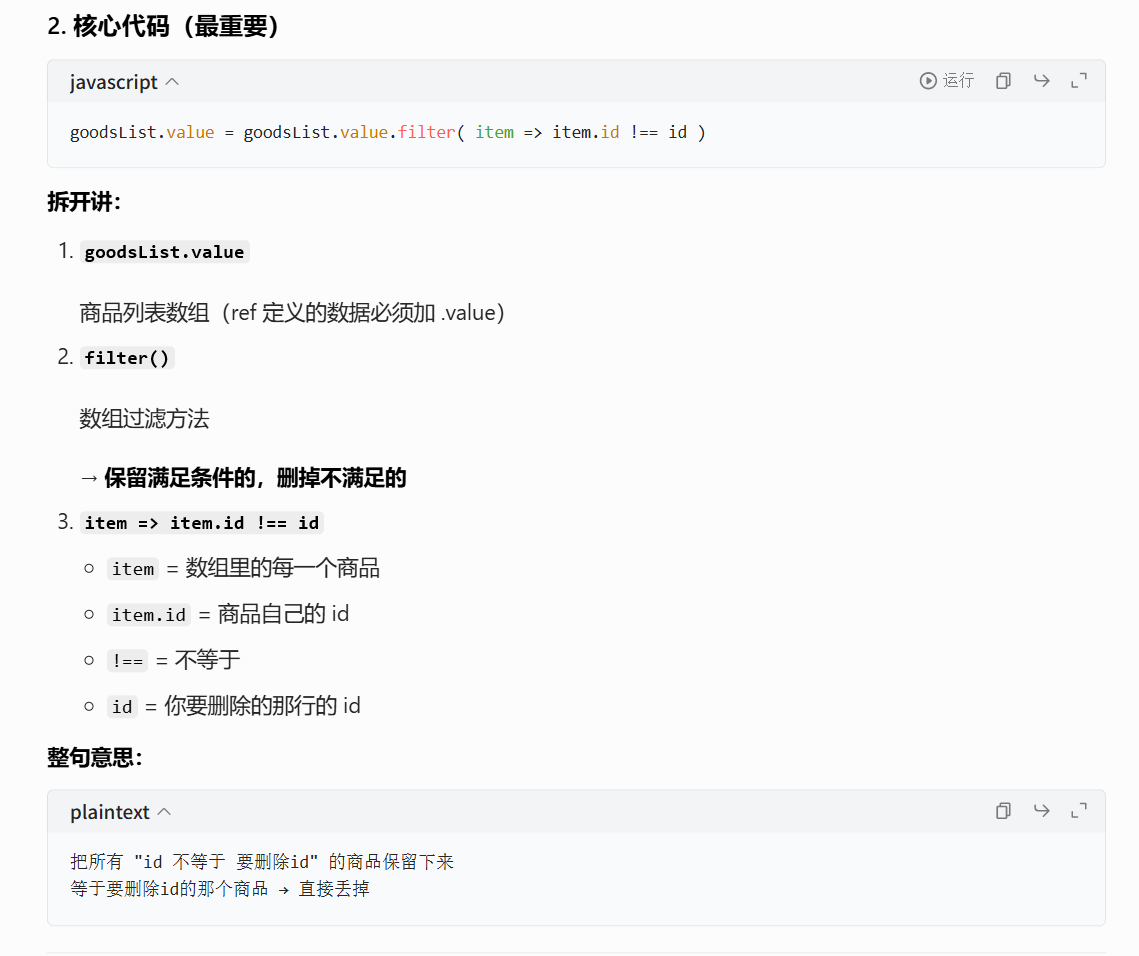
const onRemove = (id) => {
goodsList.value = goodsList.value.filter(item => item.id !== id)
}
</script>
<style scoped>
.flex {
display: flex;
}
.gap-2 {
gap: 8px;
}
.items-center {
align-items: center;
}
.w-20 {
width: 80px;
}
.button-new-tag {
height: 24px;
line-height: 24px;
padding: 0 8px;
}
</style>修改main.js
// 👇 必须同时引入这两行
import ElementPlus from 'element-plus'
import 'element-plus/dist/index.css'

createApp(shangpin).use(ElementPlus).mount('#app')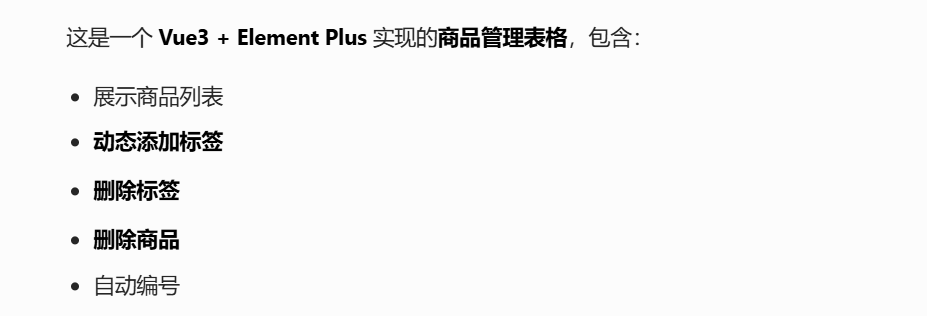
3、核心代码讲解
3.1 代码片段1
 <!-- 标签列(作用域插槽) -->
    <el-table-column label="标签">
      <!-- row = 子组件(表格)传给父组件的所有数据
        当前这一行的商品数据(最重要)-->
      <template v-slot="{ row }">
        <div class="flex gap-2 items-center">
          <!-- 标签循环 -->
          <el-tag
            v-for="(tag, index) in row.tags"
            :key="index"

            closable
            disable-transitions
            @close="() => handleClose(row, tag)"
          >
            {{ tag }}
          </el-tag>

          <!-- 新增标签输入框 -->
          <el-input
            v-if="row.inputVisible"
            v-model="row.inputValue"
            size="small"
            class="w-20"
            @keyup.enter="() => handleInputConfirm(row)"
            @blur="() => handleInputConfirm(row)"
          />

          <!-- +Tag 按钮 -->
           <!-- 点击 → 显示输入框
v-else:输入框隐藏时才显示按钮 -->
          <el-button
            v-else
            class="button-new-tag"
            size="small"
            @click="() => showInput(row)"
          >
            + Tag
          </el-button>
        </div>
      </template>
    </el-table-column>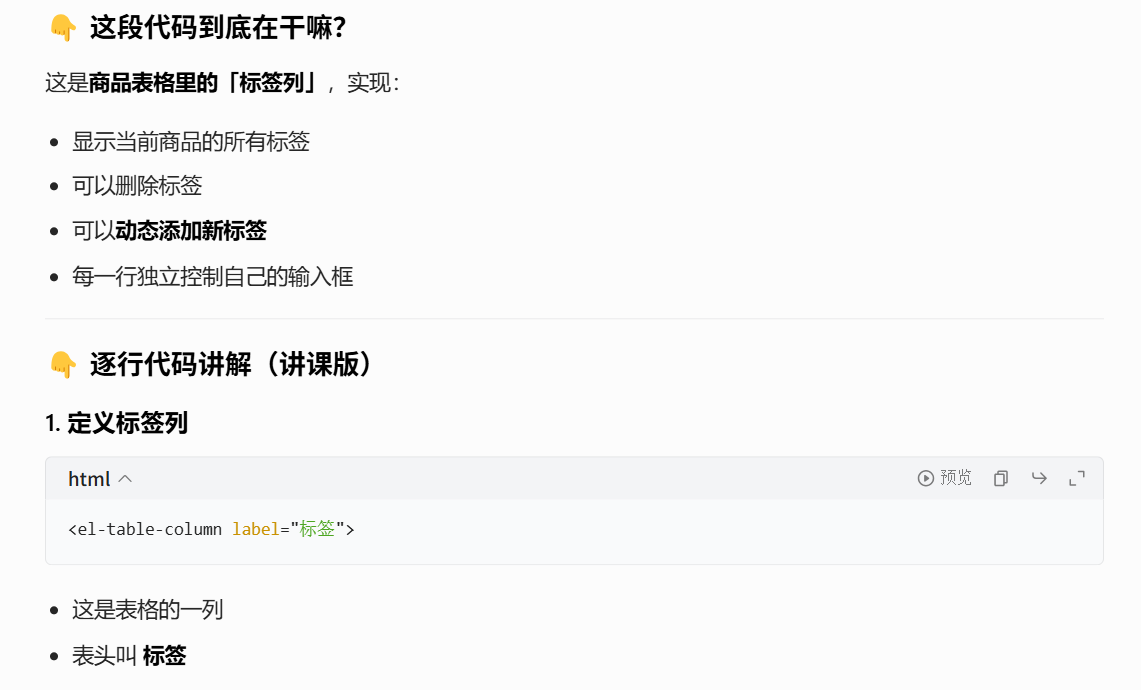
3.2 代码片段2
3.3 代码片段3

3.4 代码片段4
3.5 代码片段5
3.6 代码片段6
v-if / v-else 极简入门 Demo
<template>
<div>
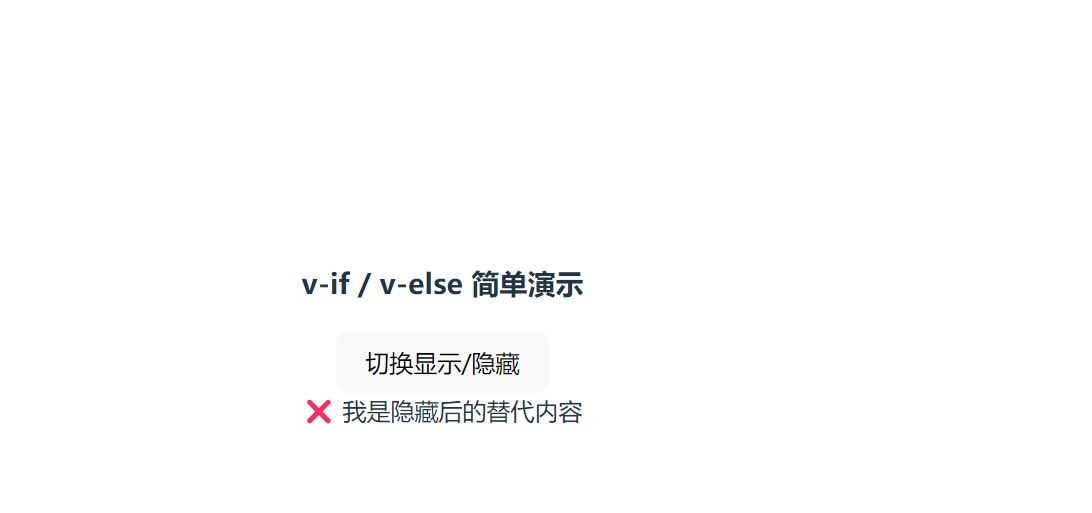
<h3>v-if / v-else 简单演示</h3>
<button @click="isShow = !isShow">切换显示/隐藏</button>
<!-- 条件渲染 -->
<div v-if="isShow">✅ 我是显示的内容</div>
<div v-else>❌ 我是隐藏后的替代内容</div>
</div>
</template>
<script setup>
import { ref } from 'vue'
// 定义布尔值变量
const isShow = ref(true)
</script>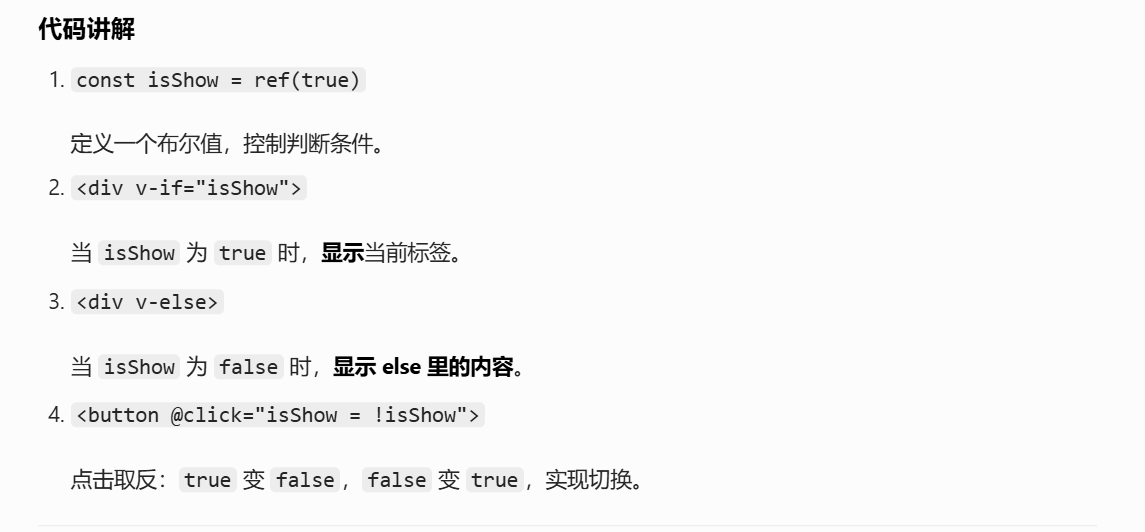
3.7 代码片段7
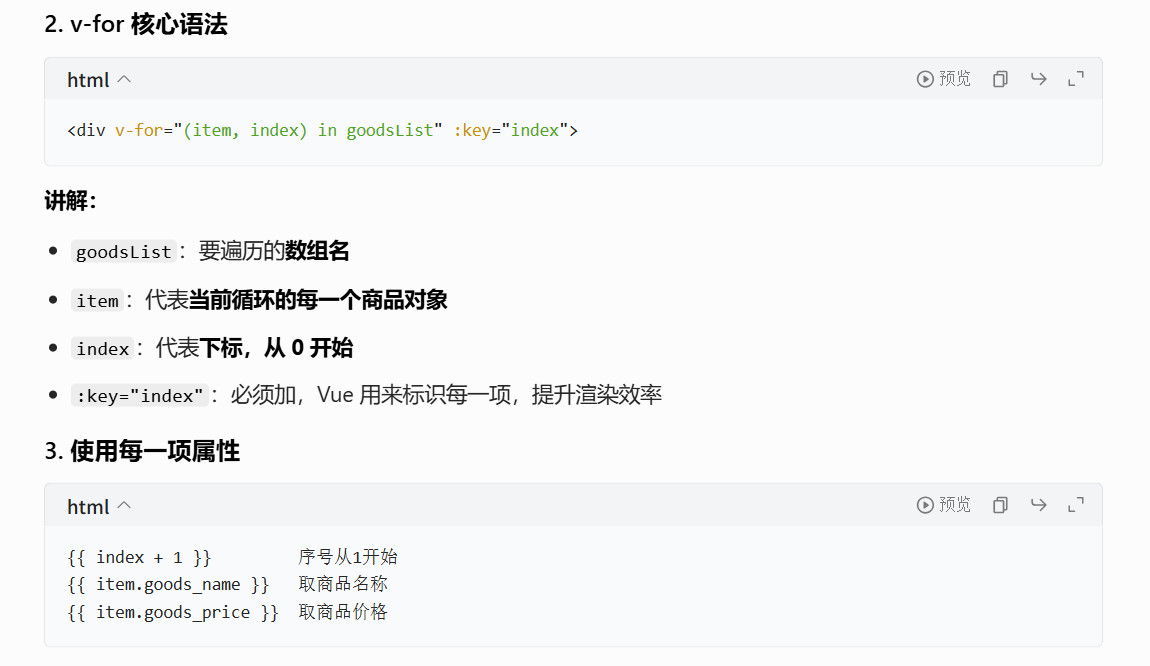
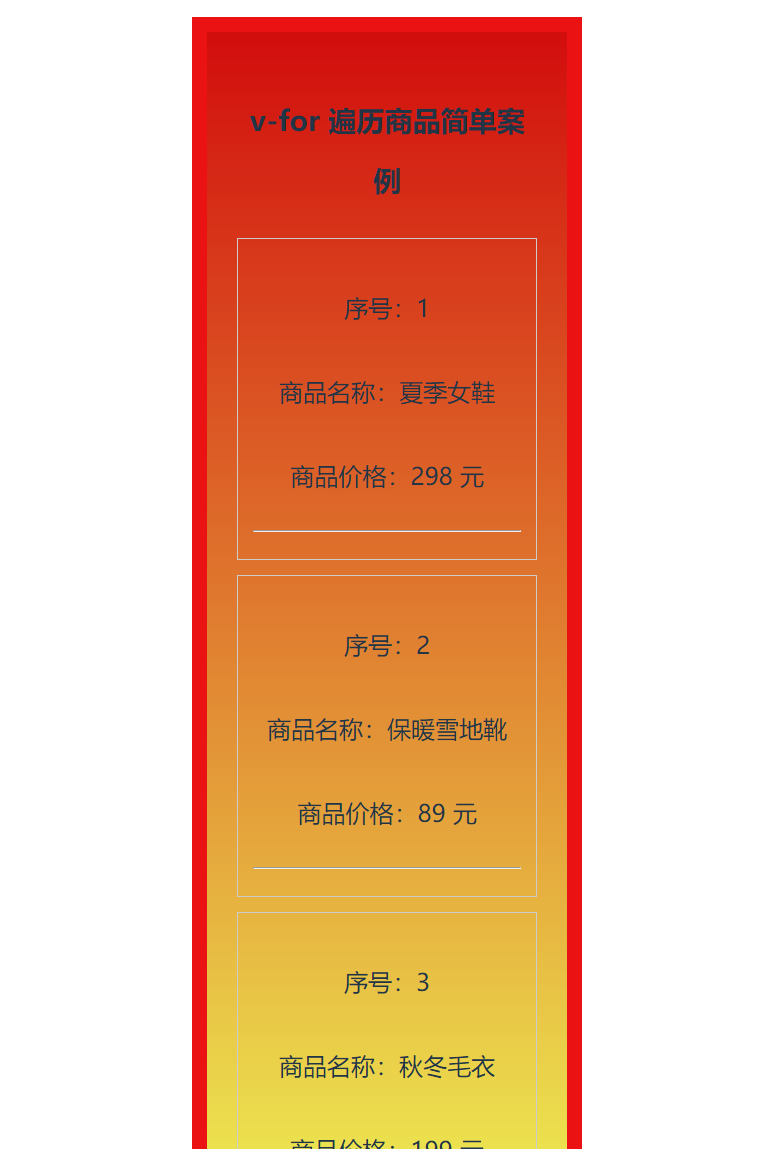
v-for 极简入门 Demo
<template>
  <div class="box">
    <h3>v-for 遍历商品简单案例</h3>

    <!-- v-for 遍历商品数组 -->
    <div v-for="(item, index) in goodsList" :key="index" class="item">
      <p>序号:{{ index + 1 }}</p>
      <p>商品名称:{{ item.goods_name }}</p>
      <p>商品价格:{{ item.goods_price }} 元</p>
      <hr>
    </div>
  </div>
</template>

<script setup>
import { ref } from 'vue'

// 和上面商品案例结构完全一样,只是精简了
const goodsList = ref([
  { id: 1, goods_name: '夏季女鞋', goods_price: 298 },
  { id: 2, goods_name: '保暖雪地靴', goods_price: 89 },
  { id: 3, goods_name: '秋冬毛衣', goods_price: 199 }
])
</script>

<style scoped>
.box { padding: 20px; }
.item { margin: 10px 0; padding: 10px; border: 1px solid #ccc; }
</style>