openai-api协议
为什么做这篇
我在直接使用框架如langchian4j,langchain,spring AI黑箱感太重了,不了解是怎么给agent装上"手脚"的

体验openai-api协议
各家大模型基本都遵守了openai-api协议,用哪家都差不多,这里以deepseek为例。
注意: reasoning_content 和 thinking 字段是 DeepSeek 特有的扩展,并非 OpenAI 标准协议的一部分。
创建api keys
- 前往deepseek开放平台:platform.deepseek.com/
- 确保你的账户有充值余额
- 点击api keys,创建api keys
四个role
截至2026/5/16,role字段目前共有四个值:system,user,assistant,tool。每个值的作用详情可查看deepseek api文档
基础对话
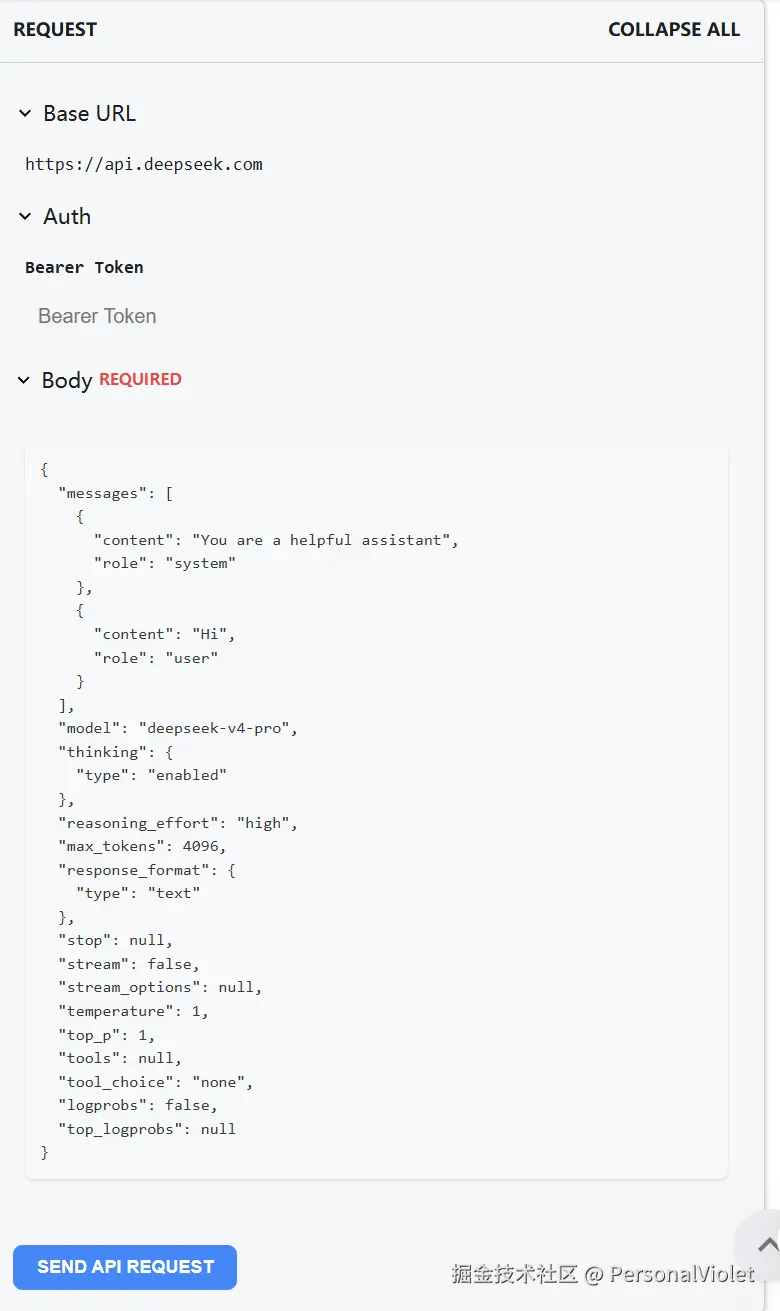
以deepseek为例,按照deepseek api文档给的示例,先来简单的对话(这里Bearer Token处输入你的api key)
点击SEND API REQUEST,我们能得到以下RESPONSE
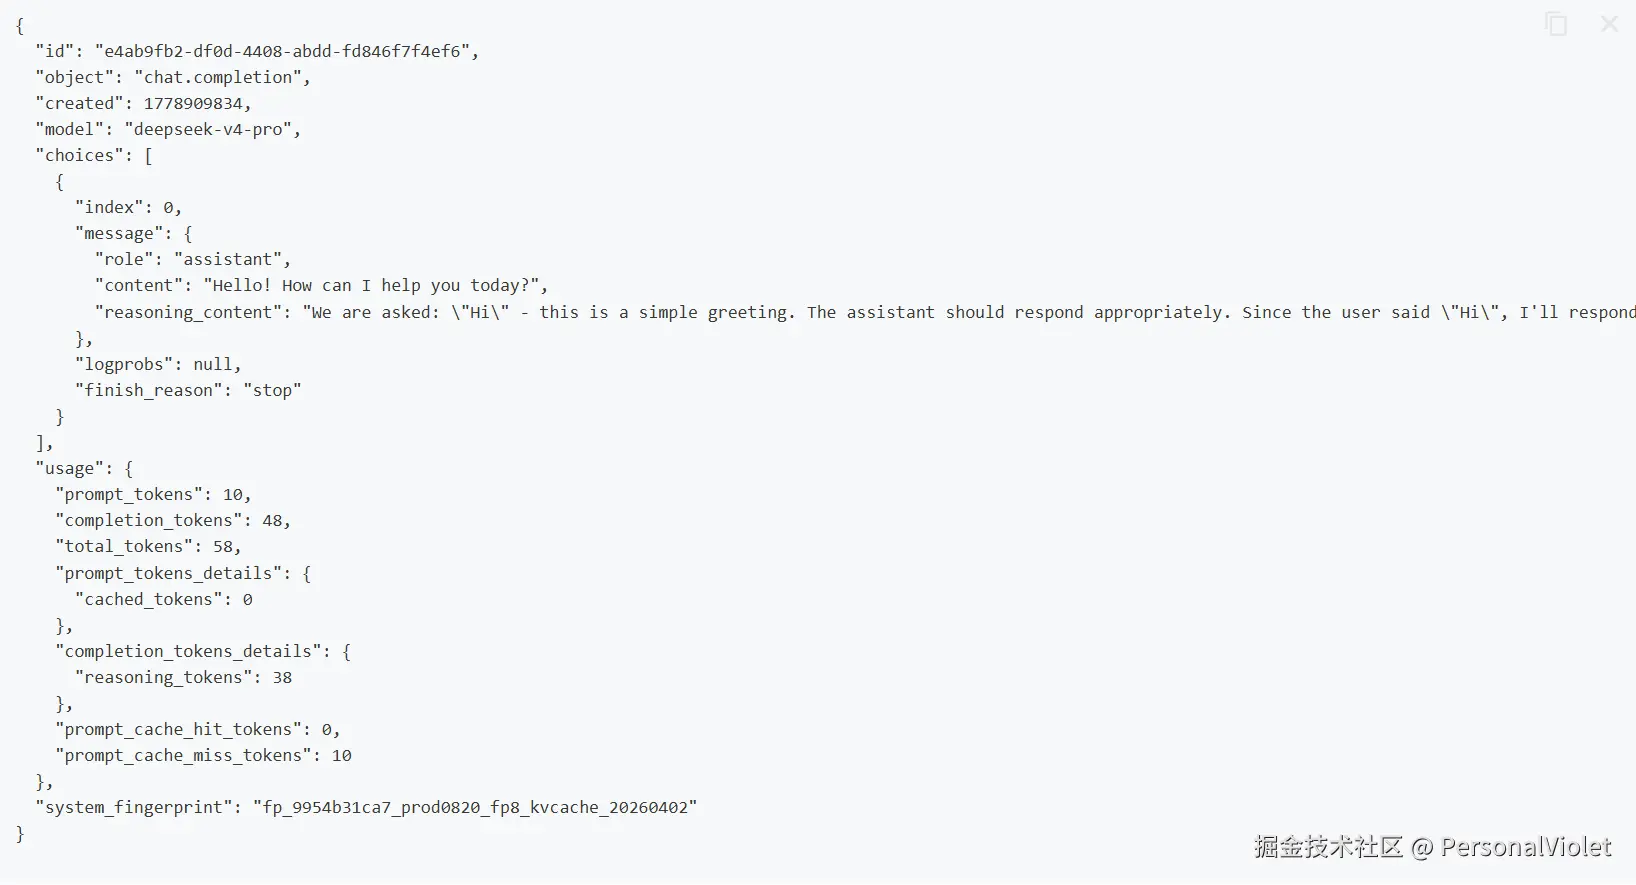
从上面示例可以看到,我们需要维护请求体中的messages字段才能实现让大模型根据输入的上下文补全对话内容
Function calling功能
这部分是很多Agent Pattern的基石(如React Agent, Reflction agent, plan-execute agent, 支持MCP的Agent)我们编写出以下请求体,主要关注tools字段和tool_choice字段,此处不做过多赘述,在deepseek api官方文档对每个字段都有详细描述
json
{
  "messages": [
    {
      "role": "system",
      "content": "You are a helpful assistant."
    },
    {
      "role": "user",
      "content": "帮我查一下北京今天的天气,顺便看看上海的。"
    }
  ],
  "model": "deepseek-v4-pro",
  "thinking": {
    "type": "enabled"
  },
  "reasoning_effort": "high",
  "max_tokens": 4096,
  "response_format": {
    "type": "text"
  },
  "stop": null,
  "stream": false,
  "temperature": 0.7,
  "top_p": 1,
  "tools": [
    {
      "type": "function",
      "function": {
        "name": "get_weather",
        "description": "获取指定城市的实时天气情况",
        "parameters": {
          "type": "object",
          "properties": {
            "city": {
              "type": "string",
              "description": "城市名称,例如:北京, 上海"
            },
            "unit": {
              "type": "string",
              "enum": ["celsius", "fahrenheit"],
              "description": "温度单位"
            }
          },
          "required": ["city"]
        }
      }
    }
  ],
  "tool_choice": "auto",
  "logprobs": false
}
得到以下响应
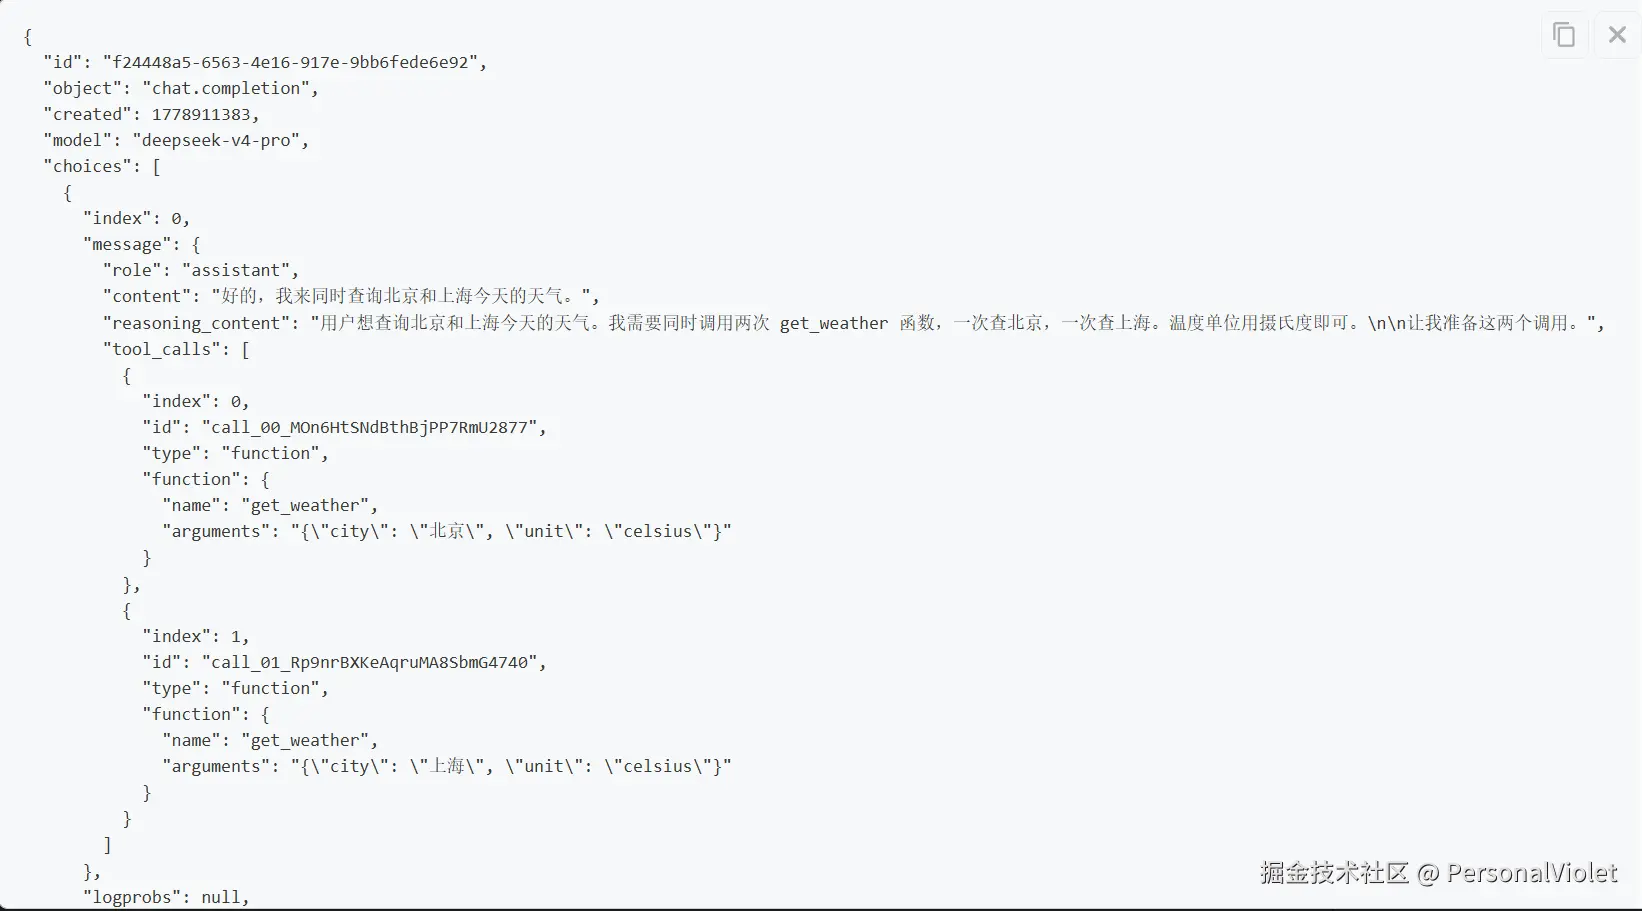
我们得到响应后,观察tool_calls字段(模型生成的 tool 调用,例如 function 调用),我们需要在代码里执行llm想要调用的函数,然后在messages字段中添加tool角色相关的消息再次发送请求给llm,示例如下
json
{
  "model": "deepseek-v4-pro",
  "messages": [
    {
      "role": "system",
      "content": "You are a helpful assistant."
    },
    {
      "role": "user",
      "content": "帮我查一下北京今天的天气,顺便看看上海的。"
    },
    {
      "role": "assistant",
      "reasoning_content": "用户想查询北京和上海今天的天气。我需要调用 get_weather 函数两次,一次查询北京,一次查询上海。两个调用是独立的,可以同时进行。",
      "content": "好的,我同时为您查询北京和上海的天气。",
      "tool_calls": [
        {
          "index": 0,
          "id": "call_00_5GY4mVTH0JJ5AKezn5GI6260",
          "type": "function",
          "function": {
            "name": "get_weather",
            "arguments": "{\"city\": \"北京\", \"unit\": \"celsius\"}"
          }
        },
        {
          "index": 1,
          "id": "call_01_oJOHge7zD3tTuBo0BwT68516",
          "type": "function",
          "function": {
            "name": "get_weather",
            "arguments": "{\"city\": \"上海\", \"unit\": \"celsius\"}"
          }
        }
      ]
    },
    {
      "role": "tool",
      "tool_call_id": "call_00_5GY4mVTH0JJ5AKezn5GI6260",
      "content": "{\"city\": \"北京\", \"temperature\": \"22°C\", \"condition\": \"晴\"}"
    },
    {
      "role": "tool",
      "tool_call_id": "call_01_oJOHge7zD3tTuBo0BwT68516",
      "content": "{\"city\": \"上海\", \"temperature\": \"18°C\", \"condition\": \"多云\"}"
    }
  ],
  "tools": [
    {
      "type": "function",
      "function": {
        "name": "get_weather",
        "description": "获取指定城市的实时天气情况",
        "parameters": {
          "type": "object",
          "properties": {
            "city": { "type": "string" },
            "unit": { "type": "string", "enum": ["celsius", "fahrenheit"] }
          },
          "required": ["city"]
        }
      }
    }
  ],
  "tool_choice": "auto"
}
得到的响应如下:
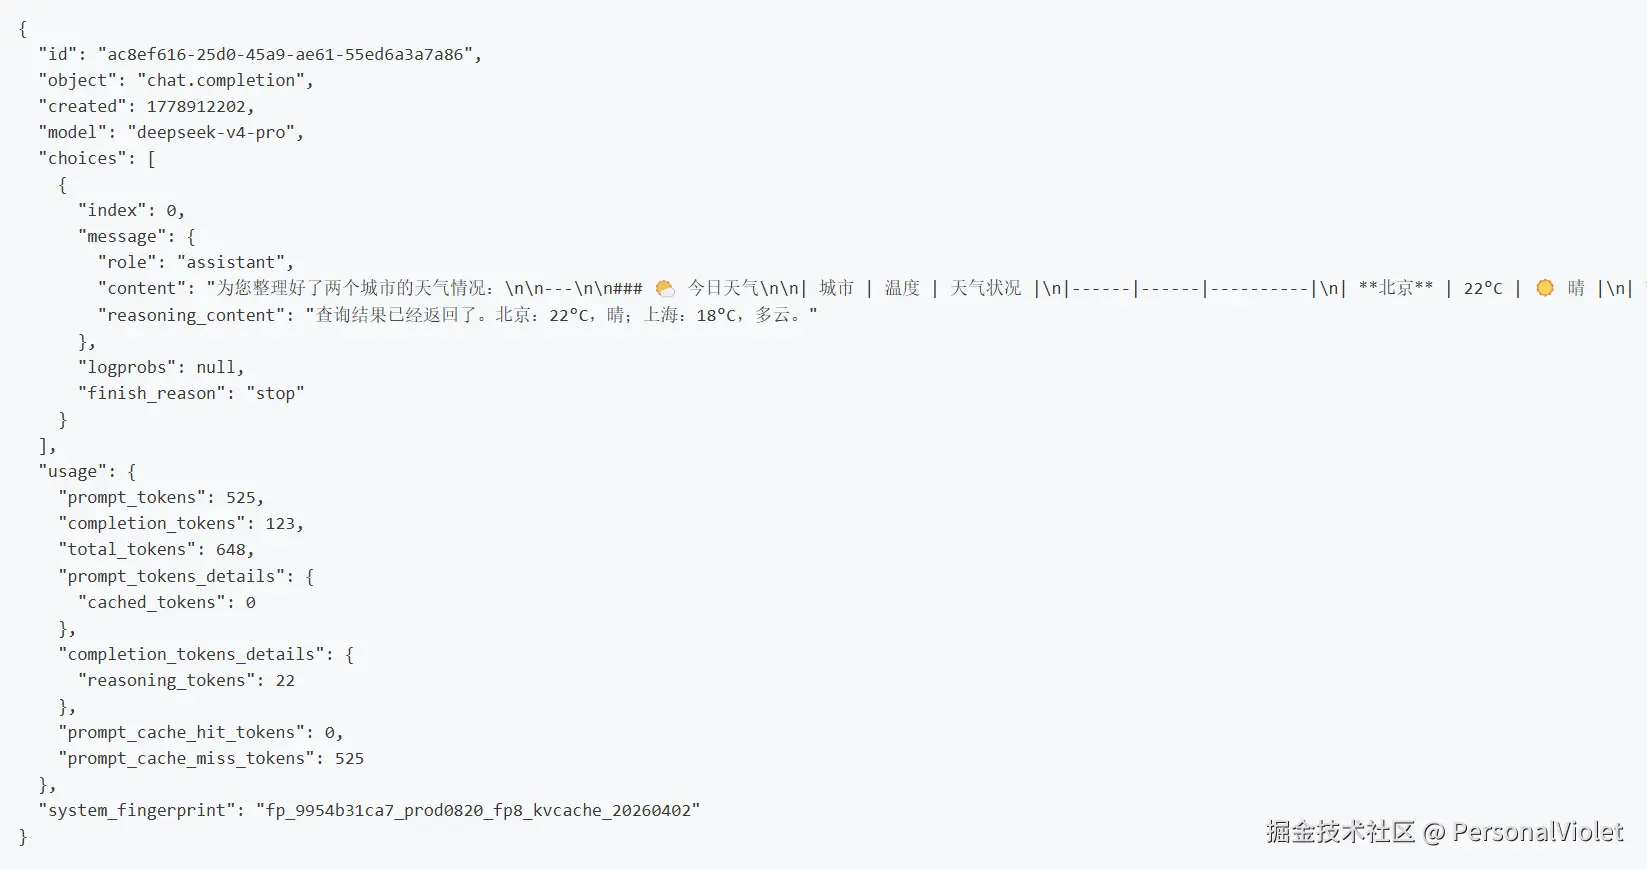
上述的两次请求响应让大模型装上了手脚,让agent能真正地干活
各agent pattern实现
脱离各种框架(langchain, langgraph,spring ai等),只使用基础的openai库,实现的agent pattern有ReAct Agent, plan-execute Agent, Reflection Agent。
github仓库:PersonalViolet/openai-agents(小白轻喷QAQ)
agent相关教程
github仓库:datawhalechina/hello-agents: 📚 《从零开始构建智能体》------从零开始的智能体原理与实践教程
菜鸟教程:Agent 架构 | 菜鸟教程
tutorialq:ReAct Agents --- Reasoning + Acting in One Loop | tutorialQ