一.网站建立的内容
1.基于域名www.openlab.com可以访问网站内容为welcome to openlab!!!
2.给该公司创建三个子界面分别显示学生信息,教学资料和缴费网站,基于www.openlab.com/student网站访问学生信息,www.openlab.com/data网站访问教学资料www.openlab.com/money.网站访问缴费网站
二.网站建立的要求
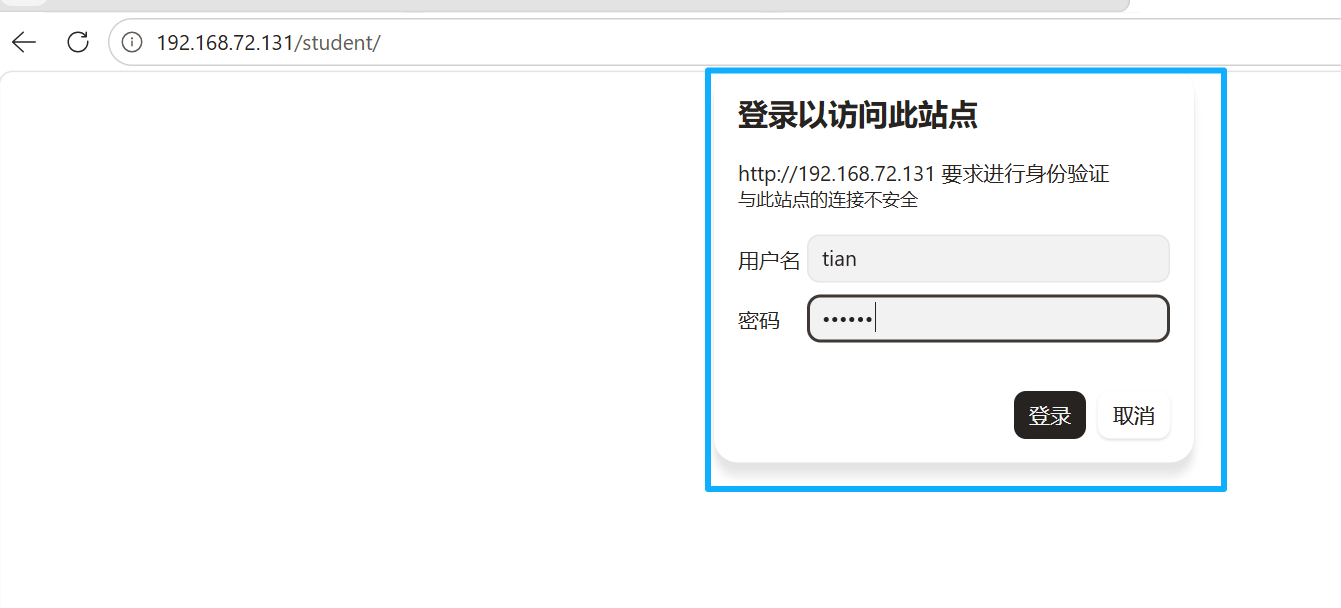
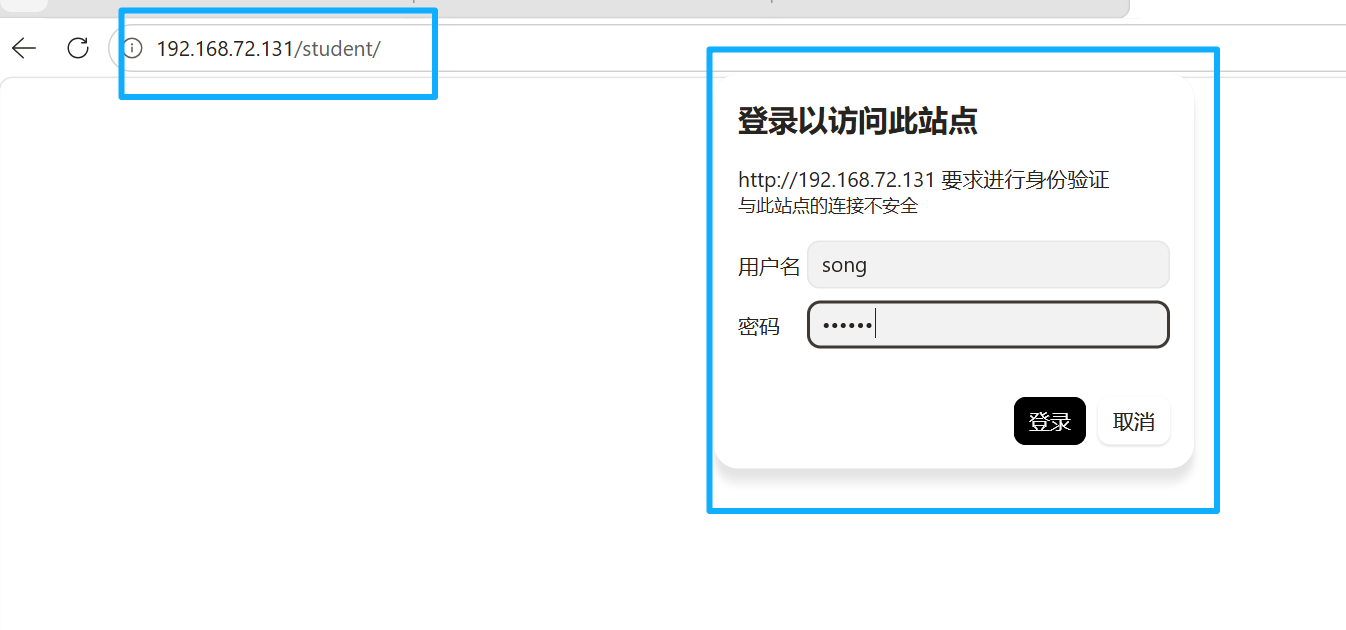
1.学生信息网站只有song和tian两人可以访问,其他用户不能访问。
2.访问缴费网站实现数据加密基于https访问。
三.实验步骤
3.1 下载nginx
[root@zhangjiajie ~]# yum install nginx -y3.2 基于nginx创建网站
[root@zhangjiajie ~]# mkdir  -p  /www/openlab
[root@zhangjiajie ~]# mkdir  /www/openlab/student   /www/openlab/date   /www/openlab/money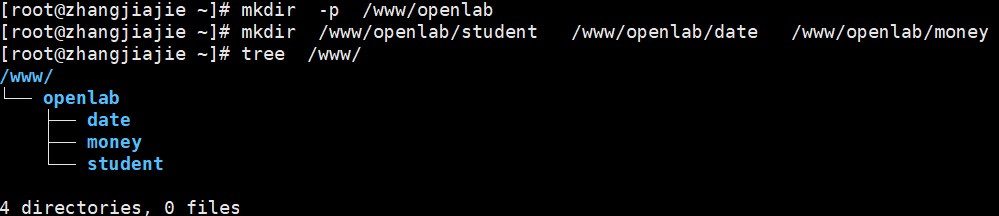
3.3 给网站中写入数据
[root@zhangjiajie ~]#echo "welcome to openlab" > /www/openlab/index.html
[root@zhangjiajie ~]# echo "date date date" > /www/openlab/date/index.html
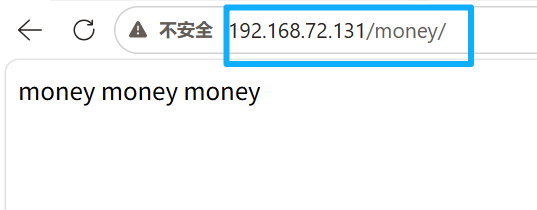
[root@zhangjiajie ~]# echo "money money money" > /www/openlab/money/index.html
[root@zhangjiajie ~]# echo "www.openlab.com" > /www/openlab/index.html
[root@zhangjiajie ~]# tree /www/
/www/
└── openlab
├── date
│ └── index.html
├── index.html
├── money
│ └── index.html
└── student
└── index.html
4 directories, 4 files3.4建立本地域名映射
[root@zhangjiajie ~]# vim /etc/hosts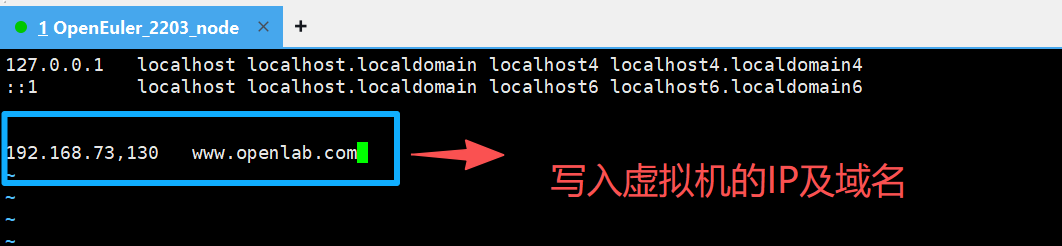
3.5修改主网站(www.openlab.com)nginx的配置文件
 server {
        listen       80;
        server_name  www.openlab.com;
        root         /www/openlab;
        }

[root@zhangjiajie ~]# systemctl   restart  nginx
#启动nginx
测试主网站

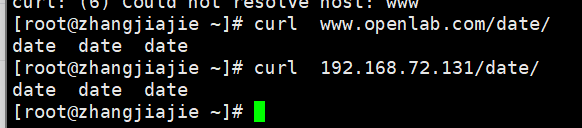
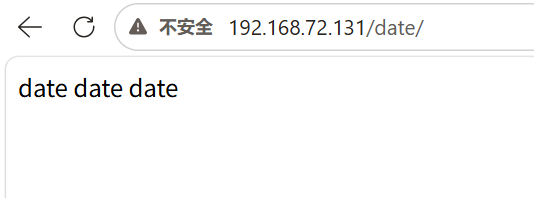
3.6修改子网站(www.openlab.com/date/)nginx的配置文件
  server {
        listen        80;
        server_name   www.openlab.com;
        root          /www/openlab;
        location /date  {
                          alias   /www/openlab/date;
                          index  index.teml  index.htm;
                        }
}测试子网站(www.openlab.com/date/)
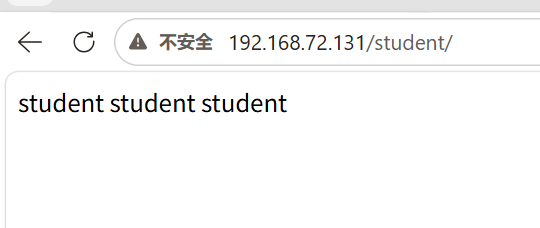
3.7修改子网站(www.openlab.com/student/)
[root@zhangjiajie ~]# yum  install nginx  httpd-tools  -y  #安装httpd
[root@zhangjiajie ~]# useradd song       #新建用户song
[root@zhangjiajie ~]# htpasswd  -c  /etc/nginx/passwd  song
New password:                #输入密码
Re-type new password:         #再次输入密码
Adding password for user song、

[root@zhangjiajie ~]# useradd tian
[root@zhangjiajie ~]# htpasswd  -c  /etc/nginx/passwd  tian
New password:
Re-type new password:
Adding password for user tian

#增加密码访问控制,只能song和tian这两人可以访问


# htpasswd:生成密码数据的命令
# -c:表示第一次生成,会创建存储密码的文件,第二次创建密码时不能增加-c参数,否则会覆盖
# /etc/httpd/passwd : 存储访问网站的密码文件,passwd为文件名,名称可以自定
# :song需要验证密码访问的账户名称

  server  {
         listen        80;
         server_name   www.openlab.com;
         root          /www/openlab;
         location  /student   {
                                alias   /www/openlab/student;
                                index   index.html  index.htm;
                                auth_basic   "please  input  passwd";
                     #提示用户需要输入密码才能认证(这个可写可不写,双引号里面的内容可以随便写)
                                auth_basic_user_file    /etc/nginx/passwd;
                     #指定用于存储用户名和密码的文件路径(这个必须写)
                               }
}测试子网站(www.openlab.com/student/)

3.8修改子网站(www.openlab.com/money/)nginx的配置软件
   server  {
         listen        443  ssl  http2;
         server_name   www.openlab.com;
         location   /money   {
                               alias    /wwww/openlab/money;
                               index    index.html   index.htm;

                              }
                               ssl_certificate   "/www/openlab/money/money.crt";
                               ssl_certificate_key   "/www/openlab/money/money.key";
建立https的money软件
1>制作私钥
[root@zhangjiajie ~]# openssl  genrsa  -aes128  2048 > /www/openlab/money/money.key
Generating RSA private key, 2048 bit long modulus (2 primes)
...............................................................+++++
........................+++++
e is 65537 (0x010001)
Enter pass phrase:                  #输入密码
Verifying - Enter pass phrase:      #再次输入密码
2>制作证书
[root@zhangjiajie ~]# openssl req  -utf8  -new  -key  /www/openlab/money/money.key -x509  -days 365  -out  /www/openlab/money/money.crt
Enter pass phrase for /www/openlab/money/money.key:          #输入私钥的密码
You are about to be asked to enter information that will be incorporated
into your certificate request.
What you are about to enter is what is called a Distinguished Name or a DN.
There are quite a few fields but you can leave some blank
For some fields there will be a default value,
If you enter '.', the field will be left blank.
-----
Country Name (2 letter code) [AU]:86            #国家代码
State or Province Name (full name) [Some-State]:shanxi      #省份
Locality Name (eg, city) []:xian                 #城市
Organization Name (eg, company) [Internet Widgits Pty  Ltd]:oupeng    #公司
Organizational Unit Name (eg, section) []:RHCE              #部门
Common Name (e.g. server FQDN or YOUR name) []:node1     #主机名
Email Address []:1314520.com                     #邮箱
3>在加载SSL支持的Nginx并使用上述私钥时除去必须的口令
[root@zhangjiajie money]# openssl  rsa -in monry.key.org -out money.key
Enter pass phrase for monry.key.org:        #输入私钥密码
writing RSA key
测试子网站
四.实验结果
五.实验总结
5.1实验核心目标
- 搭建主站
www.openlab.com,实现根路径访问并显示指定内容welcome to openlab!!!。 - 配置三个子路径站点:
/student:学生信息页面,仅song和tian两名用户可通过密码认证访问。/data:教学资料页面,无访问限制。/money:缴费网站,通过 HTTPS 实现数据加密访问。
5.2关键实现步骤
-
环境与目录准备
- 创建站点根目录
/www/openlab及三个子目录,分别存放对应页面文件。 - 本地配置
hosts文件,将域名www.openlab.com解析到服务器 IP,实现域名访问。
- 创建站点根目录
-
用户认证配置(/student)
- 使用
htpasswd工具生成密码文件/etc/nginx/passwd,添加song和tian两个授权用户。 - 在 Nginx 配置中,通过
auth_basic和auth_basic_user_file指令,为/student路径开启访问认证。
- 使用
-
HTTPS 加密配置(/money)
- 使用 OpenSSL 生成自签名 SSL 证书(
.crt)和私钥(.key),去除私钥密码以适配 Nginx。 - 在 Nginx 配置中,为 443 端口配置 SSL 证书,指定证书与私钥路径,并配置基础 TLS 协议。
- 配置 HTTP 访问
/money时自动跳转到 HTTPS,确保加密访问。
- 使用 OpenSSL 生成自签名 SSL 证书(
-
Nginx 主配置优化
- 将所有
location配置合并到同一个server块中,避免同名虚拟主机覆盖问题。 - 修正证书路径拼写错误,确保配置语法校验通过,解决 Nginx 启动失败问题。
- 将所有