一、通用模块封装
1.为什么要进行模块封装
(1)减少代码的冗余,让代码号维护
(2)为后续的网络请求模块封装做铺垫
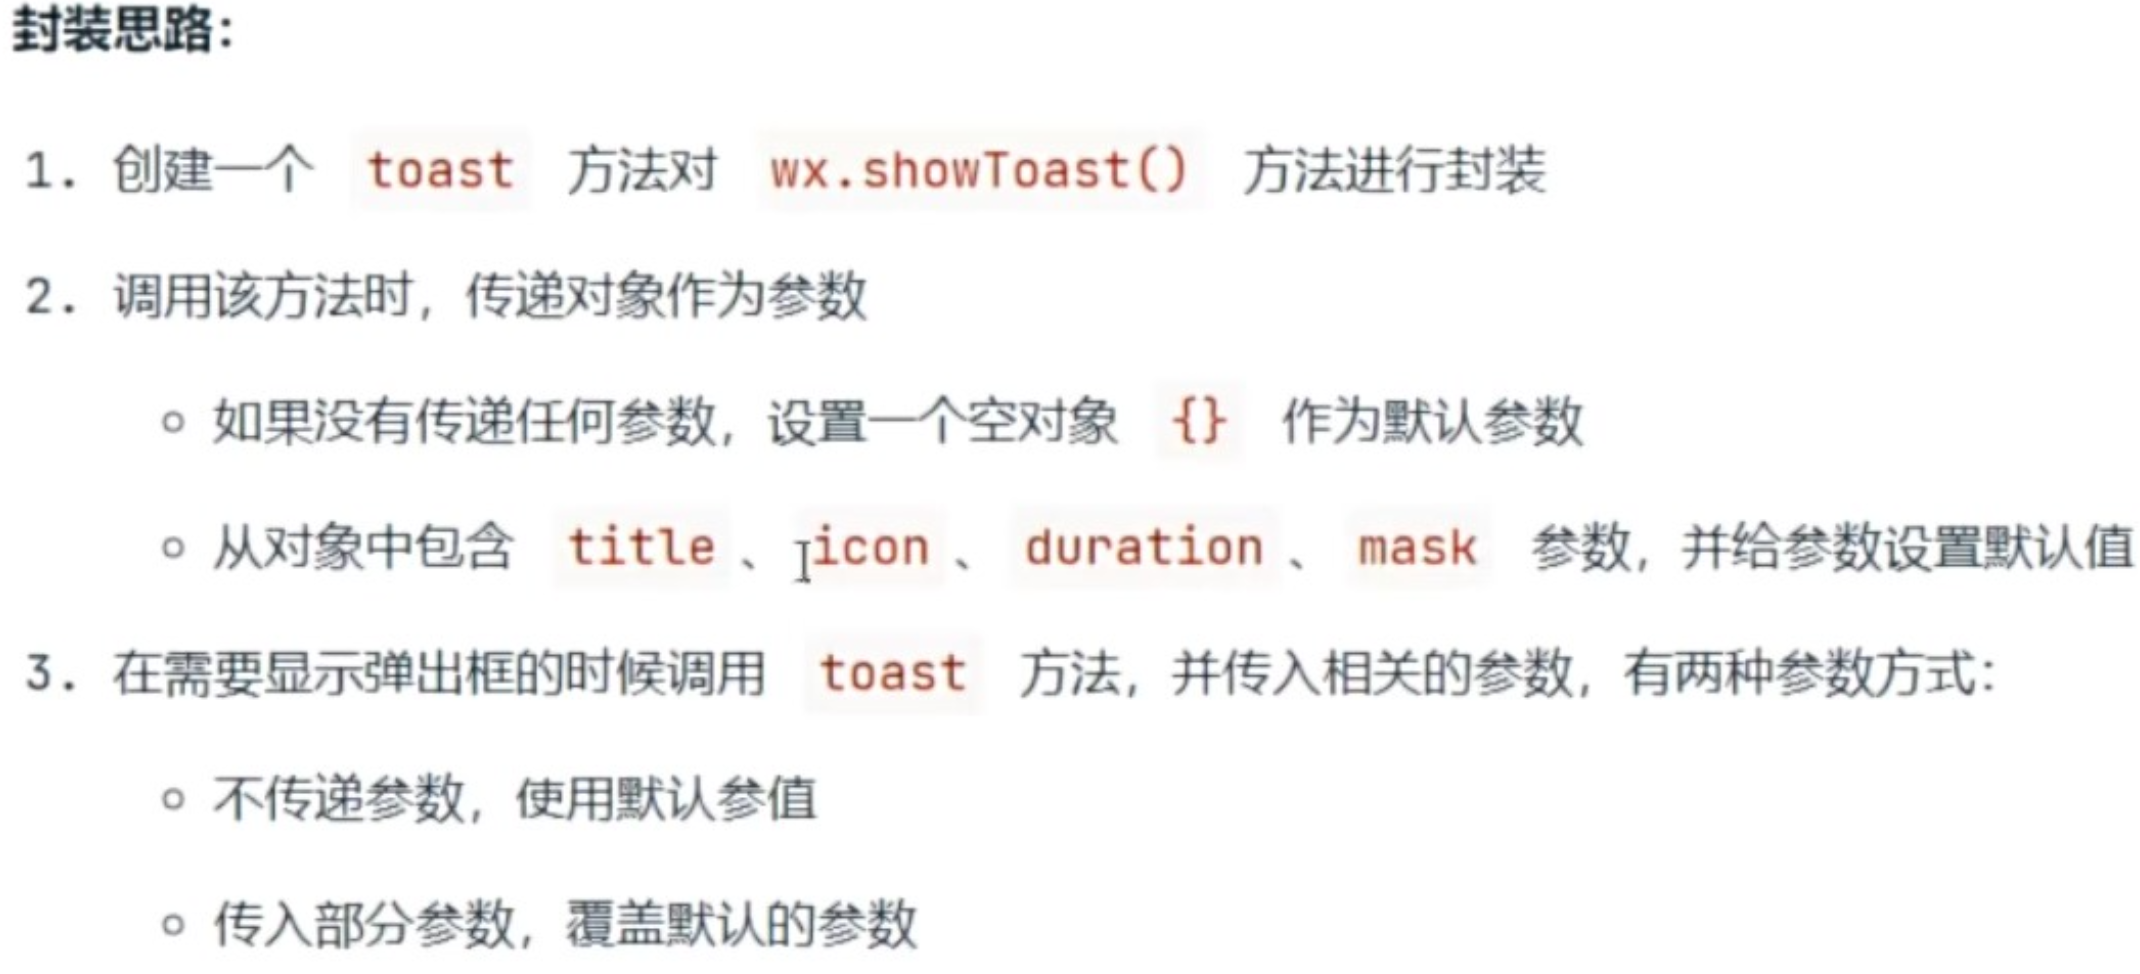
2.消息提示模块封装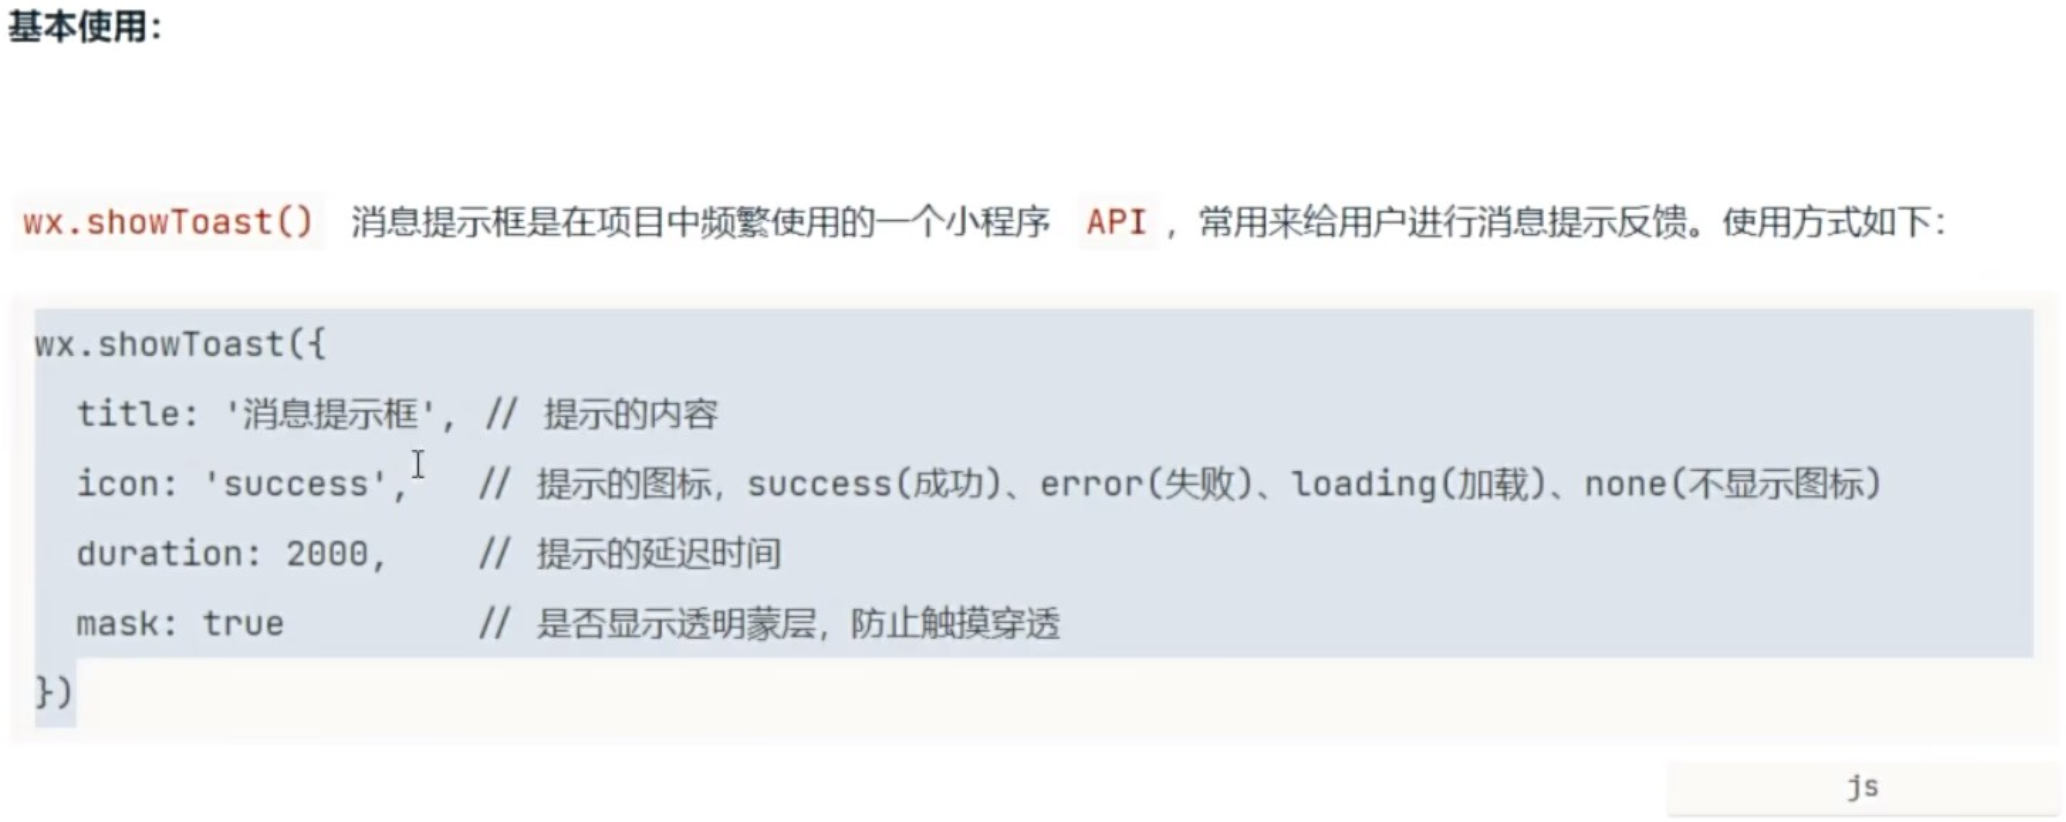
javascript
// app.js

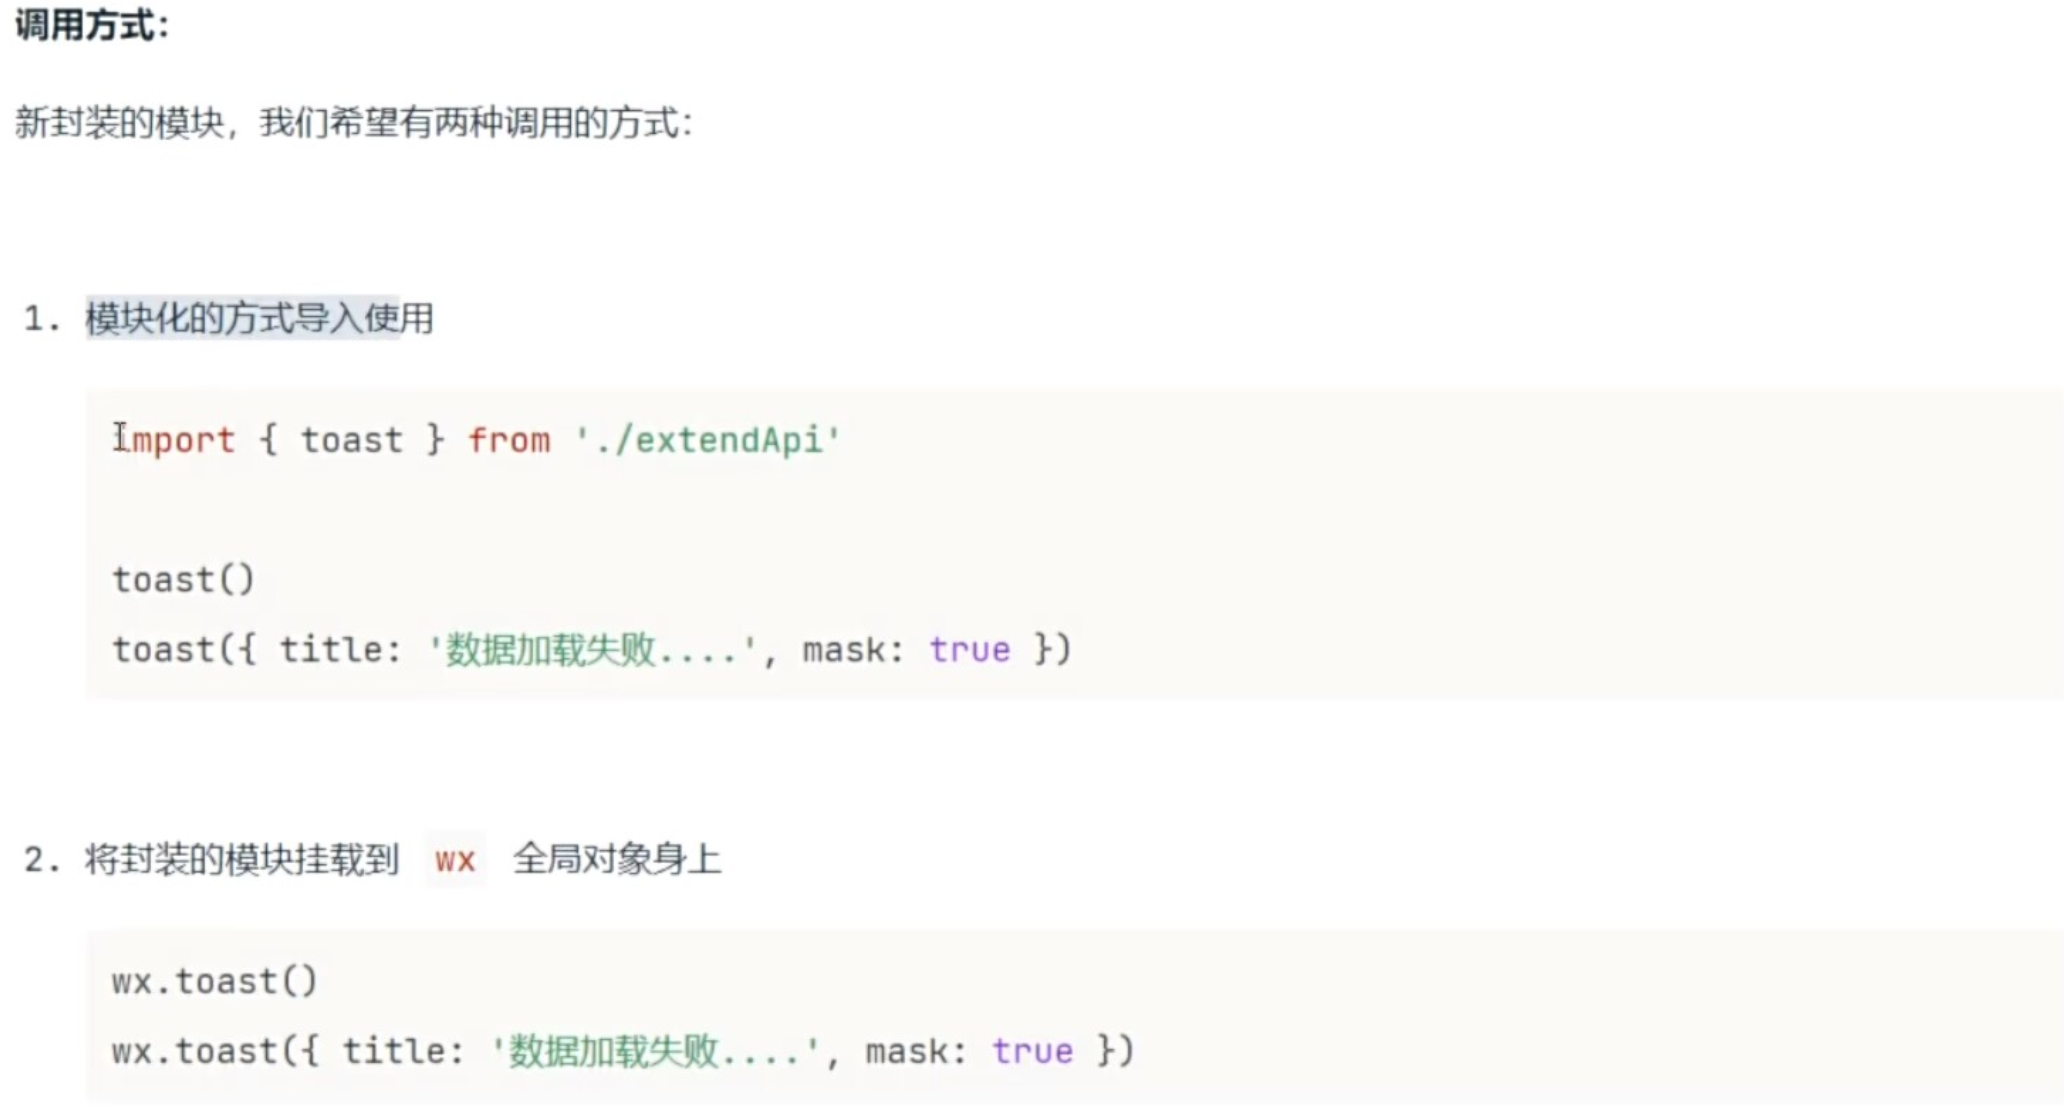
// import { toast } from './utils/extendApi'
import './utils/extendApi'

App({

  onShow () {
    // wx.showToast({
    //   title: '消息提示框', // 提示的内容
    //   icon: 'success',   // 提示的图标,success(成功)、error(失败)、loading(加载)、none(不显示图标)
    //   duration: 2000,	 // 提示的延迟时间
    //   mask: true		 // 是否显示透明蒙层,防止触摸穿透
    // })

    // 可以不传入参数
    // toast()
    // wx.toast()

    // 可以传入参数,传入的参数会覆盖默认的参数
    // toast({ title: '数据加载完毕', icon: 'success' })
    wx.toast({ title: '数据加载完毕', icon: 'success' })
  }

})


// extendApi.js

// 在使用 toast 方法时,可以传入参数,也可以不传入参数
// 如果需要传入参数,要传入对象作为参数
// const toast = (options = {}) => {}

// 如果用户传入了对象作为参数
// 在形参位置通过解构的方式获取用户传入的参数,同时设置为默认值
const toast = ({ title = '数据加载中...', icon = 'none', duration = 2000, mask = true } = {}) => {

  wx.showToast({
    title,
    icon,
    duration,
    mask
  })
}

// 如果有很多 .js 文件,都需要调用 toast 方法
// 每次使用都需要导入 toast,然后进行调用,太麻烦
// 可以将 toast 方法挂载到 wx 全局对象身上
// 如果想挂载到 wx 全局对象上这种写法生效,需要让当前文件执行一次
wx.toast = toast

// 如果其他 .js文件,需要使用 toast 方法
// 需要先导入 toast ,然后进行调用才可以
export { toast }
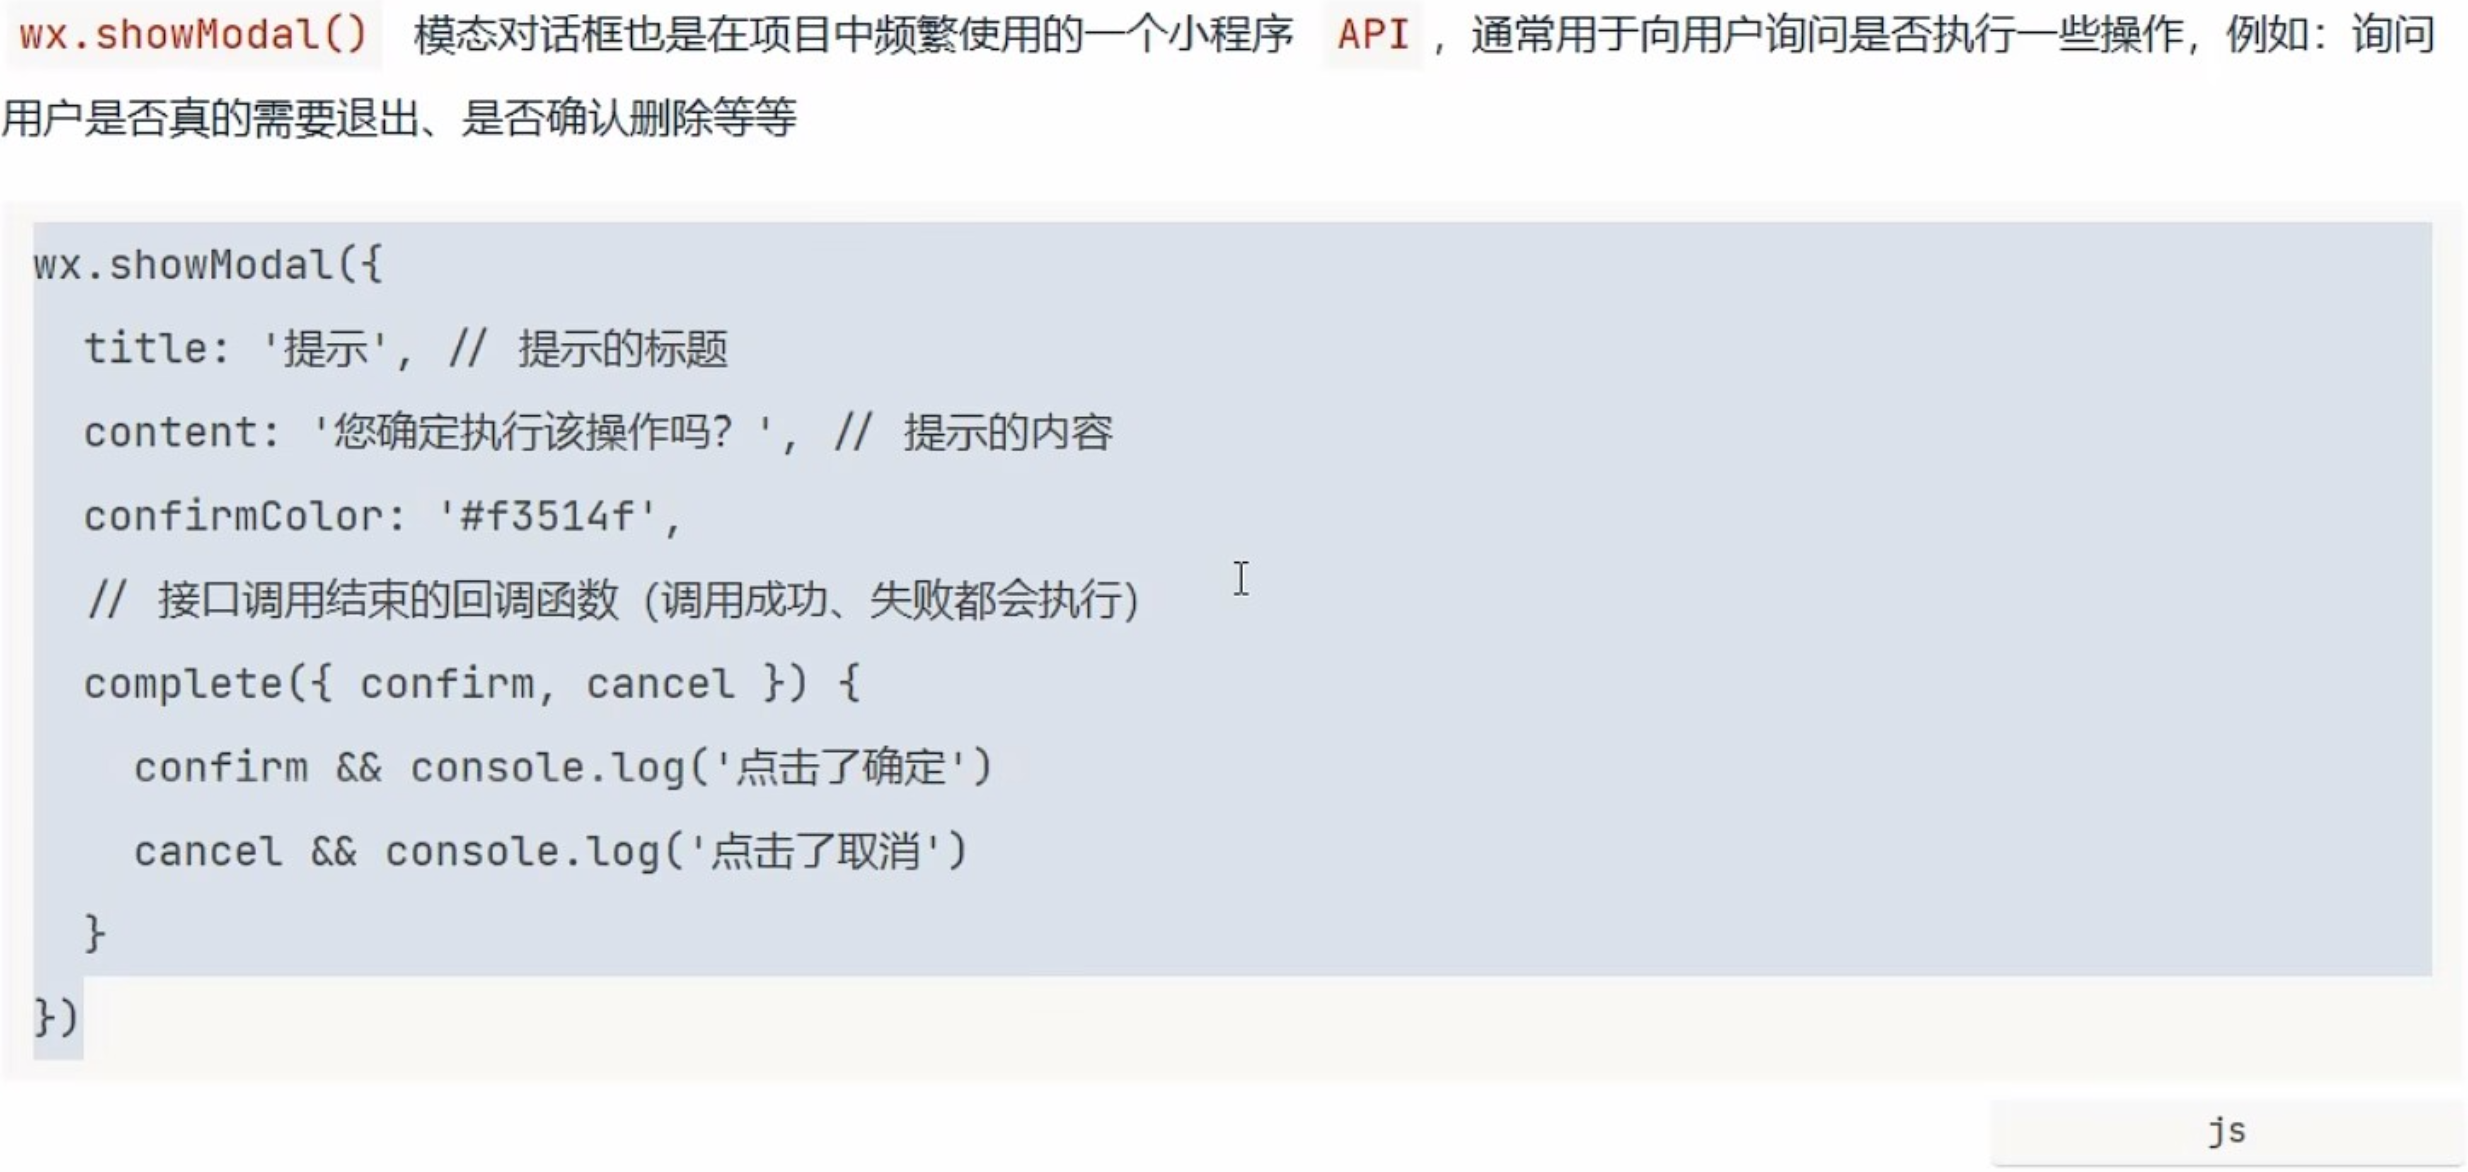
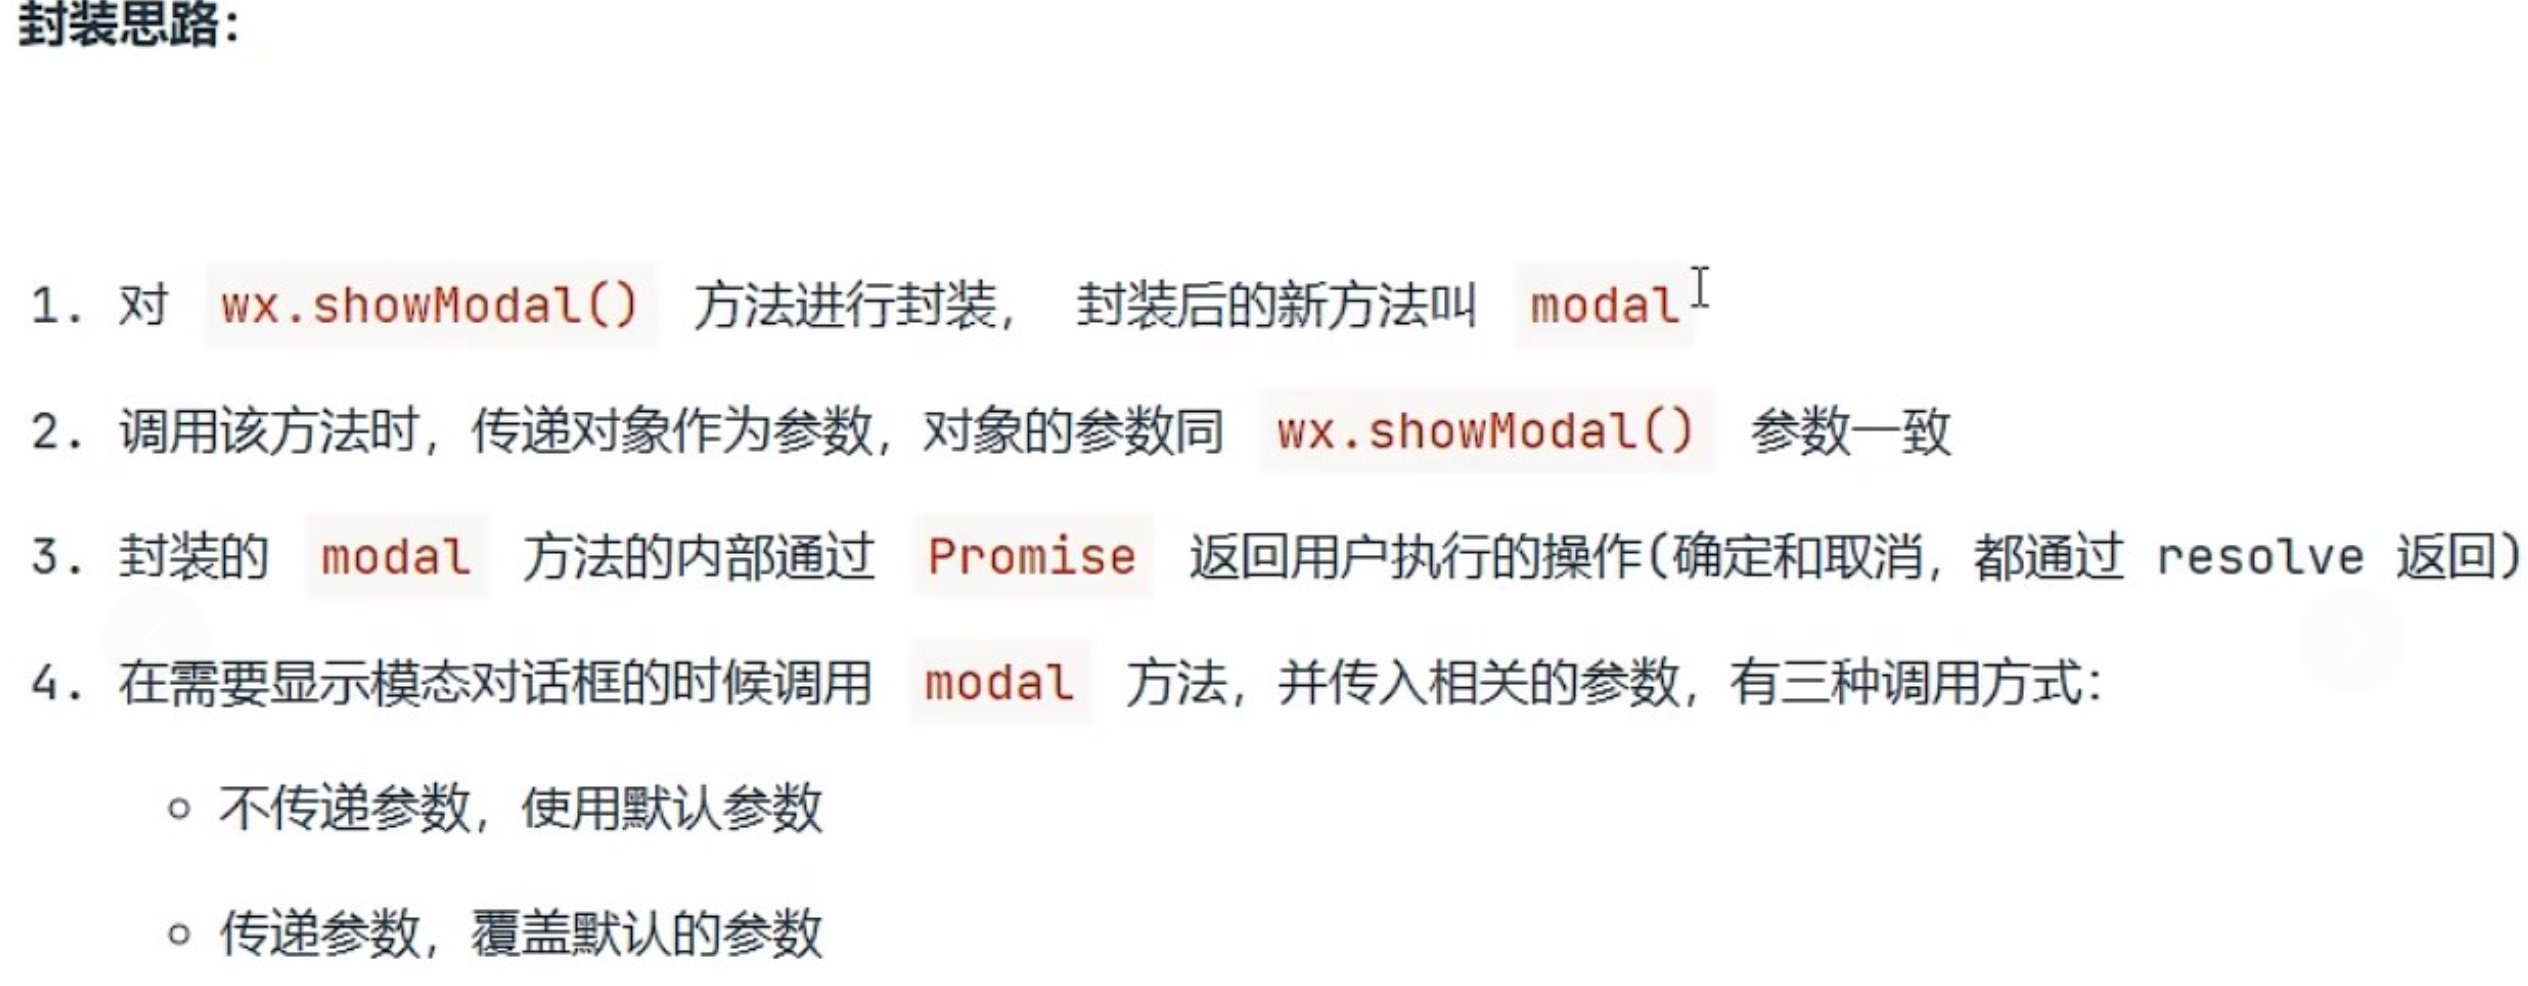
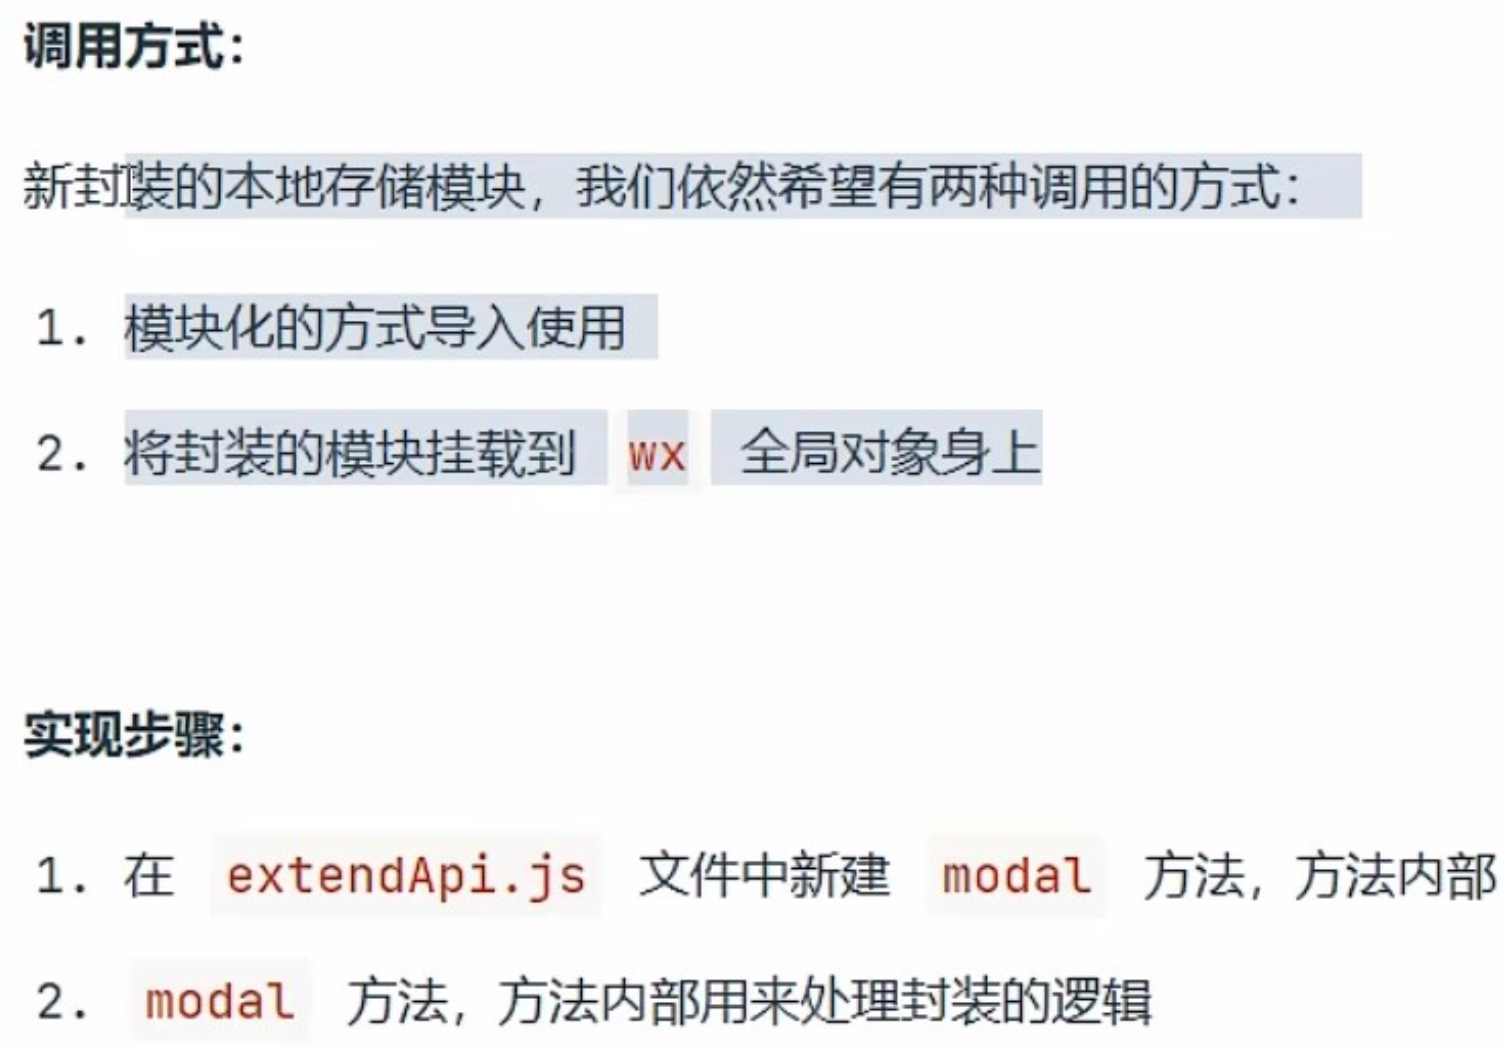
3.模块对话框封装
4.网络请求封装
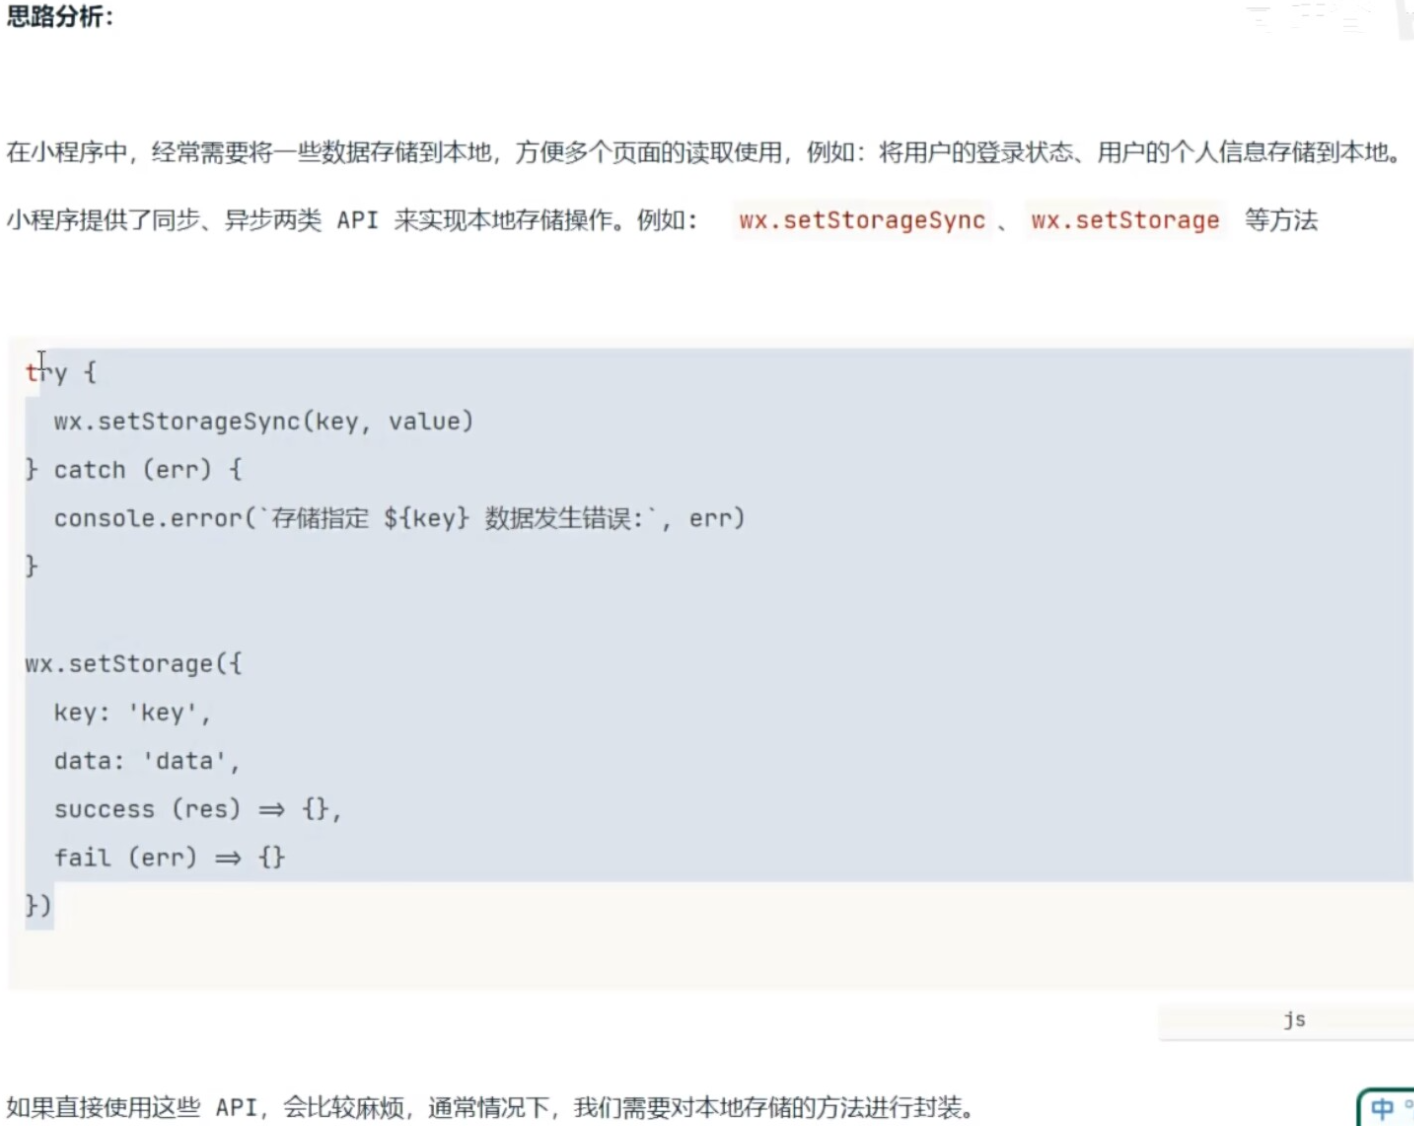
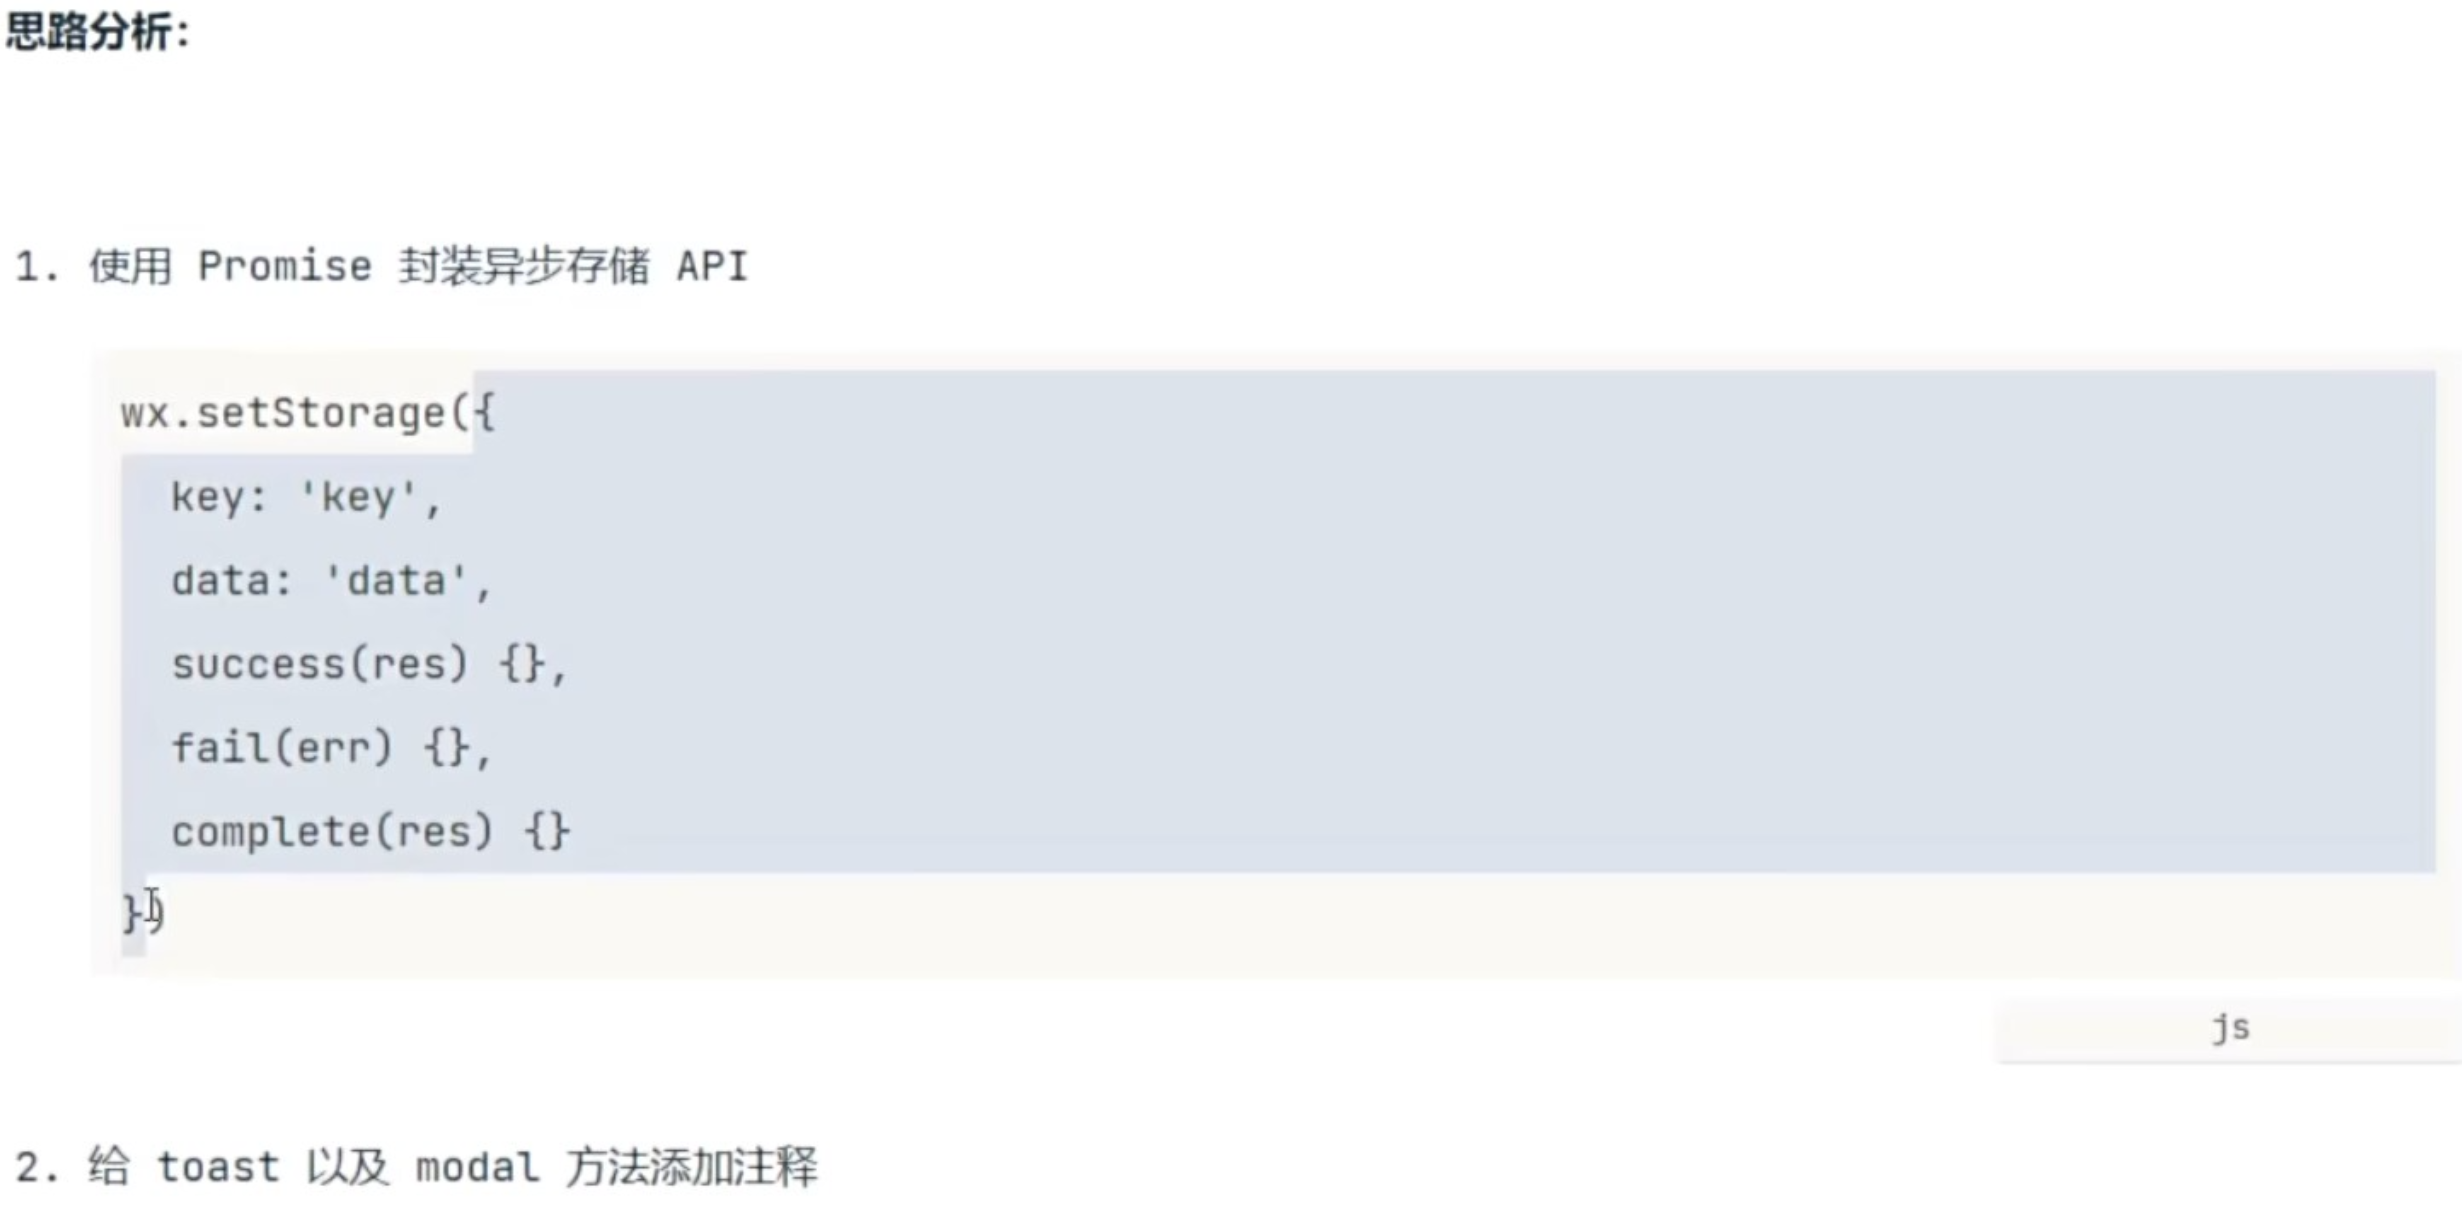
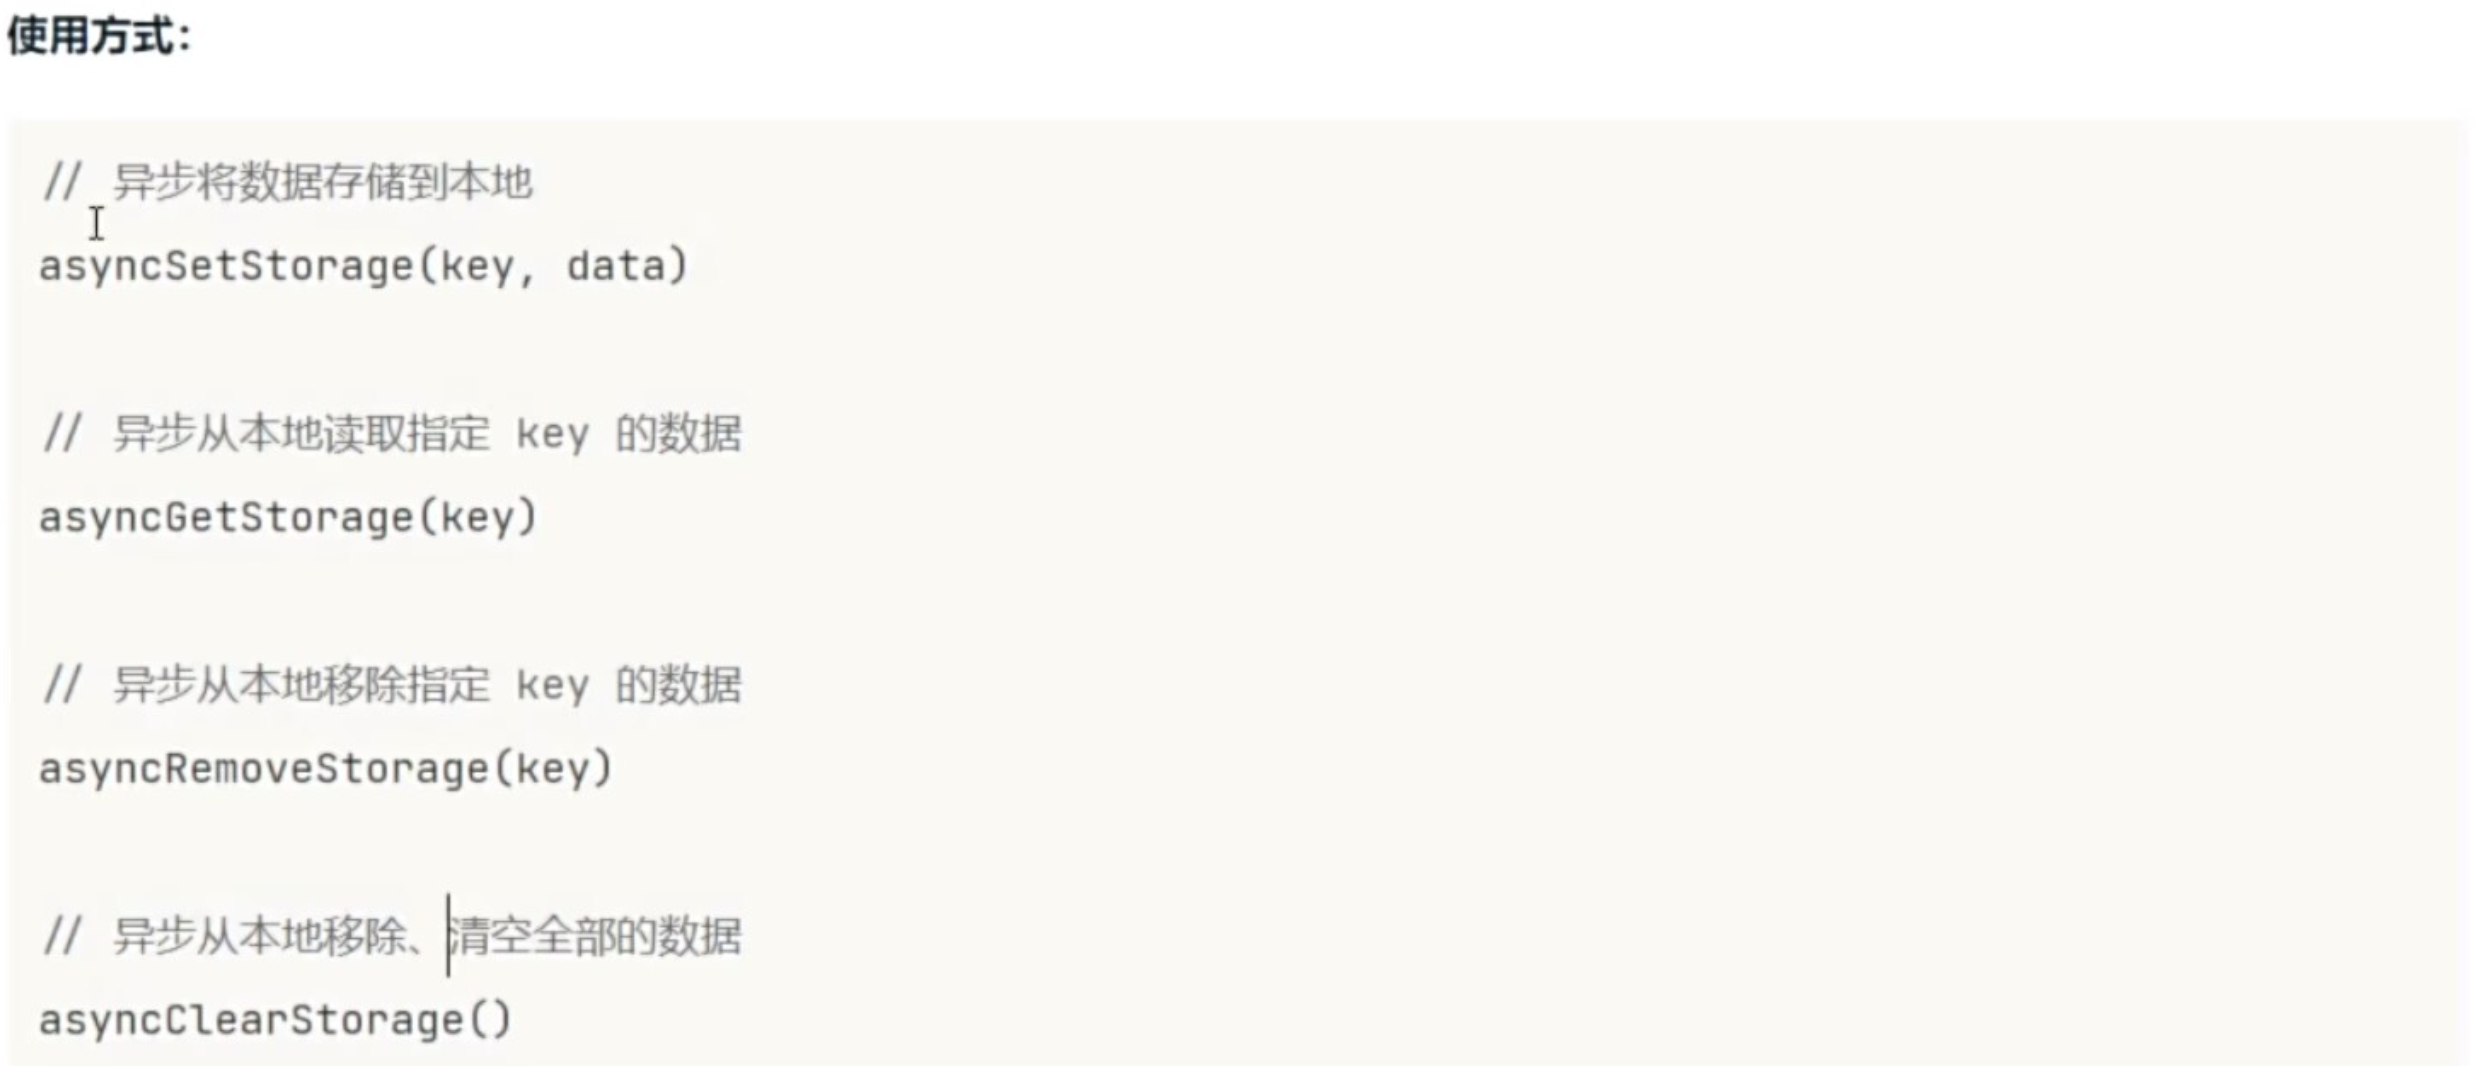
javascript
// storage.js

/**
 * @description 存储数据
 * @param {*} key 本地缓存中指定的 key
 * @param {*} value 需要缓存的数据
 */
export const setStorage = (key, value) => {
  try {
    wx.setStorageSync(key, value)
  } catch (error) {
    console.error(`存储指定 ${key}数据发生了异常`)
  }
}

/**
 * @description 从本地读取指定 key 的数据
 * @param {*} key
 */
export const getStorage = (key) => {
  try {
    const value = wx.getStorageSync(key)

    if (value) {
      return value
    }

  } catch (error) {
    console.error(`读取指定 ${key} 数据发生了异常`, error)
  }
}

/**
 * @description 从本地移除指定 key 的数据
 * @param {*} key
 */
export const removeStorage = (key) => {
  try {
    wx.removeStorageSync(key)
  } catch (error) {
    console.error(`移除指定 ${key} 数据发生了异常`, error)
  }
}

/**
 * @description 从本地移除、清空全部的数据
 */
export const clearStorage = () => {
  try {
    wx.clearStorageSync()
  } catch (error) {
    console.error(`清除、清空数据发生了异常`, error)
  }
}

/**
 * @description 异步将数据存储到本地
 * @param {*} key 本地缓存中指定的 key
 * @param {*} data 需要缓存的数据
 */
export const asyncSetStorage = (key, data) => {
  return new Promise((resolve) => {
    wx.setStorage({
      key,
      data,
      complete (res) {
        resolve(res)
      }
    })
  })
}

/**
 * @description 异步从本地获取指定 key 的数据
 * @param {*} key
 */
export const asyncGetStorage = (key) => {
  return new Promise((resolve) => {
    wx.getStorage({
      key,
      complete (res) {
        resolve(res)
      }
    })
  })
}

/**
 * @description 异步从本地移除指定 key 的数据
 * @param {*} key
 */
export const asyncRemoveStorage = (key) => {
  return new Promise((resolve) => {
    wx.removeStorage({
      key,
      complete (res) {
        resolve(res)
      }
    })
  })
}

/**
 * @description 异步从本地清除、移除全部缓存的数据
*/
export const asyncClearStorage = () => {
  return new Promise((resolve) => {
    wx.clearStorage({
      complete (res) {
        resolve(res)
      }
    })
  })
}


// app.js

// import { toast } from './utils/extendApi'
import './utils/extendApi'

// import { setStorage, getStorage, removeStorage, clearStorage } from './utils/storage'
import { asyncSetStorage, asyncGetStorage, asyncRemoveStorage, asyncClearStorage } from './utils/storage'

App({
  async onShow () {
    // setStorage('name', 'tom')
    // setStorage('age', 10)

    // // const name = getStorage('name')
    // // console.log(name)

    // // removeStorage('name')

    // clearStorage()


    // asyncSetStorage('name', 'Jerry').then(res => {
    //   console.log(res)
    // })
    // asyncSetStorage(age, 100).then(res => {
    //   console.log(res)
    // })

    // asyncGetStorage('name').then ((res) => {
    //   console.log(res.data)
    // })

    // asyncRemoveStorage('name').then(res => {
    //   console.log(res)
    // })

    // asyncClearStorage().then((res) => {
    //   console.log(res)
    // })
  }
})
二、网络请求封装
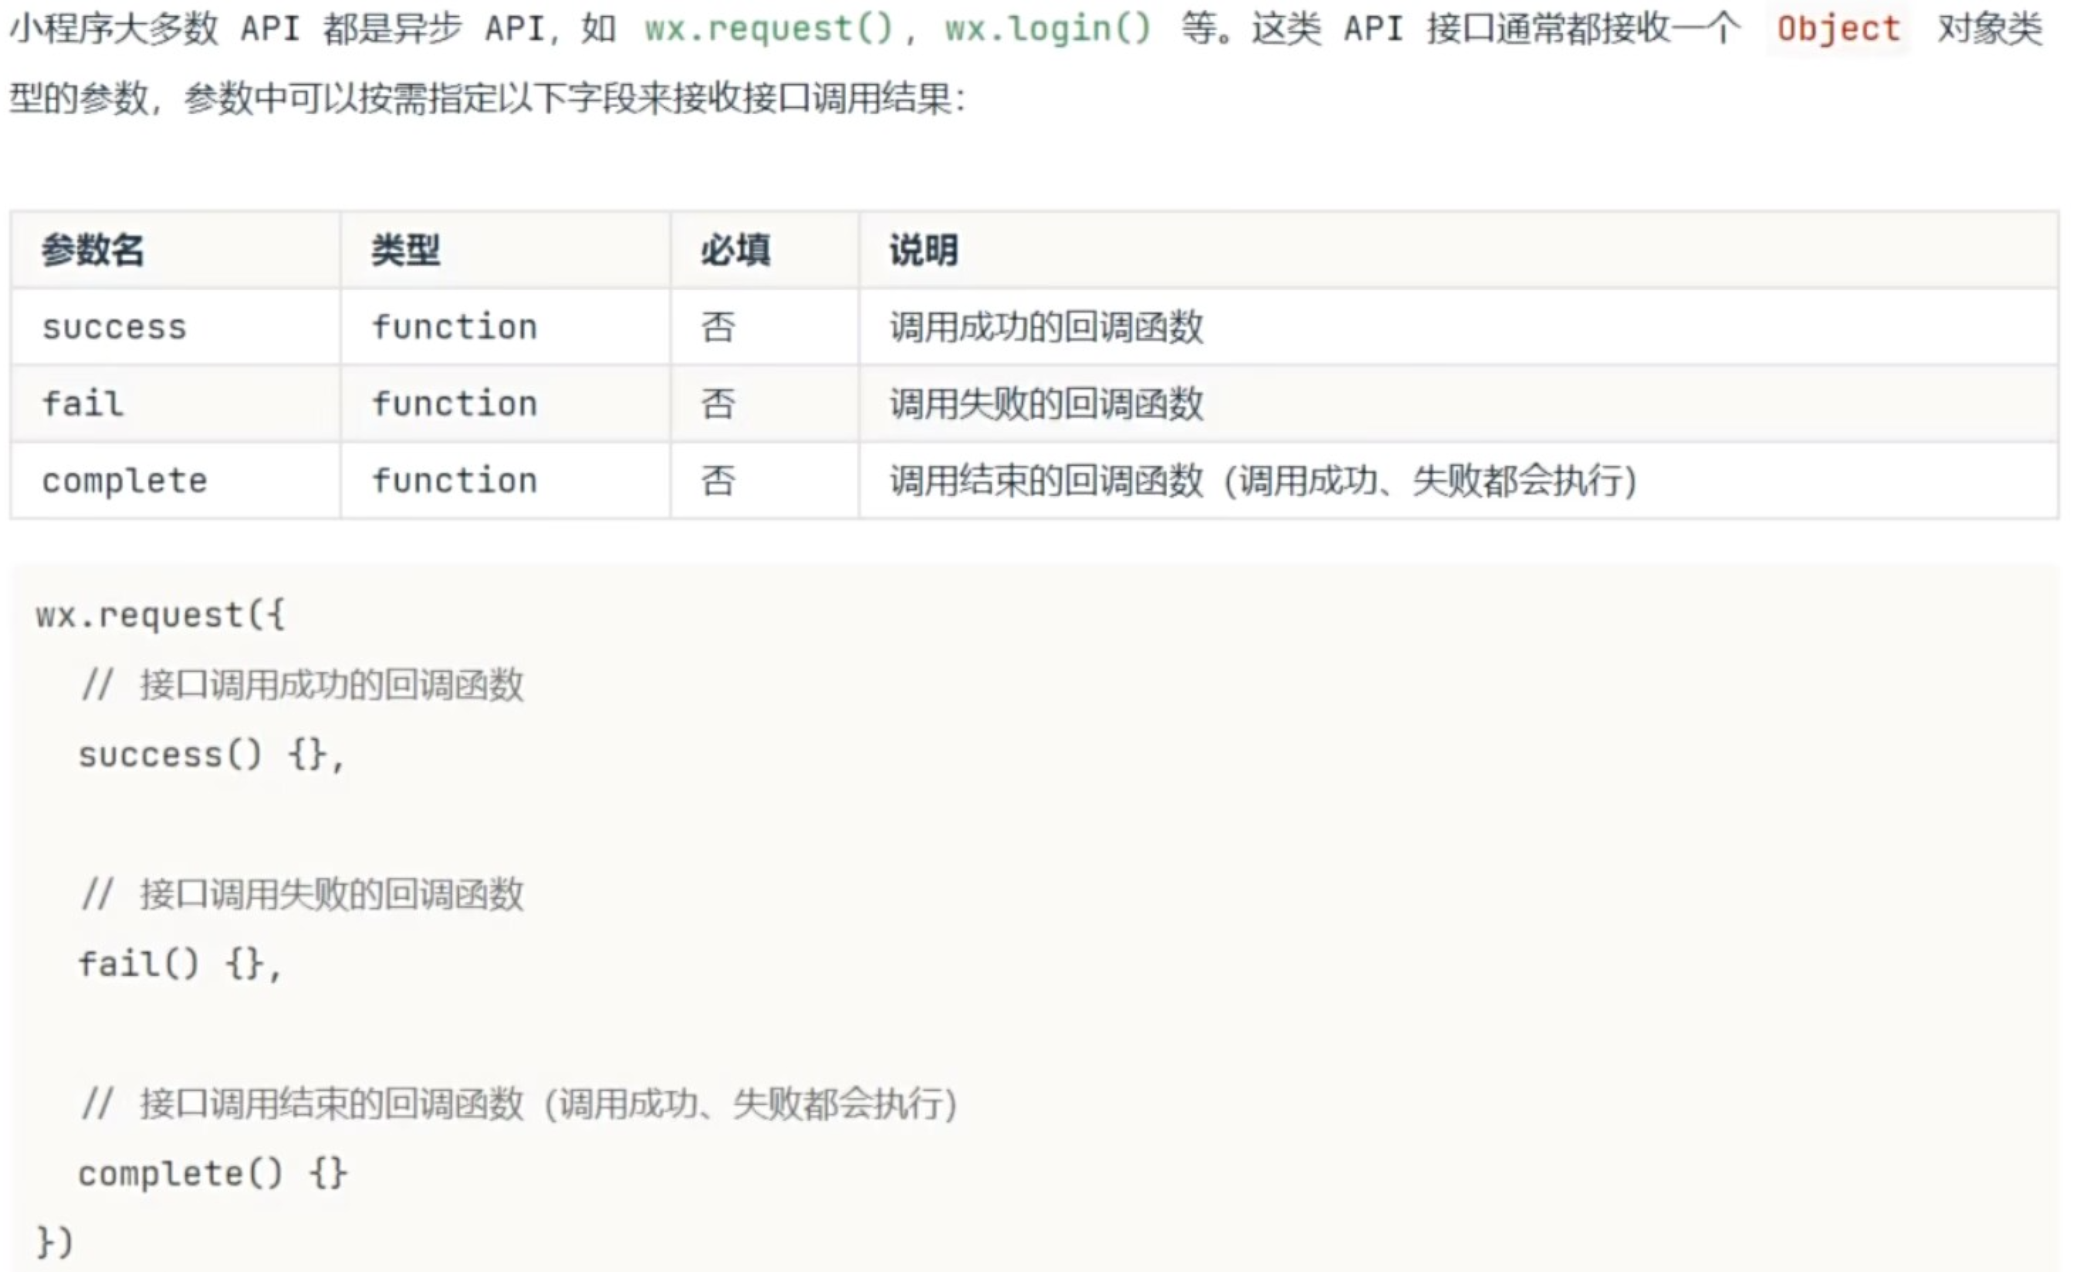
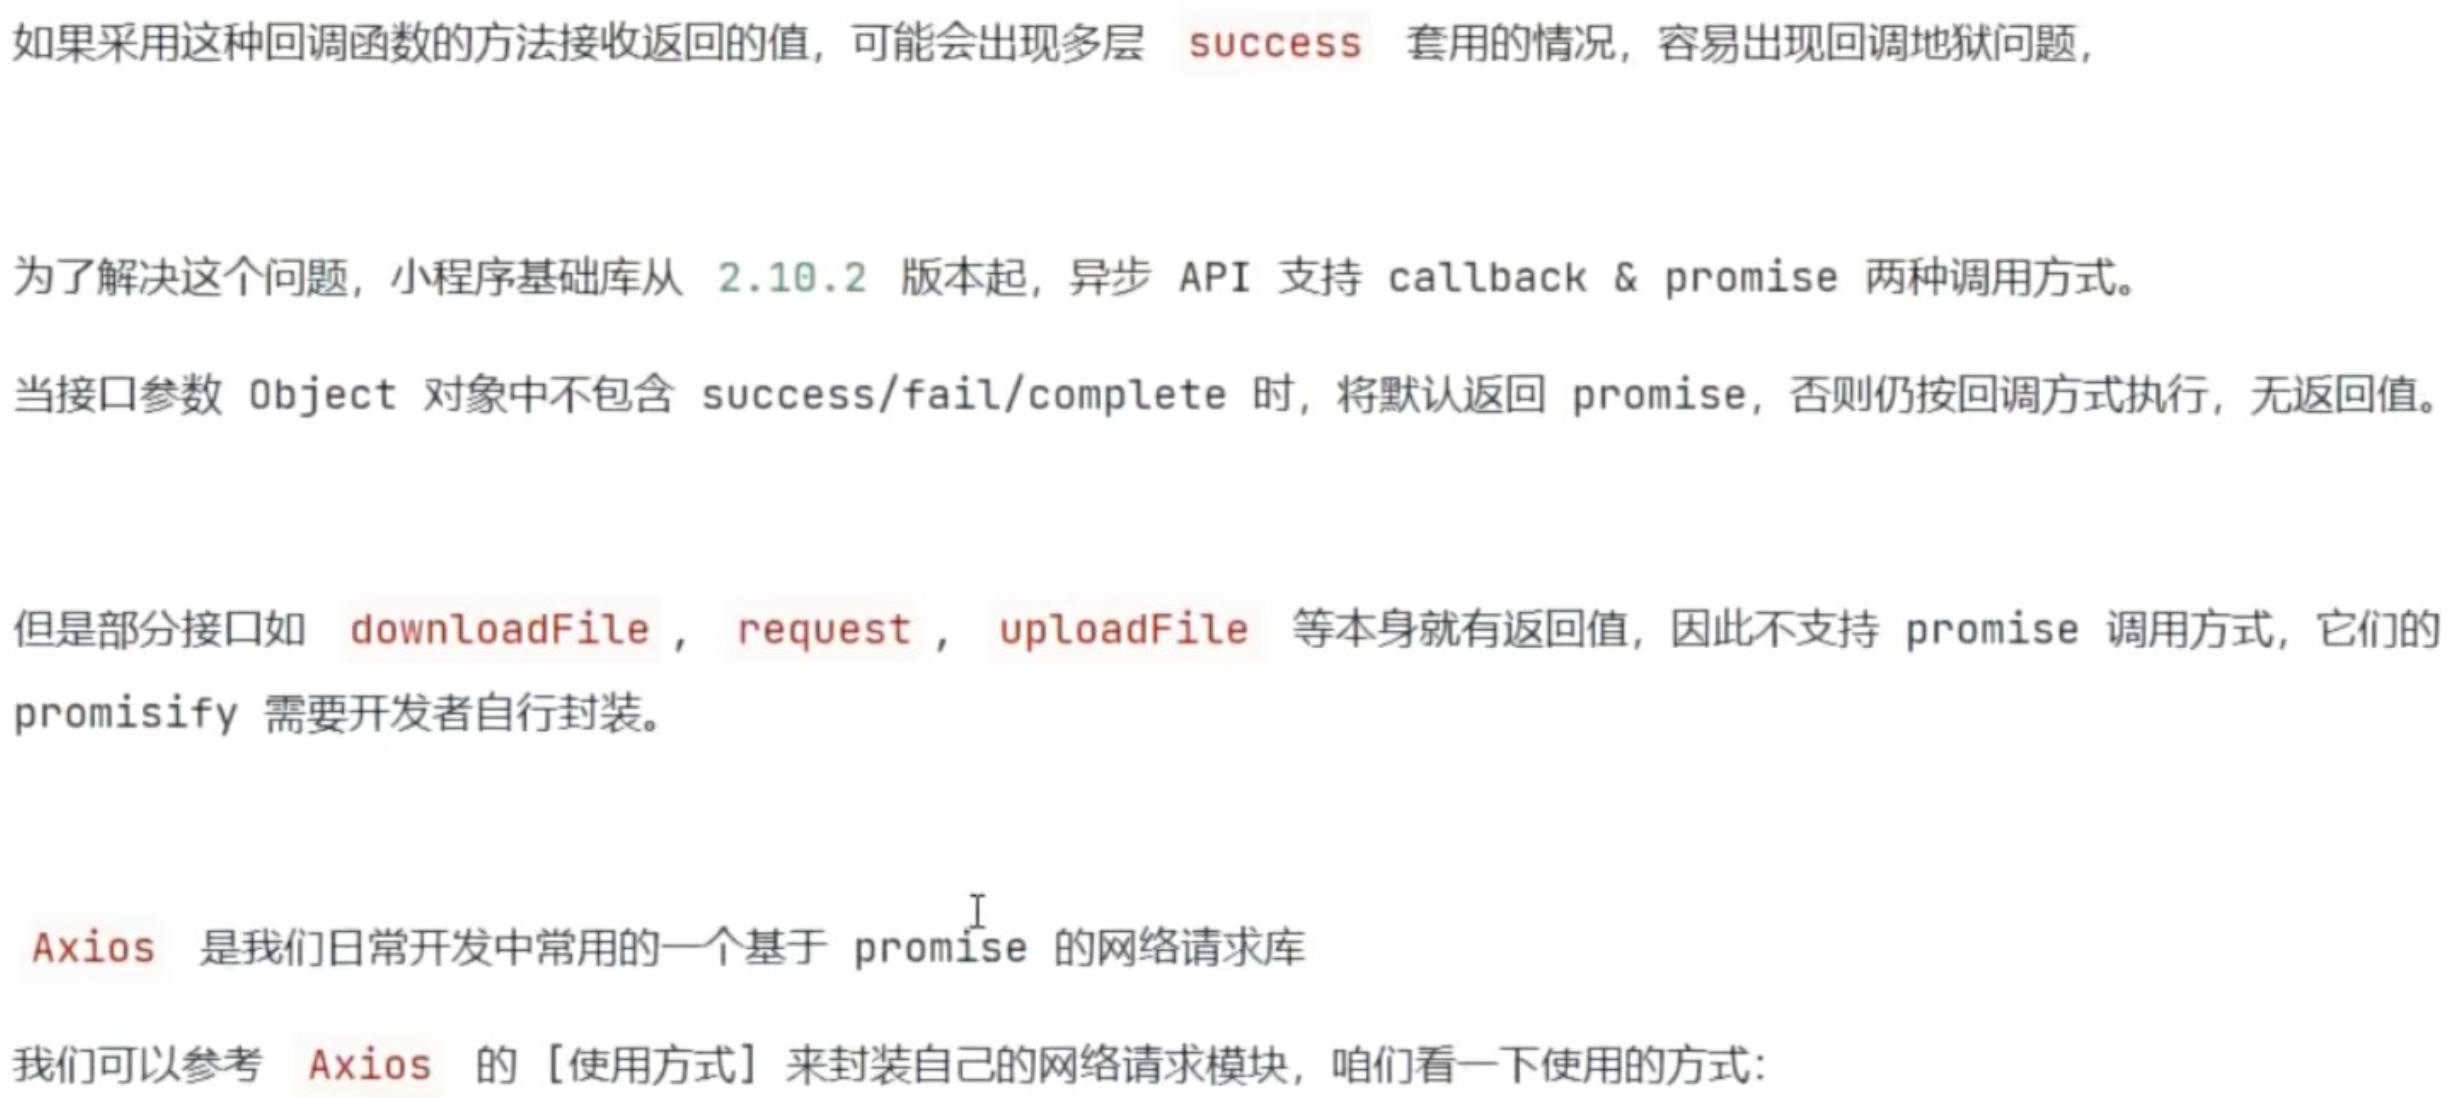
1.为什么要封装 wx.request
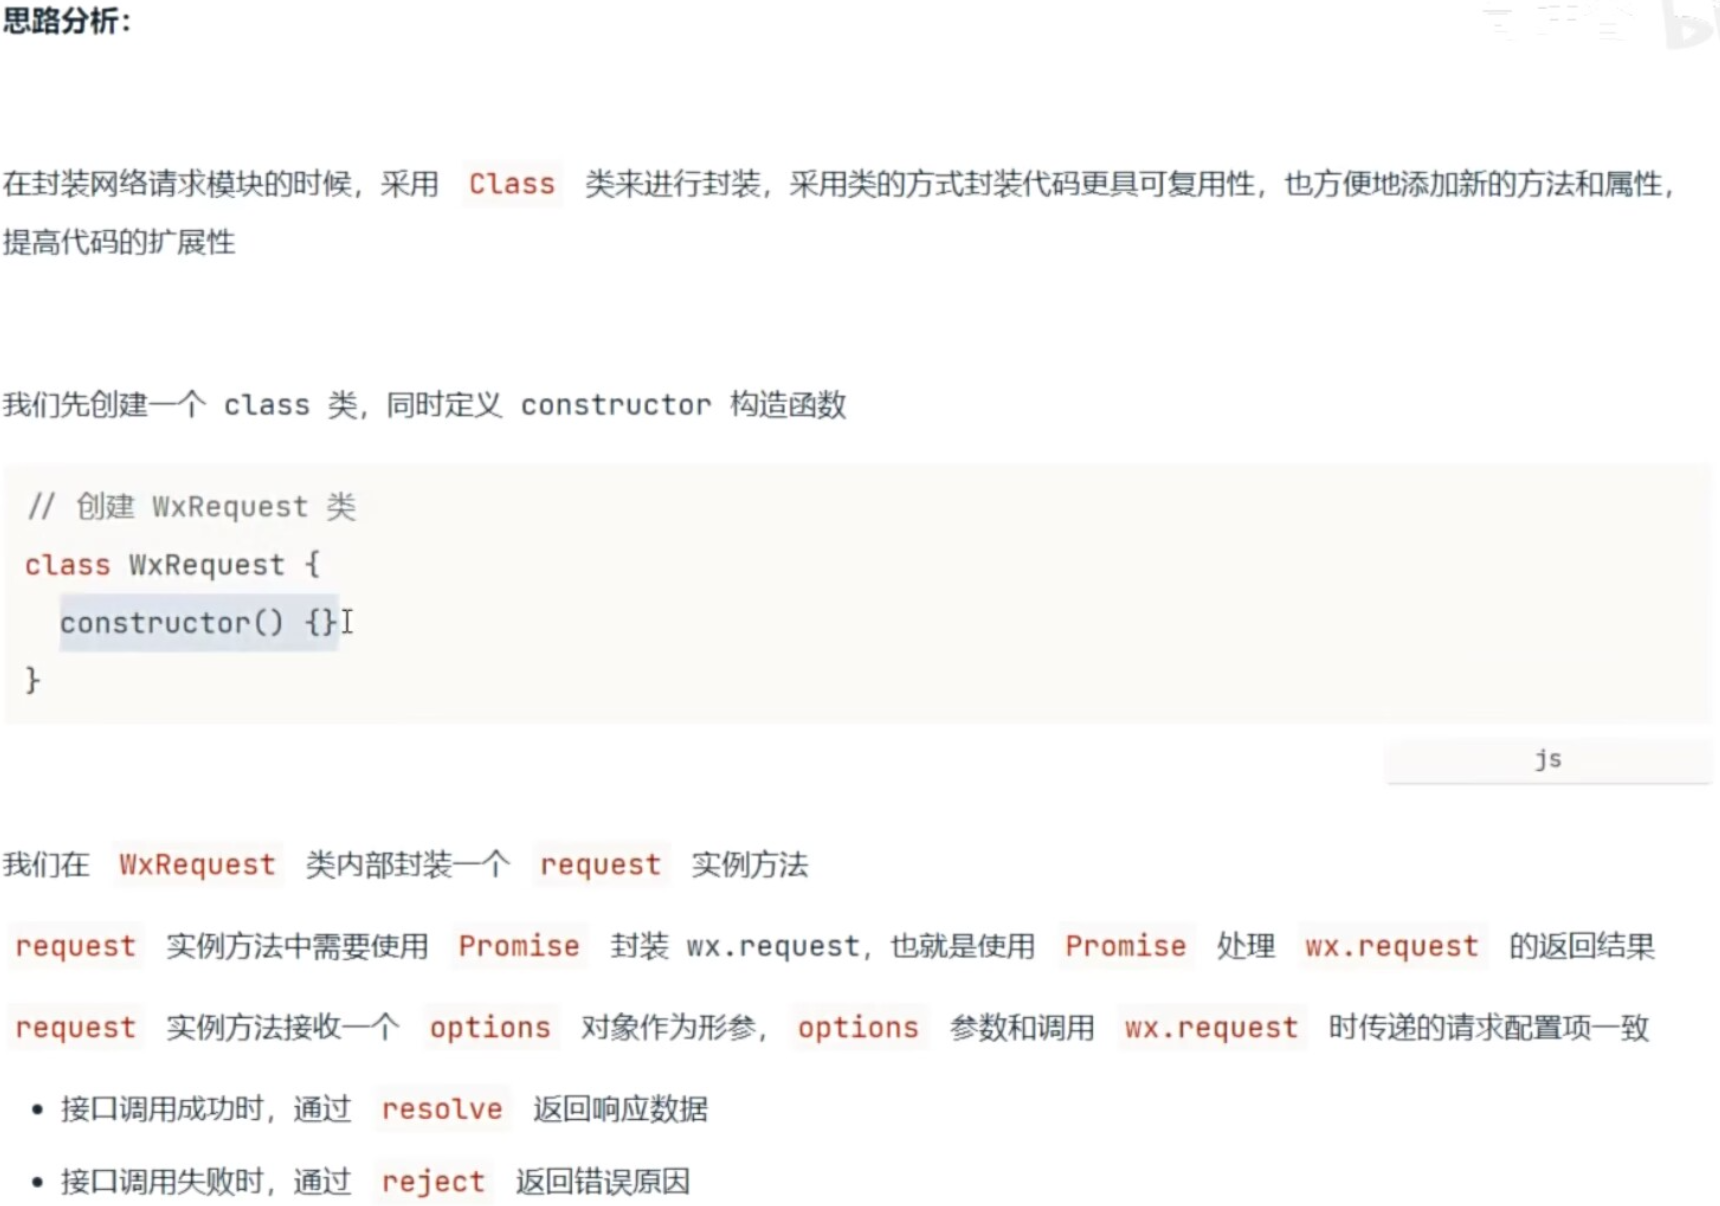
2.request 实例方法
javascript
// request.js

// 创建 WxRequest 类
// 通过类的方式来进行封装,会让代码更加具有复用性
// 也可以方便添加新的属性和方法

class WxRequest {
  // 用于创建和初始化类的属性以及方法
  constructor () {}

  // request 实例方法接收一个对象类型的参数
  // 属性值和 wx.request 方法调用时传递的参数保持一致
  request (options) {
    // 需要使用 Promise 封装 wx.request, 处理异步请求
    return new Promise((resolve, reject) => {
      wx.request({
        ...options,

        // 当接口调用成功时,会触发 success 回调函数
        success: (res) => {
          resolve(res)
        },

        // 当接口调用失败时,会触发 fail 回调函数
        fail: (err) => {
          reject(err)
        }
      })
    })
  }
}

// ..................... 以下为实例化的代码 .....................
// 目前写到同一个文件中,是为了方便测试,以后会提取成多个文件

// 对 WxRequest 进行实例化
const instance = new WxRequest()

// 将 WxRequest 实例进行暴露出去,方便再其他文件中进行使用
export default instance


// pages/test/test.js
import instance from '../../utils/request'

Page({

  async handler () {
    // 第一种调用方式, .then 的方式进行调用
    // instance.request({
    //   url: 'https://gmall-prod.atguigu.cn/mall-api/index/findBanner',
    //   method: 'GET'
    // }).then(res => {
    //   console.log(res)
    // })

    // 第二种调用方式,通过 await 和 async 的方式进行调用
     const res = await instance.request({
      url: 'https://gmall-prod.atguigu.cn/mall-api/index/findBanner',
      method: 'GET'
    })

    console.log(res)
  }

})
html
<!--pages/test/test.wxml-->
<!-- <text>pages/test/test.wxml</text> -->

<view class="box">
  <button type="warn" plain size="mini" bind:tap="handler">测试发送请求</button>
</view>
css
/* pages/test/test.wxss */

.box {
  display: flex;
  height: 200rpx;
  justify-content: center;
  align-items: center;
}
3.设置请求参数
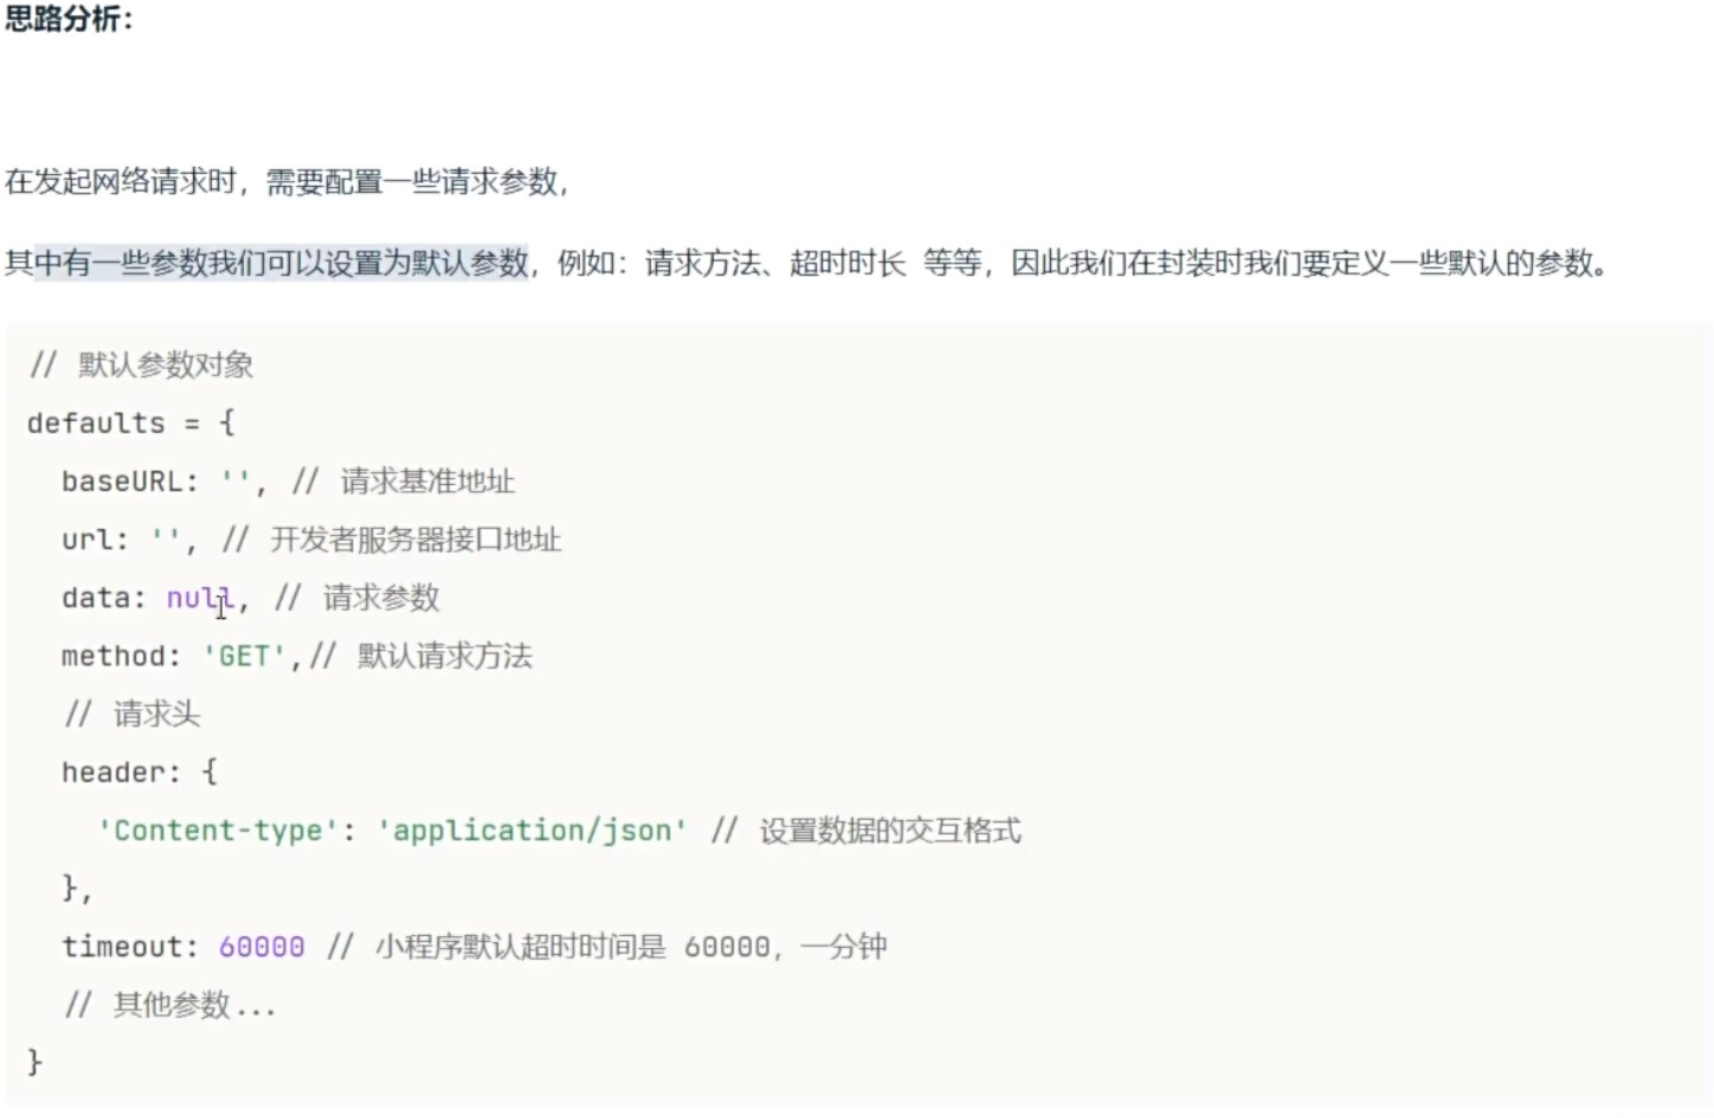
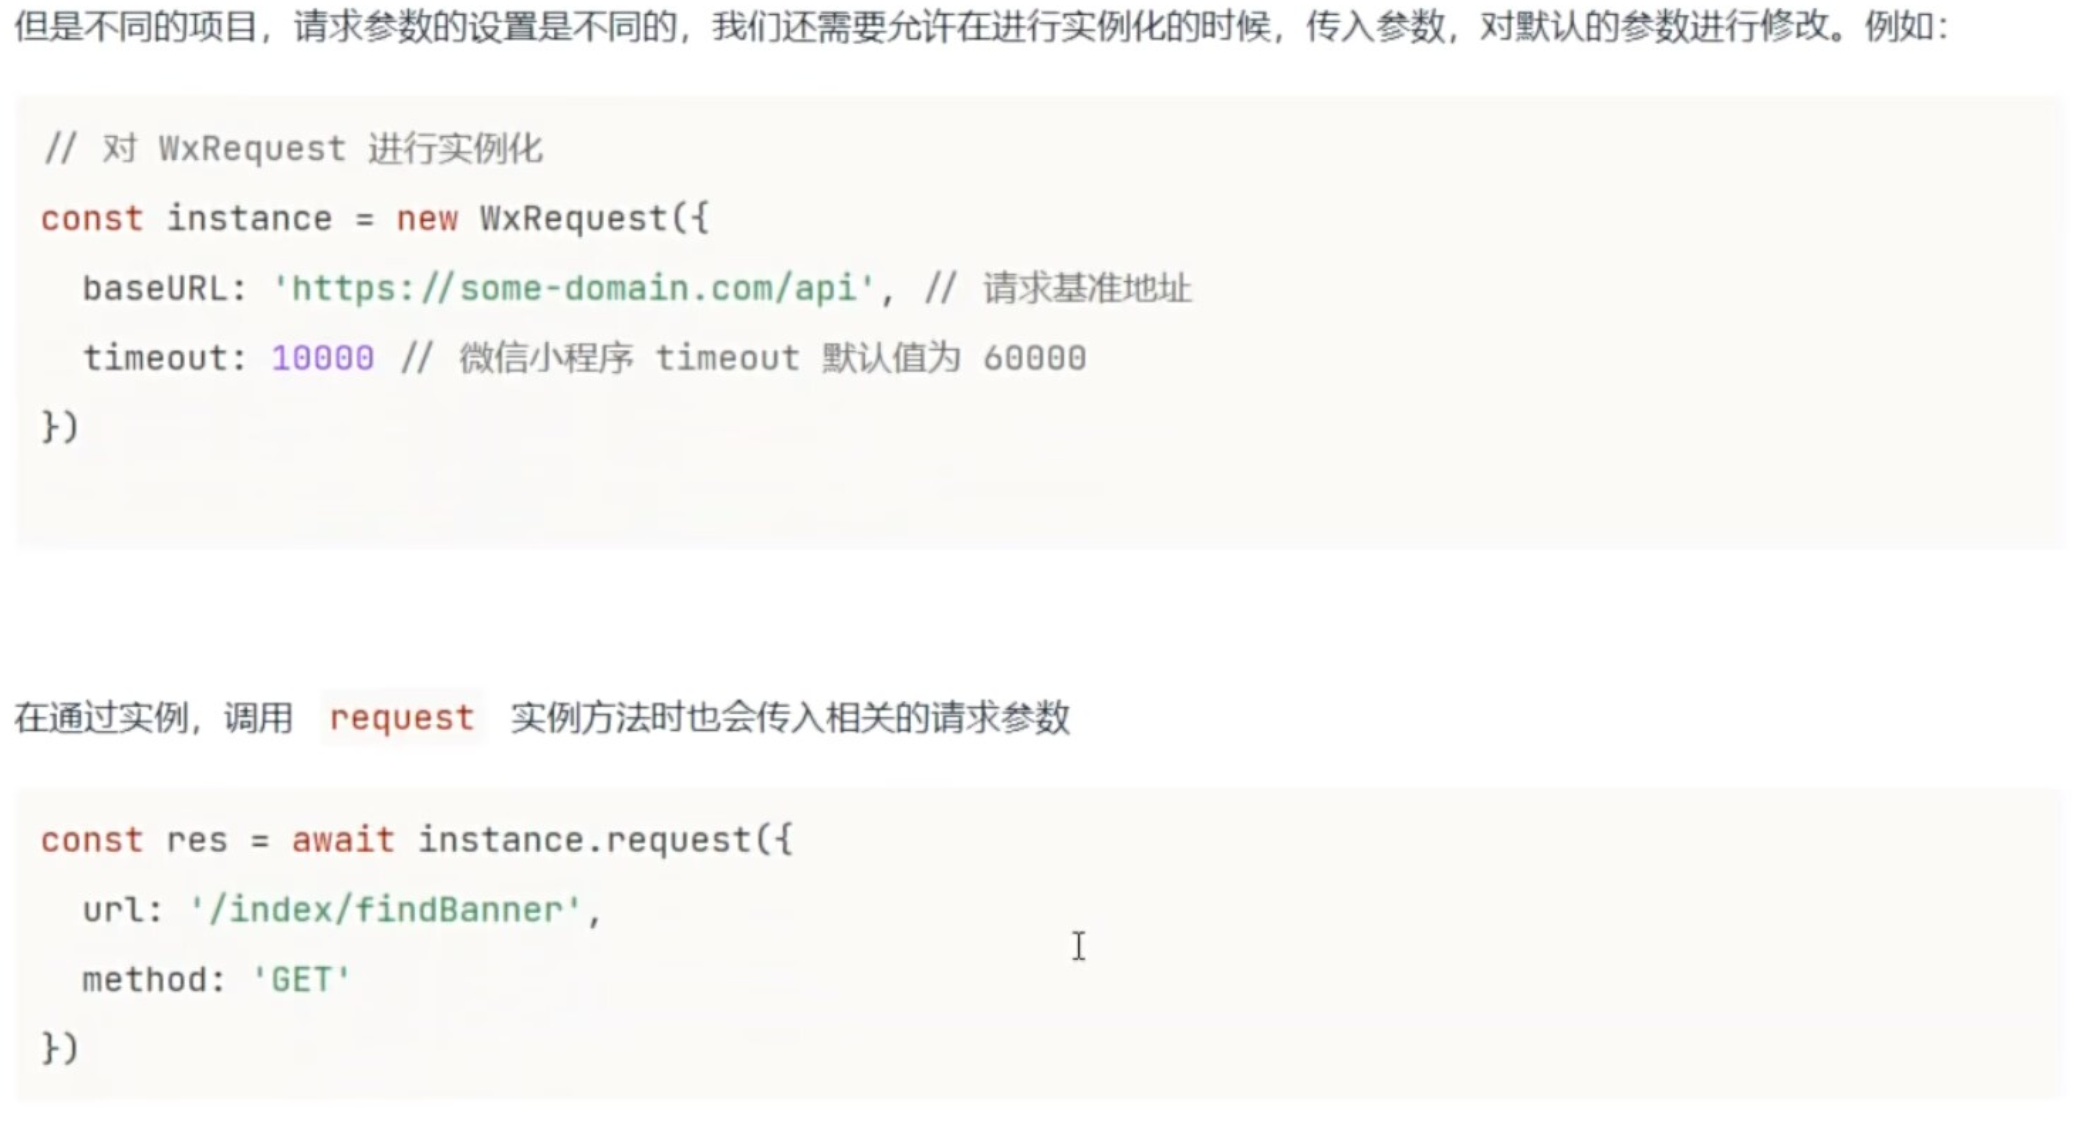
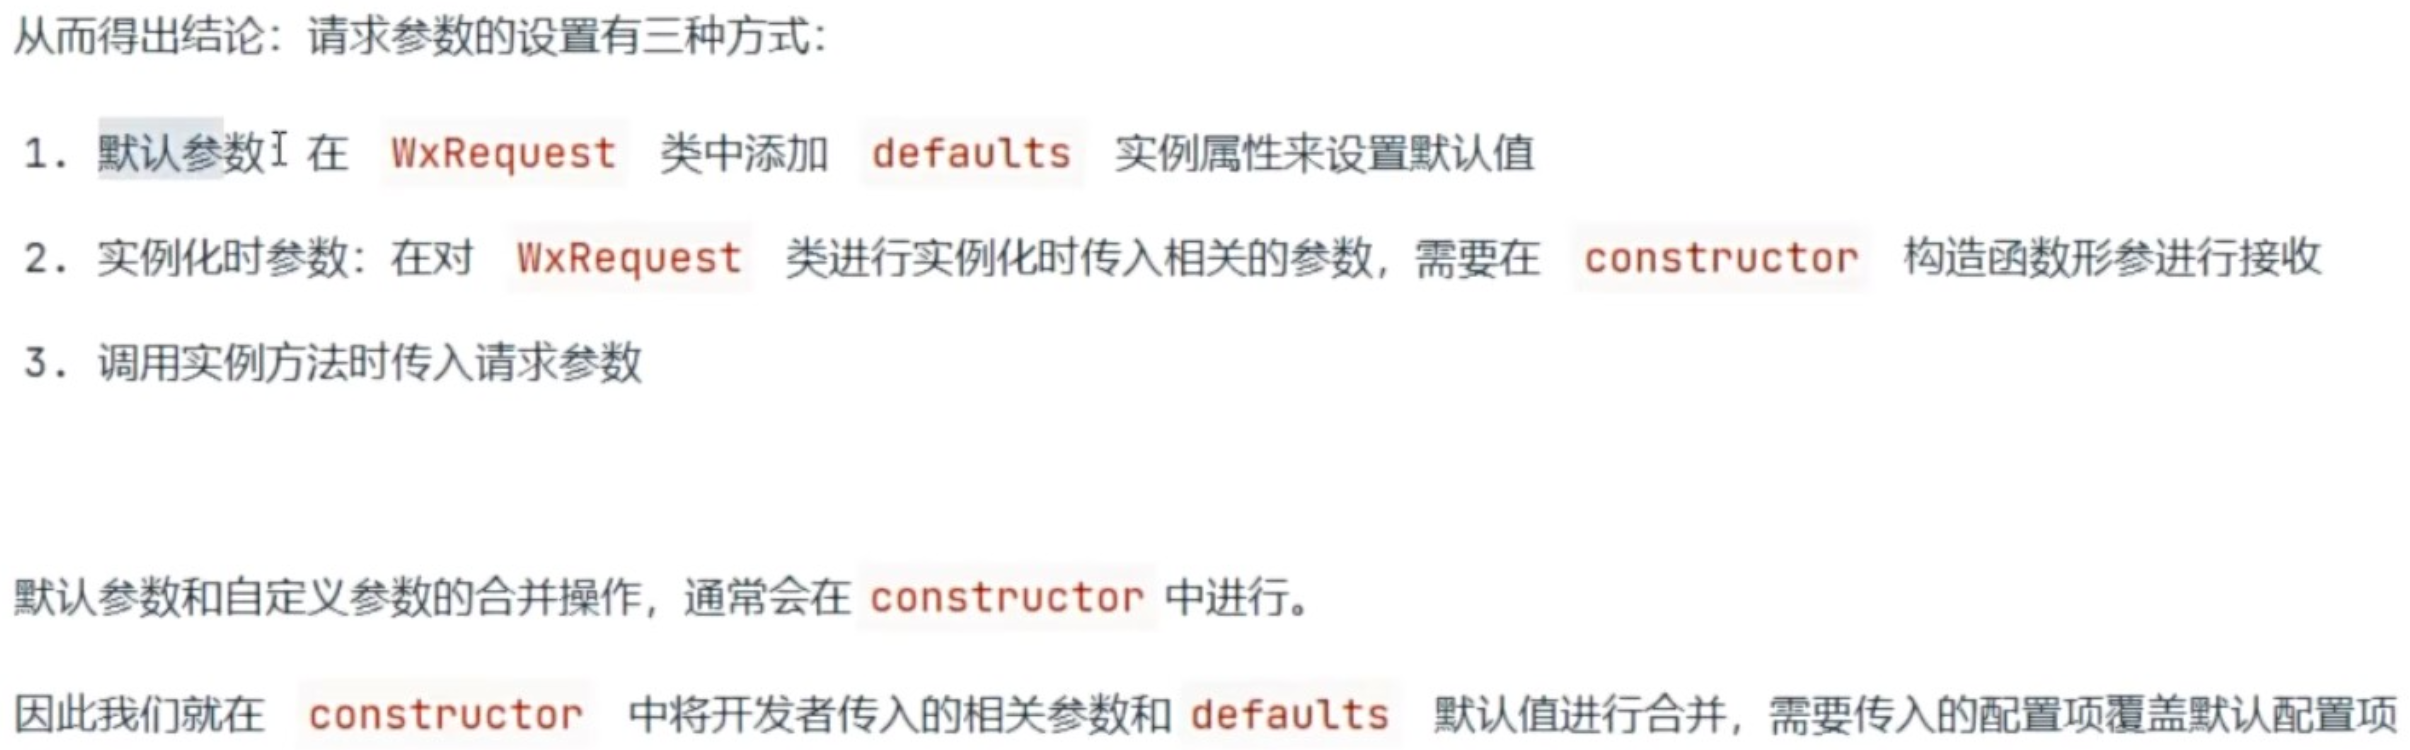
javascript
// request.js

// 创建 WxRequest 类
// 通过类的方式来进行封装,会让代码更加具有复用性
// 也可以方便添加新的属性和方法

class WxRequest {

  // 定义实例属性,用来设置默认请求参数
  defaults = {
    baseURL: '', // 请求基准地址
    url: '', // 接口的请求路径
    data: null, // 请求参数
    method: 'GET', // 默认的请求方法
    // 请求头
    header: {
      "Content-type": "application/json" // 设置数据的交互格式
    },
    timeout: 60000 // 默认的超时时长,小程序默认的超时时长是 1 分钟
  }

  // 用于创建和初始化类的属性以及方法
  // 在实例化时传入的参数,会被 constructor 形参进行接收
  constructor (params = {}) {
    // 通过 Object.assign 方法合并请求参数
    // 注意:需要传入的参数,覆盖默认的参数,因此传入的参数需要放到最后
    this.defaults = Object.assign({}, this.defaults, params)
  }

  // request 实例方法接收一个对象类型的参数
  // 属性值和 wx.request 方法调用时传递的参数保持一致
  request (options) {

    // 注意:需要先合并完整的请求地址 (baseURL +url)
    // https://gmall-prod.atguigu.cn/mall-api/index/findBanner
    options.url = this.defaults.baseURL + options.url

    // 合并请求参数
    options = { ...this.defaults, ...options }

    // 需要使用 Promise 封装 wx.request, 处理异步请求
    return new Promise((resolve, reject) => {
      wx.request({
        ...options,

        // 当接口调用成功时,会触发 success 回调函数
        success: (res) => {
          resolve(res)
        },

        // 当接口调用失败时,会触发 fail 回调函数
        fail: (err) => {
          reject(err)
        }
      })
    })
  }
}

// ..................... 以下为实例化的代码 .....................
// 目前写到同一个文件中,是为了方便测试,以后会提取成多个文件

// 对 WxRequest 进行实例化
const instance = new WxRequest({
  baseURL: 'https://gmall-prod.atguigu.cn/mall-api',
  timeout: 15000
})

// 将 WxRequest 实例进行暴露出去,方便再其他文件中进行使用
export default instance


// pages/test/test.js
import instance from '../../utils/request'

Page({

  async handler () {
    // 第一种调用方式, .then 的方式进行调用
    // instance.request({
    //   url: 'https://gmall-prod.atguigu.cn/mall-api/index/findBanner',
    //   method: 'GET'
    // }).then(res => {
    //   console.log(res)
    // })

    // 第二种调用方式,通过 await 和 async 的方式进行调用
     const res = await instance.request({
      url: '/index/findBanner',
      method: 'GET'
    })

    console.log(res)
  }
4.封装请求快捷方法
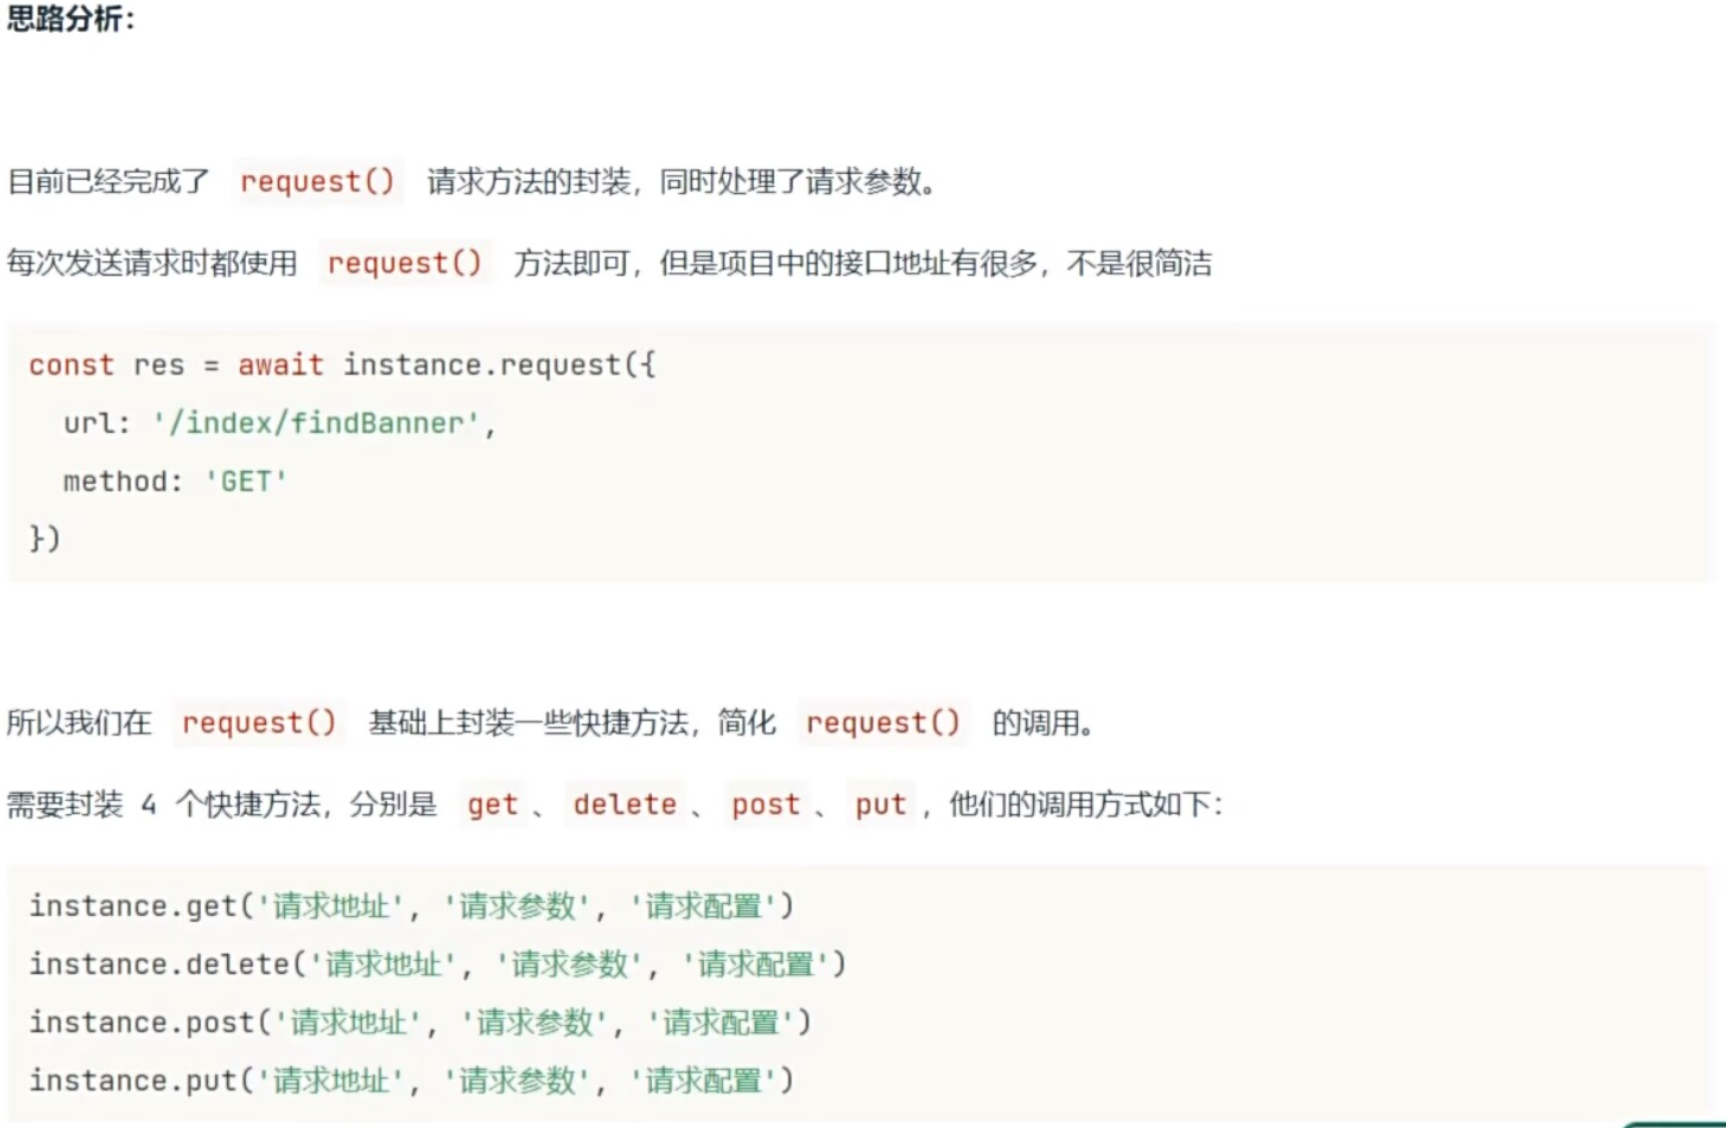

javascript
  // 封装 GET 实例方法
  get (url, data = {}, config = {}) {
    // 需要调用 request 请求方法发送请求,只需要组织好参数,传递给 request 请求方法即可
    // 当调用 get 方法时,需要将 request 方法的返回值 return 出去
    return this.request(Object.assign({ url, data, method: 'GET' }, config))
  }

  // 封装 DELETE 实例方法
  delete (url, data = {}, config = {}) {
    return this.request(Object.assign({ url, data, method: 'DELETE' }, config))
  }

  // 封装 POST 实例方法
  post (url, data = {}, config = {}) {
    return this.request(Object.assign({ url, data, method: 'POST' }, config))
  }

  // 封装 PUT 实例方法
  put (url, data = {}, config = {}) {
    return this.request(Object.assign({ url, data, method: 'PUT' }, config))
  }
5.wx.request 注意事项
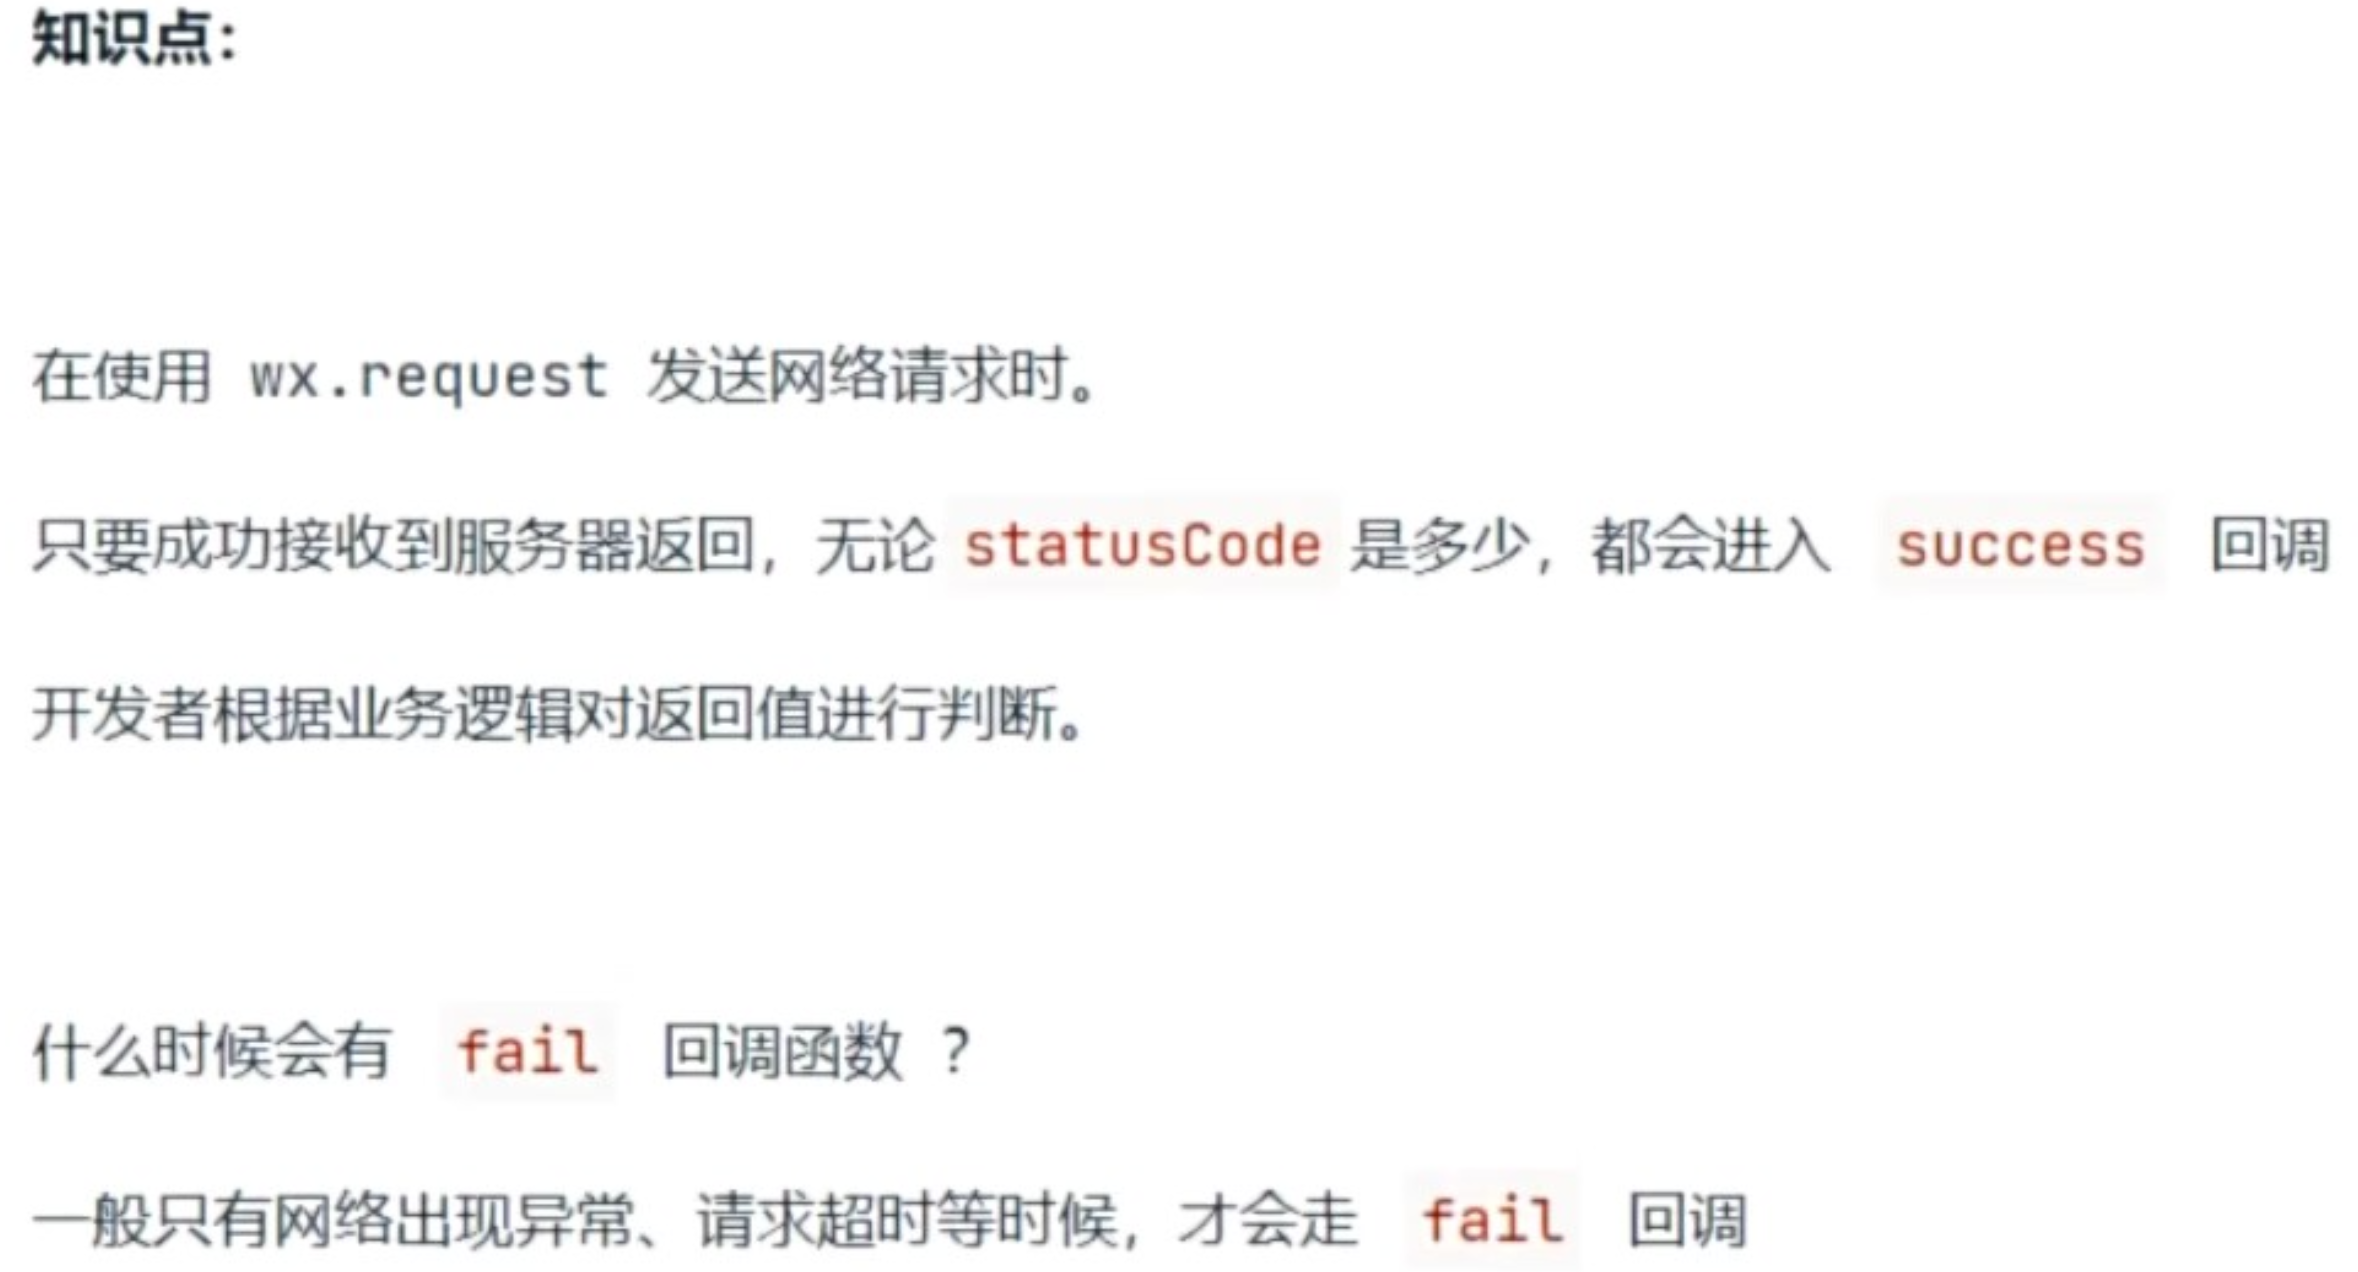
javascript
wx.request({
      url: 'https://gmall-prod.atguigu.cn/mall-api/index/findBanner',
      method: 'GET',
      timeout: 100,
      success: (res) => {
        // 在使用 wx.request 发送请求时
        // 只要成功接收到服务器返回的结果
        // 无论 statusCode、状态码是多少,都会执行 success
        // 开发者就需要根据业务逻辑,自己来进行相关的判断处理
        console.log('虽然接口错了,但是我依然会走 success')
        console.log(res)
      },
      fail: (err) => {
        // 一般在网络出现异常时(网络超时),就会执行 fail
        console.log('网络超时了,这时候网络出现异常,就会执行 fail')
        console.log(err)
      }
    })
6.定义请求-响应拦截器
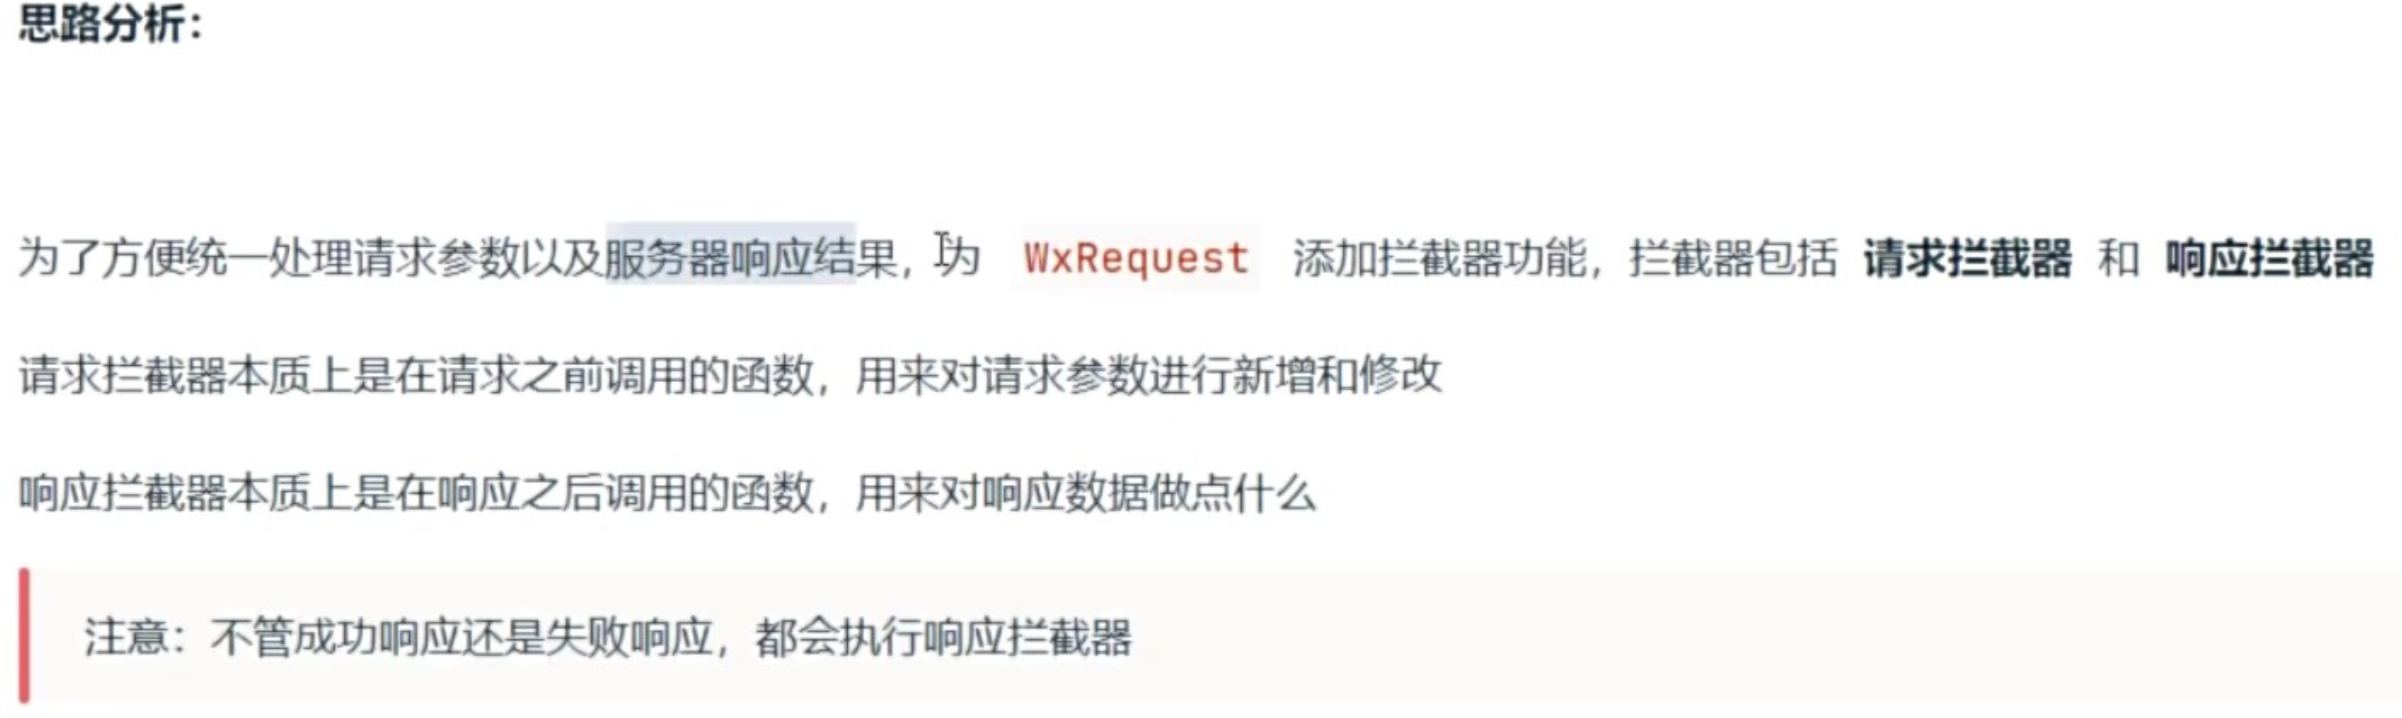
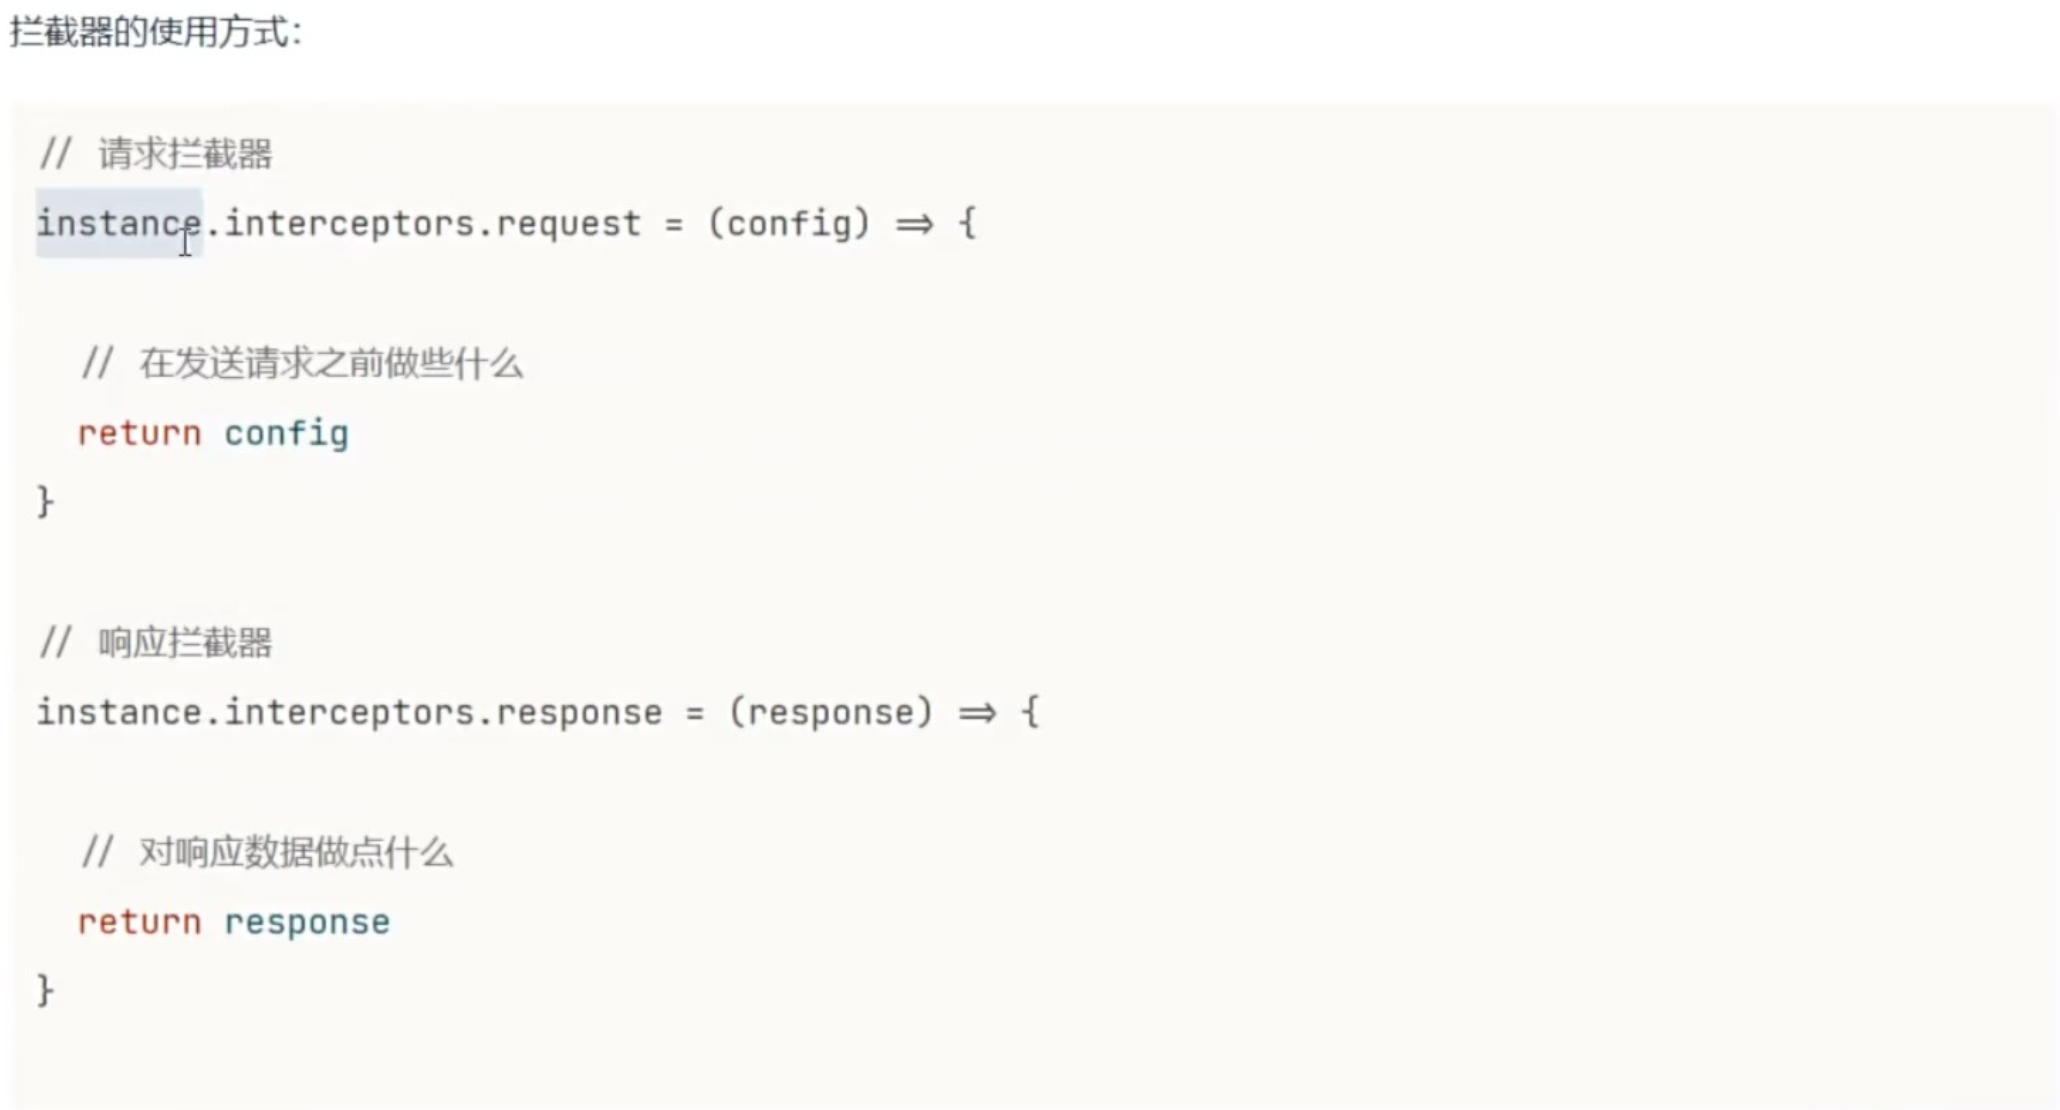
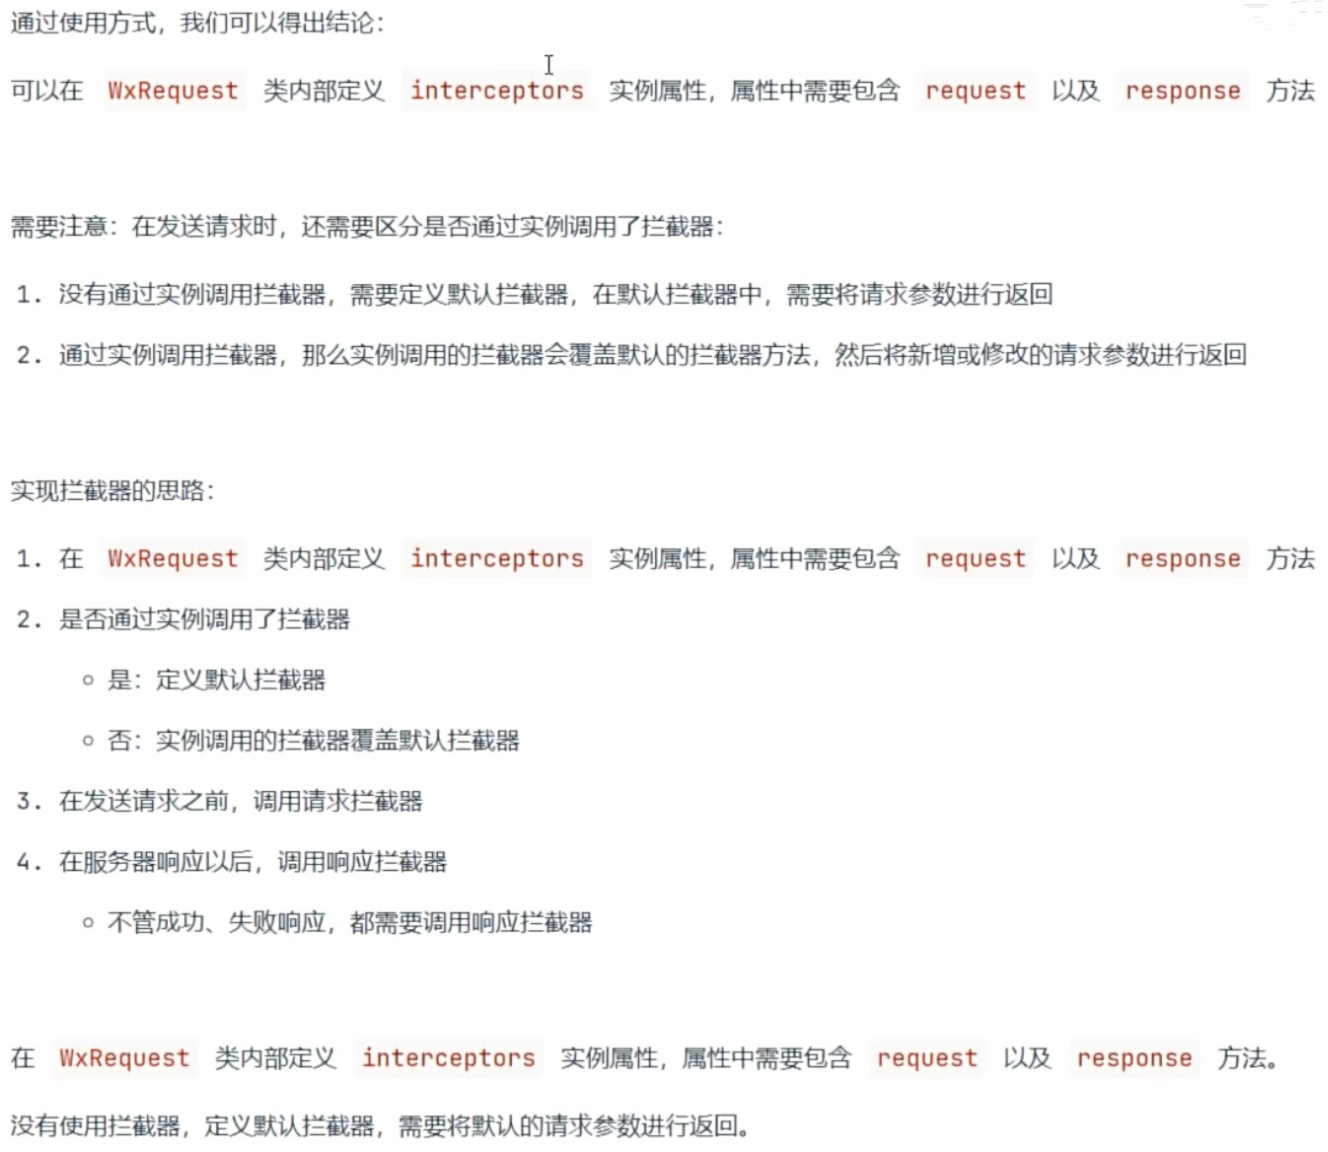
javascript
  // 定义拦截器对象
  // 需要包含请求拦截器以及响应拦截器,方便再请求之前以及响应以后时进行逻辑处理
  interceptors = {
    // 请求拦截器
    // 在请求发送之前,对请求参数进行新增或者是修改
    request: (config) => config,

    // 响应拦截器
    // 在服务器响应数据以后,对服务器响应的数据进行逻辑处理
    response: (response) => response
  }


 request (options) {

    // 注意:需要先合并完整的请求地址 (baseURL +url)
    // https://gmall-prod.atguigu.cn/mall-api/index/findBanner
    options.url = this.defaults.baseURL + options.url

    // 合并请求参数
    options = { ...this.defaults, ...options }

    // 在请求发送之前,调用请求拦截器,新增和修改请求参数
    options = this.interceptors.request(options)

    // console.log(options)

    // 需要使用 Promise 封装 wx.request, 处理异步请求
    return new Promise((resolve, reject) => {
      wx.request({
        ...options,

        // 当接口调用成功时,会触发 success 回调函数
        success: (res) => {
          // 不管是成功响应还是失败响应,都需要调用响应拦截器
          // 响应拦截器需要接收服务器响应的数据,然后对数据进行逻辑处理,处理好以后进行返回
          // 然后再通过 resolve 将返回的数据抛出去

          // 在给响应拦截器传递参数时,需要将请求参数也一起传递
          // 方便进行代码的调试或者进行其他逻辑处理,需要先合并参数
          // 然后将合并的参数传递给响应拦截器

          const mergeRes = Object.assign({}, res, { config: options })
          resolve(this.interceptors.response(mergeRes))
        },

        // 当接口调用失败时,会触发 fail 回调函数
        fail: (err) => {
          // 不管是成功响应还是失败响应,都需要调用响应拦截器
          const mergeErr = Object.assign({}, err, { config: options })
          reject(this.interceptors.response(mergeErr))
        }
      })
    })
  }


// ..................... 以下为实例化的代码 .....................
// 目前写到同一个文件中,是为了方便测试,以后会提取成多个文件

// 配置请求拦截器
instance.interceptors.request = (config) => {
  // 在请求发送之前做点什么......
  return config
}
7.完善请求-响应拦截器
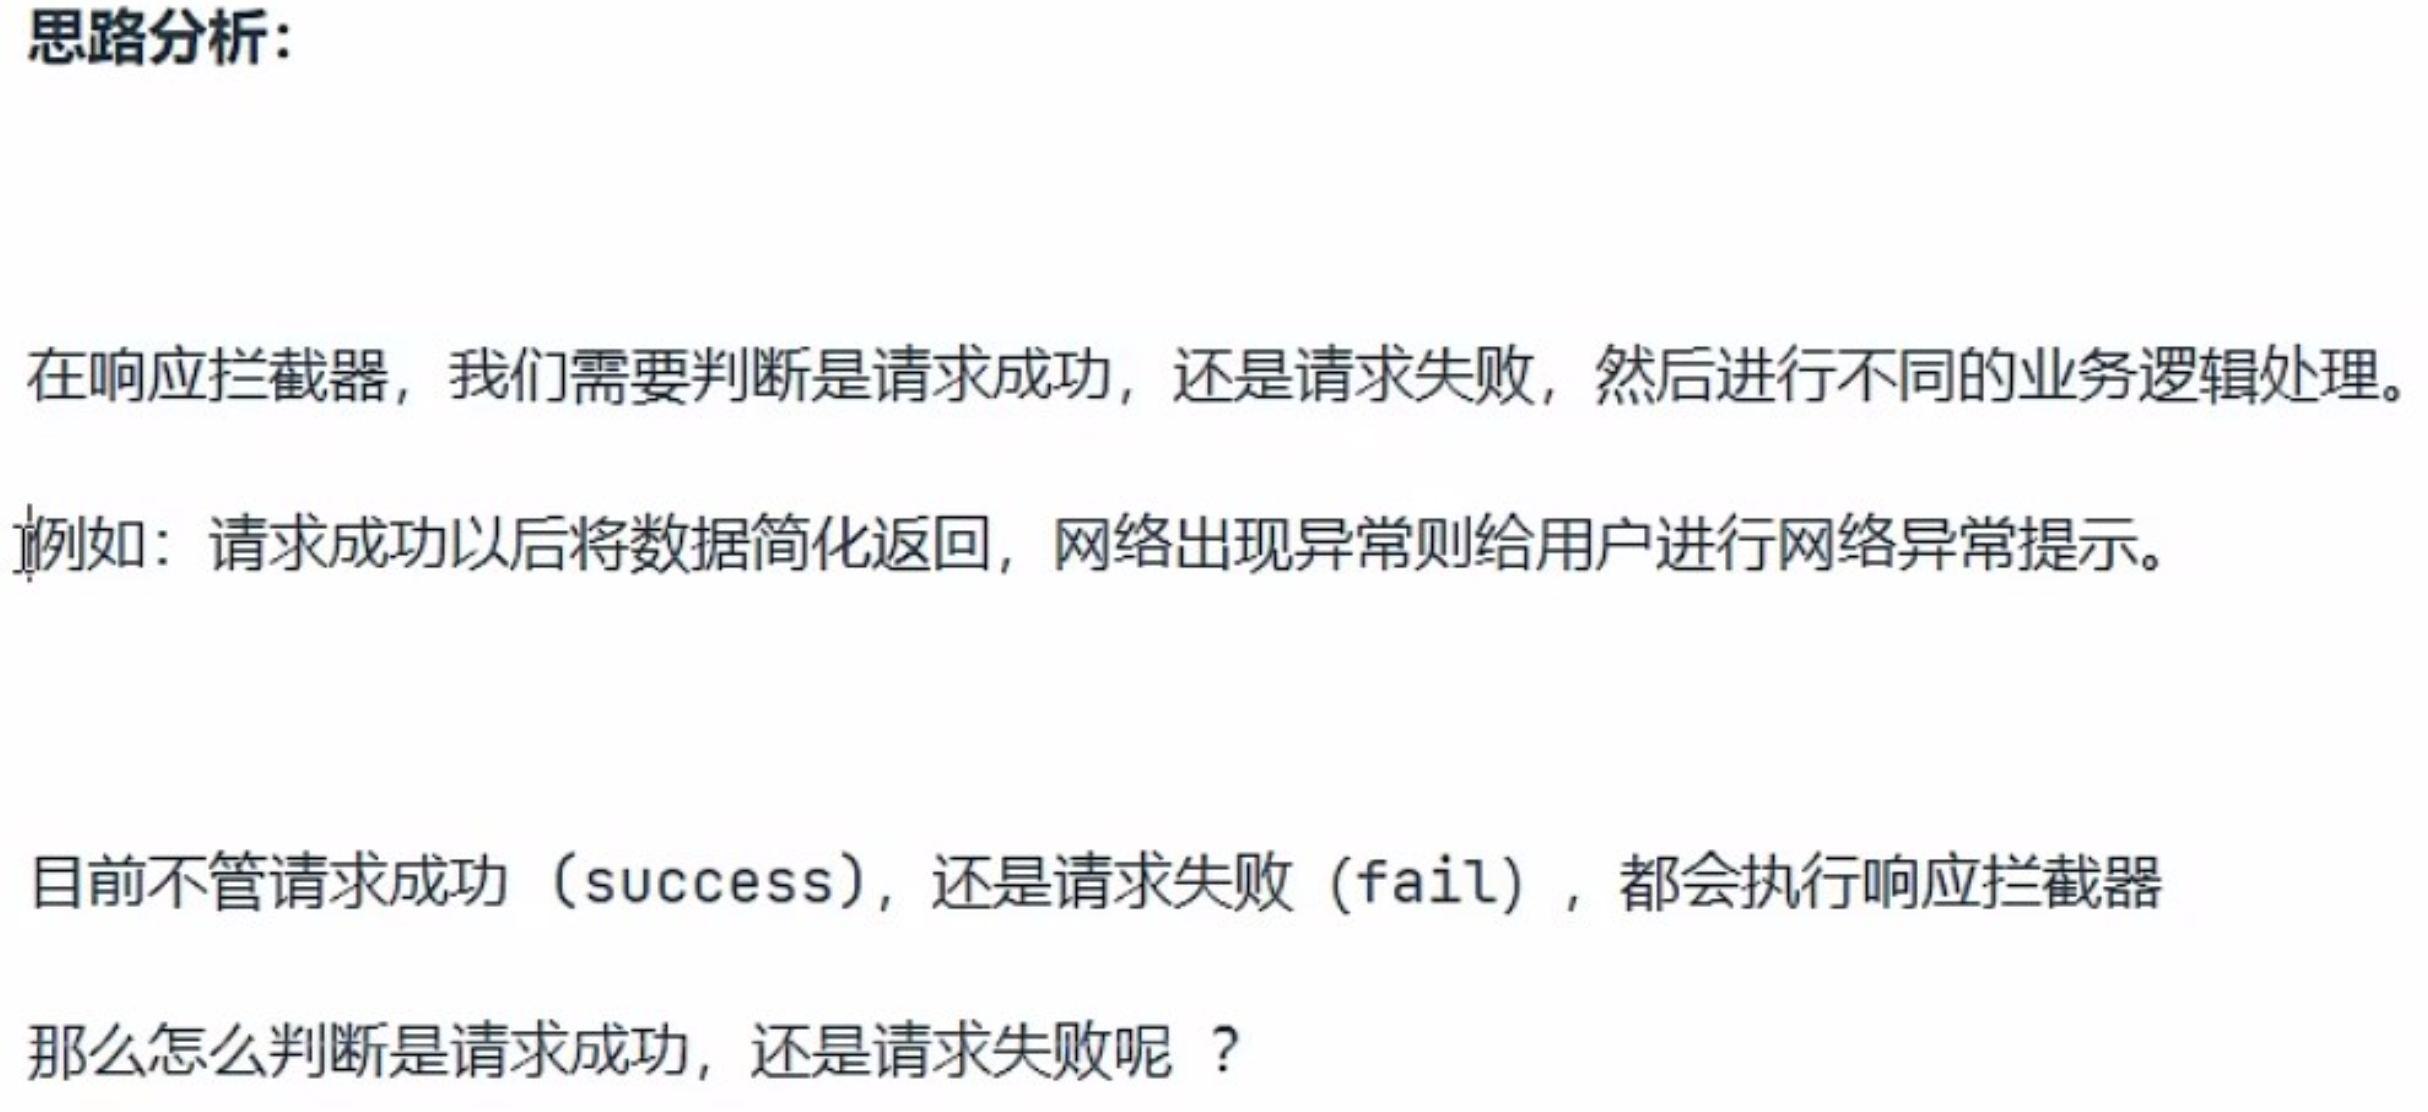
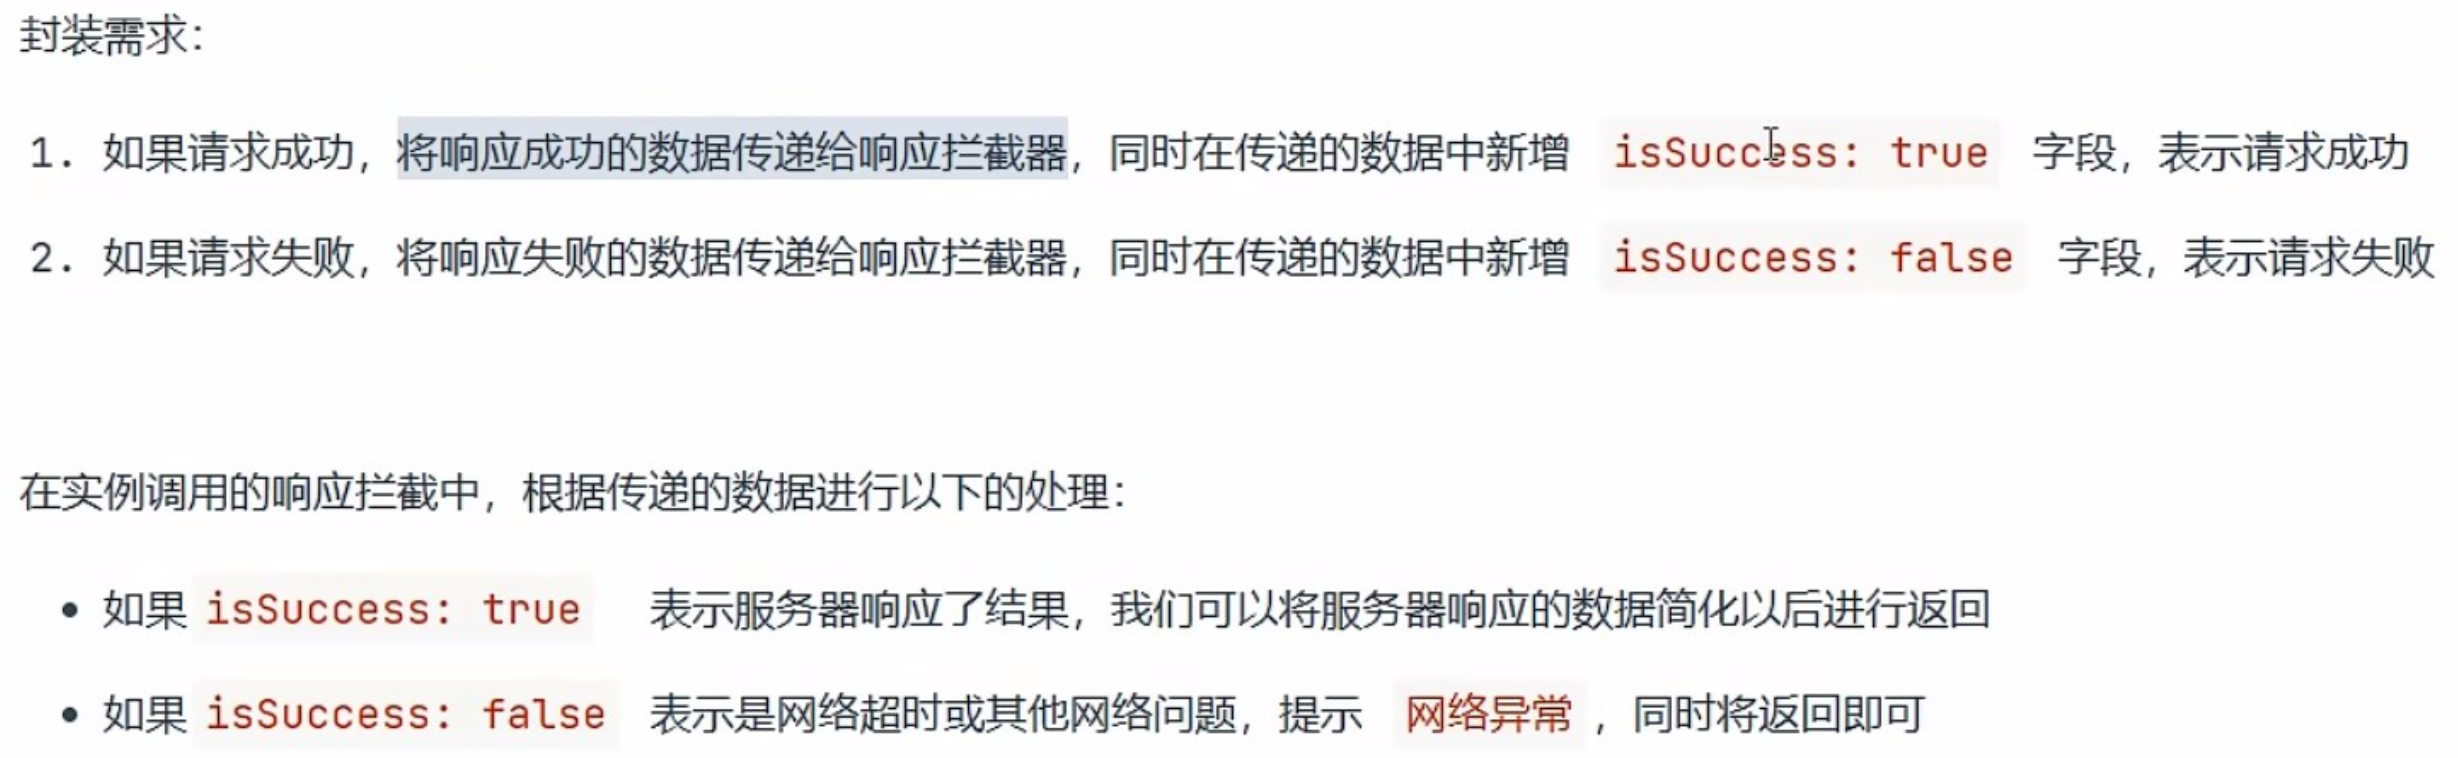
javascript
class WxRequest {

  // coding....

   request(options) {
    // coding....

    // 使用 Promise 封装异步请求
    return new Promise((resolve, reject) => {
      // 使用 wx.request 发起请求
      wx.request({
        ...options,

        // 接口调用成功的回调函数
        success: (res) => {
          // 响应成功以后触发响应拦截器
          if (this.interceptors.response) {
             // 调用响应拦截器方法,获取到响应拦截器内部返回数据
             // success: true 表示服务器成功响应了结果,我们需要对业务状态码进行判断
             res = this.interceptors.response({ response: res, isSuccess: true })
          }

          // 将数据通过 resolve 进行返回即可
          resolve(res)
        },

        // 接口调用失败的回调函数
        fail: (err) => {
          // 响应失败以后也要执行响应拦截器
          if (this.interceptors.response) {
             // isSuccess: false 表示是网络超时或其他问题
             err = this.interceptors.response({ response: err, isSuccess: true })
          }

          // 当请求失败以后,通过 reject 返回错误原因
          reject(err)
        }

      })
    })
  }

  // coding......
}


// -----------------------------------------------------


// 对 WxRequest 进行实例化
const instance = new WxRequest({
  baseURL: 'https://gmall-prod.atguigu.cn/mall-api'
})

// 设置请求拦截器
instance.setRequestInterceptor((config) => {
  console.log('执行请求拦截器')

  return config
})

// 设置响应拦截器
 instance.setResponseInterceptor((response) => {
  const { response: res, isSuccess } = response

   // isSuccess: false 表示是网络超时或其他问题,提示 网络异常,同时将返回即可
   if (!isSuccess) {
     wx.toast('网络异常,请稍后重试~')
    // 如果请求错误,将错误的结果返回出去
     return res
   }

  // 简化数据
 return response.data
})

// 将 WxRequest 的实例通过模块化的方式暴露出去
export default instance
8.使用请求-响应拦截器
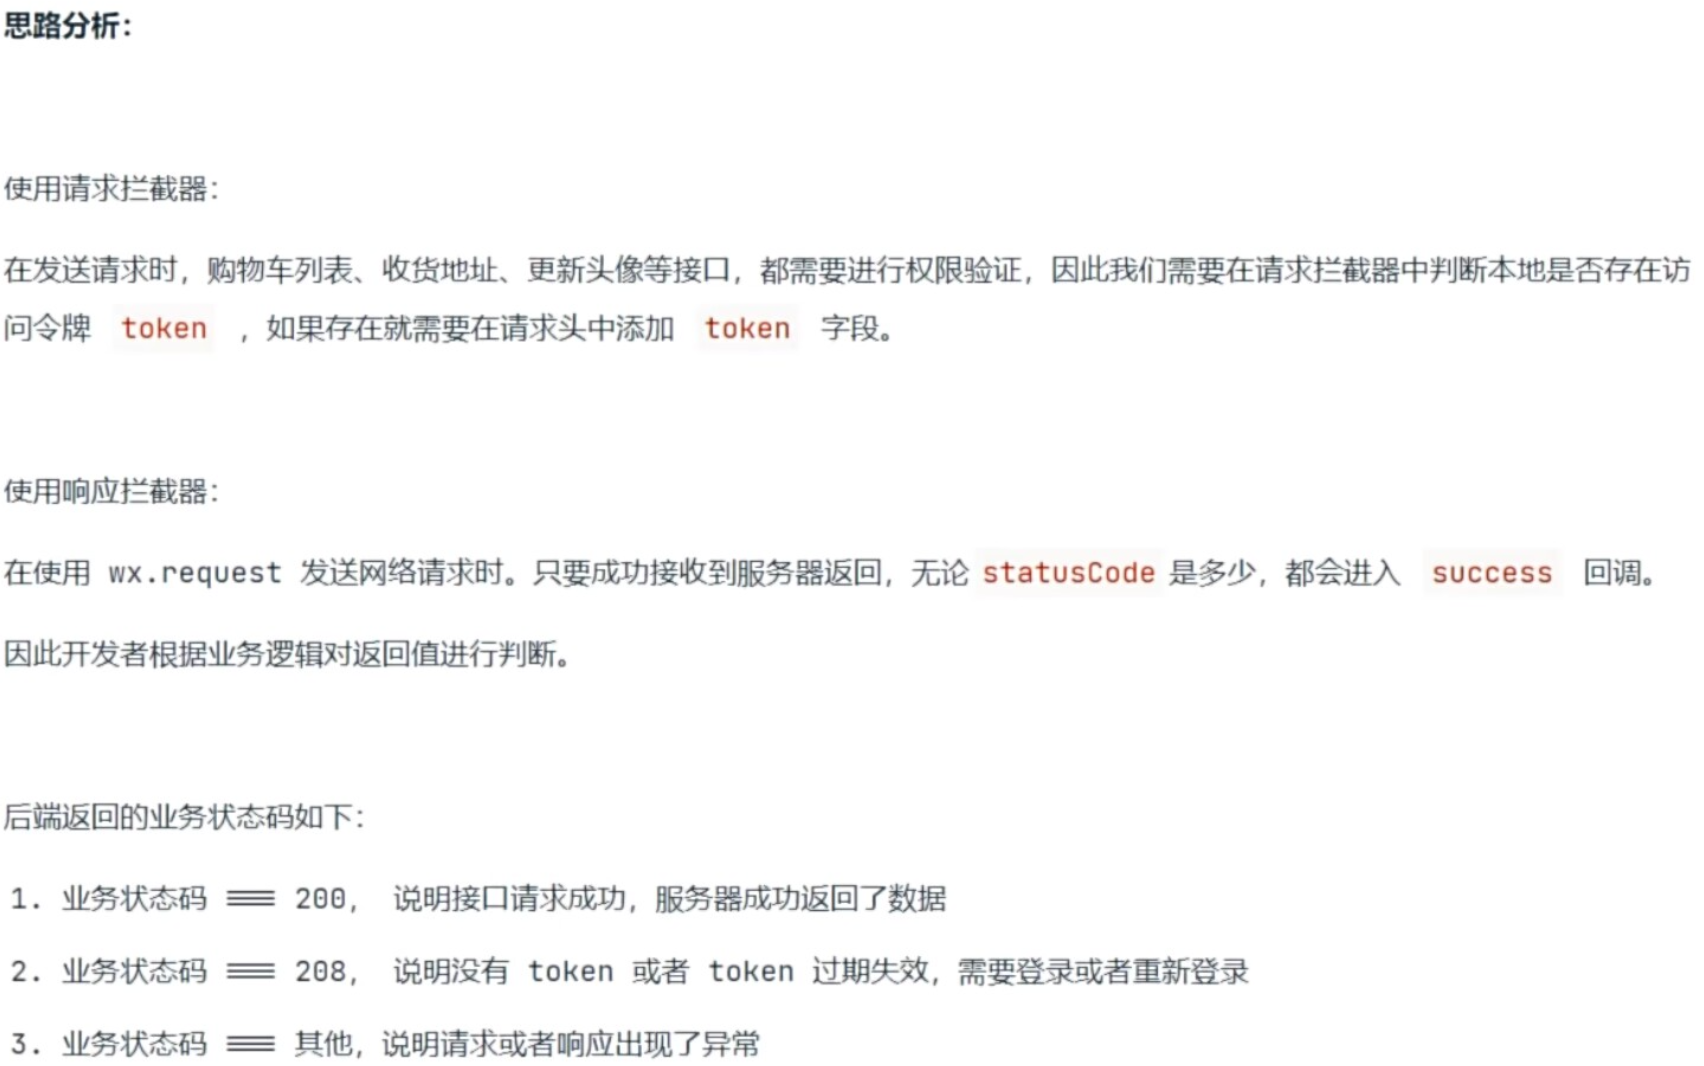
javascript
// 判断服务器响应的业务状态码
  switch (data.code) {
    // 如果后端返回的业务状态码 = 200,说明请求成功,服务器成功响应了数据
    case 200:
        // 对服务器响应数据做点什么......
        return data
    // 如果返回的业务状态码 = 208,说明 没有 token,或者 token 失效
    // 就需要让用户登录或者重新登录
    case 208:
      const res = await modal({
        content: '鉴权失败,请重新登录',
        showCancel: false // 不显示取消按钮
      })

      if (res) {
        // 清除之前失效的 token,同时要清除本地存储的全部信息
        clearStorage()

        wx.navigateTo({
          url: '/pages/login/login'
        })
      }

      return Promise.reject(response)

    default:
      toast({
        title: '程序出现异常,请联系客服或稍后重试'
      })

      return Promise.reject(response)
  }
9.添加并发请求
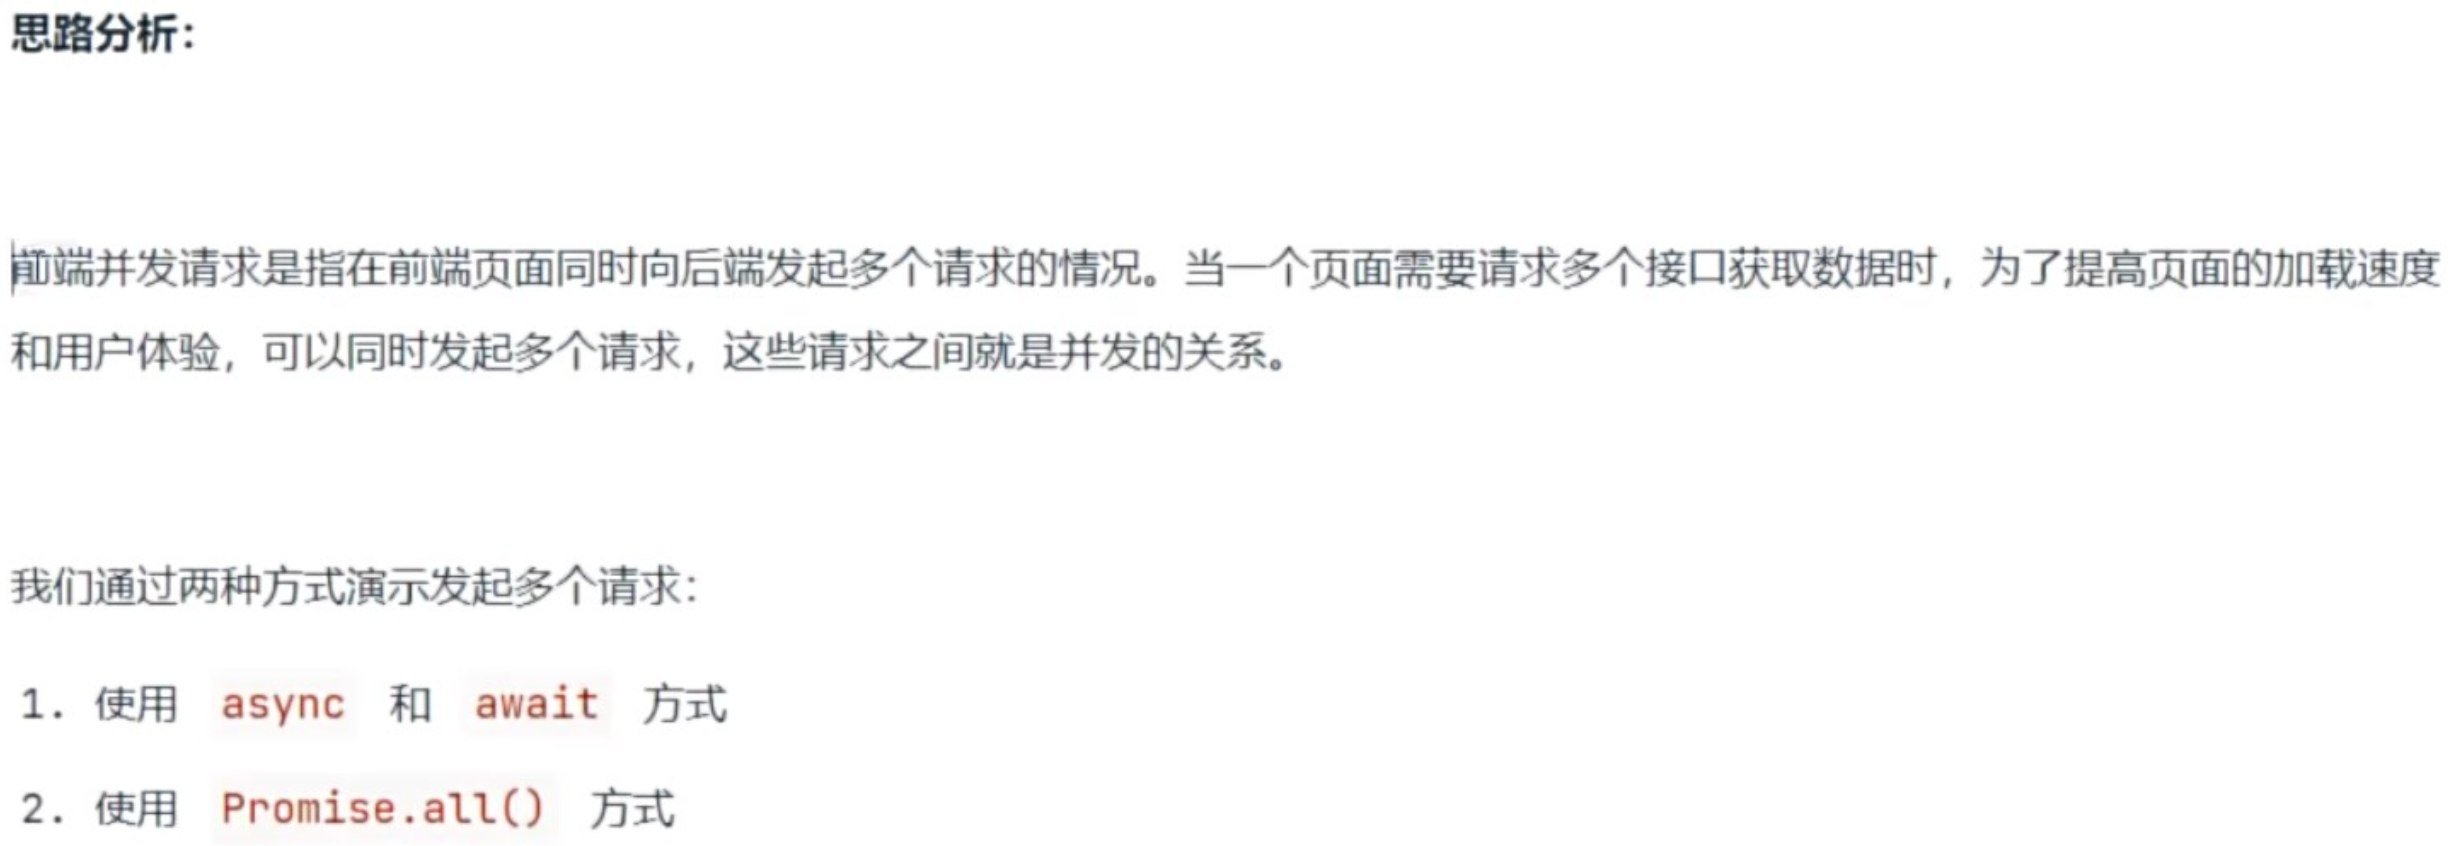
javascript
// test.js

// 测试并发请求
  async allHandler () {
    // 演示通过 async 和 await 方式同时发起多个请求
    // async 和 await 能够控制异步任务以同步的流程来执行

    // async 和 await 方式发起多个请求
    // 当第一个请求结束以后,才能够发起第二个请求
    // 在前一个请求结束以后,才能发起下一个请求
    // 会造成请求的阻塞,从而影响页面的渲染速度
    // await instance.get('/index/findBanner')
    // await instance.get('/index/findCategory1')
    // await instance.get('/index/findBanner')
    // await instance.get('/index/findCategory1')

    // 演示通过 Promise.all 同时发起多个请求
    // Promise.all 能够将多个请求同时进行发送
    // Promise.all 能够将多个异步请求同时进行发送,也就是并行发送
    // 并不会造成请求的阻塞,从而不会影响页面的渲染速度
    // await Promise.all([instance.get('/index/findBanner'), instance.get('/index/findCategory1'),instance.get('/index/findBanner'), instance.get('/index/findCategory1')])

    const res = await instance.all(instance.get('/index/findBanner'), instance.get('/index/findCategory1'),instance.get('/index/findBanner'), instance.get('/index/findCategory1'))

    console.log(res)
  }


// request.js

class WxRequest {
 // 用来处理并发请求
  all (...promise) {
    console.log(promise)
    // 通过展开运算符来接收传递的参数
    // 那么展开运算符会将传入的参数转成数组
    return Promise.all(promise)
  }
}
10.添加 loading
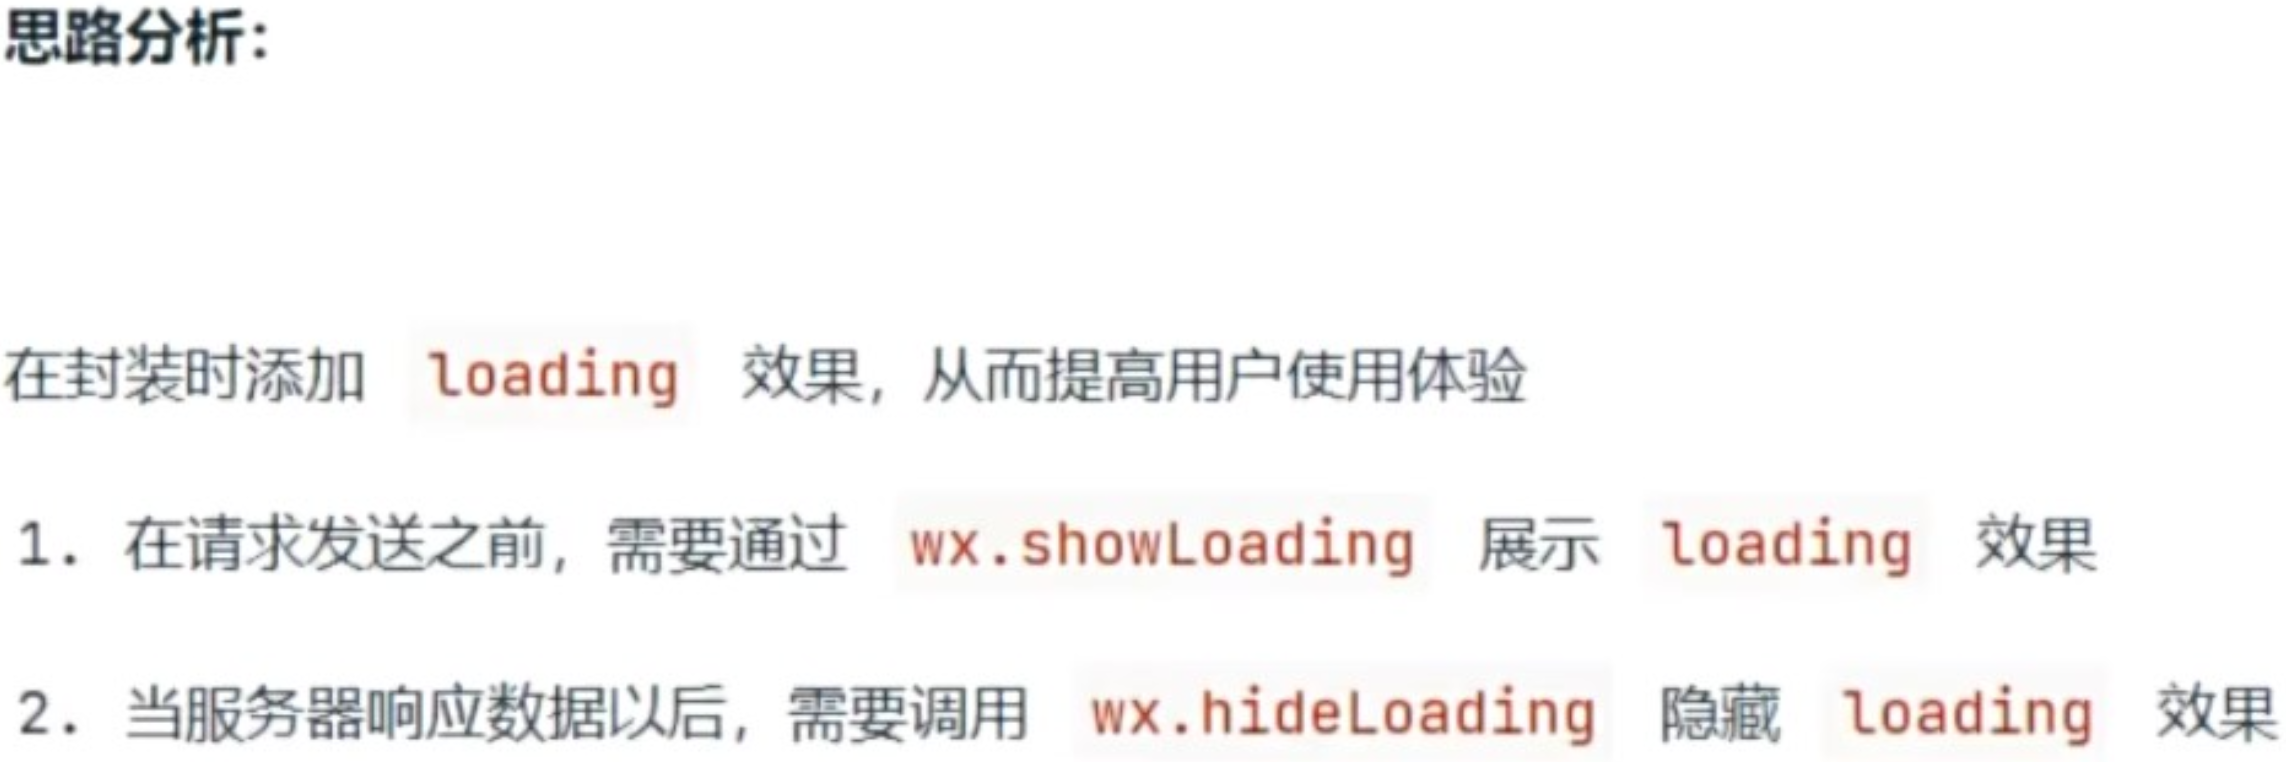
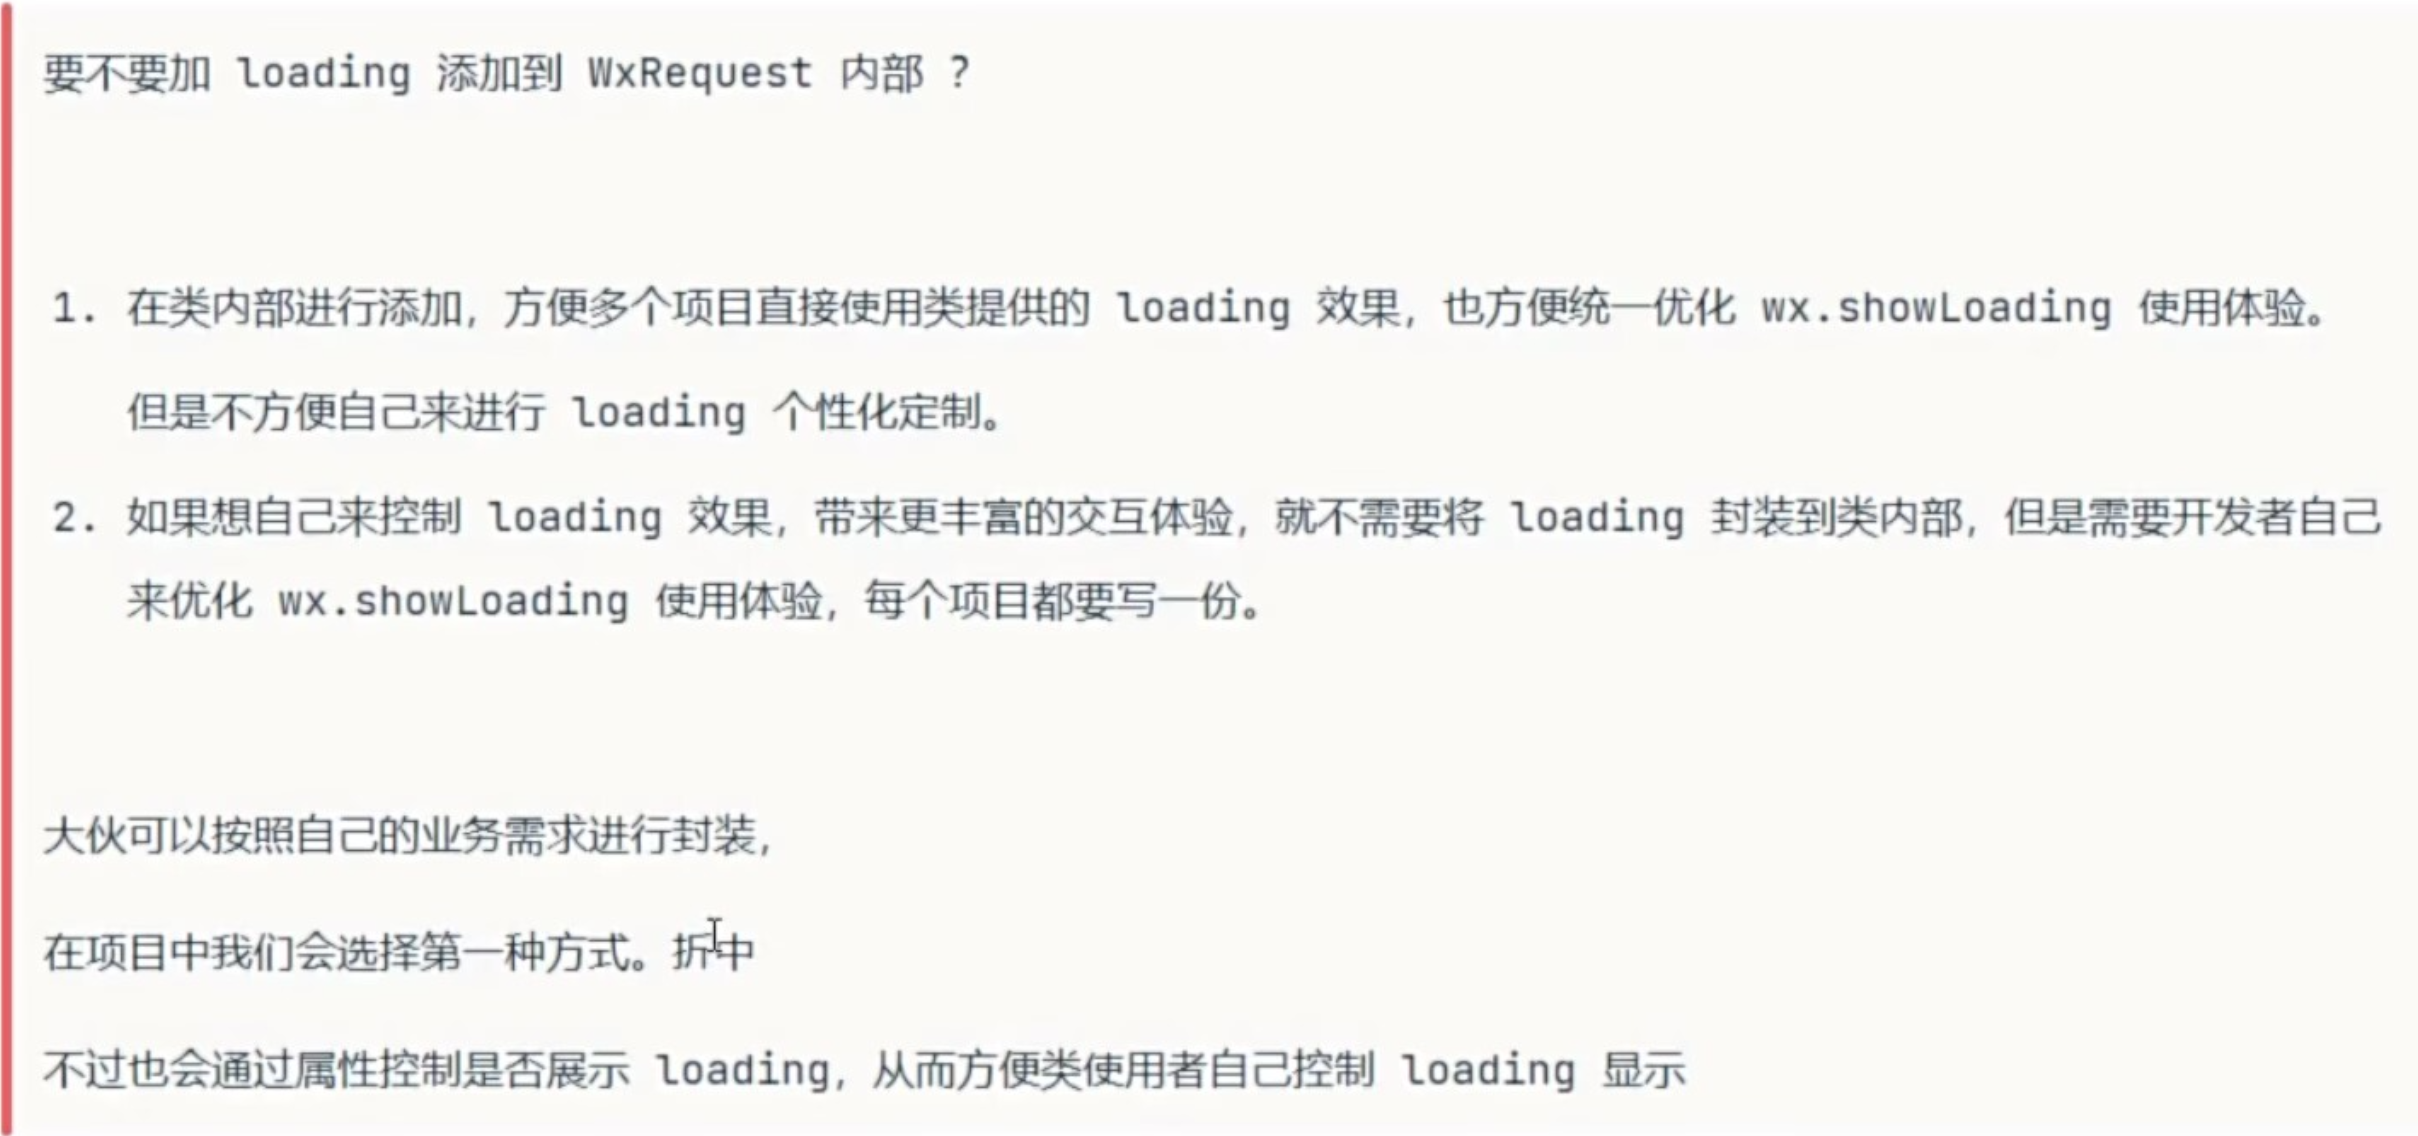
javascript
// request.js

    // 在请求发送之前,添加 loading 效果
    wx.showLoading()


return new Promise((resolve, reject) => {
      wx.request({
        ...options,


        // 接口调用结束的回调函数(调用成功、失败都会执行)
        complete: () => {
          // 不管请求是成功还是失败,都需要隐藏 loading
          wx.hideLoading()
        }
      })
    })
11.完善 loading
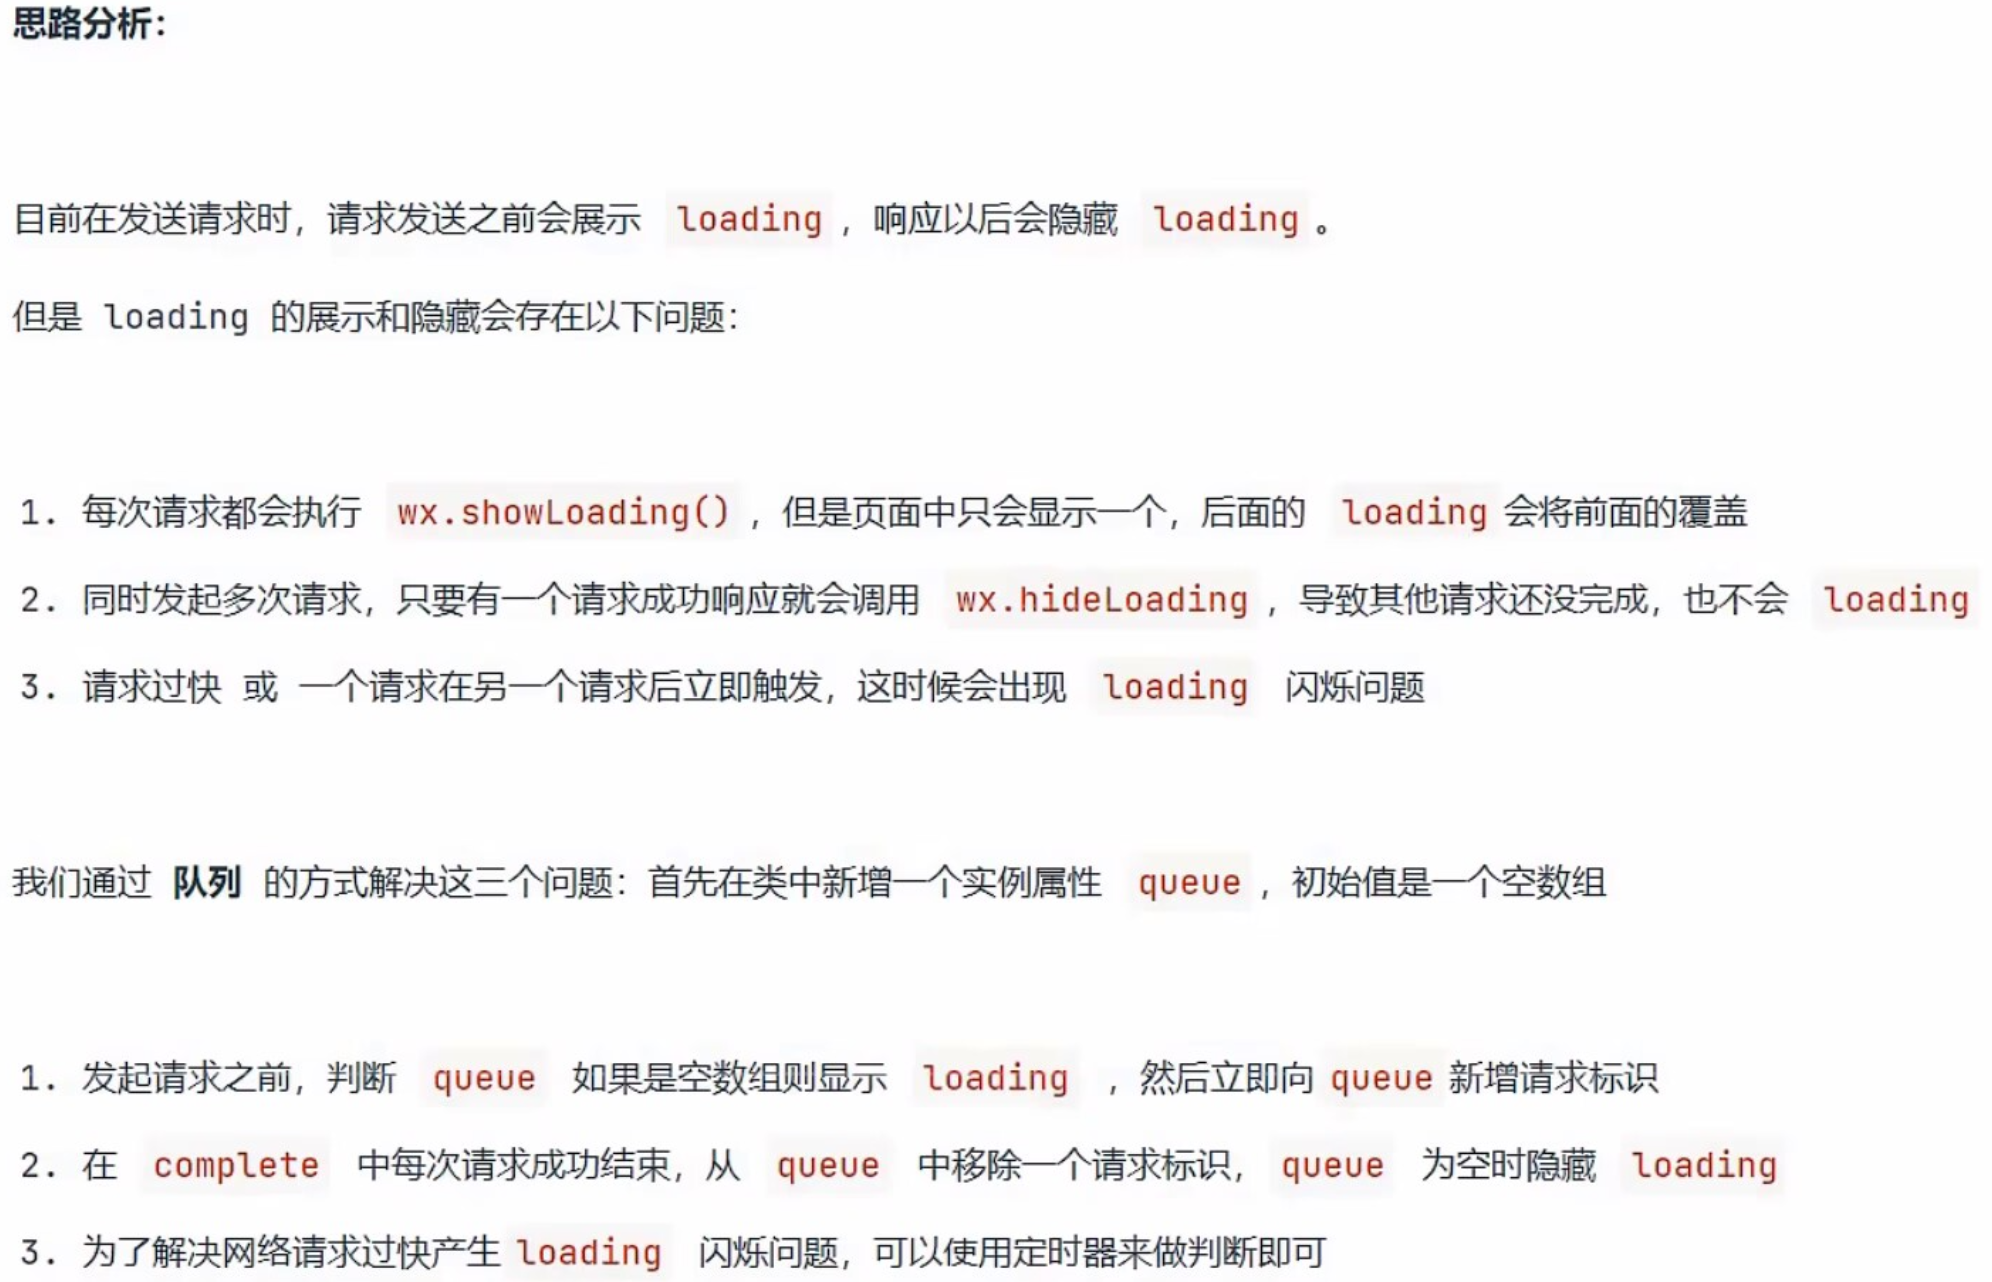
javascript
  // 定义数组队列
  // 初始值需要是一个空数组,用来存储请求队列、存储请求标识
  queue = []


  request (options) {
    // 如果有新的请求,就清除上一次的定时器
    this.timerId && clearTimeout(this.timerId)


    // 判断 queue 队列是否为空,如果是空,就显示 loading
    // 如果不是空,就不显示 loading,不调用 wx.showLoading()
    this.queue.length === 0 && wx.showLoading()

    // 然后立即向 queue 数组队列中添加请求标识
    // 每个标识代表是一个请求,标识是自定义的
    this.queue.push('request')
    return new Promise((resolve, reject) => {
      wx.request({
        // 接口调用结束的回调函数(调用成功、失败都会执行)
        complete: () => {

          // 在每一个请求结束以后,都会执行 complete 回调函数
          // 每次都从 queue 队列中删除一个标识
          this.queue.pop()

          this.queue.length === 0 && this.queue.push('request')

          this.timerId = setTimeout(() => {
            this.queue.pop()

            // 在删除标识以后,需要判断目前 queue 数组是否为空
            // 如果是空,说明并发请求完成了
            // 就需要隐藏 loading,要调用 wx.hideLoading()
            this.queue.length === 0 && wx.hideLoading()

            clearTimeout(this.timerId)
          }, 1)

          // 不管请求是成功还是失败,都需要隐藏 loading
          // wx.hideLoading()
        }
      })
}
12.控制 loading 显示
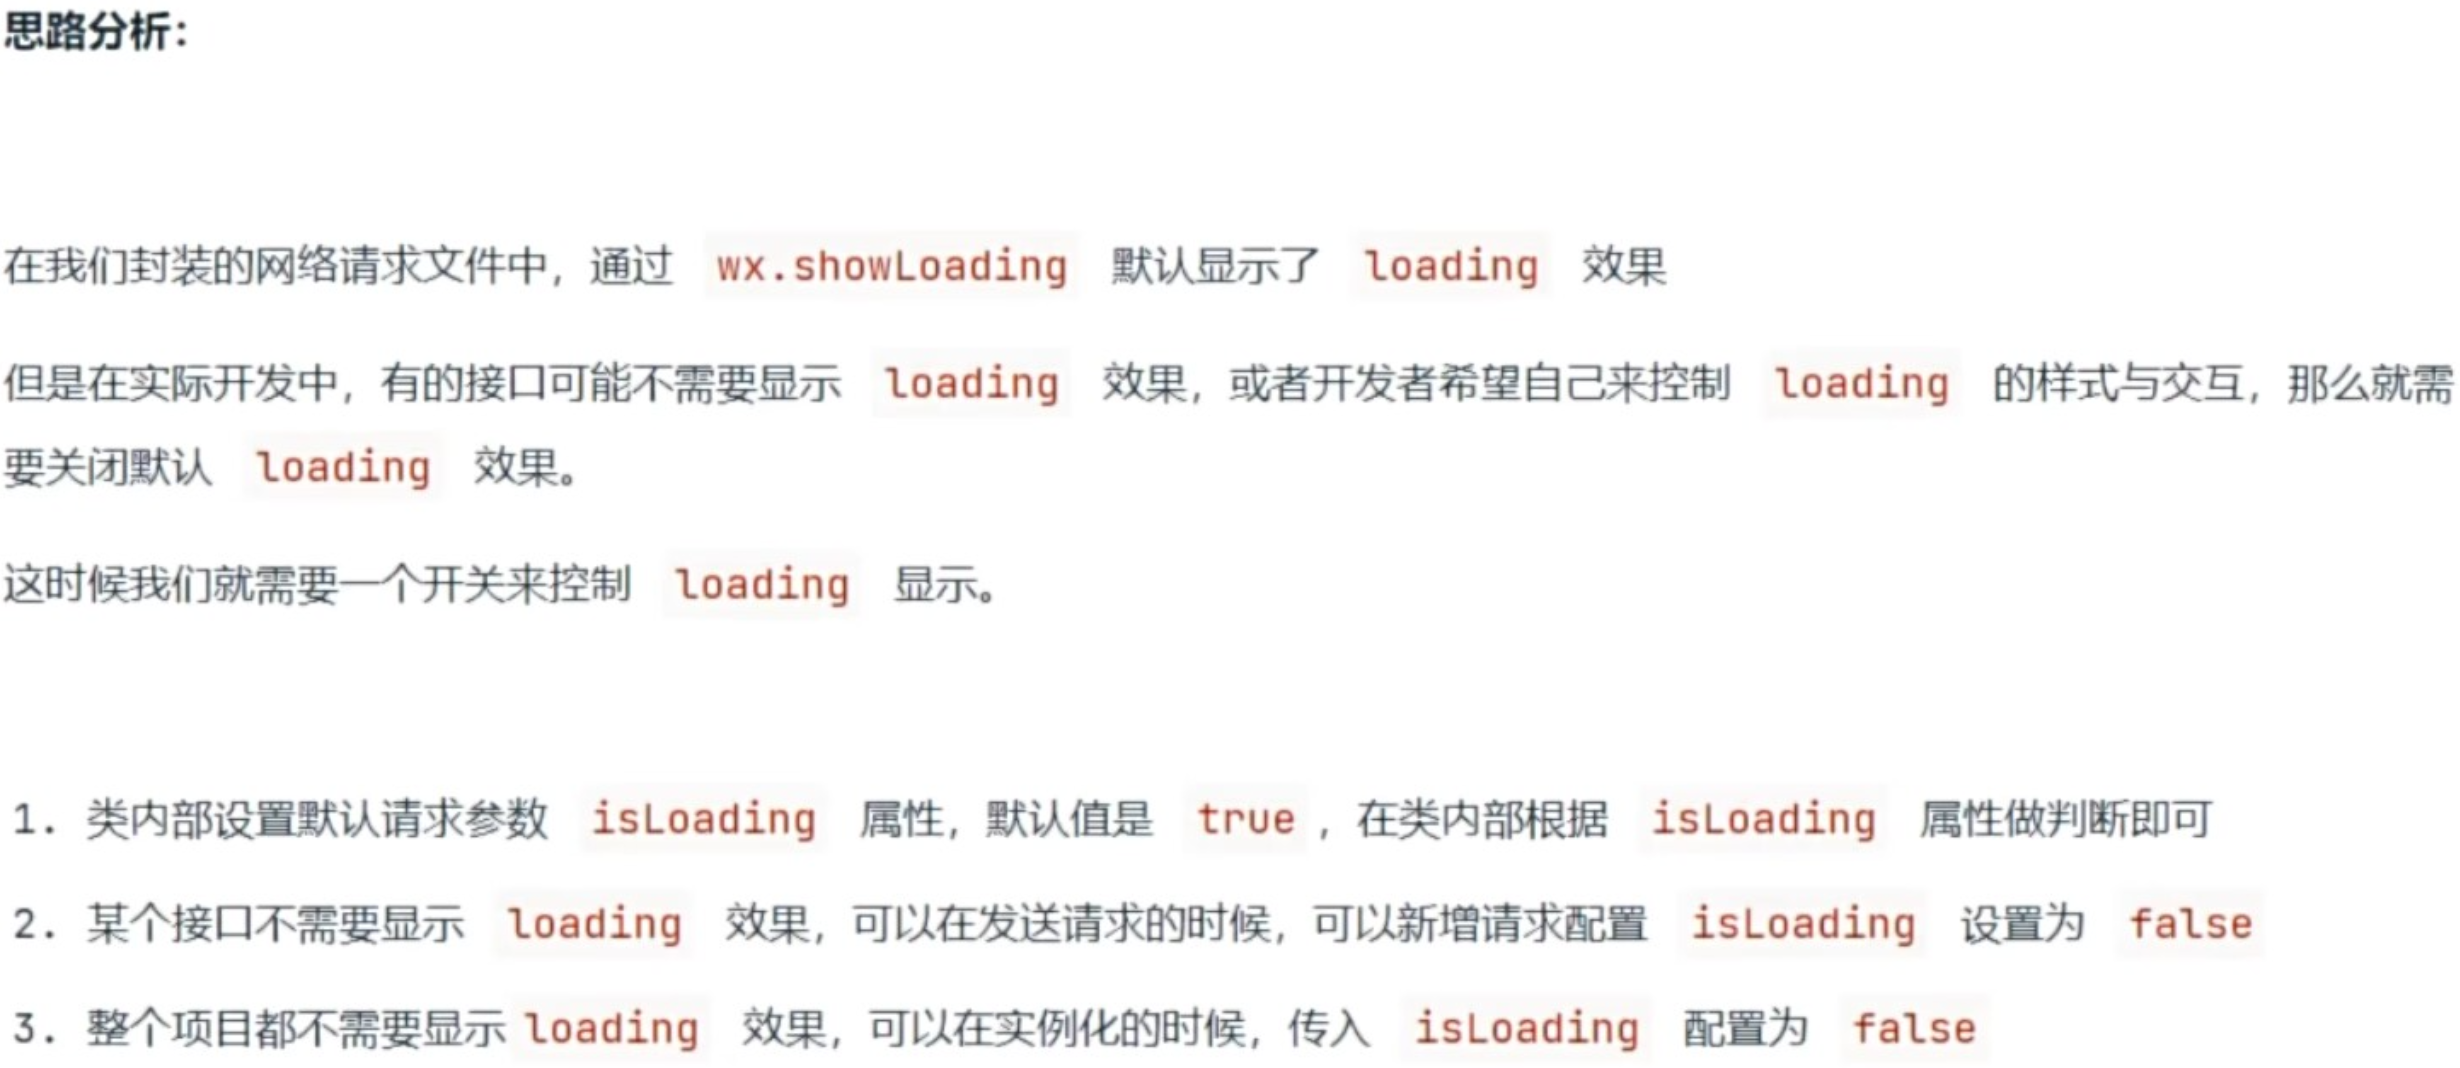
javascript
class WxRequest {

  // 定义实例属性,用来设置默认请求参数
  defaults = {
    isLoading: true // 控制是否使用默认的 loading ,默认值是 true 标识使用默认的 loading
  }
13.封装 uploadFile
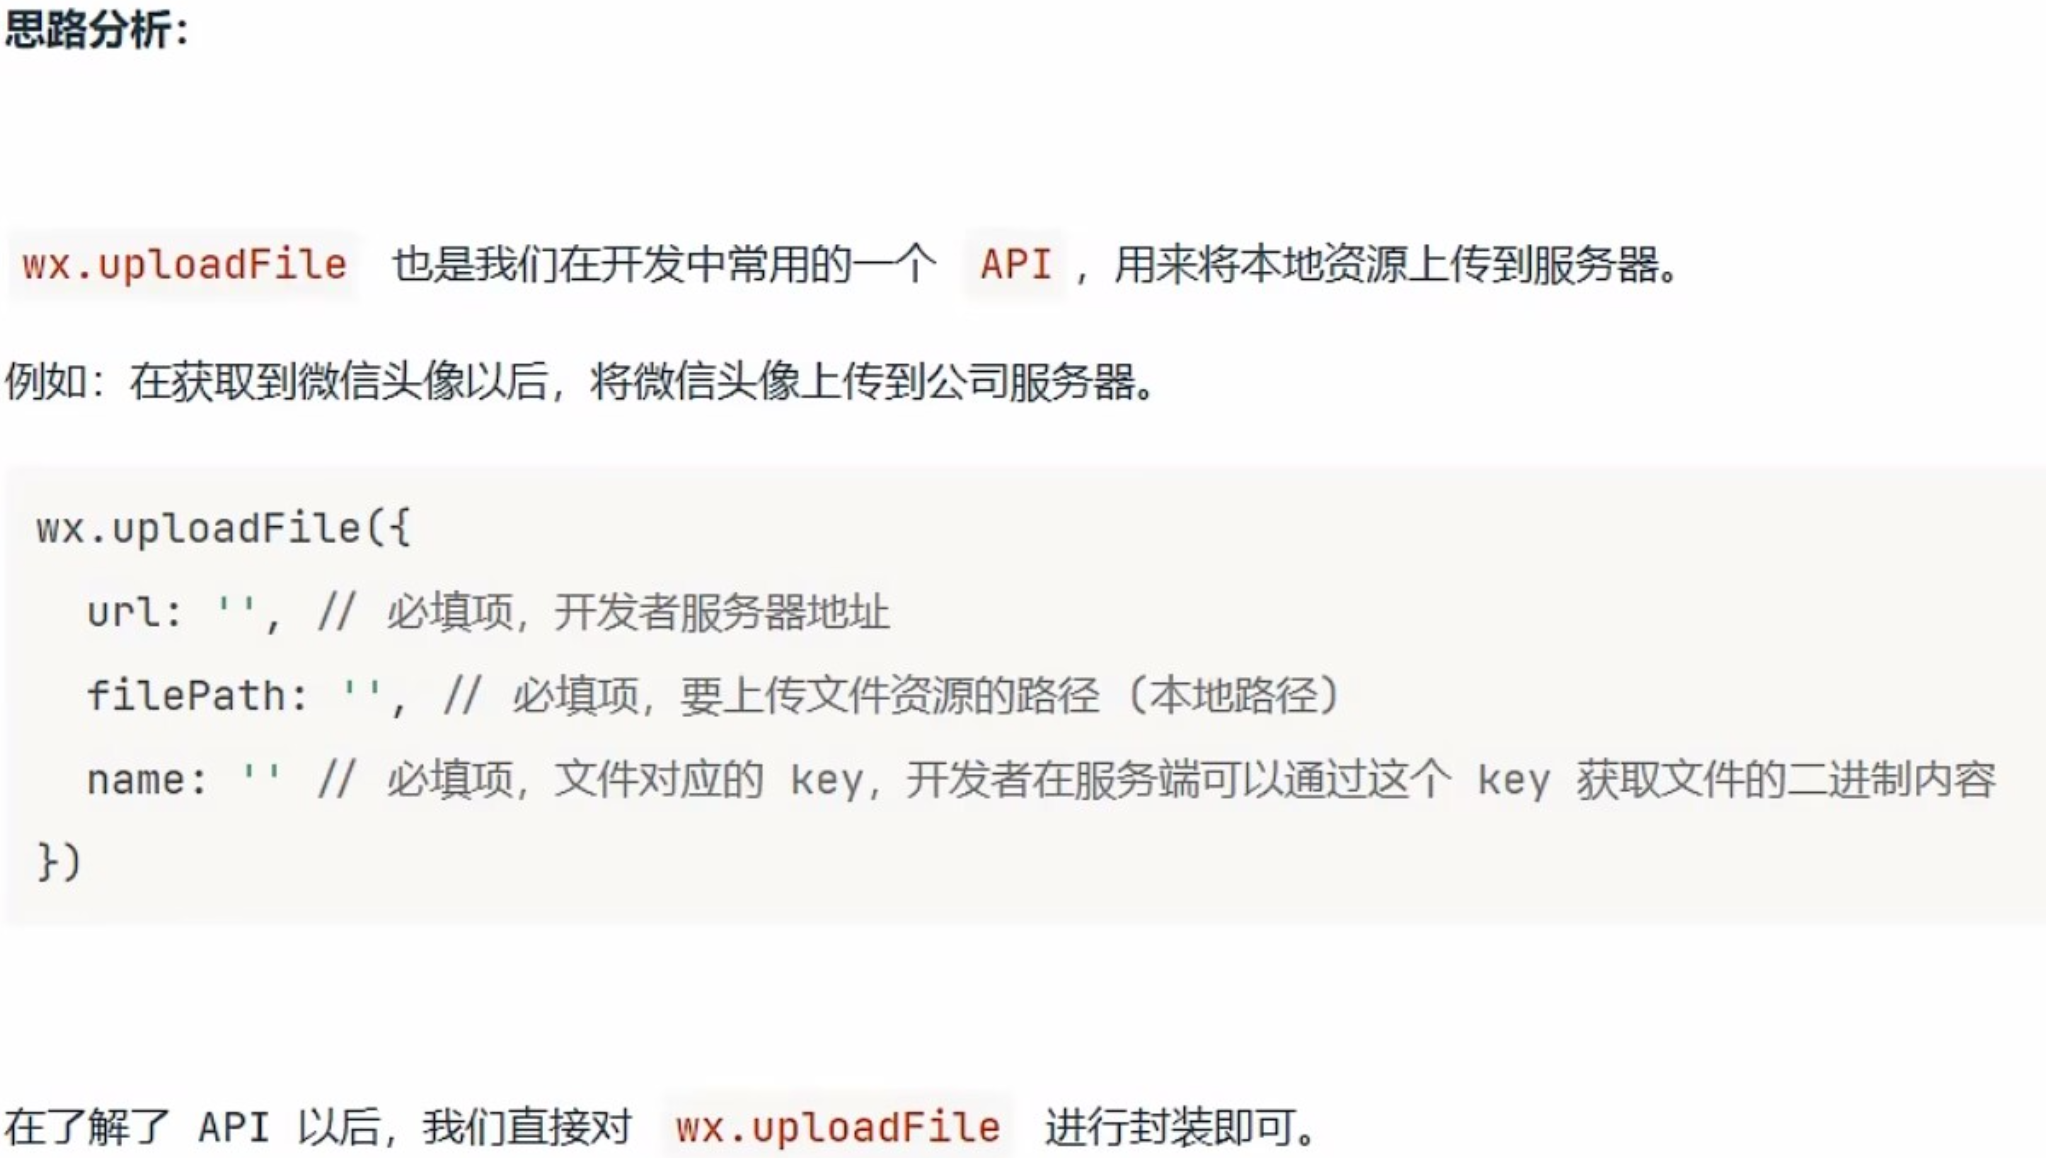
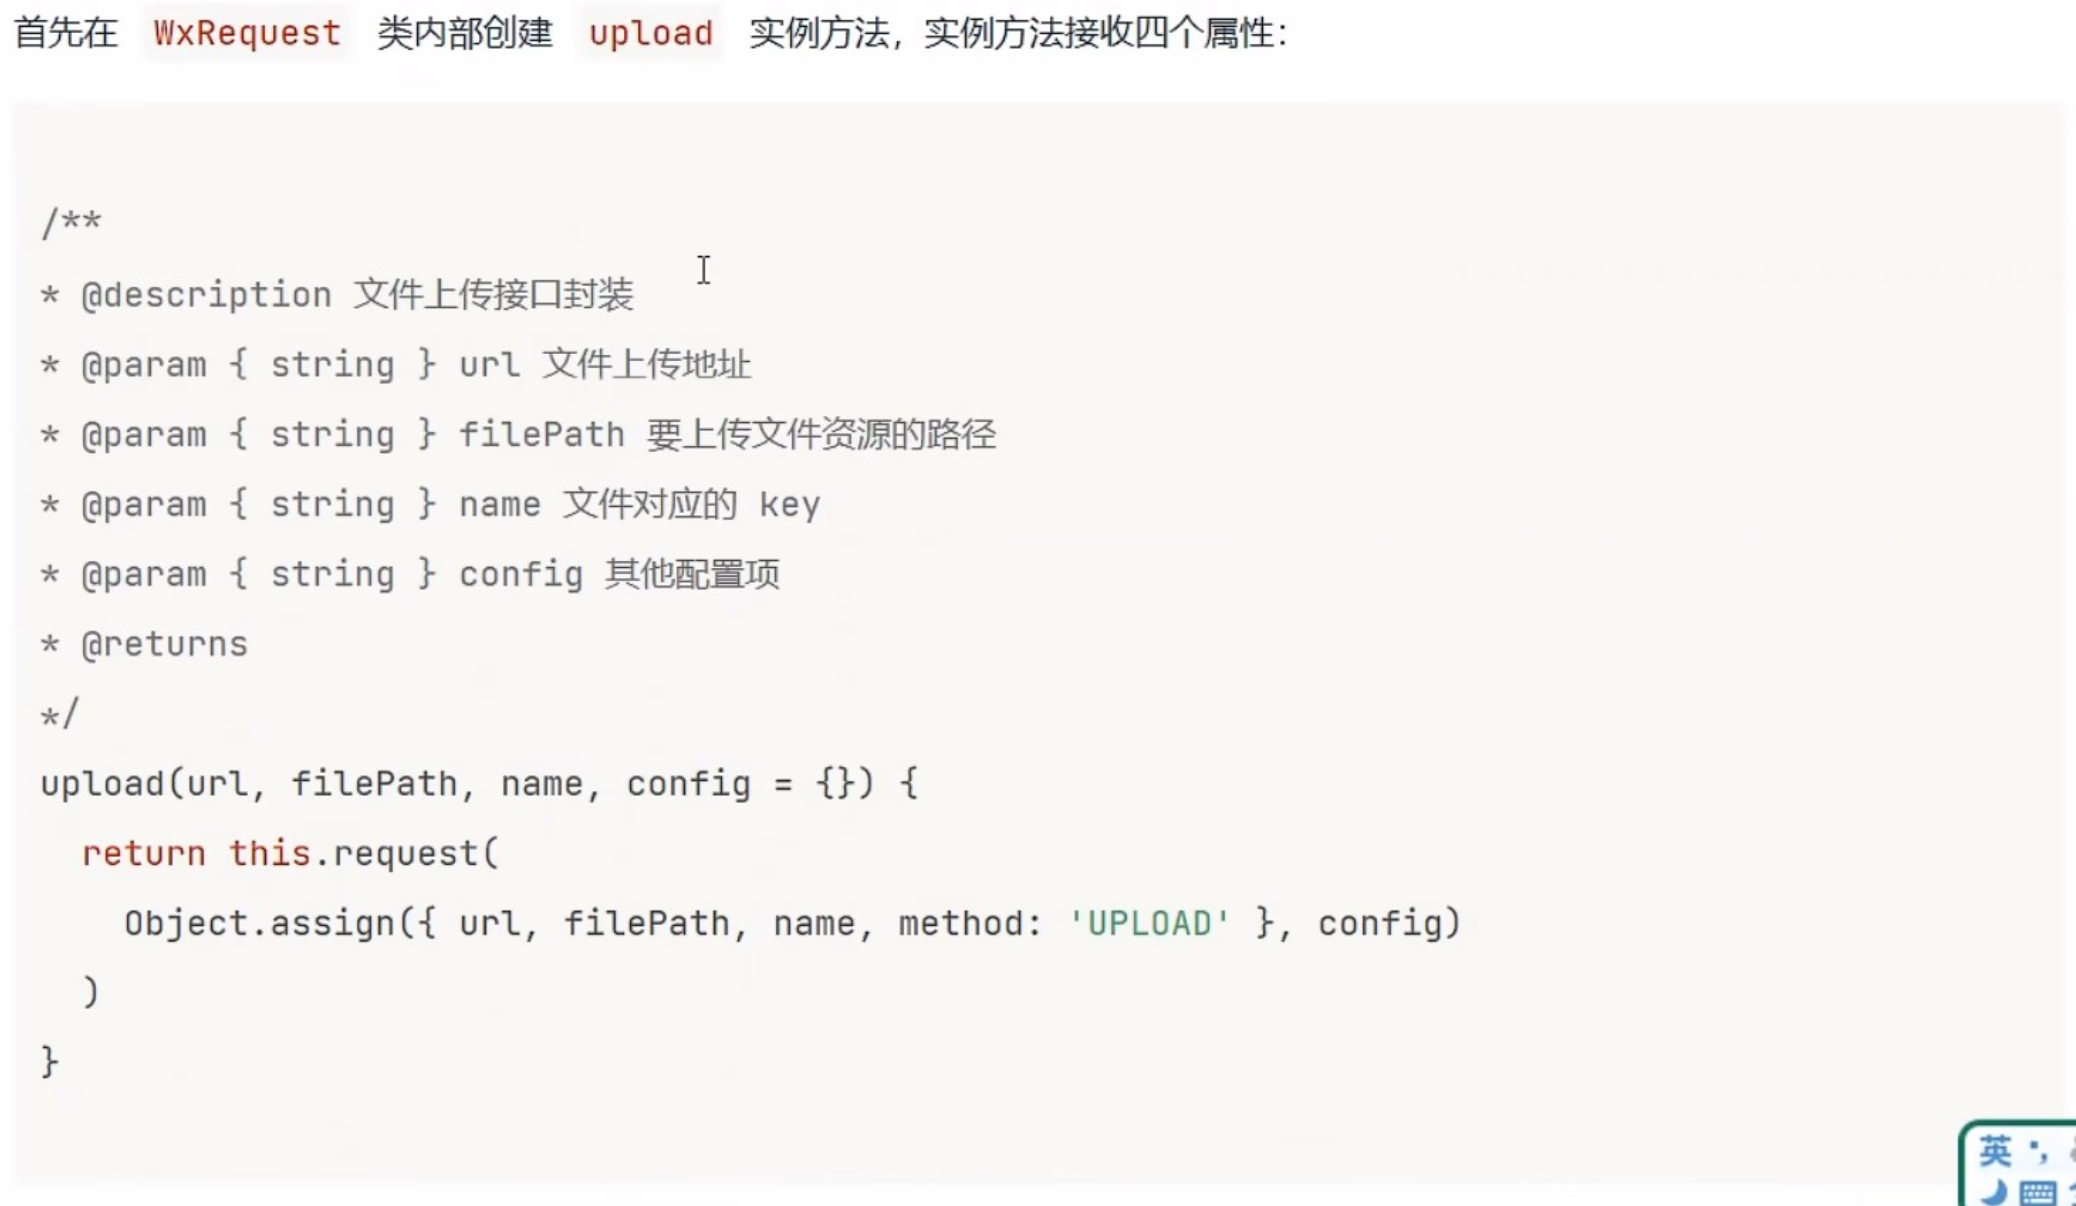
javascript
  /**
   * @description upload 实例方法,用来对 wx.uploadFile 进行封装
   * @param {*} url 文件的上传地址、接口地址
   * @param {*} filePath 要上传的文件资源路径
   * @param {*} name 文件对应的 key
   * @param {*} config 其他配置项
   */
  upload (url, filePath, name = 'file', config = {}) {
    return this.request(
      Object.assign({url, filePath, name, method: 'UPLOAD'}, config)
    )
  }
14.使用npm包发送请求
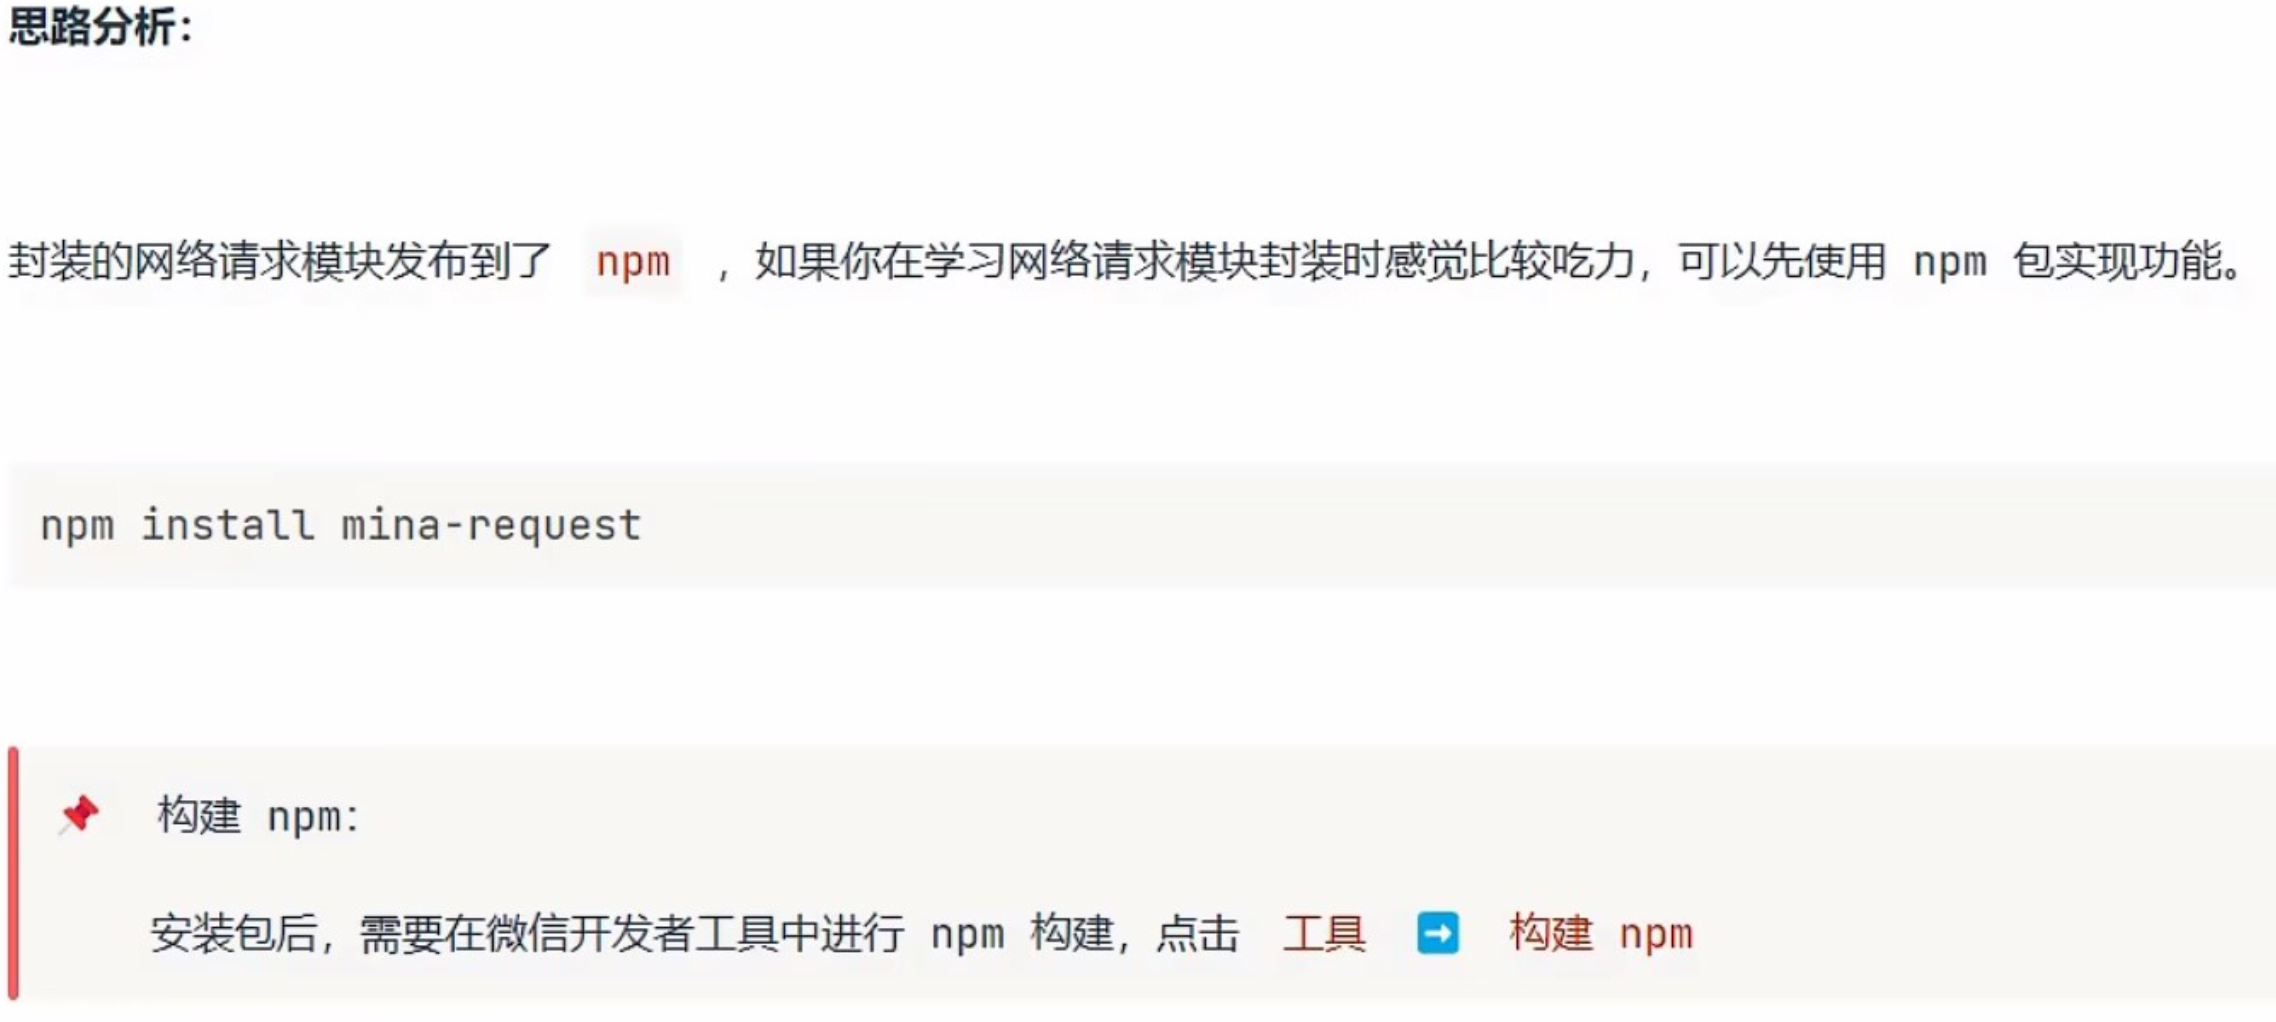
javascript
// npm方法
// 导入模块、包提供的类
import WxRequest from 'mina-request'
// 导入封装的本地存储操作模块
import { getStorage, clearStorage } from './storage'
// 导入封装的增强 API
import { toast, modal } from './extendApi'

// 对类进行实例化
const instance = new WxRequest({
  baseURL: 'https://gmall-prod.atguigu.cn/mall-api',
  timeout: 15000
})

// 添加请求拦截器(在请求发送之前对请求参数进行新增或者修改)
instance.interceptors.request = (config) => {

  // 在实际开发中,有一些接口需要使用访问令牌 token
  // 访问令牌 token 通常是存储到本地
  // 需要先从本地获取到存储的 token
  const token = getStorage('token')

  // 如果本地存在 token,这时候就需要在请求头中添加 token 字段
  if (token) {
    config.header['token'] = token
  }

  // 在发送请求之前做些什么
  return config
}

// 添加响应拦截器(在服务器响应数据以后,对返回的数据进行逻辑处理)
instance.interceptors.response = async (response) => {

  // 从 response 对象中解构两个数据
  const { isSuccess, data } = response

  // response 服务器响应的数据,只不过数据被 wx.request 进行了一层包装
  // console.log(response)

  // response.config 封装的包里面提供的 config 属性,是请求的参数信息
  // 可以使用请求参数进行代码调试

  // response.data 服务器真正响应的数据

  // response.isSuccess 是用来判断代码执行了哪一个回调函数
  // isSuccess = true,说明了代码执行了 wx.request 方法的 success 回调函数
  // isSuccess = false,说明了代码执行了 wx.request 方法的 fail 回调函数

  // 如果 isSuccess = false ,说明网络出现了问题
  if (!isSuccess) {
    toast({
      title: '网络异常请重试',
      icon: 'error'
    })

    return Promise.reject(response)
  }

  // 如果 isSuccess = true,说明代码执行到了 success 回调函数
  // 需要开发者对返回的参数进行逻辑判断
  // 需要对后端返回的业务状态码进行判断
  // 业务状态码 === 200,接口调用成功,服务器成功返回了数据
  // 业务状态码 === 208,没有 token 或者 token 失效,需要让用户重新进行登录
  // 如果业务状态码既不等于 200,也不等于 208,说明出现了其他异常,需要给用户统一进行其他提示
  switch (data.code) {
    case 200:
      // 接口调用成功,服务器成功返回了数据,只需要将数据简化以后返回即可
      return data

    case 208:
      const res = await modal({
        content: '鉴权失败,请重新登录',
        showCancel: false
      })

      if (res) {
        // 既然用户需要重新进行登录,就需要吧之前用户存储的信息(过期的 token) 进行清除
        clearStorage()

        wx.navigateTo({
          url: '/pages/login/login'
        })
      }

      return Promise.reject(response)

    default:
      toast({
        title: '程序出现异常,请联系客服或者稍后重试!'
      })
      return Promise.reject(response)
  }

  // return response
}

// 导出实例
export default instance
15.环境变量-小程序设置环境变量
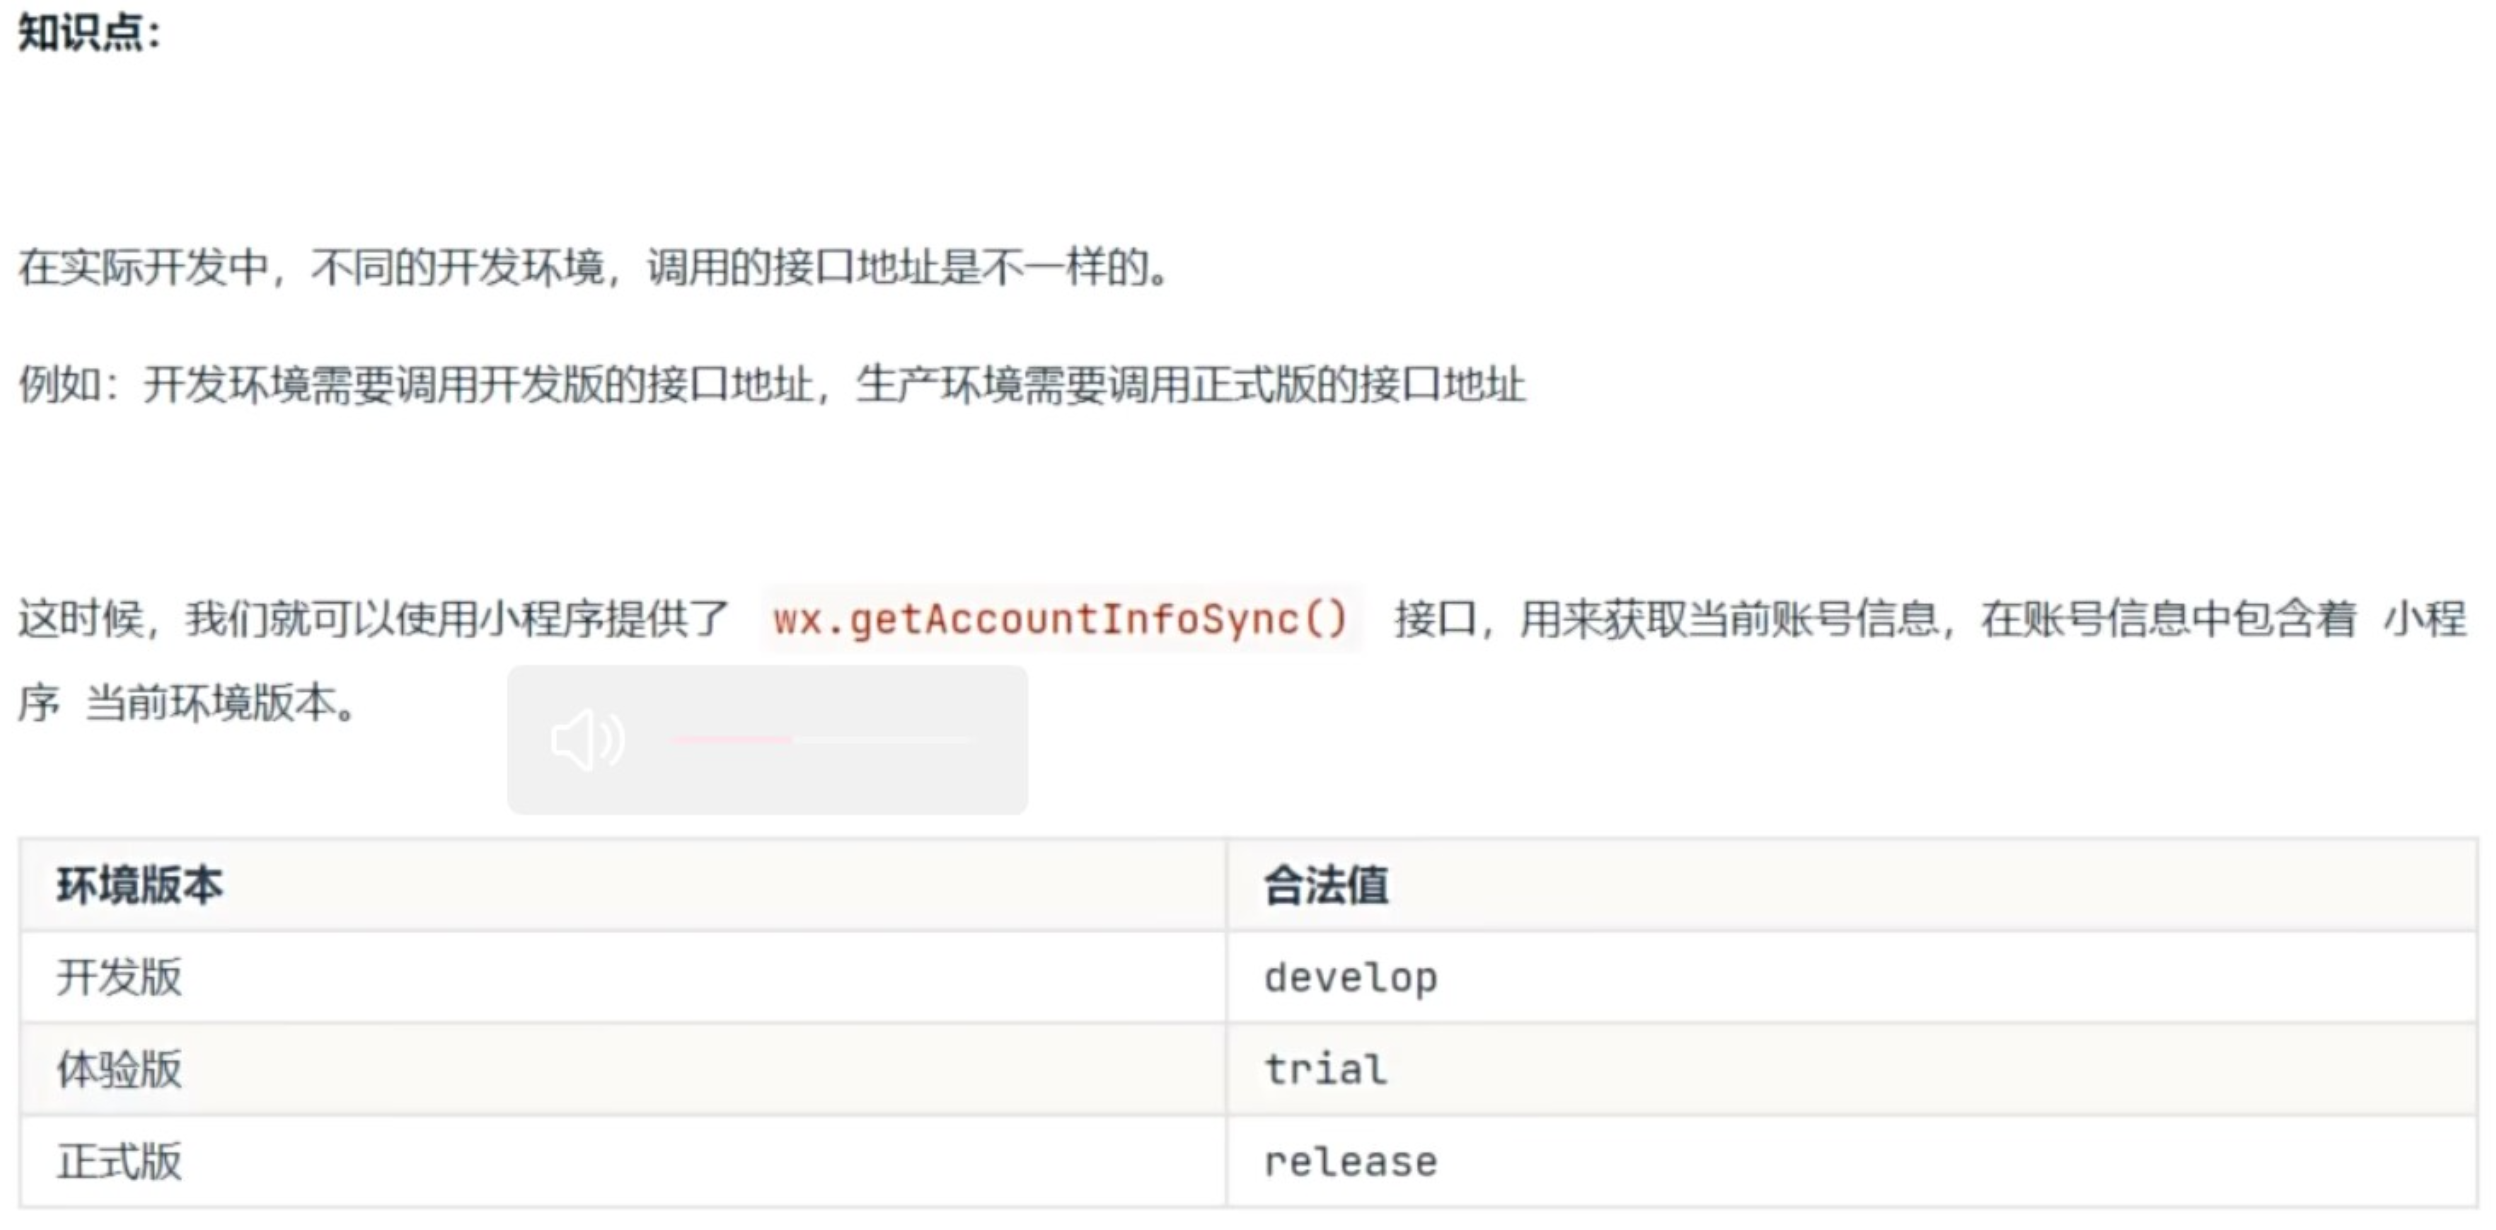
javascript
// 就是用来配置当前小程序项目的环境变量

// 获取当前小程序的账号信息
const { miniProgram } = wx.getAccountInfoSync()

// 获取小程序的版本
const { envVersion } = miniProgram

let env = {
  baseURL: 'https://gmall-prod.atguigu.cn/mall-api'
}

switch (env) {
  // 开发版
  case 'develop':
    env.baseURL = 'https://gmall-prod.atguigu.cn/mall-api'
    break

  // 体验版
  case 'trial':
    env.baseURL = 'https://gmall-prod.atguigu.cn/mall-api'
    break

  // 正式版
  case 'release':
    env.baseURL = 'https://gmall-prod.atguigu.cn/mall-api'
    break

  default:
    env.baseURL = 'https://gmall-prod.atguigu.cn/mall-api'
    break
}

export { env }
16.接口调用方式说明
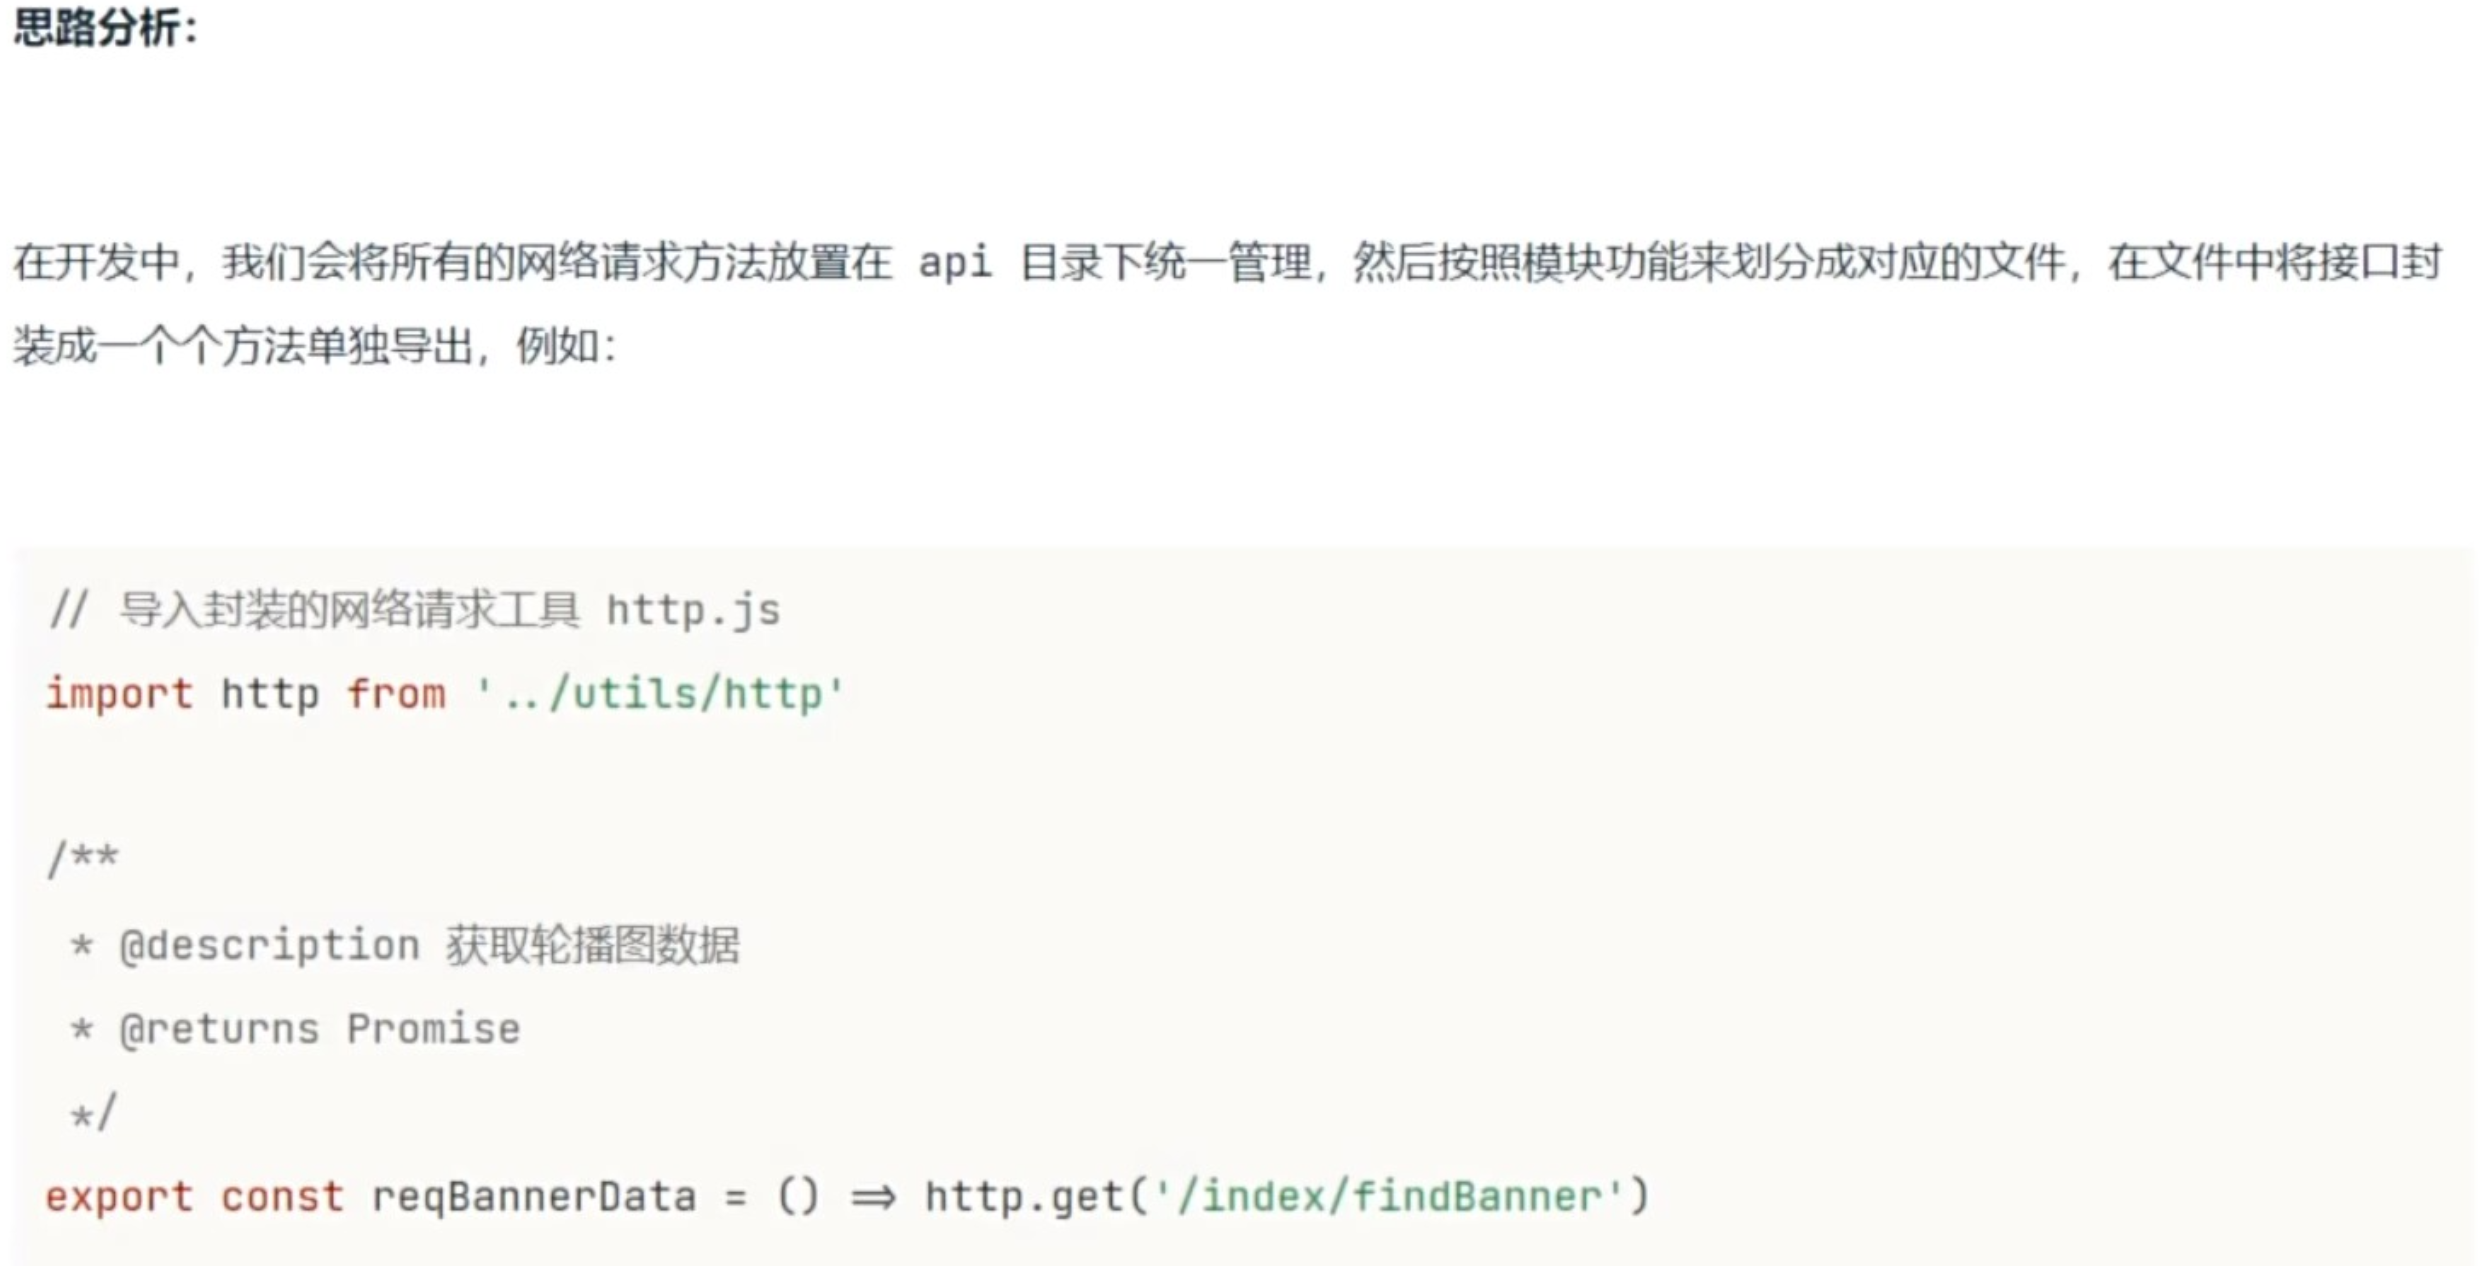
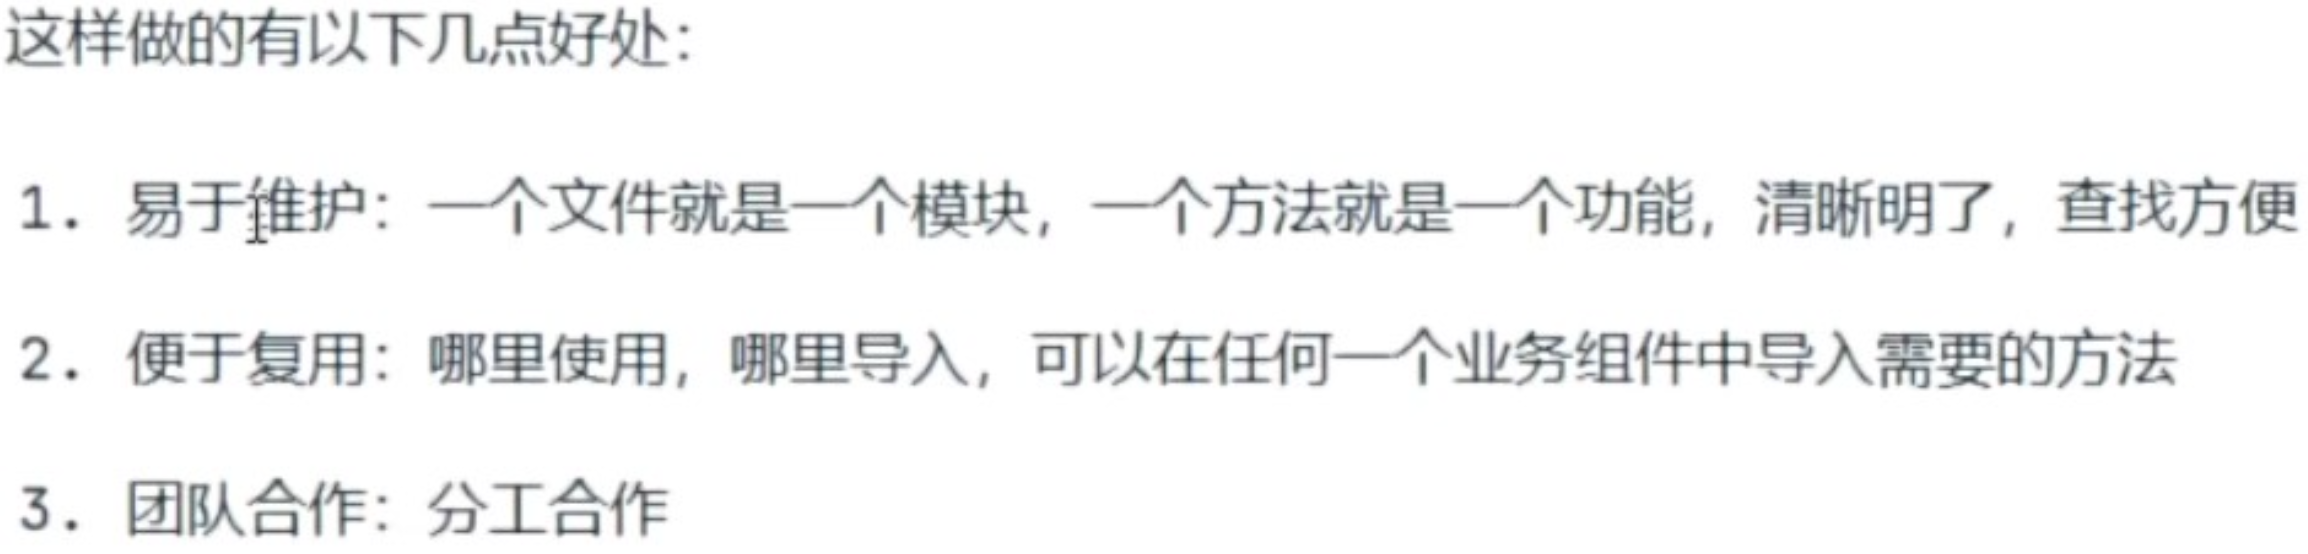
javascript
/**
 * @description 用来获取首页轮播图数据
 */
export const reqSwiperData = () => http.get('/index/findBanner')


// export const reqSwiperData = () => {
//   return http.get('/index/findBanner')
// }
三、项目首页
1.获取首页数据
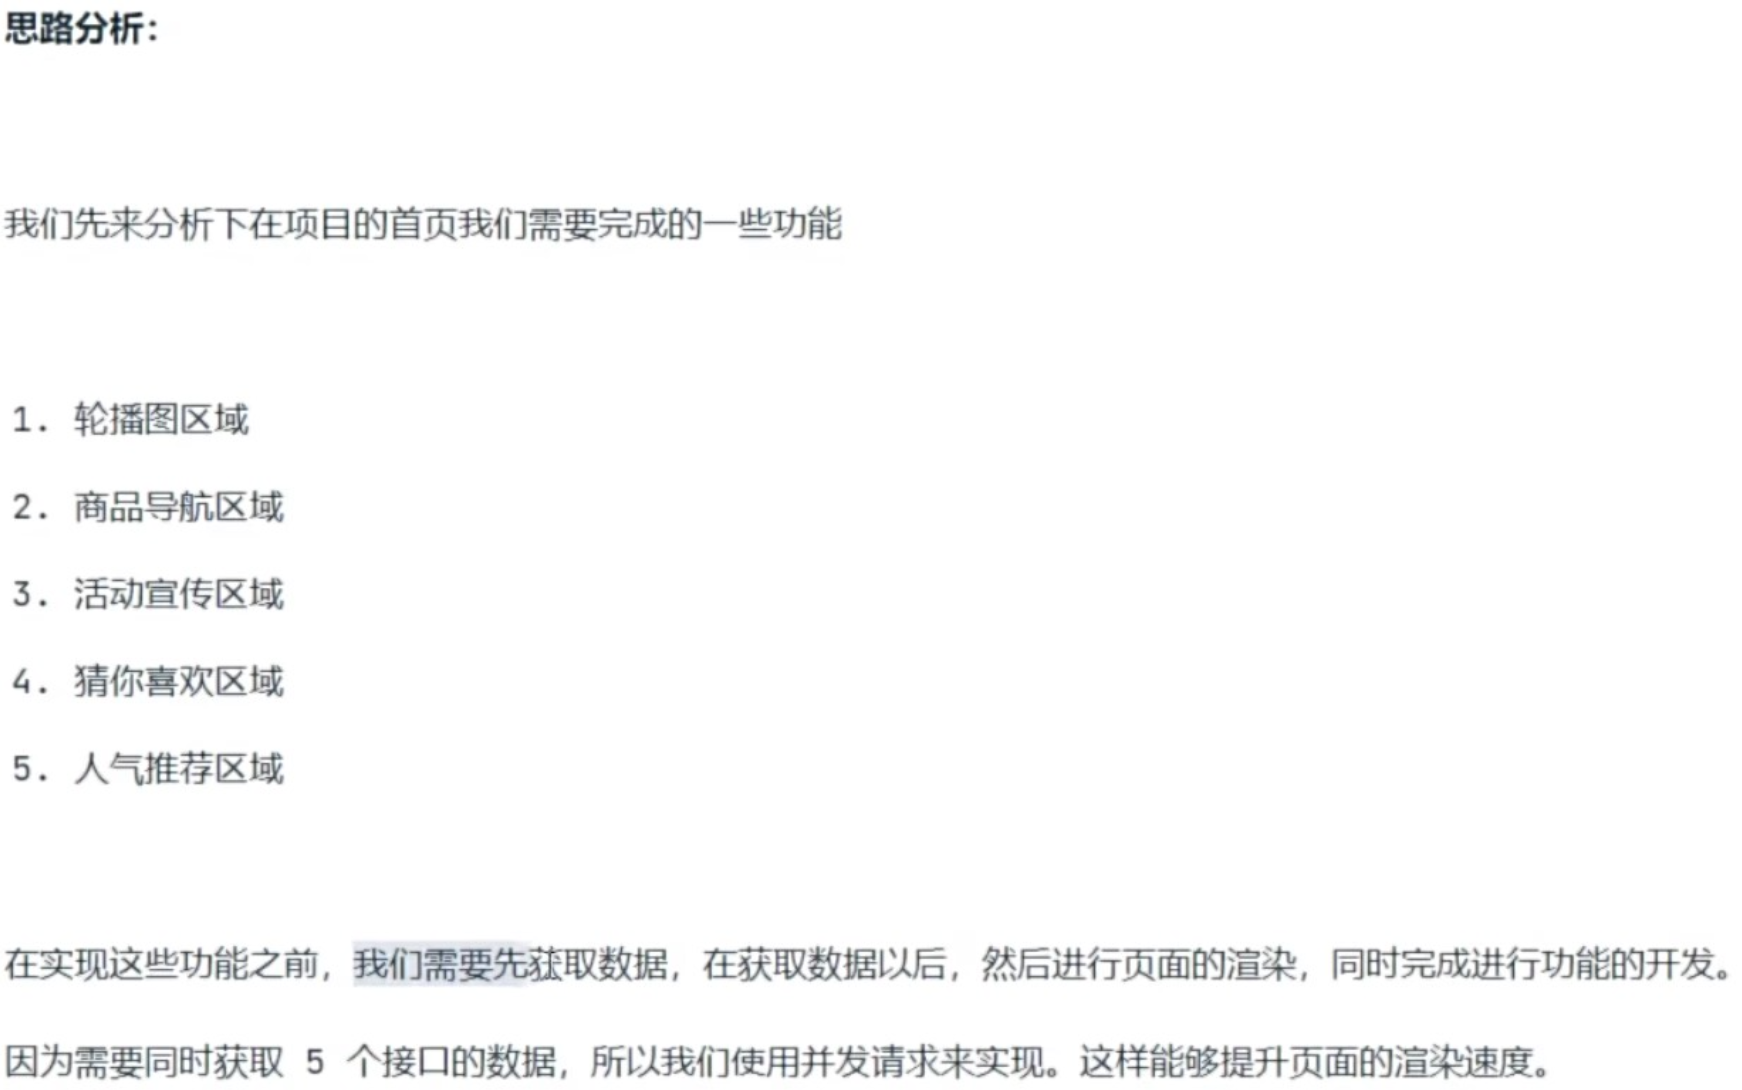
javascript
//index.js/api

// 导入封装的 网络请求模块实例
import http from '../utils/http'

export const reqIndexData = () => {
  // 通过并发请求获取首页的数据,来提升页面的渲染速度
  // 通过 Promise.all 进行并发请求
  // return Promise.all([
  //   http.get('/index/findBanner'),
  //   http.get('/index/findCategory1'),
  //   http.get('/index/advertisement'),
  //   http.get('/index/findListGoods'),
  //   http.get('/index/findRecommendGoods')
  // ])

  // 是使用封装的 all 方法发送请求
  // 这两种方式都可以
  return http.all(
    http.get('/index/findBanner'),
    http.get('/index/findCategory1'),
    http.get('/index/advertisement'),
    http.get('/index/findListGoods'),
    http.get('/index/findRecommendGoods')
  )
}


// index.js/index

import { reqIndexData } from '../../api/index'

Page({

  // 初始化数据
  data: {
    bannerList: [], // 轮播图数据
    categoryList: [], // 商品导航数据
    activeList: [], // 活动宣传区域
    hotList: [], // 人气推荐
    guessList: [] // 猜你喜欢
  },

  // 获取首页数据
  async getIndexData () {
    // 调用接口 API 函数,获取数据
    // reqIndexData 内部使用的是 all 或者 Promise.all
    // 返回的是一个数组,是按照接口调用顺序返回的
    const res = await reqIndexData()

    // 需要对数据进行赋值,在赋值的时候,一定要注意索引
    this.setData({
      bannerList: res[0].data,
      categoryList: res[1].data,
      activeList: res[2].data,
      guessList: res[3].data,
      hotList: res[4].data
    })
  },

  // 监听页面的加载
  onLoad () {
    // 在页面加载以后,调用获取首页数据的方法
    this.getIndexData()
  }
})
2.分析轮播图区域并渲染
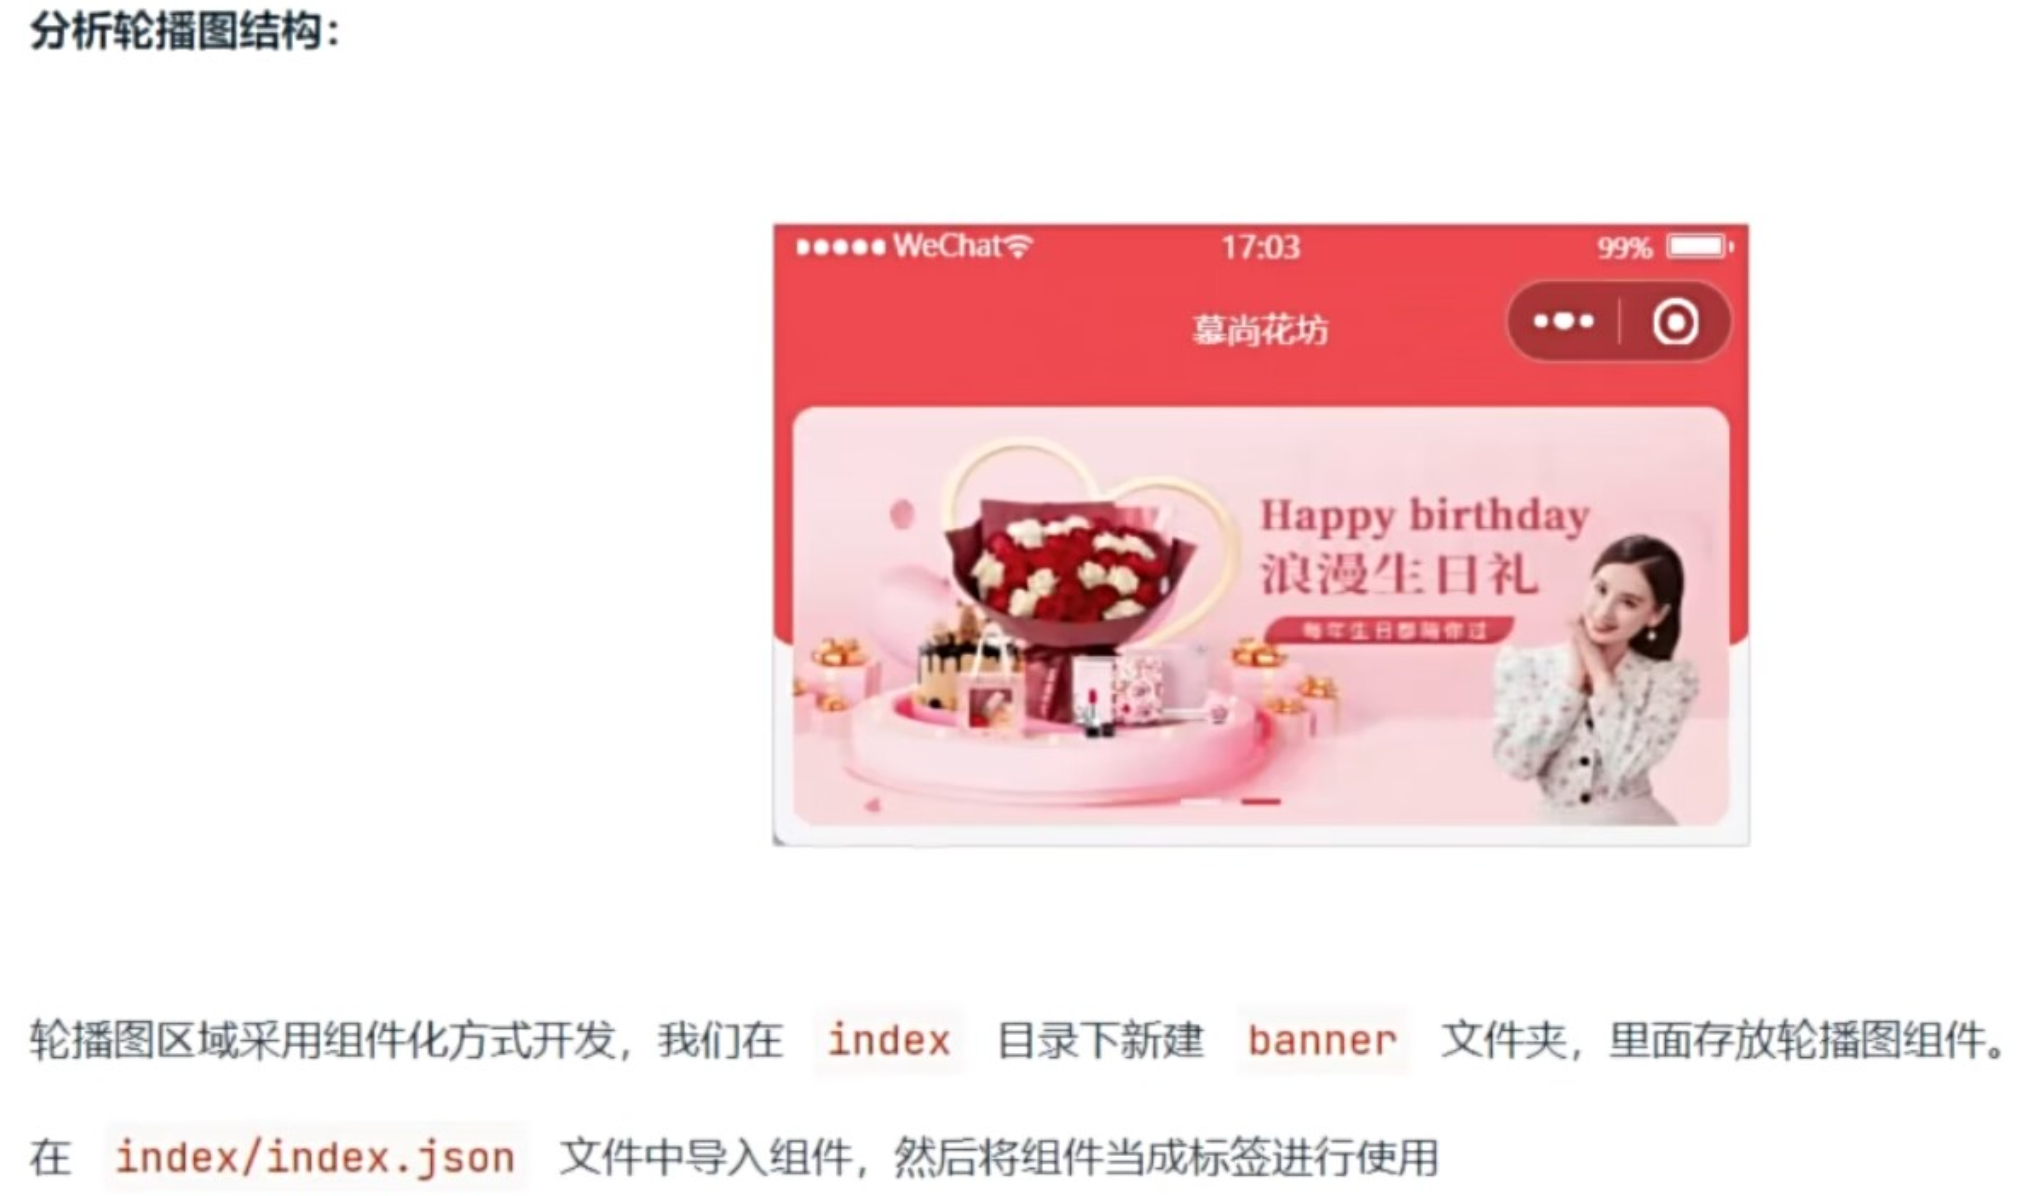
html
<!-- index.wxml -->

<!-- 轮播图区域 -->
    <banner bannerList="{{ bannerList }}" />


<!-- banner.wxml -->

        <!-- 通过 navigator 组件来实现页面的跳转 -->
        <navigator
          class="navigator"
          url="/pages/goods/detail/detail?goodsId={{ item.id }}"
        >
          <image class="img" src="{{ item.imageUrl }}"></image>
        </navigator>
3.实现轮播图和指示点的联动
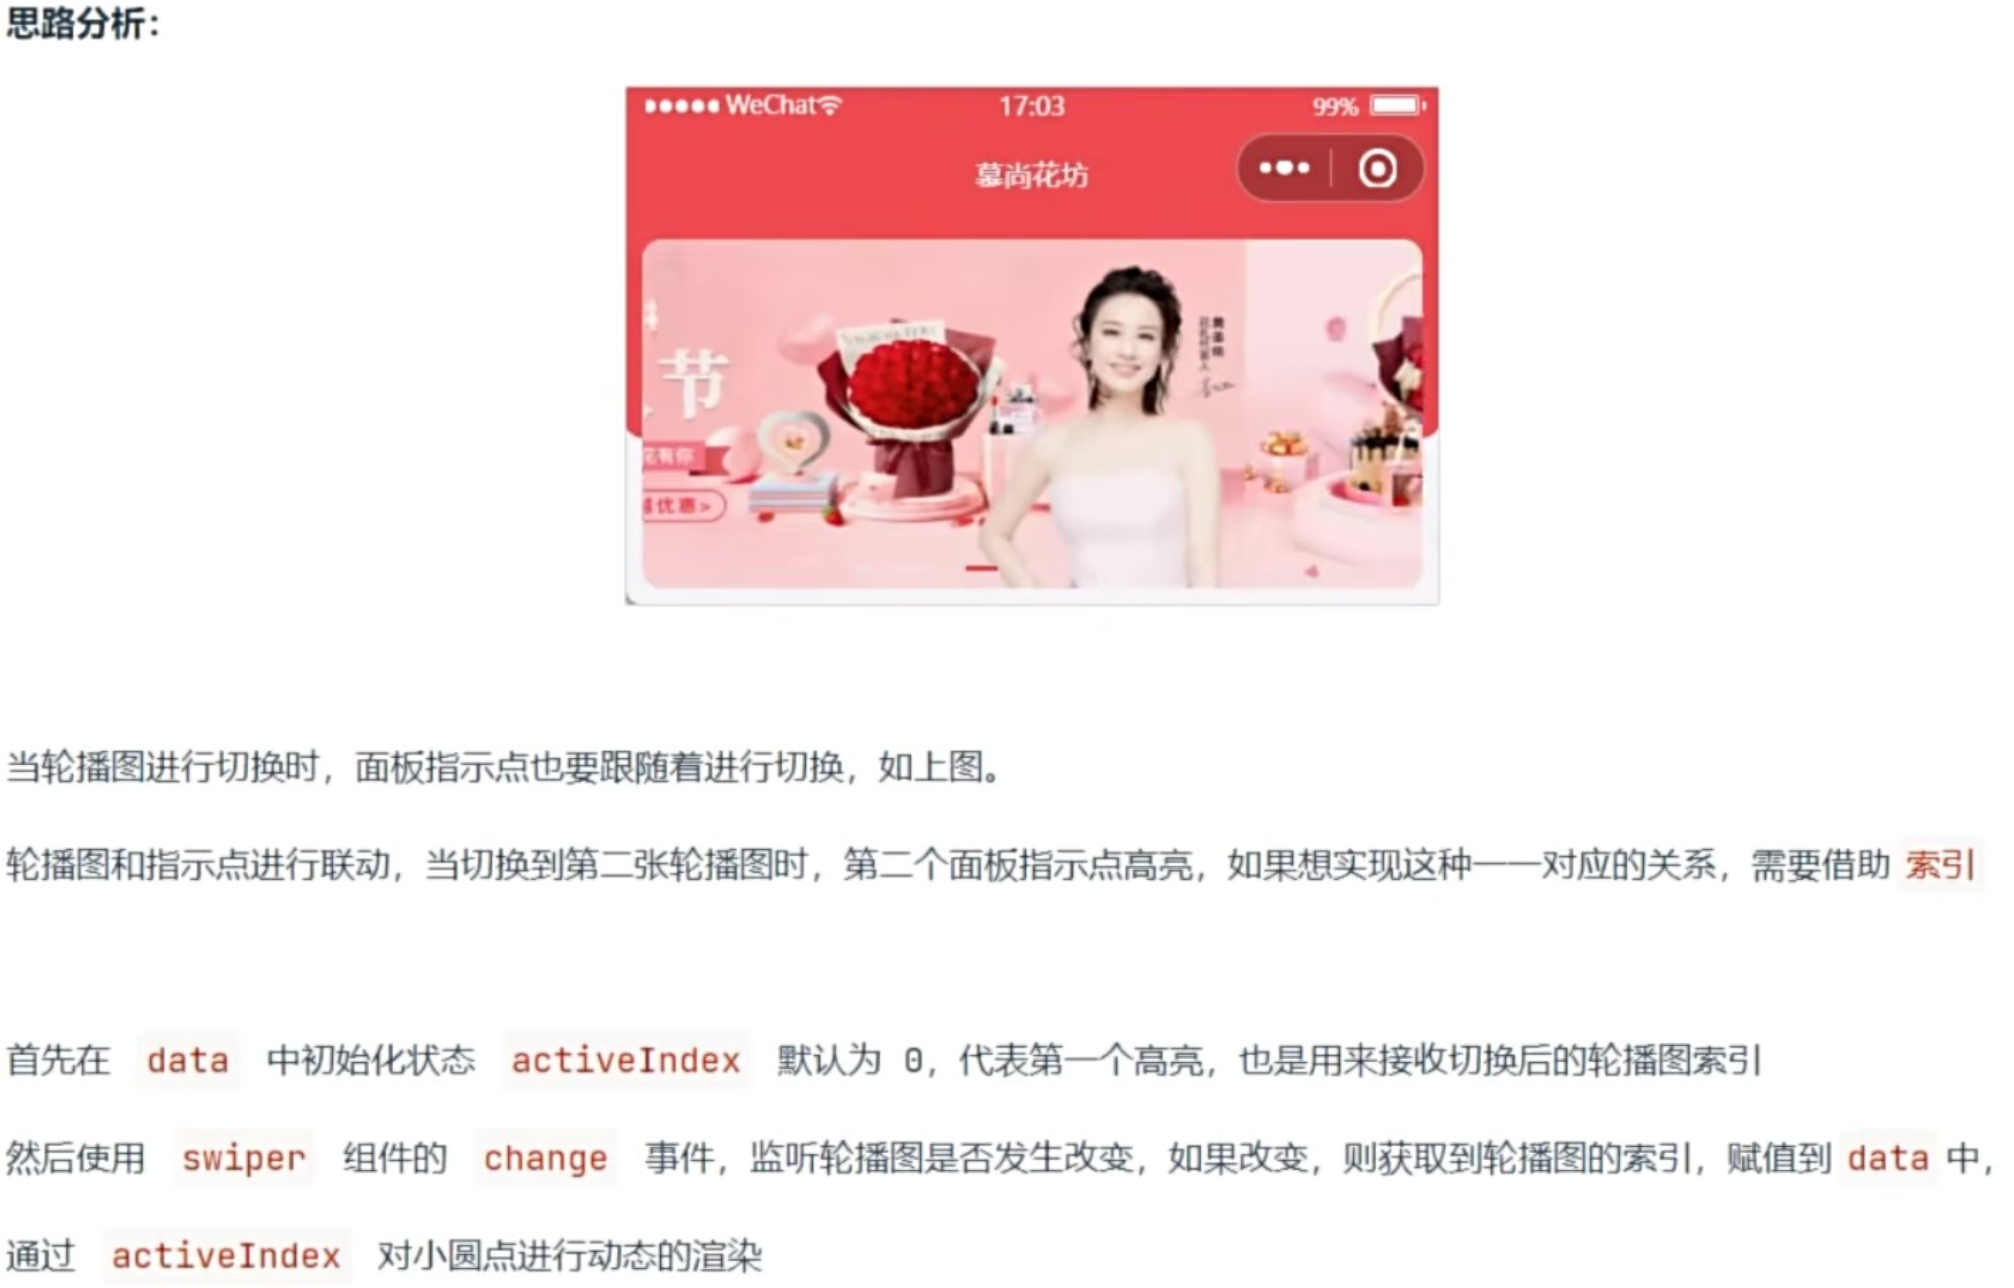
javascript
// pages/index/banner/banner.js

Component({
  /**
   * 组件的属性列表
   */
  properties: {
    // 轮播图数据
    bannerList: {
      type: Array,
      value: []
    }
  },

  /**
   * 组件的初始数据
   */
  data: {
     activeIndex: 0 // 被激活的轮播图索引,默认是 0
  },

  /**
   * 组件的方法列表
   */
  methods: {
     // 获取被激活的轮播图索引
     getSwiperIndex(event) {
       // console.log(event)
       const { current } = event.detail

       this.setData({
         activeIndex: current
       })
     }
  }
})
html
<!-- 轮播图 -->
<view class="swiper-box">
  <!-- swiper 滑块视图容器,用来绘制轮播图 -->
  <swiper
    autoplay
    class="swiper"
    indicator-active-color="#FF734C"
    interval="2000"
    duration="1000"
    indicator-color="rgba(0, 0, 0, .3)"
     bindchange="getSwiperIndex"
  >
    <!-- 通过 block 标签对 轮播图数据 进行渲染 -->
    <block wx:for="{{ bannerList }}" wx:key="index">

      <!-- coding... -->

    </block>
  </swiper>

  <!-- 轮播图的面板指示点,因为面板指示点不支持自定义,所以我们只能通过自定义结构的方式 -->
  <view class="indicator">
    <!-- active 类名:当前被激活的面板指示点颜色 -->
    <!-- rectangle 类名:默认的面板指示点颜色 -->
    <text
      wx:for="{{bannerList.length}}"
      wx:key="id"
       class="{{  index === activeIndex ? 'active rectangle' : 'rectangle' }}"
    ></text>
  </view>
</view>
4.分析商品导航区域并渲染
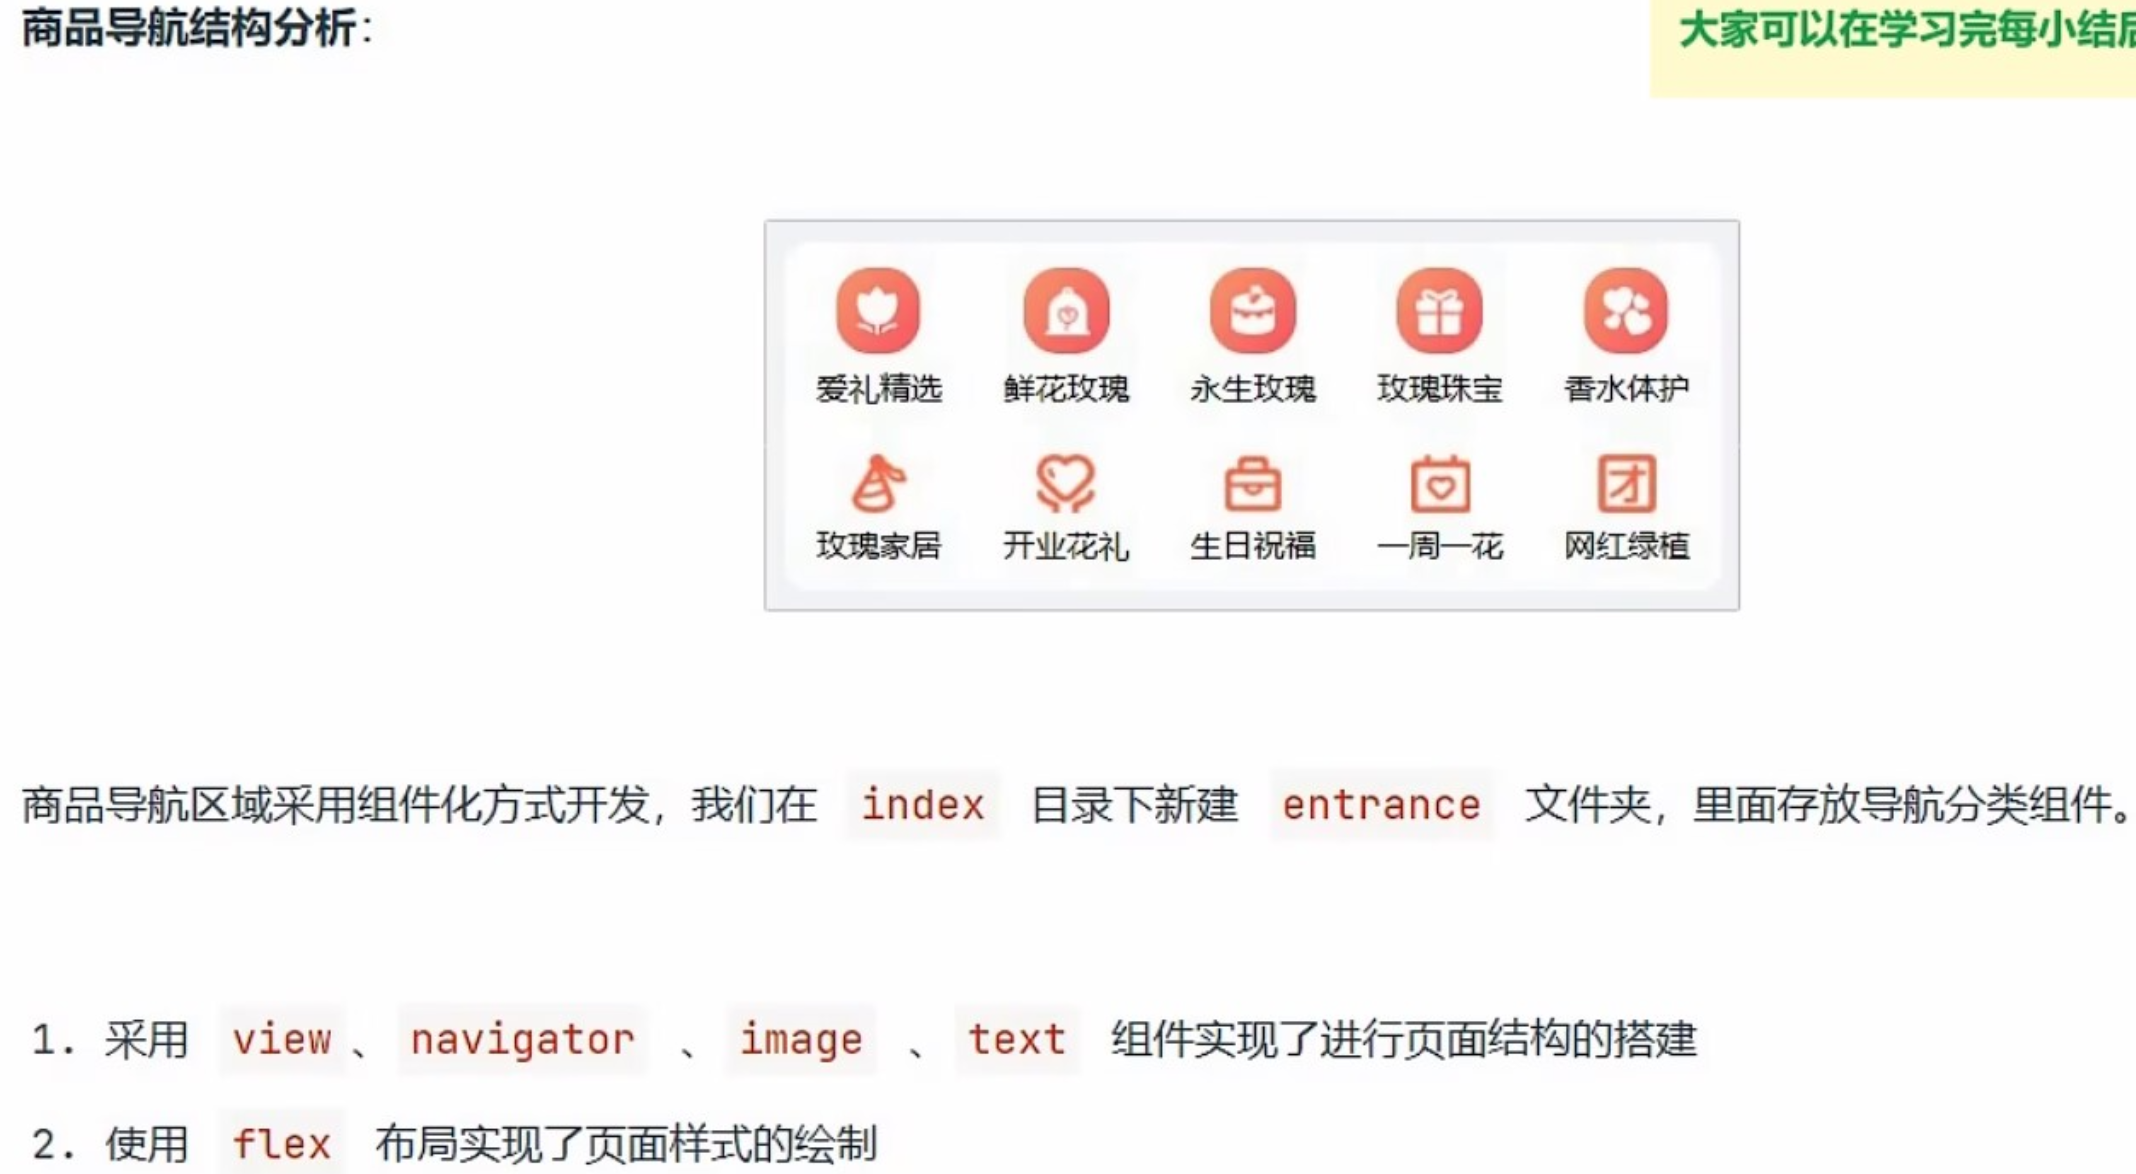
5.分析猜你喜欢+人气推荐并渲染
6.首页骨架屏组件
1.点击右下角三个点(...)生成骨架屏
2.再pages/index里创建一个新文件夹skeleton把生成骨架屏的两个文件放进去