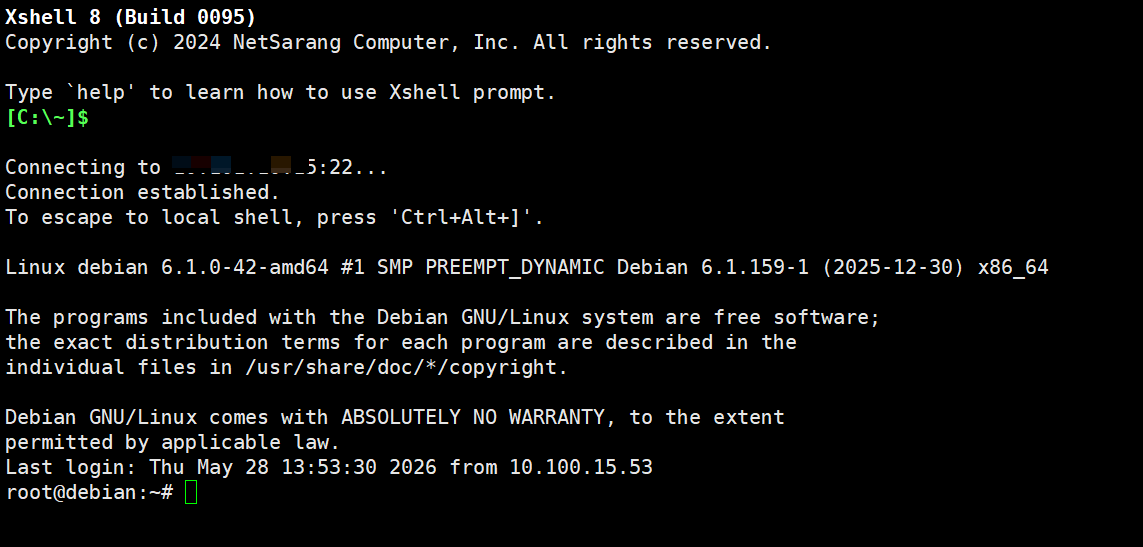
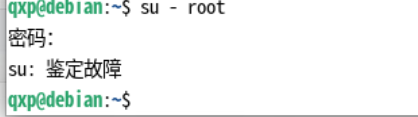
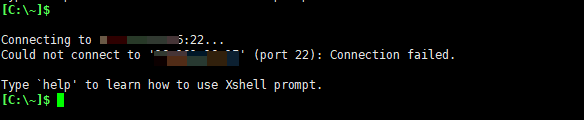
安装好系统之后,在终端中进入root账户报错,ssh也无法连接
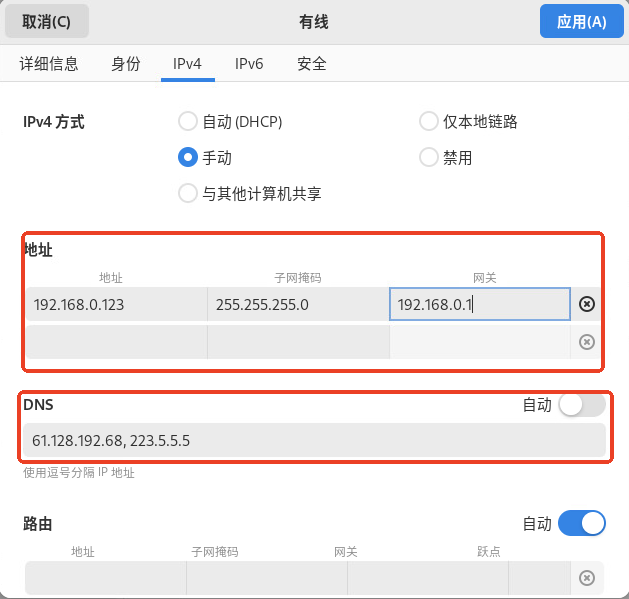
一、配置IP地址
先使用普通用户登录,设置IP地址和DNS(需要连接外网更新软件源)
二、开启root账户
重启系统,键盘不停敲击e键进入编辑模式,找到 linux 开头的行(需要按↓键),移动光标到这一行的最后,添加:init=/bin/bash
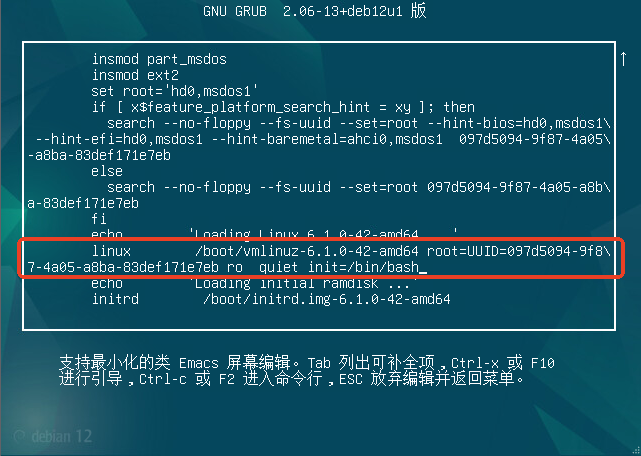
按 Ctrl + X 启动
系统会直接进入一个 root shell 终端,不需要密码
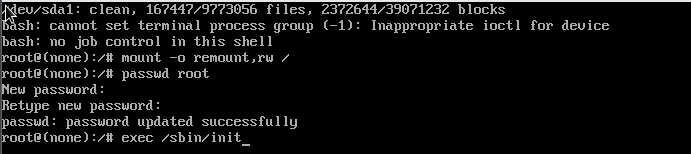
挂载根分区为可读写模式
mount -o remount,rw /
设置新的 root 密码:
passwd root
重启系统
exec /sbin/init
三、更新镜像源
终端登录root用户
su - root
修改源文件,移除 cdrom 源
nano /etc/apt/sources.list
注释掉(前面加个 #)deb cdrom://Debian GNU/Linux 12.13.0 _Bookworm_ ... bookworm main
添加清华源
deb https://mirrors.tuna.tsinghua.edu.cn/debian/ bookworm main contrib non-free non-free-firmware deb https://mirrors.tuna.tsinghua.edu.cn/debian/ bookworm-updates main contrib non-free non-free-firmware deb https://mirrors.tuna.tsinghua.edu.cn/debian/ bookworm-backports main contrib non-free non-free-firmware deb https://mirrors.tuna.tsinghua.edu.cn/debian-security bookworm-security main contrib non-free non-free-firmware
按 Ctrl+O保存,Enter, Ctrl+X退出 nano。

四、安装ssh服务
更新源并安装 SSH
apt update
apt install -y openssh-server
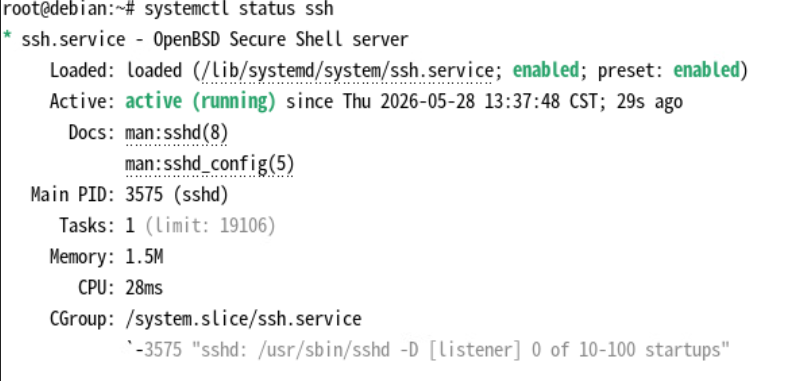
确认 SSH 服务状态
systemctl status ssh
看到 active (running) 就说明服务正常了
启动并设置开机自启
systemctl enable --now ssh
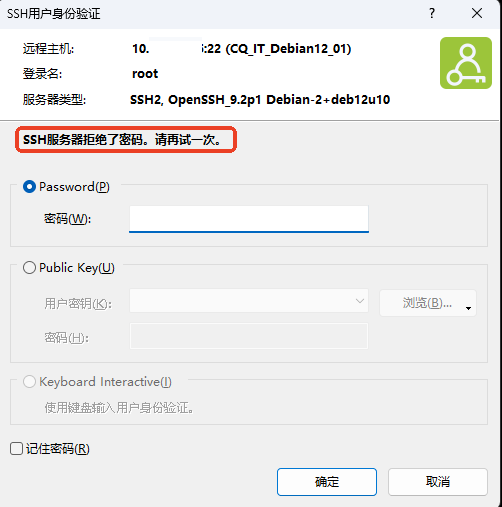
五、允许 SSH 直接登录 root
不开通,会被拒绝登录。
编辑 SSH 配置文件
nano /etc/ssh/sshd_config
将
#PermitRootLogin prohibit-password
改为
PermitRootLogin yes
PasswordAuthentication yes
按 Ctrl+O保存,Enter, Ctrl+X退出 nano。
然后重启 SSH 服务
systemctl restart ssh