摘要: JavaScript 在浏览器中的魔法,几乎全部通过 DOM 实现。本篇将学会如何选取页面元素,动态修改内容和样式,并深刻理解事件模型(事件冒泡、委托)。你将亲手打造图片轮播器和留言板,把前几篇的数据逻辑变成用户看得见、摸得着的交互界面。
一、认识 DOM
DOM(Document Object Model)是浏览器将 HTML 文档解析成的一个树形对象模型。每个标签、属性、文本都是树上的一个节点。JavaScript 可以访问、修改、添加、删除这些节点,从而动态改变页面。根节点是 document,代表整个页面。
二、获取元素
最常用的几个方法:
javascript
// 通过 ID
const header = document.getElementById('main-header');
// 通过 CSS 选择器(返回第一个匹配)
const btn = document.querySelector('.btn-primary');
// 通过 CSS 选择器(返回所有匹配,NodeList 静态或动态取决于方法)
const items = document.querySelectorAll('.item');
// 通过类名
const errors = document.getElementsByClassName('error');
querySelector 和 querySelectorAll 使用 CSS 选择器语法,灵活强大,是现在的主流选择方式。
html
<!DOCTYPE html>
<html lang="zh-CN">
<head>
    <meta charset="UTF-8">
    <title>DOM 选择器测试</title>
    <style>
        /* 给元素加点样式方便看 */
        #main-header { color: blue; font-size: 20px; }
        .btn-primary { background: green; color: white; padding: 5px; }
        .item { margin: 5px; border: 1px solid #ccc; }
        .error { color: red; font-weight: bold; }
    </style>
</head>
<body>

    <!-- 我们要获取的元素都在这里 -->
    <h1 id="main-header">我是 ID 为 main-header 的标题</h1>
    <button class="btn-primary">我是 class 为 btn-primary 的按钮</button>
    <ul>
        <li class="item">列表项 1</li>
        <li class="item">列表项 2</li>
        <li class="item error">列表项 3(带 error)</li>
    </ul>

<script>
// ======================
// 1. 通过 ID 获取
// ======================
const header = document.getElementById('main-header');
console.log("通过 ID 获取:", header); // 看控制台!
header.style.color = "red"; // 把文字变红 → 页面能看到效果!


// ======================
// 2. 通过 CSS 选择器(单个)
// ======================
const btn = document.querySelector('.btn-primary');
console.log("通过选择器获取按钮:", btn);
btn.innerText = "我被修改啦!"; // 修改按钮文字 → 页面能看到!


// ======================
// 3. 获取所有 .item
// ======================
const items = document.querySelectorAll('.item');
console.log("所有列表项:", items);

// 循环修改所有 item
items.forEach((item, index) => {
    item.innerText = `我是第 ${index+1} 个 item`;
});


// ======================
// 4. 通过 class 获取
// ======================
const errors = document.getElementsByClassName('error');
console.log("错误元素:", errors[0]);
errors[0].innerText = "我是错误提示!";

</script>
</body>
</html>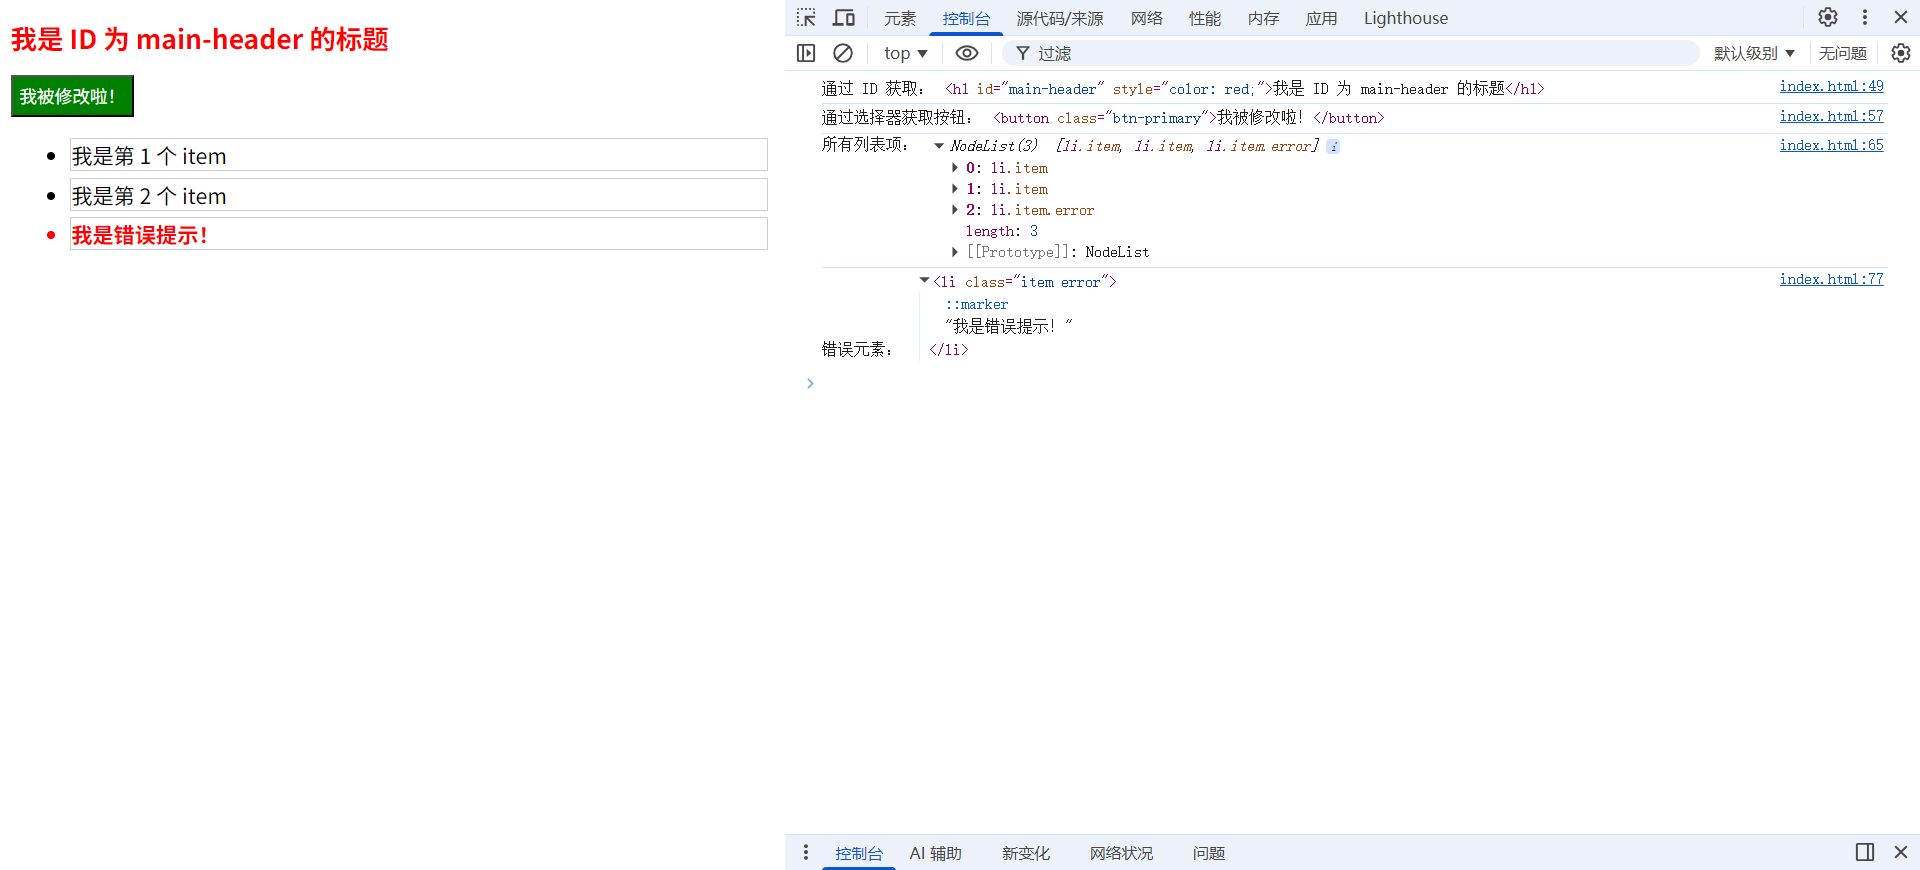
三、修改内容与属性
-
textContent:纯文本,不解析 HTML。 -
innerHTML:会解析 HTML 标签,有安全风险(XSS),插入用户输入时慎用。 -
value:表单元素的值。
javascript
const title = document.querySelector('h1');
title.textContent = '新标题';
const link = document.querySelector('a');
link.setAttribute('href', 'https://example.com');
link.getAttribute('href');
html
<!DOCTYPE html>
<html lang="zh-CN">

<head>
    <meta charset="UTF-8">
    <title>DOM 修改测试</title>
</head>

<body>

    <!-- 必须要有这两个元素,JS 才能找到它们 -->
    <h1>旧标题</h1>
    <a>我是链接</a>

    <script>
        // 1. 修改标题文字
        const title = document.querySelector('h1');
        title.textContent = '新标题'; // 页面会立刻变成"新标题"

        // 2. 修改链接地址
        const link = document.querySelector('a');
        link.setAttribute('href', 'https://example.com');

        // 3. 获取链接地址并打印(这样才能看到效果)
        const hrefValue = link.getAttribute('href');
        console.log('链接地址是:', hrefValue); // 控制台会输出 https://example.com

        // 给链接加点文字,方便看
        link.textContent = "点我去 example.com";
    </script>

</body>

</html>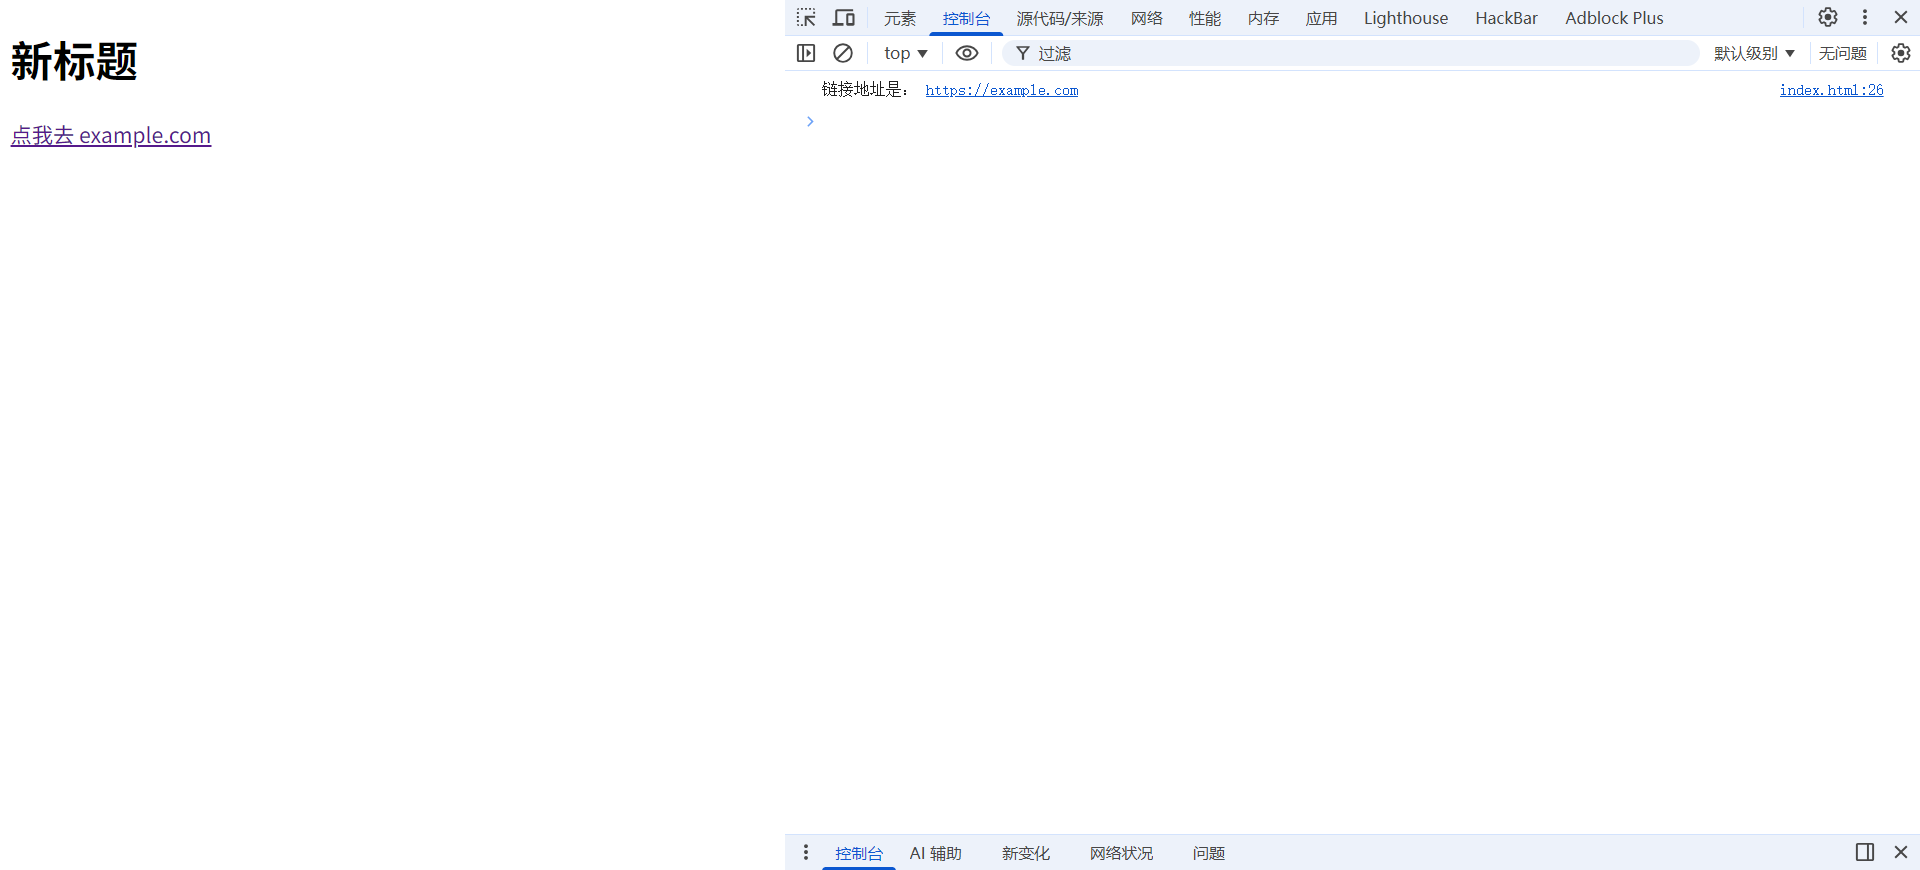
样式修改:通过 element.style 修改内联样式,或通过 classList 增删类名(推荐)。
javascript
const box = document.querySelector('.box');
box.style.backgroundColor = 'lightblue';
// classList 方法
box.classList.add('active');
box.classList.remove('hidden');
box.classList.toggle('dark-mode');
box.classList.contains('active'); // true/false
html
<!DOCTYPE html>
<html lang="zh-CN">
<head>
    <meta charset="UTF-8">
    <title>classList + style 测试</title>
    <style>
        /* 必须先定义 .box 样式 */
        .box {
            width: 200px;
            height: 200px;
            margin: 20px;
            border: 1px solid #333;
        }
        /* 下面是 JS 会操作的 class */
        .active {
            border: 4px solid red;
        }
        .hidden {
            display: none;
        }
        .dark-mode {
            background-color: #333;
            color: white;
        }
    </style>
</head>
<body>

    <!-- 这个元素就是 JS 要找的 .box -->
    <div class="box">我是盒子</div>

<script>
    const box = document.querySelector('.box');

    // 1. 直接修改样式:背景变浅蓝色
    box.style.backgroundColor = 'lightblue';

    // 2. 添加 class → 出现红边框
    box.classList.add('active');

    // 3. 移除 class(这里本来没有,所以没变化)
    box.classList.remove('hidden');

    // 4. 切换 class(有就删,没有就加)
    box.classList.toggle('dark-mode');

    // 5. 判断是否包含某个 class → 打印到控制台
    const hasActive = box.classList.contains('active');
    console.log('是否包含 active:', hasActive); // true
</script>

</body>
</html>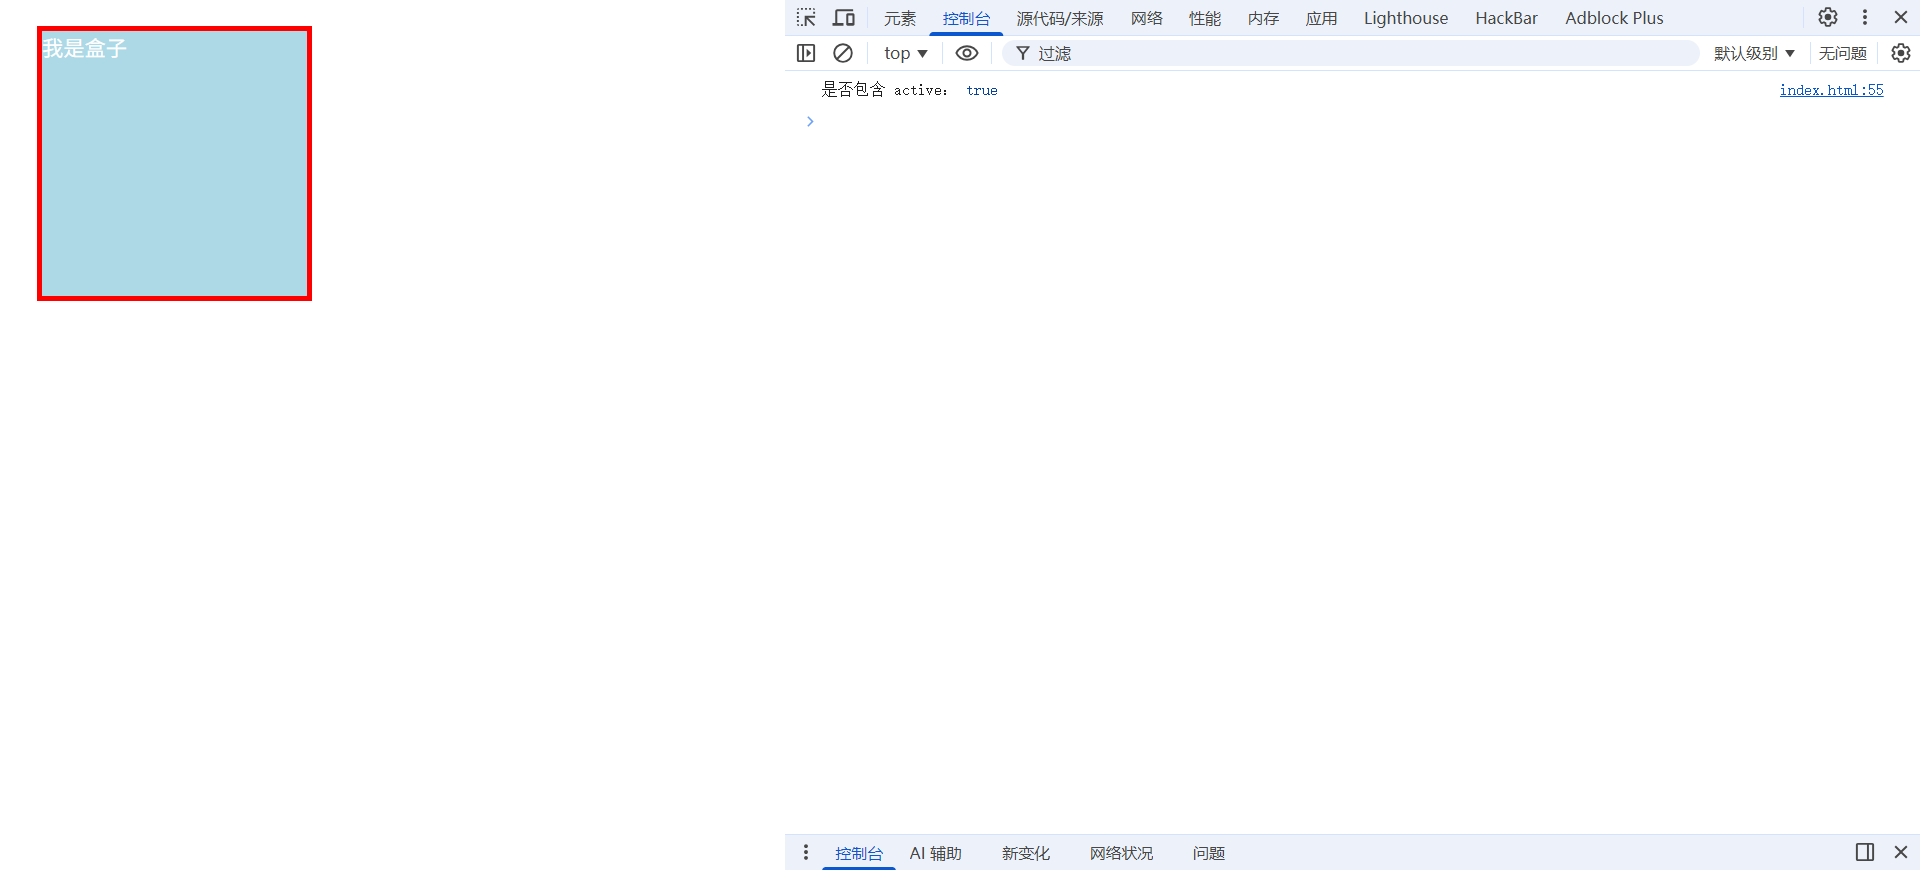
四、事件监听:让页面响应用户
事件是用户或浏览器自身发生的动作,如点击、移动、键盘、加载等。
javascript
const button = document.getElementById('myBtn');
// 推荐方式:addEventListener
button.addEventListener('click', function(event) {
console.log('按钮被点击了', event);
// event.target 是触发事件的元素
});
// 匿名函数或具名函数都可以
function handleMouseEnter(e) {
console.log('鼠标进来了');
}
button.addEventListener('mouseenter', handleMouseEnter);
// 移除监听
button.removeEventListener('mouseenter', handleMouseEnter);
html
<!DOCTYPE html>
<html lang="zh-CN">
<head>
    <meta charset="UTF-8">
    <title>事件监听测试</title>
    <style>
        #myBtn {
            padding: 10px 20px;
            font-size: 16px;
            cursor: pointer;
        }
    </style>
</head>
<body>

    <!-- 必须有这个按钮,JS 才能找到它 -->
    <button id="myBtn">点我测试</button>

<script>
    const button = document.getElementById('myBtn');

    // 1. 点击事件
    button.addEventListener('click', function(event) {
        console.log('✅ 按钮被点击了', event);
        alert('你点击了按钮!');
    });

    // 2. 鼠标移入事件
    function handleMouseEnter(e) {
        console.log('🐭 鼠标进来了');
        button.style.background = "lightgreen";
    }

    // 绑定鼠标移入
    button.addEventListener('mouseenter', handleMouseEnter);

    // 注意:我先注释掉移除,不然刚绑定就删了,没效果!
    // button.removeEventListener('mouseenter', handleMouseEnter);
</script>
</body>
</html>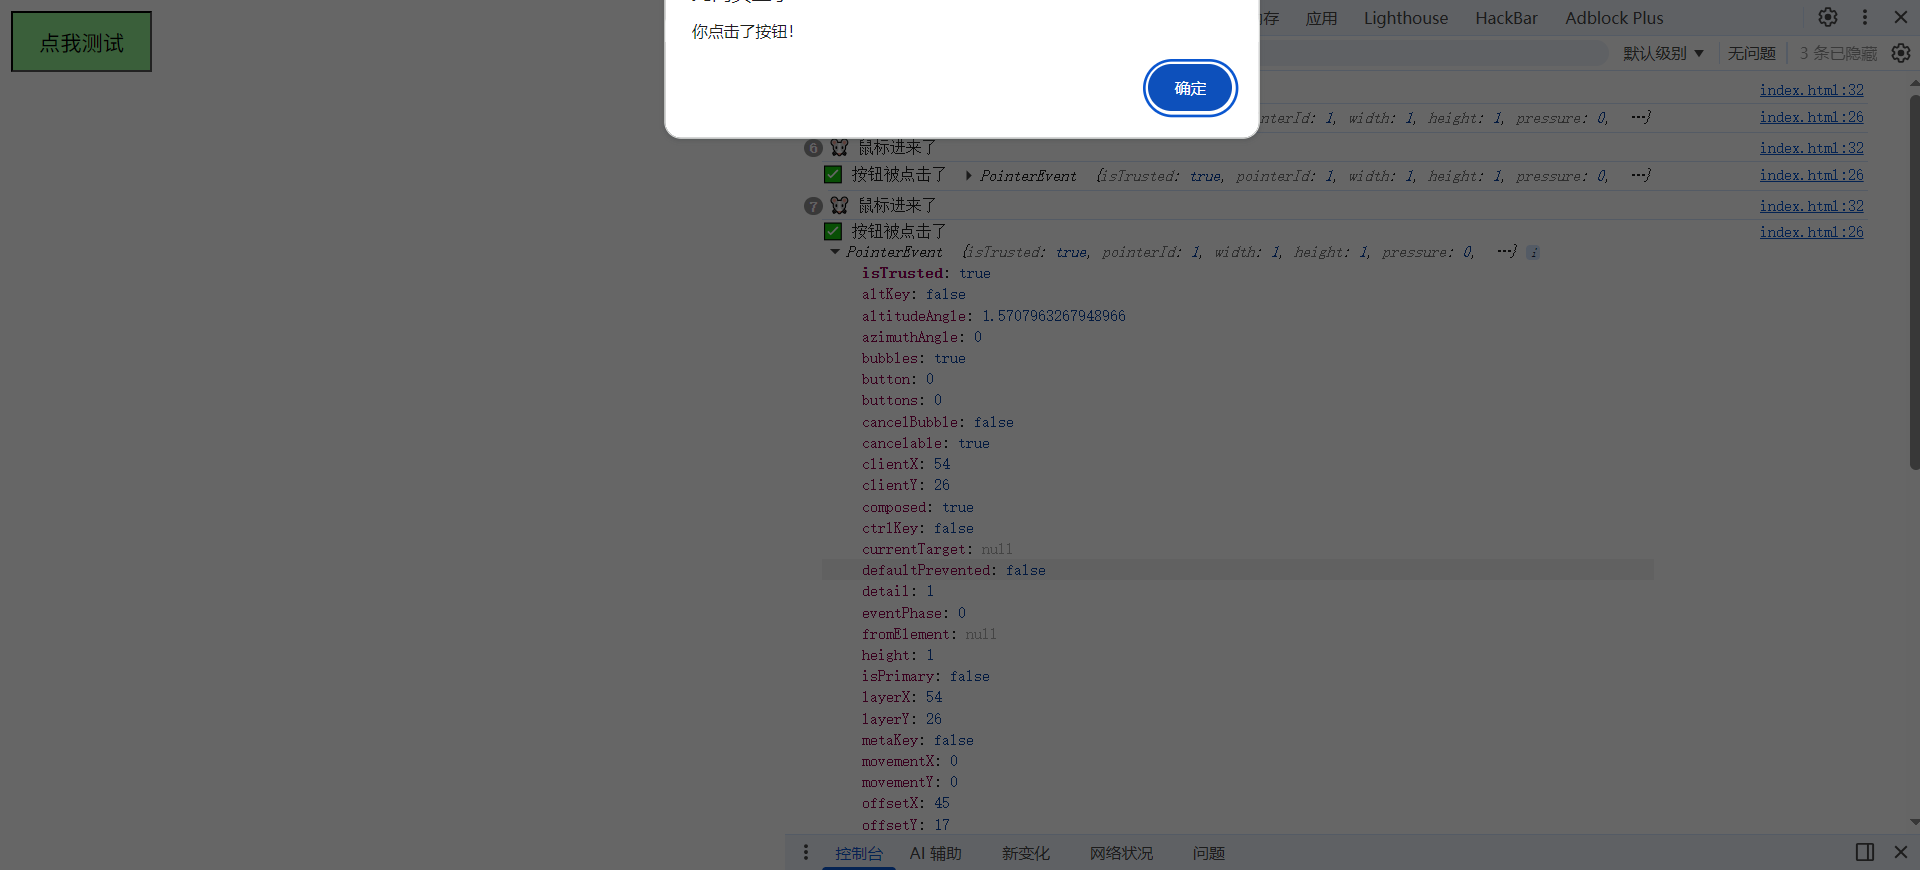
常见事件类型:
-
鼠标:
click,dblclick,mousedown,mouseup,mousemove,mouseenter,mouseleave -
键盘:
keydown,keyup,keypress(已废弃,建议 keydown) -
表单:
submit,change,input,focus,blur -
文档/窗口:
DOMContentLoaded,load,resize,scroll
五、事件流:捕获与冒泡及事件委托
当一个元素触发事件,它会经历三个阶段:
捕获阶段:从 window 向目标元素向下传播。
目标阶段:事件到达目标元素。
冒泡阶段:事件从目标元素向上冒泡到 window。
addEventListener 的第三个参数默认 false(在冒泡阶段处理)。利用冒泡可以实现事件委托 :把监听器绑定在父元素上,通过 event.target 识别实际点击的子元素。这样可以大幅减少监听器数量,且动态添加的子元素也能自动拥有此行为。
javascript
// 列表委托
const list = document.querySelector('#myList');
list.addEventListener('click', function(e) {
    if (e.target.tagName === 'LI') {
        console.log('你点击了', e.target.textContent);
    }
});
html
<!DOCTYPE html>
<html lang="zh-CN">
<head>
    <meta charset="UTF-8">
    <title>事件委托测试</title>
    <style>
        li {
            padding: 8px 12px;
            margin: 5px 0;
            background: #f1f1f1;
            cursor: pointer;
        }
        li:hover {
            background: lightblue;
        }
    </style>
</head>
<body>

    <!-- 必须有这个列表,JS 才能生效 -->
    <ul id="myList">
        <li>我是第 1 项</li>
        <li>我是第 2 项</li>
        <li>我是第 3 项</li>
        <li>我是第 4 项</li>
    </ul>

<script>
    // 事件委托:只给父 ul 绑定事件
    const list = document.querySelector('#myList');

    list.addEventListener('click', function(e) {
        // 判断点击的是不是 LI 元素
        if (e.target.tagName === 'LI') {
            console.log('你点击了:', e.target.textContent);

            // 可选:页面弹出提示,更直观
            alert('你点击了:' + e.target.textContent);
        }
    });
</script>
</body>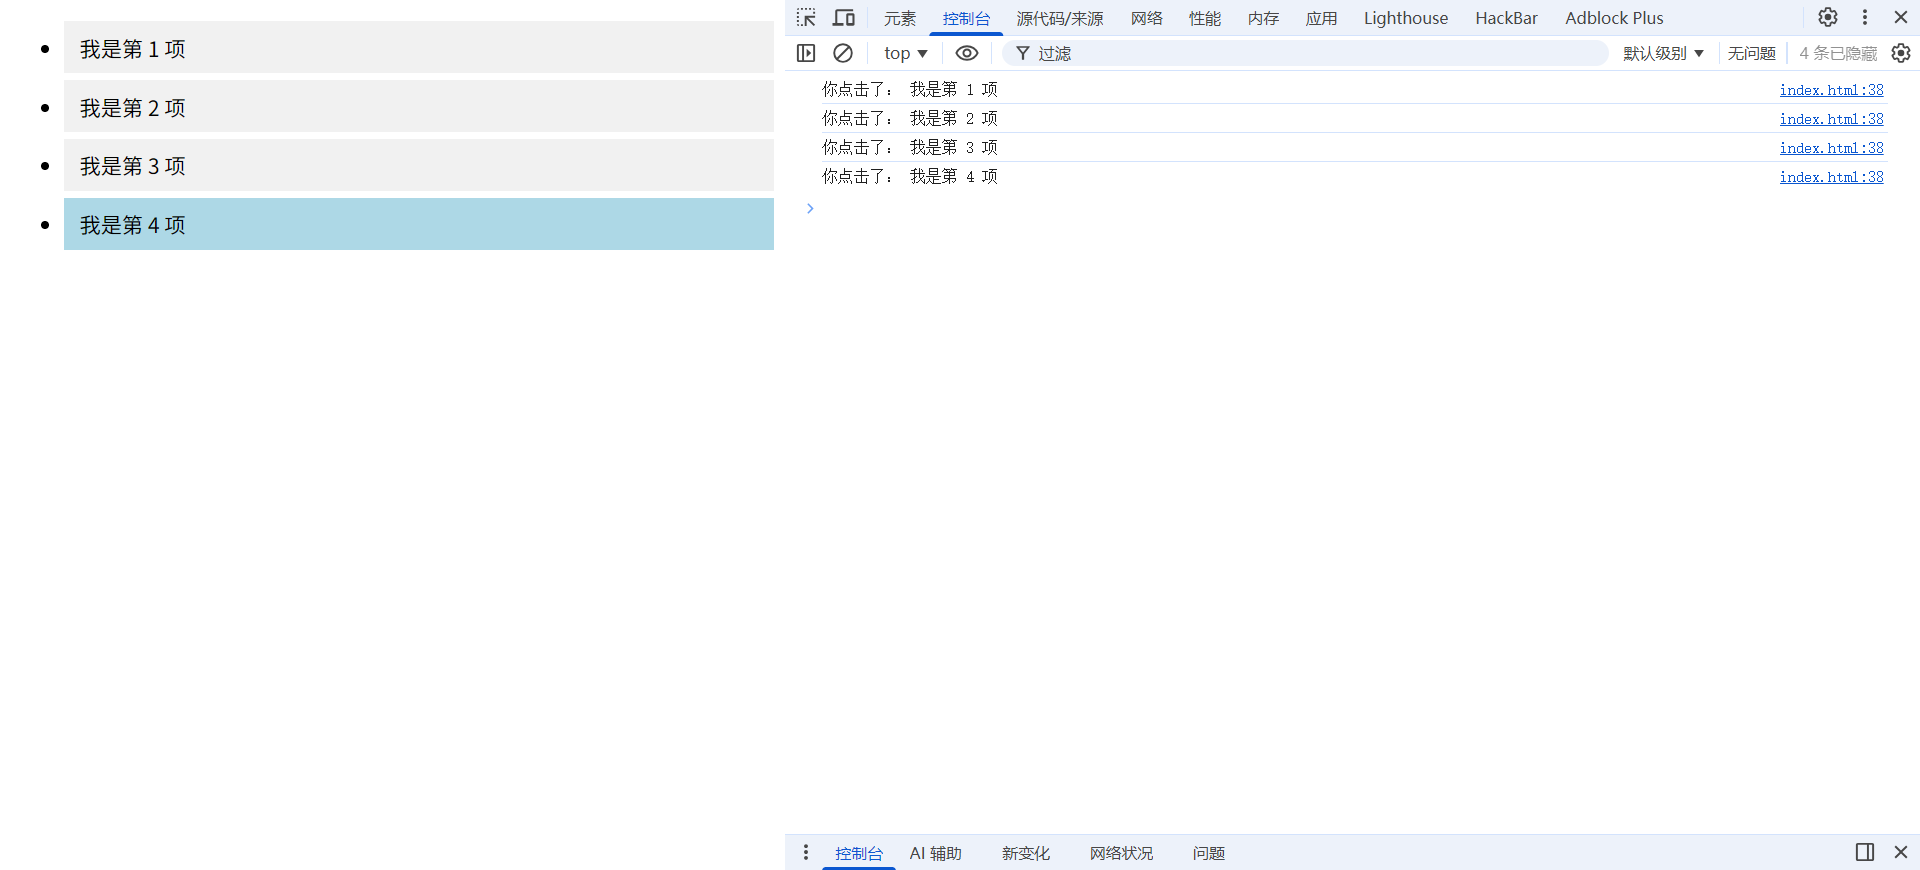
六、动态创建与删除元素
javascript
// 创建一个新 div
const newDiv = document.createElement('div');
newDiv.textContent = '我是新来的';
newDiv.classList.add('box');
// 追加到父元素末尾
document.body.appendChild(newDiv);
// 在前面插入
const referenceNode = document.querySelector('#ref');
document.body.insertBefore(newDiv, referenceNode);
// 删除元素
newDiv.remove();七、表单操作与定时器
获取表单数据:
javascript
const form = document.querySelector('#userForm');
form.addEventListener('submit', function(e) {
    e.preventDefault(); // 阻止默认提交刷新页面
    const username = document.querySelector('#username').value;
    console.log('提交的用户名:', username);
});
html
<!DOCTYPE html>
<html lang="zh-CN">
<head>
    <meta charset="UTF-8">
    <title>表单提交测试</title>
    <style>
        form {
            margin: 20px;
            padding: 15px;
            border: 1px solid #ccc;
            display: inline-block;
        }
        input {
            padding: 8px;
            margin-right: 5px;
        }
        button {
            padding: 8px 12px;
            cursor: pointer;
        }
    </style>
</head>
<body>

    <!-- 必须有这个表单,JS 才能生效 -->
    <form id="userForm">
        <input type="text" id="username" placeholder="请输入用户名">
        <button type="submit">提交</button>
    </form>

<script>
const form = document.querySelector('#userForm');

form.addEventListener('submit', function(e) {
    // 阻止页面自动刷新(最关键!)
    e.preventDefault();

    // 获取输入框的值
    const username = document.querySelector('#username').value;

    // 控制台打印 + 页面提示
    console.log('提交的用户名:', username);
    alert('你提交了:' + username);
});
</script>
</body>
</html>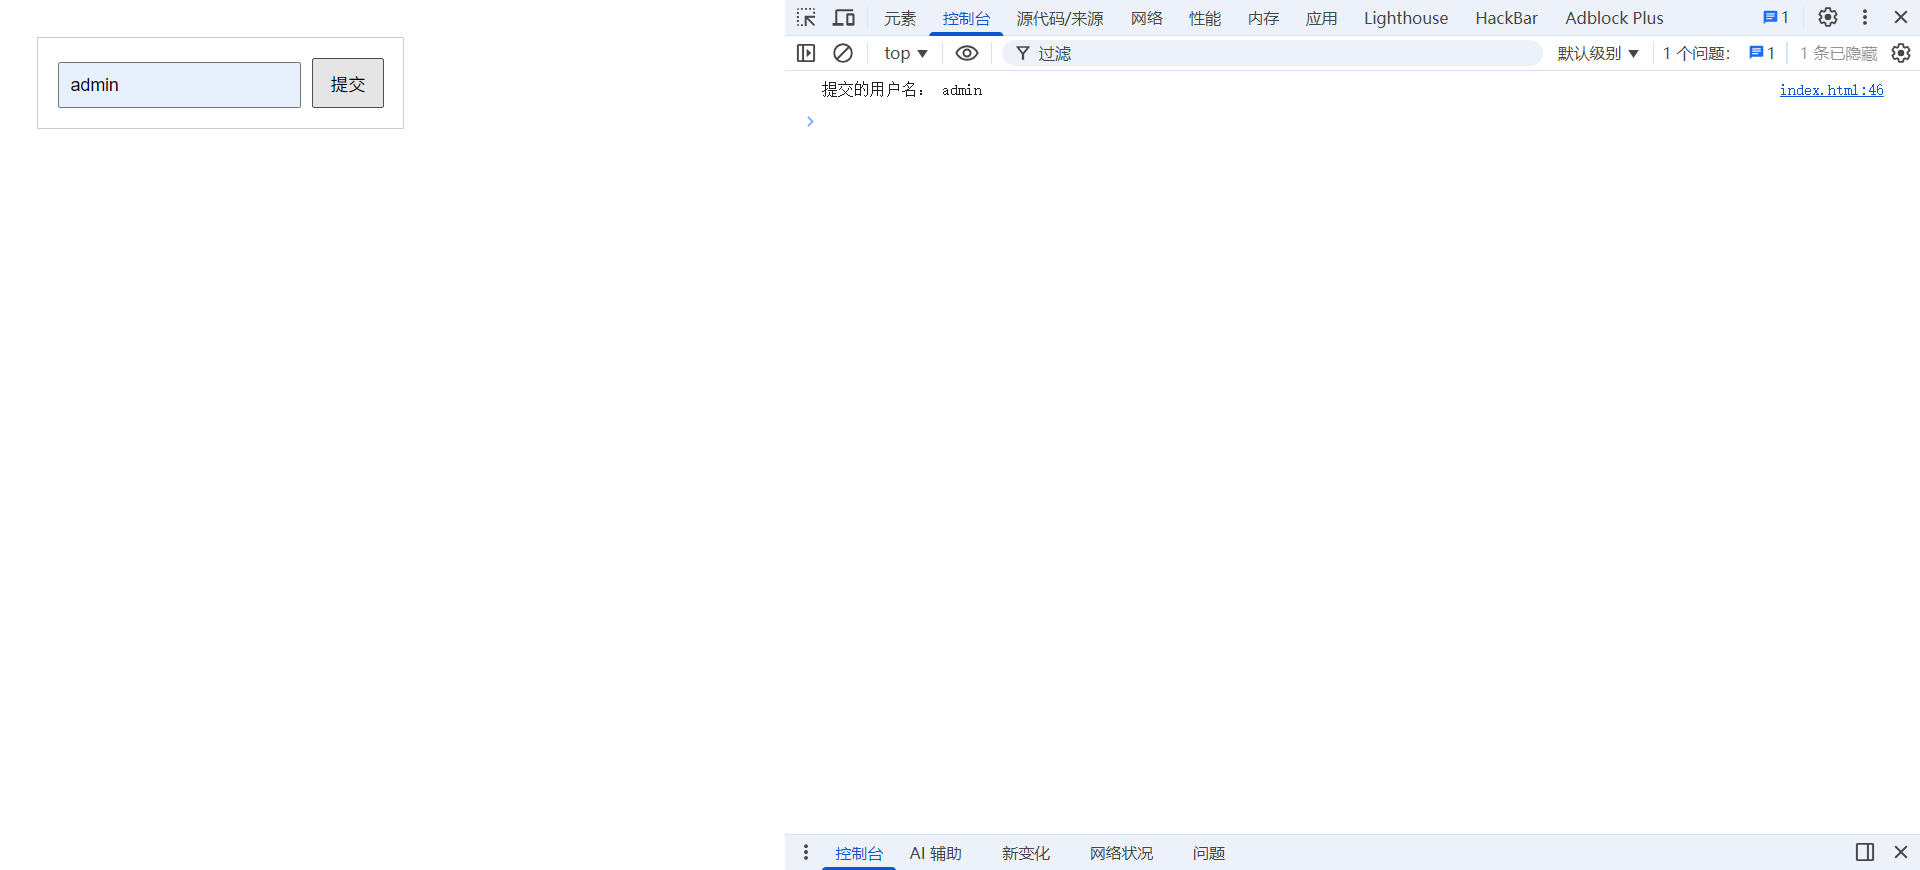
定时器:
-
setTimeout(fn, delay):延迟执行一次。 -
setInterval(fn, interval):每隔一段时间重复执行。 -
clearTimeout/clearInterval清除。
javascript
// 简单计数器
let count = 0;
const timer = setInterval(() => {
    count++;
    console.log(count);
    if (count >= 5) clearInterval(timer);
}, 1000);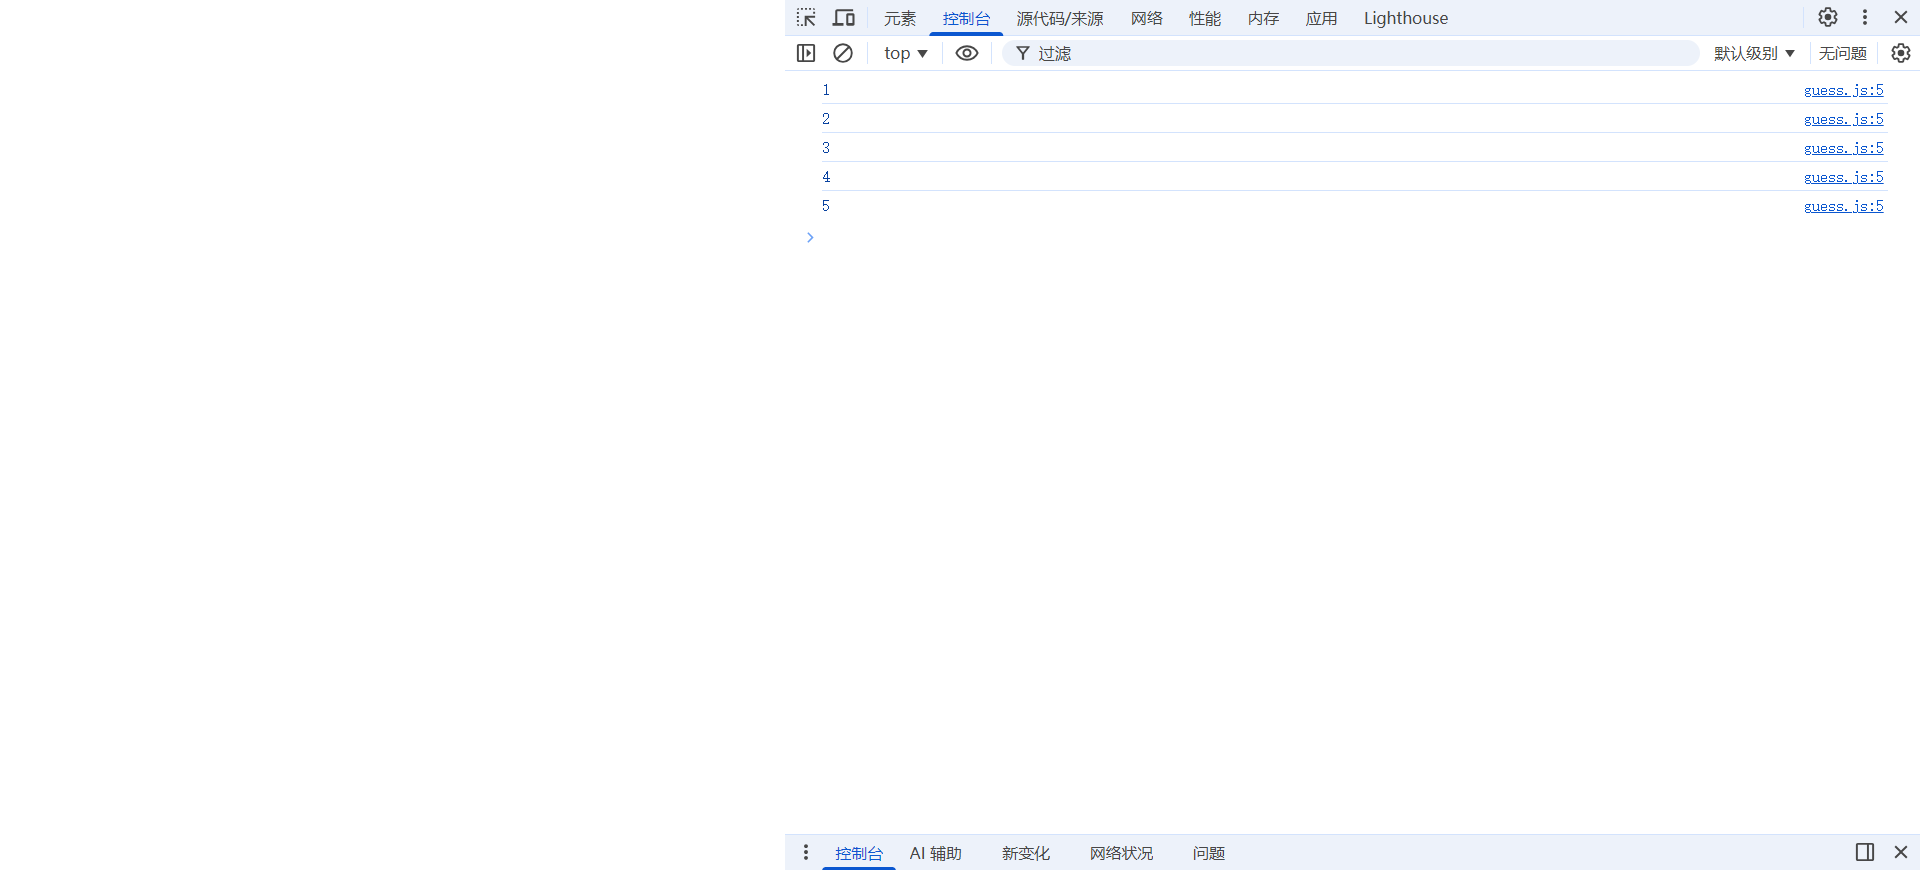
八、综合实战一:图片轮播器
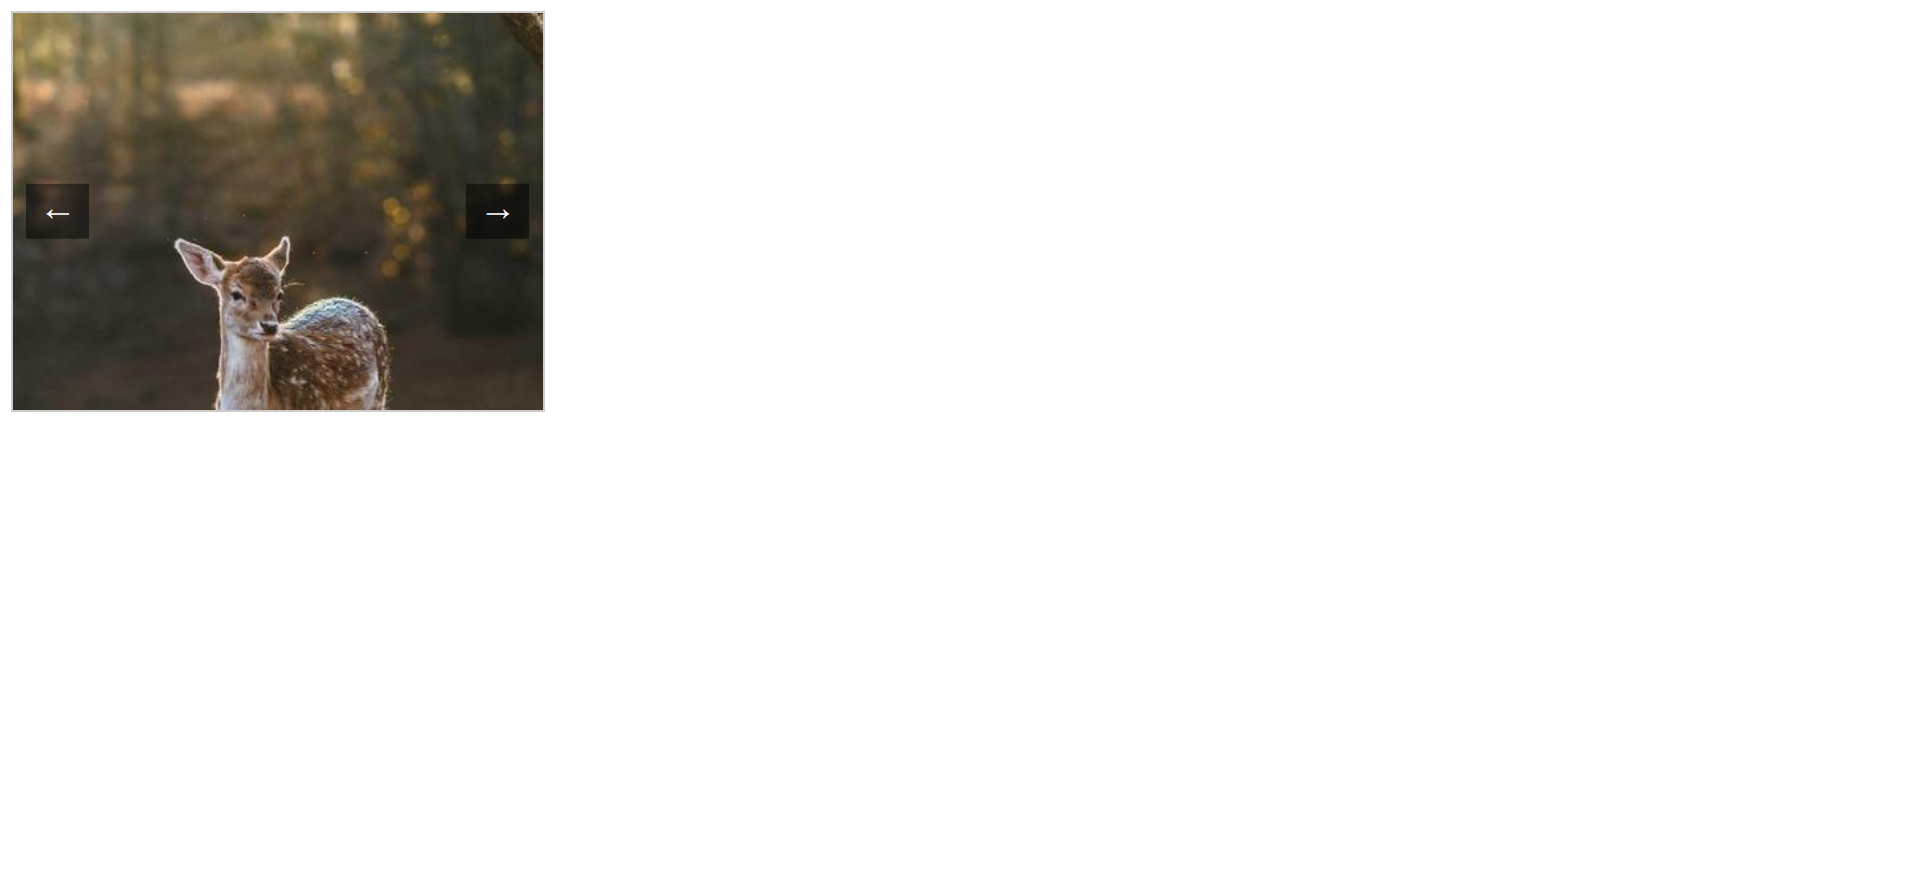
实现一个简单的自动轮播,并带手动切换按钮。
HTML 结构:
html
<!DOCTYPE html>
<html lang="zh-CN">

<head>
    <meta charset="UTF-8">
    <title>轮播图效果</title>
</head>

<body>

    <div class="slider">
        <div class="slides">
            <img src="https://picsum.photos/400/300?random=4" class="active" />
            <img src="https://picsum.photos/400/300?random=5" />
            <img src="https://picsum.photos/400/300?random=6" />
        </div>
        <button id="prev">←</button>
        <button id="next">→</button>
    </div>

</body>

</html>
CSS:
css
.slider {
    position: relative;
    width: 400px;
    height: 300px;
    overflow: hidden;
    border: 2px solid #ccc;
}

.slides {
    width: 100%;
    height: 100%;
}

.slides img {
    position: absolute;
    width: 100%;
    height: 100%;
    object-fit: cover;
    display: none;
    /* 默认隐藏 */
}

.slides img.active {
    display: block;
    /* 只显示当前激活的 */
}
/* 按钮样式 */

#prev,
#next {
    position: absolute;
    top: 50%;
    transform: translateY(-50%);
    background: rgba(0, 0, 0, 0.5);
    color: white;
    border: none;
    padding: 10px 15px;
    cursor: pointer;
    font-size: 18px;
    z-index: 10;
}

#prev {
    left: 10px;
}

#next {
    right: 10px;
}
JS 逻辑:
javascript
(function() {
    const slides = document.querySelectorAll('.slides img');
    const prevBtn = document.getElementById('prev');
    const nextBtn = document.getElementById('next');
    let currentIndex = 0;

    function showSlide(index) {
        slides.forEach((slide, i) => {
            slide.classList.toggle('active', i === index);
        });
    }

    function nextSlide() {
        currentIndex = (currentIndex + 1) % slides.length;
        showSlide(currentIndex);
    }

    function prevSlide() {
        currentIndex = (currentIndex - 1 + slides.length) % slides.length;
        showSlide(currentIndex);
    }

    nextBtn.addEventListener('click', nextSlide);
    prevBtn.addEventListener('click', prevSlide);

    // 自动播放
    setInterval(nextSlide, 3000);
})();
九、综合实战二:简单留言板
结合数组、DOM 操作和事件。用户输入留言,点击发布后添加到列表,可删除。
html
<!DOCTYPE html>
<html lang="zh-CN">
<head>
    <meta charset="UTF-8">
    <title>消息列表 - 新增/删除</title>
    <style>
        /* 简单美化,让效果更直观 */
        .container {
            width: 400px;
            margin: 30px auto;
        }
        #messageInput {
            width: 280px;
            padding: 8px;
        }
        #addBtn {
            padding: 8px 12px;
            cursor: pointer;
        }
        #messageList {
            margin-top: 15px;
            list-style: none;
            padding: 0;
        }
        #messageList li {
            padding: 10px;
            background: #f5f5f5;
            margin: 5px 0;
            display: flex;
            justify-content: space-between;
        }
        .delete {
            color: white;
            background: red;
            border: none;
            padding: 3px 6px;
            cursor: pointer;
        }
    </style>
</head>
<body>

    <!-- 配套 HTML 结构 -->
    <div class="container">
        <input type="text" id="messageInput" placeholder="请输入内容">
        <button id="addBtn">添加</button>
        <ul id="messageList"></ul>
    </div>

<script>
const input = document.querySelector('#messageInput');
const addBtn = document.querySelector('#addBtn');
const list = document.querySelector('#messageList');

// 添加消息
addBtn.addEventListener('click', function() {
    const text = input.value.trim();
    if (!text) return alert('内容不能为空');

    const li = document.createElement('li');
    li.innerHTML = `
        <span>${text}</span>
        <button class="delete">删除</button>
    `;
    list.appendChild(li);
    input.value = '';
    input.focus();
});

// 事件委托 - 删除
list.addEventListener('click', function(e) {
    if (e.target.classList.contains('delete')) {
        e.target.parentElement.remove();
    }
});
</script>
</body>
</html>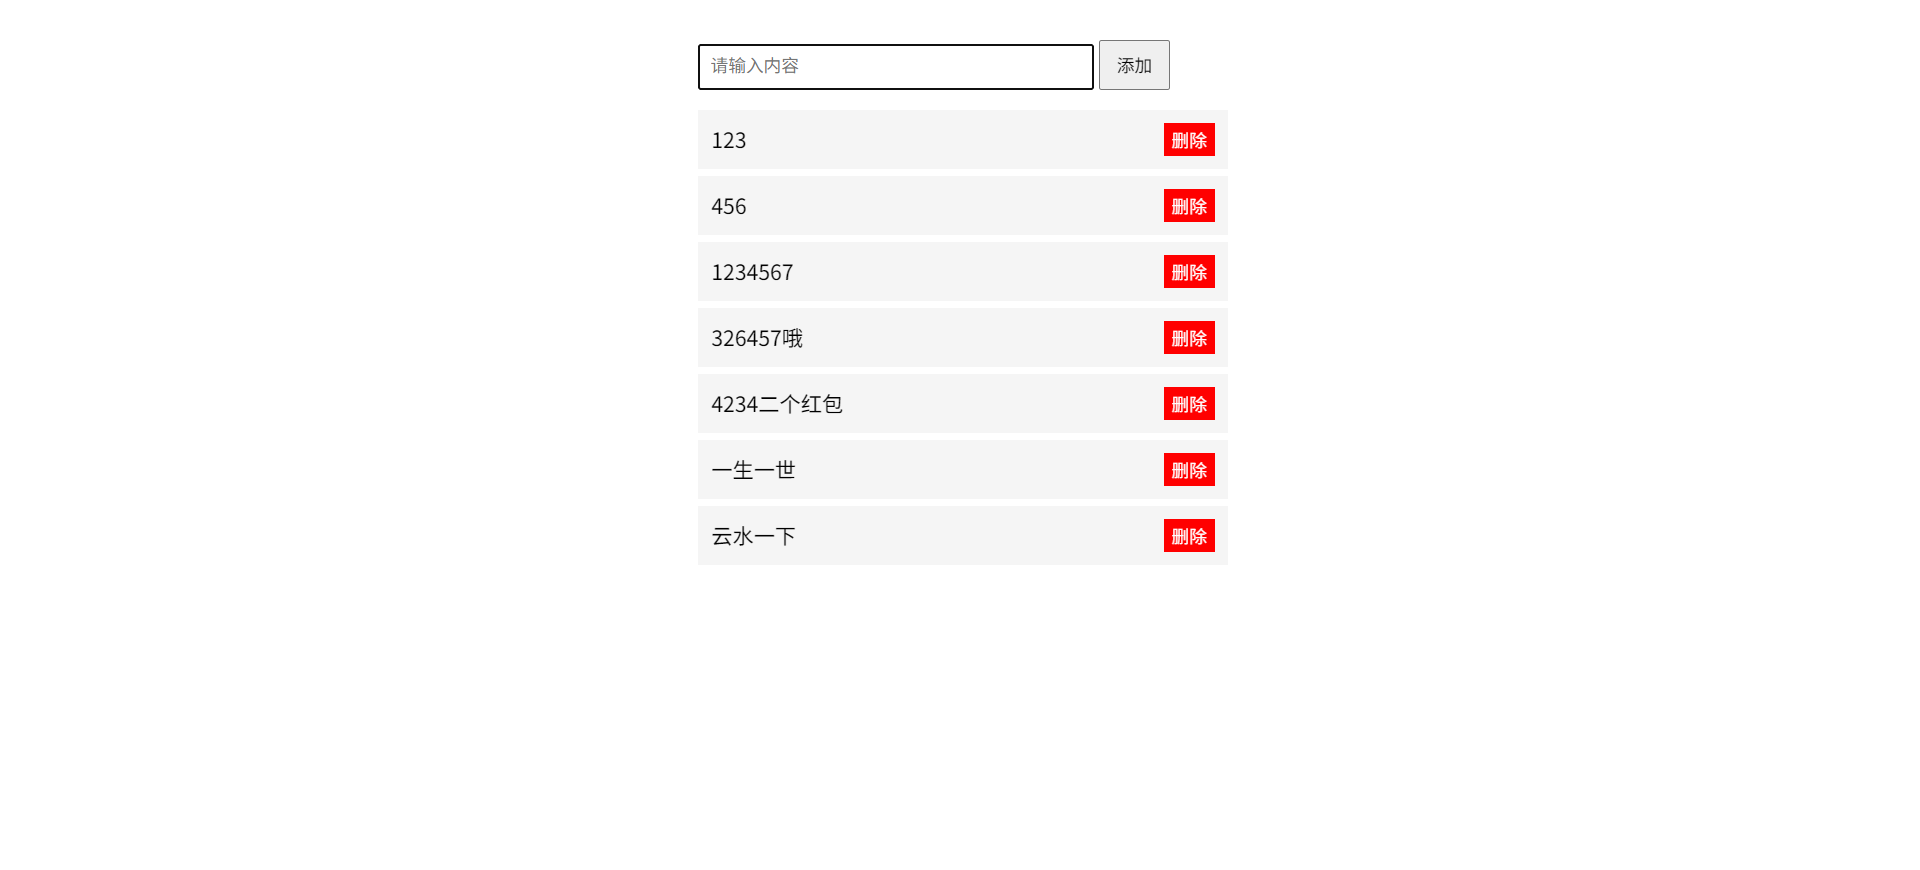
总结: DOM 是连接 JavaScript 和用户界面的桥梁。我们掌握了元素选取、内容样式修改、事件监听及事件委托,这些是任何前端项目 80% 的日常工作。通过轮播器和留言板,我们练习了动态节点创建、定时器和表单处理。
如果这篇文章帮你解决了实操上的困惑,别忘记点击点赞、分享 ,也可以留言告诉我你遇到的其它问题,我会尽快回复。动手练习是掌握编程最快的方法,请务必亲手敲一遍本文的所有示例代码,并截图保存你的成果。你的关注是我坚持原创和细节共享的力量来源,谢谢大家。