0. 环境
- nodejs
- git
1. 本地安装
- 选择一个本地文件夹路劲(不带中文)
- 右键
open git bash here - 输入:
bash
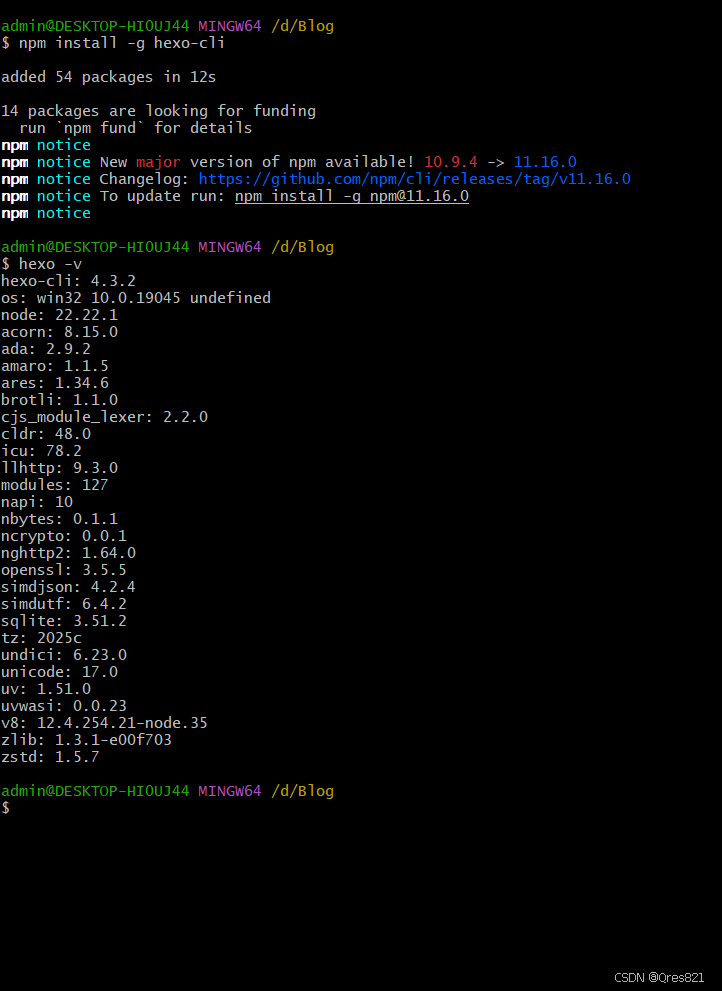
npm install -g hexo-cli安装hexo
- 输入
hexo -v,查看是否安装成功:
2. 初始化
- 继续输入:
bash
hexo init然后我报错了
换个方法:
- 在 https://github.com/hexojs/hexo-starter 下载代码
- 直接解压,所有文件丢到我的那个文件夹内
- 启动git bash,执行:
bash
npm install- 验证是否成功:
bash
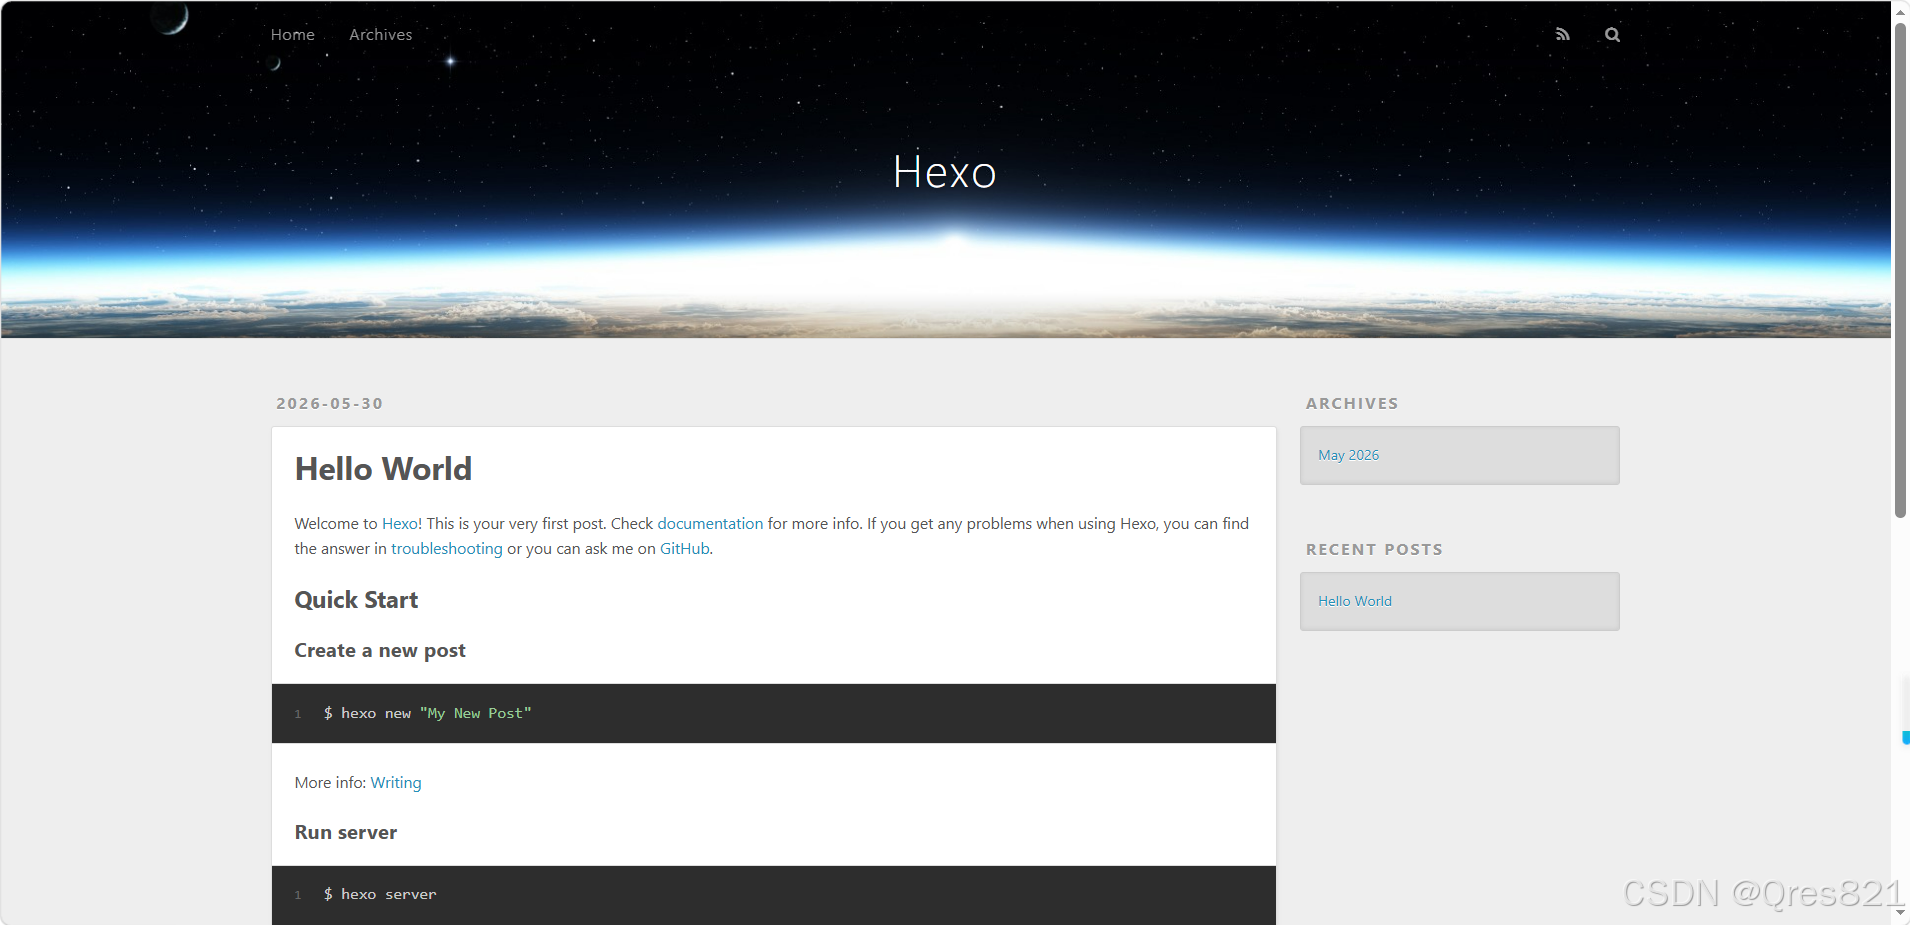
hexo s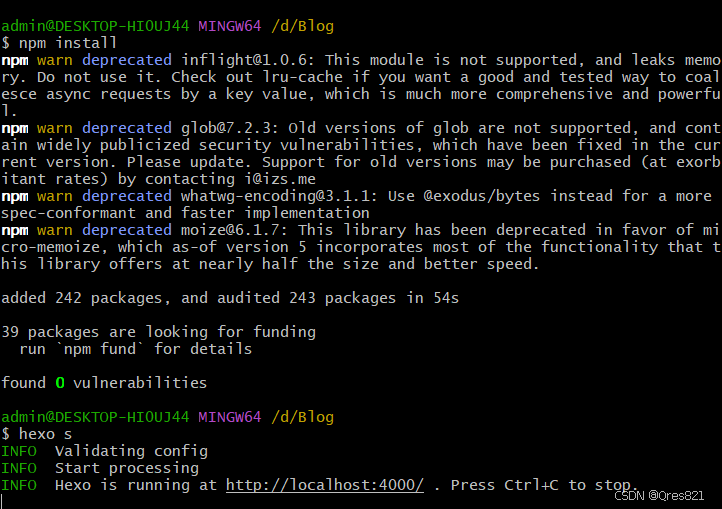
- 打开 localhost:4000,查看效果
3. 设置主题
我采用的是butterfly
https://github.com/jerryc127/hexo-theme-butterfly
- 下载:
bash
git clone https://github.com/jerryc127/hexo-theme-butterfly.git themes/butterfly- 安装主题依赖
bash
npm install hexo-renderer-pug hexo-renderer-stylus --save- 启用
在_config.yml文件中:
yml
theme: butterfly- 启动
powershell
hexo clean
hexo s
hexo clean ; hexo s(两行可以合并)
也可以直接配置powershell:
bash
notepad $PROFILE 然后在打开的记事本里添加:
bash
# Hexo快捷键 Hexos :清理 + 启动本地预览
function hexos {
    hexo clean ; hexo s
}

# Hexo快捷键 Hexod :清理 + 生成 + 部署上线
function hexod {
    hexo clean ; hexo g ; hexo d
}
回到终端:
bash
. $PROFILE4. 主题优化
这个部分我还没搞定
首先要去安装plug和stylus:
bash
npm install hexo-renderer-pug hexo-renderer-stylus --save在根目录里新建 _config.butterfly.yml,然后把这个东西丢进去:
yml
# ==================== 1. 站点基础信息 ====================
avatar: /img/avatar.jpg  # 头像:把图片放到 source/img/ 下
favicon: /img/favicon.ico # 浏览器标签图标

# ==================== 2. 顶部导航菜单(专栏/标签/归档/关于) ====================
menu:
  首页: / || fa fa-home
  专栏: /categories/ || fa fa-th-large
  标签: /tags/ || fa fa-tags
  归档: /archives/ || fa fa-archive
  关于: /about/ || fa fa-user

# 菜单图标库,保持默认即可
menu_icons:
  enable: true

# ==================== 3. 页面布局 & 侧边栏 ====================
sidebar:
  position: left         # 侧边栏位置 left/right
  display: always        # always 一直显示 | hide 移动端隐藏
  offset: true

# 侧边栏组件(按需开启)
sidebar_widget:
  author: true           # 作者信息卡片
  category: true         # 专栏分类
  tag: true              # 标签云
  archive: true          # 文章归档
  webinfo: true          # 网站统计

# ==================== 4. 文章样式(重点:适配你的技术文章) ====================
# 文章摘要
post_excerpt:
  enable: true
  length: 150            # 首页摘要字数

# 文章内目录(右侧悬浮目录,长文章必备)
toc:
  enable: true
  number: false          # 目录是否带序号
  expand: true           # 默认展开全部目录

# 代码块(技术博客核心)
highlight:
  theme:
    light: github        # 浅色模式代码主题
    dark: github-dark    # 暗黑模式代码主题
  copy: true             # 代码块显示「复制按钮」
  fold: false            # 代码块默认不折叠

# 文章顶部元信息(日期、标签、阅读量等)
post_meta:
  page:
    date_type: created
    date_format: YYYY-MM-DD
    word_count: true     # 显示文章字数
    min2read: true       # 显示阅读时长
    categories: true
    tags: true

# 图片懒加载(提升加载速度,图片多必开)
lazyload:
  enable: true

# ==================== 5. 全站搜索功能(站内检索文章) ====================
local_search:
  enable: true
  preload: false
  CDN:

# ==================== 6. 页脚 ====================
footer:
  owner: 你的昵称
  start_year: 2026       # 建站年份
  runtime: true          # 显示网站运行时长
  icp: ''                # 国内备案号,没有就留空

# ==================== 7. 基础动画 & 特效 ====================
enter_transition: true   # 页面进场动画
back2top:
  enable: true           # 回到顶部按钮
  side: right

# ==================== 8. 评论(后续可选配置,先关闭不影响使用) ====================
comments:
  use: false             # 暂时关闭评论,后面需要再开启
个人about界面:
- 输入:
bash
hexo new page about- 打开 source/about/index.md,写入内容