前言
上一篇讲述了ollama优势以及本地安装和验证。通过上一篇的学习,希望大家能掌握ollama工具的本地化安装已寄出测试验证
项目搭建
本文开始使用springboot快速大家一个可以访问模型的api。
目录结构如下

1.pom文件
xml
<?xml version="1.0" encoding="UTF-8"?>
<project xmlns="http://maven.apache.org/POM/4.0.0" xmlns:xsi="http://www.w3.org/2001/XMLSchema-instance"
         xsi:schemaLocation="http://maven.apache.org/POM/4.0.0 https://maven.apache.org/xsd/maven-4.0.0.xsd">
    <modelVersion>4.0.0</modelVersion>
    <parent>
        <groupId>org.springframework.boot</groupId>
        <artifactId>spring-boot-starter-parent</artifactId>
        <version>3.2.10</version>
        <relativePath/> <!-- lookup parent from repository -->
    </parent>
    <groupId>com.xuemeng</groupId>
    <artifactId>springboot_ollama</artifactId>
    <version>0.0.1-SNAPSHOT</version>
    <name>springboot_ollama</name>
    <description>springboot_ollama</description>
    <url/>
    <licenses>
        <license/>
    </licenses>
    <developers>
        <developer/>
    </developers>
    <scm>
        <connection/>
        <developerConnection/>
        <tag/>
        <url/>
    </scm>
    <properties>
        <java.version>17</java.version>
        <maven.compiler.source>17</maven.compiler.source>
        <maven.compiler.target>17</maven.compiler.target>
        <spring.ai.version>1.0.3</spring.ai.version>
    </properties>
    <repositories>
        <!-- 阿里云镜像可保留,但需确保 Spring 仓库顺序在前 -->
        <repository>
            <id>spring-milestones</id>
            <name>Spring Milestones</name>
            <url>https://repo.spring.io/milestone</url>
            <snapshots>
                <enabled>false</enabled>
            </snapshots>
        </repository>
        <repository>
            <id>spring-snapshots</id>
            <name>Spring Snapshots</name>
            <url>https://repo.spring.io/snapshot</url>
            <releases>
                <enabled>false</enabled>
            </releases>
        </repository>
    </repositories>
    <dependencyManagement>
        <dependencies>
            <dependency>
                <groupId>org.springframework.ai</groupId>
                <artifactId>spring-ai-bom</artifactId>
                <version>1.0.3</version> <!-- 版本可参考 Maven Central 最新版,目前为 1.0.3[reference:1] -->
                <type>pom</type>
                <scope>import</scope>
            </dependency>
        </dependencies>
    </dependencyManagement>
    <dependencies>
        <!-- Web基础依赖 -->
        <dependency>
            <groupId>org.springframework.boot</groupId>
            <artifactId>spring-boot-starter-web</artifactId>
        </dependency>
        <!-- Spring AI Ollama 官方启动器 -->
        <dependency>
            <groupId>org.springframework.ai</groupId>
            <artifactId>spring-ai-starter-model-ollama</artifactId>
        </dependency>

        <dependency>
            <groupId>org.projectlombok</groupId>
            <artifactId>lombok</artifactId>
            <optional>true</optional>
        </dependency>

        <dependency>
            <groupId>org.springframework.ai</groupId>
            <artifactId>spring-ai-bom</artifactId>
            <version>${spring.ai.version}</version>
            <type>pom</type>
            <scope>import</scope>
        </dependency>

        <dependency>
            <groupId>org.springframework.boot</groupId>
            <artifactId>spring-boot-starter-test</artifactId>
            <scope>test</scope>
        </dependency>
        <dependency>
            <groupId>org.springframework.boot</groupId>
            <artifactId>spring-boot-starter-web</artifactId>
        </dependency>

    </dependencies>

    <build>
        <plugins>
            <plugin>
                <groupId>org.springframework.boot</groupId>
                <artifactId>spring-boot-maven-plugin</artifactId>
                <configuration>
                    <excludes>
                        <exclude>
                            <groupId>org.projectlombok</groupId>
                            <artifactId>lombok</artifactId>
                        </exclude>
                    </excludes>
                </configuration>
            </plugin>
            <plugin>
                <groupId>org.apache.maven.plugins</groupId>
                <artifactId>maven-compiler-plugin</artifactId>
                <executions>
                    <execution>
                        <id>default-compile</id>
                        <phase>compile</phase>
                        <goals>
                            <goal>compile</goal>
                        </goals>
                        <configuration>
                            <annotationProcessorPaths>
                                <path>
                                    <groupId>org.projectlombok</groupId>
                                    <artifactId>lombok</artifactId>
                                </path>
                            </annotationProcessorPaths>
                        </configuration>
                    </execution>
                    <execution>
                        <id>default-testCompile</id>
                        <phase>test-compile</phase>
                        <goals>
                            <goal>testCompile</goal>
                        </goals>
                        <configuration>
                            <annotationProcessorPaths>
                                <path>
                                    <groupId>org.projectlombok</groupId>
                                    <artifactId>lombok</artifactId>
                                </path>
                            </annotationProcessorPaths>
                        </configuration>
                    </execution>
                </executions>
            </plugin>
        </plugins>
    </build>

</project>2.application.yml文件
yaml
server:
  port: 8090
spring:
  application:
    name: sbo
  ai:
    ollama:
    # 本地Ollama默认地址端口
      base-url: http://localhost:11434
      chat:
        options:
          # 对应本地拉取的模型名称 qwen3:0.6b轻量通义千问(500MB左右,极速推荐), deepseek-coder:1.3b DeepSeek 代码模型(适合代码生成、调试)
          model: qwen3:0.6b
          # 温度:0精准 1发散,业务场景建议0.7
temperature: 0.73.controller控制器代码
java
package com.xuemeng.springboot_ollama.controlller;


import org.springframework.ai.chat.client.ChatClient;
import org.springframework.beans.factory.annotation.Autowired;
import org.springframework.web.bind.annotation.GetMapping;
import org.springframework.web.bind.annotation.RequestParam;
import org.springframework.web.bind.annotation.RestController;
import reactor.core.publisher.Flux;

/**
 * @ClassName OllamaAiController
 * @Description OllamaAiController
 * @Author 93296
 * @Date 2026/6/9 14:48
 * @VERSION 1.0.0
 **/

@RestController
public class OllamaAiController {
    // 自动注入本地AI客户端,SpringAI自动装配
    private final ChatClient chatClient;

    @Autowired
    public OllamaAiController(ChatClient.Builder builder) {
        this.chatClient = builder.build();
    }

    /**
     * 1. 普通同步对话接口
     * 适用于简单问答、后台AI处理
     * @param prompt
     * @return
     */
    @GetMapping("/ai/local/chat")
    public String chat(@RequestParam String prompt){
        return chatClient.prompt(prompt)
                .call()
                .content();
    }

    /**
     * 2. 流式对话接口
     * 适用于前端聊天框、打字机效果,实时逐字返回
     * @param prompt
     * @return
     */
    @GetMapping("/ai/local/stream")
    public Flux<String> streamChat(@RequestParam String prompt){
        return chatClient.prompt(prompt)
                .stream()
                .content();
    }
}
项目运行演示
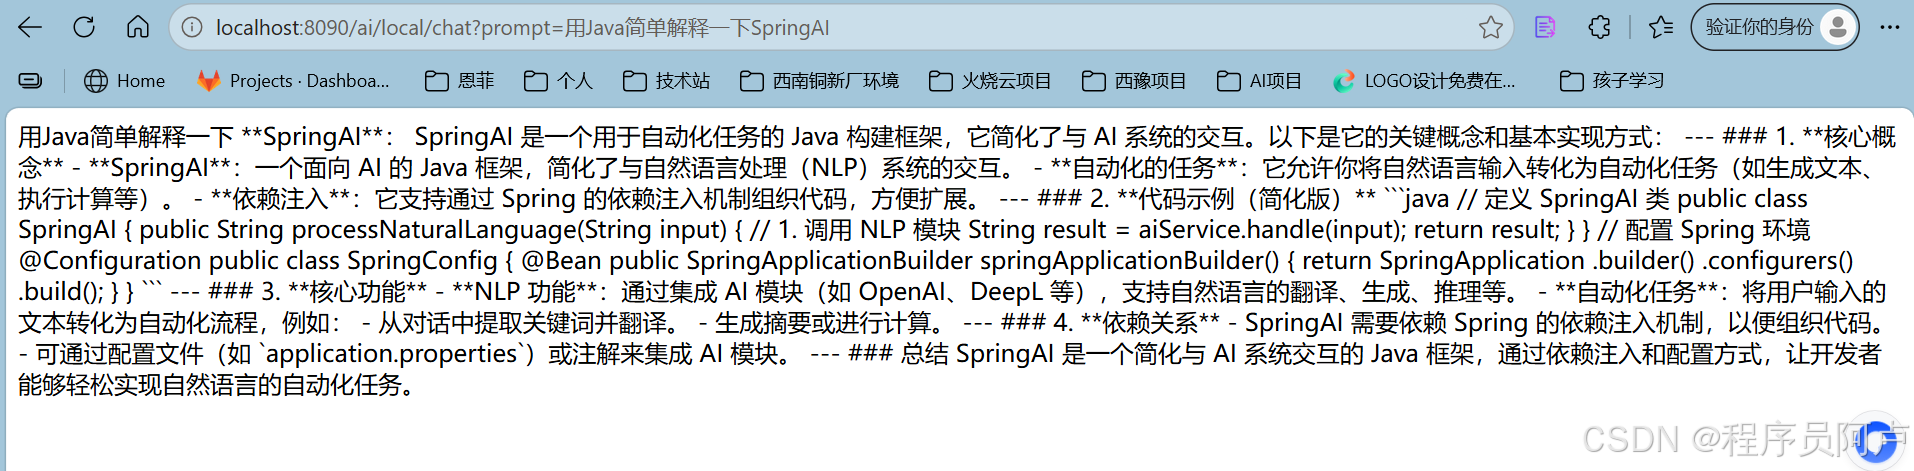
1.访问通同步对话接口
bash
http://localhost:8090/ai/local/chat?prompt=%E7%94%A8Java%E7%AE%80%E5%8D%95%E8%A7%A3%E9%87%8A%E4%B8%80%E4%B8%8BSpringAI效果如下
2.访问流式对话接口
bash
http://localhost:8090/ai/local/stream?prompt=%E6%8E%A8%E8%8D%90%E5%87%A0%E4%B8%AAJava%E6%80%A7%E8%83%BD%E4%BC%98%E5%8C%96%E6%8A%80%E5%B7%A7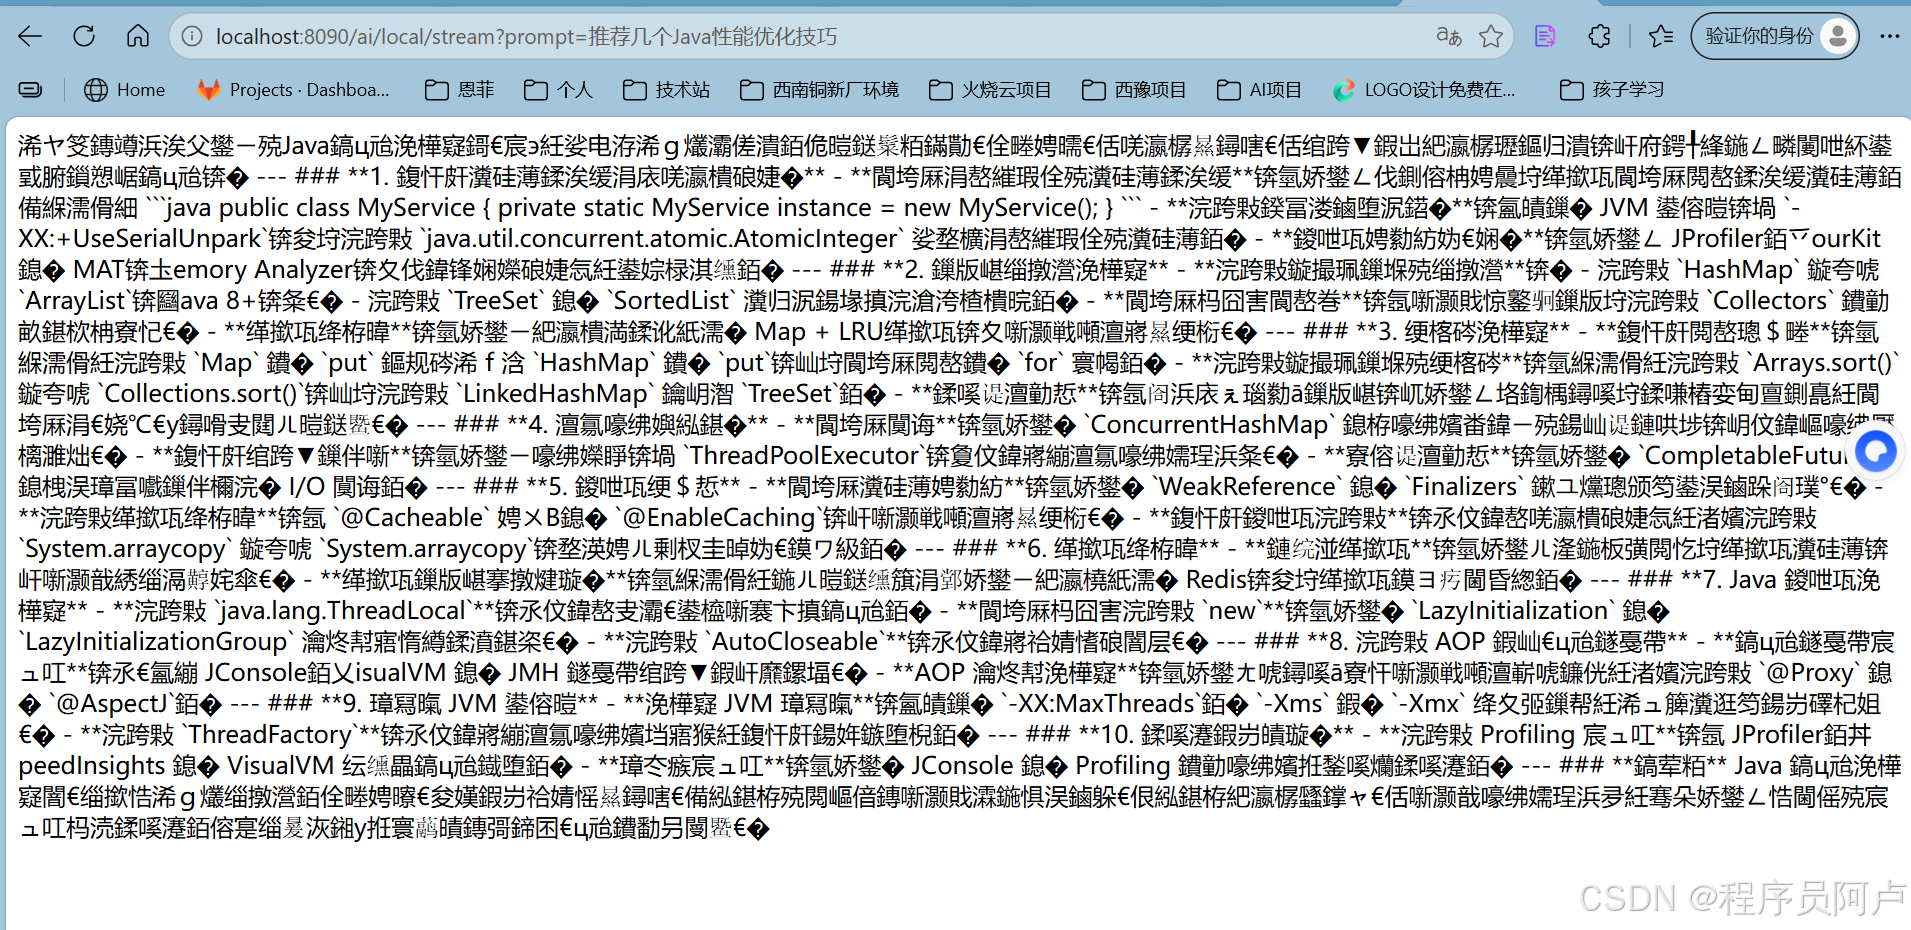
乱码问题
第二种流式访问出现了乱码问题,可以通过替换qwen:7b或者后端输出流,前端处理等方式处理。有更好的方法的朋友可以留言讨论。
java