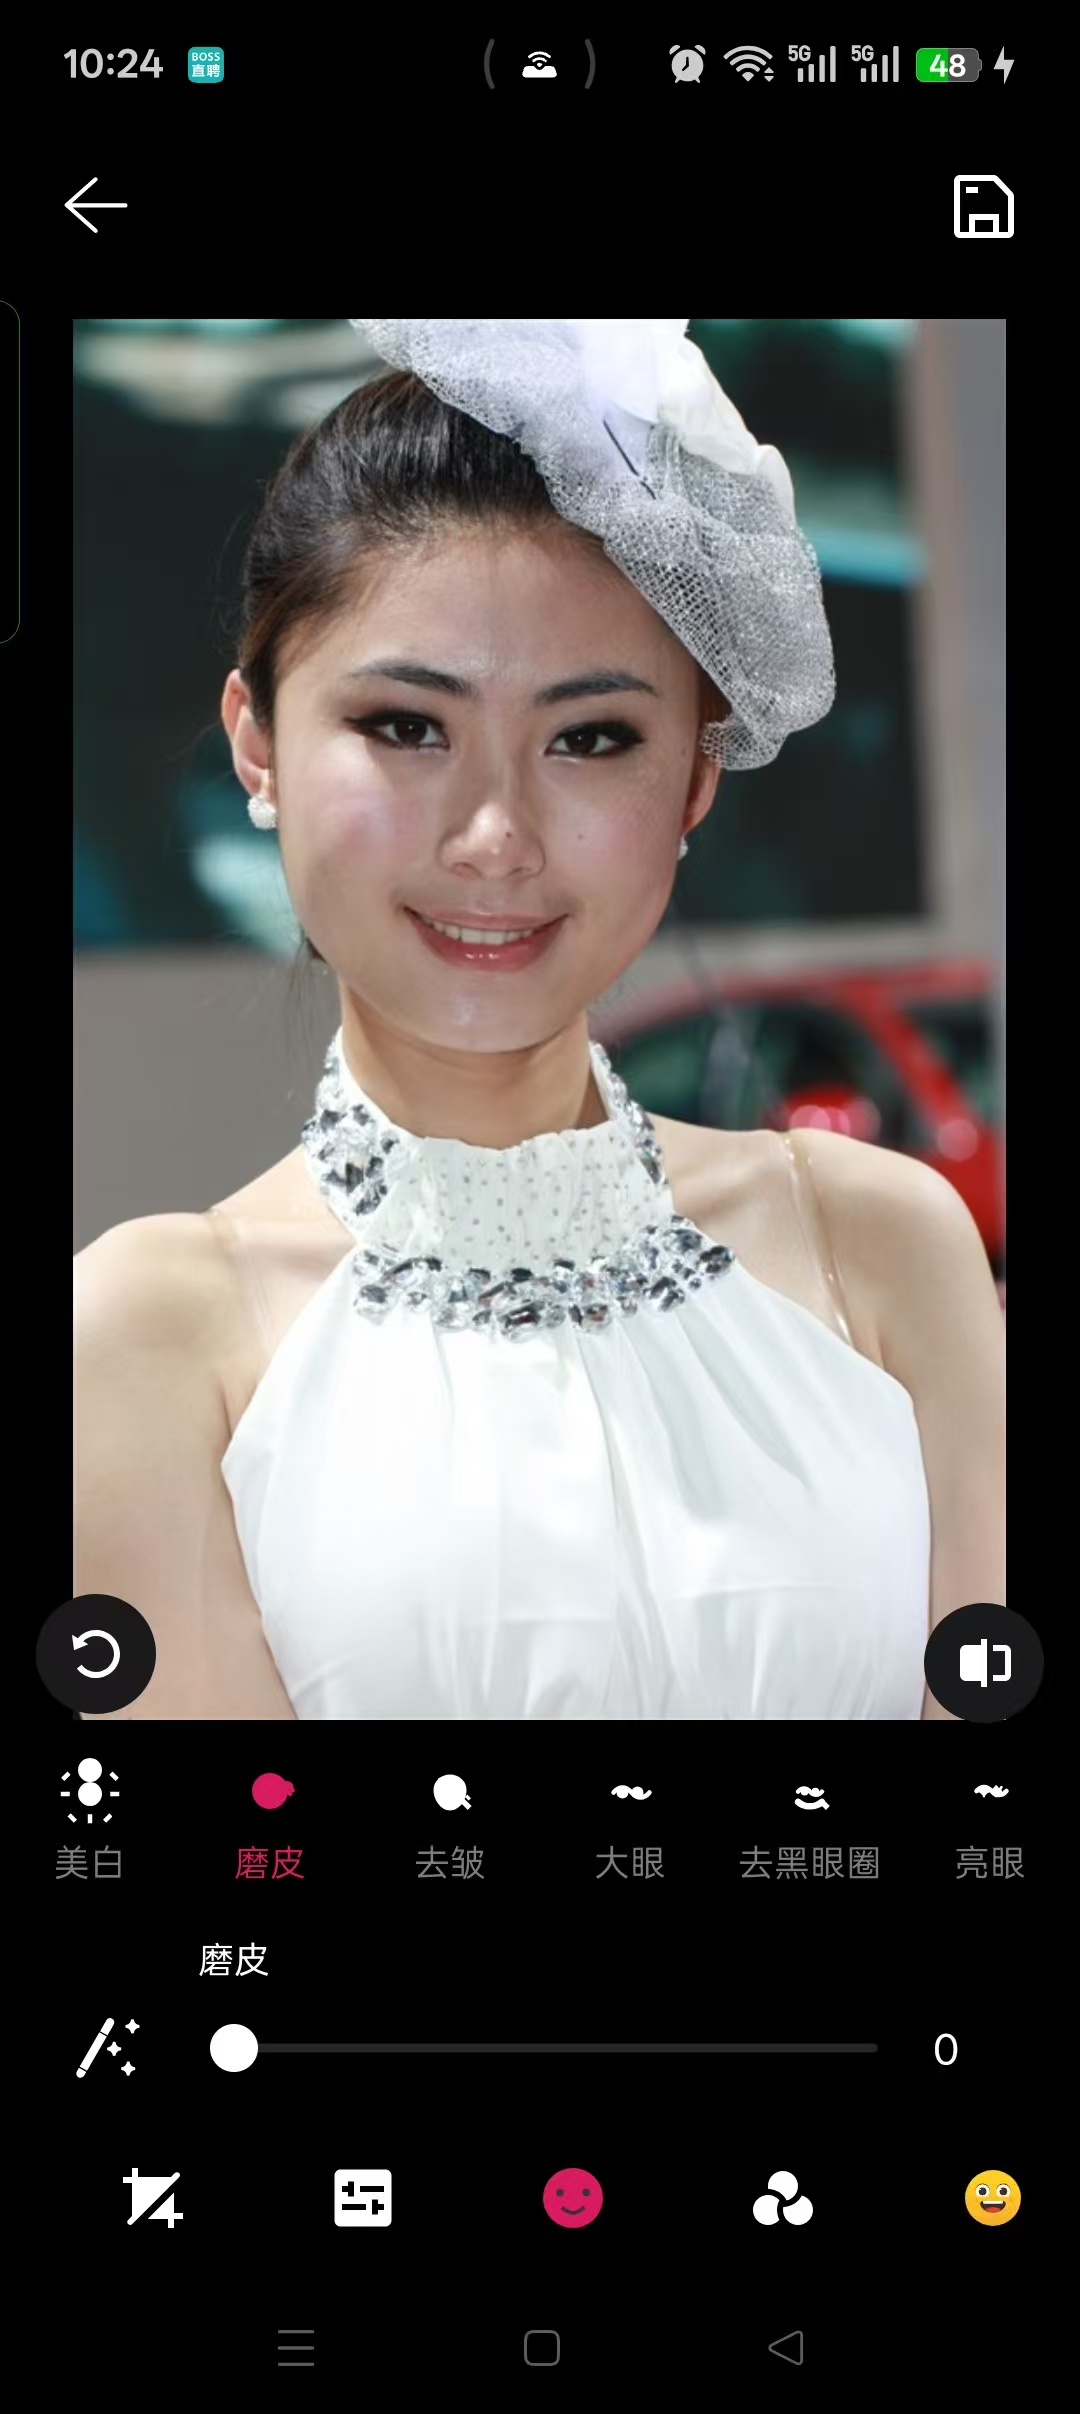
本文将基于 OpenGL ES ,纯干货分享一套商用级图像处理算法。我们不谈虚的概念,直接像素级拆解包括一键智能美颜、磨皮、去皱、大眼、去黑眼圈、瘦脸、小嘴、瘦鼻等 10+ 种核心美颜功能。
一、添加依赖
需要实现对脸部的各种操作就需要识别出脸部特征,这里使用google免费的开源库
faceDetection = "16.1.7"
mlkitCommon = "18.11.0"
swiperefreshlayout = "1.2.0"

segmentation-selfie = { module = "com.google.mlkit:segmentation-selfie", version.ref = "segmentationSelfie" }
mlkit-common = { module = "com.google.mlkit:common", version.ref = "mlkitCommon" }
face-detection = { module = "com.google.mlkit:face-detection", version.ref = "faceDetection" }

api libs.mlkit.common
api libs.face.detection
api libs.segmentation.selfie
二、识别获取人脸数据
通过ML Kit将人脸最核心的局部器官(眼睛、眼袋/黑眼圈区域、鼻子、鼻尖、嘴巴 )的中心点坐标 和模拟椭圆半径 全部抓取出来,打包成一个全能的数据实体类 EyeRegions
    private val detector by lazy {
        FaceDetection.getClient(
            FaceDetectorOptions.Builder()
                .setPerformanceMode(FaceDetectorOptions.PERFORMANCE_MODE_ACCURATE)
                .setLandmarkMode(FaceDetectorOptions.LANDMARK_MODE_ALL)
                .setContourMode(FaceDetectorOptions.CONTOUR_MODE_ALL)
                .build()
        )
    }

    @JvmStatic
    fun detect(bitmap: Bitmap): EyeRegions? {
        if (bitmap.isRecycled) {
            return null
        }
        val detectBitmap = if (max(bitmap.width, bitmap.height) > 1280) {
            val scale = 1280f / max(bitmap.width, bitmap.height)
            bitmap.scale((bitmap.width * scale).toInt(), (bitmap.height * scale).toInt())
        } else {
            bitmap
        }
        val scaled = detectBitmap !== bitmap
        return try {
            val image = InputImage.fromBitmap(detectBitmap, 0)
            val faces = Tasks.await(detector.process(image), 8, TimeUnit.SECONDS)
            if (faces.isNullOrEmpty()) {
                null
            } else {
                val face = faces.maxByOrNull { it.boundingBox.width() * it.boundingBox.height() }
                face?.let { buildRegions(it, detectBitmap.width, detectBitmap.height) }
            }
        } catch (_: Exception) {
            null
        } finally {
            if (scaled) {
                detectBitmap.recycle()
            }
        }
    }

    private fun buildRegions(face: Face, width: Int, height: Int): EyeRegions? {
        val leftContour = face.getContour(FaceContour.LEFT_EYE)?.points
        val rightContour = face.getContour(FaceContour.RIGHT_EYE)?.points
        val leftEye = leftContour?.let { computeEyeCenter(it, width, height) }
            ?: computeEyeFromLandmark(face, FaceLandmark.LEFT_EYE, width, height)
        val rightEye = rightContour?.let { computeEyeCenter(it, width, height) }
            ?: computeEyeFromLandmark(face, FaceLandmark.RIGHT_EYE, width, height)
        val leftUnderEye = leftContour?.let { computeUnderEye(it, width, height) }
            ?: computeUnderEyeFromLandmark(face, FaceLandmark.LEFT_EYE, width, height)
        val rightUnderEye = rightContour?.let { computeUnderEye(it, width, height) }
            ?: computeUnderEyeFromLandmark(face, FaceLandmark.RIGHT_EYE, width, height)
        if (leftEye == null || rightEye == null || leftUnderEye == null || rightUnderEye == null) {
            return null
        }
        val nose = computeNose(face, width, height)
        val mouth = computeMouth(face, width, height)
        val noseTip = computeNoseTip(face, width, height)
        return EyeRegions(
            leftEyeCenterX = leftEye.first.x,
            leftEyeCenterY = leftEye.first.y,
            rightEyeCenterX = rightEye.first.x,
            rightEyeCenterY = rightEye.first.y,
            eyeRadiusX = (leftEye.second.first + rightEye.second.first) * 0.5f,
            eyeRadiusY = (leftEye.second.second + rightEye.second.second) * 0.5f,
            leftUnderEyeCenterX = leftUnderEye.first.x,
            leftUnderEyeCenterY = leftUnderEye.first.y,
            rightUnderEyeCenterX = rightUnderEye.first.x,
            rightUnderEyeCenterY = rightUnderEye.first.y,
            underEyeRadiusX = (leftUnderEye.second.first + rightUnderEye.second.first) * 0.5f,
            underEyeRadiusY = (leftUnderEye.second.second + rightUnderEye.second.second) * 0.5f,
            noseCenterX = nose?.center?.x ?: 0f,
            noseCenterY = nose?.center?.y ?: 0f,
            noseLeftX = nose?.left?.x ?: 0f,
            noseLeftY = nose?.left?.y ?: 0f,
            noseRightX = nose?.right?.x ?: 0f,
            noseRightY = nose?.right?.y ?: 0f,
            noseRadiusX = nose?.radiusX ?: 0f,
            noseRadiusY = nose?.radiusY ?: 0f,
            hasNose = nose != null,
            mouthCenterX = mouth?.center?.x ?: 0f,
            mouthCenterY = mouth?.center?.y ?: 0f,
            mouthLeftX = mouth?.left?.x ?: 0f,
            mouthLeftY = mouth?.left?.y ?: 0f,
            mouthRightX = mouth?.right?.x ?: 0f,
            mouthRightY = mouth?.right?.y ?: 0f,
            mouthRadiusX = mouth?.radiusX ?: 0f,
            mouthRadiusY = mouth?.radiusY ?: 0f,
            hasMouth = mouth != null,
            noseTipX = noseTip?.tip?.x ?: 0f,
            noseTipY = noseTip?.tip?.y ?: 0f,
            noseBridgeX = noseTip?.bridge?.x ?: 0f,
            noseBridgeY = noseTip?.bridge?.y ?: 0f,
            noseTipRadiusX = noseTip?.radiusX ?: 0f,
            noseTipRadiusY = noseTip?.radiusY ?: 0f,
            hasNoseTip = noseTip != null
        )
    }
三、瘦脸实现
1. 检测入口
图片加载后,detectEyeRegionsAsync() 在后台线程同时跑人脸检测,其中瘦脸专用的是 FaceSlimLandmarkDetector.detect(bitmap)
  EyeRegions regions = FaceEyeRegionDetector.detect(bitmap);
            float[] faceSlimLandmarks = FaceSlimLandmarkDetector.detect(bitmap);
            // ...
                mFaceSlimLandmarks = faceSlimLandmarks;
                applyFaceSlimLandmarksToAlgorithm();
2.与眼距/瘦鼻共用高精度模式,同时开启 Landmark + Contour
  FaceDetection.getClient(
            FaceDetectorOptions.Builder()
                .setPerformanceMode(FaceDetectorOptions.PERFORMANCE_MODE_ACCURATE)
                .setLandmarkMode(FaceDetectorOptions.LANDMARK_MODE_ALL)
                .setContourMode(FaceDetectorOptions.CONTOUR_MODE_ALL)
                .build()
        )
**3.执行瘦脸,**curveWarp 曲线变形
-
以
edgePoint为锚点 -
在半径
radius内,像素向target方向位移 -
越靠近锚点权重越大,边缘平滑衰减到 0
vec2 curveWarp(vec2 coordinate, vec2 edgePoint, vec2 target, float radius) {
                  vec2 dist = target - edgePoint;
                  float weight = 1.0 - distance(coordinate, edgePoint) / radius;
                  weight = clamp(weight, 0.0, 1.0);
                  return coordinate - dist * weight;
              }
slimFace:四向收脸
  void slimFace(vec2 frameSize, float intensity) {
                    vec2 coord = sample_coordinate * frameSize;
                    float k = 0.1 * intensity;
                    vec2 p1t = landmarks[1] + (landmarks[0] - landmarks[1]) * k;
                    vec2 p2t = landmarks[2] + (landmarks[0] - landmarks[2]) * k;
                    vec2 p6t = landmarks[6] + (landmarks[0] - landmarks[6]) * k;
                    vec2 p8t = landmarks[8] + (landmarks[0] - landmarks[8]) * k;
                    float radius = distance(landmarks[0], landmarks[5]);
                    float radiusL = distance(landmarks[0], landmarks[6]);
                    float radiusR = distance(landmarks[0], landmarks[8]);
                    coord = curveWarp(coord, landmarks[1], p1t, radius);
                    coord = curveWarp(coord, landmarks[2], p2t, radius);
                    coord = curveWarp(coord, landmarks[6], p6t, radiusL);
                    coord = curveWarp(coord, landmarks[8], p8t, radiusR);
                    gl_FragColor = texture2D(video_frame, coord / frameSize);
                }
k = 0.1 × intensity:最大向脸心收缩 10%- 脸颊影响半径:
distance(脸心, 下巴),覆盖中下面部 - 下颌单独用左右不同半径,适配脸型不对称
早退优化
  void main() {
                    if (faceSlimIntensity <= 0.0) {
                        gl_FragColor = texture2D(video_frame, sample_coordinate);
                    } else {
                        slimFace(frameSize, faceSlimIntensity);
                    }
                }
强度为 0 时直接采样原图,零变形开销。
核心算法代码:
    void AlgorithmFaceSlim::BuildGlProgram(GLuint *program) {
        const GLint attr_location[NUM_ATTRIBUTES] = {
                ATTRIB_POSITION,
                ATTRIB_TEXTURE_COORDINATE,
        };
        const GLchar *attr_name[NUM_ATTRIBUTES] = {
                "position",
                "texture_coordinate",
        };

        const GLchar *const FACE_SLIM_FRAG_SHADER = __STRINGIFY(
                precision highp float;

                varying vec2 sample_coordinate;
                uniform sampler2D video_frame;

                uniform float frame_width;
                uniform float frame_height;
                uniform vec2 landmarks[10];
                uniform float faceSlimIntensity;

                vec2 curveWarp(vec2 coordinate, vec2 edgePoint, vec2 target, float radius) {
                    vec2 offset = vec2(0.0);
                    vec2 dist = target - edgePoint;
                    float weight = 1.0 - distance(coordinate, edgePoint) / radius;
                    weight = clamp(weight, 0.0, 1.0);
                    offset = dist * weight;
                    return coordinate - offset;
                }

                void slimFace(vec2 frameSize, float intensity) {
                    vec2 coord = sample_coordinate * frameSize;
                    float k = 0.1 * intensity;

                    vec2 p1t = landmarks[1] + (landmarks[0] - landmarks[1]) * k;
                    vec2 p2t = landmarks[2] + (landmarks[0] - landmarks[2]) * k;
                    vec2 p6t = landmarks[6] + (landmarks[0] - landmarks[6]) * k;
                    vec2 p8t = landmarks[8] + (landmarks[0] - landmarks[8]) * k;

                    float radius = distance(landmarks[0], landmarks[5]);
                    float radiusL = distance(landmarks[0], landmarks[6]);
                    float radiusR = distance(landmarks[0], landmarks[8]);

                    coord = curveWarp(coord, landmarks[1], p1t, radius);
                    coord = curveWarp(coord, landmarks[2], p2t, radius);
                    coord = curveWarp(coord, landmarks[6], p6t, radiusL);
                    coord = curveWarp(coord, landmarks[8], p8t, radiusR);

                    gl_FragColor = texture2D(video_frame, coord / frameSize);
                }

                void main() {
                    vec2 frameSize = vec2(frame_width, frame_height);
                    if (faceSlimIntensity <= 0.0) {
                        gl_FragColor = texture2D(video_frame, sample_coordinate);
                    } else {
                        slimFace(frameSize, faceSlimIntensity);
                    }
                });

        GLuint program_;
        GlCreateProgram(
                VERTEX_SHADER, FACE_SLIM_FRAG_SHADER, NUM_ATTRIBUTES,
                (const GLchar **) &attr_name[0], attr_location, &program_);

        frame_width_loc_ = glGetUniformLocation(program_, "frame_width");
        frame_height_loc_ = glGetUniformLocation(program_, "frame_height");
        landmarks_loc_ = glGetUniformLocation(program_, "landmarks");
        intensity_loc_ = glGetUniformLocation(program_, "faceSlimIntensity");

        *program = program_;
    }
四、小嘴实现
1.小嘴(MOUTH_SMALL)的目标是:把左右嘴角向嘴中心收缩,让嘴型变窄,而不是整体缩放。实现上与「嘴巴大小」共用检测数据
数据来源
  private fun computeMouth(face: Face, width: Int, height: Int): MouthRegionData? {
        val leftLandmark = face.getLandmark(FaceLandmark.MOUTH_LEFT)?.position
        val rightLandmark = face.getLandmark(FaceLandmark.MOUTH_RIGHT)?.position
        val bottomLandmark = face.getLandmark(FaceLandmark.MOUTH_BOTTOM)?.position
        val lowerLip = face.getContour(FaceContour.LOWER_LIP_BOTTOM)?.points
        val upperLip = face.getContour(FaceContour.UPPER_LIP_BOTTOM)?.points
        val leftPoint = leftLandmark ?: lowerLip?.minByOrNull { it.x }
val rightPoint = rightLandmark ?: lowerLip?.maxByOrNull { it.x }| 字段 | 含义 | 计算方式 |
|---|---|---|
mouthLeft |
左嘴角 | MOUTH_LEFT 或下唇轮廓最左点 |
mouthRight |
右嘴角 | MOUTH_RIGHT 或下唇轮廓最右点 |
mouthCenter |
嘴中心 | 左右角中点 X + 综合 Y(含 MOUTH_BOTTOM、上下唇轮廓) |
mouthRadiusX/Y |
椭圆影响范围 | 嘴宽 × 0.62、嘴高 × 1.05,归一化到短边 |
2.输出结构
  return MouthRegionData(
            center = PointF(centerX / width, centerY / height),
            left = PointF(leftPoint.x / width, leftPoint.y / height),
            right = PointF(rightPoint.x / width, rightPoint.y / height),
            radiusX = mouthWidth * 0.62f / base,
            radiusY = mouthHeight * 1.05f / base
        )
坐标统一 归一化到 0,1,与图片分辨率无关
3.区域下发
  private void applyMouthRegionsToAlgorithm() {
        // ...
            if (mBeautyMouthSmall != null) {
                mBeautyMouthSmall.setMouthRegions(
                        mEyeRegions.getMouthLeftX(),
                        mEyeRegions.getMouthLeftY(),
                        // ... center, radius
                );
            }
触发时机:图片加载后 detectEyeRegionsAsync() 检测完成时。无嘴部数据时 clearMouthRegions(),GPU 侧强制 intensity = 0。
4.GPU 核心:curveWarp 嘴角内收
   vec2 curveWarp(vec2 coordinate, vec2 edgePoint, vec2 target, float radius) {
                    vec2 dist = target - edgePoint;
                    float weight = 1.0 - distance(coordinate, edgePoint) / radius;
                    weight = clamp(weight, 0.0, 1.0);
                    return coordinate - dist * weight;
                }
对每个输出像素,在锚点 edgePoint 附近把采样坐标向 target 偏移,距离越近权重越大
5.slimMouth:嘴角向中心收
 void slimMouth(vec2 frameSize, float intensity) {
                    vec2 coord = sample_coordinate * frameSize;
                    float k = 0.16 * intensity;
                    vec2 leftTarget = mouth_left + (mouth_center - mouth_left) * k;
                    vec2 rightTarget = mouth_right + (mouth_center - mouth_right) * k;
                    float radius = distance(mouth_left, mouth_right) * 0.72;
                    radius = max(radius, max(mouth_radius.x, mouth_radius.y));
                    coord = curveWarp(coord, mouth_left, leftTarget, radius);
                    coord = curveWarp(coord, mouth_right, rightTarget, radius);
                    gl_FragColor = texture2D(video_frame, coord / frameSize);
}- 左嘴角:从
mouth_left向mouth_center移动k比例 →leftTarget - 右嘴角:从
mouth_right向mouth_center移动k比例 →rightTarget - 影响半径:嘴宽 × 0.72,与椭圆半径取 max,保证宽嘴也覆盖到位
- k = 0.16:比瘦鼻(0.14)略强,嘴角变化更易感知
6.注意:
|------------------|--------------------------|
| 与 MouthSize 共用检测 | 嘴角、中心、半径语义一致,不重复跑 ML Kit |
| 独立 Parameter key | 两个算法参数互不覆盖 |
| curveWarp 而非径向缩放 | 只收嘴角,嘴高基本不变,更符合「小嘴」语义 |
| 链式先 Size 后 Small | 先整体比例,再微调嘴宽,可叠加 |
| 无嘴部数据时禁用 | 避免无 landmarks 时乱变形 |
| 逆向映射 | 逐像素算采样坐标,无网格空洞 |
若要嘴收得更明显,可在 AlgorithmMouthSmall.cpp 把 0.16 调到 0.18~0.20;若边缘有拉扯感,可把 0.72 略减小
五、大眼实现
大眼(EYE_ENLARGE)通过 以眼为中心径向放大 让眼睛看起来更大。静态照片编辑走 AlgorithmEyeEnlarge + ML Kit 检测
眼部区域提取
1. 检测流程
FaceEyeRegionDetector.buildRegions() 对每只眼:
-
优先用 眼轮廓
FaceContour.LEFT_EYE/RIGHT_EYE -
缺失时回退到 Landmark
LEFT_EYE/RIGHT_EYE -
再不行用人脸框比例估算
 val leftEye = leftContour?.let { computeEyeCenter(it, width, height) }
         ?: computeEyeFromLandmark(face, FaceLandmark.LEFT_EYE, width, height)
     val rightEye = rightContour?.let { computeEyeCenter(it, width, height) }
         ?: computeEyeFromLandmark(face, FaceLandmark.RIGHT_EYE, width, height)
     // ...
         eyeRadiusX = (leftEye.second.first + rightEye.second.first) * 0.5f,
         eyeRadiusY = (leftEye.second.second + rightEye.second.second) * 0.5f,
2. 眼中心与椭圆半径
computeEyeCenter() 对眼轮廓取包围盒:
| 字段 | 计算 |
|---|---|
| 眼中心 | 轮廓 bbox 中心,归一化到 0,1 |
radiusX |
眼宽 × 0.52 / 短边 |
radiusY |
眼高 × 0.92 / 短边 |
        val centerX = (minX + maxX) * 0.5f / width
        val centerY = (minY + maxY) * 0.5f / height
        val base = min(width, height).toFloat()
        val radiusX = eyeWidth * 0.52f / base
        val radiusY = eyeHeight * 0.92f / base
3.从眼中心推算眼角 + 径向放大
大眼 Shader 不直接用 ML Kit 眼角点,而是在 C++ 里由眼中心 + 半径推算左右眼角(内眦、外眦)。BeforeProcess:构造 4 个眼角点
   const float eyeSpan = std::max(radiusX * 1.8f, radiusY * 1.2f);
            fLandmarks[0] = leftCenterX - eyeSpan;   // 左眼内角
            fLandmarks[1] = leftCenterY;
            fLandmarks[2] = leftCenterX + eyeSpan;   // 左眼外角
            fLandmarks[3] = leftCenterY;
            fLandmarks[4] = rightCenterX - eyeSpan;  // 右眼内角
            fLandmarks[5] = rightCenterY;
            fLandmarks[6] = rightCenterX + eyeSpan;  // 右眼外角
            fLandmarks[7] = rightCenterY;
左眼 右眼
●─────────● ●─────────●
0\] 中心 \[2\] \[4\] 中心 \[6
内眦 外眦 内眦 外眦
eyeSpan = max(radiusX × 1.8, radiusY × 1.2)
landmarks[4] 传入 Shader:[0],[1] 左眼,[2],[3] 右眼。
4.magnifyEye:单眼径向放大
 bool magnifyEye(vec2 frameSize, vec2 coordinate, vec2 canthus_l, vec2 canthus_r, float intensity) {
                    vec2 coord = coordinate * frameSize;
                    vec2 left = canthus_l;
                    vec2 right = canthus_r;
                    vec2 centre = vec2((left.x + right.x) / 2.0, (left.y + right.y) / 2.0);
                    float dist = distance(coord, centre);
                    float radius = distance(left, right);
                    if (dist <= radius) {
                        float weight = dist / radius;
                        weight = 1.0 - intensity * 1.33 * pow((weight - 1.0), 2.0) * weight;
                        weight = clamp(weight, 0.0, 1.0);
                        vec2 transformCoord = centre + (coord - centre) * weight;
                        transformCoord = transformCoord / frameSize;
                        gl_FragColor = texture2D(video_frame, transformCoord);
                        return true;
                    }
                    return false;
                }
几何含义:
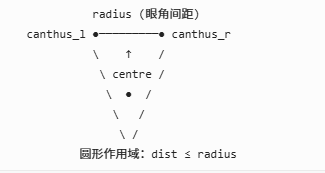
圆形作用域:dist ≤ radius
- 圆心
centre:左右眼角中点(近似眼中心) - 作用半径
radius:两眼角距离(近似眼宽) - 判定:像素在圆内才变形,圆外原样采样
放大公式:
设 t = dist / radius(0=中心,1=边缘):
scale = 1.0 - intensity × 1.33 × (t - 1)² × t
samplePos = centre + (outputPos - centre) × scale| 位置 | t | scale 趋势 | 效果 |
|---|---|---|---|
| 眼中心 | 0 | ≈ 1.0 | 几乎不变 |
| 中间环 | 0.5 | < 1.0 | 从更靠近中心处采样 → 放大 |
| 边缘 | 1.0 | ≈ 1.0 | 平滑过渡 |
(t-1)² × t 在中心、边缘为 0,中间最大,所以 中间区域放大最明显,边界自然衰减,避免硬切。
5.magnifyEyes:双眼依次处理
    bool magnifyEyes(vec2 frameSize) {
                    if (eyesMagnifyIntensity > 0.0) {
                        if (magnifyEye(..., landmarks[0], landmarks[1], ...)) {
                            return true;
                        }
                        return magnifyEye(..., landmarks[2], landmarks[3], ...);
                    }
                    return false;
                }
先判左眼圆域,命中则采样返回;否则再判右眼;都不命中则输出原图。
6.设计要点
| 设计 | 原因 |
|---|---|
| 复用 ML Kit 眼轮廓 | 静态图一次检测,与亮眼/眼距共享 |
| 中心+半径推眼角 | 不依赖 MediaPipe 468 点,适配照片编辑 |
| 圆形而非椭圆 | Shader 简单,与旧版 EyeMagnify 一致 |
| 中间环放大最大 | (t-1)²×t 保证中心/边缘平滑 |
| 无眼部数据禁用 | 防止检测失败乱变形 |
| 排在瘦脸之前 | 先放大眼,再调整脸型,顺序更自然 |
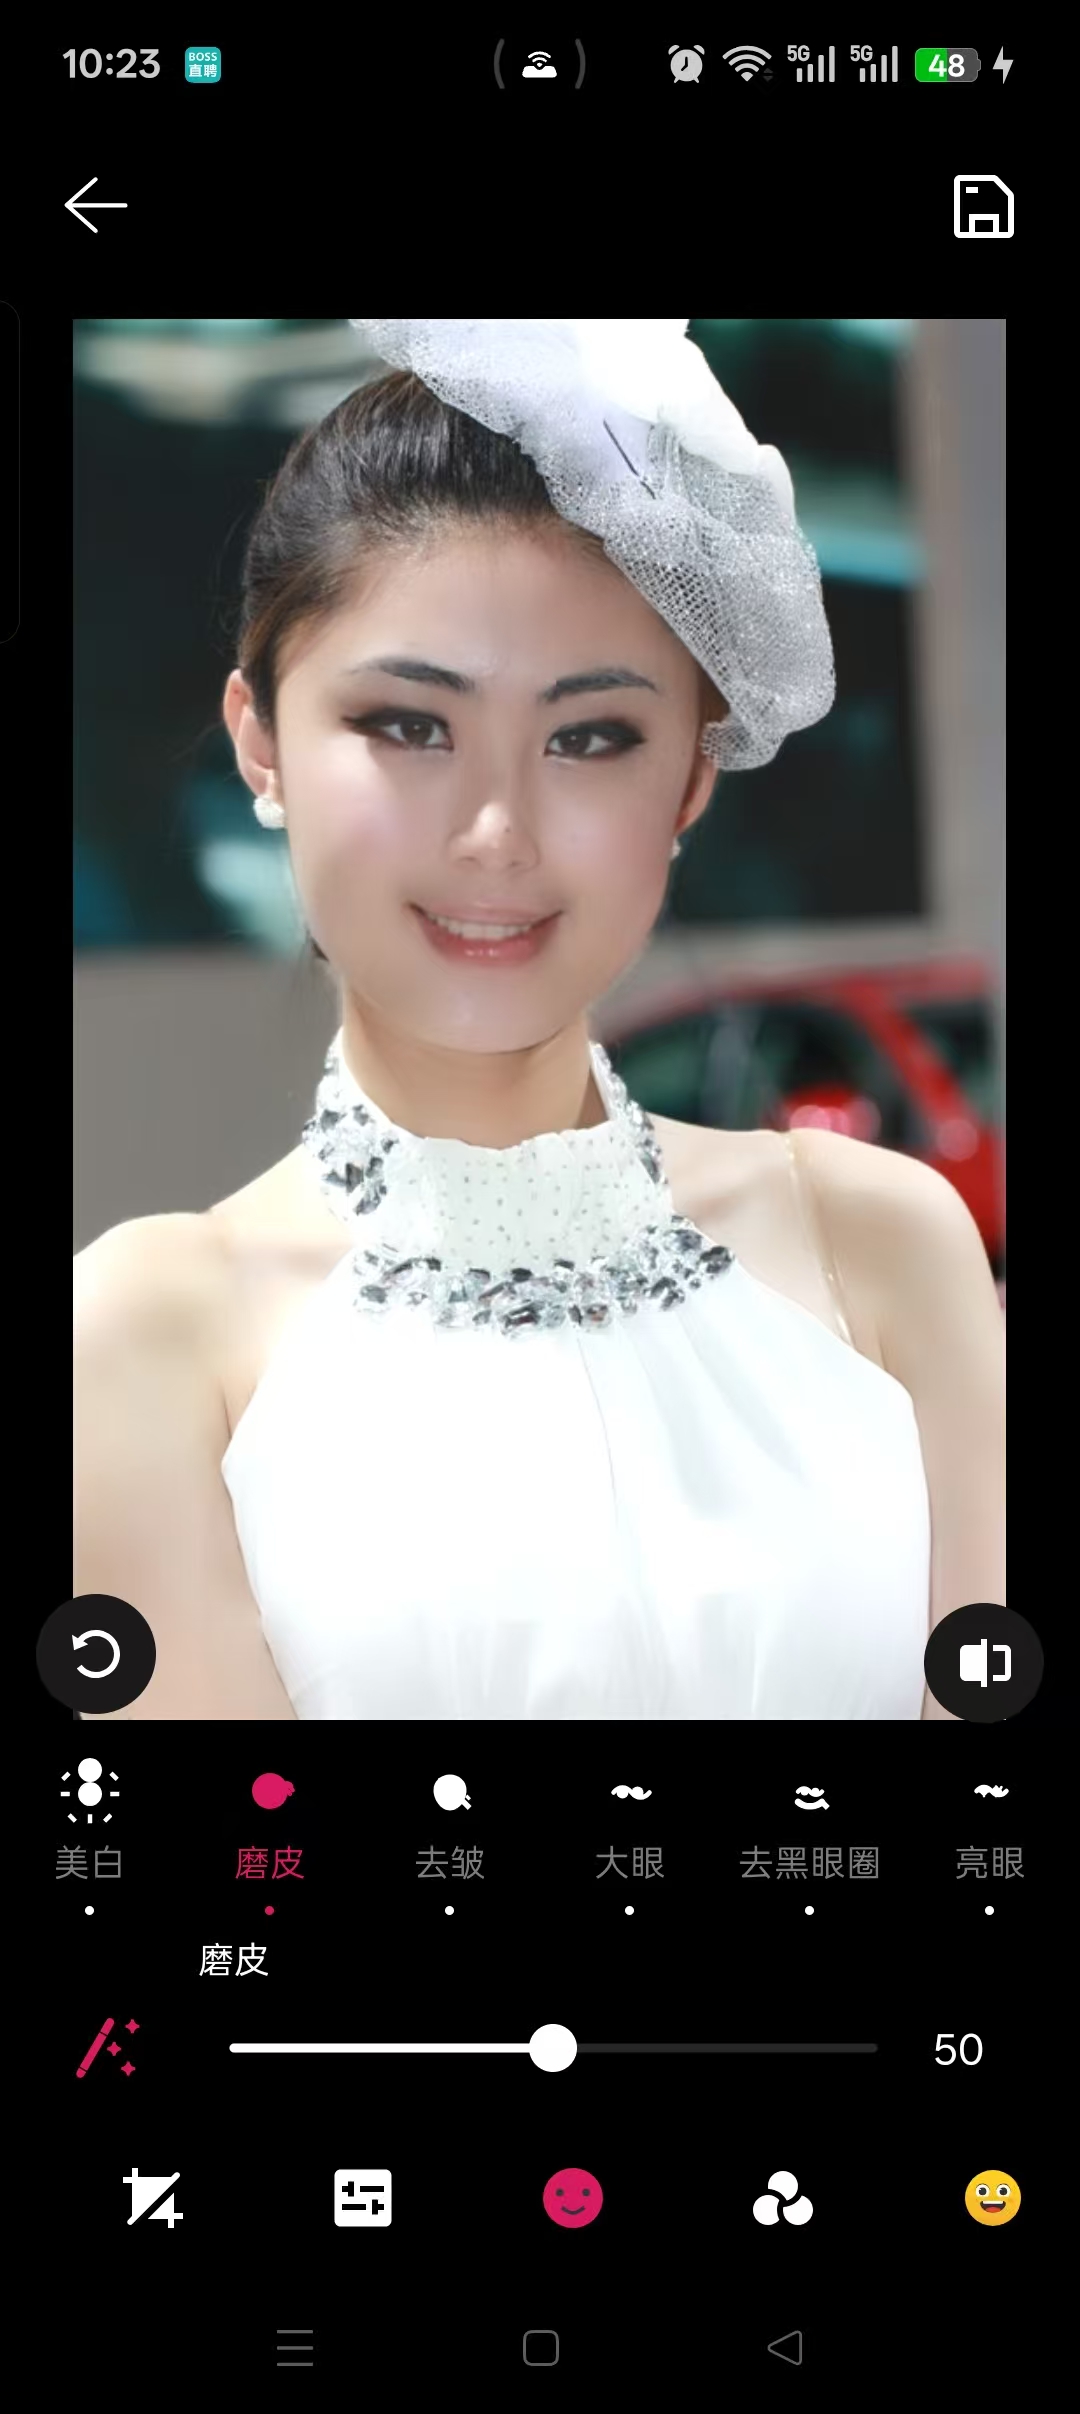
六、剩下算法不详细讲解,下面是实现效果,如果是我们自己实现估计需要很久都无法实现,但是目前有AI配合半天不用就可以实现。拥抱AI,提高效率,适应时代发展!想继续深入了解学习可留言。