很多 LayaAir 开发者用 IDE 很久,都不知道一件事:这个 IDE 是可以扩展的。
你可以给它加自己的面板、菜单项、构建步骤、自定义资源类型,甚至场景里的 Gizmo 手柄。不是改源码,是在你自己的工程里写 TypeScript,IDE 会自动把带装饰器的脚本编译进去。换句话说,你能把引擎改成完全顺手的样子。
这篇我带你跑通最基础也最常用的三件事:写一个面板、用 GUIUtils 组件搭建现代面板、加一个菜单项。所有代码均在 LayaAir 3.4.0 实测通过,复制过去就能用。
一、先搞懂:IDE 跑在三个进程上
这是写插件最容易懵的地方。LayaAir IDE 基于 Electron,代码实际跑在三个不同的进程里,而且严格分工:
| 进程 | 干啥 | 装饰器前缀 | 全局对象 |
|---|---|---|---|
| UI 进程 | 面板、菜单、对话框、Inspector 字段 | @IEditor.* |
Editor |
| Scene 进程 | 引擎/场景逻辑、Gizmo、构建 | @IEditorEnv.* |
EditorEnv |
| Preview 进程 | 运行时预览 | 仅 Laya 引擎,无 Node | --- |
编译产物分成三份:bundle.editor.js(UI)、bundle.scene.js(Scene)、bundle.js(Preview)。
为什么这个要放在第一节讲? 因为 @IEditor.* 的装饰器只能写在 UI 进程的文件里,@IEditorEnv.* 只能写在 Scene 进程里。把 UI 的装饰器误写进 Scene 文件,不会报错,但就是不生效------这是后面坑#1 的来源。
实际工程中,IDE 自动生成的入口文件已经帮你做了进程分离:
assets/src/Main.ts→ 导入bundle.editor.js,用@IEditor.regClass()注册 UI 类assets/src/MainEnv.ts→ 导入bundle.scene.js,用@IEditorEnv.regClass()注册 Scene 类你自己写的
@IEditor.*插件脚本只需放在assets/下任意位置,IDE 会自动编进 UI bundle。
二、插件放哪:就在你工程里,不用碰 IDE 源码
这点很友好:插件是创建在你自己的工程里,不是改 IDE 安装目录。
- 带
@IEditor.*或@IEditorEnv.*装饰器的脚本,可以放在工程assets/目录下的任何位置,没有强制目录结构,IDE 会自动把它们编译进对应的 bundle。 - 一个约定:把只给编辑器用的资源(图标、widget、多语言文案)放到
editorResources/目录,这些文件不会被打进游戏包。
所以你写的插件,跟着工程走。发给同事、推到仓库,别人打开工程就有你的面板了。
本篇示例的文件结构:
assets/
├── IEditor/                        ← UI 进程插件(自己建)
│   ├── MyPanel.ts                 ← 实战1:基础面板
│   ├── ConfigPanel.ts             ← 实战1-进阶:InspectorPanel 自动表单
│   ├── GUIPanel.ts                ← 实战2:GUIUtils 组件面板
│   └── MenuExt.ts                ← 实战3:菜单项
├── editorResources/
│   └── my-plugin/
│       └── icon.svg               ← 面板图标
├── src/
│   ├── Main.ts                    ← IDE 自动生成的 UI 入口
│   └── MainEnv.ts                 ← IDE 自动生成的 Scene 入口
└── ...
三、实战 1:第一个面板
面板(Panel)是最常见也最该先会的插件类型。一个最小可用面板:
typescript
@IEditor.panel("Demo.MyPanel", {
    title: "My Panel",
    icon: "editorResources/my-plugin/icon.svg",
    location: "right",           // "left"|"right"|"top"|"bottom"|"popup"|"embed"
    locationBase: "ScenePanel",  // 相对哪个面板定位
    autoStart: false,           // 工程加载时是否自动打开
    showInMenu: true,            // 是否在「面板」菜单里出现
})
export class MyPanel extends IEditor.EditorPanel {
    async create() {
        this._panel = new gui.Widget();
        this._panel.setSize(300, 400);

        let label = new gui.Label();
        label.text = "Hello from MyPanel!";
        label.fontSize = 14;
        label.color = "#4FC3F7";
        label.x = 20;
        label.y = 20;
        this._panel.addChild(label);
    }

    onStart() {
        // 面板可见/激活时
    }

    onUpdate() {
        // 激活时每帧调用
    }

    onSelectionChanged() {
        // 编辑器选中变化时
        let selection = Editor.scene?.getSelection();
    }

    onDestroy() {
        // 清理
    }
}
几个关键点:
- 类必须
extends IEditor.EditorPanel,在async create()中给this._panel赋值。 location决定面板停靠在哪;showInMenu: true后能在顶部「面板」菜单里点开。onSelectionChanged/onSceneActivate这些生命周期回调,是面板和场景联动的入口。
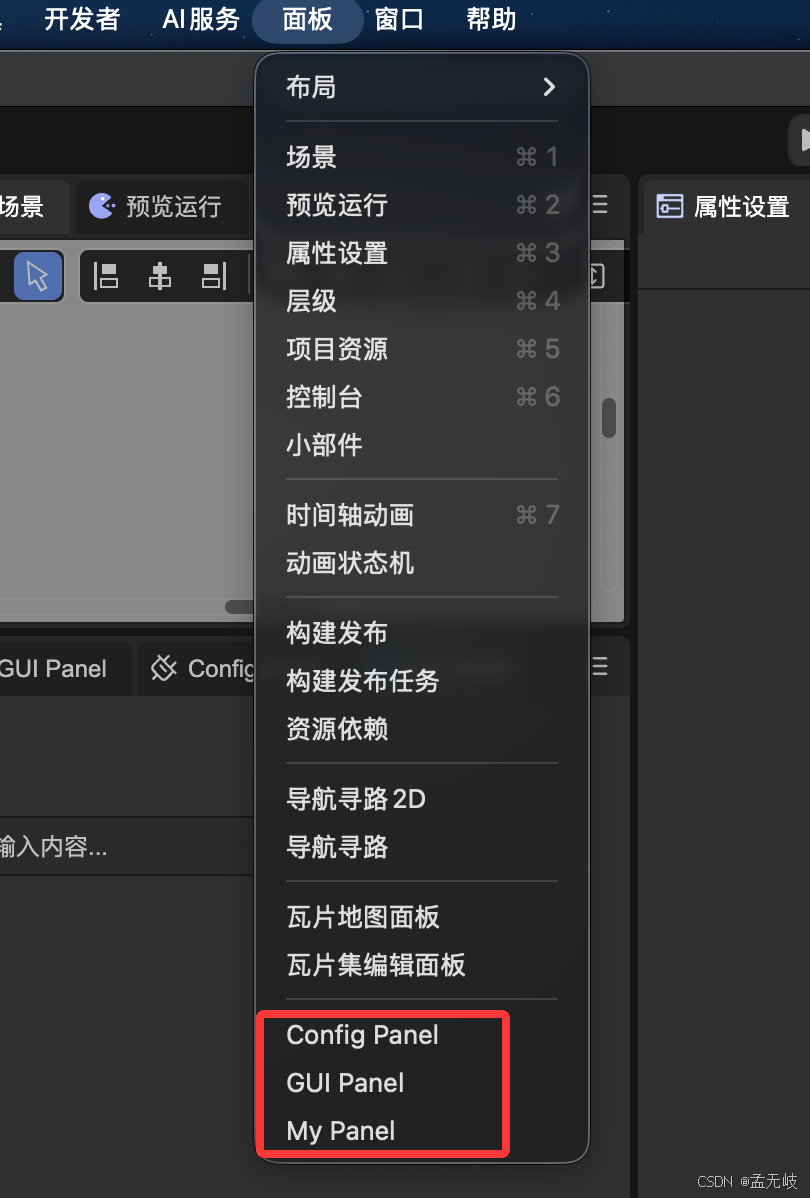
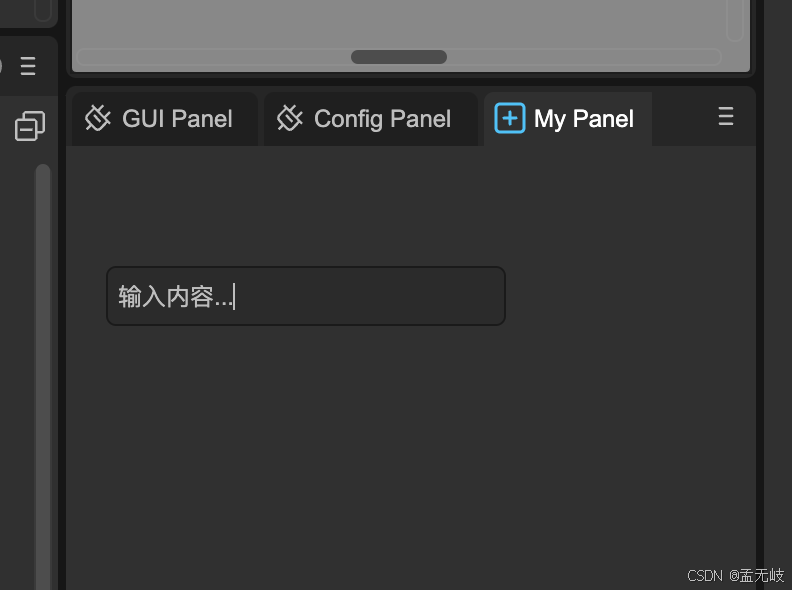
点击菜单后,面板会停靠在 IDE 右侧:
进阶:InspectorPanel 自动表单
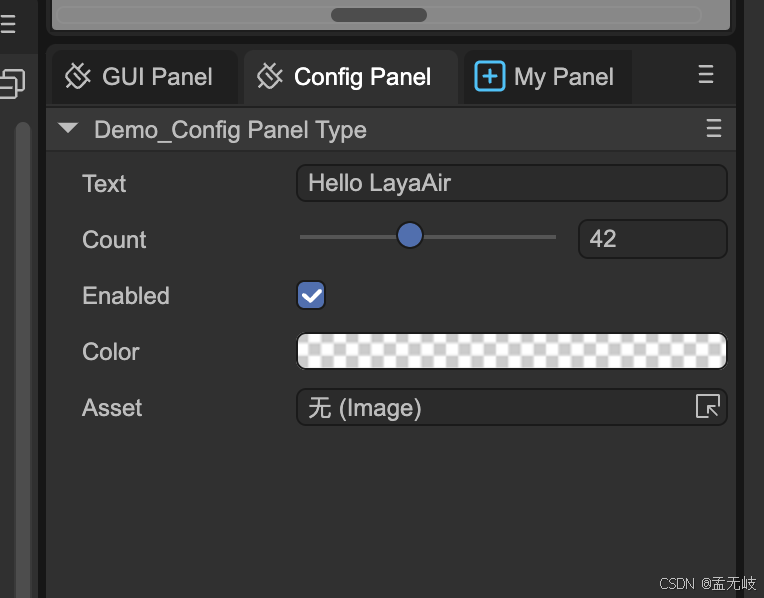
如果你的面板只是表单配置,可以不用手动画控件,直接用一个 InspectorPanel 把数据自动生成 UI:
typescript
@IEditor.panel("Demo.ConfigPanel", { title: "Config Panel", location: "right", showInMenu: true })
export class ConfigPanel extends IEditor.EditorPanel {
    declare _panel: IEditor.InspectorPanel;
    private _data: any;

    async create() {
        this._panel = IEditor.GUIUtils.createInspectorPanel();

        Editor.typeRegistry.addTypes([{
            name: "Demo_ConfigPanelType",   // 全局唯一!加前缀
            properties: [
                { name: "text", type: "string" },
                { name: "count", type: "number", min: 0, max: 100 },
                { name: "enabled", type: "boolean", default: true },
                { name: "color", type: "color" },
                { name: "asset", type: "string", isAsset: true, assetTypeFilter: "Image" }
            ]
        }]);

        this._data = IEditor.DataWatcher.watch({
            text: "Hello LayaAir",
            count: 42,
            enabled: true,
            color: "#FF6600",
            asset: ""
        });
        this._panel.inspect(this._data, "Demo_ConfigPanelType");
    }
}
inspect 会根据你描述的字段类型(字符串/数字/布尔/颜色/资源引用)自动画出对应控件。DataWatcher.watch 包一层,数据变了 UI 会自动刷新。
四、实战 2:用 GUIUtils 组件搭建面板
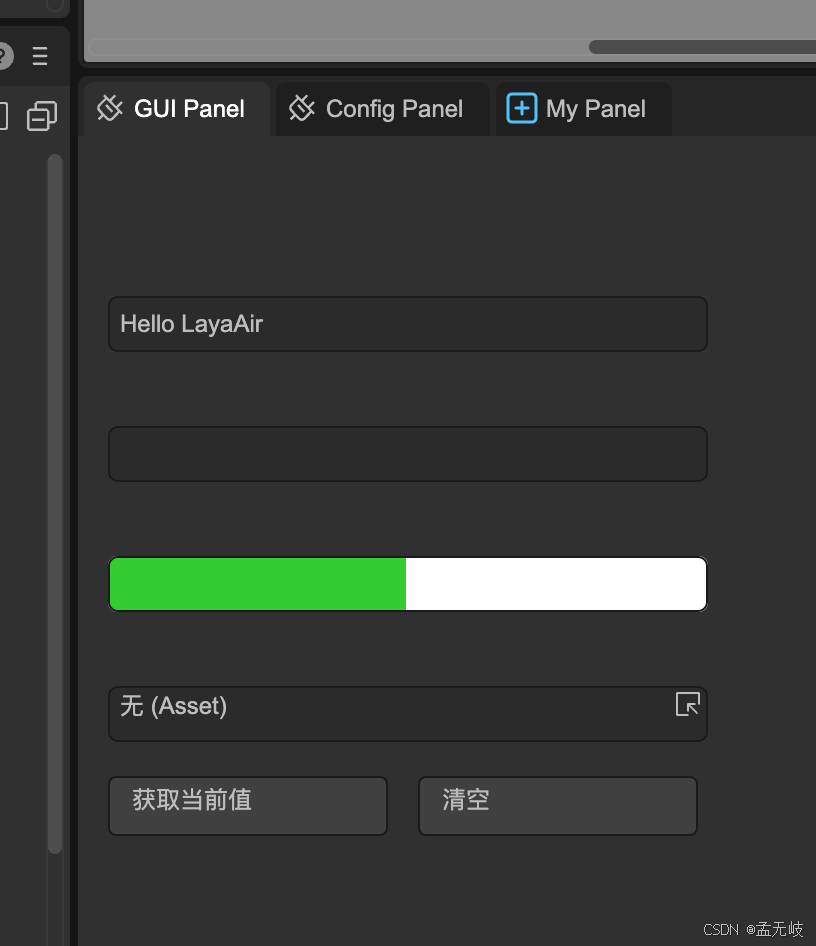
上一节的面板是手动画 Label。实际上 IDE 提供了 IEditor.GUIUtils 工厂方法,可以一行代码创建标准编辑器组件------文本框、数字输入、颜色选择器、资源引用选择器等,全部内置,拿来就用:
typescript
@IEditor.panel("Demo.GUIPanel", {
    title: "GUI Panel",
    location: "right",
    showInMenu: true,
})
export class GUIPanel extends IEditor.EditorPanel {
    private _textInput: any;
    private _numericInput: any;
    private _colorInput: any;
    private _statusLabel: any;

    async create() {
        this._panel = new gui.Widget();
        this._panel.setSize(350, 500);

        let y = 20;

        // 标题
        let title = new gui.Label();
        title.text = "GUI 组件面板演示";
        title.fontSize = 16;
        title.color = "#FFFFFF";
        title.x = 15; title.y = y;
        this._panel.addChild(title);
        y += 40;

        // 文本输入框
        let textLabel = new gui.Label();
        textLabel.text = "文本输入:";
        textLabel.fontSize = 12; textLabel.color = "#AAAAAA";
        textLabel.x = 15; textLabel.y = y;
        this._panel.addChild(textLabel);

        this._textInput = IEditor.GUIUtils.createTextInput();
        this._textInput.text = "Hello LayaAir";
        this._textInput.x = 15; this._textInput.y = y + 20;
        this._textInput.setSize(300, 28);
        this._panel.addChild(this._textInput);
        y += 65;

        // 数字输入框
        let numLabel = new gui.Label();
        numLabel.text = "数字输入:";
        numLabel.fontSize = 12; numLabel.color = "#AAAAAA";
        numLabel.x = 15; numLabel.y = y;
        this._panel.addChild(numLabel);

        this._numericInput = IEditor.GUIUtils.createNumericInput();
        this._numericInput.x = 15; this._numericInput.y = y + 20;
        this._numericInput.setSize(300, 28);
        this._panel.addChild(this._numericInput);
        y += 65;

        // 颜色选择器
        let colorLabel = new gui.Label();
        colorLabel.text = "颜色选择:";
        colorLabel.fontSize = 12; colorLabel.color = "#AAAAAA";
        colorLabel.x = 15; colorLabel.y = y;
        this._panel.addChild(colorLabel);

        this._colorInput = IEditor.GUIUtils.createColorInput();
        this._colorInput.x = 15; this._colorInput.y = y + 20;
        this._colorInput.setSize(300, 28);
        this._panel.addChild(this._colorInput);
        y += 65;

        // 按钮
        let button = IEditor.GUIUtils.createButton(true);
        button.text = "获取当前值";
        button.x = 15; button.y = y;
        button.setSize(140, 30);
        button.on("click", () => {
            this._statusLabel.text = `文本: ${this._textInput?.text || ""}`;
        });
        this._panel.addChild(button);
        y += 50;

        // 状态栏
        this._statusLabel = new gui.Label();
        this._statusLabel.text = "等待操作...";
        this._statusLabel.fontSize = 11;
        this._statusLabel.color = "#888888";
        this._statusLabel.x = 15; this._statusLabel.y = y;
        this._panel.addChild(this._statusLabel);
    }
}
GUIUtils 全部可用组件
IEditor.GUIUtils 是一个工厂接口,提供了 22 个 create* 方法,覆盖了编辑器 UI 的全部常用控件:
| 方法 | 返回类型 | 用途 |
|---|---|---|
createButton() |
gui.Button |
按钮 |
createIconButton() |
gui.Button |
图标按钮 |
createCheckbox() |
gui.Button |
复选框 |
createRadio() |
gui.Button |
单选框 |
createComboBox() |
gui.ComboBox |
下拉框 |
createTextInput() |
TextInput |
文本输入框 |
createTextArea() |
TextArea |
多行文本 |
createSearchInput() |
SearchInput |
搜索框 |
createNumericInput() |
NumericInput |
数字输入(可拖拽改值、滚轮步进) |
createColorInput() |
ColorInput |
颜色选择器 |
createGradientInput() |
GradientInput |
渐变编辑器 |
createCurveInput() |
CurveInput |
曲线编辑器 |
createResourceInput() |
ResourceInput |
资源引用选择器(拖拽/粘贴) |
createNodeRefInput() |
NodeRefInput |
场景节点引用选择器 |
createProgressBar() |
gui.ProgressBar |
进度条 |
createSlider() |
gui.Slider |
滑块 |
createListItem() |
ListItem |
列表项 |
createIconListItem() |
ListItem |
图标列表项 |
createCheckboxListItem() |
ListItem |
带复选的列表项 |
createInspectorPanel() |
InspectorPanel |
自动表单面板(上一节用过) |
提示 :这些组件的父类都在
gui.Widget上,意味着它们都有x、y、setSize()等布局方法,以及on("click", ...)等事件接口。
五、实战 3:顺手加个菜单项
面板之外,加菜单项是最轻量的扩展。给顶部菜单挂一个命令:
typescript
class MenuExt {
    @IEditor.menu("App/tool/MyCommand", {
        label: "My Command",
        accelerator: "ctrl+shift+m",
    })
    static onMyCommand() {
        console.log("menu clicked");
    }
}
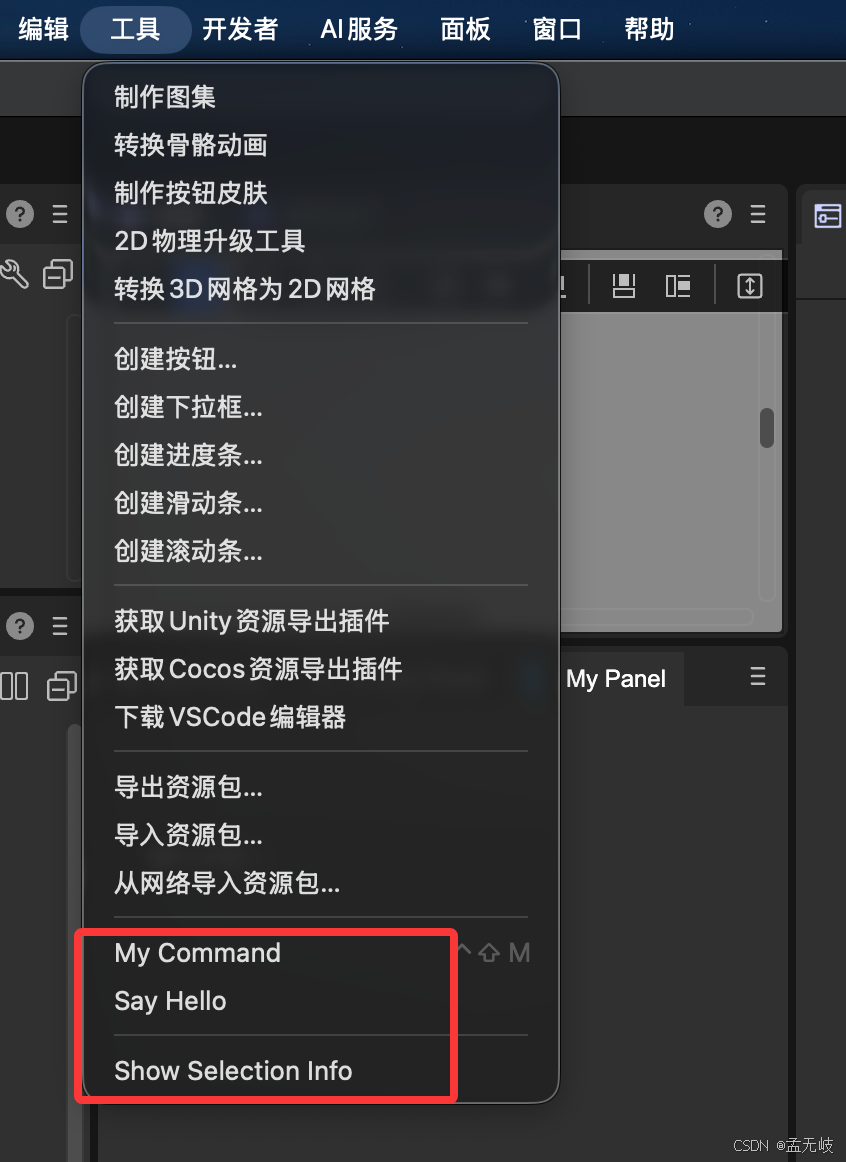
注册后,IDE 顶部菜单「工具」下会出现对应的菜单项:
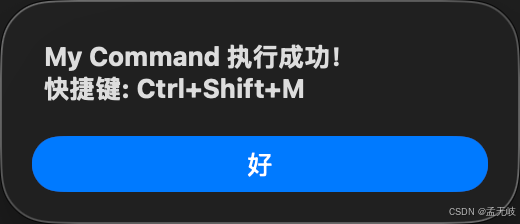
点击后弹出 alert,或执行你自己的逻辑:
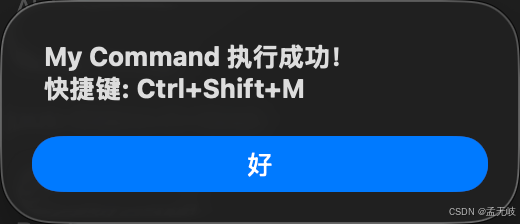
按快捷键 Ctrl+Shift+M 也能触发同样的命令:
更多菜单示例
带条件的菜单(比如只有选中了节点才可用):
typescript
class MenuExt {
    @IEditor.menu("Hierarchy/test", {
        position: "before openDevTools",
        enableTest: () => Editor.scene?.getSelection().length > 0
    })
    static test() {
        // 仅在选中节点时可用
    }
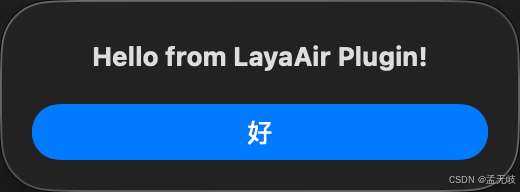
}带分隔线的菜单(sepBefore: true 在菜单项前插入一条分割线):
typescript
class MenuExt {
    @IEditor.menu("App/tool/ShowSelection", {
        label: "Show Selection Info",
        sepBefore: true,
    })
    static showSelection() {
        let selection = Editor.scene?.getSelection();
        alert(selection ? `选中了 ${selection.length} 个节点` : "未选中任何节点");
    }
}
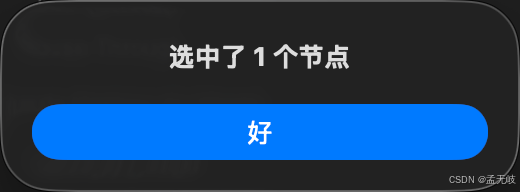
accelerator 是快捷键,position 控制插在哪条已有菜单的前后(格式:"before <id>" 或 "after <id>")。
六、能做的远不止这些(进阶清单)
面板和菜单只是冰山一角。标准 API 里还覆盖这些类型,每个都有完整代码模板:
- Inspector 字段 :给组件属性做自定义编辑器(
@IEditor.inspectorField) - 构建插件 :往构建流程里插自己的步骤(
@IEditorEnv.regBuildPlugin) - 资源处理器 :导入资源时自动预处理(
@IEditorEnv.regAssetProcessor) - 自定义资源类型:注册新文件格式 + 图标 + 导入导出
- 场景 Hook :监听节点创建/保存等事件(
@IEditorEnv.regSceneHook) - Gizmo :给组件画 2D/3D 手柄(
@IEditorEnv.customEditor) - 跨进程通信:UI 调 Scene、Scene 回 UI、Preview 互通
- i18n / 设置项:多语言与偏好设置
这些我打算后面每类单独写一篇(都基于同一套真实 API)。本篇先让你把"面板 + 组件 + 菜单"跑起来。
七、新人必踩的 5 个坑
- 装饰器用错进程 :
@IEditor.*写进 Scene 文件、或者反过来------不报错但静默不生效。记住:UI 装饰器配@IEditor.*,Scene 装饰器配@IEditorEnv.*。 - 重命名脚本忘改
.meta:把Foo.ts改成Bar.ts时,必须同步把Foo.ts.meta改成Bar.ts.meta。.meta里存着资源的 UUID,不配对会导致引用错乱。 - 类型名全局冲突 :
Editor.typeRegistry.addTypes和InspectorPanel.inspect里的name注册到全局类型表 ,必须唯一。命名加插件前缀,比如"Demo_ConfigPanelType"而不是"ConfigType"。 - 面板 id 冲突 :
@IEditor.panel(id, ...)的id是全局唯一标识。别用"MyPanel"、"Settings"这种通用名,容易和别的插件撞。用带前缀的复杂名,例如"Demo.MyPanel"。 - 跨进程调用姿势错 :UI 调 Scene 用
Editor.scene.runScript("ClassName.method", ...args);Scene 回 UI 用EditorEnv.sendMessageToPanel("PanelName", "method")。两个方向 API 不一样,写反了调不到。
另外提醒:assetDb.onAssetChanged / assetMgr.onAssetChanged 这类监听器,必须在 @IEditor.onUnload / @IEditorEnv.onUnload 里 remove 掉,否则插件热重载时会泄漏。
写在最后
写插件这件事,前期最劝退的就是"三个进程 + 装饰器"那套心智模型,跨过这个坎后面就顺了。而且它和上一篇讲的 layaair-cli 是好搭档:CLI 能直接跑你用 @IEditorEnv.regClass() 注册的脚本方法(--script=Class.method),而插件能把这些脚本包成一个面板按钮------命令行负责自动化,面板负责好用。
👉 上篇:《LayaAir CLI 实战:从零搭工程到一键构建》
下一篇我打算写构建插件 + 资源处理器 ------怎么把"导入图片自动压、构建前自动跑检查"这种脏活塞进引擎流程里。想看的话点个 收藏 + 关注,更新了第一时间能收到。