
1. 本文目标
前面我们已经能编译和执行直线代码:
javascript
let a = 1 + 2;
a;
但真实程序会有分支和循环:
javascript
let x = 1;
if (x) {
  x = 2;
}
x;
本篇目标是让 VM 支持控制流:
-
label -
jump -
jump_if_false -
if -
while
2. 为什么控制流需要 jump
直线代码像一条直路:
plaintext
1 -> 2 -> 3 -> 4if 和 while 像岔路和回环:
plaintext
如果条件成立,走 A 路;否则跳到 B 路。形象化比喻:游戏地图传送门
程序计数器 pc 像玩家在地图上的位置,普通指令让玩家向前走一步。jump 像传送门:
plaintext
不走下一格,直接传送到某个 label。jump_if_false 像条件传送门:
plaintext
如果钥匙不对,就传送到出口。
3. 前置知识
| 概念 | 说明 |
|---|---|
| Label | 给 bytecode 某个位置起名 |
| Jump | 无条件跳转 |
| Conditional Jump | 条件不满足时跳转 |
| Basic Block | 一段顺序执行的指令 |
| Control Flow Graph | 基本块之间的跳转关系 |
4. 源码中的对应位置
| 概念 | 源码位置 | 说明 |
|---|---|---|
jump / jump_if_false |
src/compiler/ir.ts |
IR 控制流指令 |
| label / fixup | src/compiler/emit.ts |
label 记录地址,fixup 回填跳转目标 |
| runtime jump | src/compiler/runtime-gen.ts |
修改 pc 完成跳转 |
| lowering if/while | src/compiler/lowering.ts |
把高级语句降级成 label 和 jump |
5. 核心数据结构
Label
它解决什么问题
跳转目标先用名字表示,emit 阶段再统一变成数字地址。
教学版简化实现
javascript
{ op: 'label', name: 'end_if' }Jump
它解决什么问题
让 VM 不再顺序执行下一条指令,而是直接把 pc 改成目标地址。
教学版简化实现
javascript
{ op: 'jump', target: 'loop_start' }Jump If False
它解决什么问题
根据条件的真假决定是否跳转:条件为假时跳走,为真时继续往下执行。
教学版简化实现
javascript
{ op: 'jump_if_false', condition: 0, target: 'end_if' }6. Mermaid 图解
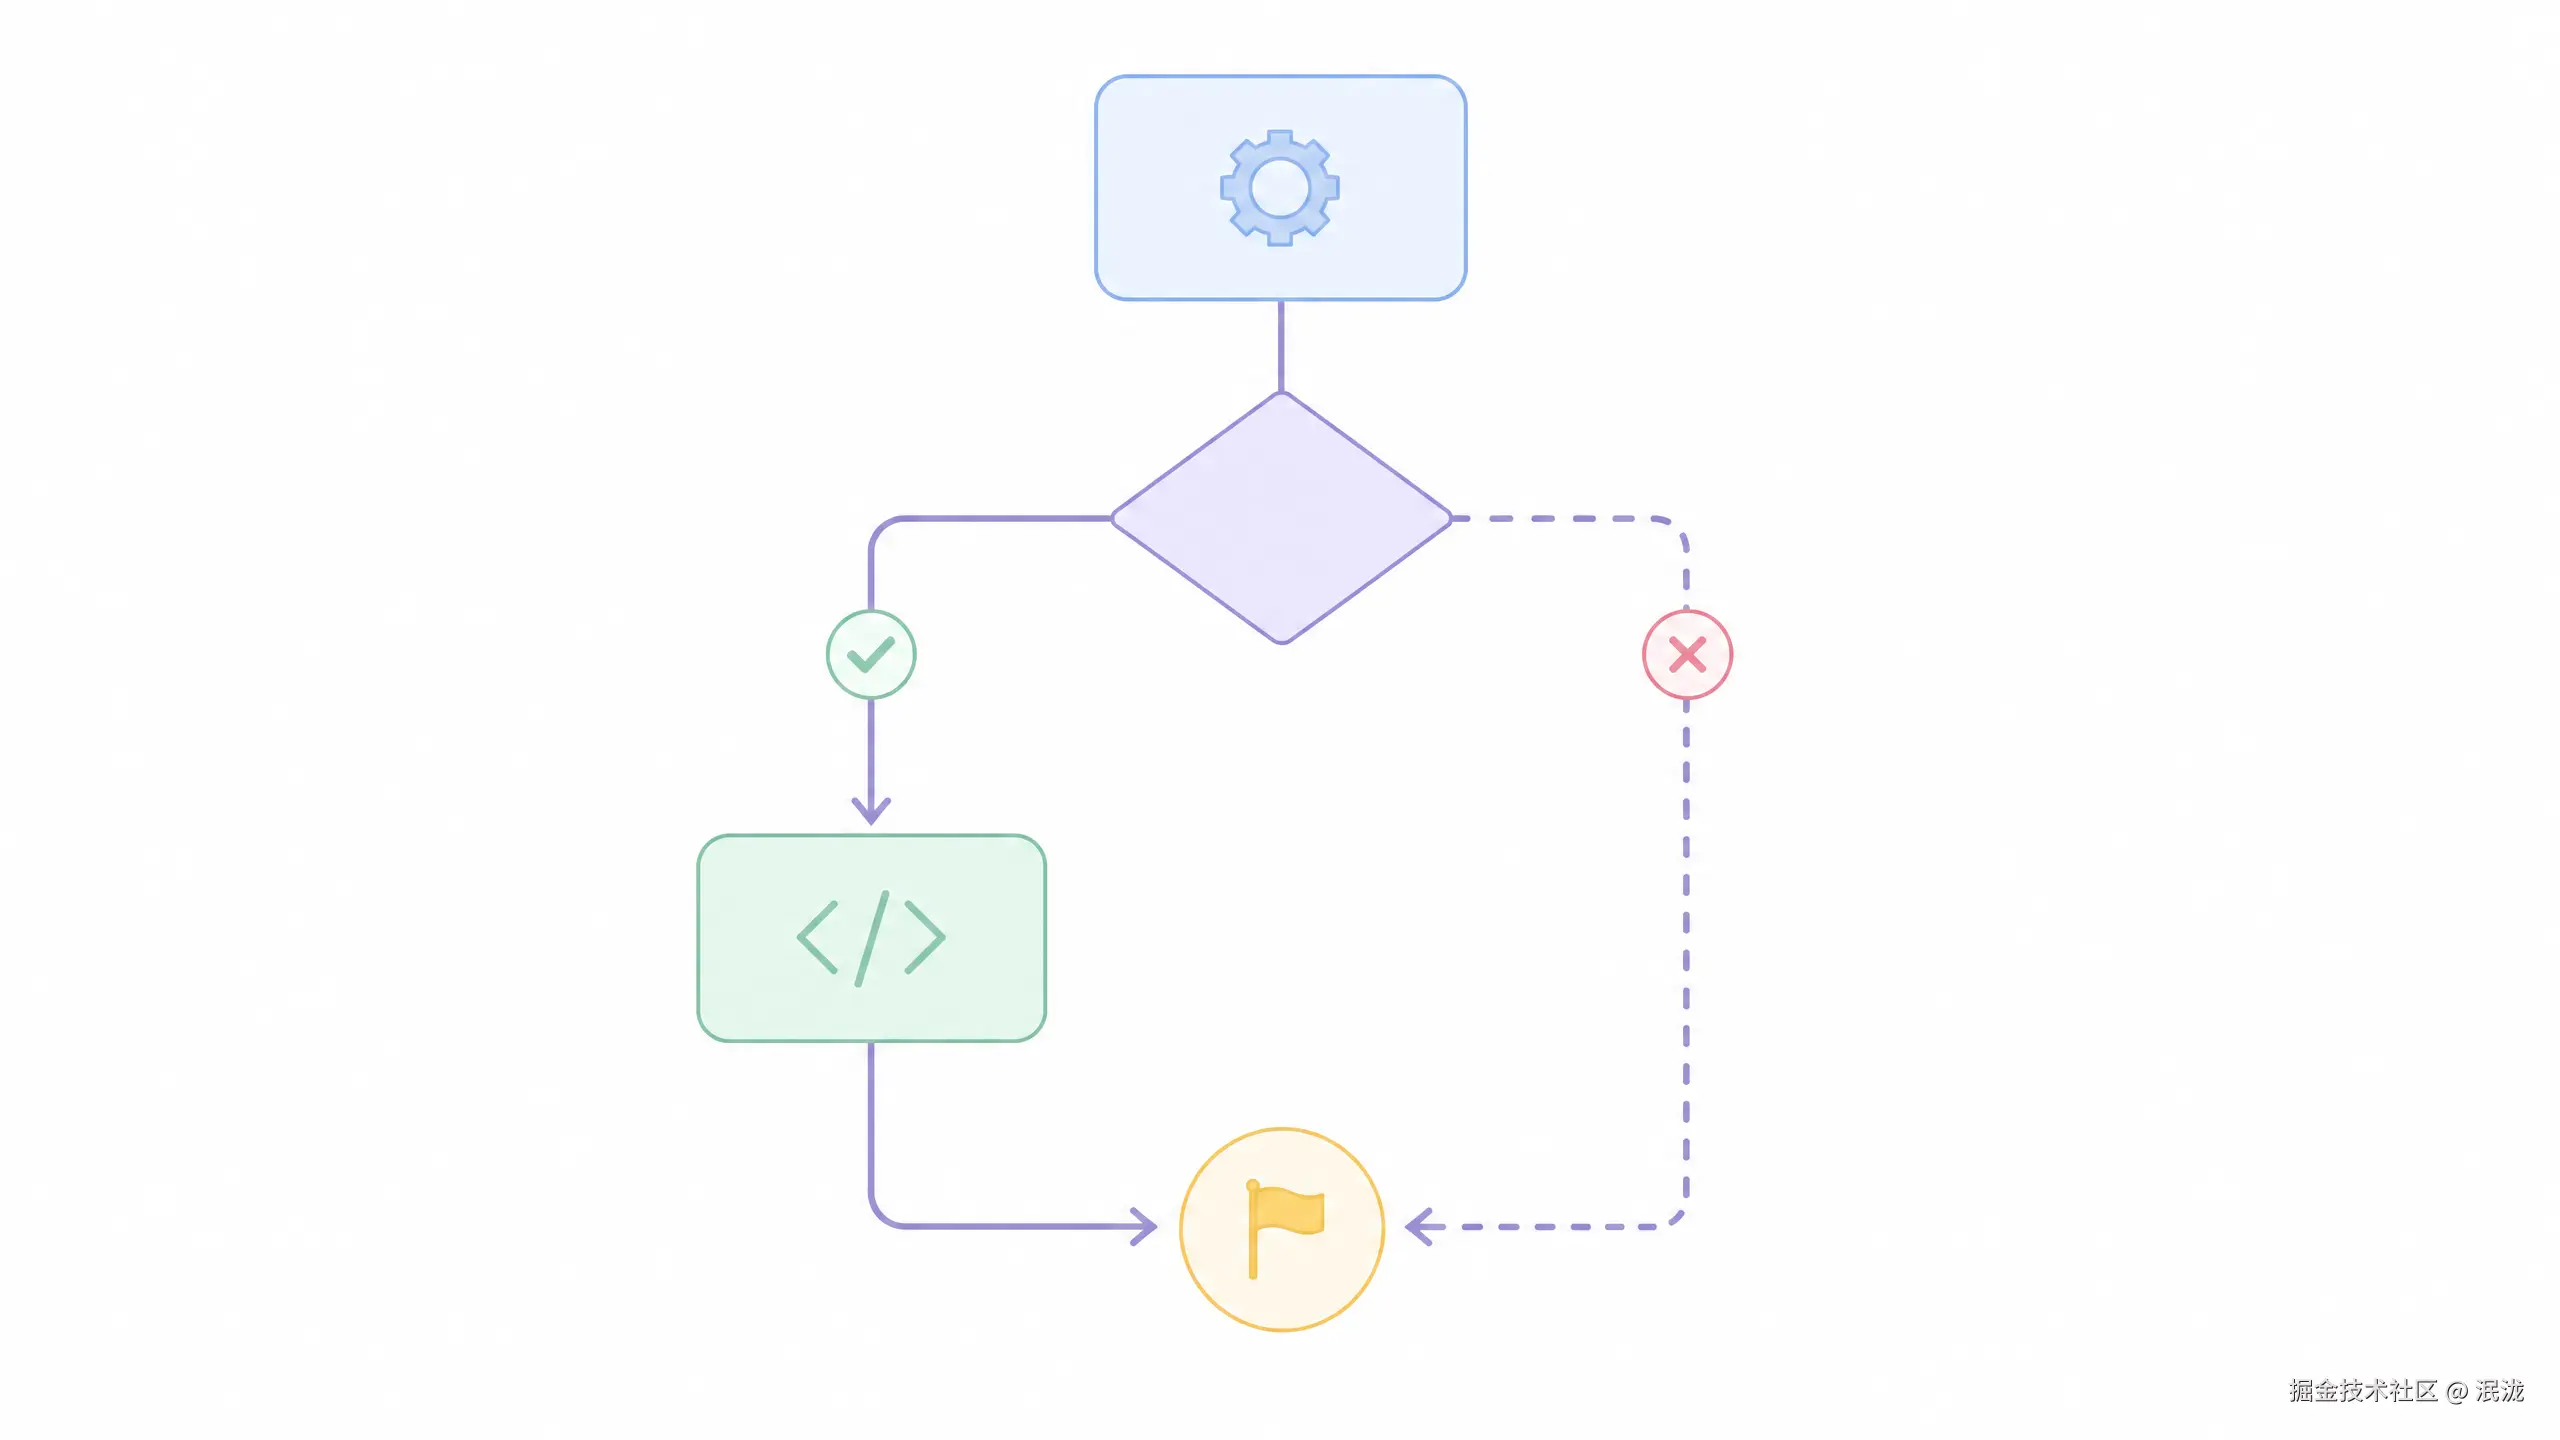
if 控制流
flowchart TD
A["计算 condition"] --> B{"condition truthy?"}
B -->|true| C["执行 then block"]
B -->|false| D["跳到 end_if"]
C --> D
D["end_if"]
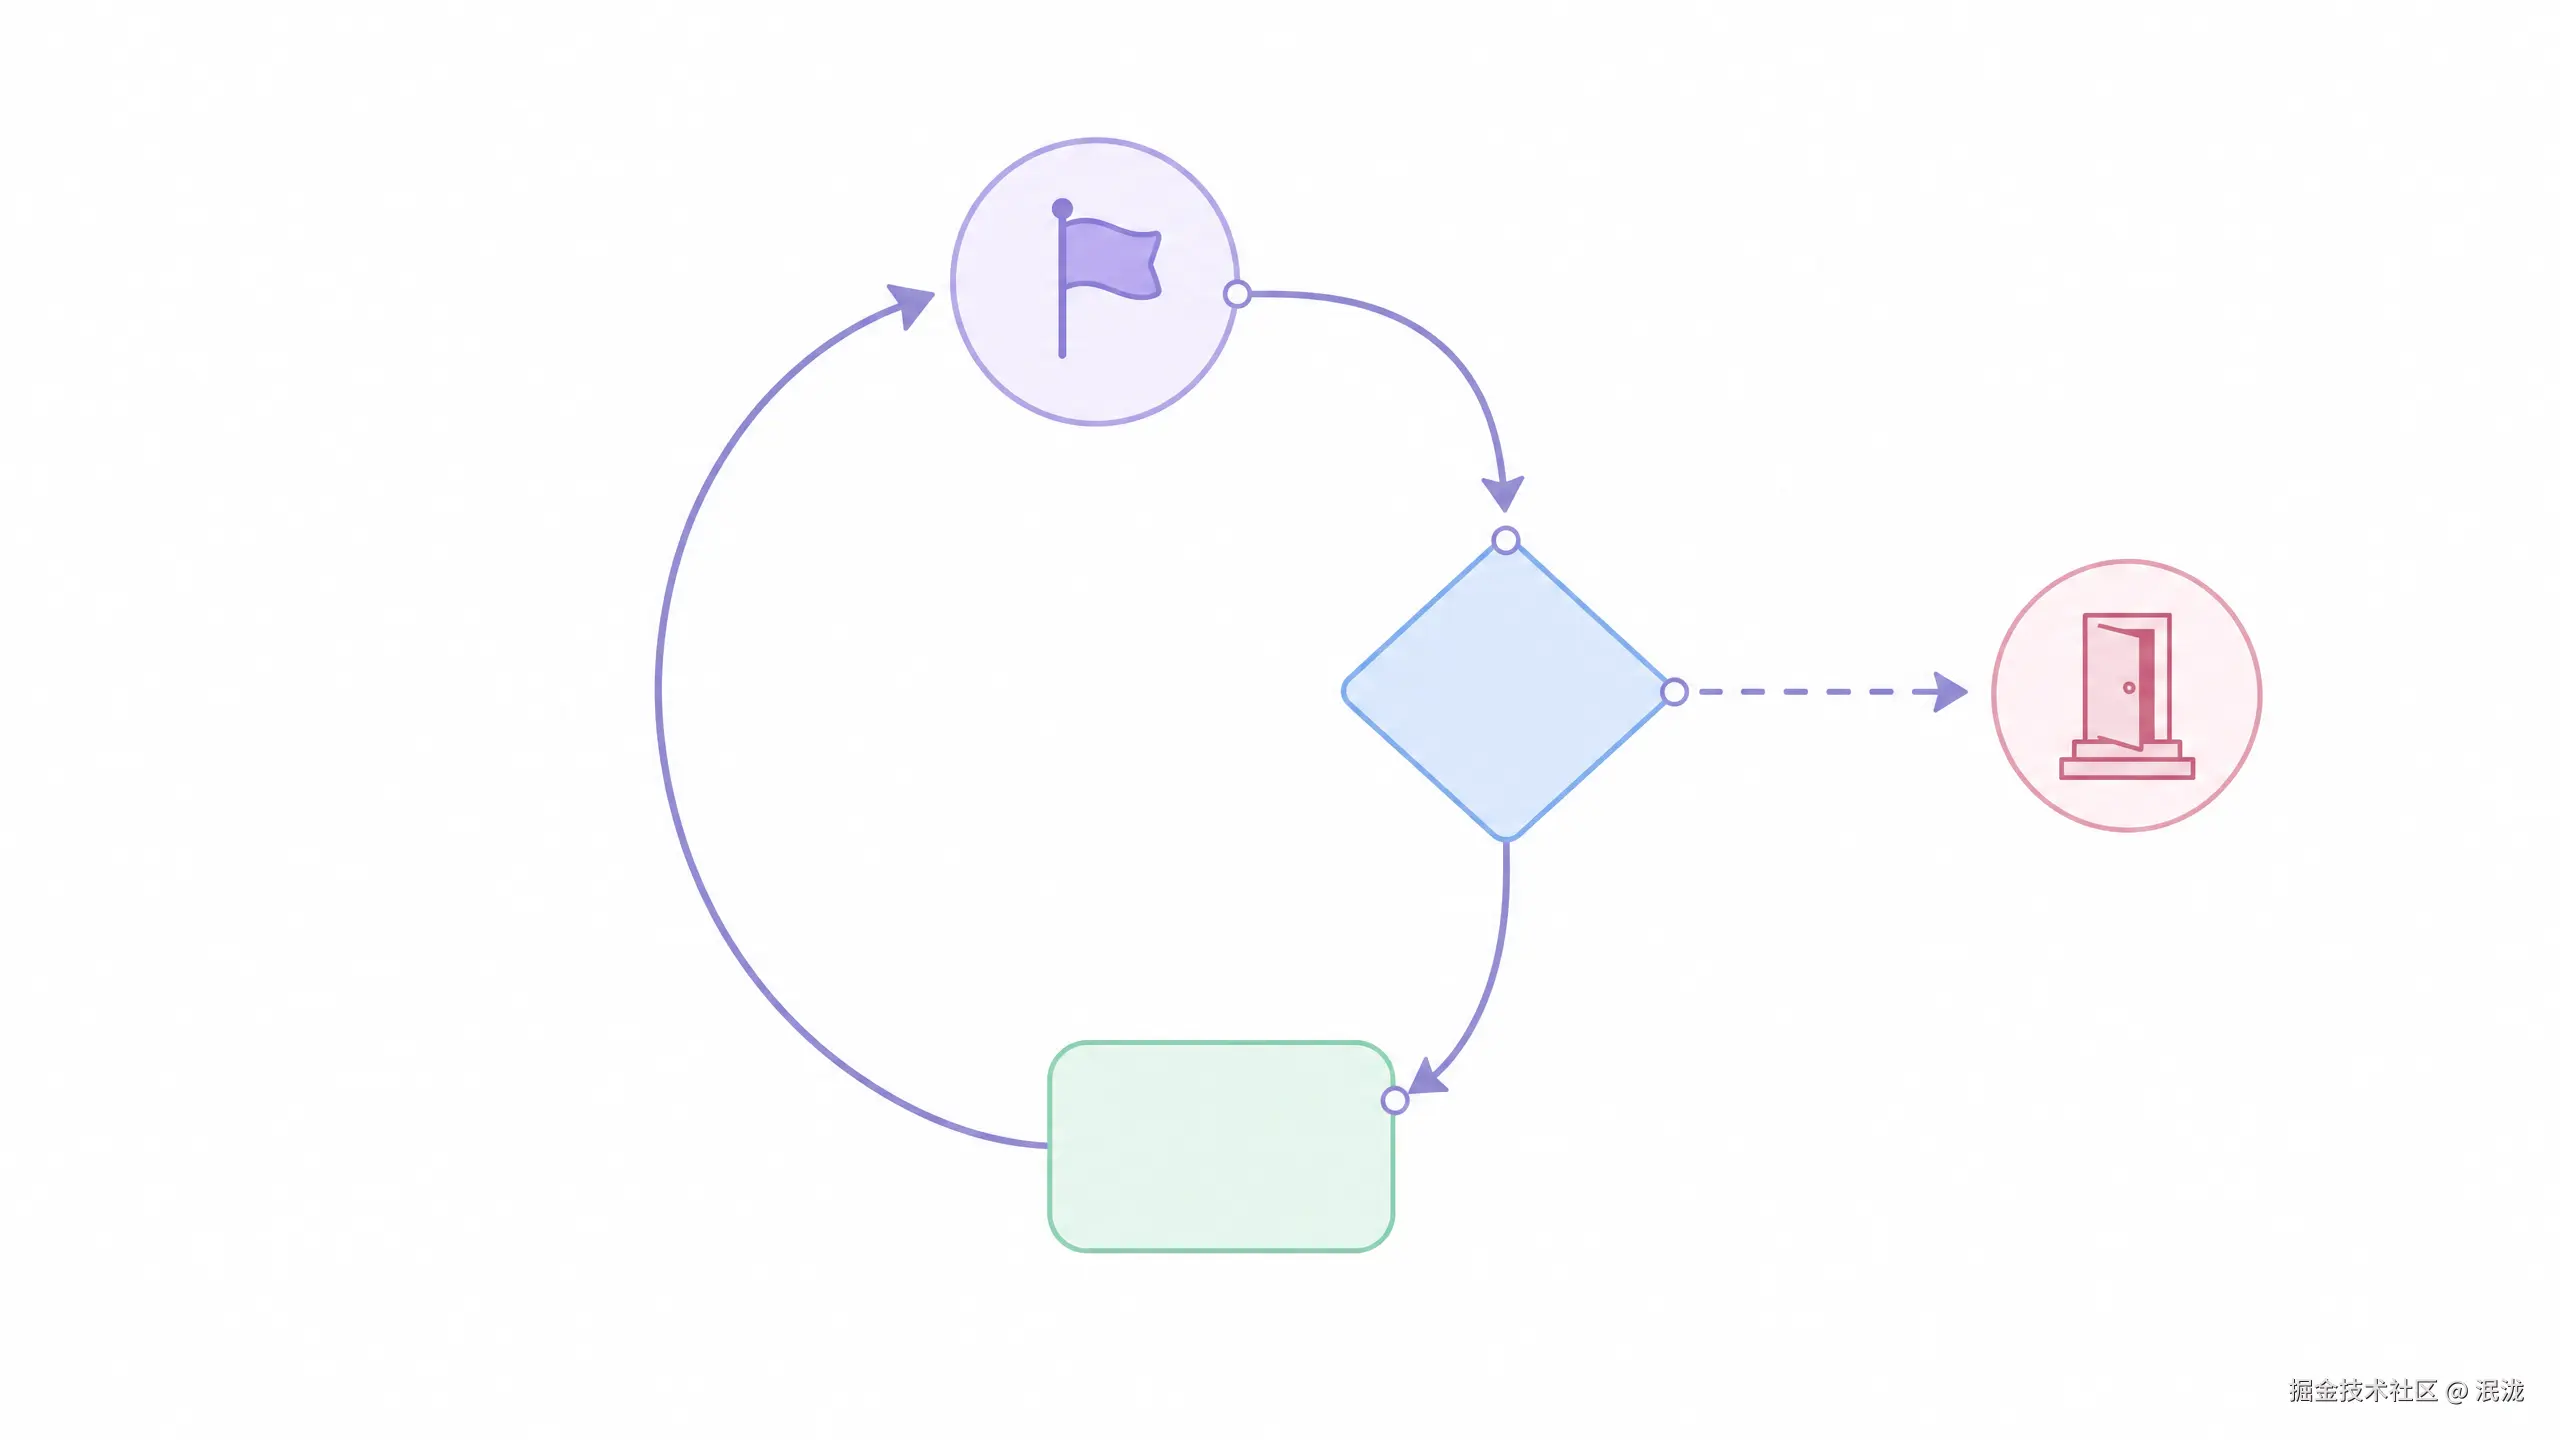
while 控制流
flowchart TD
A["loop_start"] --> B["计算 condition"]
B --> C{"condition truthy?"}
C -->|false| D["loop_end"]
C -->|true| E["执行 body"]
E --> A
7. 伪代码
编译 if
plaintext
compileIf(node):
    endLabel = newLabel('if_end')
    conditionReg = compileExpression(node.test)
    emit jump_if_false conditionReg, endLabel
    compileStatement(node.consequent)
    emit label endLabel
编译 while
plaintext
compileWhile(node):
    startLabel = newLabel('while_start')
    endLabel = newLabel('while_end')

    emit label startLabel
    conditionReg = compileExpression(node.test)
    emit jump_if_false conditionReg, endLabel
    compileStatement(node.body)
    emit jump startLabel
    emit label endLabel
8. 教学版实现代码
javascript
function compileIf(node, builder) {
  const end = builder.label('if_end');
  const condition = compileExpression(node.test, builder);
  builder.emit({ op: 'jump_if_false', condition, target: end });
  compileStatement(node.consequent, builder);
  builder.emit({ op: 'label', name: end });
}

function compileWhile(node, builder) {
  const start = builder.label('while_start');
  const end = builder.label('while_end');

  builder.emit({ op: 'label', name: start });
  const condition = compileExpression(node.test, builder);
  builder.emit({ op: 'jump_if_false', condition, target: end });
  compileStatement(node.body, builder);
  builder.emit({ op: 'jump', target: start });
  builder.emit({ op: 'label', name: end });
}
Runtime 执行 jump
javascript
case OPCODES.JUMP:
  pc = bytecode[pc];
  break;

case OPCODES.JUMP_IF_FALSE: {
  const conditionReg = bytecode[pc++];
  const target = bytecode[pc++];
  if (!regs[conditionReg]) pc = target;
  break;
}
9. 示例输入与输出
javascript
let x = 1;
if (x) {
  x = 2;
}
x;
简化 IR:
plaintext
load_const r0, 1
init_slot slot0, r0
load_slot r1, slot0
jump_if_false r1, if_end
load_const r2, 2
store_slot slot0, r2
label if_end
load_slot r3, slot0
return r3
输出:
javascript
210. 执行过程拆解
| Step | Instruction | x | 说明 |
|---|---|---|---|
| 1 | load_const 1 |
uninit | 准备初始值 |
| 2 | init_slot x |
1 | 初始化 x |
| 3 | load_slot x |
1 | 读取条件 |
| 4 | jump_if_false |
1 | 条件为真,不跳 |
| 5 | store_slot x = 2 |
2 | 更新 x |
| 6 | return x |
2 | 返回 2 |
11. 与原始源码的差异
| 主题 | 教学版 | 正式源码 |
|---|---|---|
| if | 只支持 then | 支持 alternate |
| while | 基本循环 | 还处理 break/continue/label |
| label | 字符串 label | 带函数 ID 的 label 命名 |
| jump fixup | 简化 | emit 阶段统一回填 |
| truthy | !value |
使用 JS truthiness |
12. 常见问题
Q1:为什么不能直接把 if 编成一个 JS if?
因为 VM 执行的是 bytecode,不是源码。源码里的 if 到了 bytecode 层面,只能表达成 pc 的变化。
Q2:label 是 runtime 真的存在的指令吗?
不是。label 只是编译期标记,emit 阶段会被移除,最终 bytecode 里只留下数字地址。

13. 本文小结
本文让 VM 从直线执行升级到控制流执行:if 和 while 被降级成 label 加 jump,最终都落在 pc 的跳转上。
下一篇将继续讲:
plaintext
第 8 篇:函数调用:参数、返回值与调用帧