Hugo 静态站点搭建|从本地调试到上线部署实操指南
Hugo高性能静态站点生成器,打包输出纯静态资源,无需后端数据库,部署简单,上传文件即可上线。页面加载速度快,访问稳定。本地预览调试便捷,支持主题定制,可灵活配置 SEO 与备案信息,适配多种部署平台,适合个人博客、作品集、企业轻官网搭建。
Hugo 和 VitePress 有什么差异?
Hugo 与 VitePress 的定位存在明显差异。VitePress 原生面向 技术文档 场景,虽然也能改造实现博客或企业官网,但缺少大量开箱即用的成熟模板,自定义开发成本更高;而 Hugo 主题生态丰富,更适合快速搭建个人博客、作品集与企业轻官网。
本文主要针对****Hugo**** 进行讲解。想要系统学习 Hugo 建站的小伙伴,不妨跟随本文档一步步实操,从零掌握完整搭建流程
文中涉及主要官方网址如下:
- Hugo 官方网站:gohugo.io/
- Hugo 主题市场:themes.gohugo.io/
- Hugo Github 仓库:github.com/gohugoio/hu...
- Hugo 客户端下载:github.com/gohugoio/hu...
一、部署开发环境
1.1、安装Hugo客户端
Hugo 属于命令行工具,无内置 GUI 可视化界面,可前往 GitHub 项目发布页面下载对应安装包。
访问下载:github.com/gohugoio/hu...
1.2、验证Hugo环境
终端执行命令:hugo version
powershell
星若生辉🐳 ~/Desktop % hugo version
hugo v0.167.0-3fff6fb5c267dacb26280c78dbe8c344054249c8+extended darwin/amd64 BuildDate=2026-09-28T14:50:38Z VendorInfo=gohugoio
星若生辉🐳 ~/Desktop %
星若生辉🐳 ~/Desktop %
有版本输出即安装成功
二、创建&调试项目
2.1、创建项目
终端执行命令:hugo new site hugo-project 创建 hugo-project 项目
powershell
星若生辉🐳 ~/Desktop % hugo new site hugo-project
Congratulations! Your new Hugo project was created in ~/Desktop/hugo-project.
星若生辉🐳 ~/Desktop %
2.2、启动项目
进入到hugo-project目录执行命令****hugo server -D --bind 0.0.0.0****启动项目
powershell
星若生辉🐳 ~/Desktop/hugo-project % hugo server -D --bind 0.0.0.0
Watching for changes in
Watching for config changes in
Start building sites ...
hugo v0.167.0-3fff6fb5c267dacb26280c78dbe8c344054249c8+extended darwin/amd64 BuildDate=2026-09-28T14:50:38Z VendorInfo=gohugoio

                  │ EN
──────────────────┼────
 Pages            │  4
 Paginator pages  │  0
 Non-page files   │  0
 Static files     │  0
 Processed images │  0
 Aliases          │  0
 Cleaned          │  0

Built in 29 ms
Environment: "development"
Serving pages from disk
Running in Fast Render Mode. For full rebuilds on change: hugo server --disableFastRender
Web Server is available at http://localhost:1313/ (bind address 0.0.0.0)
Press Ctrl+C to stop
启动完成后,打开浏览器访问 http://localhost:1313/
页面输出:Page Not Found 恭喜你项目启动成功了
同一网络环境下手机访问:http://电脑局域网IP:1313输出亦是如此
2.3、主题模板配置与调试
2.3.1、下载主题模板
访问地址:themes.gohugo.io/ 选择Universal模板下载
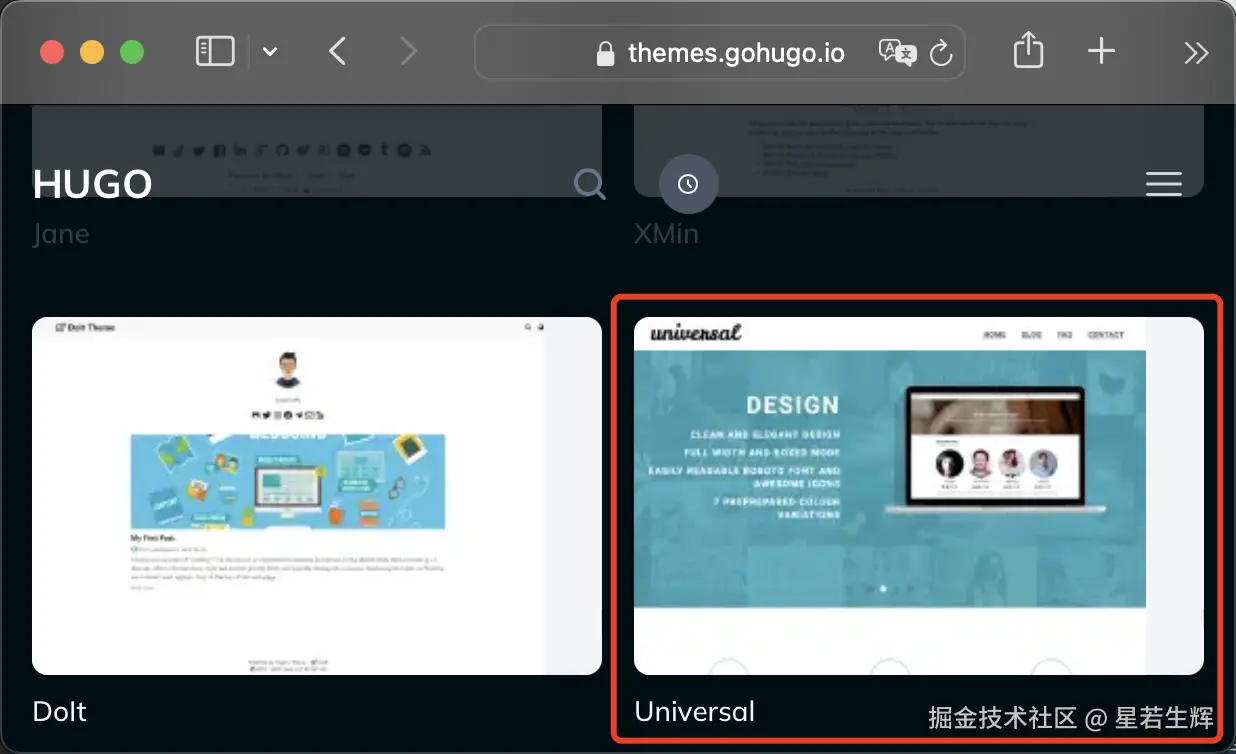
下面以 hugo-universal-theme-1.4.1.zip 主题模板为例进行讲解
2.3.2、安装主题模板
①解压hugo-universal-theme-1.4.1.zip并拷贝文件夹到themes目录下
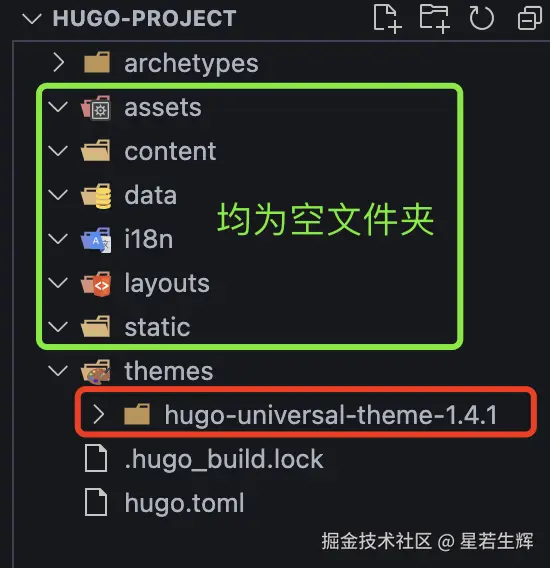
②将hugo-project/themes/hugo-universal-theme-1.4.1/exampleSite目录下所有文件及文件夹拷贝到hugo-project/项目根目录下
powershell
项目根目录下执行
cp -r themes/hugo-universal-theme-1.4.1/exampleSite/* ./此时hugo-project/content目录、hugo-project/data目录、hugo-project/static目录被填充
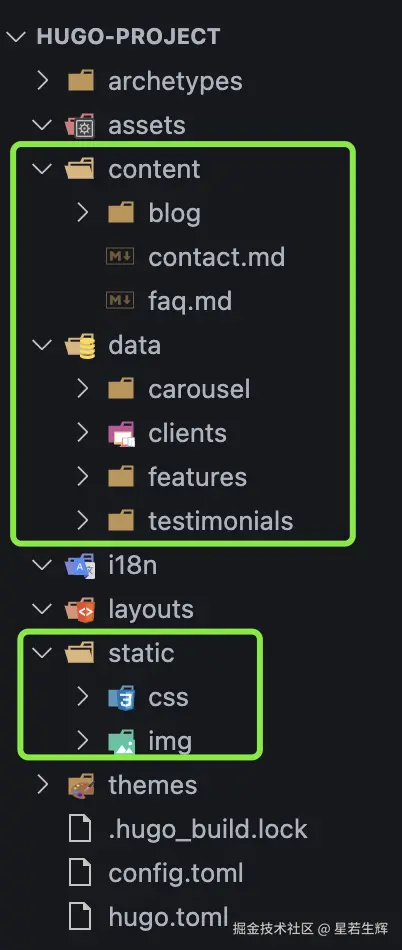
③删除文件hugo-project/hugo.toml修改hugo-project/config.toml文件名为hugo.toml 打开hugo.toml文件进行修改
powershell
baseurl = "/" #本地用 / 线上用域名
title = "Universal" #网站标题
theme = "hugo-universal-theme-1.4.1" #theme目录下文件夹名
#themesDir = "../.." #注销或删除该行
④重新启动项目
powershell
星若生辉🐳 ~/Desktop/hugo-project % hugo server -D --bind 0.0.0.0重启后是下图效果则主题模板载入成功

但是你大概率看到是下面的效果,整个页面排版错乱主题模板载入失败
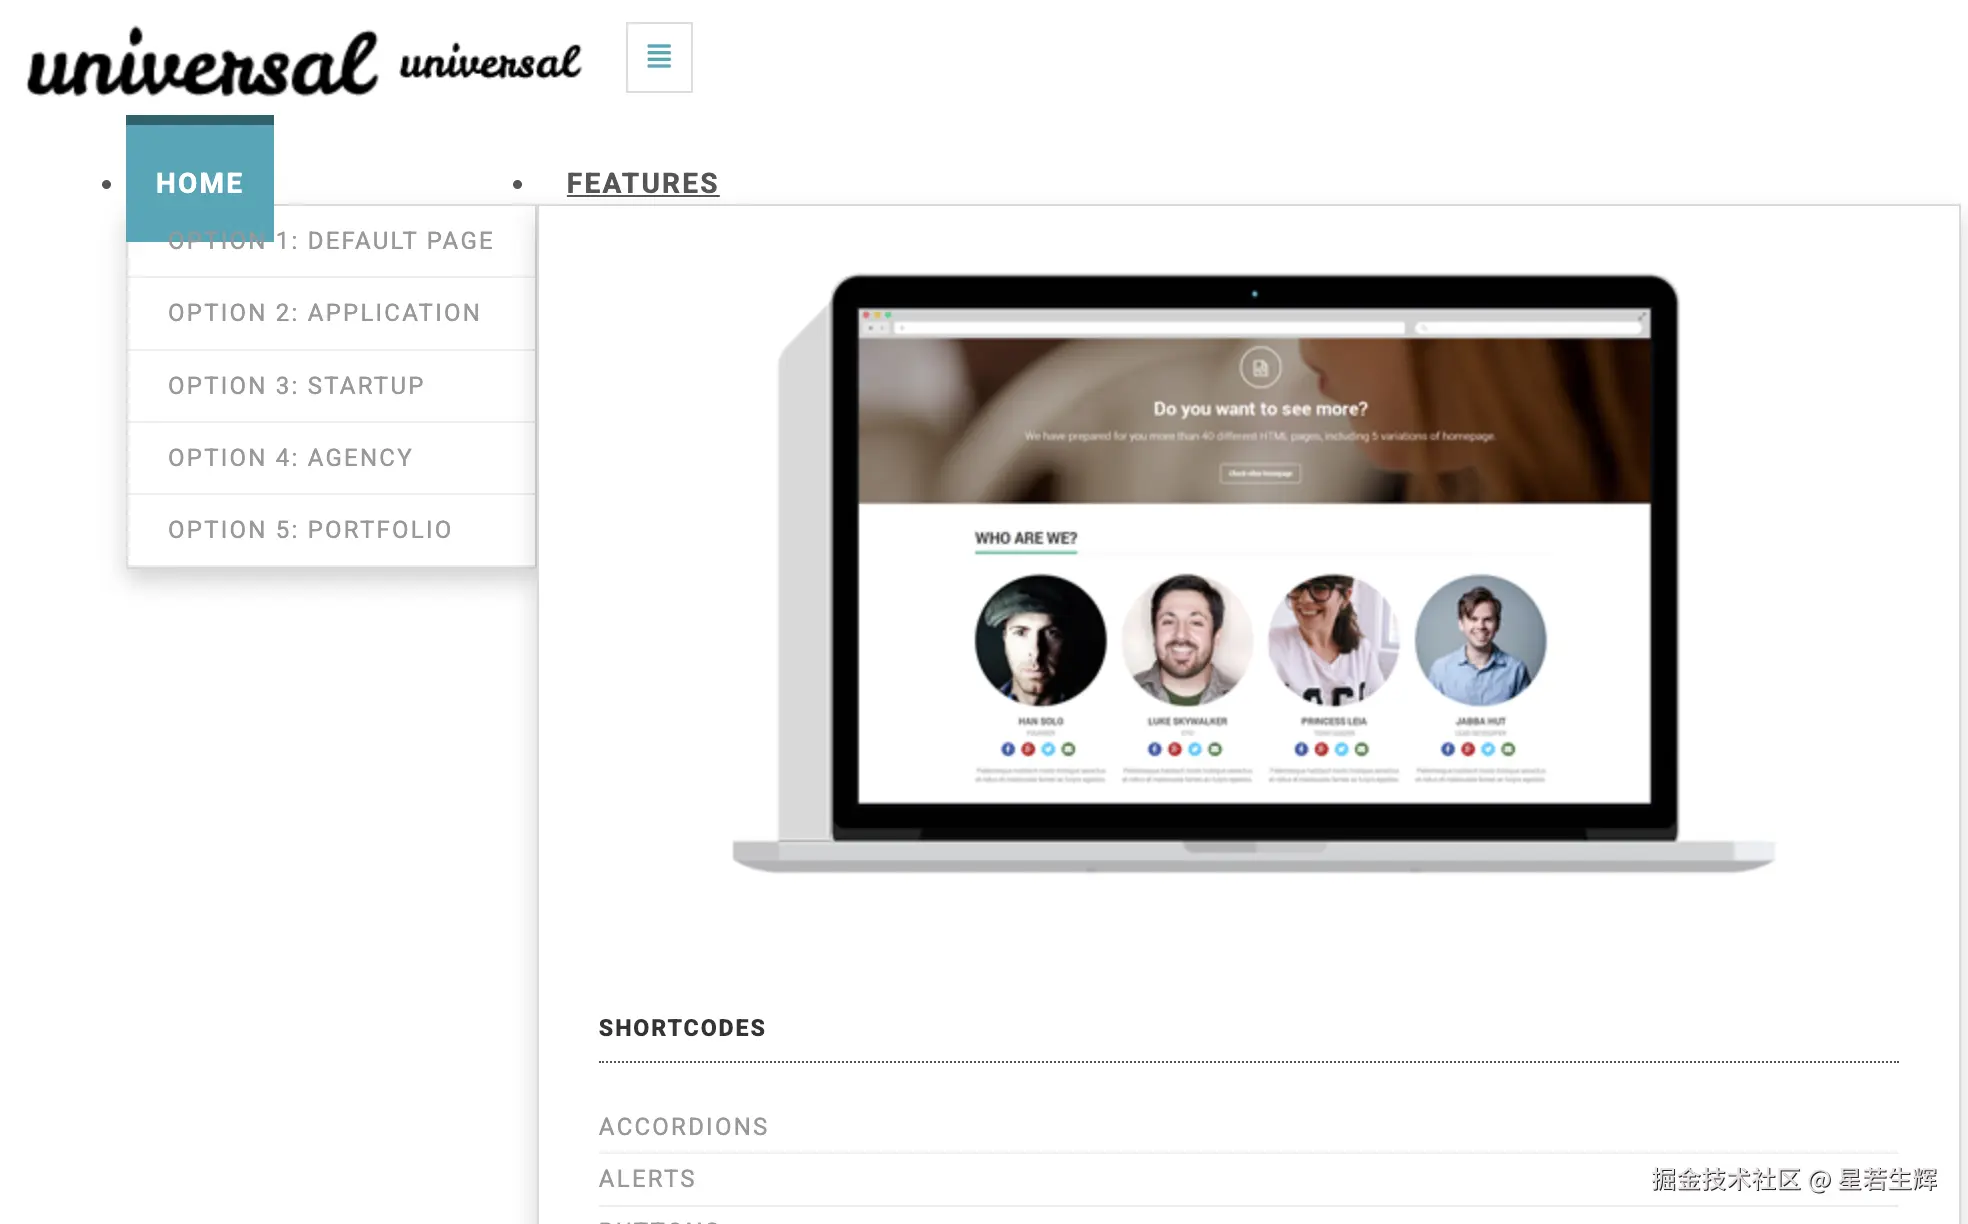
2.3.3、调试主题模板
出现样式错乱,查看控制台网络面板可以发现是 bootstrap 资源加载失败。只需将资源替换为国内 CDN 地址,即可解决。
①打开文件 themes/hugo-universal-theme-1.4.1/layouts/partials/headers.html进行如下修改
powershell
用下面代码替换第 24 行
<link rel="stylesheet" href="https://cdn.bootcdn.net/ajax/libs/twitter-bootstrap/3.3.7/css/bootstrap.min.css">
②打开文件 themes/hugo-universal-theme-1.4.1/layouts/partials/scripts.html进行如下修改
powershell
用下面代码替换第 3 行
<script src="https://cdn.bootcdn.net/ajax/libs/twitter-bootstrap/3.3.7/js/bootstrap.min.js"></script>刷新页面Universal模板正常展示
2.4、发布上线
最后只需将 hugo-project/public 这一个文件夹发布上线即可
三、在线预览
我已部署好在线预览地址,大家可以直接访问查看最终效果。
powershell
线上预览地址
https://www.lyfdev.com