资料:
https://wiki.ros.org/kinetic/Installation/Ubuntu
https://blog.csdn.net/qq_44339029/article/details/120579608
http://wiki.ros.org/melodic/Installation/Ubuntu
https://github.com/6-robot/wpb_cv
一、安装ros环境
装VM。
装ubuntu18.04 desktop.iso系统。
Ubuntu 18.04 LTS (Bionic Beaver)

装vm工具:
cpp
sudo apt update
sudo dpkg --configure -a
sudo apt-get autoremove open-vm-tools
sudo apt-get install open-vm-tools -y
sudo apt-get install open-vm-tools-desktop -y
重启虚拟机。
断网修复:
cpp
sudo rmmod e1000
sudo rmmod e1000e
sudo rmmod igb

sudo modprobe e1000
sudo modprobe e1000e
sudo modprobe igb

sudo dhclient ens33

sudo apt-get update && sudo apt-get upgrade
sudo apt-get purge network-manager
sudo apt-get install network-manager
进root,后续一切操作都在root权限操作:
cpp
sudo -i
cpp
apt install vim -y增加ros软件源:
cpp
sudo sh -c 'echo "deb http://packages.ros.org/ros/ubuntu bionic main" > /etc/apt/sources.list.d/ros-latest.list'更换秘钥:
cpp
sudo apt-key adv --keyserver 'hkp://keyserver.ubuntu.com:80' --recv-key C1CF6E31E6BADE8868B172B4F42ED6FBAB17C654
更新软件源:
cpp
sudo apt update安装ros:
cpp
sudo apt install ros-melodic-desktop-full -y完成后是这样:
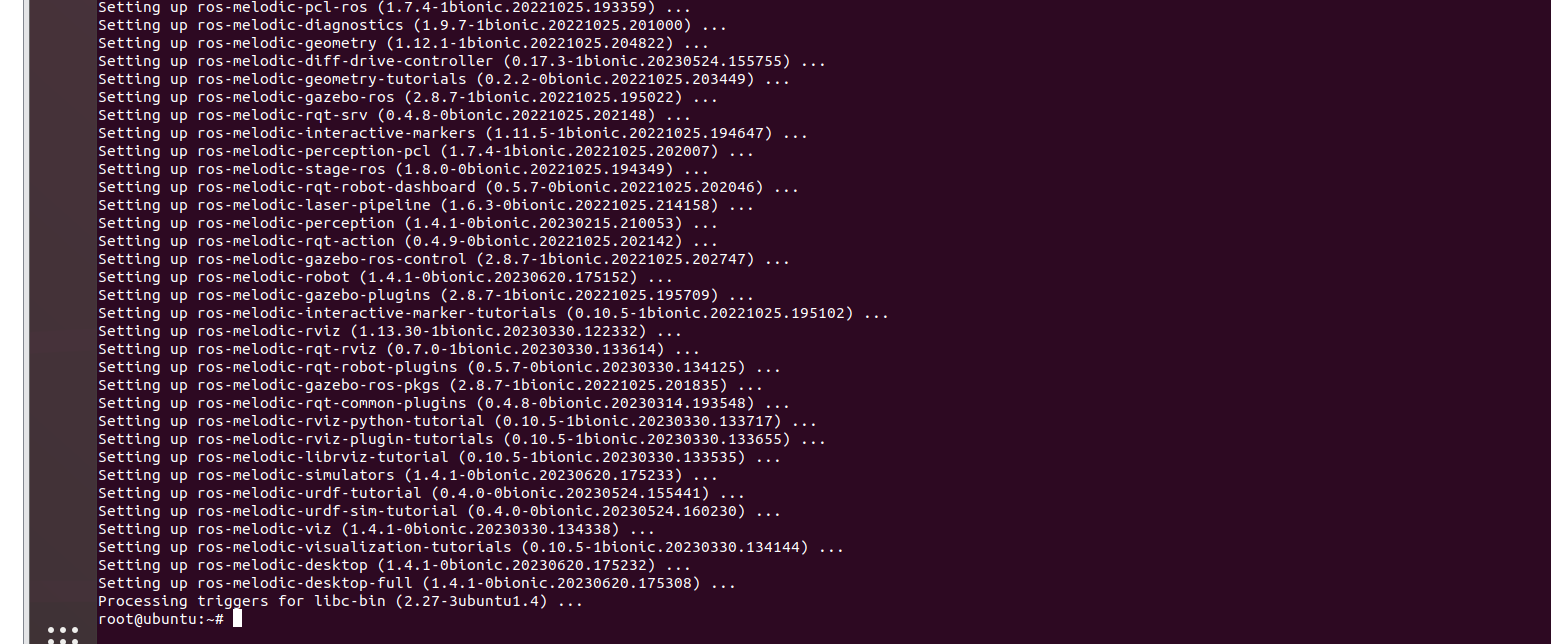
环境生效方式:
cpp
echo "source /opt/ros/melodic/setup.bash" >> ~/.bashrc
source ~/.bashrc
安装依赖:
cpp
sudo apt install python-rosdep python-rosinstall python-rosinstall-generator python-wstool build-essential -y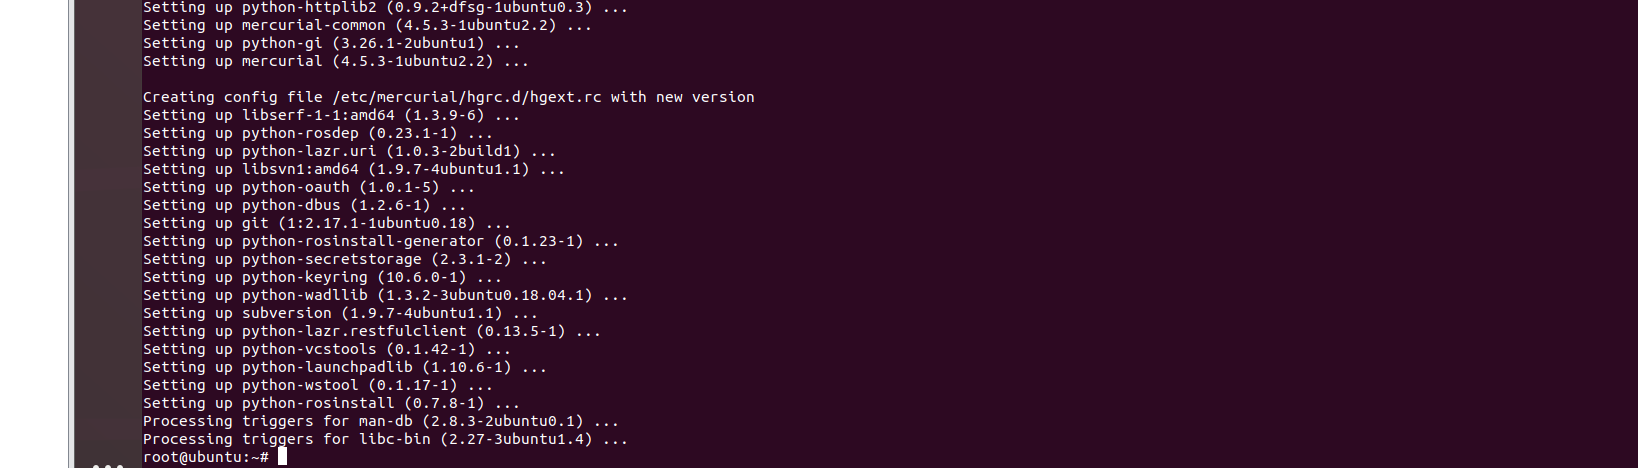
初始化rosdep:
cpp
sudo apt install python-rosdep -y
cpp
vim /etc/hosts通过IPAddress.com首页,输入raw.githubusercontent.com查询到最新的真实IP地址
cpp
185.199.108.133 raw.githubusercontent.com
cpp
rosdep init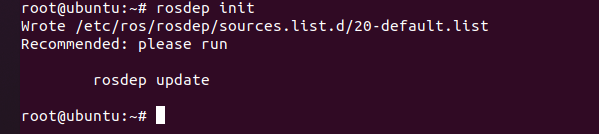
二、配置工作空间
cpp
mkdir -p ~/catkin_ws/src
cd ~/catkin_ws/
catkin_make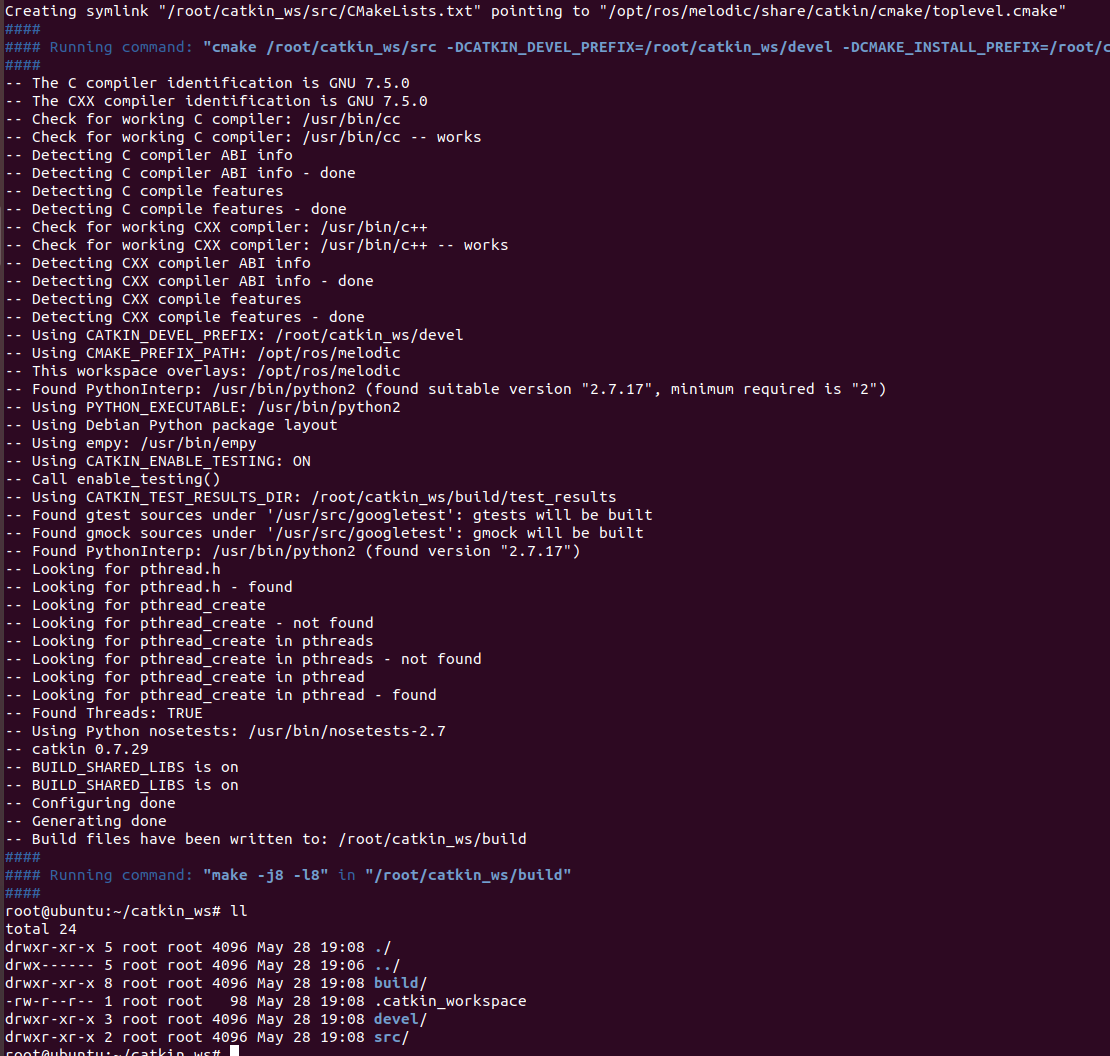
三、安装依赖项
cpp
sudo apt-get install ros-melodic-joy -y
sudo apt-get install ros-melodic-hector-mapping -y
sudo apt-get install ros-melodic-gmapping -y
sudo apt-get install ros-melodic-navigation -y
sudo apt-get install ros-melodic-sound-play -y


sudo apt-get install ros-melodic-depthimage-to-laserscan -y
sudo apt-get install ros-melodic-libuvc -y


sudo apt-get install ros-melodic-astra-camera -y # 装不上 用源码装
sudo apt-get install ros-melodic-astra-launch -y # 装不上 只有略过
装不上ros-melodic-astra-camera,从源码安装:
cpp
sudo apt install ros-melodic-image-transport ros-melodic-image-publisher libgoogle-glog-dev libusb-1.0-0-dev libeigen3-dev

# Assuming you have sourced the ros environment, same below
sudo apt install libgflags-dev  ros-$ROS_DISTRO-image-geometry ros-$ROS_DISTRO-camera-info-manager\
ros-$ROS_DISTRO-image-transport ros-$ROS_DISTRO-image-publisher libgoogle-glog-dev libusb-1.0-0-dev libeigen3-dev


cd ~/catkin_ws/src
git clone https://github.com/libuvc/libuvc.git
cd libuvc
mkdir build && cd build
cmake .. && make -j4
sudo make install
sudo ldconfig


cd ~/catkin_ws/src
git clone https://github.com/orbbec/ros_astra_camera.git
cd ..
catkin_make
装不上ros-melodic-astra-launch,略过。
dart
cd ~/catkin_ws/src/
git clone https://github.com/6-robot/wpb_cv.git
git clone https://github.com/orbbec/ros_astra_camera.git
git clone https://github.com/orbbec/ros_astra_launch.git # 拿不到权限 略过
git clone https://github.com/ros-drivers/rgbd_launch.git
dart
cd /root/catkin_ws
catkin_make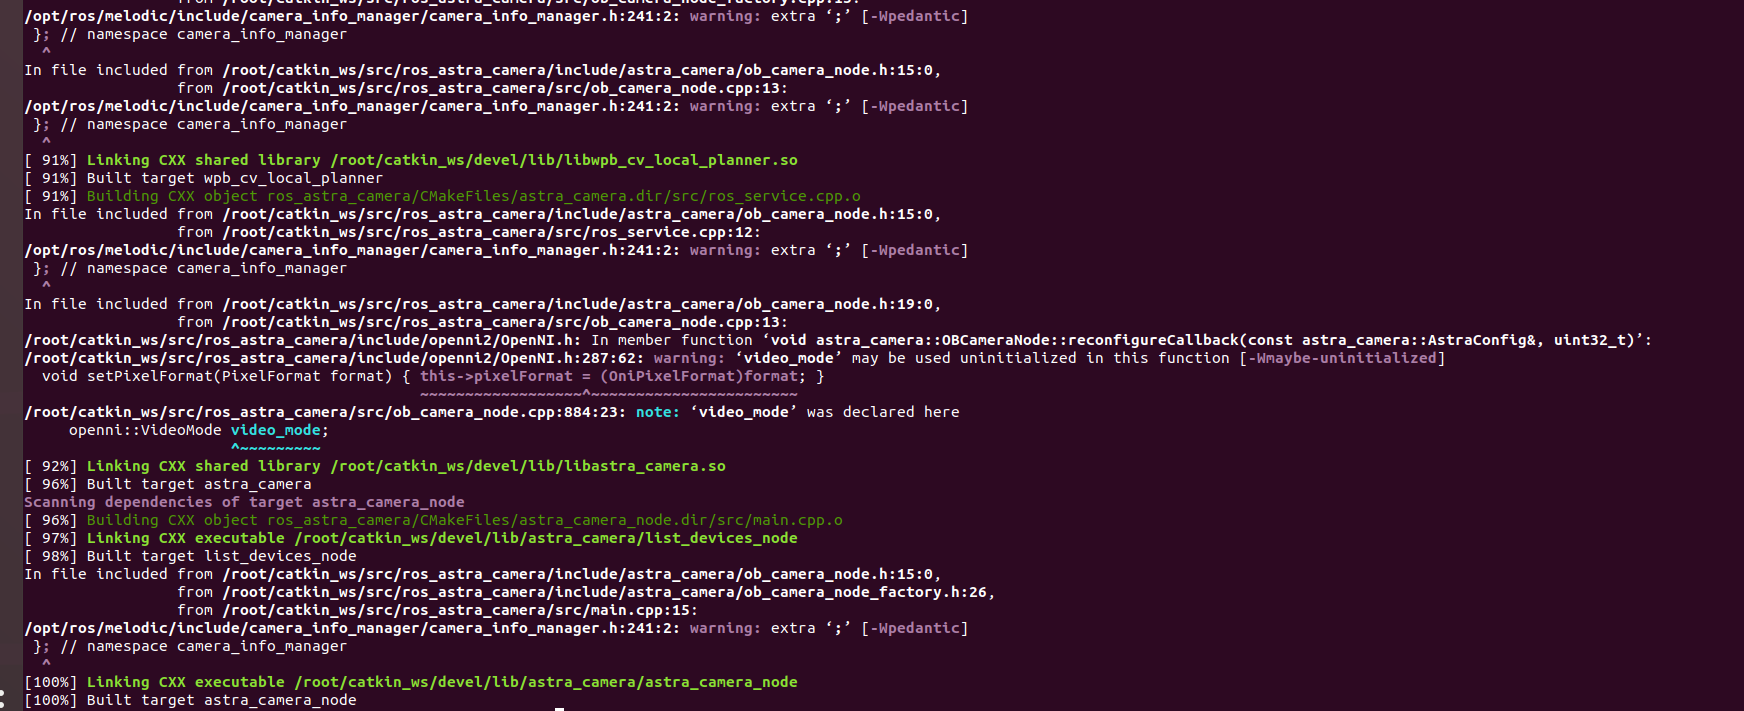
搞一下这个操作确认一下:
dart
rosdep update

source /opt/ros/melodic/setup.bash

#7 安装rosinstall这个工具和其他构建ROS包的依赖项,轻松地从一个命令下载许多 ROS 包的源树
sudo apt-get install python-rosinstall python-rosinstall-generator python-wstool build-essential -y
测试一下roscore:
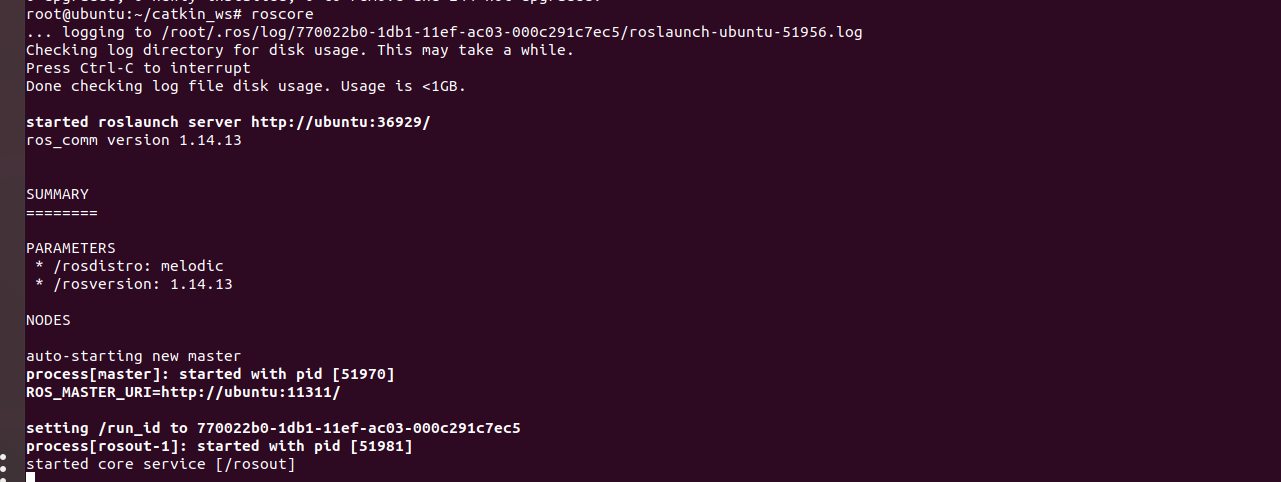
做实验:
cpp
cd ~
source /opt/ros/melodic/setup.bash

cd /root/catkin_ws/src # 很重要!
catkin_create_pkg ad_sensor_package roscpp std_msgs
写那个cpp文件:
dart
vim /root/catkin_ws/src/ad_sensor_package/src/path_following_node.cpp写入这个内容:
dart
#include <ros/ros.h>
#include <std_msgs/Int32MultiArray.h>
#include <geometry_msgs/Twist.h>

geometry_msgs::Twist vel_cmd; //速度消息包
static int arADVal[15];

void AD_Callback(const std_msgs::Int32MultiArray msg) {
    if (msg.data.size() < 15)
        return;

    //获取 AD 值
    for (int i = 0; i < 15; i++) {
        arADVal[i] = msg.data[i];
    }
}

int main(int argc, char **argv) {
    ros::init(argc, argv, "wpb_cv_path_following");

    ros::NodeHandle n;
    ros::Subscriber sub_ad = n.subscribe("/wpb_cv/ad", 100, AD_Callback);
    ros::Publisher vel_pub = n.advertise<geometry_msgs::Twist>("/cmd_vel", 10);

    vel_cmd.linear.x = 0;
    vel_cmd.linear.y = 0;
    vel_cmd.linear.z = 0;
    vel_cmd.angular.x = 0;
    vel_cmd.angular.y = 0;
    vel_cmd.angular.z = 0;
    vel_pub.publish(vel_cmd);

    ros::Rate loop_rate(30);
    int nCountToStop = 0; //计时然后停止

    while (ros::ok()) {
        //显示 AD 值
        printf("[AD]");
        for (int i = 5; i < 7; i++) {
            printf(" ad%d=%d ", i + 1, arADVal[i]);
        }
        printf("\n");

        //默认速度值(如果灰度传感器没有检测到黑线,默认机器人正沿着线走,则直行即可)
        vel_cmd.linear.x = 0.05;
        vel_cmd.angular.z = 0; //检测左前灰度传感器是否检测到黑线
        if (arADVal[5] < 2370) {
            vel_cmd.linear.x = 0.05;
            vel_cmd.angular.z = 0.2;
        }

        //检测右前灰度传感器是否检测到黑线
        if (arADVal[6] < 2480) {
            vel_cmd.linear.x = 0.05;
            vel_cmd.angular.z = -0.2;
        }

        //运行 10 秒后自动停止(速度全赋值 0)
        nCountToStop++;
        if (nCountToStop > 600) {
            vel_cmd.linear.x = 0;
            vel_cmd.angular.z = 0;
            ROS_WARN("Stop");
        }

        //向底盘发送速度值
        vel_pub.publish(vel_cmd);

        //延时
        ros::spinOnce();
        loop_rate.sleep();
    }


    return 0;
}
一定要注意我的执行顺序,最后一句catkin_make构建工作空间后是这样:
dart
cd /root/catkin_ws
catkin_make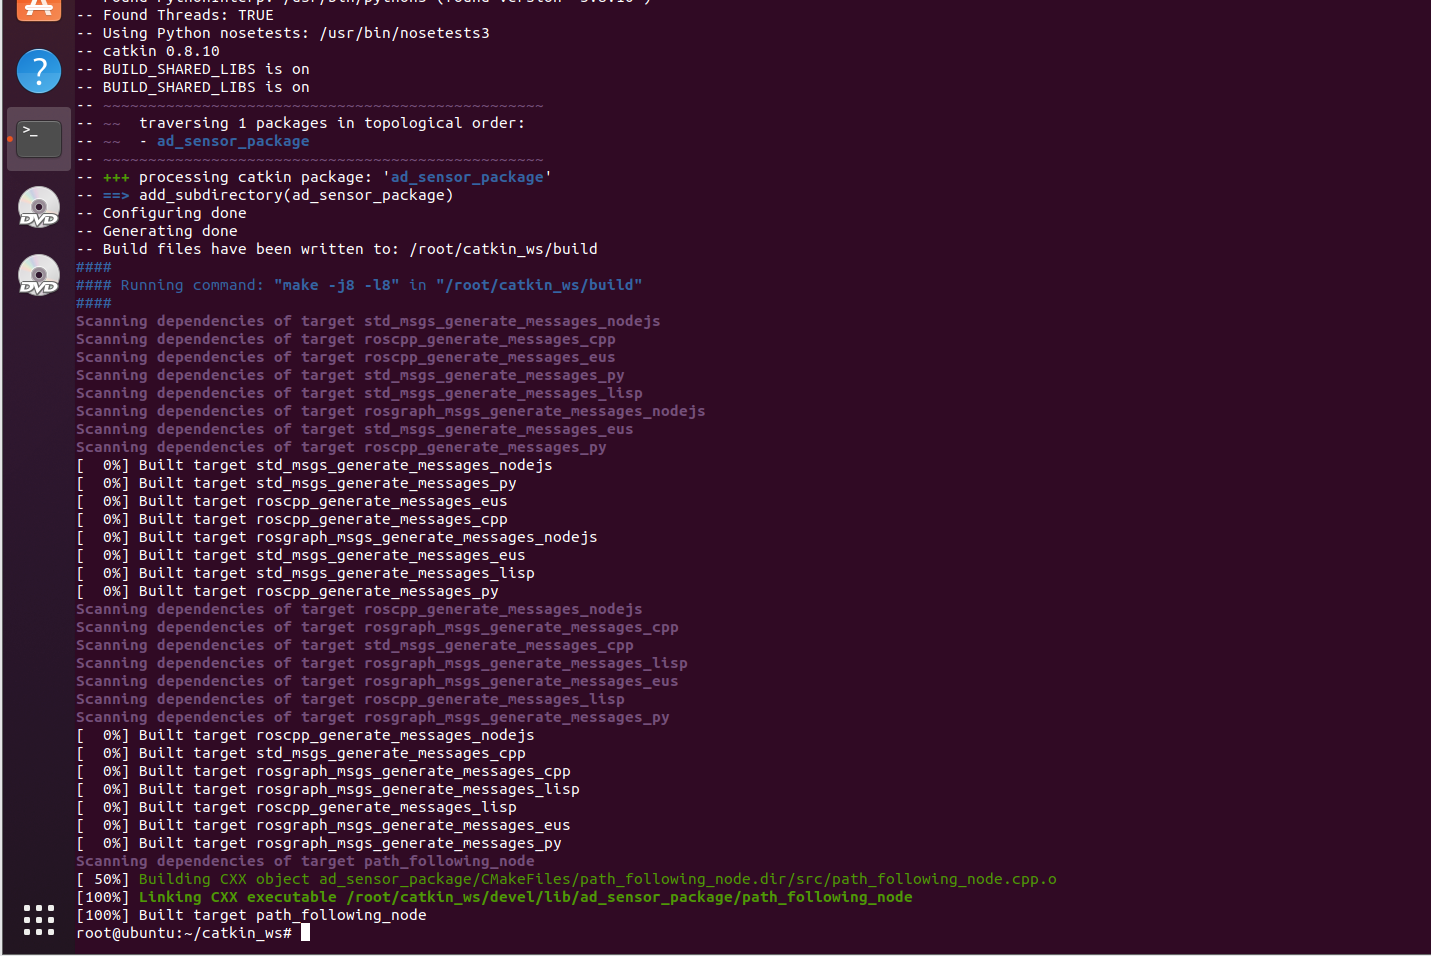
修改settings.yam:
cpp
cd /root/catkin_ws/src/wpb_cv/wpb_cv_bringup/config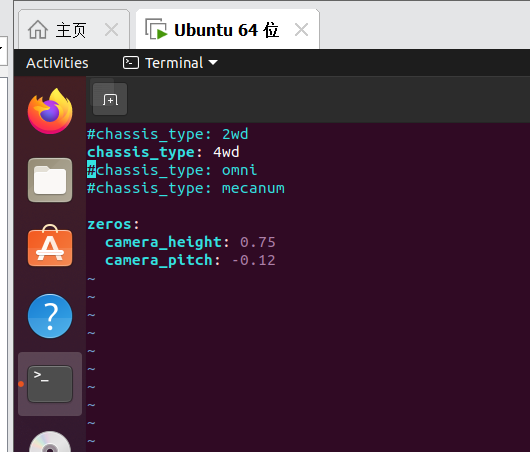
再次构建:
cpp
source /opt/ros/melodic/setup.bash
cd /root/catkin_ws
catkin_make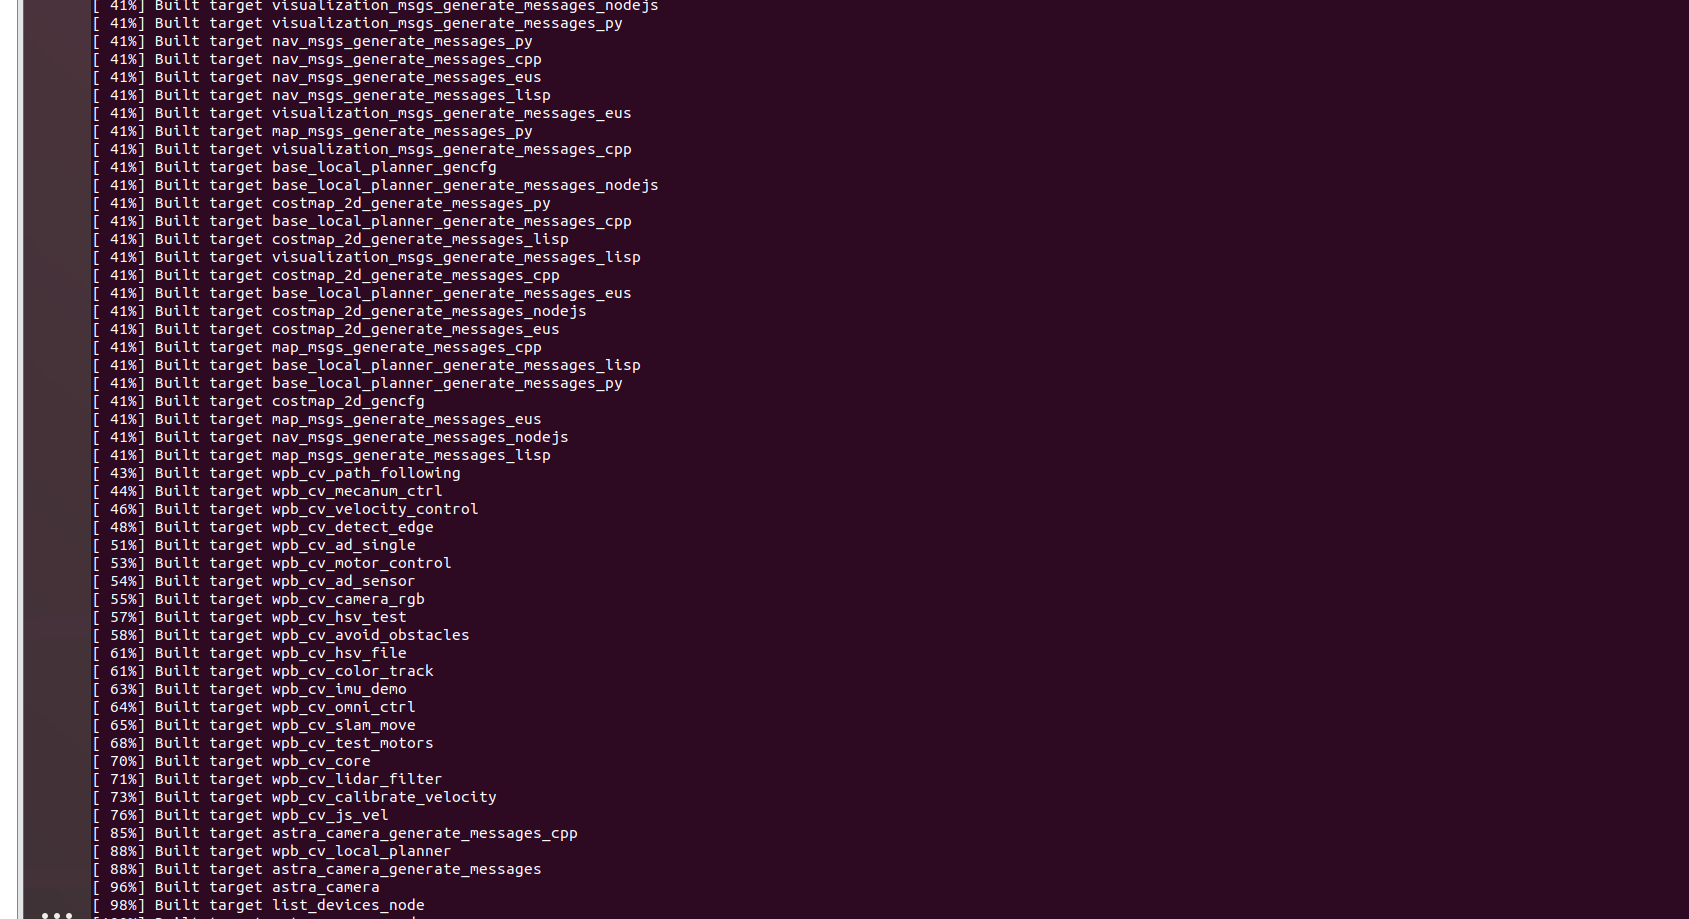
启动节点:
cpp
cd /root/catkin_ws
roslaunch wpb_cv_bringup minimal.launch
报错了:
root@ubuntu:~/catkin_ws# roslaunch wpb_cv_bringup minimal.launch
RLException: minimal.launch is neither a launch file in package wpb_cv_bringup nor is wpb_cv_bringup a launch file name
The traceback for the exception was written to the log file
有这个文件的,报错原因要么就是略过了2个包,要么就是要连接硬件?
root@ubuntu:~/catkin_ws# find ~ -name "minimal.launch"
/root/catkin_ws/src/wpb_cv/wpb_cv_bringup/launch/minimal.launch
cmakelist:
dart
add_executable(path_following_node
src/path_following_node.cpp
)
add_dependencies(path_following_node
${${PROJECT_NAME}_EXPORTED_TARGETS}
${catkin_EXPORTED_TARGETS})
target_link_libraries(path_following_node
${catkin_LIBRARIES}
)
或者用这个试试:
dart
add_executable(path_following_node
src/path_following_node.cpp
)
add_dependencies(path_following_node
${${PROJECT_NAME}_EXPORTED_TARGETS}
${catkin_EXPORTED_TARGETS})
target_link_libraries(path_following_node
    ${catkin_LIBRARIES}
    ${console_bridge_LIBRARIES} # 添加这一行来链接console_bridge库
)