Centos7安装MySQL8
通过配置yum安装MySQL
yum源的配置是通过清华源配置的
环境介绍
操作系统:Centos7.8
MySQL版本:8.0.36-1
安装前准备
-
卸载MariaDB
shell# 查看是否安装mariadb rpm -qa|grep mariadb # 卸载 rpm -e --nodeps 文件名 # 检查是否卸载干净 rpm -qa|grep mariadb
-
检查依赖
shell# 查看是否安装libaio rpm -qa|grep libaio # 如果没有安装则执行 yum -y install libaio //安装libaio # 查看是否安装numactl rpm -qa|grep numactl # 如果没有安装则执行 yum -y install numactl //安装numactl
安装MySQL
创建yum源的过程:
https://mirrors.tuna.tsinghua.edu.cn/
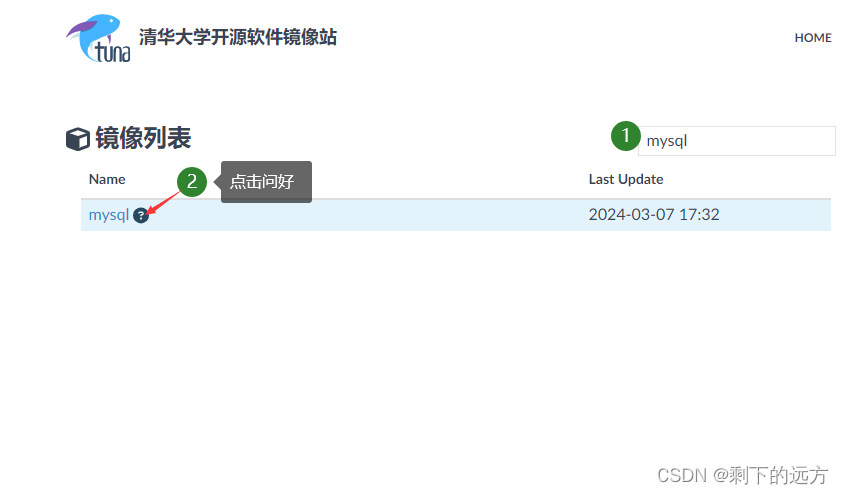
即:
shell
# 执行如下命令创建yum源文件
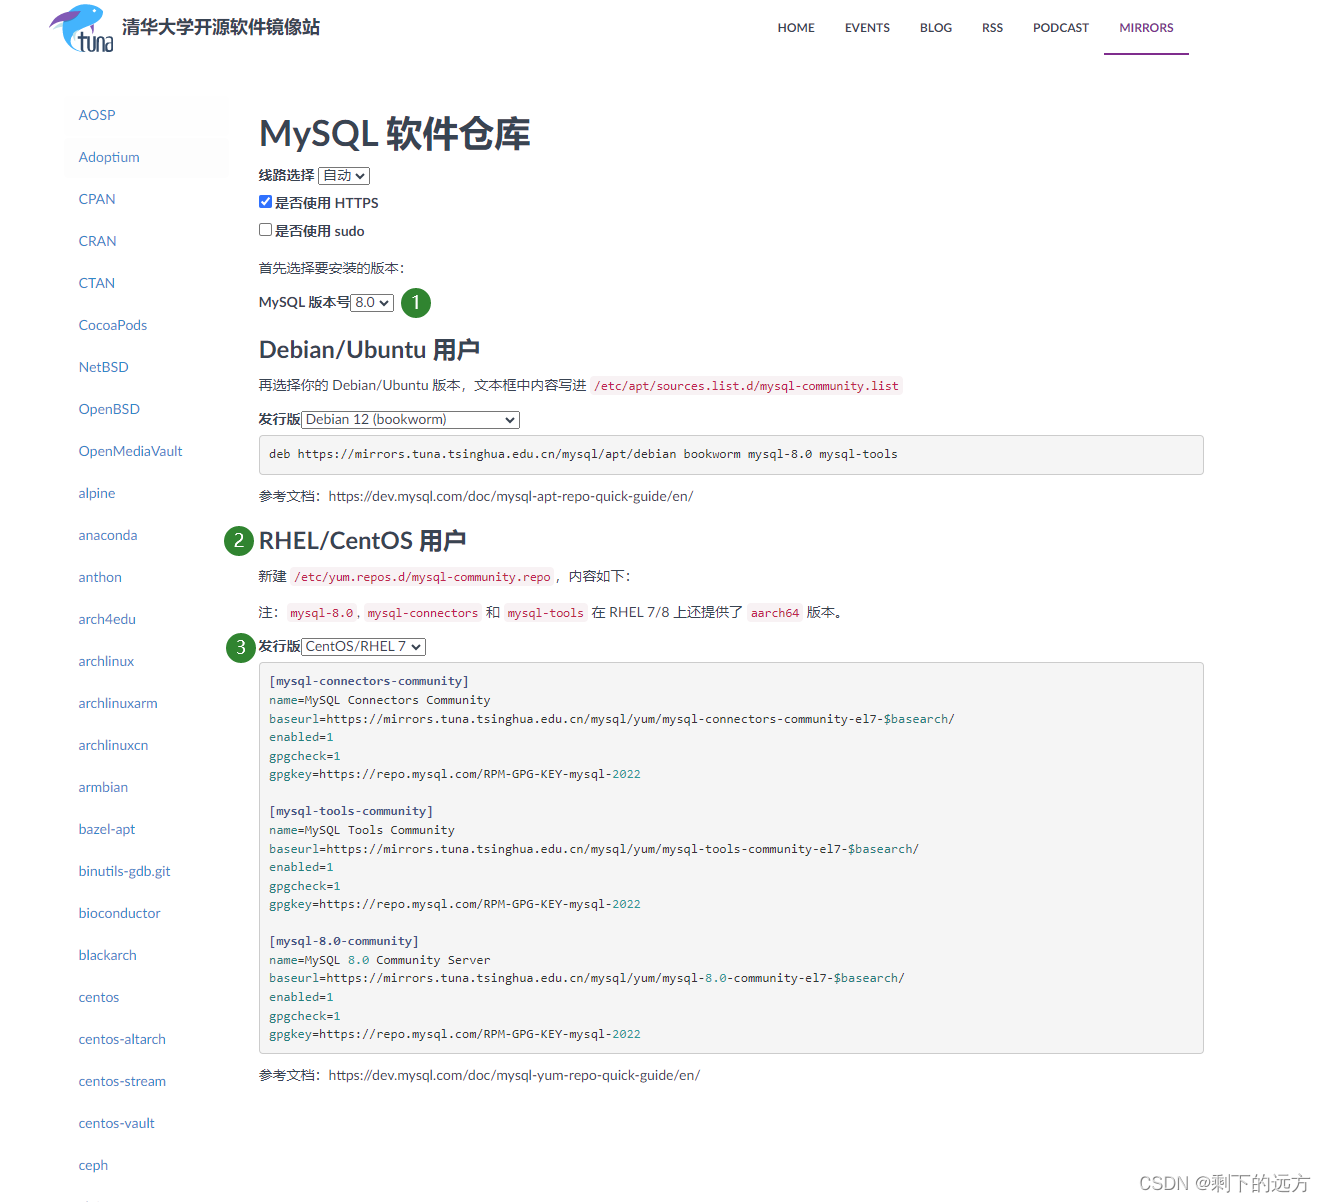
vim /etc/yum.repos.d/mysql-community.repo
# 将下面内容赋值到上面这个文档中
[mysql-connectors-community]
name=MySQL Connectors Community
baseurl=https://mirrors.tuna.tsinghua.edu.cn/mysql/yum/mysql-connectors-community-el7-$basearch/
enabled=1
gpgcheck=1
gpgkey=https://repo.mysql.com/RPM-GPG-KEY-mysql-2022
[mysql-tools-community]
name=MySQL Tools Community
baseurl=https://mirrors.tuna.tsinghua.edu.cn/mysql/yum/mysql-tools-community-el7-$basearch/
enabled=1
gpgcheck=1
gpgkey=https://repo.mysql.com/RPM-GPG-KEY-mysql-2022
[mysql-8.0-community]
name=MySQL 8.0 Community Server
baseurl=https://mirrors.tuna.tsinghua.edu.cn/mysql/yum/mysql-8.0-community-el7-$basearch/
enabled=1
gpgcheck=1
gpgkey=https://repo.mysql.com/RPM-GPG-KEY-mysql-2022保存过后到/etc/yum.repos.d/ 下面会发下多了上面创建的mysql-community.repo yum源文件
使用yum安装MySQL
shell
# 执行如下查看msyql版本 (--showduplicates 是查看对应版本)
yum search mysql-community-server --showduplicates
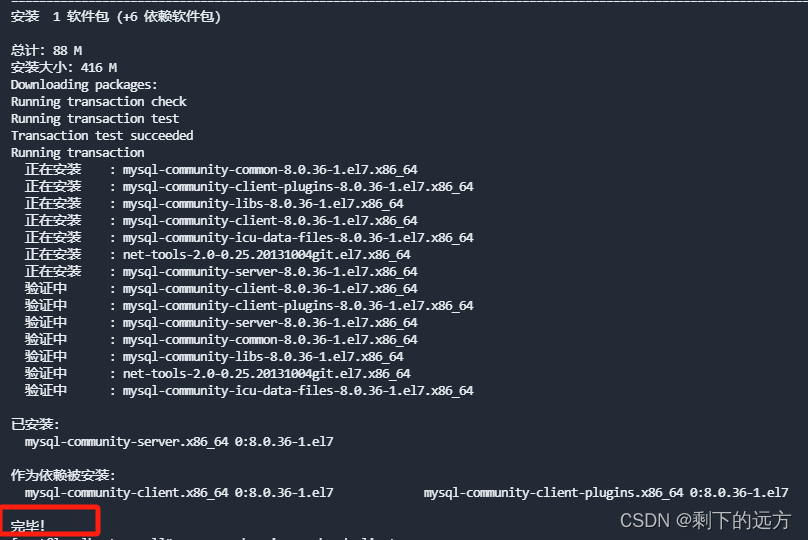
# 安装对应版本的mysql (--nogpgcheck 是跳过gpg检查)
yum -y install mysql-community-server-8.0.36-1.el7.x86_64 --nogpgcheck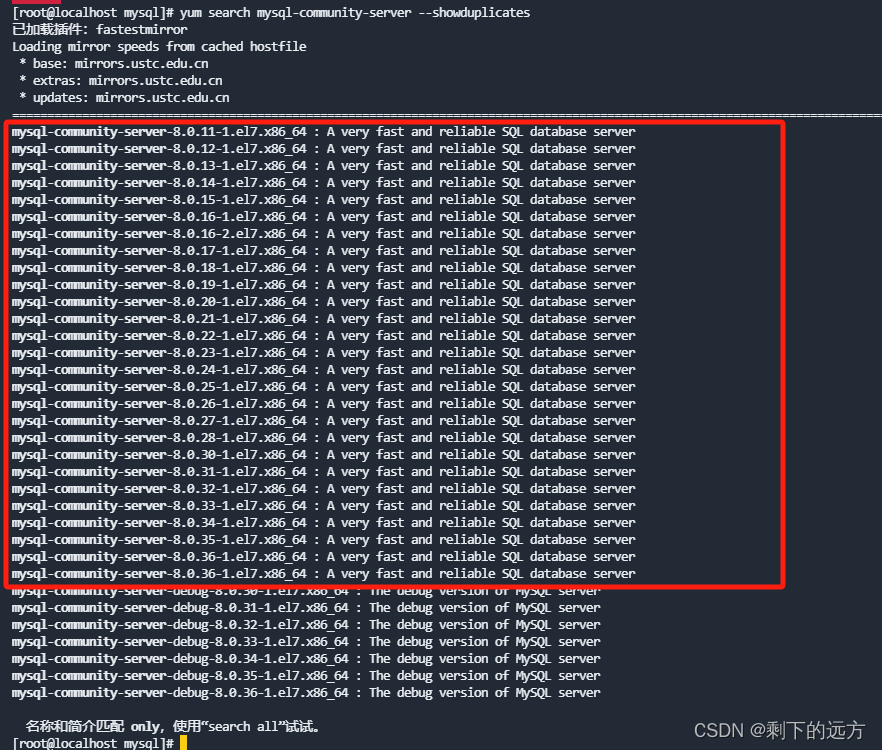
启动MySQL并修改初始密码
shell
# 启动
systemctl start mysqld
# 查看mysql服务启动是否成功
systemctl status mysqld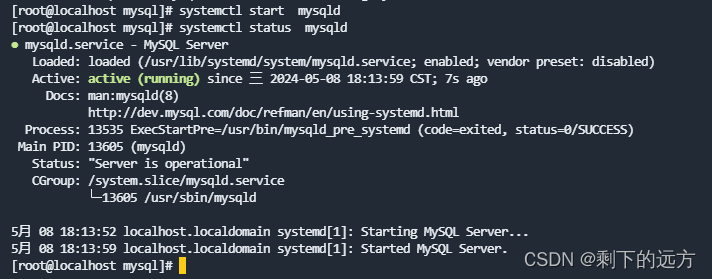
shell
#查看初始密码
grep 'temporary password' /var/log/mysqld.log

# 登录mysql,一定要注意:-p和'密码'之间是没有空格的
mysql -u root -p'x*qrf.jvo9mS'

#修改root初始密码
ALTER USER 'root'@'localhost' IDENTIFIED BY 'Root@123';

开放 root 账户远程登录
shell
#重新登录
mysql -u root -p'Root@123'
# 1、进入数据库
use mysql;
# 2、修改user表
update user set host='%' where user='root';
# 重载授权表
FLUSH PRIVILEGES;
# 退出
exit

# 重启
systemctl restart mysqld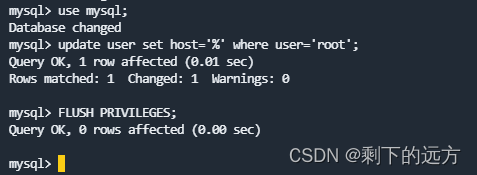
总结
至此安装完毕!