1.准备虚拟环境
conda create -n metagpt python=3.9 && conda activate metagpt

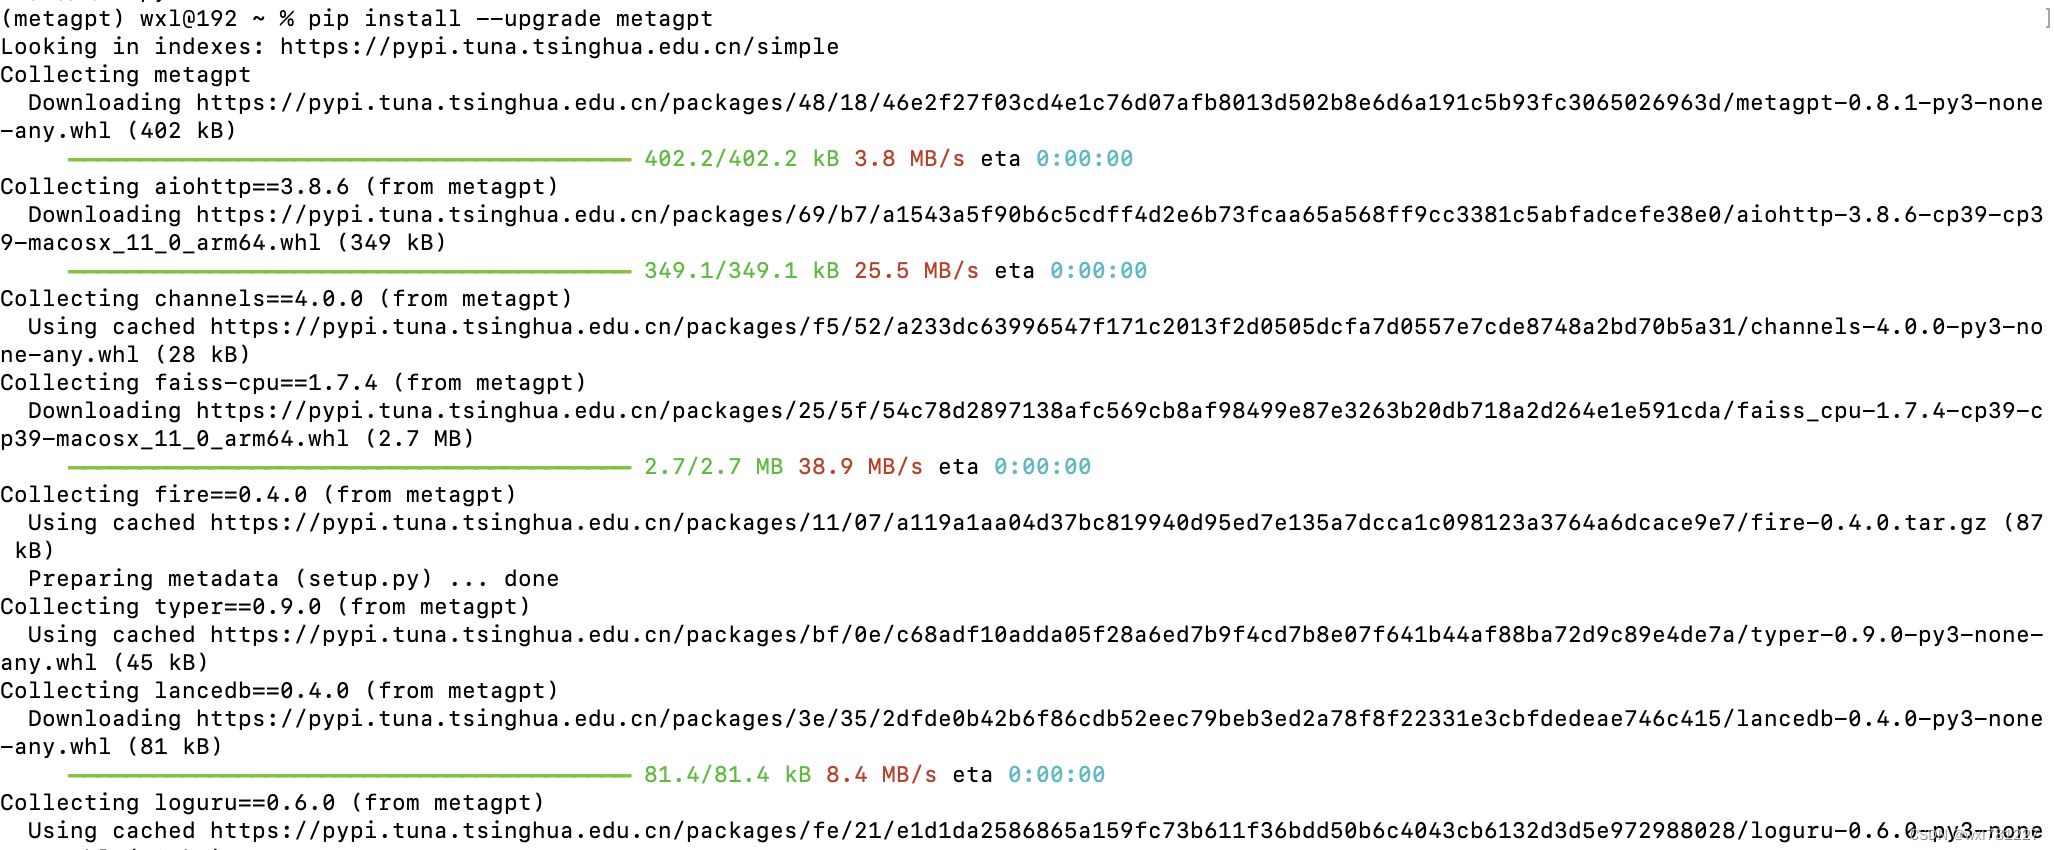
2.安装metagpt
pip install --upgrade metagpt
3.初始化配置文件
metagpt --init-config

- 安装llama3

- 修改配置文件

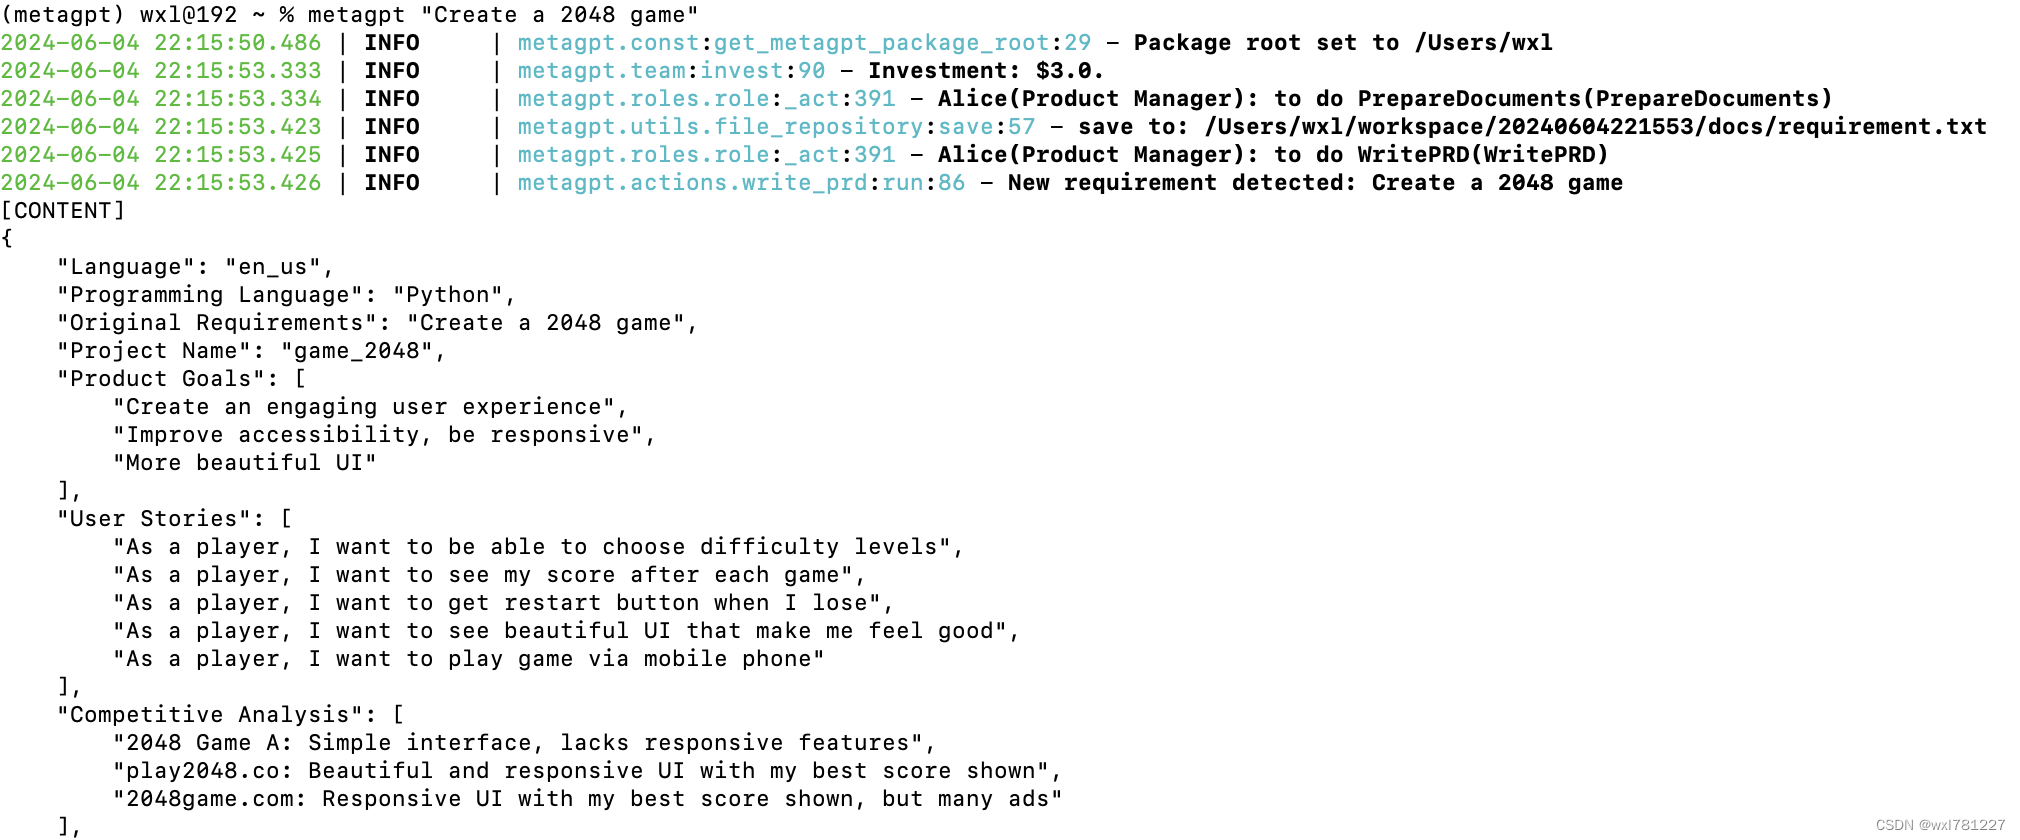
6.让metegpt自动开发2048游戏
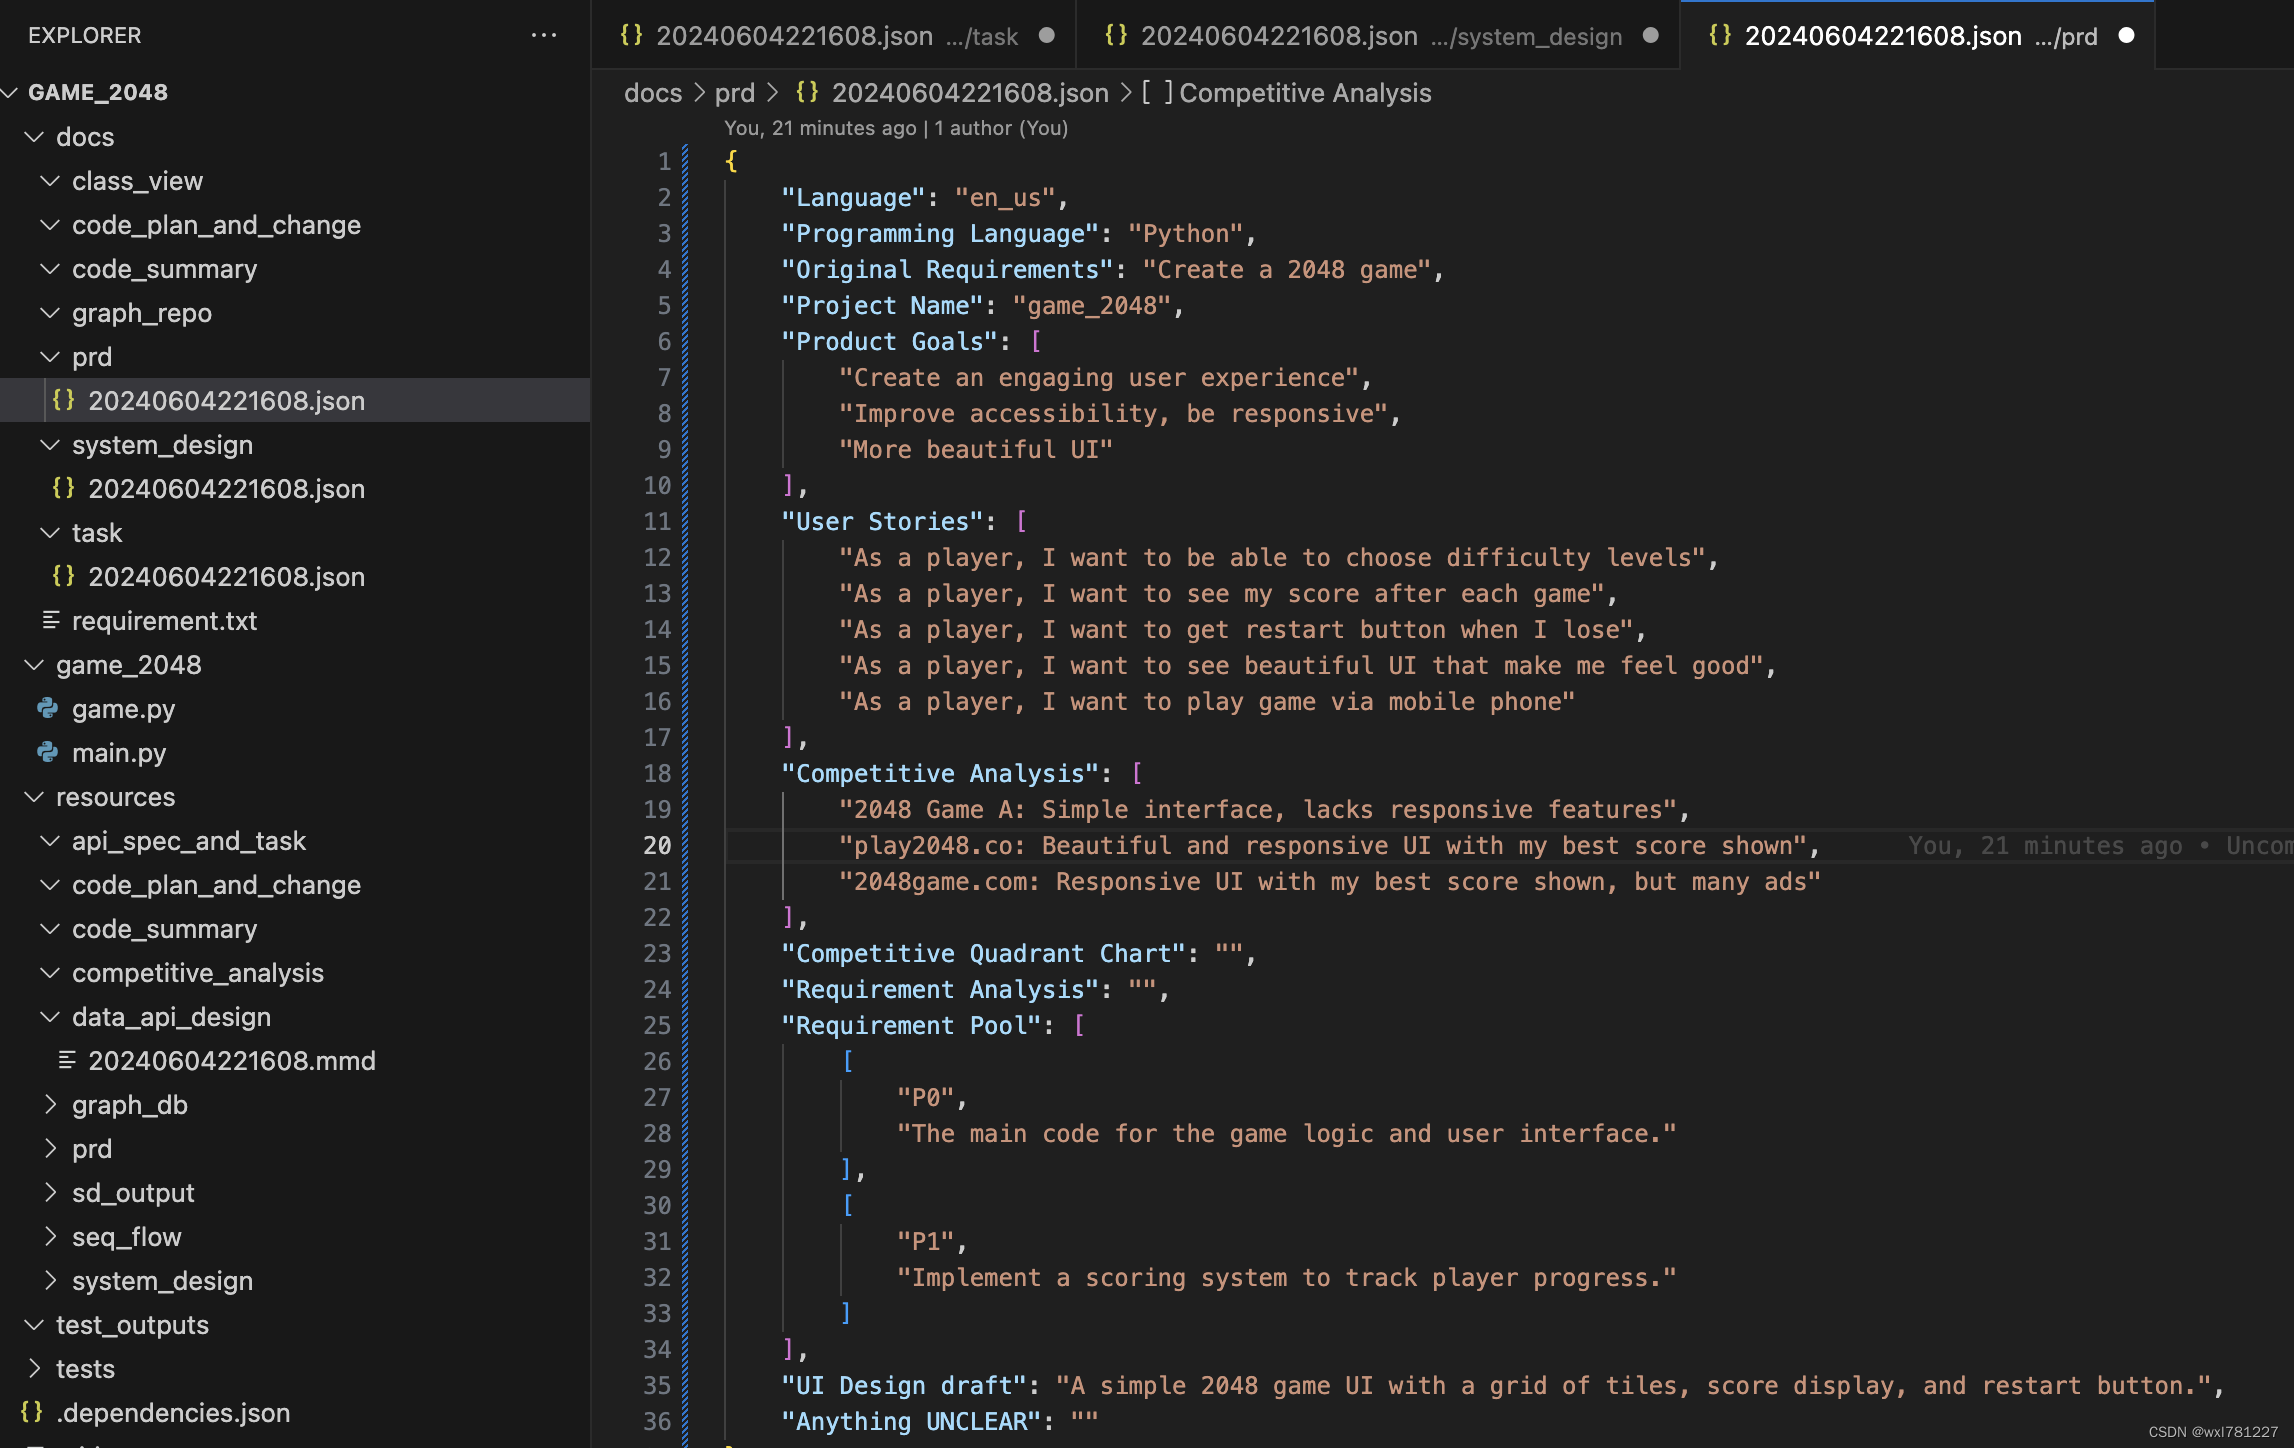
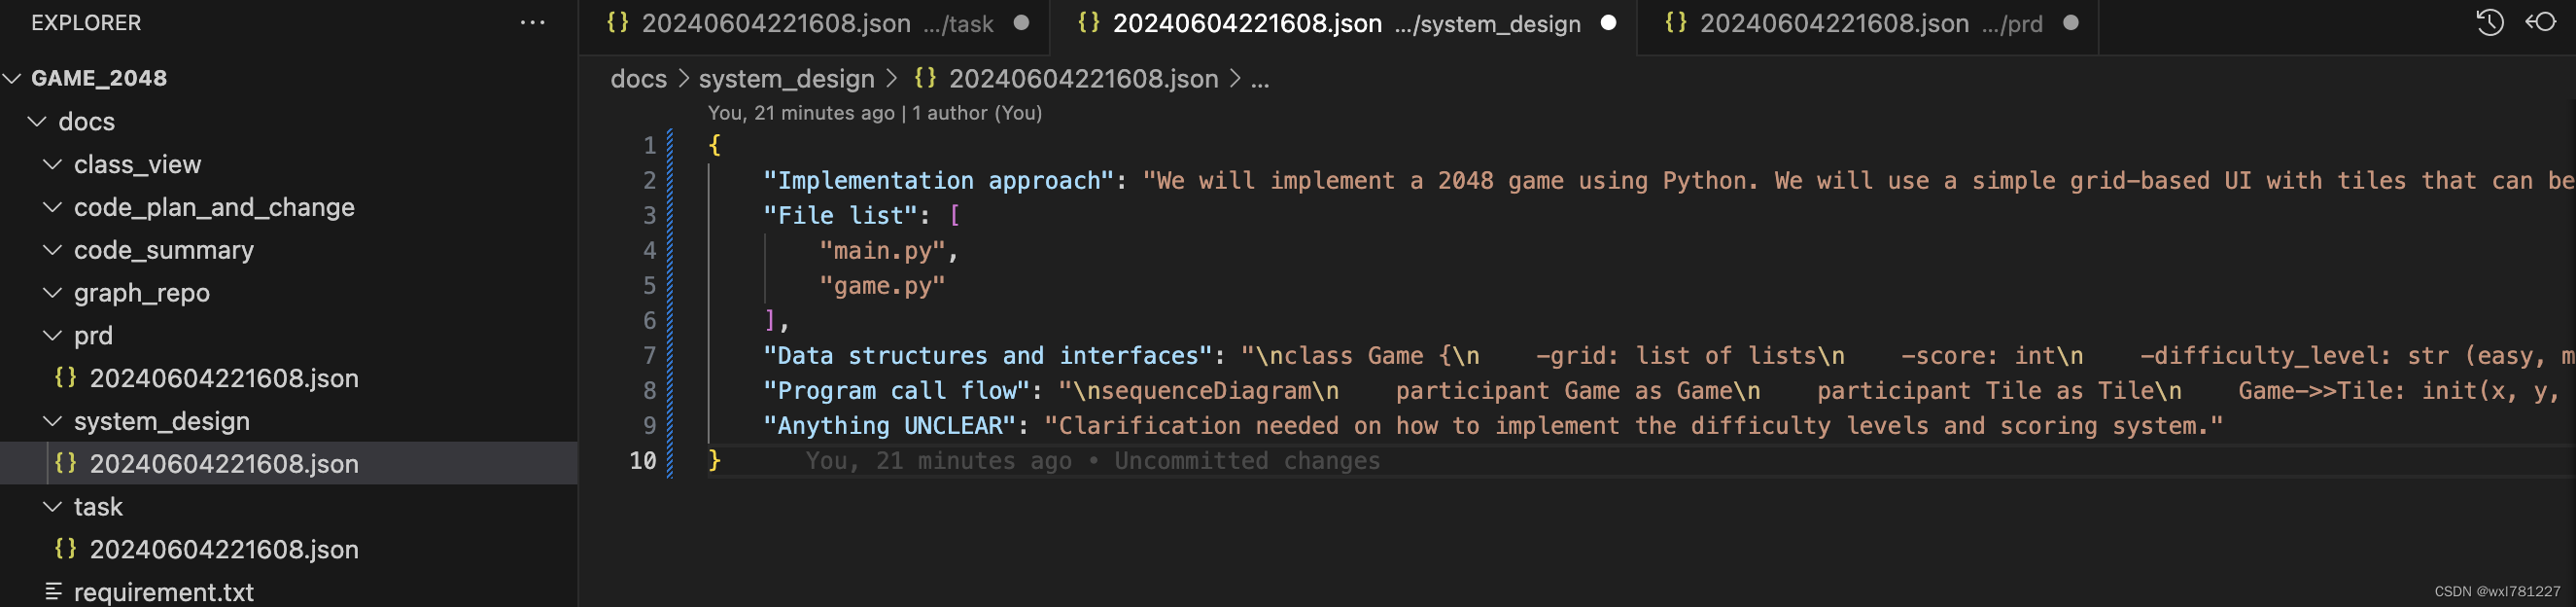
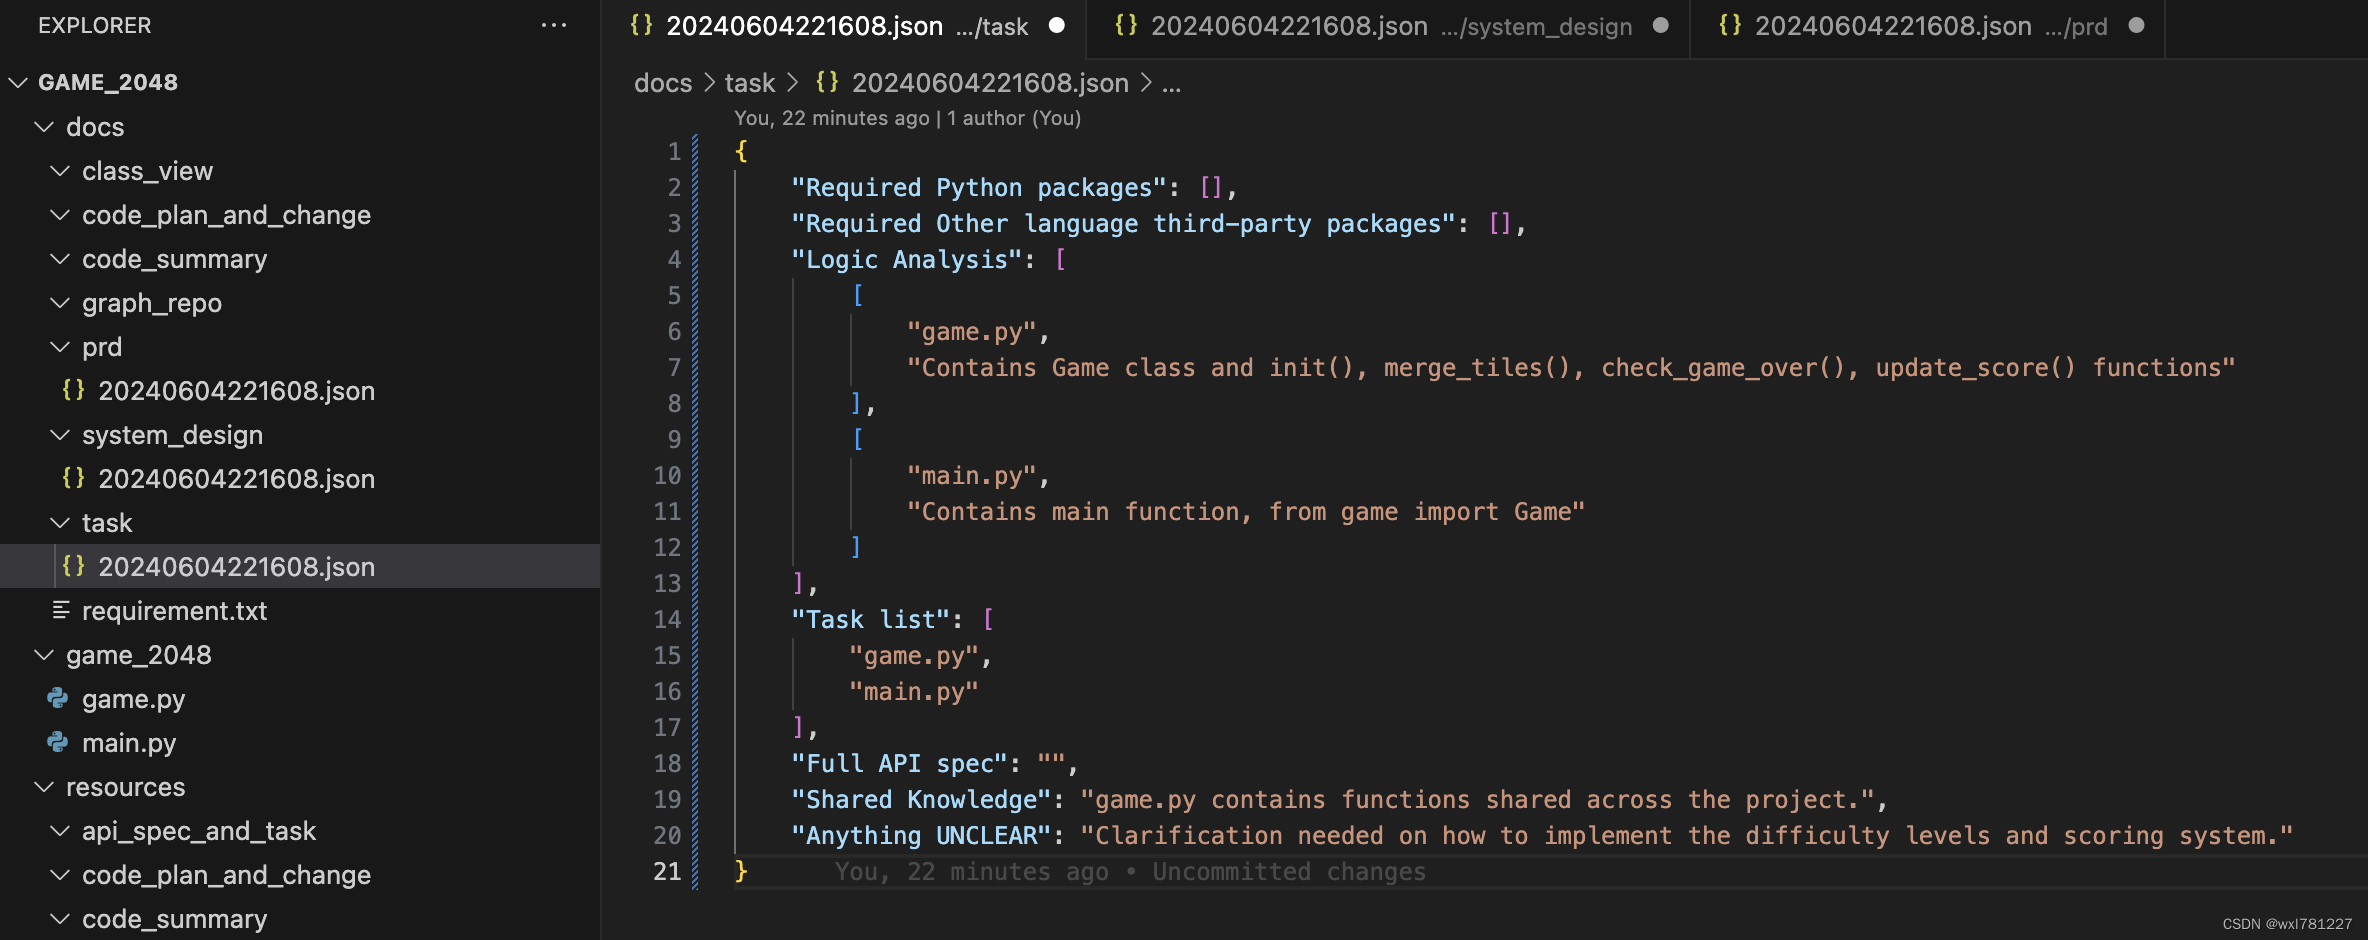
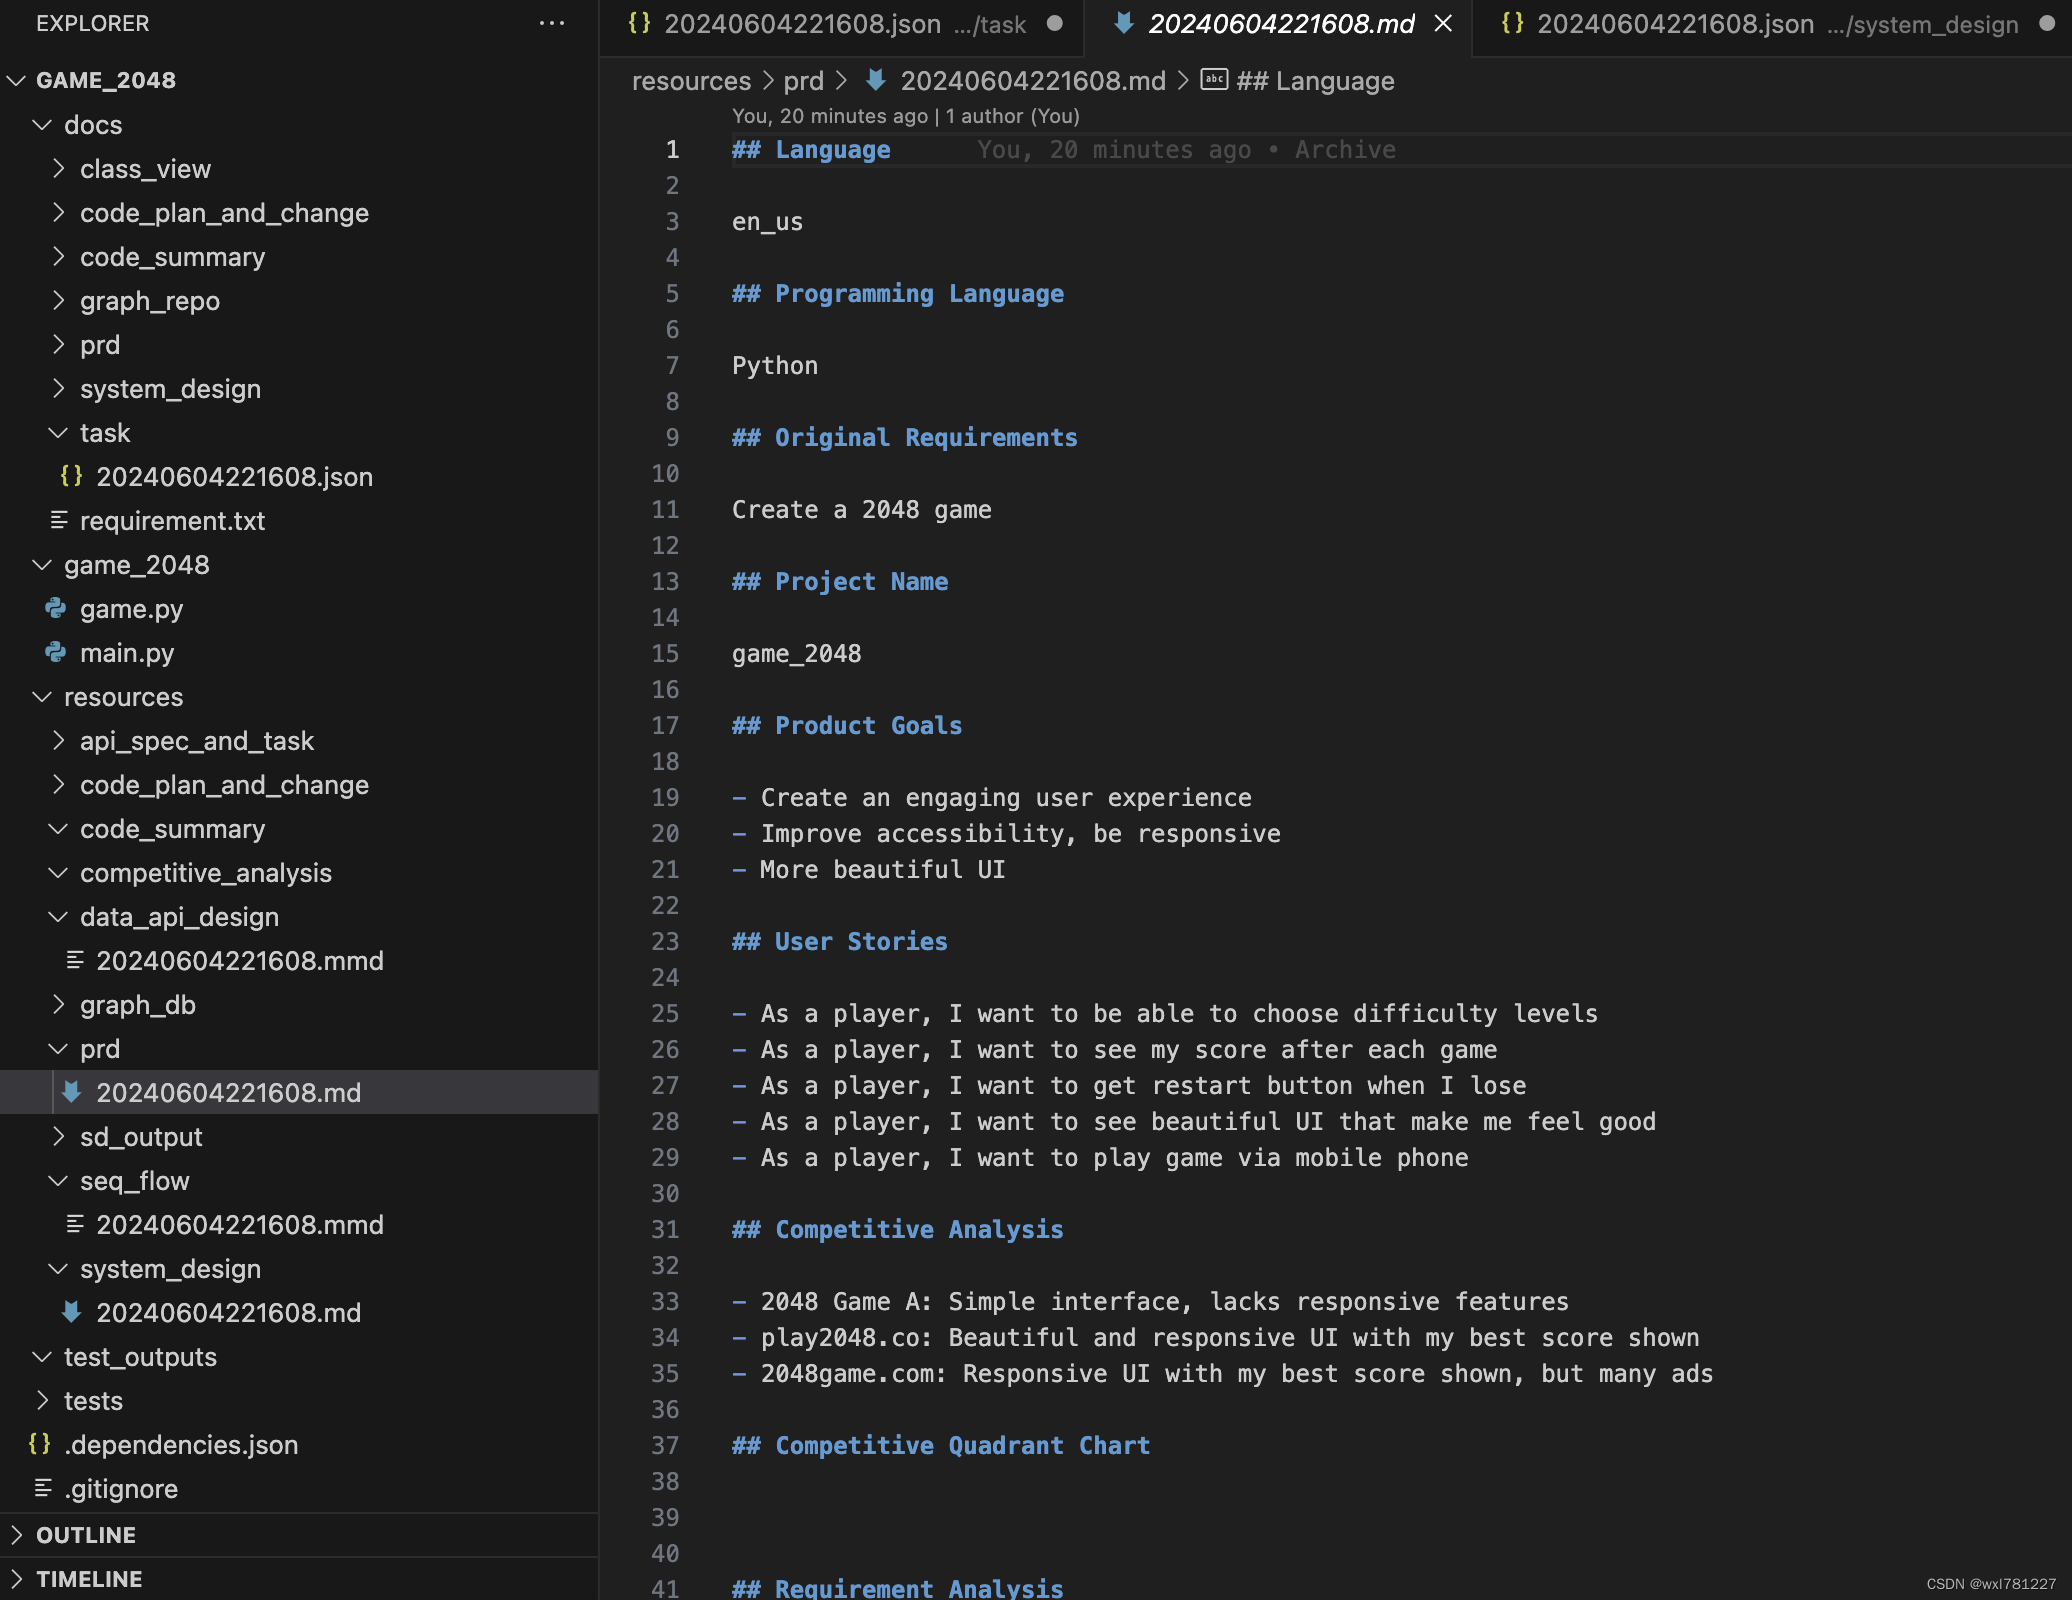
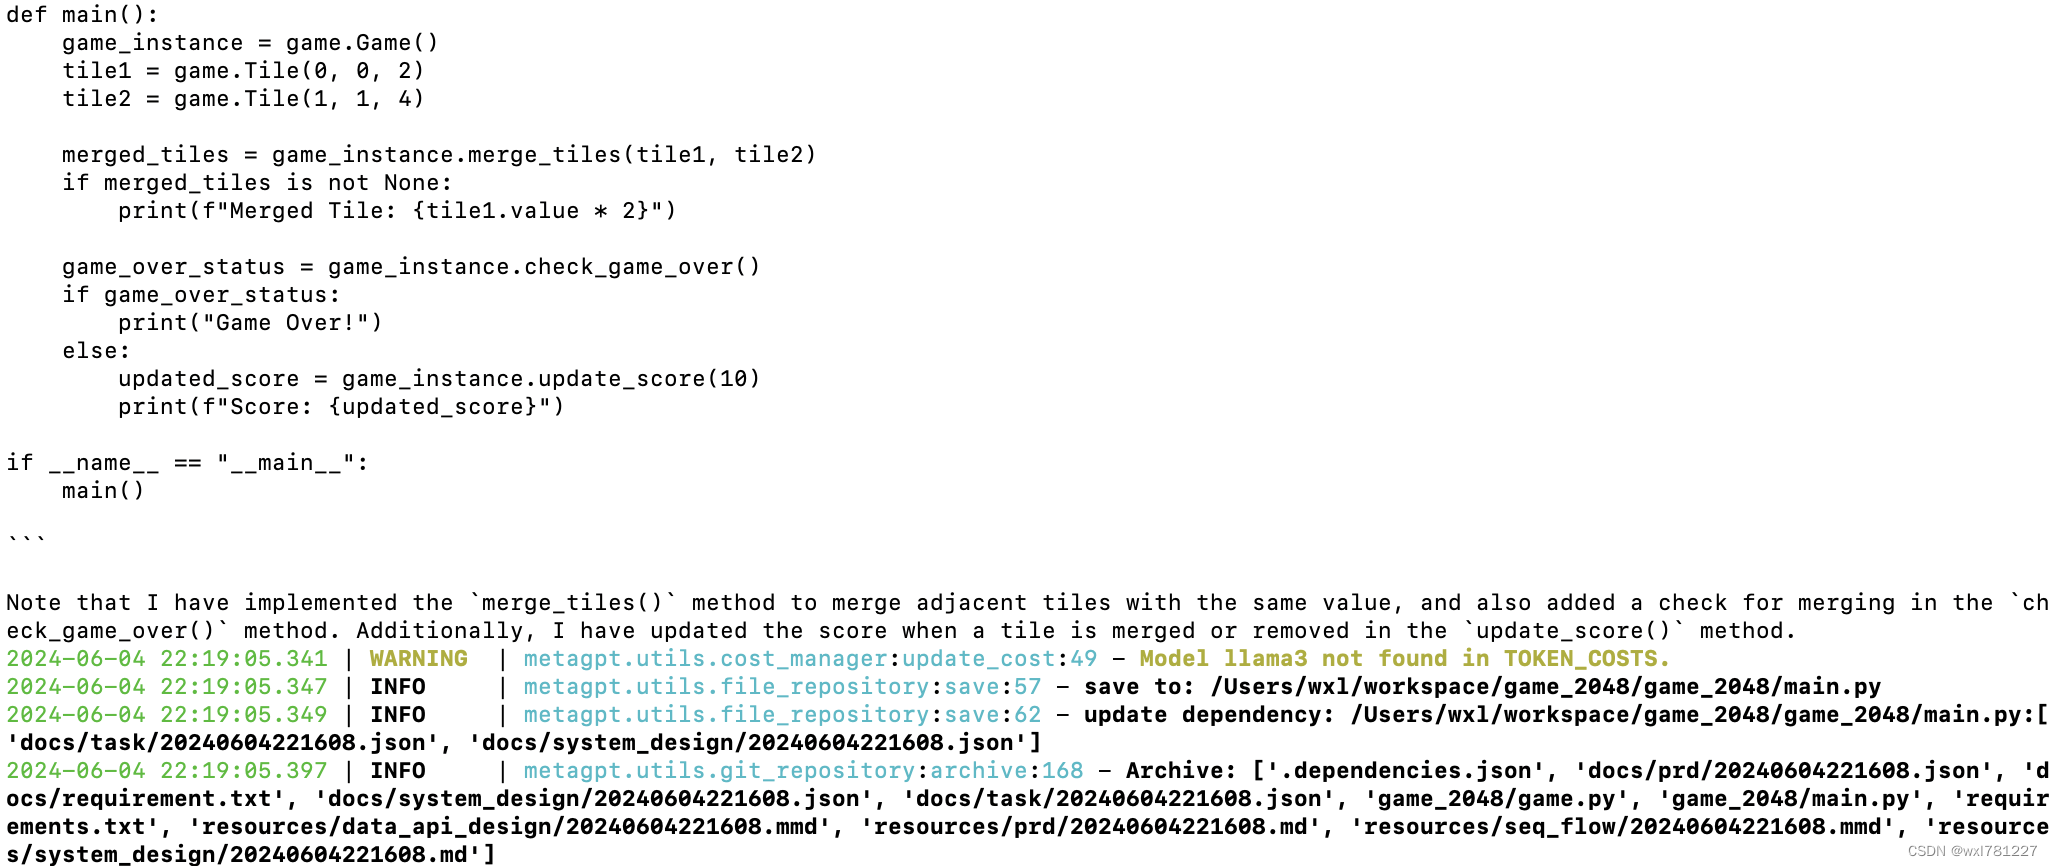
7.经过多轮迭代,最终生成了完整的代码
- 使用VSCode查看代码
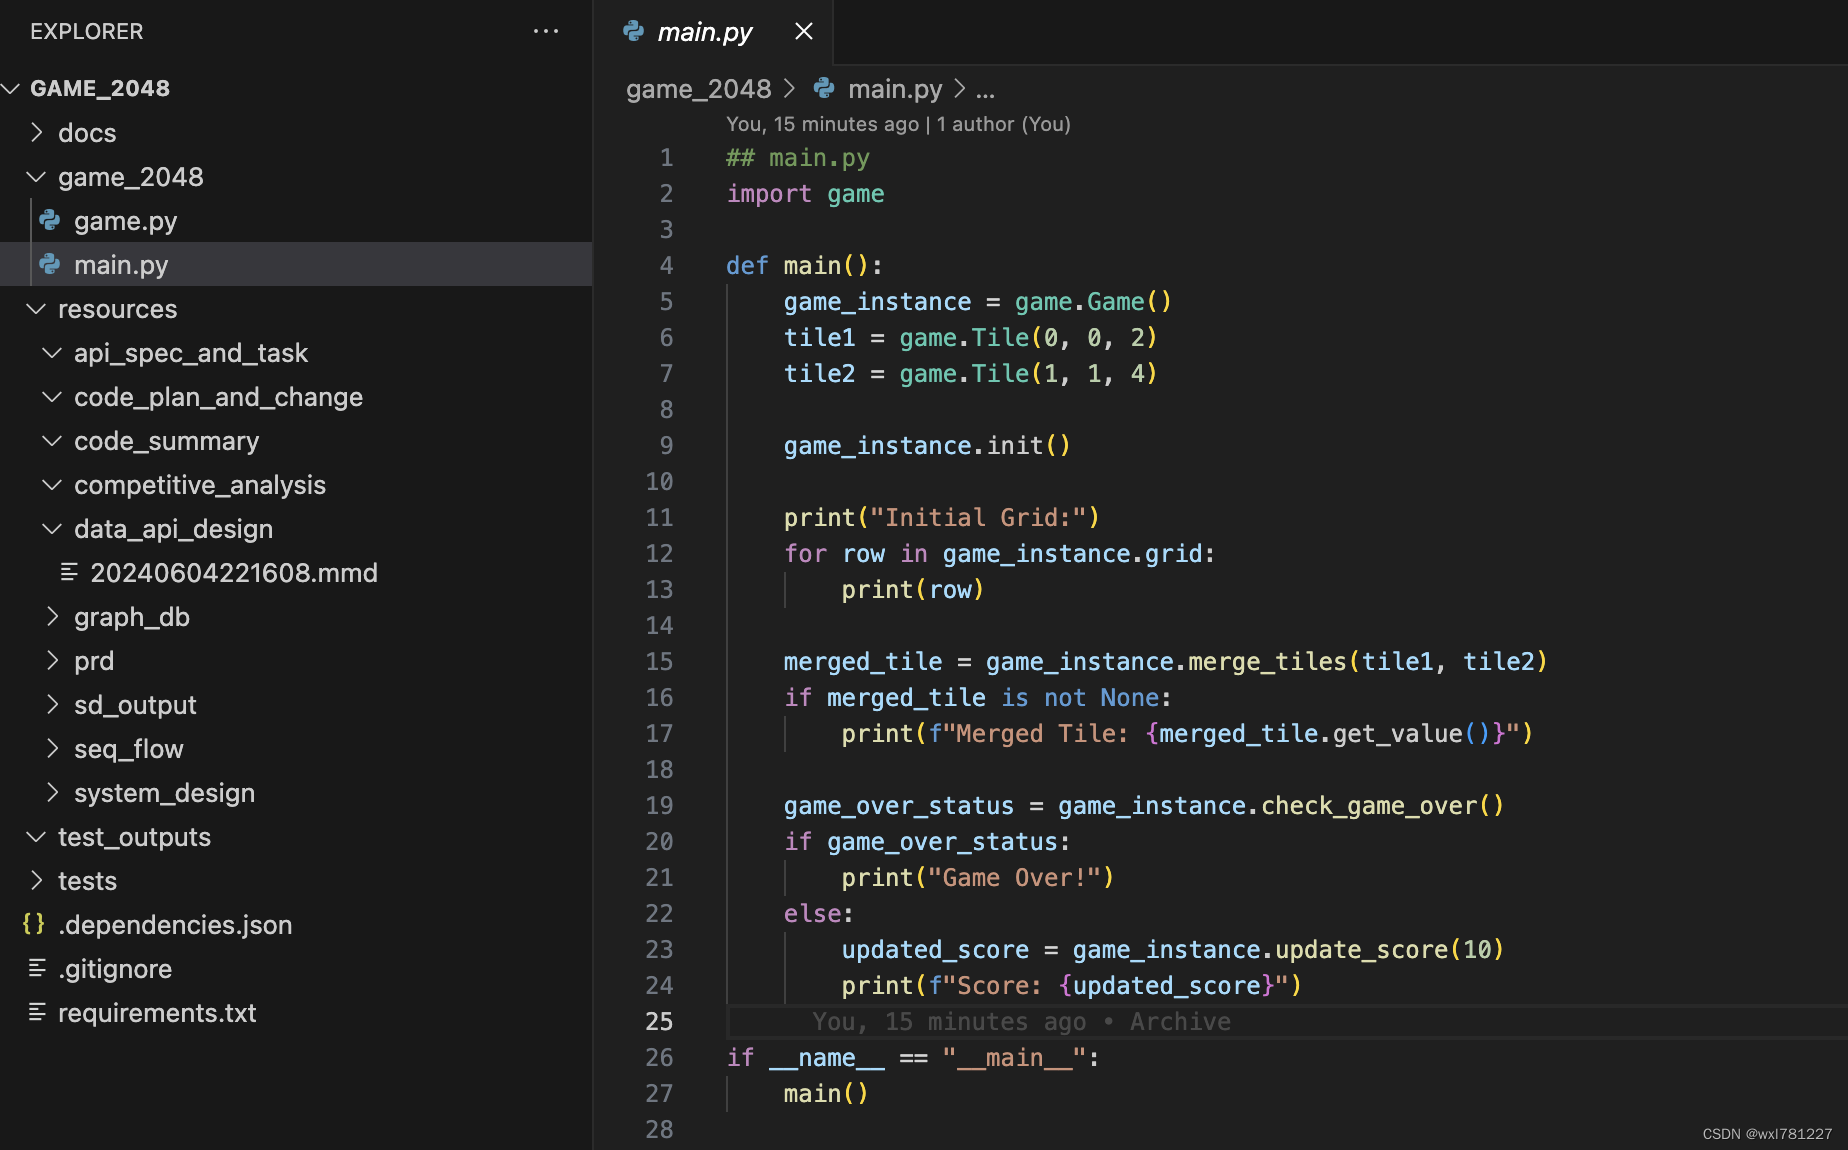
总结:不仅仅生成了代码,还提供了相应的文档和设计,遗憾的是最终代码并不能运行起来。