前言
鸿蒙生态取得爆发式增长!
截至3月底,已有超4000个应用加入鸿蒙生态。
而在今年1月中旬,华为刚宣布HarmonyOS NEXT鸿蒙星河版面向开发者开放申请,这一版本鸿蒙系统也被称为"纯血鸿蒙"。
当时,华为宣布首批200多家应用厂商正在加速开发鸿蒙原生应用,不到3个月时间,加入鸿蒙生态的原生应用数量便增长近20倍。
与此同时,华为将于4月11日举办鸿蒙春季沟通会,或将在会上公布相关新产品。
预计今年四季度,HarmonyOS NEXT鸿蒙星河版将面向消费者发布商用版本。
随着鸿蒙系统的爆发,接下来相应的岗位肯定也会越来越火爆,今天就来跟大家聊一下鸿蒙基于ARKTS开发之启动模式
鸿蒙的启动模式分为2种
●页面路由router配置
●module.json5的abilitys的lanuchType
页面路由router配置
路由跳转分为pushUrl和replaceUrl
●pushUrl 跳转页面
●replaceUrl。跳转页面且替换当前页面
  //由于page_view_single在跳转的时候Single模式,所以还会显示之前的页面
        Button("点击进入Single模式").margin({top:20}).width('80%').height(50).stateStyles({
          pressed:{.backgroundColor(Color.Orange)}
        }).fontSize(20).onClick(()=>{
          router.pushUrl({
            url: Contact.SINGLE_MODE_PAGE,
          },router.RouterMode.Single
          ).catch((error: Error) => {
            console.info('TAG', 'IndexPage push error' + JSON.stringify(error));
          });
        })
        //由于使用了replaceUrl在跳转的时候不会创建新的实例而是替换当前页在栈中
        Button("点击进入替换当前页面").margin({top:20}).width('80%').height(50).fontSize(20).onClick(()=>{
          this.message="Standard模式被点击过"
          router.replaceUrl({
            url: Contact.REPLACE_PAGE,
          },router.RouterMode.Single
          ).catch((error: Error) => {
            console.info('TAG', 'IndexPage push error' + JSON.stringify(error));
          });
        })
通过路由跳转的时候配置 RouterMode
Button("点击进入SINGLE模式页面")
.margin({ top: 20 })
.width('80%')
.height(50)
.fontSize(20)
.onClick(() => {
router.pushUrl({
url: Contact.SINGLE_MODE_PAGE,
}, router.RouterMode.Single
).catch((error: Error) => {
console.info('TAG', 'IndexPage push error' + JSON.stringify(error));
});
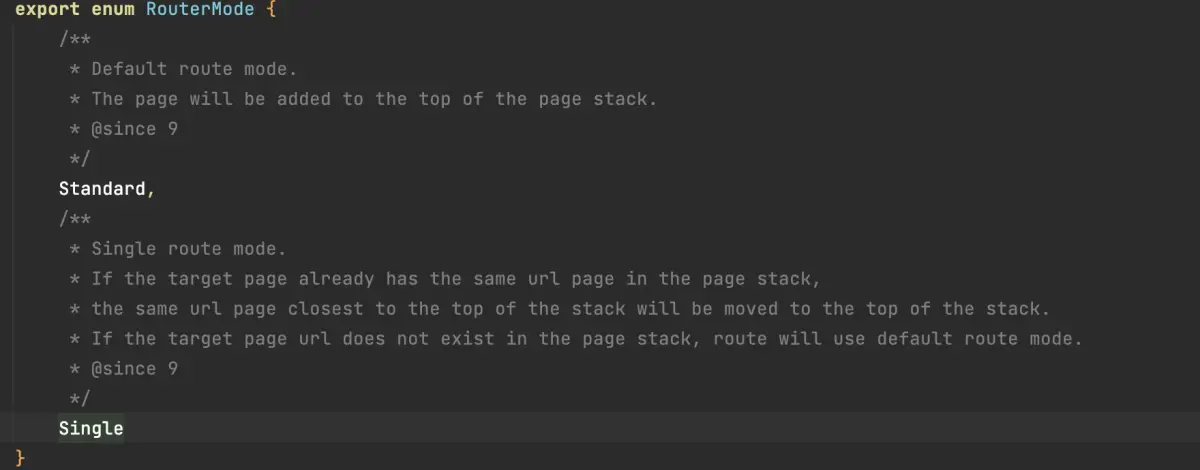
})RouterMode有2种模式 (默认standard)
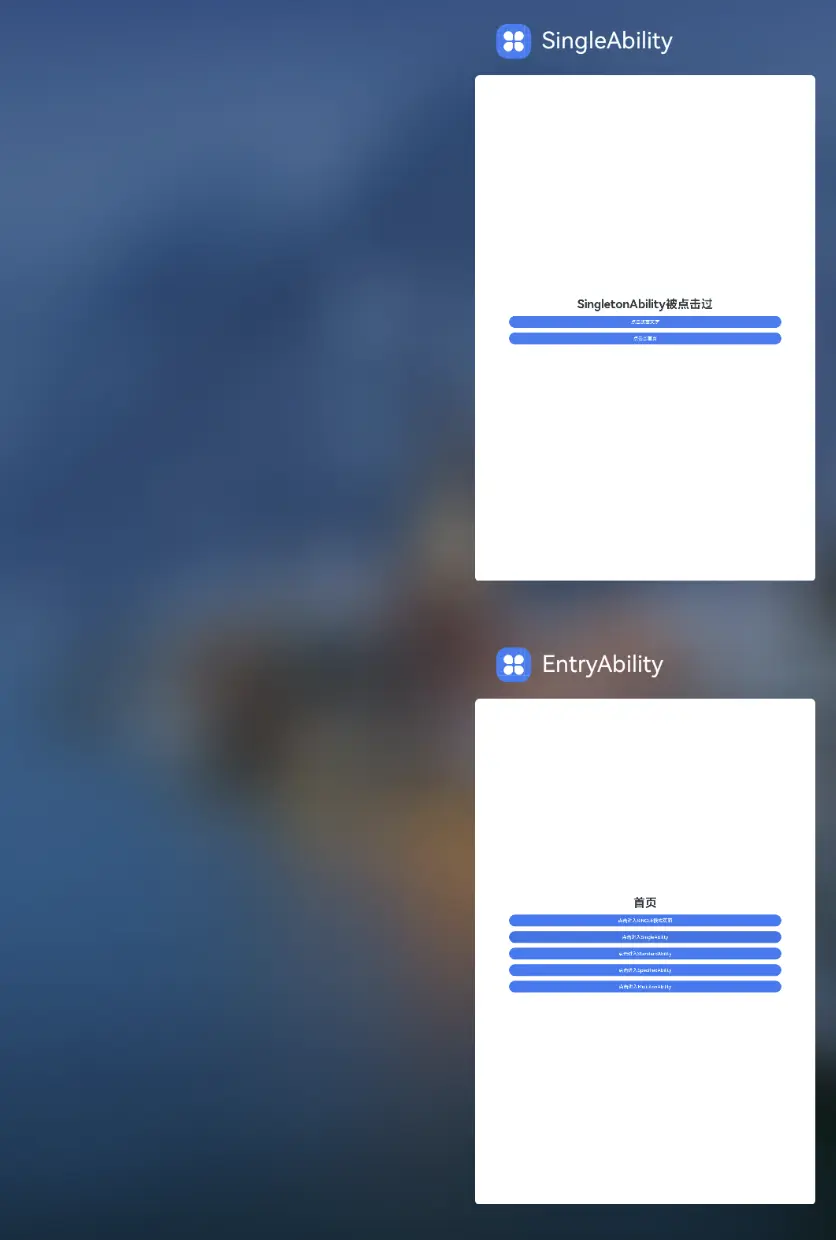
●Single模式 (如果栈里有不会创建新实例,重复打开之前的并推到栈顶)
●Standard模式(每次跳转都是开启一个新的实例(页面))
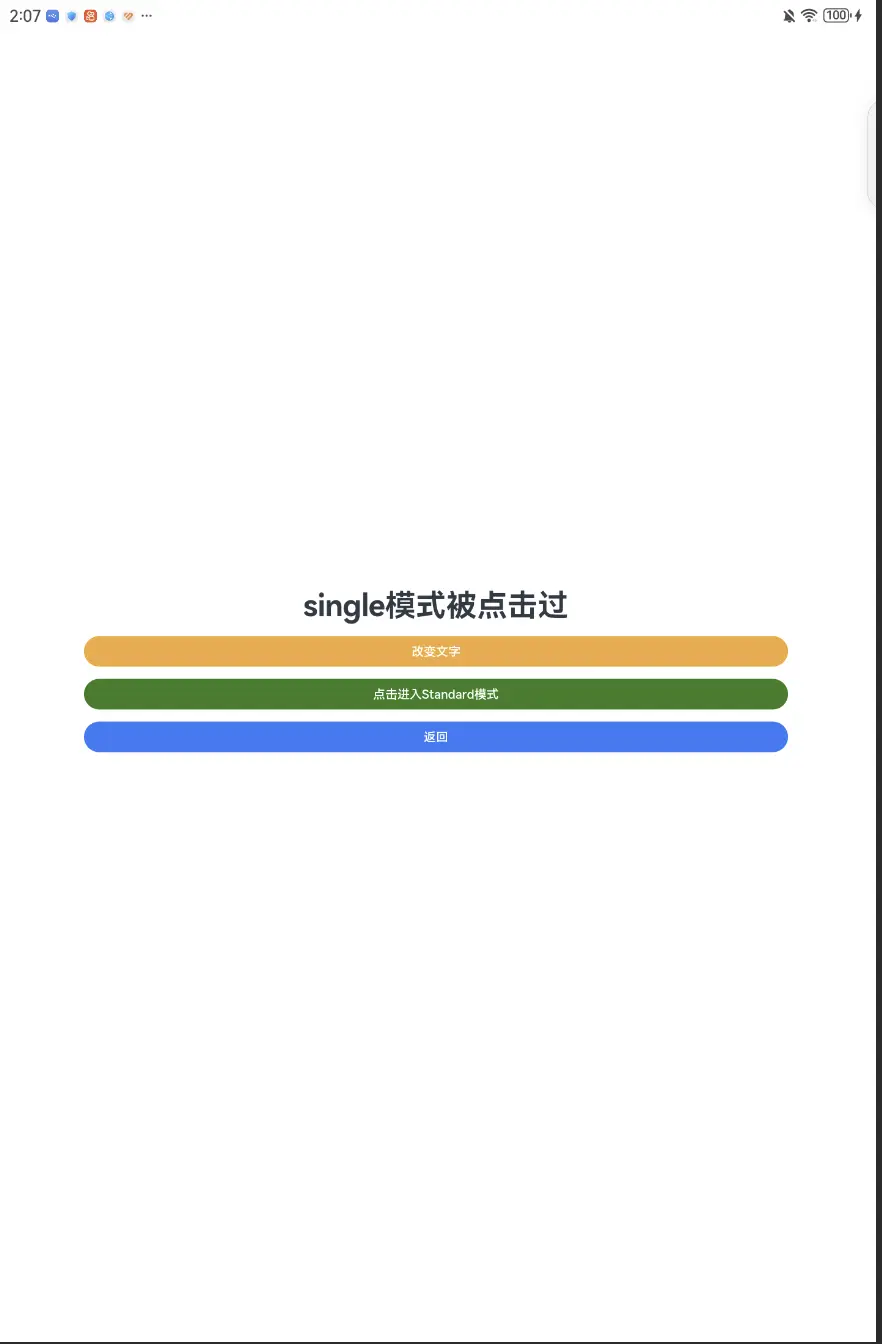
当我点击按钮 改变文字"single模式"变为"single模式被点击过"
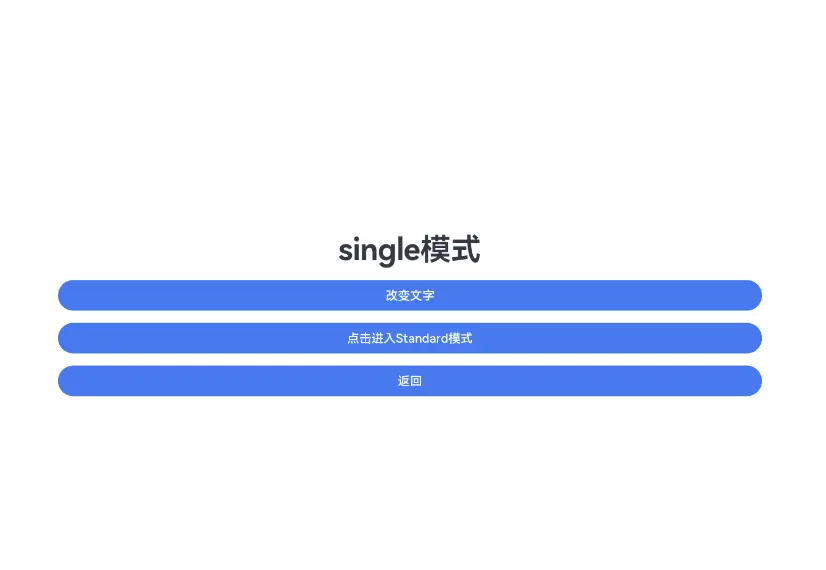

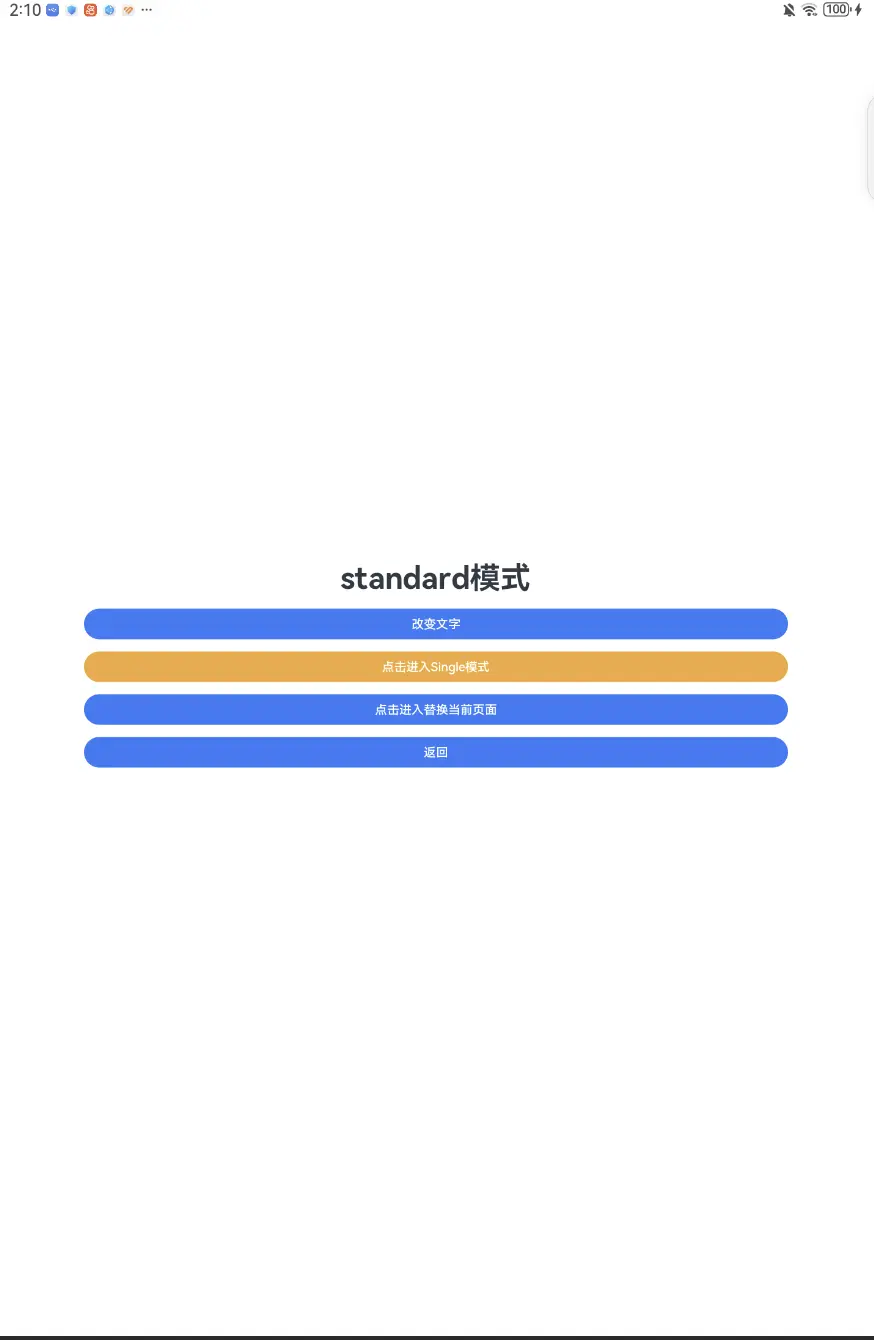
点击进入standerd模式进入新的页面再从stanard模式页面再次进入之前的single模式页面后页面是
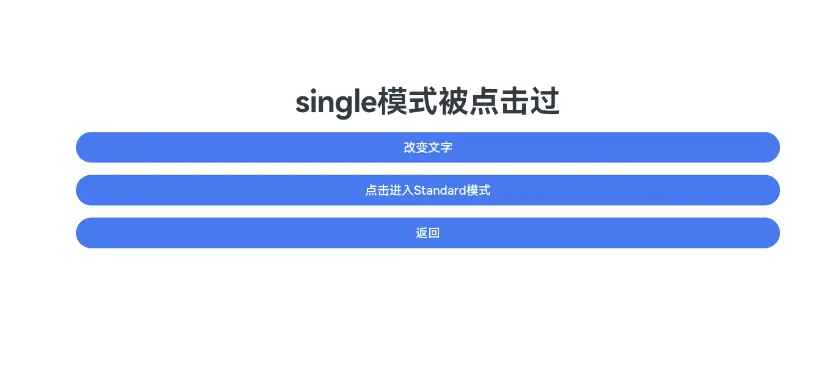
可以理解为 Standard启动一个就是一个,Single模式如果打开过这个模式的页面再点击进去该页面还是之前的
Ability跳转启动模式
如果你是有多个Ability
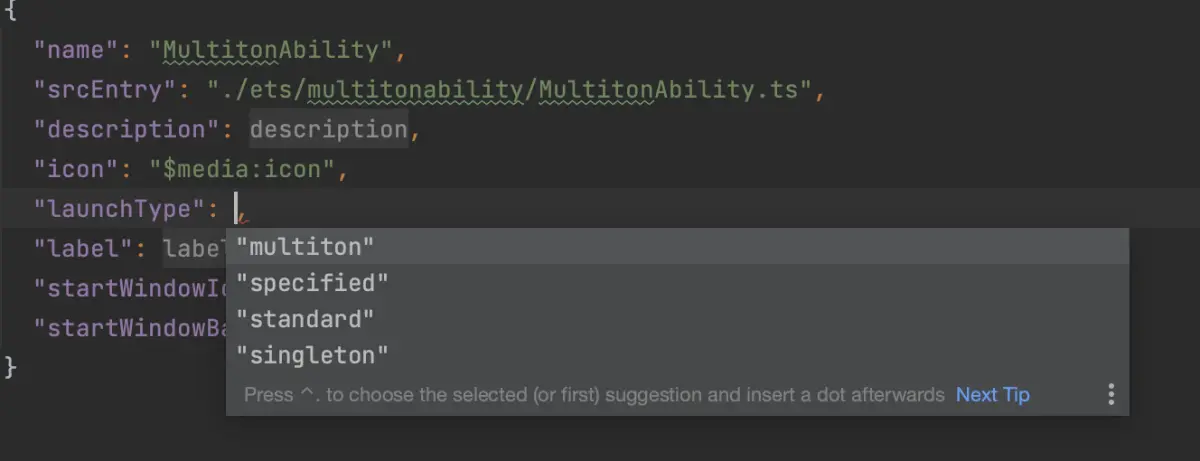
在module.json5文件下
配置 "launchType"有4中模式 默认singletion
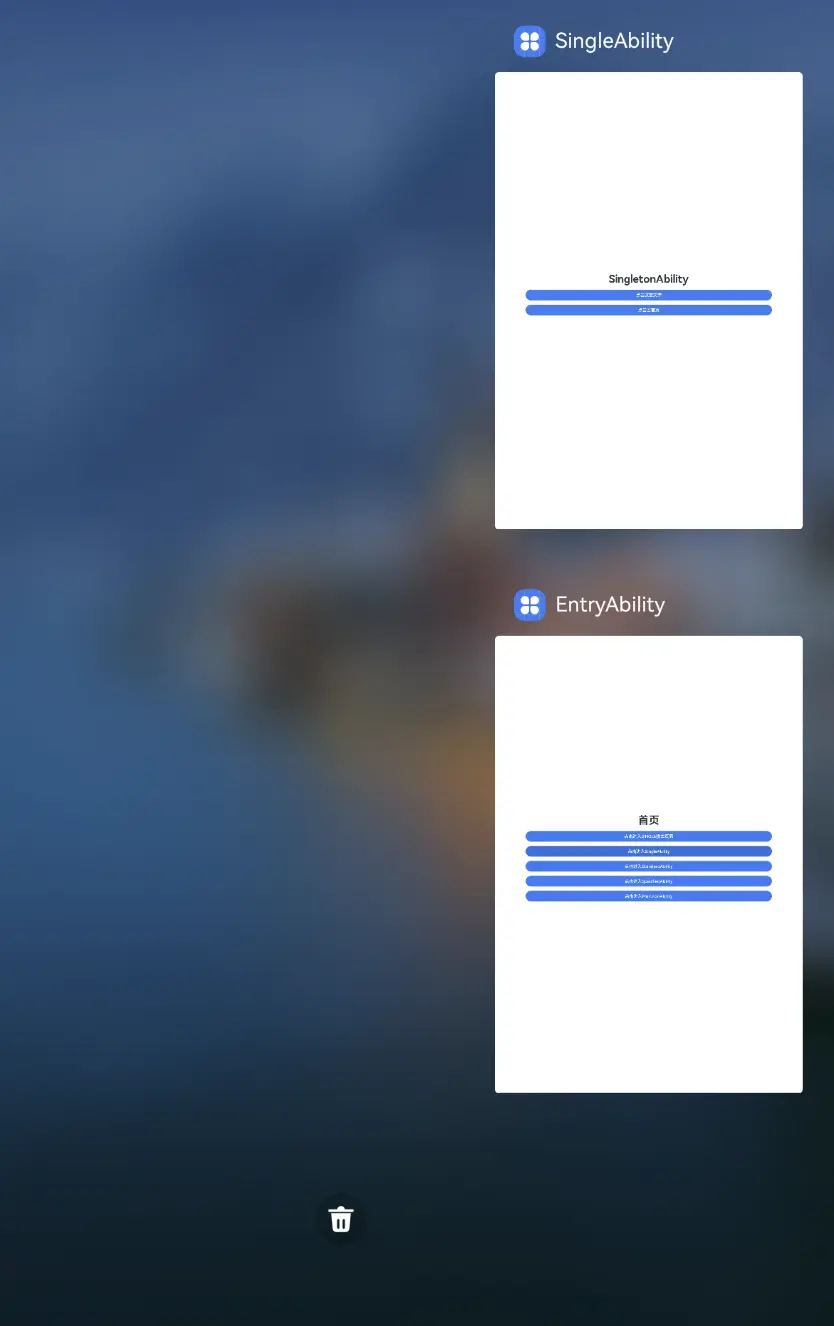
-singleton 当前栈里有这个模式的ability不会创建新的而是再次调起之前的,并推到栈顶
-multiton 文档上说是多实例(我测了下还是singleton模式)
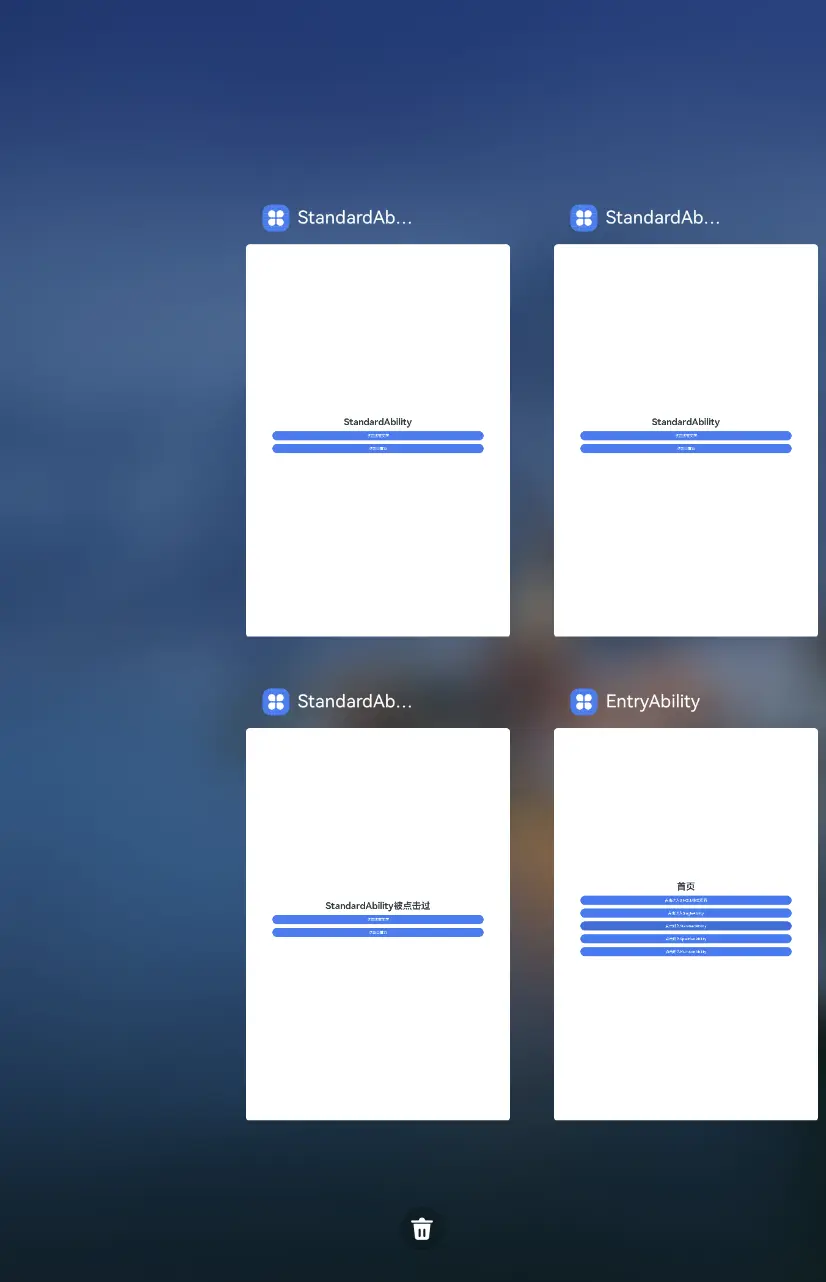
-standard 每次点击都会创建新的实例对象
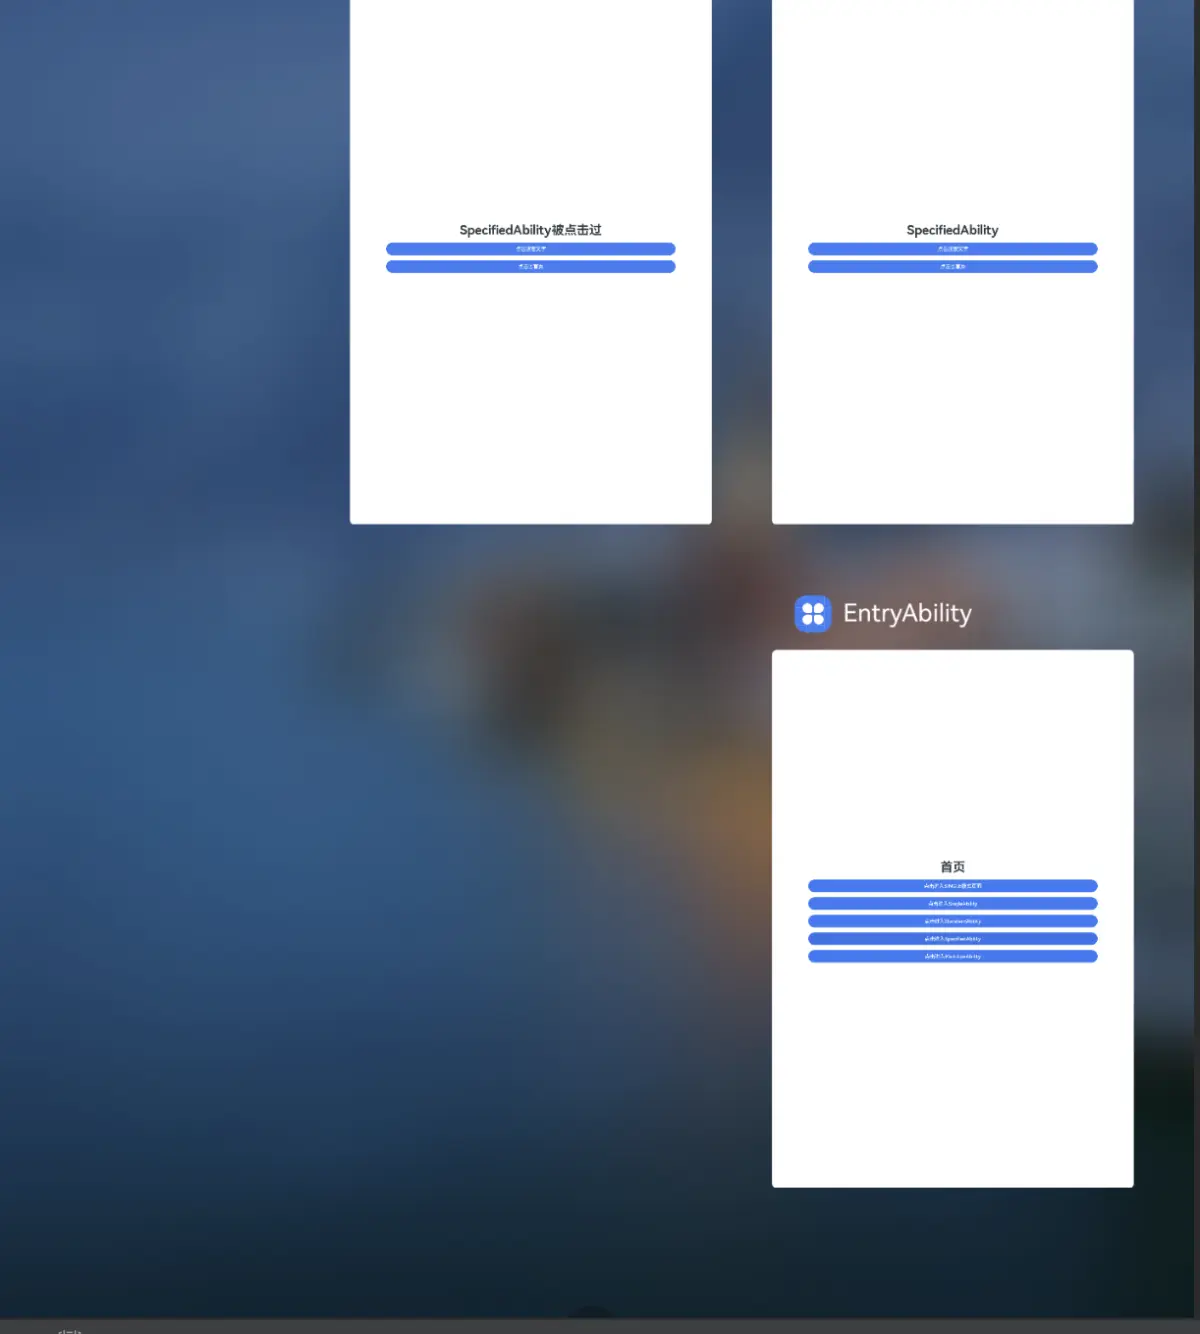
-specified 当栈中已有相同key的ability不会创建新的实例 否则创建新的
"abilities": [
      {
        "name": "EntryAbility",
        "srcEntry": "./ets/entryability/EntryAbility.ts",
        "description": "$string:EntryAbility_desc",
        "icon": "$media:icon",
        "label": "$string:EntryAbility_label",
        "startWindowIcon": "$media:icon",
        "startWindowBackground": "$color:start_window_background",
        "removeMissionAfterTerminate": true,
        "exported": true,
        "skills": [
          {
            "entities": [
              "entity.system.home"
            ],
            "actions": [
              "action.system.home"
            ]
          }
        ]
      },
      {
        "name": "SingletonAbility",
        "srcEntry": "./ets/singletonability/SingletonAbility.ts",
        "description": "$string:SingleAbility1_desc",
        "icon": "$media:icon",
        "label": "$string:SingleAbility1_label",
        "removeMissionAfterTerminate": true,
        "launchType": "singleton",
        "startWindowIcon": "$media:icon",
        "startWindowBackground": "$color:start_window_background",
        "skills": [
          {
            "entities": [
              "entity.system.home"
            ],
            "actions": [
              "action.system.home"
            ]
          }
        ]
      },
      {
        "name": "StandardAbility",
        "srcEntry": "./ets/standardability1/StandardAbility.ts",
        "description": "$string:StandardAbility1_desc",
        "icon": "$media:icon",
        "label": "$string:StandardAbility1_label",
        "removeMissionAfterTerminate": true,
        "launchType": "standard",
        "startWindowIcon": "$media:icon",
        "startWindowBackground": "$color:start_window_background",
        "skills": [
          {
            "entities": [
              "entity.system.home"
            ],
            "actions": [
              "action.system.home"
            ]
          }
        ]
      },
      {
        "name": "SpecifiedAbility",
        "srcEntry": "./ets/specifiedability/SpecifiedAbility.ts",
        "description": "$string:SpecifiedAbility_desc",
        "icon": "$media:icon",
        "label": "$string:SpecifiedAbility_label",
        "startWindowIcon": "$media:icon",
        "startWindowBackground": "$color:start_window_background",
        "launchType": "specified",
        "skills": [
          {
            "entities": [
              "entity.system.home"
            ],
            "actions": [
              "action.system.home"
            ]
          }
        ]
      },
      {
        "name": "MultitonAbility",
        "srcEntry": "./ets/multitonability/MultitonAbility.ts",
        "description": "$string:MultitonAbility_desc",
        "icon": "$media:icon",
        "launchType": "multiton",//不起作用 还是singleton模式
        "label": "$string:MultitonAbility_label",
        "startWindowIcon": "$media:icon",
        "startWindowBackground": "$color:start_window_background"
      }
]
启动一个ability代码
在你的page页面结构体里添加如下,在触发地方调用
@Entry
@Component
struct Index {
private context = getContext(this) as common.UIAbilityContext
//Standard 每次都会创建新的实例
   startStandardAbility() {
    console.info(TAG, `StandardAbility`);
    let want = {
      deviceId: '', // deviceId为空表示本设备
      bundleName: 'com.demo.myapplication',
      abilityName: 'StandardAbility',
    }
    try {
      this.context.startAbility(want)
        .then(() => {
          console.info(TAG, `startAbility Success`);
        })
        .catch((err) => {
          console.info(TAG, `Failed: ${JSON.stringify(err)}}`);
        })

    } catch (error) {
      console.log("startAbility error: " + error)
    }
  }
启动一个specified模式的ability代码与之前不同 需要配置parameters
里面的参数可自行定义
//Specified 创建实例后如果有相同的key不会创建新实例
  startSpecifiedAbility() {
    console.info(TAG, `SpecifiedAbility`);
    let want: Want = {
      deviceId: '', // deviceId为空表示本设备
      bundleName: 'com.demo.myapplication',
      abilityName: 'SpecifiedAbility',
      parameters: {
        key: "value", // 自定义信息  key和value自定义即可
      },
    }

    try {
      this.context.startAbility(want)
        .then(() => {
          console.info(TAG, `startAbility Success`);
        })
        .catch((err) => {
          console.info(TAG, `Failed: ${JSON.stringify(err)}}`);
        })
    } catch (error) {
      console.log("startAbility error: " + error)
    }
  }
如果是Specified需要定义AbilityStage 如果是相同key他会走onacceptWant,只限Specified模式
export default class MyAbilityStag extends AbilityStage {
onAcceptWant(want:Want): string {
// 在被调用方的AbilityStage中,针对启动模式为specified的UIAbility返回一个UIAbility实例对应的一个Key值
if (want.abilityName === 'SpecifiedAbility') {
// 返回的字符串Key标识为自定义拼接的字符串内容
if (want.parameters["key"]=="value") {
return `SpecifiedAbilityInstance_${want.parameters.key}`;
}
}
return 'MyAbilityStag';
}
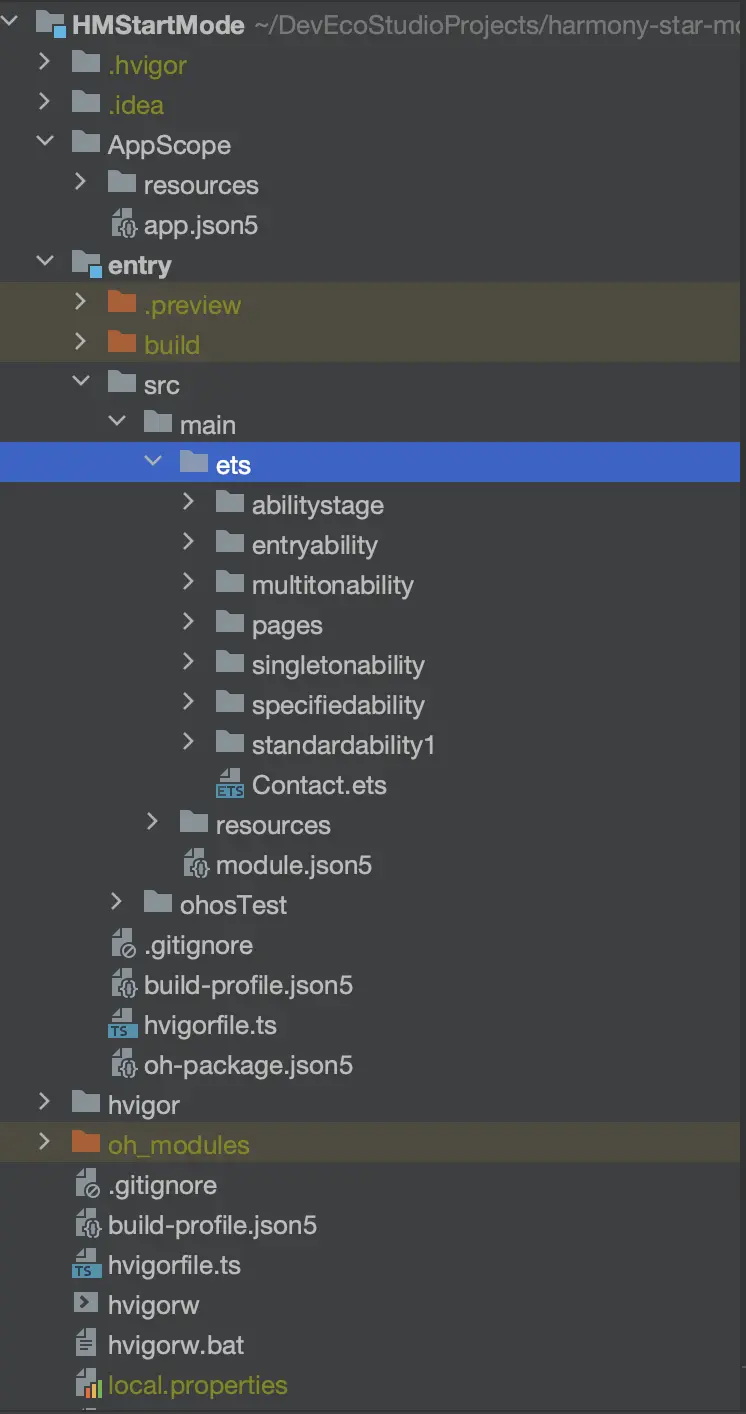
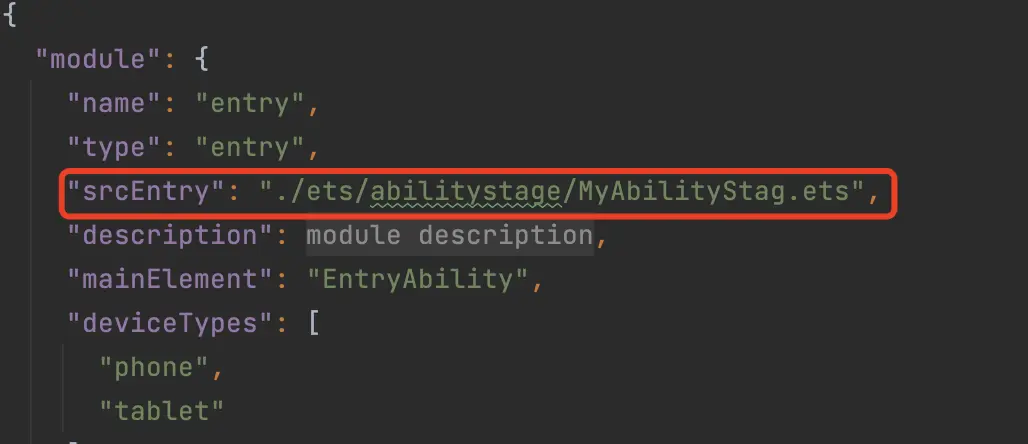
}需要在module.json5下配置srcEntry

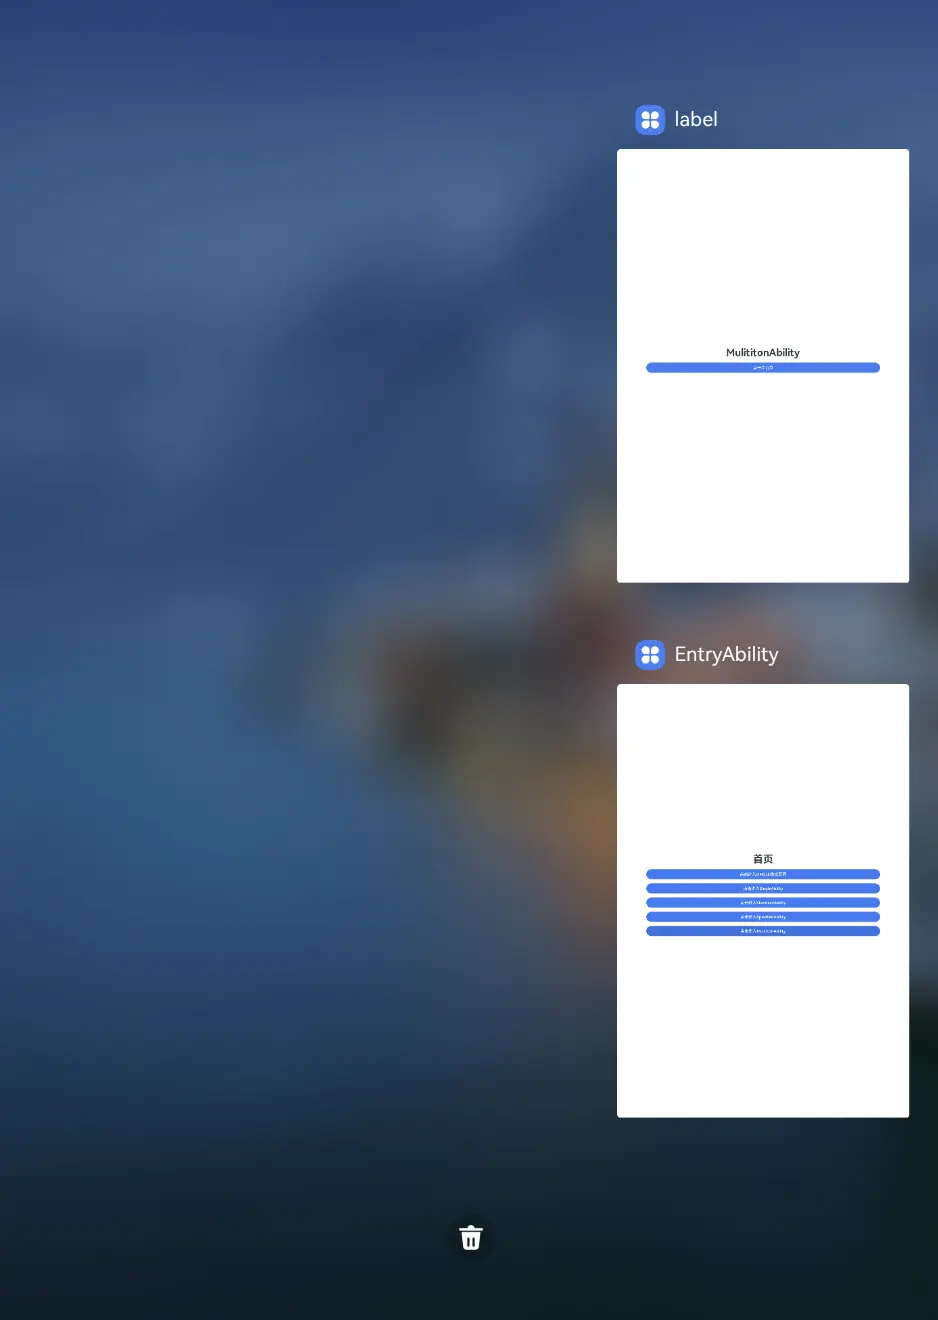
如果需要在桌面显示ability的图标和label需要在ability下配置skill

demo地址
总结
总的来说,华为鸿蒙不再兼容安卓,对中年程序员来说是一个挑战,也是一个机会。随着鸿蒙的不断发展以及国家的大力支持,未来鸿蒙职位肯定会迎来一个大的爆发,只有积极应对变化,不断学习和提升自己,我们才能在这个变革的时代中立于不败之地。