最近被要求学习go语言开发,也就做一个项目实战巩固一下,也分享一下关于gin框架的实战项目
(后续应该还是会继续学习Java,这一期还是做一个go+vue的)
经过一段时间的开发过后,感觉现在的开发效率要快不少了,争取一天半做出个大概吧,后续再加一些功能就完工
那么就开始go的后端初始化吧;
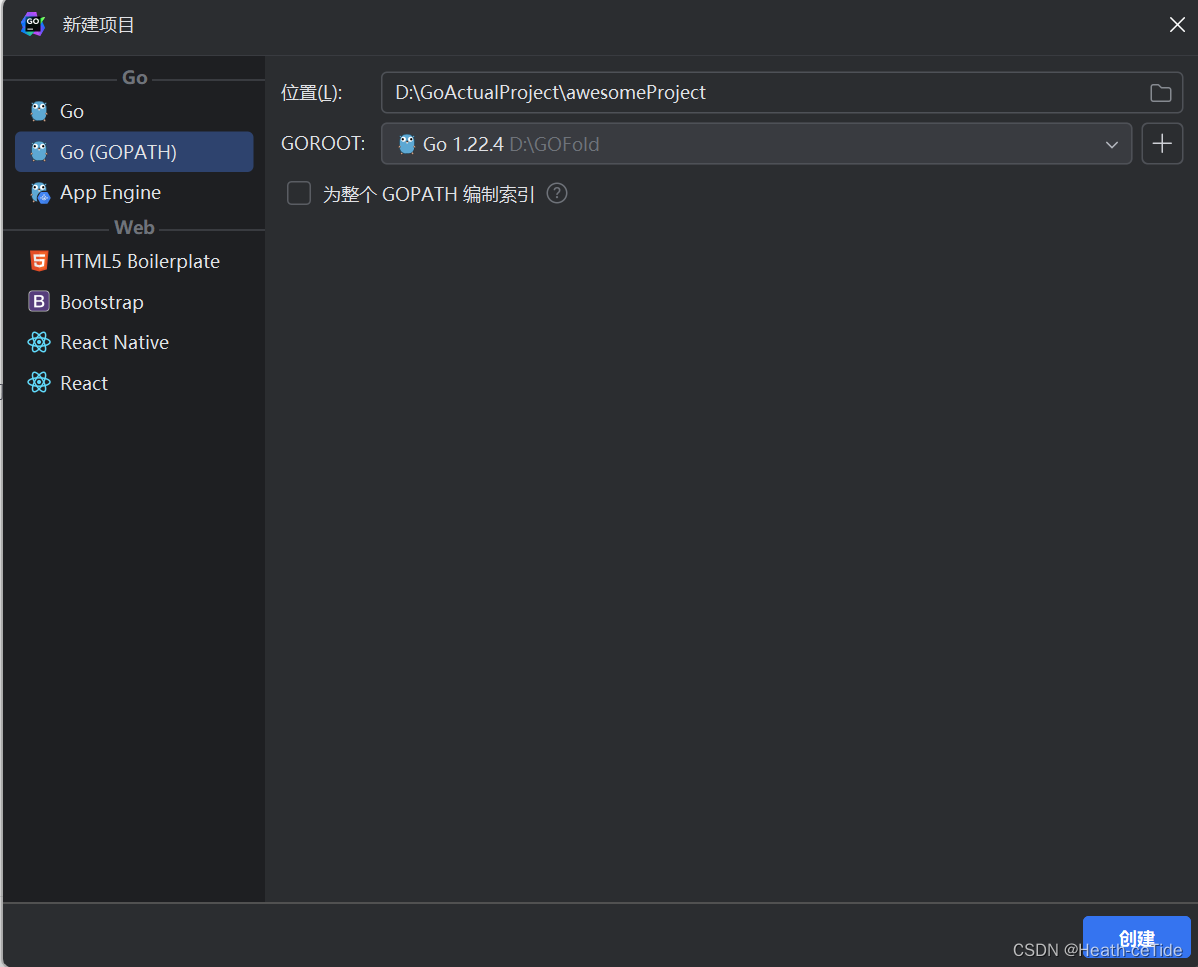
先创建一个项目:
注意点1:先创建go.mod(这里如果不创建mod就会报错
\testProject> go get -u github.com/gin-gonic/gin
go: go.mod file not found in current directory or any parent directory.
'go get' is no longer supported outside a module.
To build and install a command, use 'go install' with a version,
like 'go install example.com/cmd@latest'
For more information, see https://golang.org/doc/go-get-install-deprecation
or run 'go help get' or 'go help install'.)
创建go.mod文件并加上module 和go
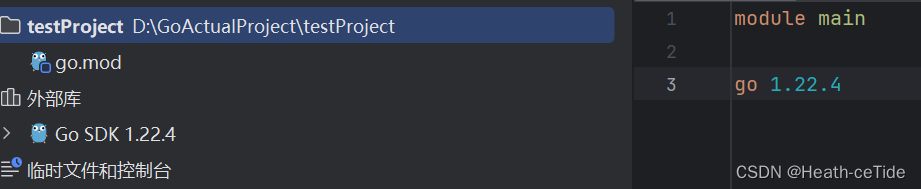
这下再来安装一下gin框架,终端输入命令
Go
go get -u github.com/gin-gonic/gin 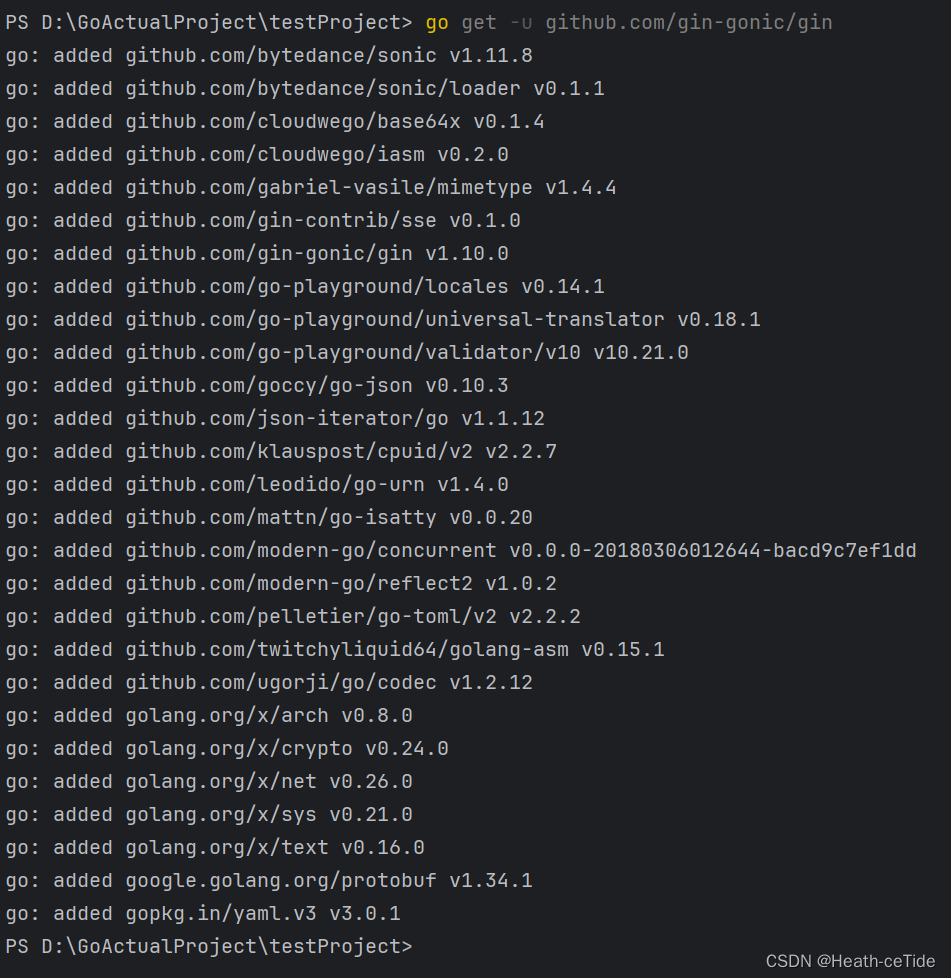
呐这样就安装成功了
注意点2:这里如果有人会出现压缩包损坏的情况记得要改变一下GOPROXY
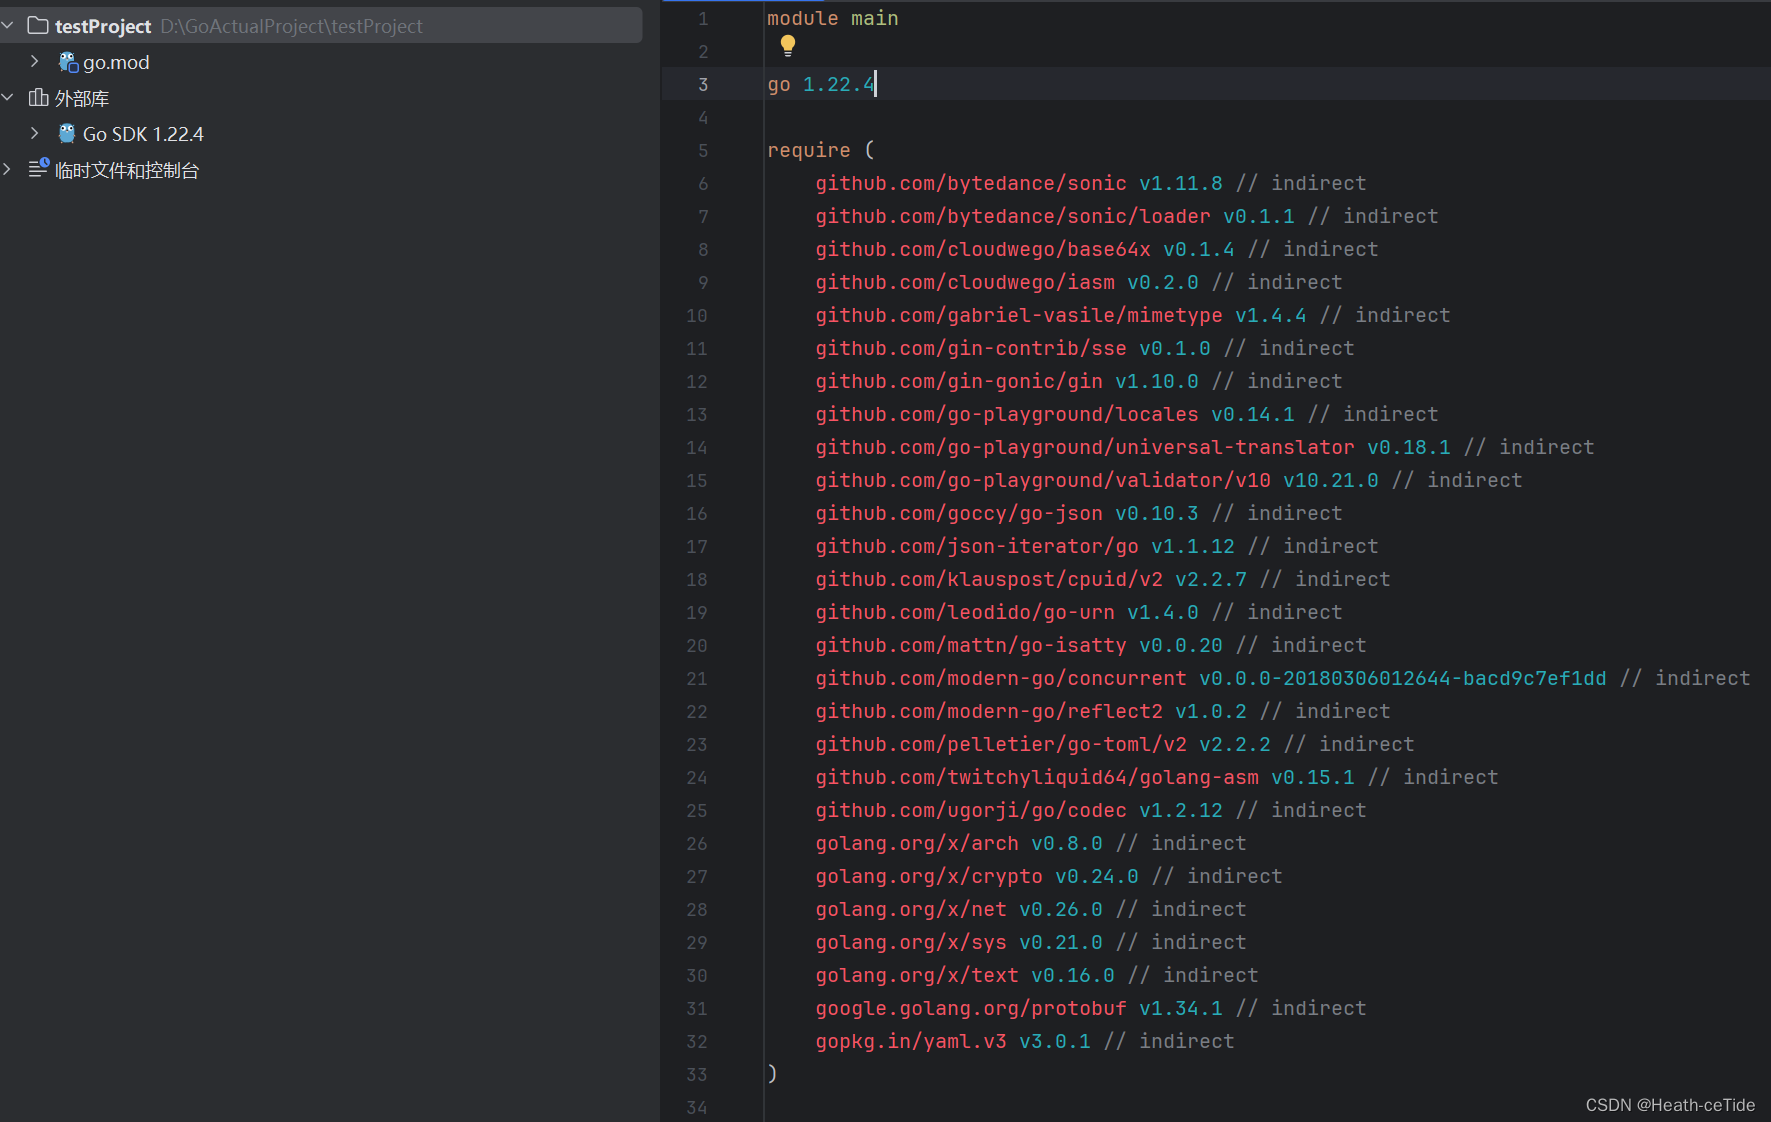
这里虽然安装成功了,但没有被识别到,这里需要设置一下
点击setting
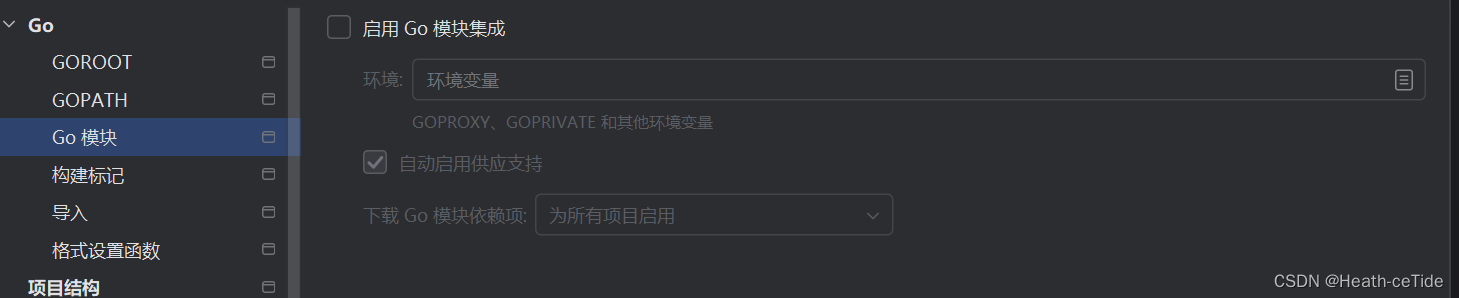
点开goModule,并启动go模块集成就可以了
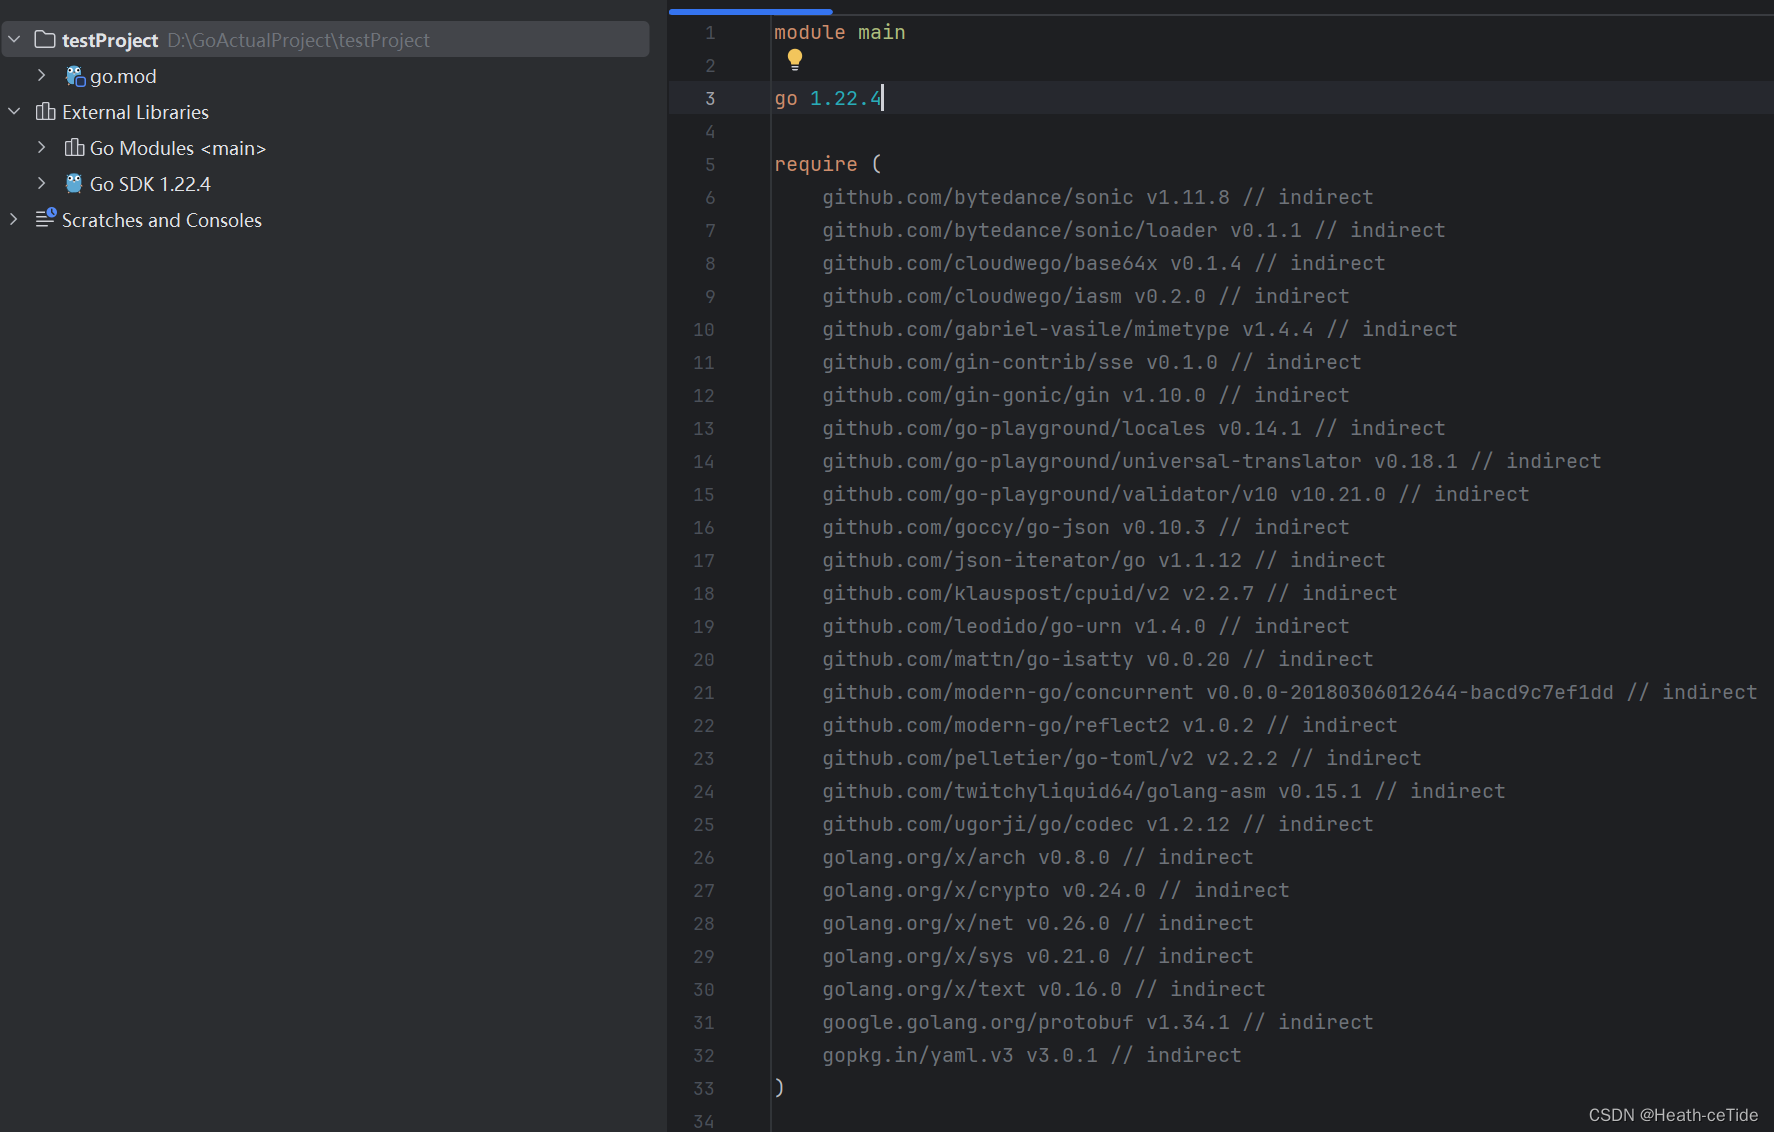
呐,这样就好了
注意点3:如果安装了框架却没有被识别,点击setting并启动模块集成
前置工作差不多了,现在来初始化一下
初始化的话,先定义一下统一相应结果吧;创建一个response包并在包下创建result.go文件
这里可以定义一个统一返回结果的函数,再定义一个成功返回函数和失败返回函数
Go
package response

import (
	"github.com/gin-gonic/gin"
	"net/http"
)

func Result(context *gin.Context, httpStatus int, code int, msg string, data gin.H) {
	context.JSON(httpStatus, gin.H{
		"code": code,
		"msg":  msg,
		"data": data,
	})
}

func Success(context *gin.Context, msg string, data gin.H) {
	Result(context, http.StatusOK, 0, msg, data)
}

func Fail(context *gin.Context, msg string, data gin.H) {
	Result(context, http.StatusOK, 1, msg, data)
}
这里我是按照写java的习惯来定义的,也不一定很规范
定义好统一相应结果之后就可以开始定义连接数据库相关操作,这里专门创建一个go文件来连接
创建common包,并在包下创建database文件
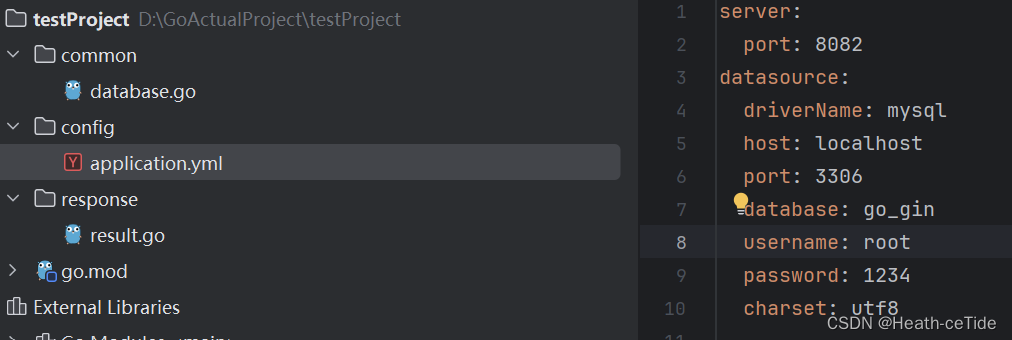
这里用配置文件的方式吧,那就再创建一个config包,并在包下创建application.yml包
在config包下我们规定好开启端口号和数据库连接信息
Go
server:
  port: 8082
datasource:
  driverName: mysql
  host: localhost
  port: 3306
  database: go_gin
  username: root
  password: 1234
  charset: utf8
注意点4:使用config组件来将配置文件统一管理,这需要我们下载viper
下载命令go get github.com/spf13/viper
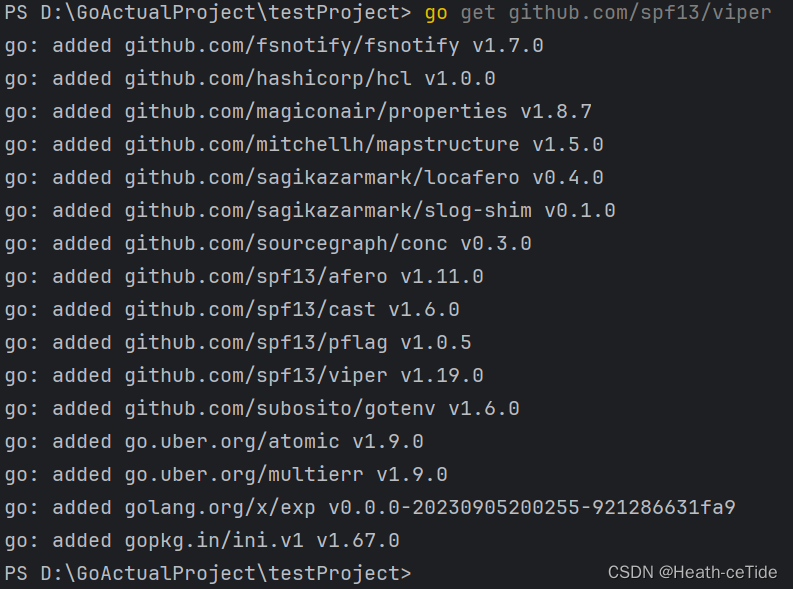
然后,这里使用grom来进行数据库相关操作
注意点5:安装gorm: go get -u github.com/jinzhu/gorm

那么现在来编辑一下database.go文件吧
Go
package common

import (
	"fmt"
	"github.com/jinzhu/gorm"
	"github.com/spf13/viper"
	"log"
)

// 初始化数据库
func InitDB() *gorm.DB {
	driverName := viper.GetString("datasource.driverName")
	host := viper.GetString("datasource.host")
	port := viper.GetString("datasource.port")
	database := viper.GetString("datasource.database")
	username := viper.GetString("datasource.username")
	password := viper.GetString("datasource.password")
	charset := viper.GetString("datasource.charset")
	args := fmt.Sprintf("%s:%s@tcp(%s:%s)/%s?charset=%s&parseTime=true",
		username, password, host, port, database, charset)
	db, err := gorm.Open(driverName, args)
	if err != nil {
		panic("数据库连接失败,err:" + err.Error())
	}
	log.Println("数据库连接成功")
	return db
}

// 定义方法来和获取数据库实例
func GetDB() *gorm.DB {
	return InitDB()
}
这里我们定义了两个函数,一个用来初始化数据库,一个用来获取数据库实例。
然后就可以来定义main.go文件了,在最外层创建main.go文件作为启动文件
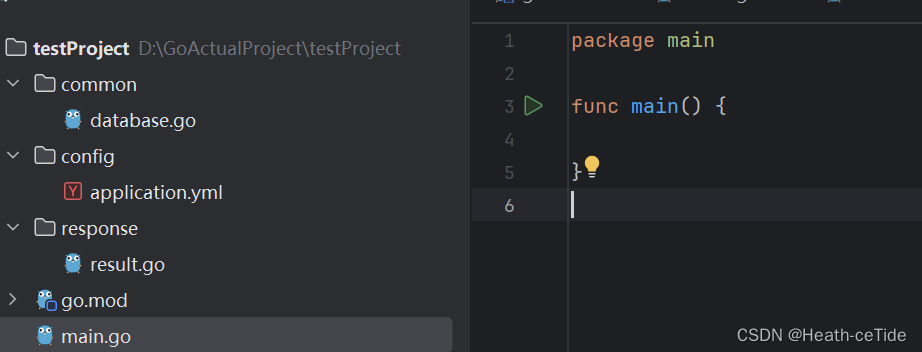
注意点6:刚才使用了viper库来处理配置文件,这里需要初始化一下,需要定义一个函数
Go
func InitConfig() {
	workDir, _ := os.Getwd()
	viper.SetConfigName("application")
	viper.SetConfigType("yml")
	viper.AddConfigPath(workDir + "/config")
	err := viper.ReadInConfig()
	if err != nil {
		panic(err)
	}
}
这里来解释一下吧,
1.workDir, _ := os.Getwd():获取当前工作目录,os.Getwd()返回当前进程的工作目录路径,下划线_忽略可能的错误。
2.viper.SetConfigName("application"):设置配置文件的名称为application,不包括文件扩展名。
3.viper.SetConfigType("yml"):设置配置文件的类型为yaml,意味着Viper将解析.yml或.yaml格式的配置文件。
4.viper.AddConfigPath(workDir + "/config"):添加配置文件的搜索路径,这里是当前工作目录下的config子目录。
5.err := viper.ReadInConfig():尝试读取配置文件。如果找到并成功读取,err将为nil;否则,err将包含错误信息。
这个函数确保了在当前工作目录的config子目录下查找名为application.yml或application.yaml的配置文件,并在遇到错误时停止程序执行。
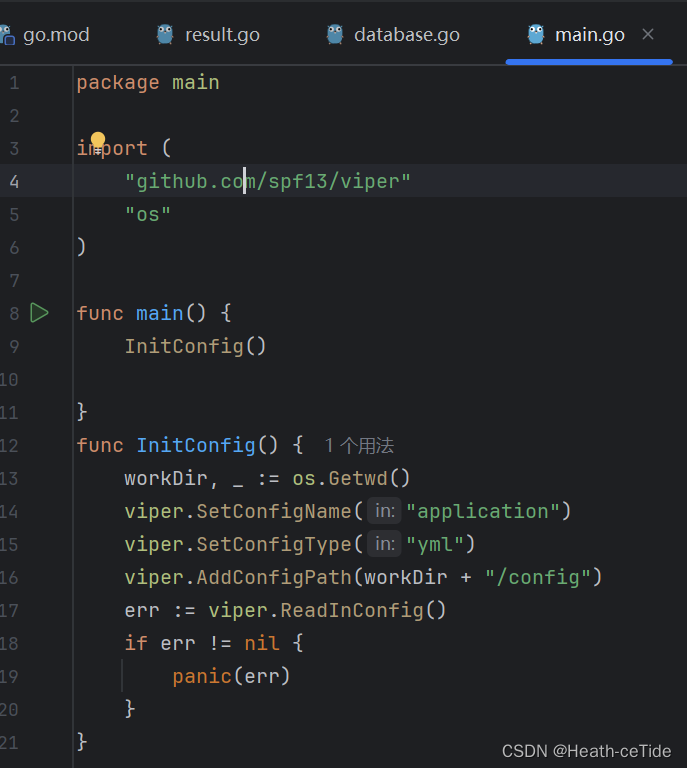
这样就初始化了,
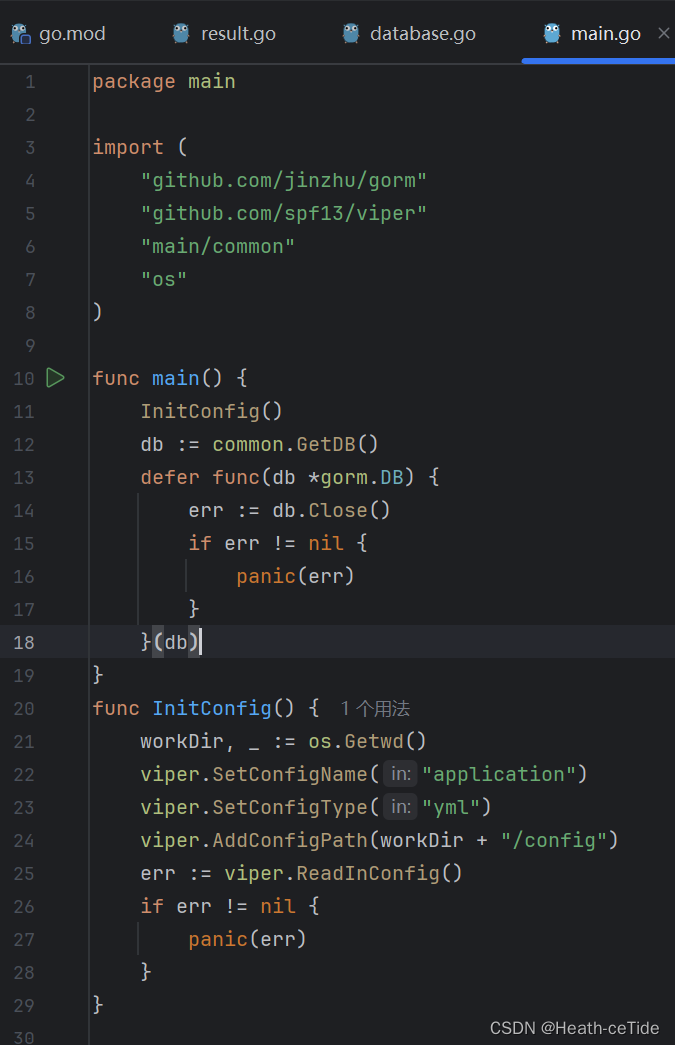
再调用一下common包下初始化数据库的方法即可完成连接
Go
package main

import (
	"github.com/jinzhu/gorm"
	"github.com/spf13/viper"
	"main/common"
	"os"
)

func main() {
	InitConfig()
	db := common.GetDB()
	defer func(db *gorm.DB) {
		err := db.Close()
		if err != nil {
			panic(err)
		}
	}(db)
}
func InitConfig() {
	workDir, _ := os.Getwd()
	viper.SetConfigName("application")
	viper.SetConfigType("yml")
	viper.AddConfigPath(workDir + "/config")
	err := viper.ReadInConfig()
	if err != nil {
		panic(err)
	}
}
啊忒,缺少导入数据库驱动
注意点7:速速安装一个go get -u github.com/go-sql-driver/mysql

ok,安装之后放在main.go文件下吧
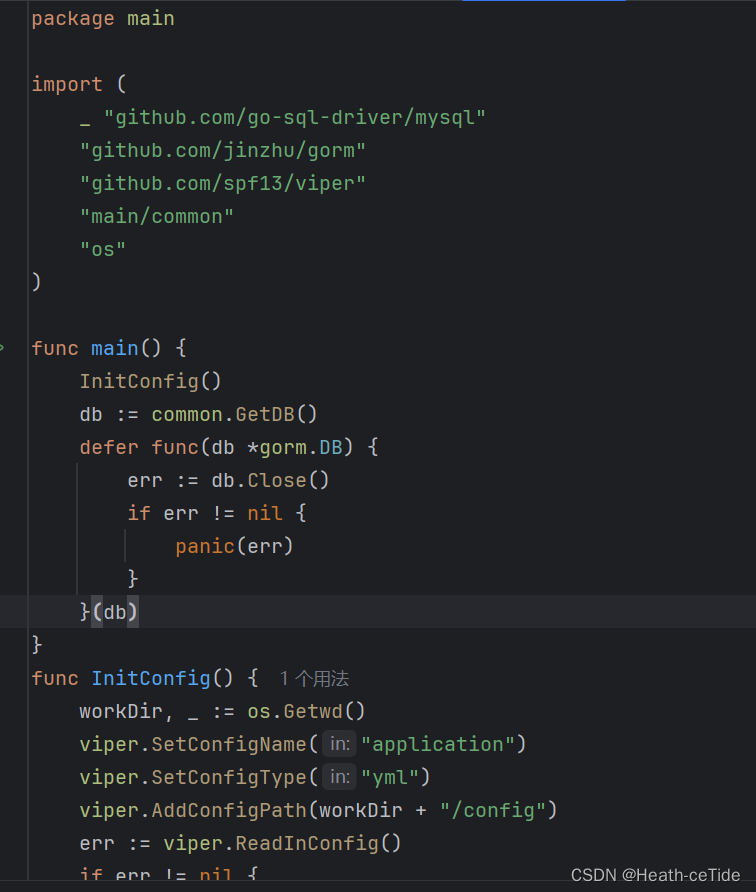
_ "github.com/go-sql-driver/mysql"注意这里的下划线_,它表示导入包仅用于注册驱动,而不需要直接使用包内的任何函数或类型
这样就行了,右击启动!
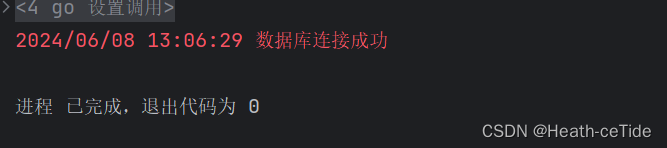
启动成功!
那么,麻烦的一步也就解决了,
下面就可以开始麻烦的部分了,
先定义模块所需结构体:
创建model包,其下三包,entity,dto,vo
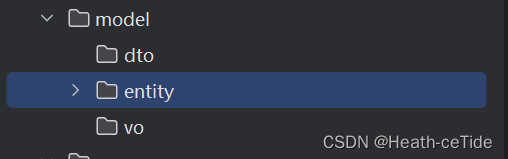
然后在entity包下创建user.go
Go
package entity

import "github.com/jinzhu/gorm"

type User struct {
	gorm.Model
	Name     string `gorm:"size:20;not null;unique"`
	Password string `gorm:"size:255;not null"`
	Mobile   string `gorm:"size:11;not null;unique"`
	Email    string `gorm:"size:50;not null;unique"`
}
代码如上
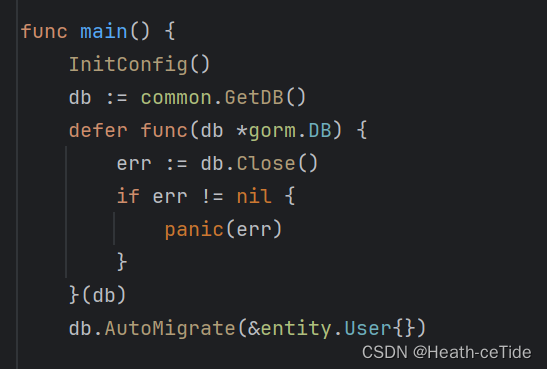
在main方法处添加方法AutoMigrate(检查模型结构(这里是entity.User),并根据结构体字段创建或更新相应的数据库表结构)
那么数据库和表结构都已经完成了,就可以开始编写接口了
编写路由包router
并创建routes.go文件,在文件中定义函数
Go
package router

import "github.com/gin-gonic/gin"

func CollectionRoute(r *gin.Engine) *gin.Engine {
	r.POST("/user/register",)
	r.POST("/user/login",)
	r.GET("/user/info",)

	return r
}
先不写具体方法,定义下来
然后回到main.go函数
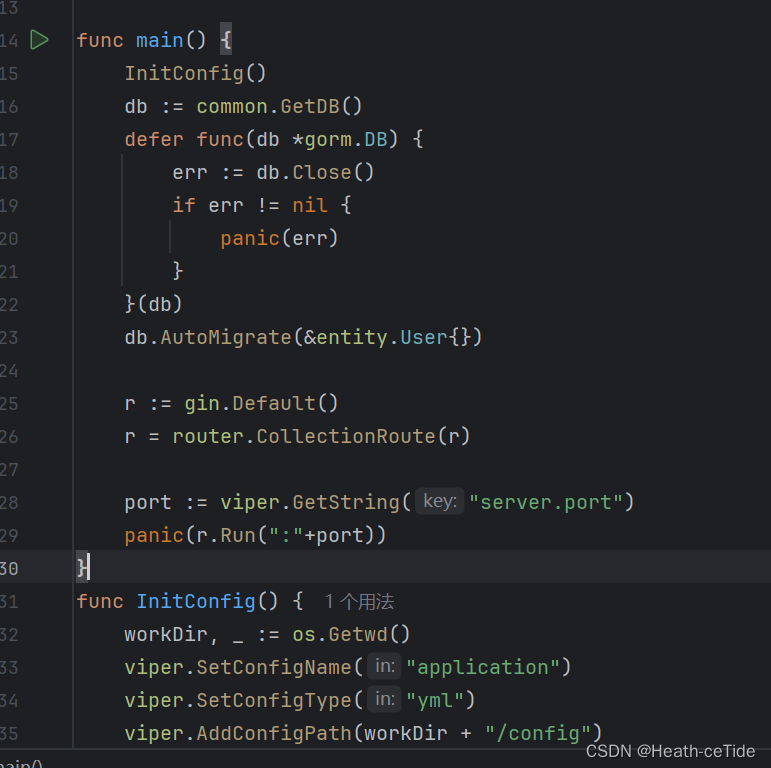
通过 gin.Default() 初始化了一个默认的 Gin 路由器实例。然后,调用了 router.CollectionRoute(r) 函数,集中定义一组相关的路由规则
然后获取config文件下的服务断开接着run开启即可。
那么main.go文件中要写的也就是这些了,
接下来开始定义接口
创建controller包,并创建UserController.go文件,就在其中编写一个注册功能吧
Go
package controller

import (
	"github.com/gin-gonic/gin"
	"github.com/jinzhu/gorm"
	"golang.org/x/crypto/bcrypt"
	"log"
	"main/common"
	"main/model/entity"
	"main/response"
	"net/http"
	"net/mail"
)

func Register(context *gin.Context) {
	db := common.GetDB()

	//获取参数
	username := context.PostForm("username")
	password := context.PostForm("password")
	mobile := context.PostForm("mobile")
	email := context.PostForm("email")
	if len(username) < 5 || len(username) > 16 {
		response.Fail(context, "用户名长度在5-16之间", nil)
		return
	}
	if len(password) < 5 || len(password) > 16 {
		response.Fail(context, "密码长度在5-16之间", nil)
		return
	}
	if len(mobile) != 11 {
		response.Fail(context, "手机号长度为11位", nil)
		return
	}
	_, err := mail.ParseAddress(email)
	if err != nil {
		response.Fail(context, "邮箱格式不正确", nil)
		return
	}
	//判断手机号是否存在
	if isMobileExist(db, mobile) {
		response.Fail(context, "手机号已存在", nil)
		return
	}
	if isEmailExist(db, email) {
		response.Fail(context, "邮箱已存在", nil)
		return
	}
	if isUserNameExist(db, username) {
		response.Fail(context, "用户名已存在", nil)
		return
	}
	//都不存在则创建用户
	//密码加密
	hashPwd, err := bcrypt.GenerateFromPassword([]byte(password), bcrypt.DefaultCost)
	if err != nil {
		response.Result(context, http.StatusInternalServerError, 500, "密码加密失败", nil)
		return
	}
	//创建用户
	user := entity.User{
		Name:     username,
		Password: string(hashPwd),
		Mobile:   mobile,
		Email:    email,
	}
	db.Create(&user)
	//返回结果
	if user.ID != 0 {
		response.Success(context, "注册成功", nil)
		return
	} else {
		response.Fail(context, "注册失败", nil)
		return
	}

}

func isMobileExist(db *gorm.DB, mobile string) bool {
	var user entity.User
	db.Where("mobile = ?", mobile).First(&user)
	if user.ID != 0 {
		log.Println("手机号已存在")
		return true
	}
	return false
}

func isEmailExist(db *gorm.DB, email string) bool {
	var user entity.User
	db.Where("email = ?", email).First(&user)
	if user.ID != 0 {
		log.Println("邮箱已存在")
		return true
	}
	return false
}

func isUserNameExist(db *gorm.DB, username string) bool {
	var user entity.User
	db.Where("name = ?", username).First(&user)
	if user.ID != 0 {
		log.Println("用户名已存在")
		return true
	}
	return false
}
这里的代码不太难就不细说了,主要也就是从上下文获取到前端传来的表单信息
先对表单的格式进行校验,然后查询数据库看关键字段是否已经被注册,若没有则执行注册
写好之后将其添加到routes中即可
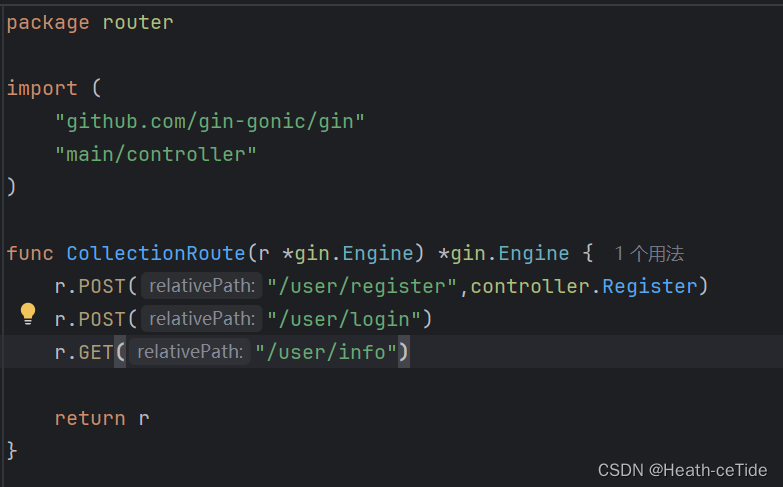
那么来测试一下吧,在main.go处打开程序,并打开postman进行检验
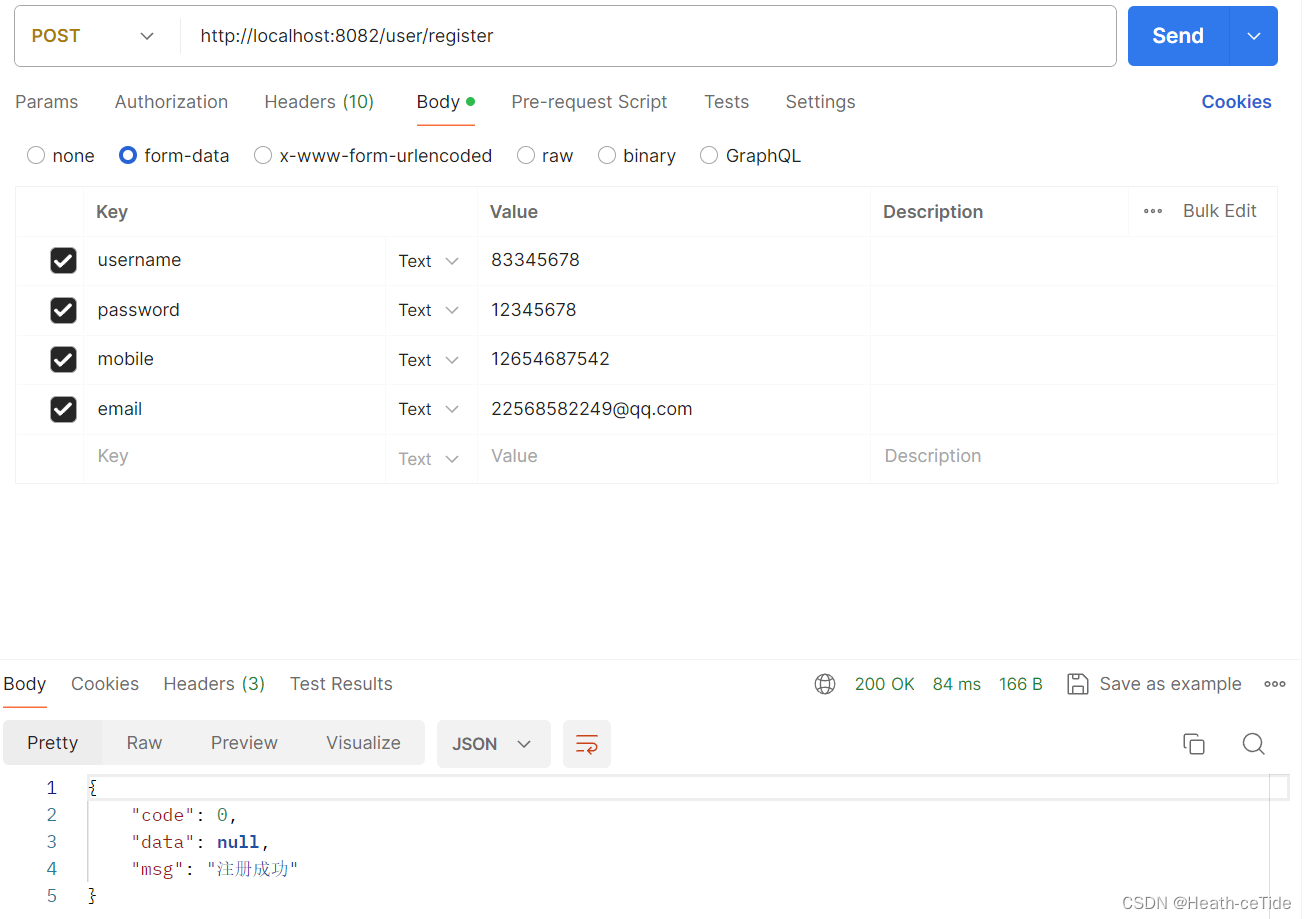
这样就注册成功了
后端这块差不多都是这个流程
这里我就先不往后crud了,
题外话:
讲个前后端混合的,这里以我之前做的基于前端2048小游戏为例子吧
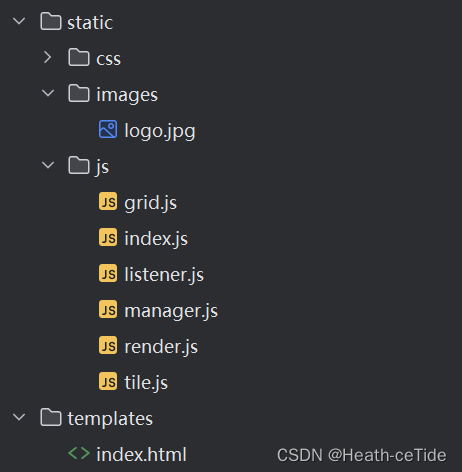
我们先在项目目录下创建包templates和static,
这里static包下创建js包,css包,images包分别用来存放前端的资源,然后将现有的index.html文件,css文件,js文件和images文件放入对应的包中
就像这样:
这样就OK了,然后在main.go文件中加载一下
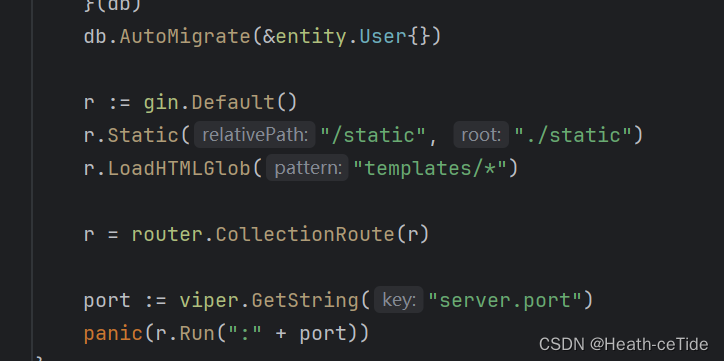
Go
func main() {
	InitConfig()
	db := common.GetDB()
	defer func(db *gorm.DB) {
		err := db.Close()
		if err != nil {
			panic(err)
		}
	}(db)
	db.AutoMigrate(&entity.User{})

	r := gin.Default()
	r.Static("/static", "./static")
	r.LoadHTMLGlob("templates/*")

	r = router.CollectionRoute(r)

	port := viper.GetString("server.port")
	panic(r.Run(":" + port))
}
func InitConfig() {
	workDir, _ := os.Getwd()
	viper.SetConfigName("application")
	viper.SetConfigType("yml")
	viper.AddConfigPath(workDir + "/config")
	err := viper.ReadInConfig()
	if err != nil {
		panic(err)
	}
}
OK,此时回到routes.go文件中添加
r.GET("/user/game", controller.Game)在UserController文件下添加方法:
func Game(context *gin.Context) {
    context.HTML(http.StatusOK, "index.html", gin.H{
       "msg": "这就是CeTide的游戏!",
    })
}
这样就可以了,打开main.go!
浏览器访问目标地址
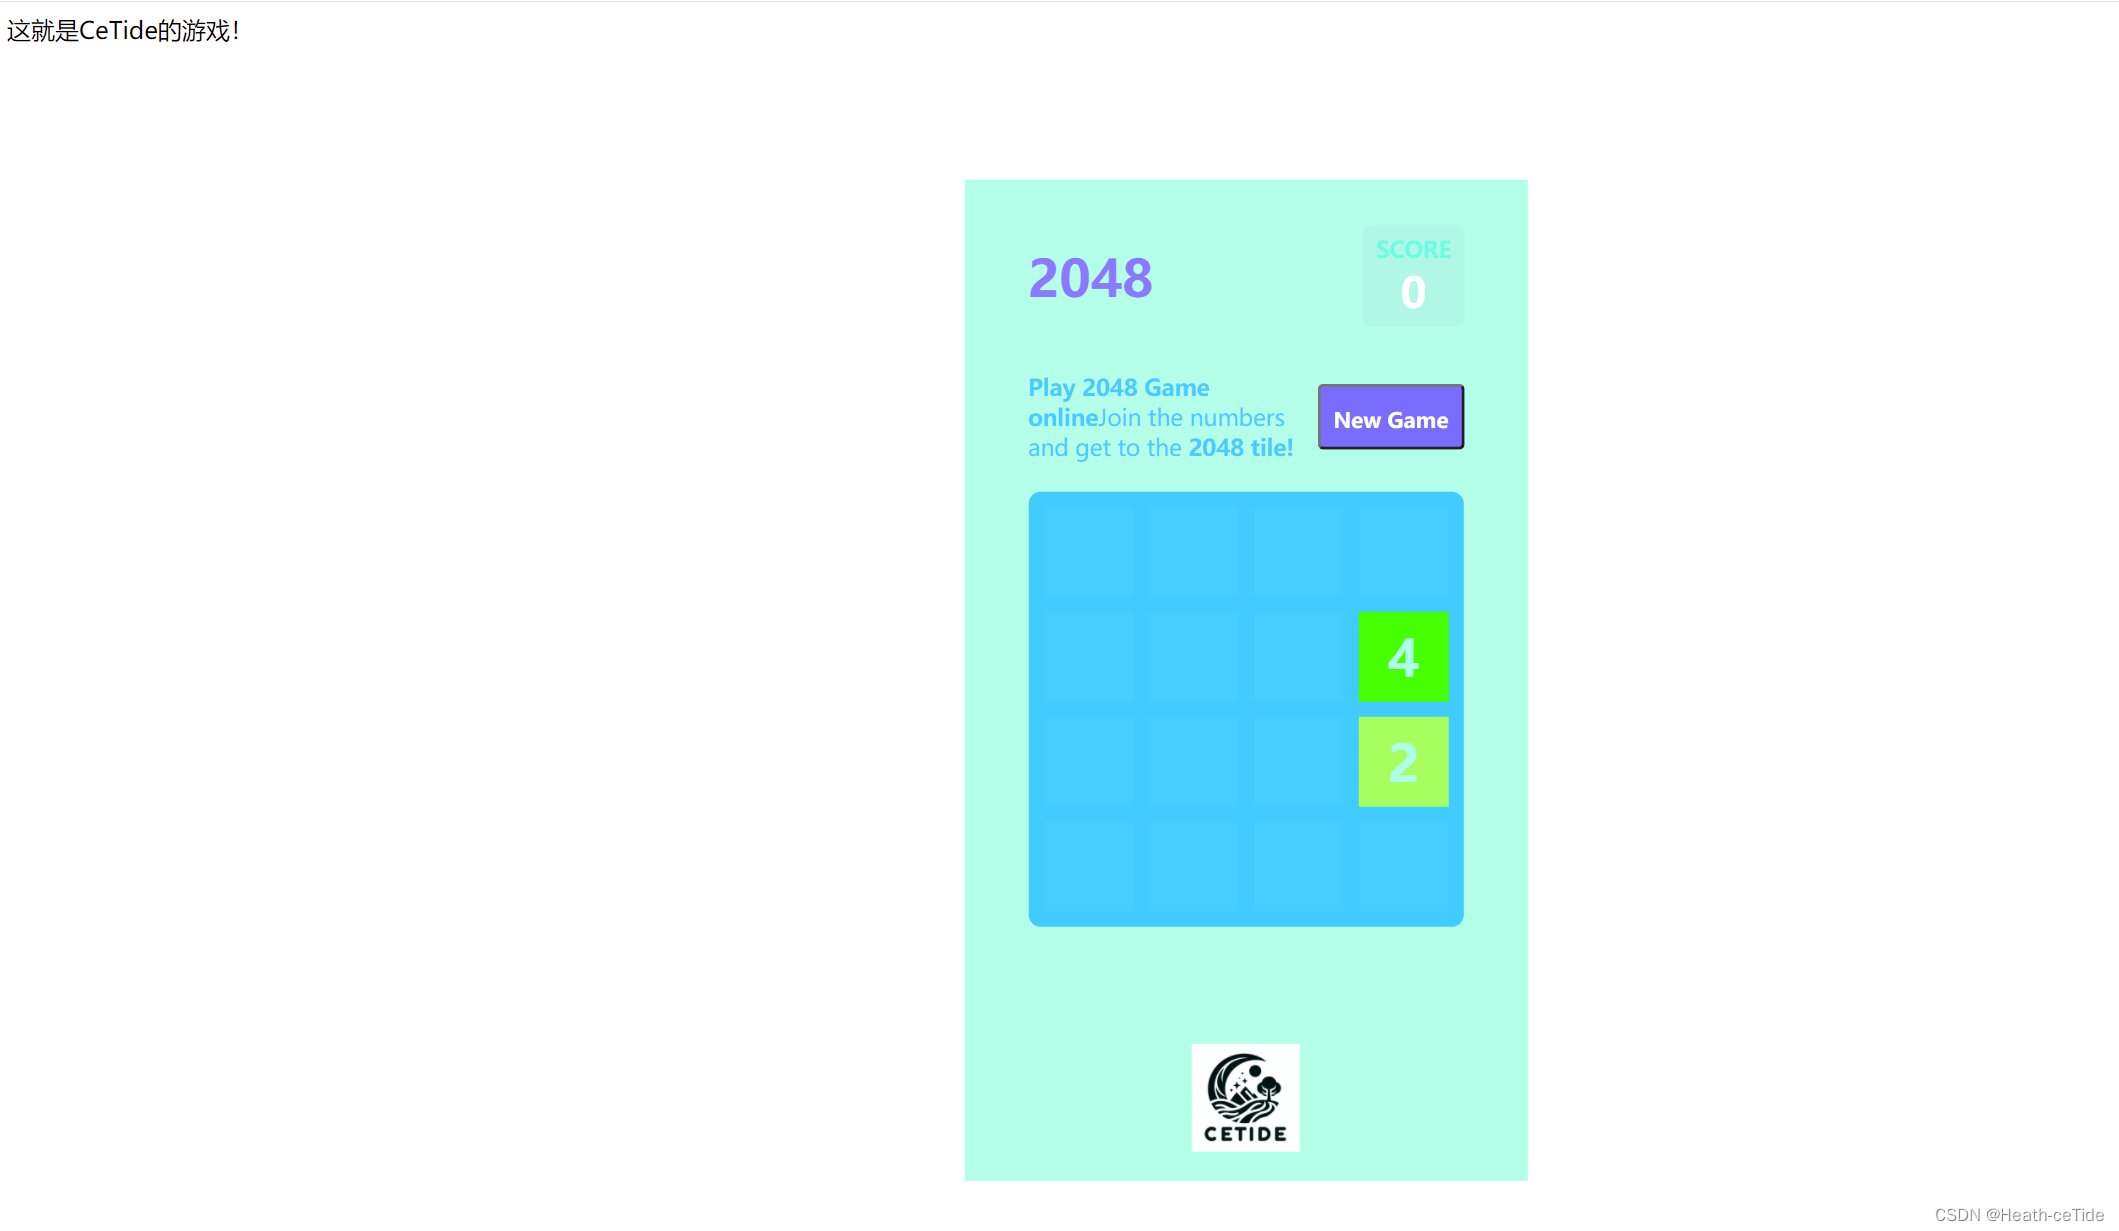
那么基于js制作的2048小游戏就成功呈现在浏览器上了,(需要2048小游戏源码的可以去资源处下载)
emmm,这一章就分享这些吧