Configuring Nginx with HTTPS on CentOS 7 involves similar steps to the ones for Ubuntu, but with some variations in package management and service control. Here's a step-by-step guide for CentOS 7:
Prerequisites
- Domain Name : "www.xxx.com"
- Nginx Installed: Ensure Nginx is installed.
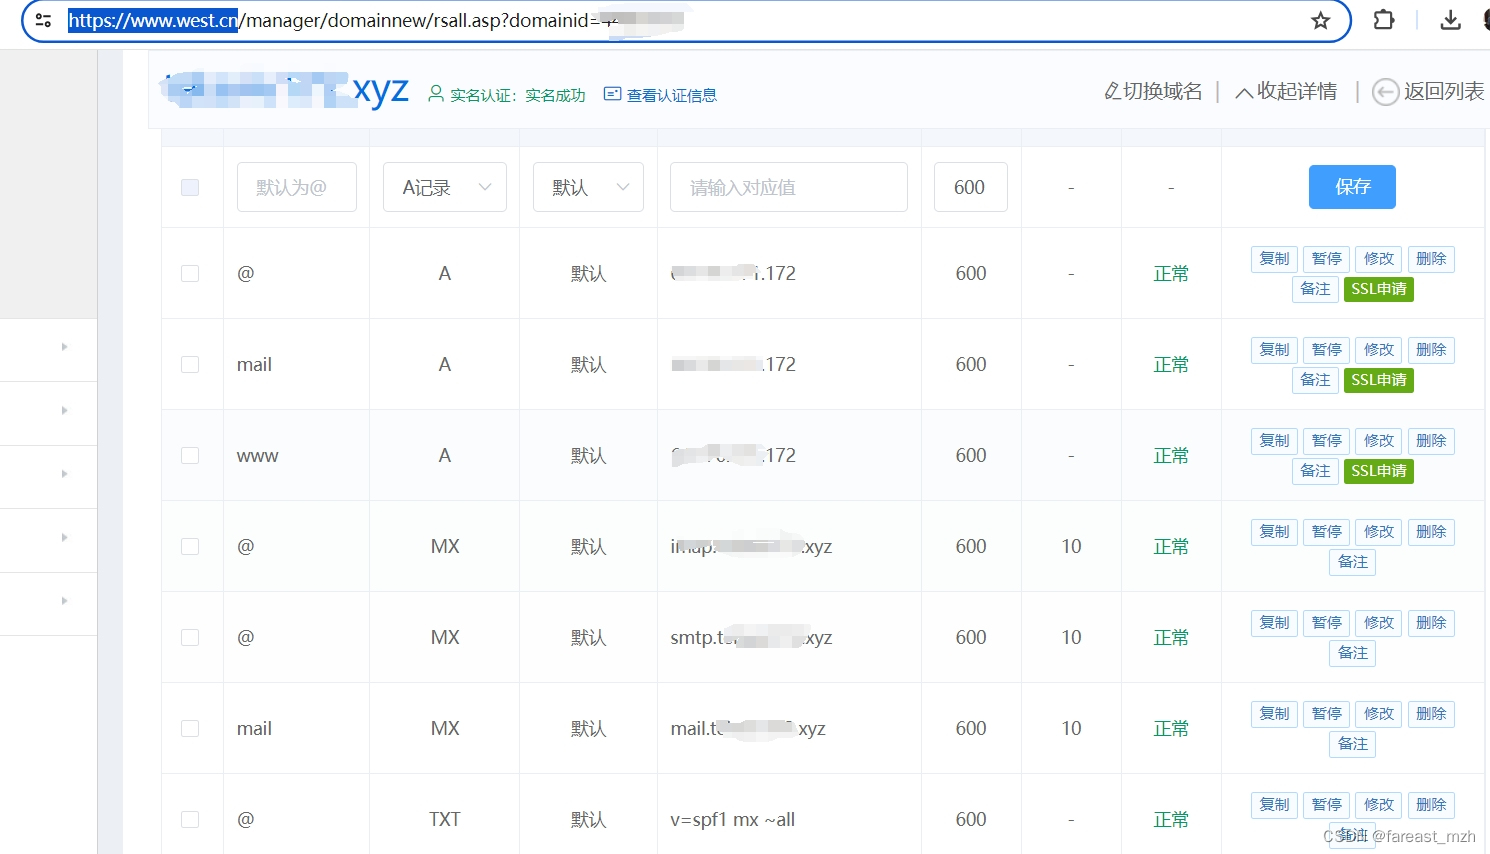
- Domain DNS: Domain should point to your server's IP address.
- Root Privileges : You should have root or sudo privileges.

Step-by-Step Guide
1. Install Nginx
If Nginx is not already installed, you can install it using the following commands:
sh
sudo yum install epel-release
sudo yum install nginx
Start and enable Nginx to start on boot:
sh
sudo systemctl start nginx
sudo systemctl enable nginx
2. Configure Firewall
Allow HTTPS traffic through your firewall:
sh
sudo firewall-cmd --permanent --add-service=http
sudo firewall-cmd --permanent --add-service=https
sudo firewall-cmd --reload
3. Obtain SSL Certificate
Install Certbot and the Nginx plugin:
sh
sudo yum install certbot python2-certbot-nginx4. Request SSL Certificate
Run Certbot to obtain and install the SSL certificate:
sh
sudo certbot --nginx -d www.xxx.comFollow the prompts to complete the process. Certbot will automatically configure Nginx to use the SSL certificate.
5. Verify Nginx Configuration
Open your Nginx configuration file to verify or manually configure the SSL settings:
sh
sudo vim /etc/nginx/conf.d/www.xxx.com.confEnsure your server block looks like this:
nginx
server {
    listen 80;
    listen [::]:80;
    server_name www.xxx.com;
    return 301 https://$host$request_uri;
}

server {
    listen 443 ssl;
    listen [::]:443 ssl;
    server_name www.xxx.com;

    ssl_certificate /etc/letsencrypt/live/www.xxx.com/fullchain.pem;
    ssl_certificate_key /etc/letsencrypt/live/www.xxx.com/privkey.pem;
    include /etc/letsencrypt/options-ssl-nginx.conf;
    ssl_dhparam /etc/letsencrypt/ssl-dhparams.pem;

    root /usr/share/nginx/html;
    index index.html index.htm;

    location / {
        try_files $uri $uri/ =404;
    }
}
6. Test Nginx Configuration
Test your configuration to ensure there are no syntax errors:
sh
sudo nginx -tIf the test is successful, reload Nginx:
sh
sudo systemctl reload nginx7. Set Up Automatic Certificate Renewal
Let's Encrypt certificates are valid for 90 days. Certbot can handle renewal automatically. To set up a cron job for automatic renewal, open the crontab editor:
sh
sudo crontab -eAdd the following line to the crontab file:
sh
0 0,12 * * * /usr/bin/certbot renew --quietThis runs the renewal command twice daily.
Access Your Site
Now, you should be able to access your site securely at https://www.xxx.com.
Troubleshooting
If you encounter any issues, check the Nginx and Certbot logs for more information:
sh
sudo tail -f /var/log/nginx/error.log
sudo tail -f /var/log/letsencrypt/letsencrypt.log
This setup ensures that your website is served over HTTPS, providing security and trust to your visitors.