一、Spring框架概念
1.什么是OCP?
OCP是软件七大开发原则当中最基本的一个原则:开闭原则
对什么开?对扩展开放。
对什么闭?对修改关闭。
OCP原则是最核心的,最基本的,其他的六个原则都是为这个原则服务的。
OCP开闭原则的核心是什么?
只要你在扩展系统功能的时候,没有修改以前写好的代码,那么你就足符合OCP原则的。
反之,如果在扩展系统功能的时候,你修改了之前的代码,那么这个设计是大败的,违背OCP原则。
进行系统功能扩展的时候,如果动了之前稳定的程序,修改了之前的程序,这前斯有程序都需要进行重新测试。这是不想看到的,因为非常麻烦。
2.依赖倒置原则(DIP原则)
什么是依赖倒置原则?
面向接口编程,面向抽象编程,不要面向具体编程。
依赖倒置原则的目的:降低程序的耦合度,提高扩展力。
什么叫做符合依赖倒置?
上不依赖 下,就是符合火 什么叫做违背依赖倒置?
上 依赖 下,就是违背。
只要"下"一改动,"上"就受到牵连。
3.当前程序的设计,显然既违背OCP,又违背DIP,怎么办?
以采用"控制反转"这种编程思想来解决这个问题。控制反转(IoC)
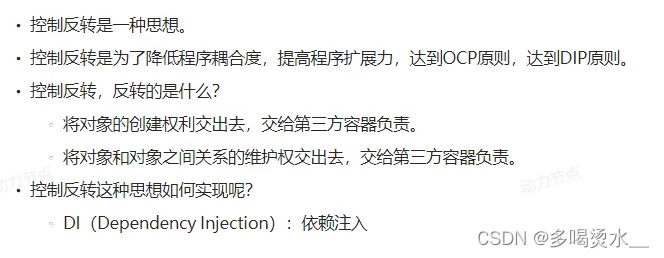
4.控制反转(IoC)
反转是什么呢?
反转的是两件事:
第一件事:我不在程序中采用硬编码的方式来new对象了。(new对象我不管了,new对象的权利交出去了。)
第二件事:我不在程序中采用硬编码的方式来维护对象的关系了。(对象之间关系的维护权,我也不管了,交出去了。)
控制反转: 是一种编程思想。或者叫做一种新型的设计模式。由于出现的比较新,没有被纳入GoF23种设计模式范围内。
5.Spring框架
Spring框架实现了控制反转IoC这种思想Spring框架可以帮你new对象。
Spring框架可以帮你维护对象和对象之间的关系。Spring是一个实现了IoC思想的容器。
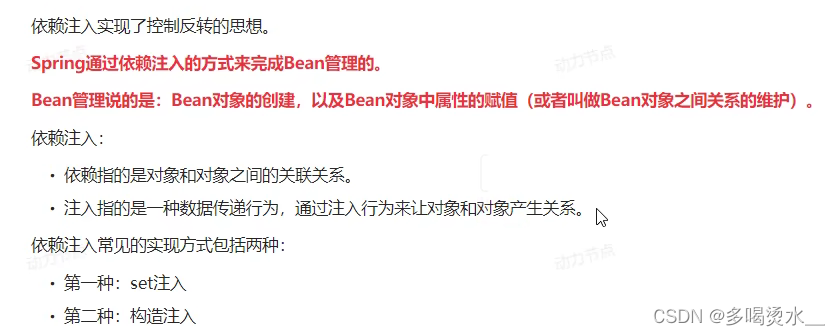
控制反转的实现方式有多种,其中比较重要的叫做:依赖注入(Dependency Injection,简称DI)。
控制反转是思想。依赖注入是这种思想的具体实现。
依赖注入DI,又包括常见的两种方式:
第一种:set注入(执行set方法给属性赋值)
第二种:构造方法注入(执行构造方法给属性赋值)
依赖注入 中"依赖"是什么意思?"注入"是什么意思?依赖:A对象和B对象的关系。注入:是一种手段,通过这种手段,可以让A对象和B对象产生关系
Spring有两个核心部分:IOC 和Aop.
(1) IOC:控制反转,把创建对象过程交给 Spring 进行管理
(2) Aop:面向切面,不修改源代码进行功能增强
二、Spring入门程序
先在这个程序中pom.xml中引入依赖配置
XML
<!--依赖-->
    <!--当你引入Spring Context 依赖之后,表示将Spring的基础依赖引入了-->
    <dependencies>
        <dependency>
            <groupId>org.springframework</groupId>
            <artifactId>spring-context</artifactId>
            <version>6.0.0-M2</version>
        </dependency>
        <!--junit依赖-->
        <dependency>
            <groupId>junit</groupId>
            <artifactId>junit</artifactId>
            <version>4.13.2</version>
            <scope>test</scope>
        </dependency>
    </dependencies>
在主程序(main)中引入一个类
java
package com.hei;

public class User {
}
在resources下创建Spring的配置文件,放在resources根目录下,相当于放到了类的根路径下。配置bean。这样spring才能帮助我们管理这个对象。
bean标签的两个重要属性:id:这个bean的身份证号,不能重复,唯一标识。class:必须填写类的全路径,全限定类名(带包名的类名)。
java
<bean id="Userbean" class="com.hei.User"/>
</beans>
在test下引入测试类,第一步:获取Spring容器对象。这段代码相当于启动了Spring容器,解析spring.xml文件,并实例化所用的bean对象,放在spring容器中。
第二步:根据bean的id从Spring容器获取这个对象。
java
package com.heit;
import org.junit.Test;
import org.springframework.context.ApplicationContext;
import org.springframework.context.support.ClassPathXmlApplicationContext;
public class springtest {
@Test
public void springtest() {
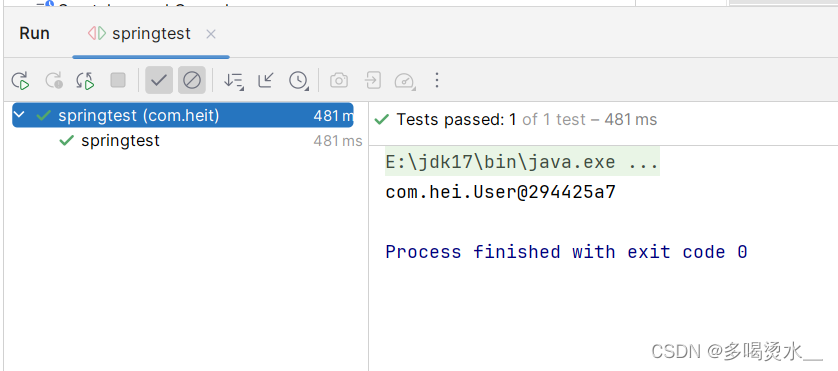
ApplicationContext applicationContext = new ClassPathXmlApplicationContext("spring.xml");
Object obj = applicationContext.getBean("Userbean");
System.out.println(obj);
}
}
三、Spring对IoC的实现
1.IoC控制反转
控制反转是一种思想,依赖注入是实现方式。
2.依赖注入
1)set依赖注入
set依赖注入是基于set方法进行的,要用set依赖注入必须在配置文件中(spring.xml),配置<property name="" ref=""/>
先在主函数中写类与方法:
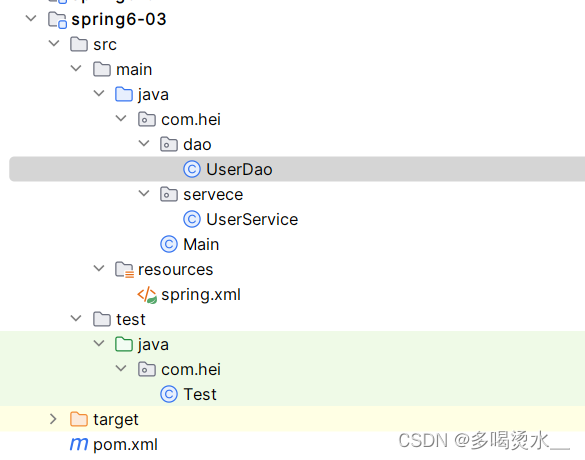
创建一个UserDao类:
java
package com.hei.dao;
public class UserDao {
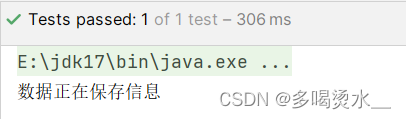
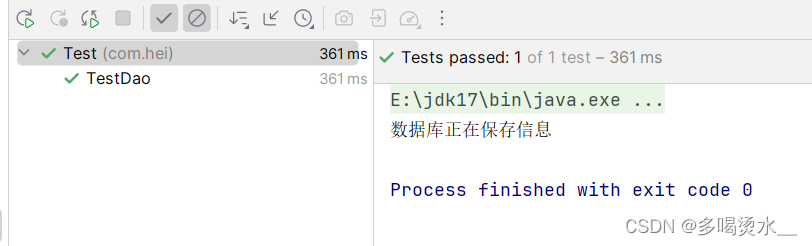
public void insert(){
System.out.println("数据库正在保存信息");
}
}创建一个UserService类:
在UserService类中要调用UserDao方法,需创建UserDao的对象,还需要对UserDao进行set赋值。可以利用IDEA自动生成set方法,也可以自己书写。
java
package com.hei.servece;
import com.hei.dao.UserDao;
public class UserService {
    private UserDao ud;//创建引用数据类型
    //set注入的话,必须提供一个set方法
    public void setMysqlUser(UserDao u){//set方法
        this.ud=u;
    }
    public void Save(){//创建一个方法调用UserDao对象
        ud.insert();
    }
}
在配置文件(spring.xml)中进行配置bean和property:
XML
<bean id="userdao" class="com.hei.dao.UserDao"/>
    <bean id="userservice" class="com.hei.servece.UserService">
        <!--要想让Spring调用set方法,必须要用property配置-->
        <!--name:为set方法的方法名 -->
        <!--ref:为引用,ref后面指定的是要注入的bean的id -->
<property name="mysqlUser" ref="userdao">
    </property>
    </bean>
在测试类中进行演示:
java
package com.hei;
import com.hei.servece.UserService;
import org.springframework.context.ApplicationContext;
import org.springframework.context.support.ClassPathXmlApplicationContext;

public class Test {
    @org.junit.Test
    public  void TestDao() {
        ApplicationContext applicationContext = new ClassPathXmlApplicationContext("spring.xml");
        UserService us=applicationContext.getBean("userservice",UserService.class);
        us.Save();
        }
    }
2)构造注入
利用构造方法进行。在配置文件(spring.xml)中有三种配置构造方法。
创建一个UserDao类:
java
package com.hei.dao;
public class UserDao {
    public  void  insert(){
        System.out.println("数据正在保存信息为构造注入");
    }
}
创建一个UserService类:
在UserService类中要调用UserDao方法,需创建UserDao的对象,还需进行构造方法赋值。
java
package com.hei.servece;
import com.hei.dao.UserDao;
public class UserService {
   //构造注入
    private UserDao userdao;//引用数据类型

    public UserService(UserDao userdao) {//构造方法
        this.userdao = userdao;
    }

    public void save(){
        userdao.insert();
    }
}
在配置文件(spring.xml)中进行配置bean和constructor-arg:
XML
<bean id="userdao" class="com.hei.dao.UserDao"/>
    <bean id="userService1" class="com.hei.servece.UserService">
            <!--构造注入-->
        <!--
        index属性指定参数下标,第一个参数是0,第二个参数是1等等
        ref属性用来指定注入的bean的id
        -->
        <!--利用下标构造方式-->
        <constructor-arg index="0" ref="userdao"></constructor-arg>
    </bean>
    <bean id="userService2" class="com.hei.servece.UserService">
        <!--利用名字构造-->
        <constructor-arg name="userdao" ref="userdao">
        </constructor-arg>
    </bean>
    <bean id="userService3" class="com.hei.servece.UserService">
    <!--直接构造,让程序直接匹配对象类别-->
        <constructor-arg ref="userdao"></constructor-arg>
    </bean>
在主函数测试类中:
java
package com.hei;
import com.hei.servece.UserService;
import org.springframework.context.ApplicationContext;
import org.springframework.context.support.ClassPathXmlApplicationContext;

public class Test {
    @org.junit.Test
    public  void TestDao() {
        ApplicationContext applicationContext = new ClassPathXmlApplicationContext("spring.xml");
       //第一种方法
        UserService use1= applicationContext.getBean("userService1",UserService.class);
        use1.save();
        System.out.println("------------");
        //第二种方法
        UserService use2= applicationContext.getBean("userService2",UserService.class);
        use2.save();
        System.out.println("---------------");
        //第三种方法
        UserService use3= applicationContext.getBean("userService3",UserService.class);
        use3.save();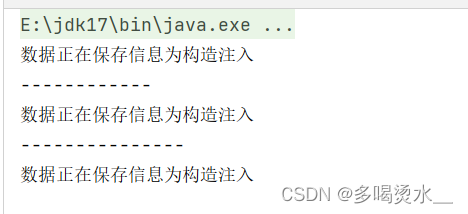
3.set注入专题
1)内部bean与外部bean
在Dao包下:
java
package com.hei.dao;
public class Order {
    public void insert(){
        System.out.println("这是订购信息");
    }
}
在service包下:
java
package com.hei.service;
import com.hei.dao.Order;
public class OderService {
    private Order ord;//引用数据类型
    public void setOrd(Order ord) {
        this.ord = ord;
    }
    public void generate(){
        ord.insert();
    }
}
在配置文件(spring.xml)中:
XML
 <!--外部bean-->
    <bean id="order" class="com.hei.dao.Order"/>
    <bean id="orders1" class="com.hei.servece.OderService">
        <property name="ord" ref="order">
        </property>
    </bean>
    <!--内部bean-->
    <bean id="orders2" class="com.hei.servece.OderService">
        <property name="ord">
            <bean class="com.hei.dao.Order"></bean>
        </property>
    </bean>
2)简单注入
简单类:8种基本类型、8种包装类、枚举、Class、Date类型都是简单数据类型。在实际开发中,不会将Date类型看作是简单数据类型,虽然他本质上是简单数据类型,用ref进行赋值。
简单注入采用value进行赋值。
Dao包中的User类:
java
package com.hei.dao;
public class User {
    private String name;
    private int age;

    public void setName(String name) {
        this.name = name;
    }

    public void setAge(int age) {
        this.age = age;
    }

    @Override
    public String toString() {
        return "User{" +
                "name='" + name + '\'' +
                ", age=" + age +
                '}';
    }
}
在配置文件(spring.xml)中:
XML
<!--简单注入-->
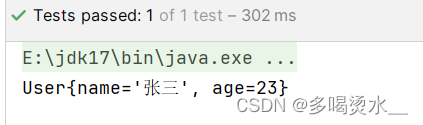
<bean id="user" class="com.hei.dao.User">
<property name="name" value="张三"/>
<property name="age" value="23"></property>
</bean>测试类中:
java
package com.hei;

import com.hei.dao.User;
import com.hei.servece.UserService;
import org.springframework.context.ApplicationContext;
import org.springframework.context.support.ClassPathXmlApplicationContext;

public class Test {
    @org.junit.Test
    public void TestDao() {
        ApplicationContext applicationContext = new ClassPathXmlApplicationContext("spring.xml");
        User u= applicationContext.getBean("user", User.class);
        System.out.println(u);
        }
    }
3)级联属性赋值
使用级联属性赋值:需要在使用的属性配置get方法
clazz班级类:
java
package com.hei.dao;
public class clazz {
    private String cname;
    public void setCname(String cname) {
        this.cname = cname;
    }
    @Override
    public String toString() {
        return "clazz{" +
                "cname='" + cname + '\'' +
                '}';
    }
}
Student学生类:
java
package com.hei.dao;
public class Student {
    private String name;
    private int age;
    private clazz c;//学生所在班级
    public void setC(clazz c) {
        this.c = c;
    }
    public clazz getC() {
        return c;
    }
    public void setName(String name) {
        this.name = name;
    }
    public void setAge(int age) {
        this.age = age;
    }
    @Override
    public String toString() {
        return "Student{" +
                "name='" + name + '\'' +
                ", age=" + age +
                ", c=" + c +
                '}';
    }
}
配置文件(spring.xml):
XML
<!--级联赋值-->
    <bean id="student" class="com.hei.dao.Student">
        <property name="name" value="张三"/>
        <property name="age" value="18"/>
        <property name="c" ref="clazz"/>
        <property name="c.cname" value="高一一班"></property>
    </bean>
    <bean id="clazz" class="com.hei.dao.clazz"></bean>
测试类:
java
public class Test {
    @org.junit.Test
    public void TestDao() {
      ApplicationContext applicationContext=new ClassPathXmlApplicationContext("spring.xml");
      Student s=applicationContext.getBean("student", Student.class);
      System.out.println(s);
        }
    }
4)数组注入
简单类型赋值时用value,复杂类型赋值时,用ref。
Student学生类:
java
package com.hei.dao;
import java.util.Arrays;
public class Student {
private String[] hobby;
public void setHobby(String[] hobby) {
this.hobby = hobby;
}
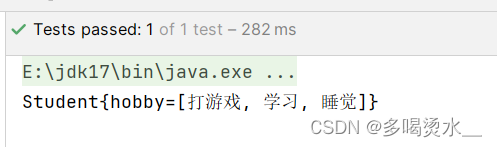
@Override
public String toString() {
return "Student{" +
"hobby=" + Arrays.toString(hobby) +
'}';
}
}配置文件(spring.xml):
id:为标志,可以随意起,有唯一性。
class:为所在地址。
name:为set方法后面的方法名(setHobby 这位hobby)
XML
<bean id="hobby" class="com.hei.dao.Student">
     <property name="hobby">
         <array>
             <value>打游戏</value>
             <value>学习</value>
             <value>睡觉</value>
         </array>
     </property>
 </bean>
测试类:
getbean中的字符串为:配置文件中的id号
java
public class Test {
    @org.junit.Test
    public void TestDao() {
      ApplicationContext applicationContext=new ClassPathXmlApplicationContext("spring.xml");
      Student s=applicationContext.getBean("hobby", Student.class);
      System.out.println(s);
        }
    }
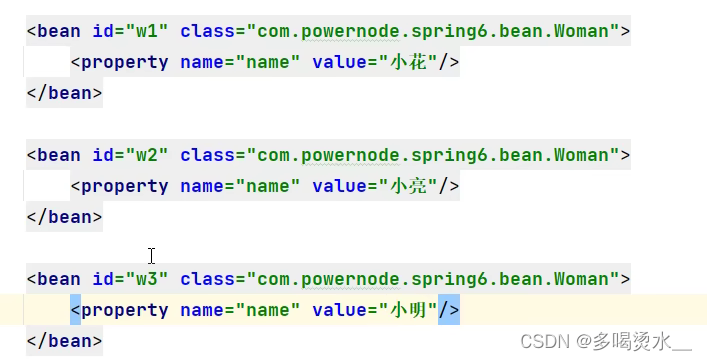
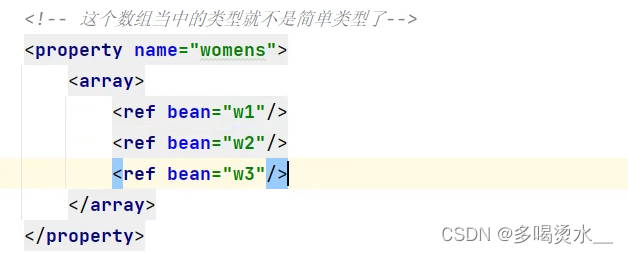
当数组不是简单类型,例如:
其中w1等等为bean中的id号。
5)List集合和Set集合注入
User类:
java
package com.hei.dao;
import java.util.List;
import java.util.Set;
public class User {
private List<String> list;
private Set<String> set;
public void setList(List<String> list) {
this.list = list;
}
public void setSet(Set<String> set) {
this.set = set;
}
@Override
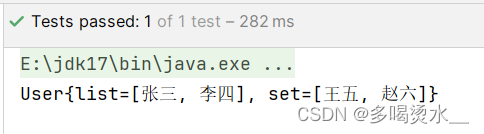
public String toString() {
return "User{" +
"list=" + list +
", set=" + set +
'}';
}
}
XML
<bean id="u1" class="com.hei.dao.User">
     <property name="list">
         <list>
             <value>张三</value>
             <value>李四</value>
         </list>
     </property>
     <property name="set">
         <set>
             <value>王五</value>
             <value>赵六</value>
         </set>
     </property>
 </bean>
java
public class Test {
    @org.junit.Test
    public void TestDao() {
      ApplicationContext applicationContext=new ClassPathXmlApplicationContext("spring.xml");
      User u=applicationContext.getBean("u1", User.class);
      System.out.println(u);
        }
    }
6)Map集合注入和propertise注入
propertise是一个属性类,本质上是一个map集合,它的键值对的属性只能是String类型。
User类:
java
package com.hei.dao;
import java.util.Map;
import java.util.Properties;
public class User {
 private Map<String,Integer> s;
 private Properties p;
    public void setS(Map<String, Integer> s) {
        this.s = s;
    }
    public void setP(Properties p) {
        this.p = p;
    }
    @Override
    public String toString() {
        return "User{" +
                "s=" + s +
                ", p=" + p +
                '}';
    }
}
spring.xml:
XML
<bean id="u1" class="com.hei.dao.User">
   <property name="s">
       <map>
           <entry key="张三" value="23"/>
           <entry key="李四" value="24"/>
       </map>
   </property>
     <property name="p">
         <props>
             <prop key="wangwu">root</prop>
             <prop key="hostall">lib</prop>
         </props>
     </property>
 </bean>
测试类:
java
public class Test {
    @org.junit.Test
    public void TestDao() {
      ApplicationContext applicationContext=new ClassPathXmlApplicationContext("spring.xml");
      User u=applicationContext.getBean("u1", User.class);
      System.out.println(u);
        }
    }
7)注入null和空字符串
注入null:不给属性赋值,属性默认值就是null。
Cat类:
java
package com.hei.dao;
public class Cat {
    private String name;
    private int age;
    public void setName(String name) {
        this.name = name;
    }
    public void setAge(int age) {
        this.age = age;
    }
    @Override
    public String toString() {
        return "Cat{" +
                "name='" + name + '\'' +
                ", age=" + age +
                '}';
    }
}
spring.xml:
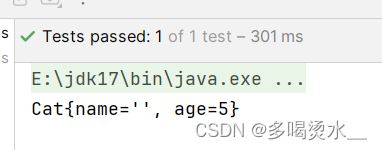
注入null:不给属性赋值,属性默认值就是null。
手动注入null:<null/>
注入空字符串:<value/>
XML
<bean id="mao" class="com.hei.dao.Cat">
     <!--注入null-->
<!--     <property name="name" value="蓝金渐层"></property>-->
     <!--手动注入null-->
<!--     <property name="name">-->
<!--         <null/>-->
<!--     </property>-->
<!--     注入空字符串-->
<!--     <property name="name" value=""></property>-->
<!--     手动注入空字符串-->
     <property name="name">
         <value/>
     </property>
     <property name="age" value="5"></property>
 </bean>
测试类:
java
public class Test {
    @org.junit.Test
    public void TestDao() {
      ApplicationContext applicationContext=new ClassPathXmlApplicationContext("spring.xml");
      Cat c=applicationContext.getBean("mao",Cat.class);
      System.out.println(c);
        }
    }
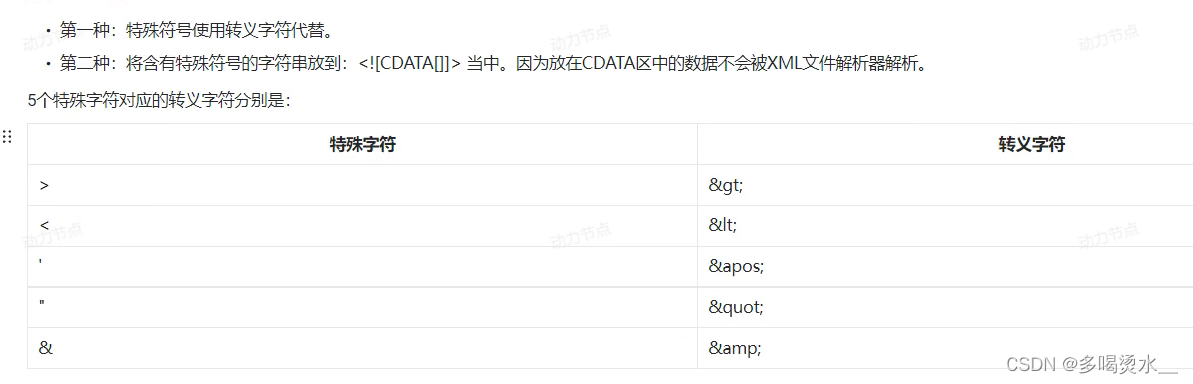
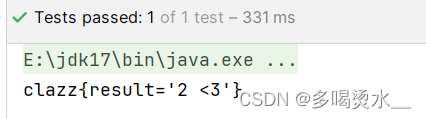
8)注入特殊符号
java
package com.hei.dao;
public class Clazz {
   private String result;
    public void setResult(String result) {
        this.result = result;
    }
    @Override
    public String toString() {
        return "clazz{" +
                "result='" + result + '\'' +
                '}';
    }
}
XML
<bean id="r" class="com.hei.dao.Clazz">
<property name="result" value="2 <3"></property>
</bean>
java
public class Test {
    @org.junit.Test
    public void TestDao() {
      ApplicationContext applicationContext=new ClassPathXmlApplicationContext("spring.xml");
        Clazz c =applicationContext.getBean("r",Clazz.class);
      System.out.println(c);
        }
    }
4.p命名空间注入
简化set注入的一种方式,底层仍是set注入。在Spring配置头部添加p命名空间,使用p:属性名="属性值"
java
package com.hei.dao;
import java.util.Date;
public class Cat {
    private String name;
    private int age;
    private Date birth;
    public void setName(String name) {
        this.name = name;
    }
    public void setAge(int age) {
        this.age = age;
    }
    public void setBirth(Date birth) {
        this.birth = birth;
    }
    @Override
    public String toString() {
        return "Cat{" +
                "name='" + name + '\'' +
                ", age=" + age +
                ", birth=" + birth +
                '}';
    }
}
XML
<beans xmlns="http://www.springframework.org/schema/beans"
       xmlns:xsi="http://www.w3.org/2001/XMLSchema-instance"
       xmlns:p="http://www.springframework.org/schema/p"
       xsi:schemaLocation="http://www.springframework.org/schema/beans http://www.springframework.org/schema/beans/spring-beans.xsd">
<!-- 在Spring配置头部添加p命名空间-->
<!--    使用p:属性名="属性值"-->
    <bean id="mao" class="com.hei.dao.Cat" p:name="小猫猫" p:age="3" p:birth-ref="birthday"></bean>
    <bean id="birthday" class="java.util.Date"></bean>

</beans>
java
public class Test {
    @org.junit.Test
    public void TestDao() {
      ApplicationContext applicationContext=new ClassPathXmlApplicationContext("spring.xml");
        Cat c =applicationContext.getBean("mao",Cat.class);
      System.out.println(c);
        }
    }
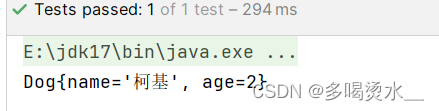
5.c命名空间注入
简化构造方法的一种注入方法。

java
package com.hei.dao;
public class Dog {
    private String name;
    private int age;
    public Dog(String name, int age) {
        this.name = name;
        this.age = age;
    }
    @Override
    public String toString() {
        return "Dog{" +
                "name='" + name + '\'' +
                ", age=" + age +
                '}';
    }
}
XML
<beans xmlns="http://www.springframework.org/schema/beans"
       xmlns:xsi="http://www.w3.org/2001/XMLSchema-instance"
       xmlns:c="http://www.springframework.org/schema/c"
       xsi:schemaLocation="http://www.springframework.org/schema/beans http://www.springframework.org/schema/beans/spring-beans.xsd">

    <bean id="d" class="com.hei.dao.Dog" c:_0="柯基" c:_1="2"></bean>

</beans>
java
public class Test {
    @org.junit.Test
    public void TestDao() {
      ApplicationContext applicationContext=new ClassPathXmlApplicationContext("spring.xml");
        Dog dog =applicationContext.getBean("d",Dog.class);
      System.out.println(dog);
        }
    }
6.基于XML自动装配
自动化注入也叫做自动化装配,底层仍是set方法,分两种类型,一种是:通过名字,一种是:通过类型。
通过名字byName
Order类:
java
package com.hei.dao;
public class Order {
    public void insert(){
        System.out.println("这是订购信息");
    }
}
OrderSerivice类:
java
package com.hei.servece;
import com.hei.dao.Order;
public class OderService {
    private Order ord;
    public void setOrd(Order ord) {
        this.ord = ord;
    }
    public void generate(){
        ord.insert();
    }
}
spring.xml:
XML
 <bean id="select" class="com.hei.servece.OderService" autowire="byName"></bean>
<!--    这个ID的名字不能乱写,应为set方法的名字(取掉set方法名和第一个大写字母变小写-->
    <bean id="ord" class="com.hei.dao.Order"></bean>
测试类:
java
public class Test {
    @org.junit.Test
    public void TestDao() {
      ApplicationContext applicationContext=new ClassPathXmlApplicationContext("spring.xml");
      OderService o =applicationContext.getBean("select",OderService.class);
      o.generate();
        }
    }
通过类型byType
UserDao类:
java
package com.hei.dao;
public class UserDao {
    public  void  insert(){
        System.out.println("数据正在保存信息");
    }
}
UserService类:
java
package com.hei.servece;
import com.hei.dao.UserDao;
public class UserService {
    private UserDao user;

    public void setUser(UserDao user) {
        this.user = user;
    }
    public void save(){
       user.insert();
   }
}
spring.xml:
XML
  <bean class="com.hei.dao.UserDao"></bean>
    <bean id="user" class="com.hei.servece.UserService" autowire="byType"></bean>
测试类:
java
public class Test {
    @org.junit.Test
    public void TestDao() {
      ApplicationContext applicationContext=new ClassPathXmlApplicationContext("spring.xml");
      UserService u =applicationContext.getBean("user",UserService.class);
      u.save();
        }
    }