一、简单的Unity Inspector扩展
SerializeField
SerializeField 作用:让private属性也可以显示在面板上
Range(x , y)
Range(x , y) 作用: 让参数从输入框变为范围滑条
Header(" 标题 ")
Header(" 标题 ")作用:在属性前面加上标题
Tooltip(" 解释")
Tooltip(" 解释")作用: 在鼠标停留在属性名上时显示解释
TextArea(a ,b)
TextArea(a ,b)作用: 让文本输入框可以输入不止1行,为最小a行,最大b行
Space(N)
Space(N)作用:控制两个属性在Inspector面板上显示的间隔大小N
HideInInspector
HideInInspector 作用: 让public属性不会显示在面板上
以上可以满足基本需求,但更复杂的排版需要代码实现,需要扩展Editor类。
二、使用IMGUI框架扩展
1.添加参数
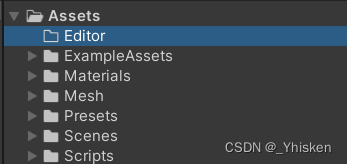
扩展的Editor类必须放在Editor文件夹
然后在脚本中使用UnityEditor,并且继承Editor类,同时在初始需要写CustomEditor(typeof(Class)),来指明是为哪个脚本添加的扩展
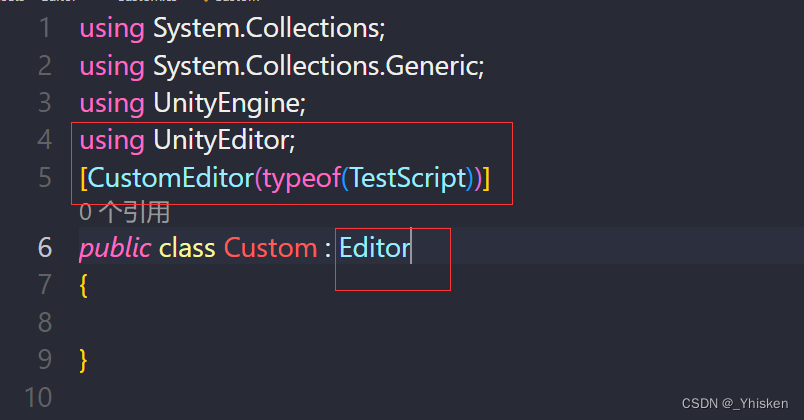
在IMGUI框架下,我们需要覆盖OnInspectorGUI()来实现扩展。

如图所示,在覆盖时会自动调用父类的方法OnInspectorGUI,如果去掉该方法则原脚本则不会有任何属性显示。

我们先定义一个2D纹理,然后调用ObjectField函数,输入名称,值等信息。 该函数返回值是一个Object所以在前面加上强制转换。然后就可以看到原脚本的面板上有了新的属性。

2.添加按钮&调整样式
我们还可以添加按钮:
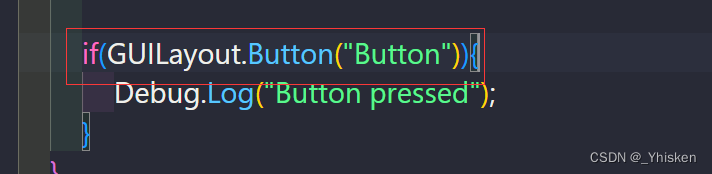
GUILayout.Button用来添加按钮,如果按钮被点击,则该方法会返回一个True。如下图所示。

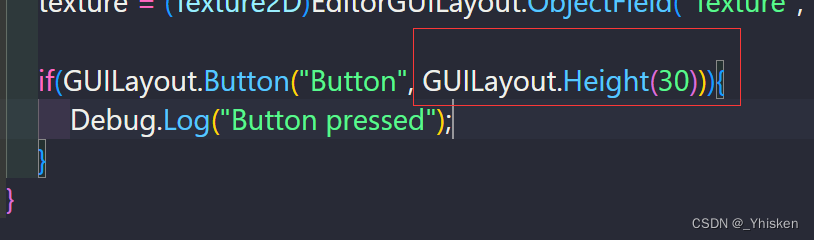
IMGUI框架也可以调整样式,如下图,为按钮添加高度参数,可以让按钮变大。
三、使用UI Elements扩展

使用UI Elements框架需要添加相应的命名空间。 
同样的覆盖父类的方法,如上图。此时返回Unity窗口,我们发现我们原本脚本的之前用IMGUI框架添加的属性全部消失了。原因是当CreateInspectorGUI的返回值不为空的时候,它的优先级是最高的,所以无视了之前IMGUI框架下的方法。
其中VisualElement是该框架下最基本的显示对象,可以添加最基本的任何其它子显示对象。
1.添加参数

以上三行代码显示了如何像IMGUI框架一样为原脚本添加一个纹理的参数。

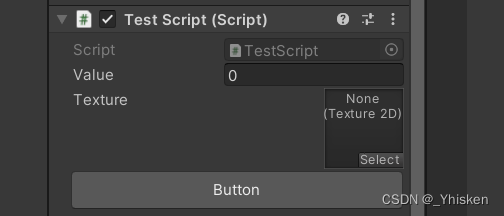
2.添加按钮&调整样式
接着我们添加一个按钮,如下图代码所示,我们可以为按钮设置相应的调用方法。
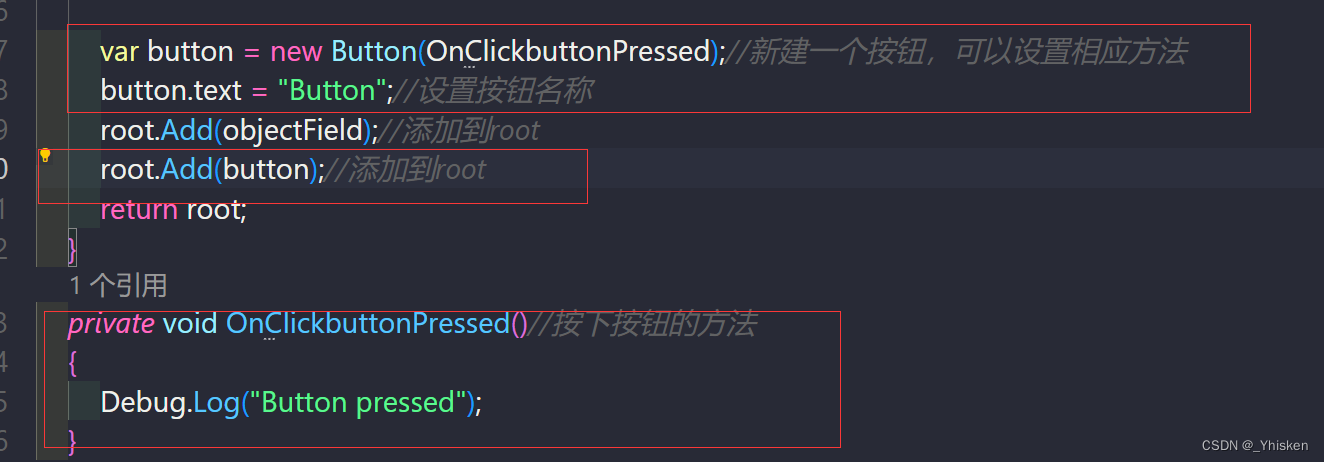
可以看到,按下按钮后,打印出了相应的字符串。

我们同样可以用Button.style.height来更改样式高度,如下图所示。


3.注册回调
我们还可以检测属性注册来执行回调自定方法,如下图所示。

可以看到,当我们指定了一张纹理后,回调函数被调用,打印出了字符串。

如果我们想对更改后的纹理或其他属性做一些操作,如打印新纹理的名字,那么要在回调函数中执行如上图所示。
4.调用原脚本方法
那么如果我们想在扩展脚本里调用原脚本的函数该怎么办呢?比如按下按钮,调用原脚本的函数。我们先在原脚本中写一个函数,打印一个字符串。

然后在扩展Editor的脚本里更改按下按钮的方法,这里把原来的打印注释掉。

Unity提供了target指向原来的脚本。当然我们需要把它强制转换成原脚本的类。然后调用即可。如上图所示。

按下按钮,可以看到,打印成功了。