来自bilibili up主的Voidmatrix的视频教程:【从零开始的C++游戏开发】
一、图形库引入
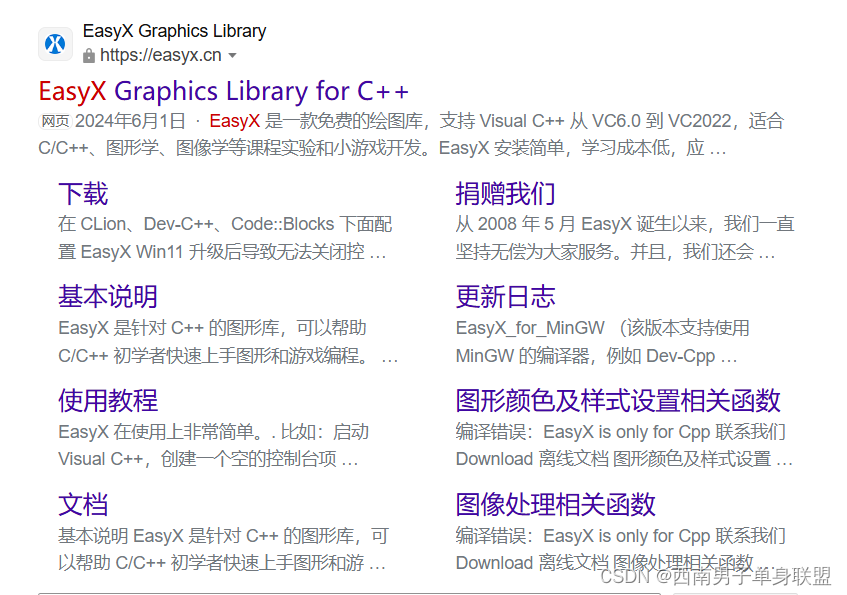
EasyX在国内文档最多,而且功能函数齐全,最适合入门。
环境配置:vs2022 (官网下载免费版)+ 百度搜EasyX官方(如下图所示):
勾选右上角"下载":

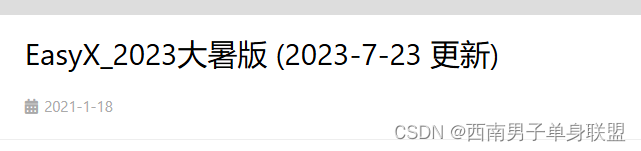
选择2023大暑版;
拉到最下面:

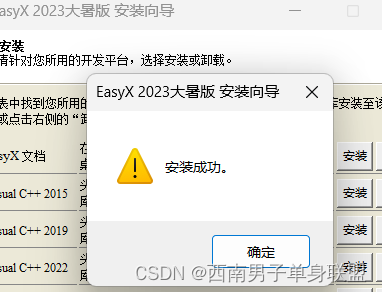
点击下载,完成后打开文件 -> 下一步 -> 选择安装位置(vs2022)即可,傻瓜式非常方便(太喜欢)
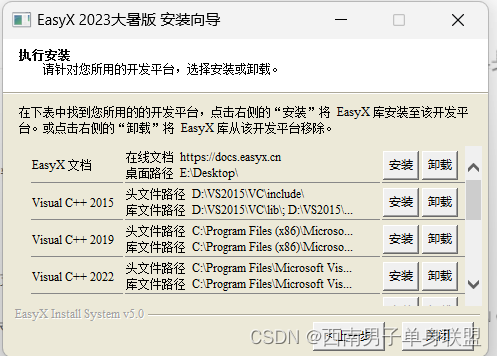
光速安装,惊呆了(点一下立即弹出安装成功):
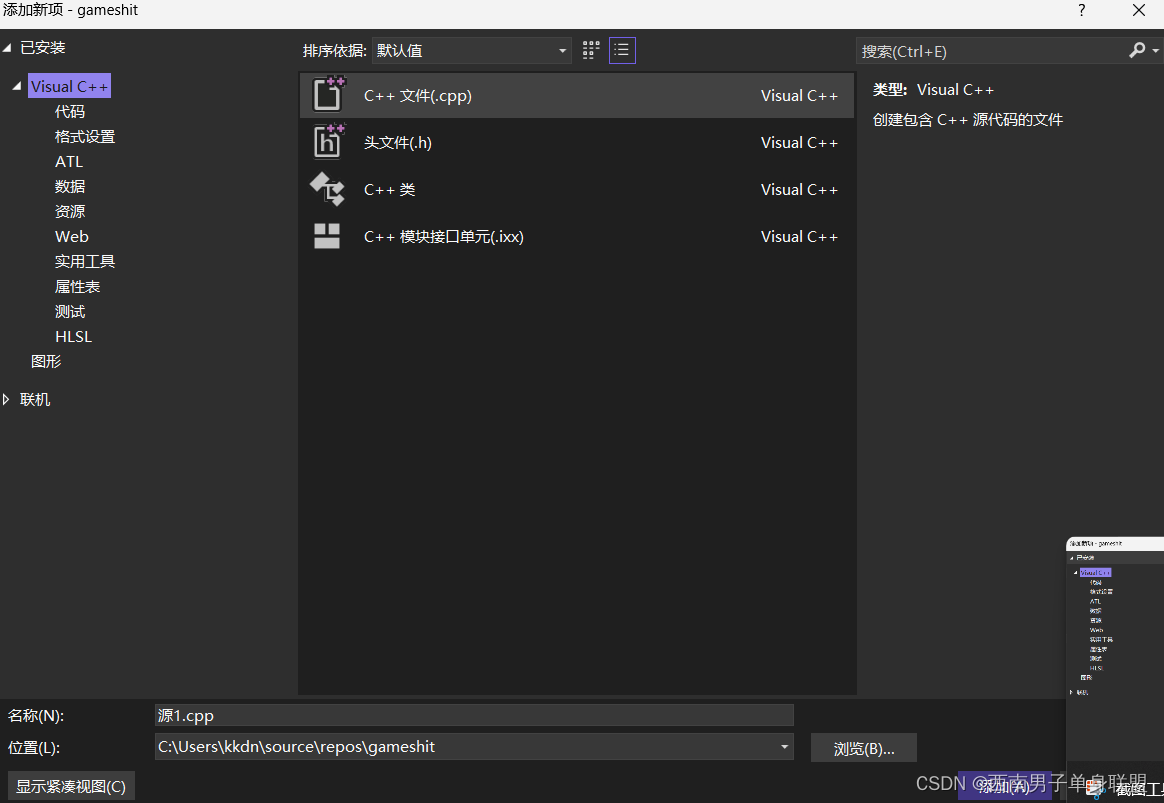
打开vs2022建立空项目,在源代码处鼠标右击按下方勾选:

选c++文件,点'添加':
创建完成后输入如下代码测试环境:
cpp
#include<graphics.h>
#include<iostream>

int main(){
    printf("%ws", GetEasyxVer());//获取EasyX版本号

    return 0;
}
弹窗显示2023则安装成功。
二、创建跟随鼠标移动的小球
2.1如何使用EasyX创建窗口
进入文档-绘图设备相关函数:
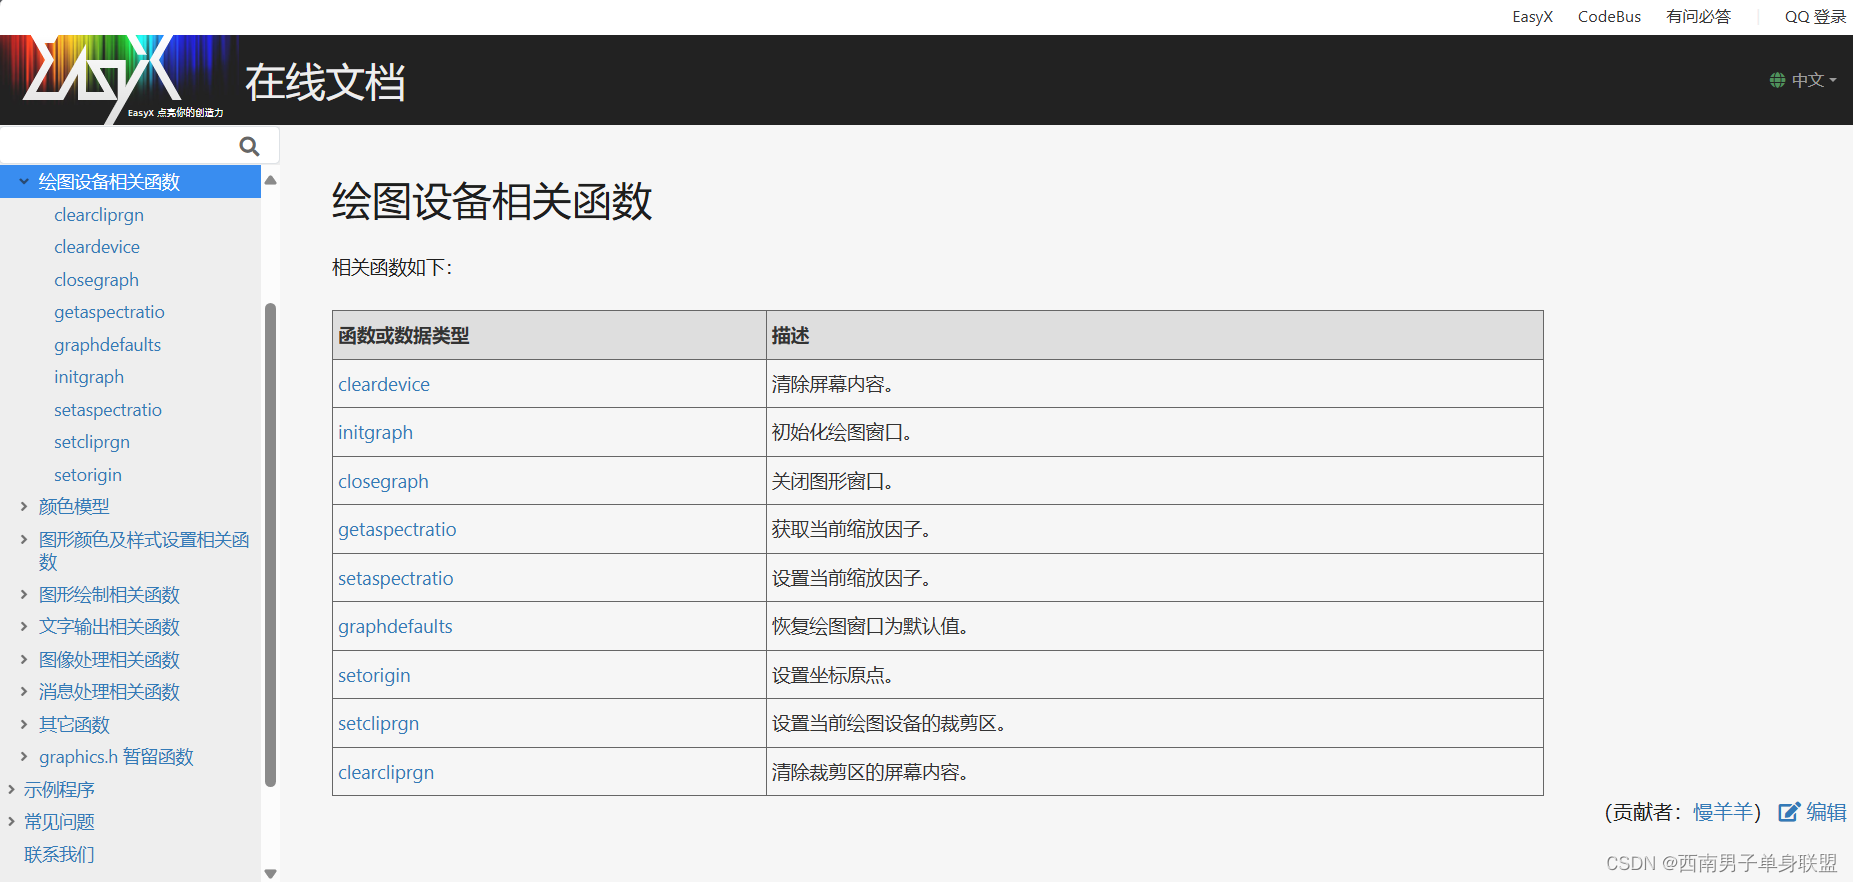

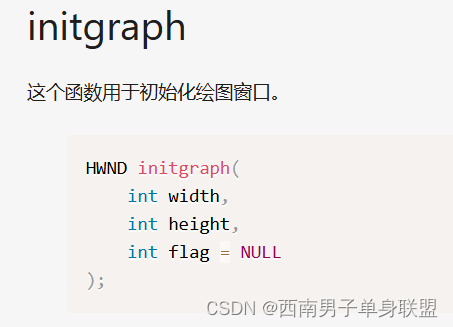
发现initgraph函数可以初始化绘图窗口,传入width、height参数即可。第三个flag参数定义窗口是否可被关闭,这里保持默认。
初始化一个1280 * 720大小窗口代码如下:
cpp
#include<graphics.h>

int main(){
    initgraph(1280, 720);

    return 0;
}
运行发现窗口一闪而过,这是因为主程序在创建完窗口就结束了,所以需要利用死循环来卡住窗口
cpp
#include<graphics.h>

int main(){
    initgraph(1280, 720);

    while(1){


    }

    return 0;
}这是一个通用的游戏框架:所有的游戏都依赖一个循环来不断更新画面、读入玩家操作事件,而这个循环被称为游戏的"主循环"。
现在运行程序窗口就不会关闭了。
2.2在窗口中绘制小球(这里用实心圆代替)
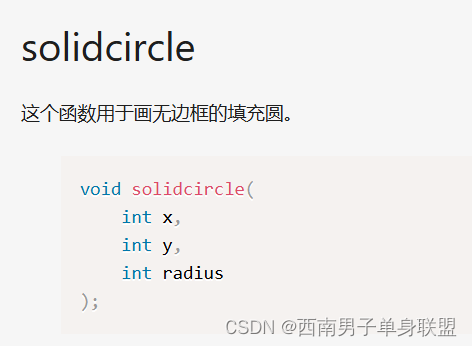
进入文档-图形绘制相关参数-solicircle函数
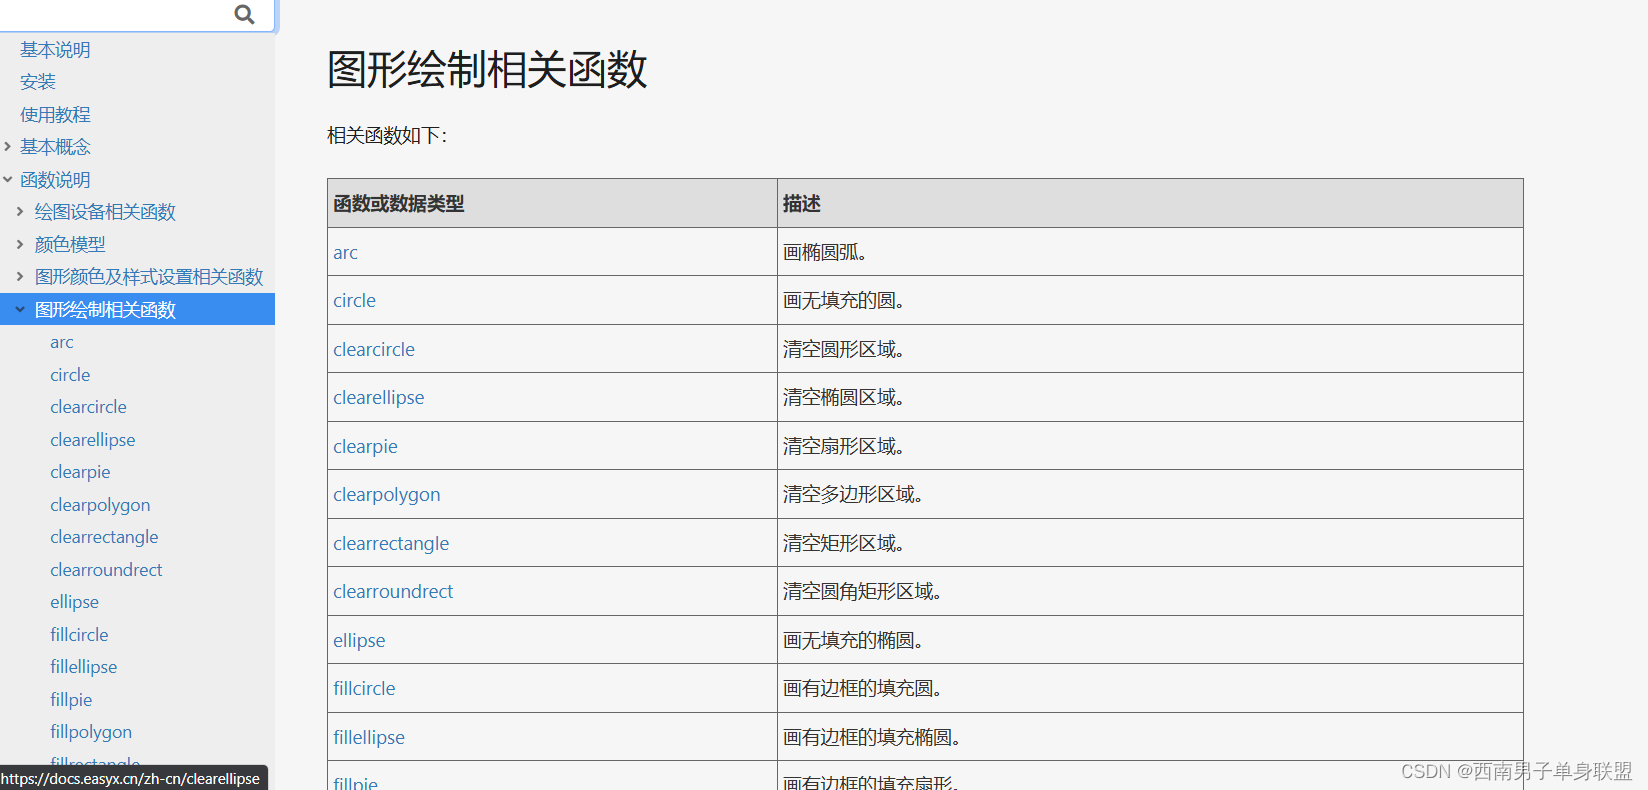

solidcircle函数需要传入三个参数,分别为圆心坐标(x,y)与圆的半径,输入以下代码创建圆:
cpp
#include<graphics.h>
int main(){
initgraph(1280, 720);
while(1){
solidcircle(300, 300, 100);
}
return 0;
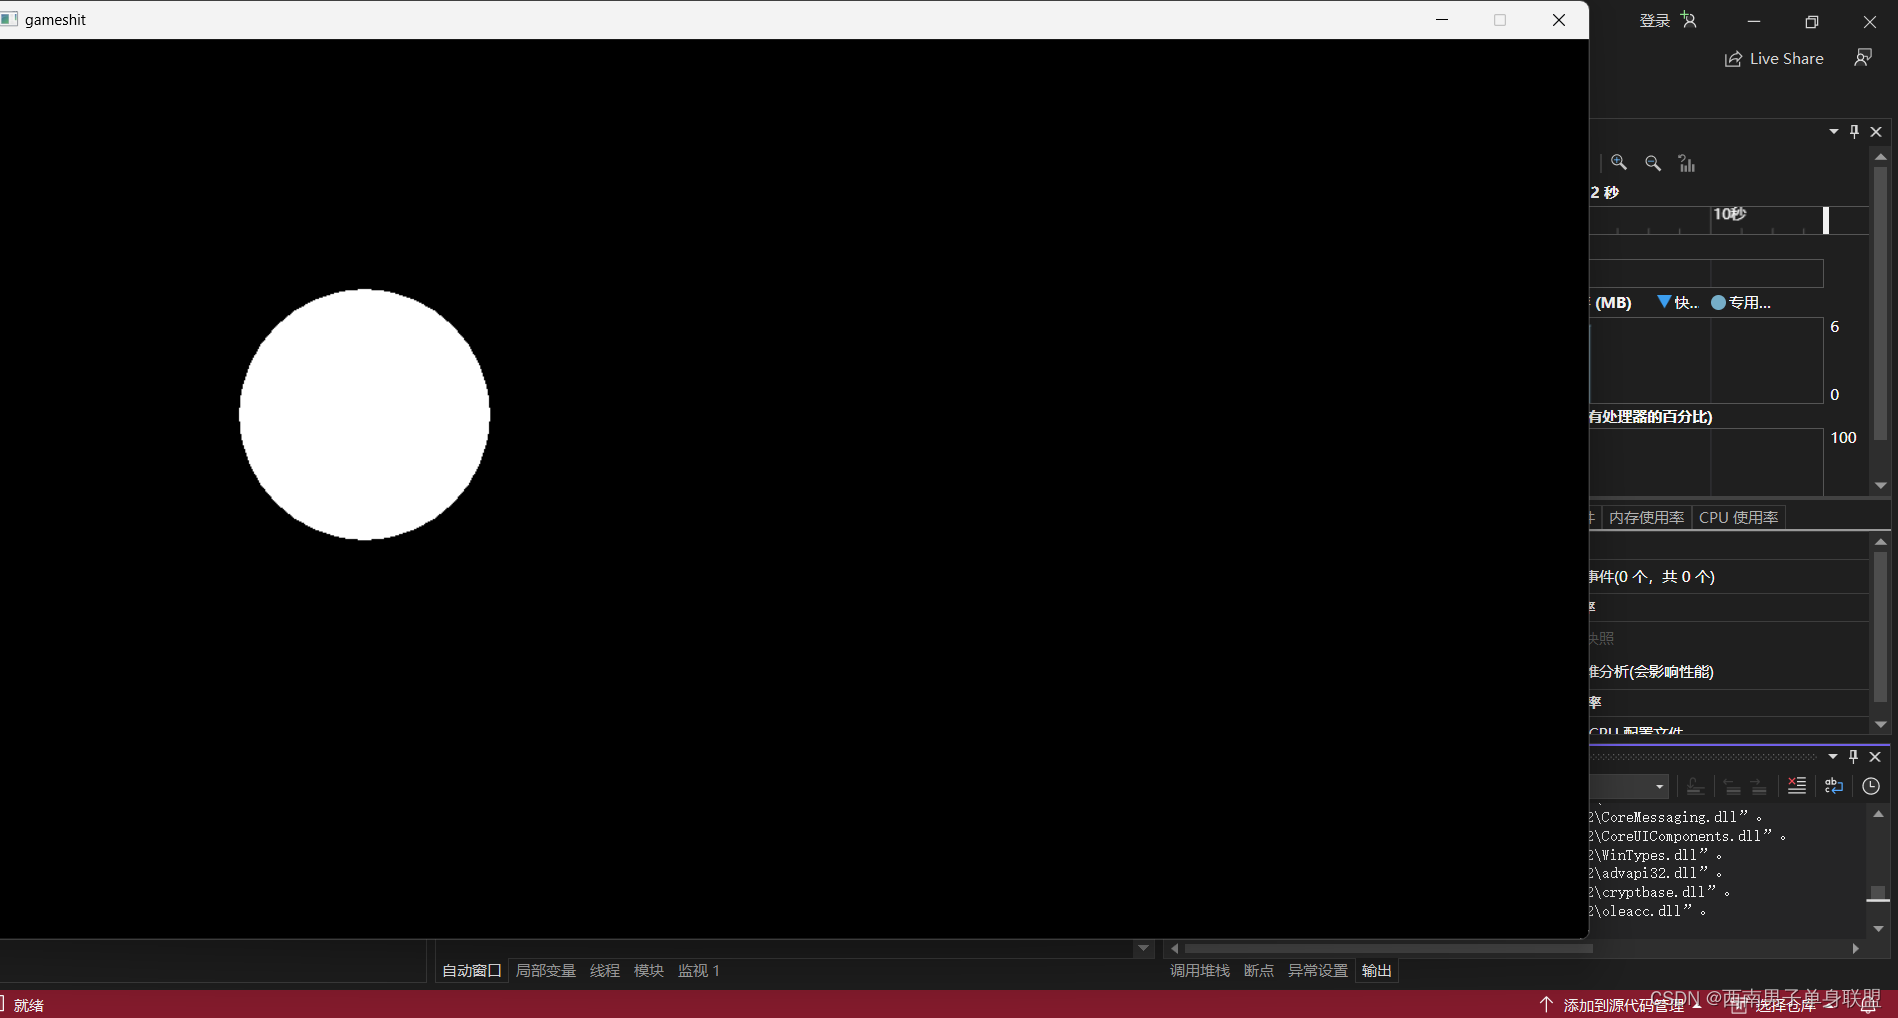
}看到成功创建圆:
2.3对鼠标移动事件进行处理让小球跟随鼠标动起来
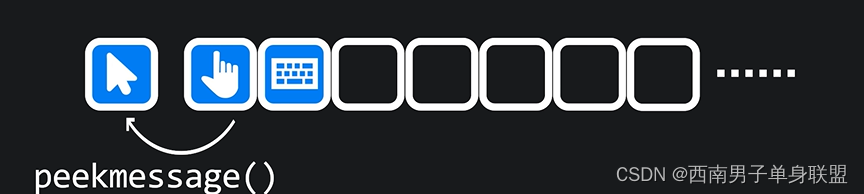
进入文档-消息处理相关函数-peekmessage函数
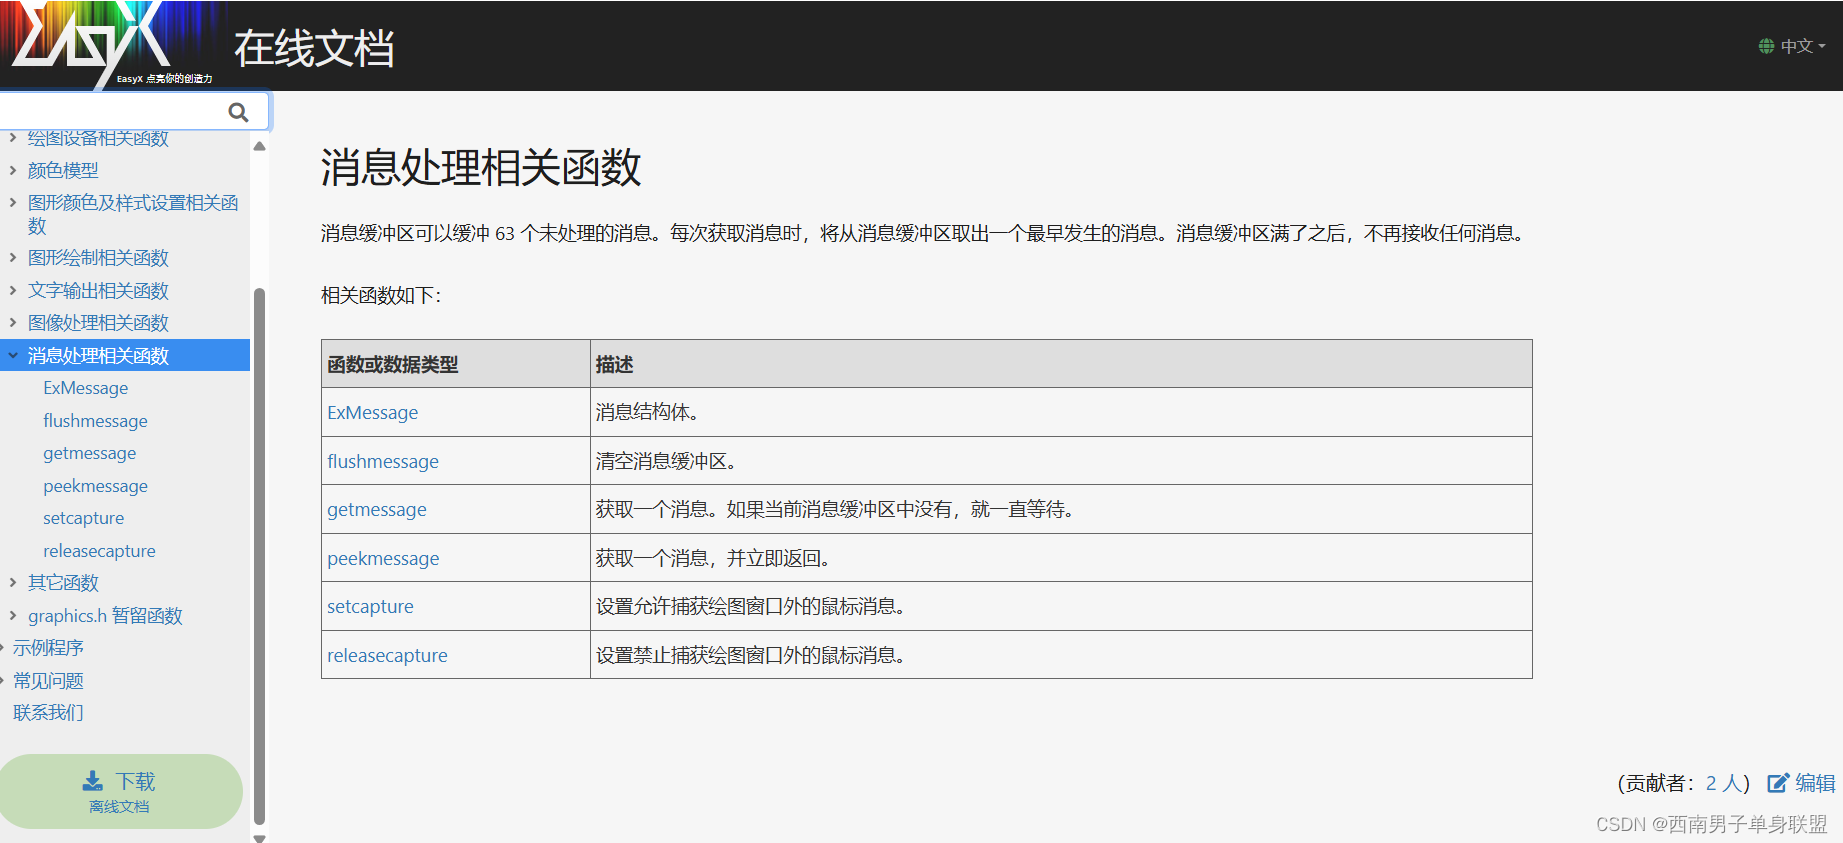


这个函数用于获取一个"消息"并立即返回,在EasyX中,鼠标的移动、点击或者是键盘的按键操作都被称作"消息",当我们触发这些消息时EasyX会将其放置到自己的消息队列中,每当我们调用peekmessage函数时便尝试从消息队列中拉取一个消息,如果拉取成功函数便返回true,反之没有消息可拉取的话则返回false,

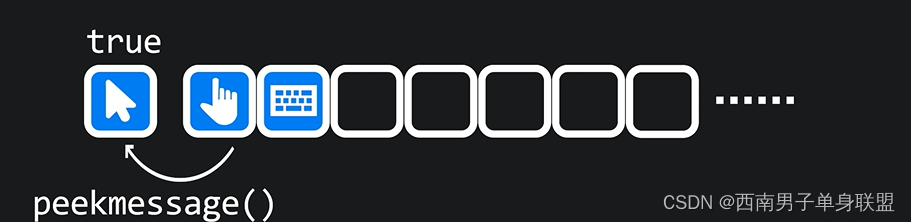
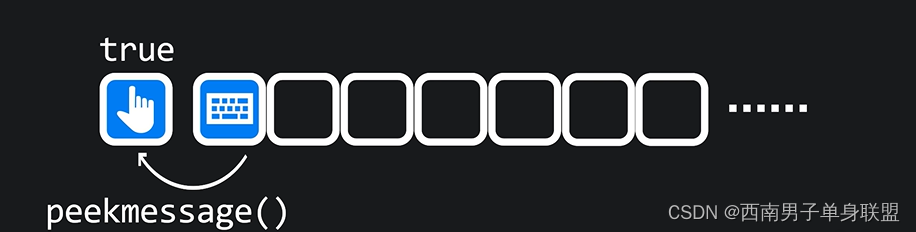
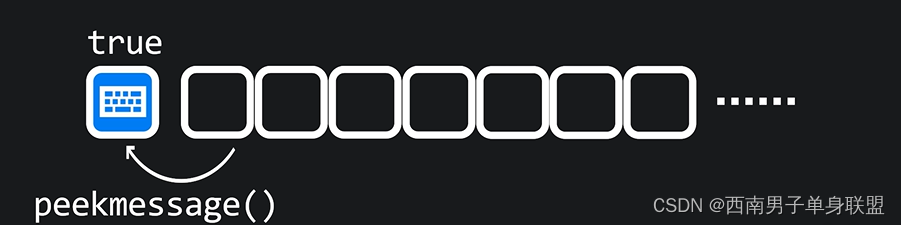

这样,我们可以使用另一个循环来从队列中拉取已有的消息进行处理,直到事件队列没有消息为止:
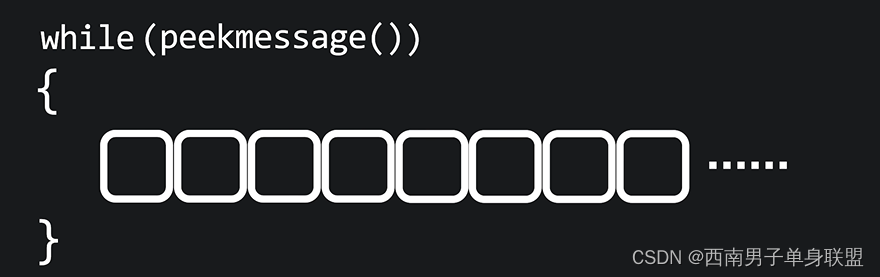
具体框架为:
cpp
#include<graphics.h>

int main(){
    initgraph(1280, 720);

    while(1){
        ExMessage msg;//存消息用的
        while(peekmessage(&msg)){
            //在这里执行消息处理逻辑
        }

        solidcircle(300, 300, 100);
    }

    return 0;
}
了解基本概念后,我们现在需要对存储消息的结构体进行分析------ExMessage

这个结构体用以保存鼠标消息,有一个叫meesage的字段用来标识当前的消息类型:
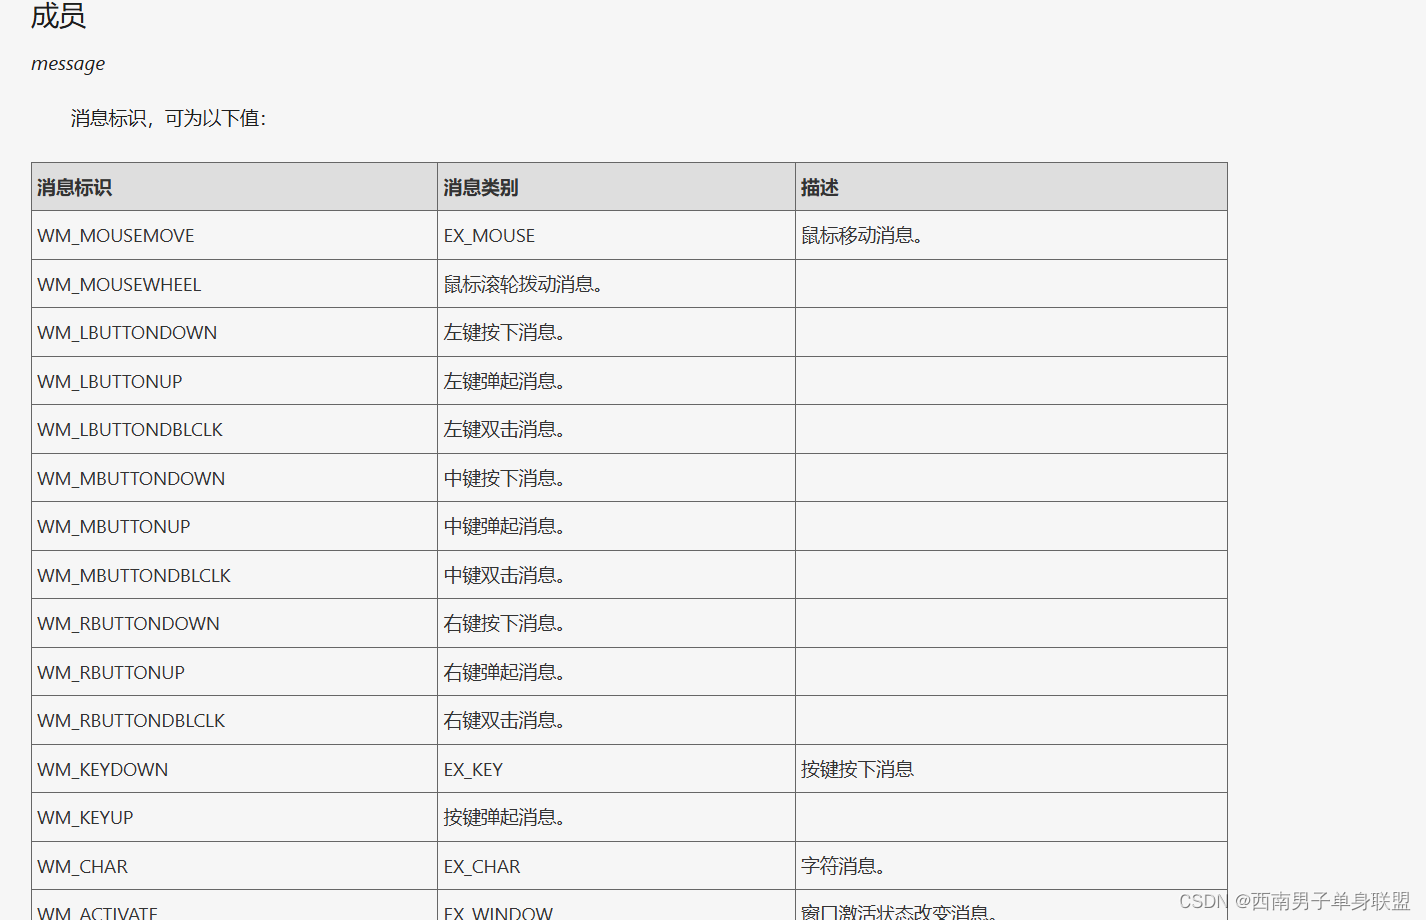
表格中发现鼠标移动的消息标识是WM_MOUSEMOVE

于是写出代码如下:
cpp
#include<graphics.h>

int main(){
    initgraph(1280, 720);

    int x,y;

    while(1){
        ExMessage msg;
        while(peekmessage(&msg)){
            if(msg.message == WM_MOUSEMOVE){
                x = msg.x;
                y = msg.y;

        }

        solidcircle(x, y, 100);//输入变量本身而不是具体值来用于捕捉即时消息
    }

    return 0;
}
结果却不尽人意:
随着鼠标移动窗口中的圆越来越多,这是因为在绘制新的圆是没有对原来位置的圆进行擦除操作
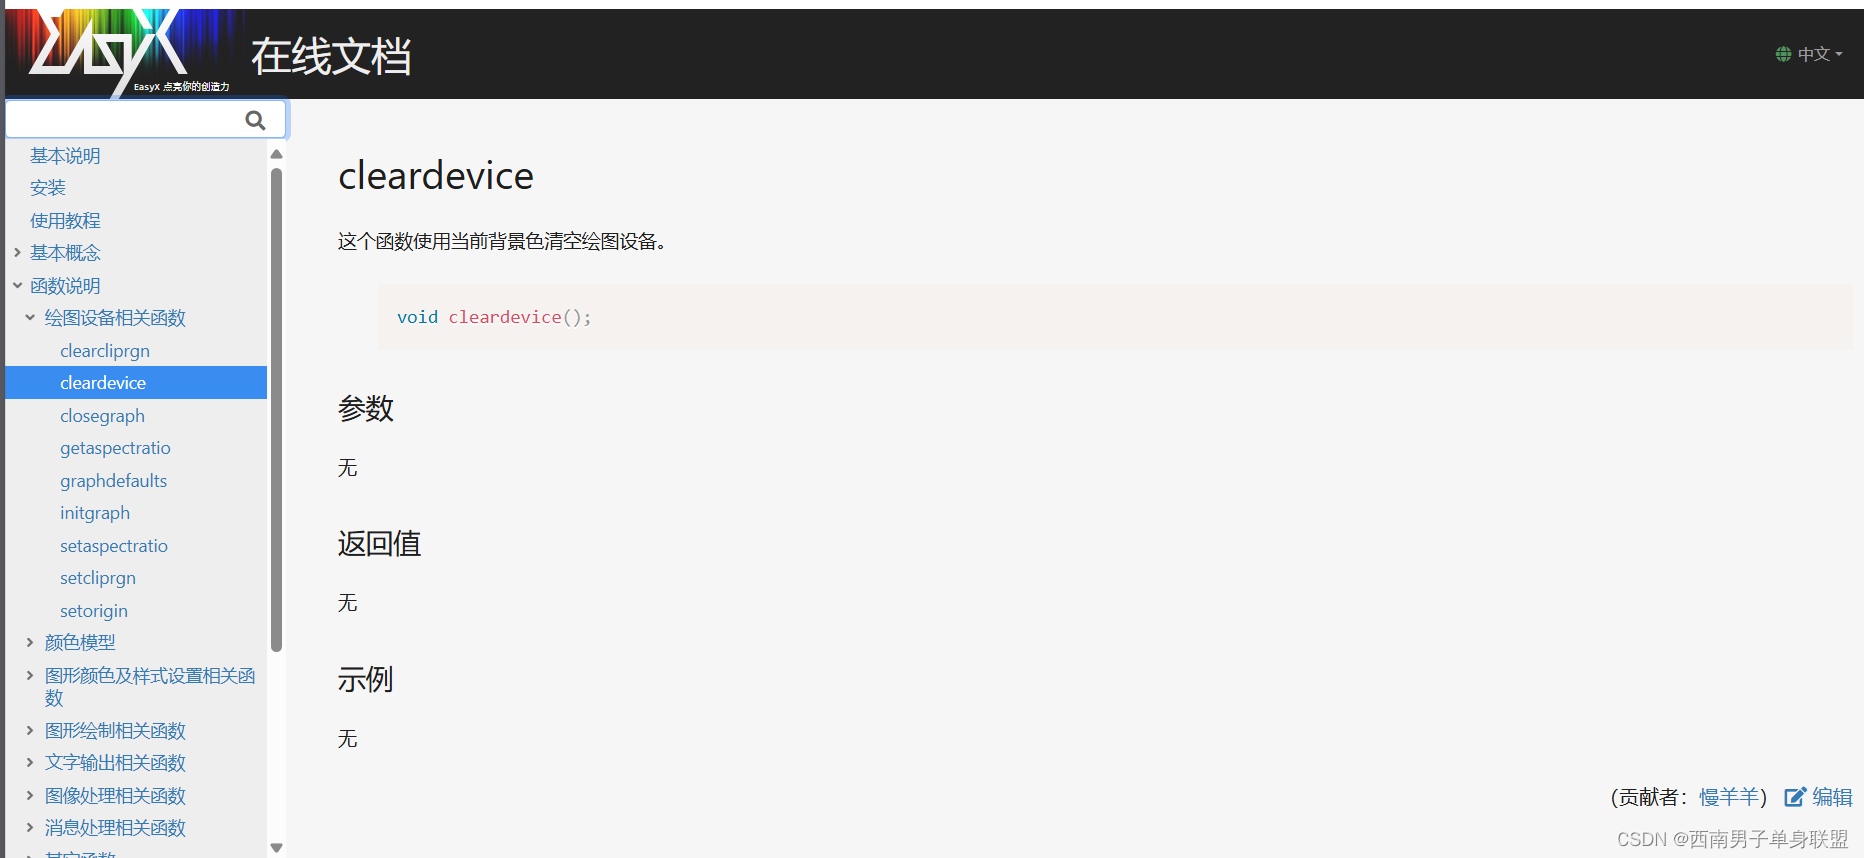
所以在绘制下一个圆之前先对整个窗口进行清空(cleardevice()):
cpp
#include<graphics.h>

int main(){
    initgraph(1280, 720);

    int x,y;

    while(1){
        ExMessage msg;
        while(peekmessage(&msg)){
            if(msg.message == WM_MOUSEMOVE){
                x = msg.x;
                y = msg.y;

        }
        cleardevice();//清空窗口
        solidcircle(x, y, 100);
    }

    return 0;
}
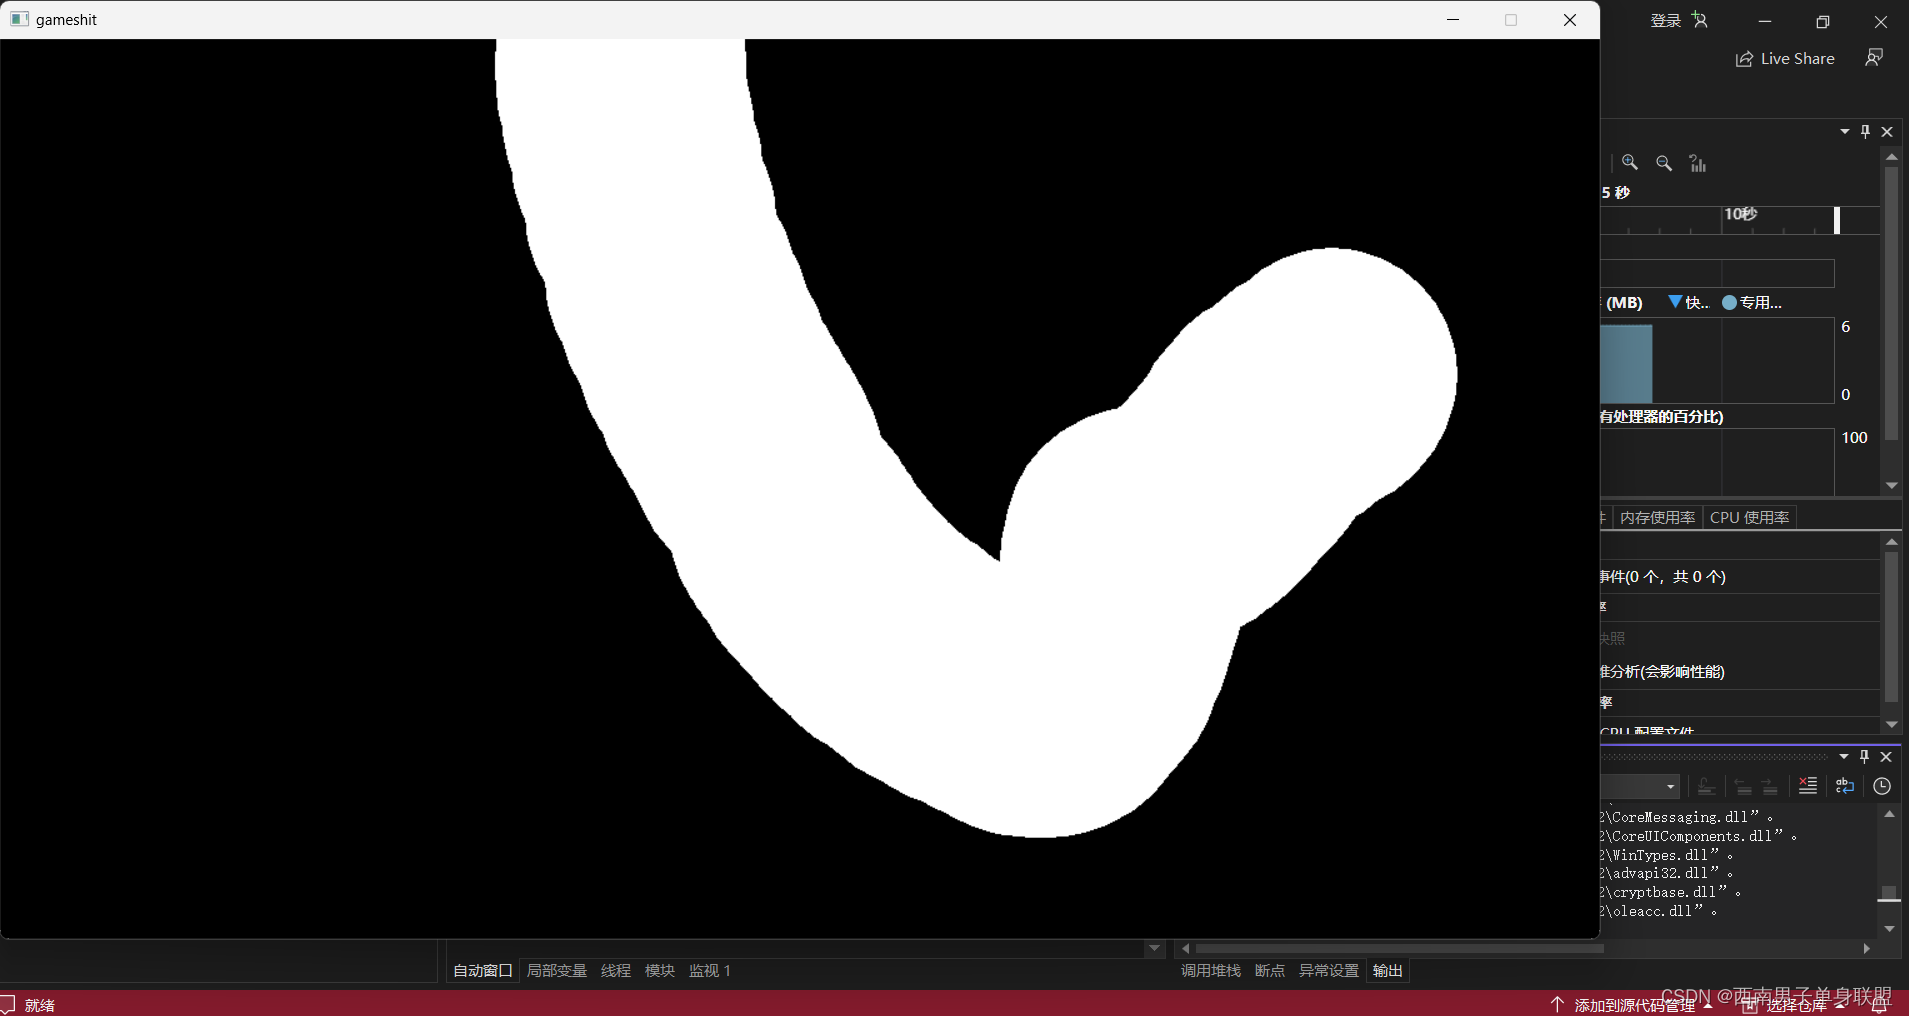
运行后发现有一个跟随鼠标移动的圆了,但是圆在不断闪烁,这是因为**没有使用双缓冲对绘图进行优化处理,**这里只需要添加这三行代码即可:
cpp
#include<graphics.h>

int main() {
	//initgraph(1280, 720);
	//int x, y;
	BeginBatchDraw();
	//while (1) {
		//ExMessage msg;
		//while (peekmessage(&msg)) {
			//if (msg.message == WM_MOUSEMOVE) {
				//x = msg.x;
				//y = msg.y;
			//}
		//}
		//cleardevice();
		//solidcircle(x, y, 100);
		FlushBatchDraw();
	//}
	EndBatchDraw();
	//return 0;

}
运行程序,我们终于得到了一个丝滑的圆!