目录
5.git下载的stable-diffusion-webui,依赖包提示已安装,但运行webui-user.bat后,又开始下载
[6.修改"stable-diffusion-webui\modules\launch_utils.py" 第318行为国内镜像地址;](#6.修改“stable-diffusion-webui\modules\launch_utils.py” 第318行为国内镜像地址;)
[8.1.AttributeError: 'NoneType' object has no attribute 'lowvram'](#8.1.AttributeError: ‘NoneType‘ object has no attribute ‘lowvram‘)
[8.2. Can't load tokenizer for 'openai/clip-vit-large-patch14'.](#8.2. Can't load tokenizer for 'openai/clip-vit-large-patch14'.)
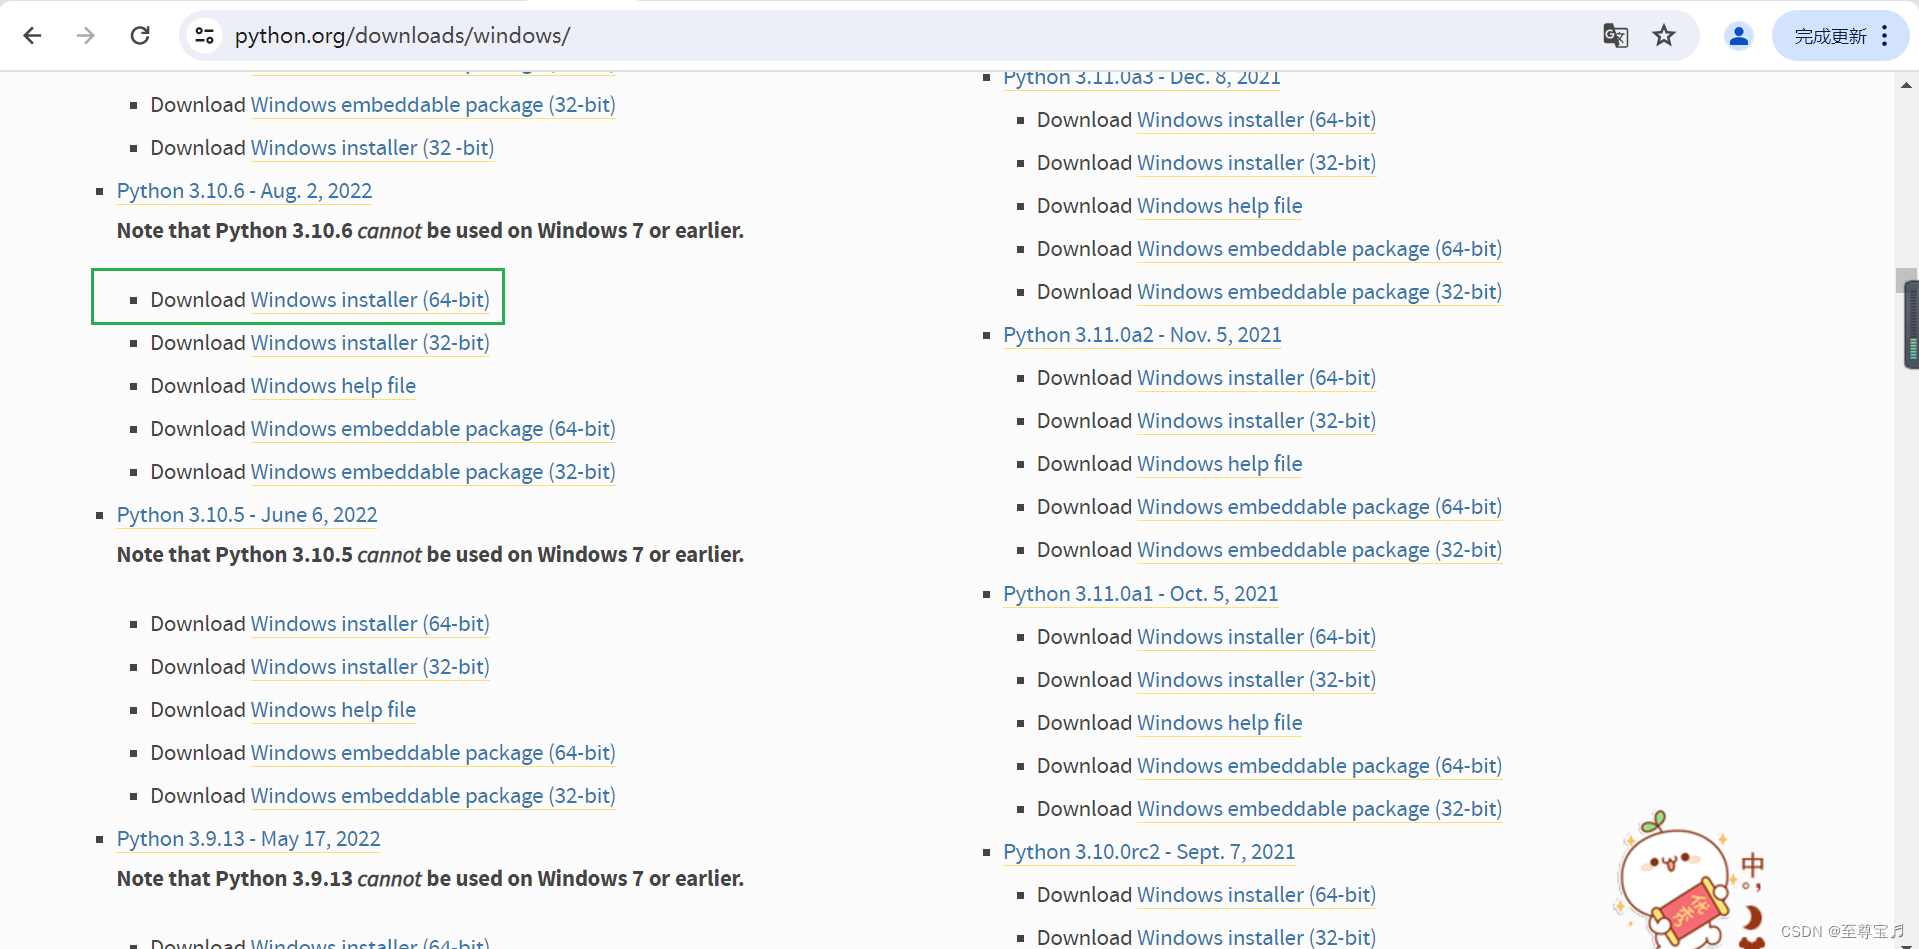
1.python下载安装

2.git下载安装
Git for WindowsWe bring the awesome Git VCS to Windows![]() https://gitforwindows.org/
https://gitforwindows.org/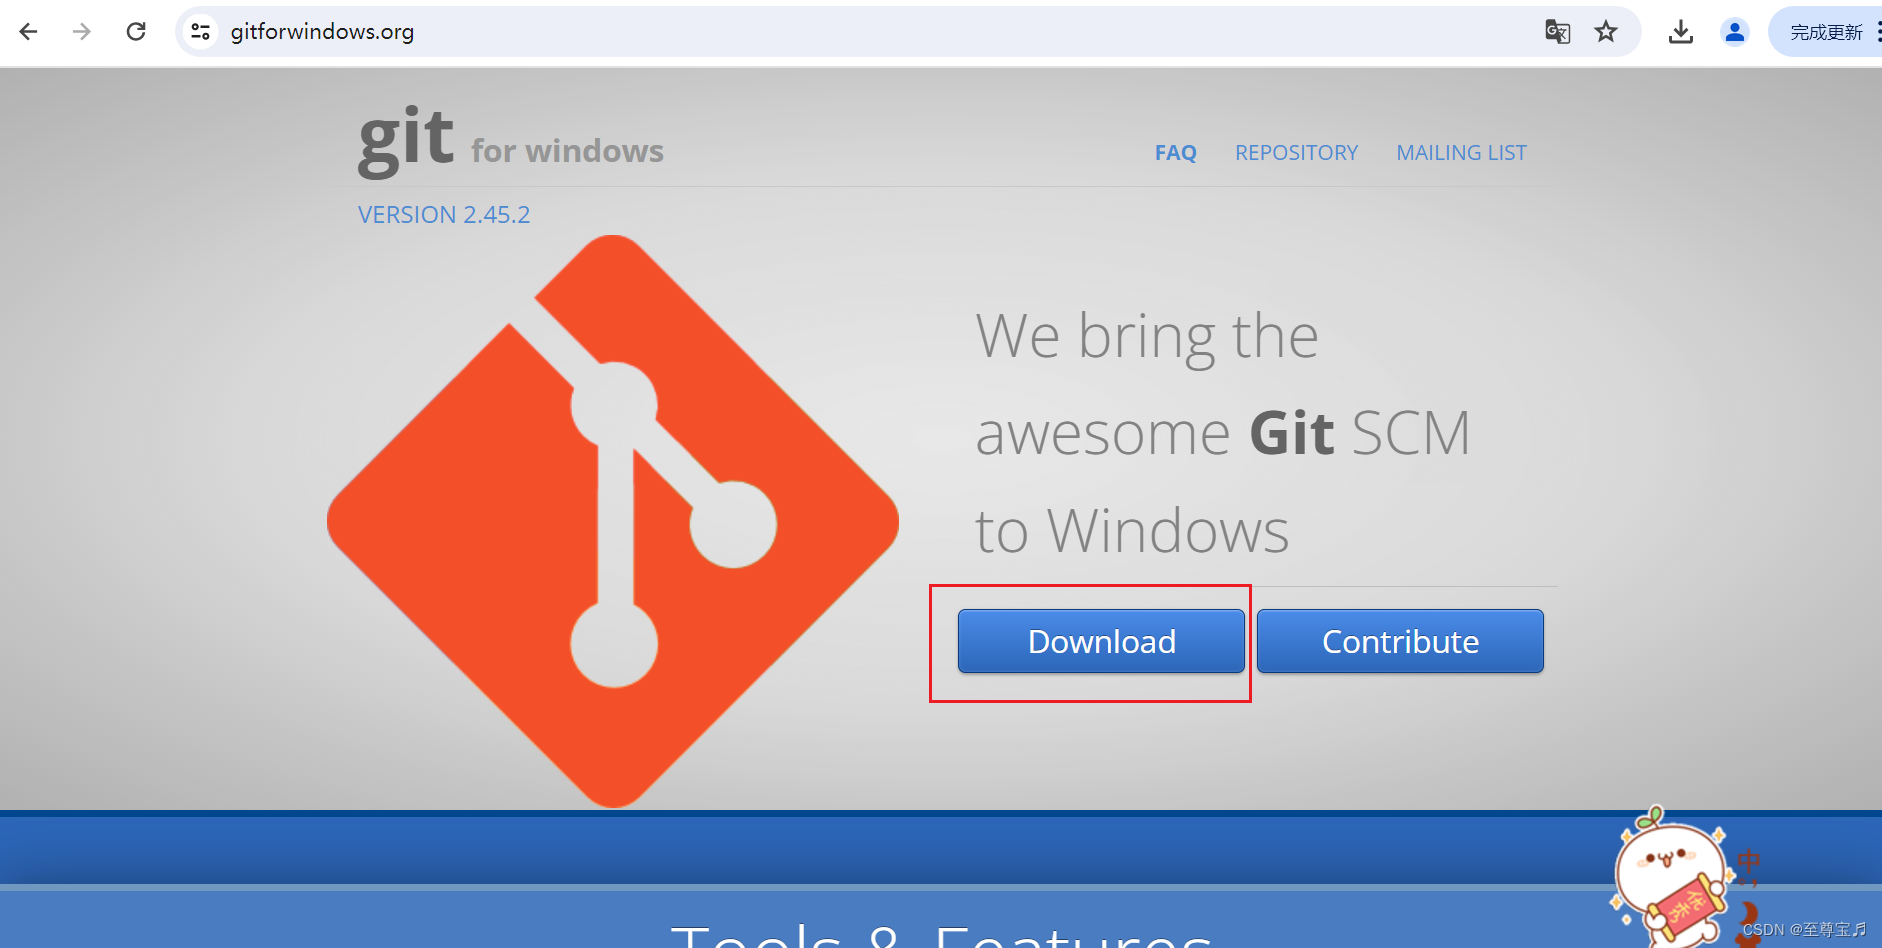


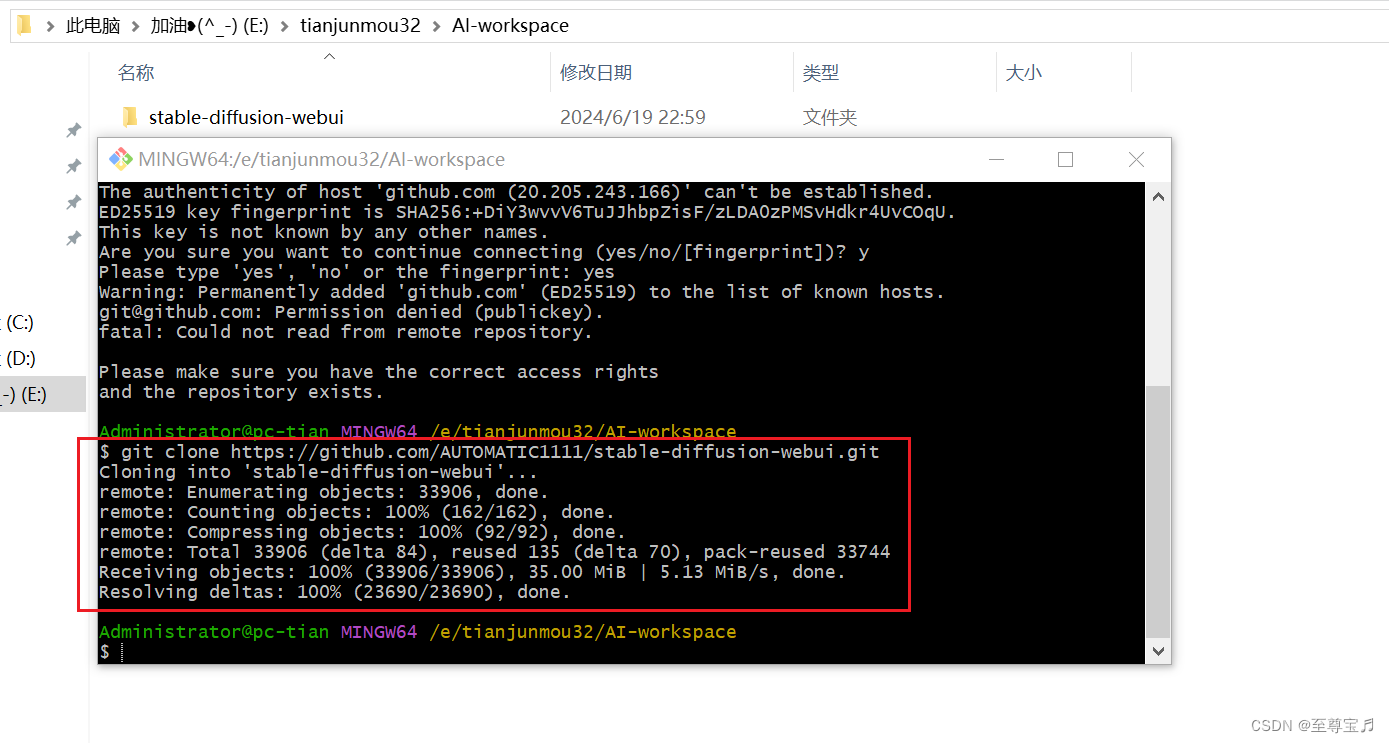
3.stable-diffusion-webui下载

bash
https://github.com/AUTOMATIC1111/stable-diffusion-webui.git使用git拉取代码;
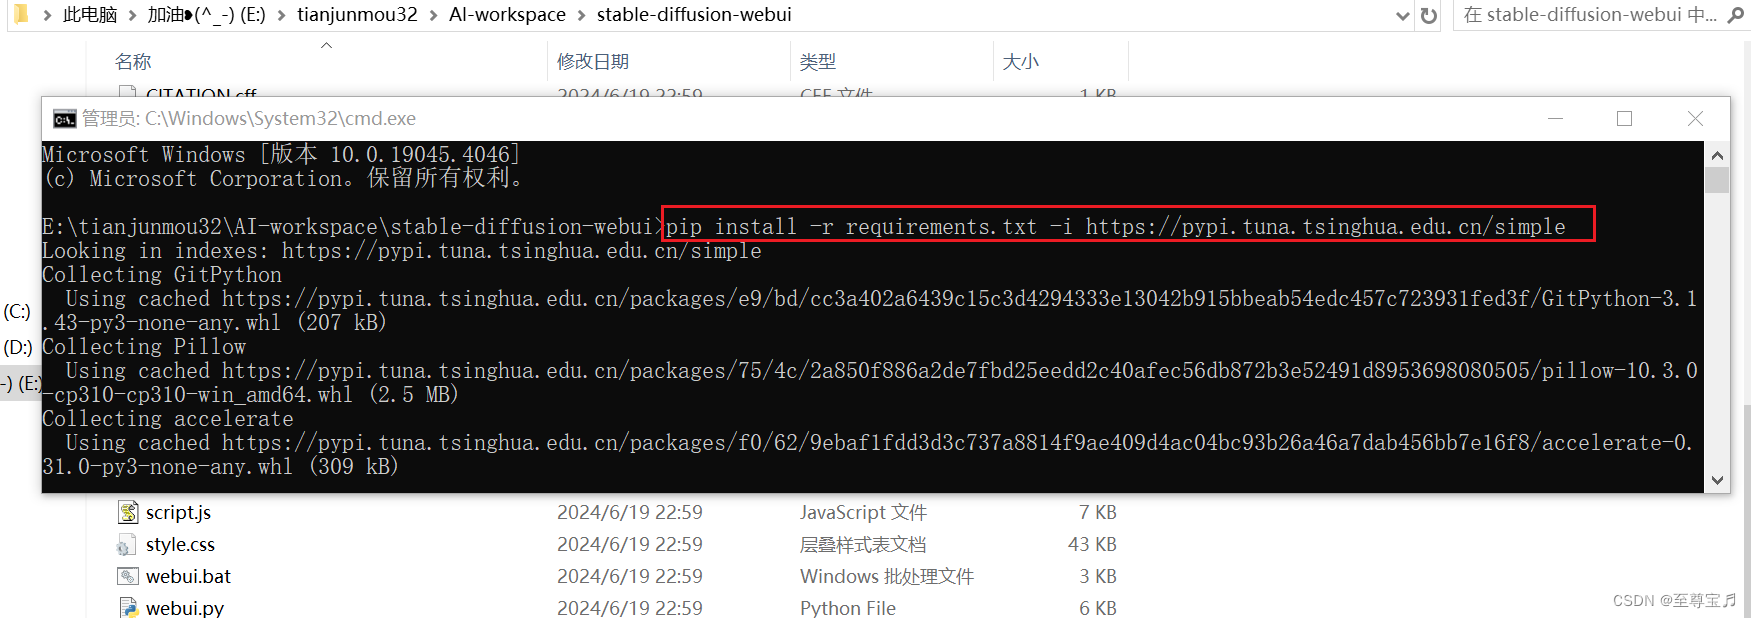
4.安装s-d-webui的依赖包(用国内镜像提速)
python
pip install -r requirements.txt -i https://pypi.tuna.tsinghua.edu.cn/simple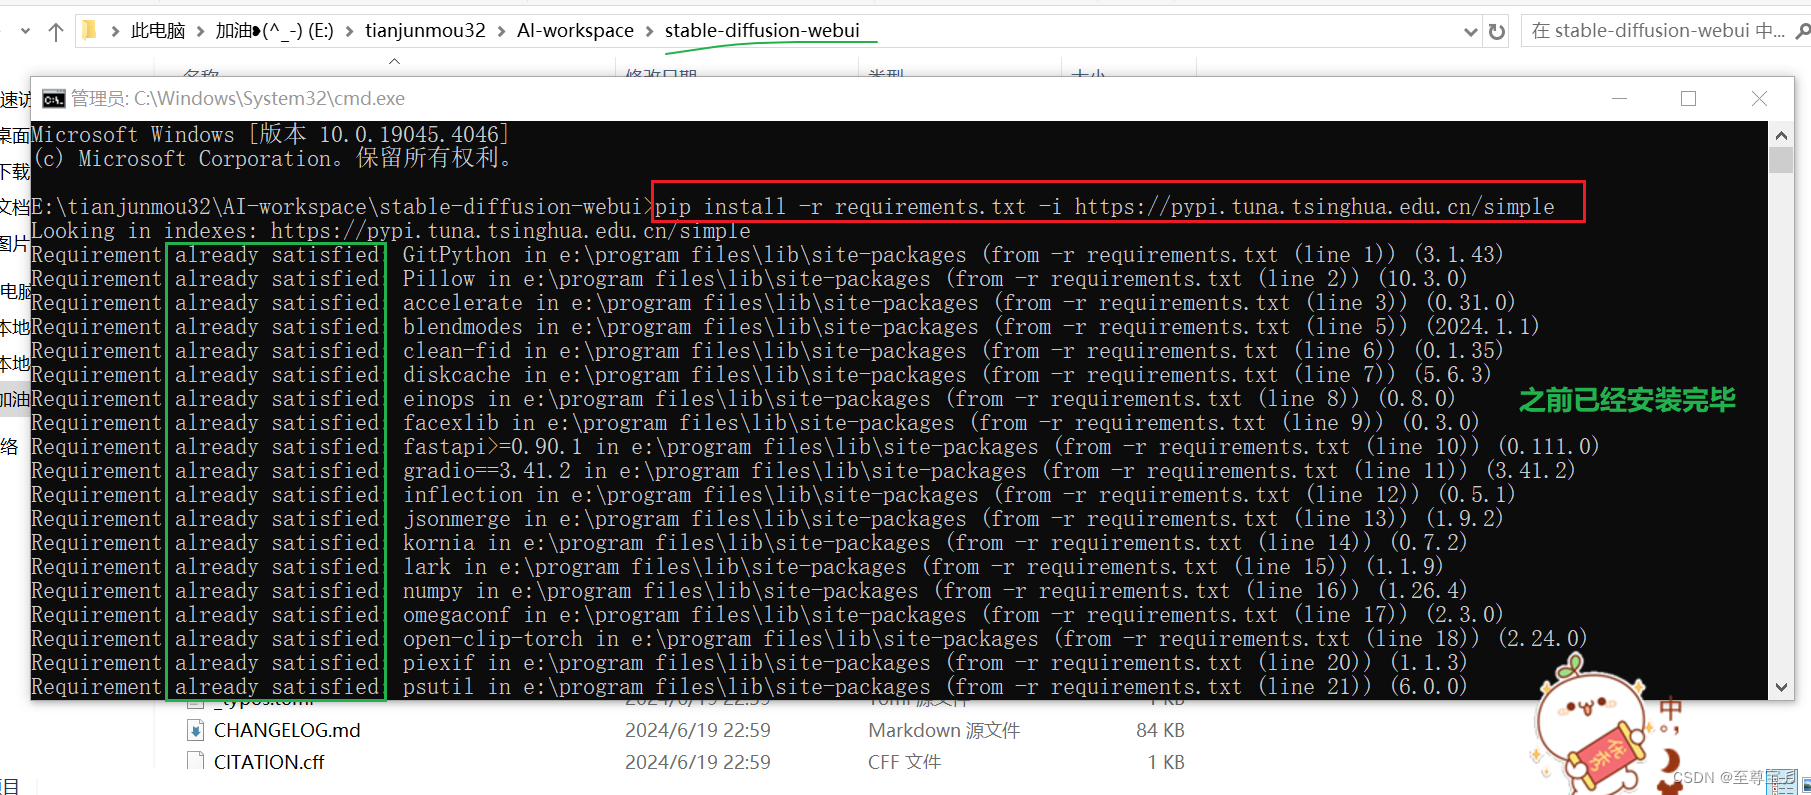 下面是之前下载离线stable-diffusion-webui-master.zip包,之后安装依赖包的过程;
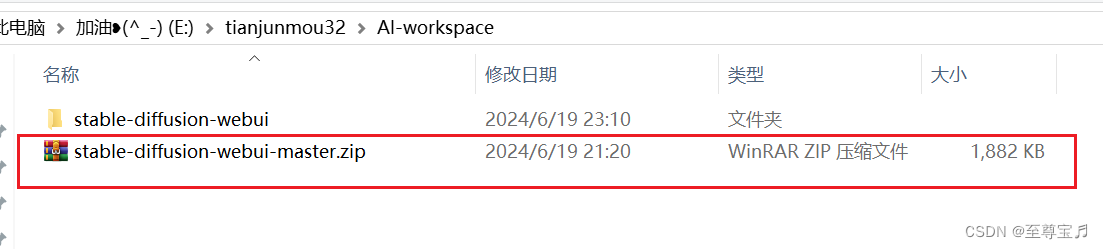


5.git下载的stable-diffusion-webui,依赖包提示已安装,但运行webui-user.bat后,又开始下载

先卸载之前安装的所有包;(好像没关系)
python
pip uninstall -r requirements.txt

重新安装依赖包;
仍然提示已经安装依赖包,但问题依然存在,运行webui-user.bat时,还会重新下载;

6.修改"stable-diffusion-webui\modules\launch_utils.py" 第318行为国内镜像地址;
python
torch_index_url = os.environ.get('TORCH_INDEX_URL', "https://pypi.tuna.tsinghua.edu.cn/simple")
双击运行"webui-user.bat",


python
call webui.bat --skip-torch-cuda-test --precision full --no-half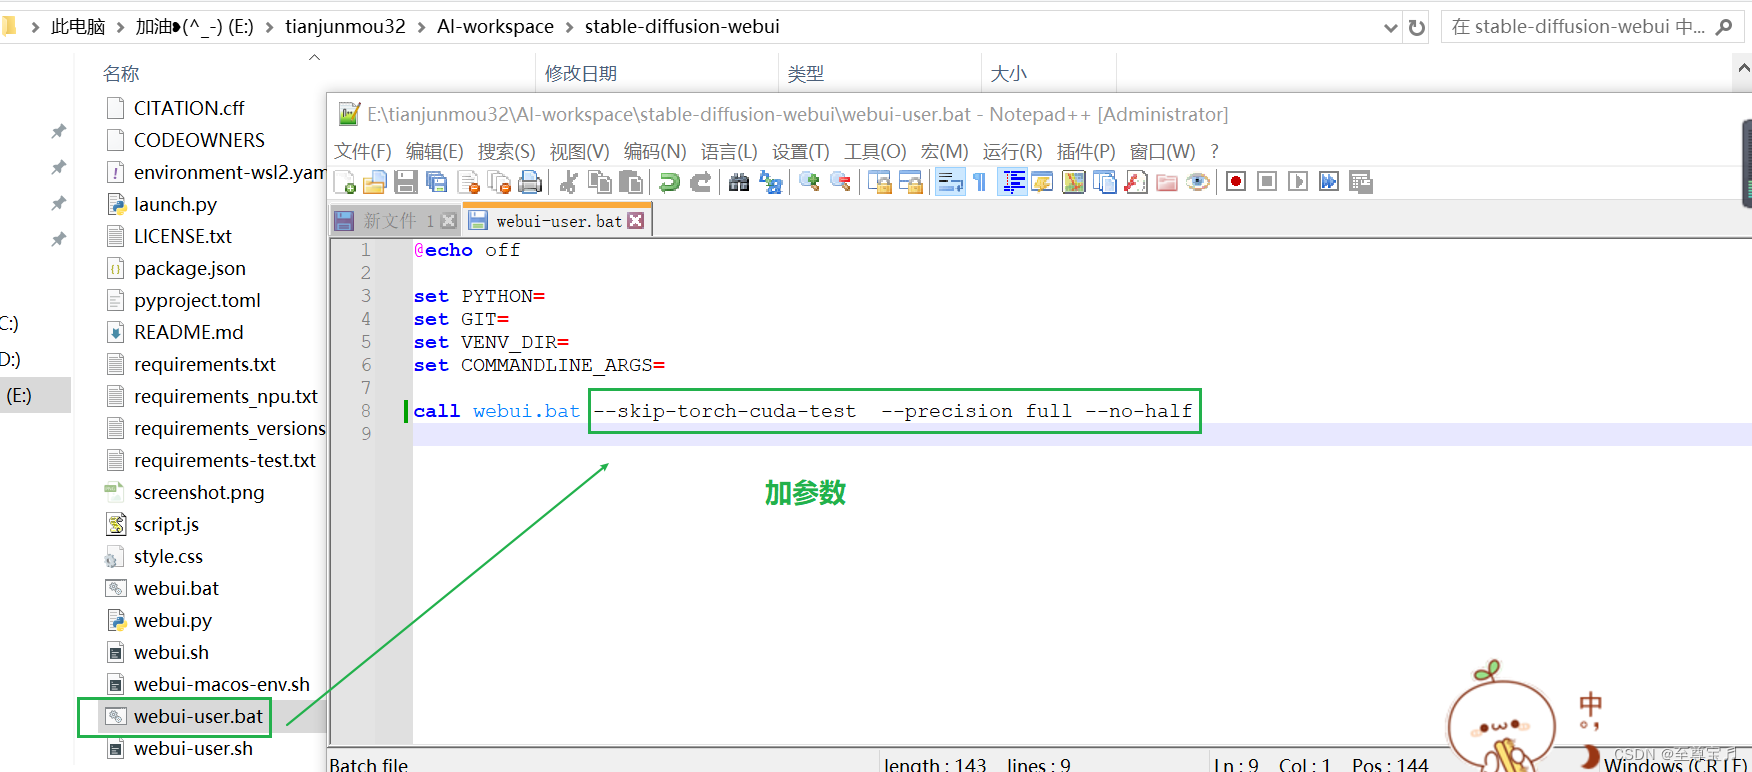
7.启动成功
再次双击运行"webui-user.bat";


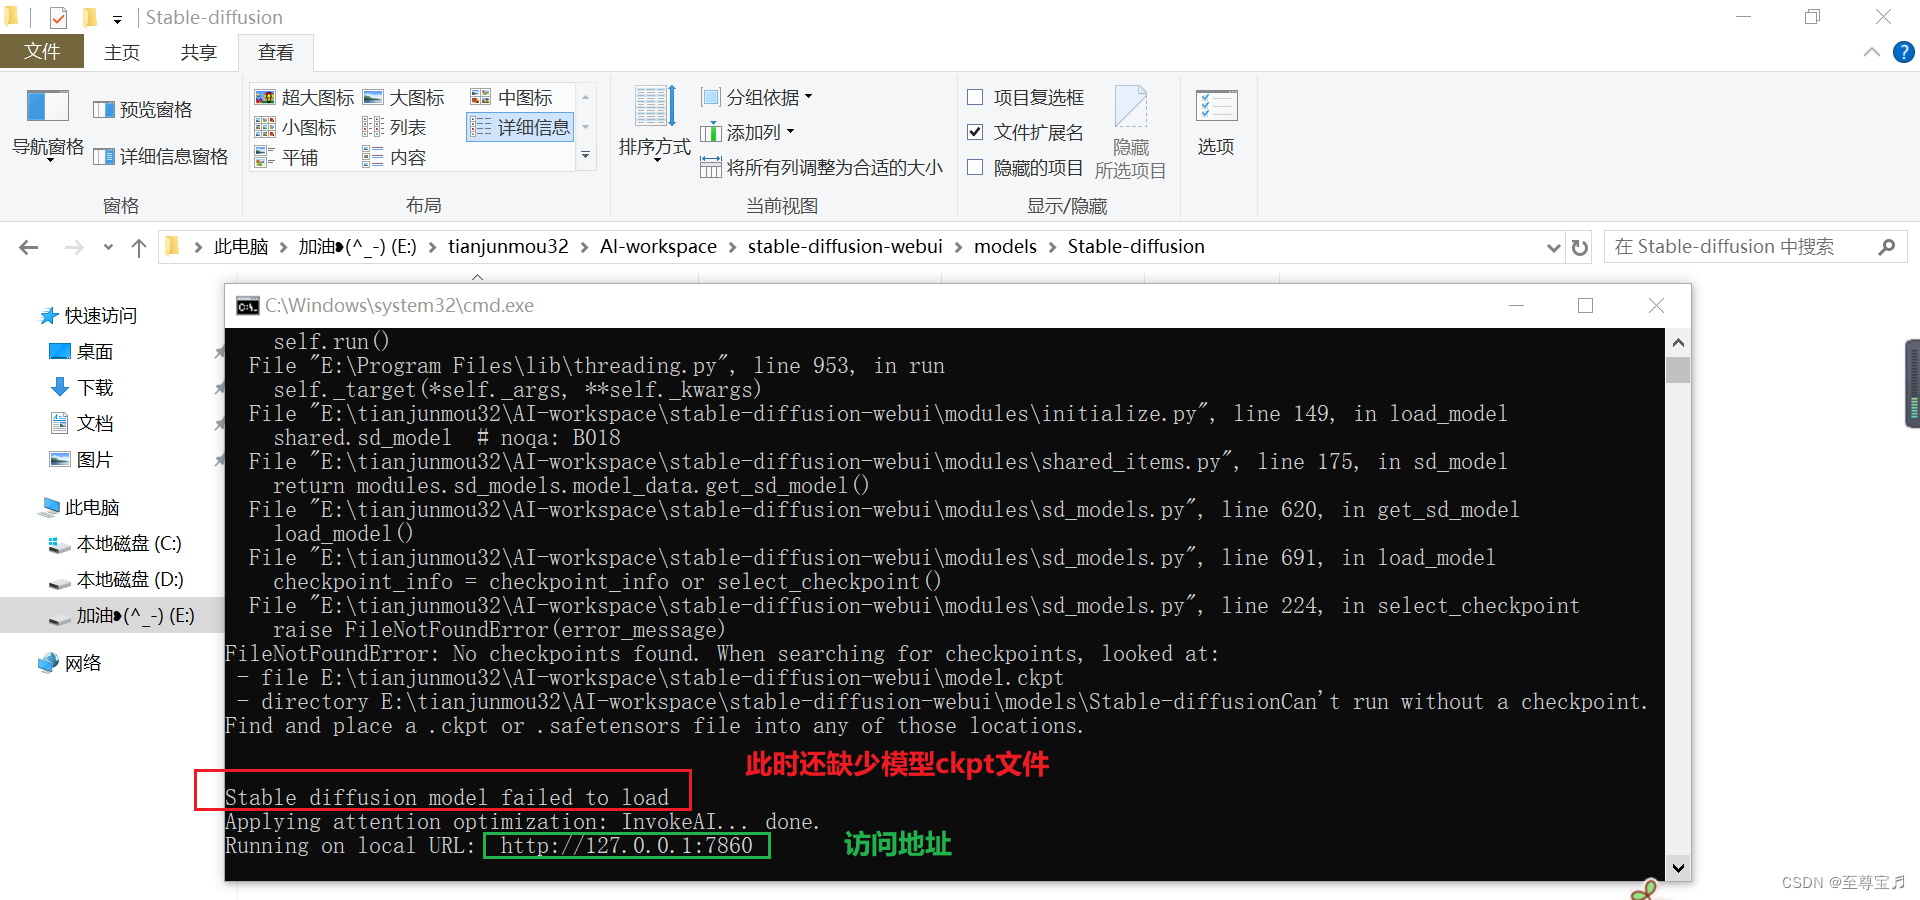
python
http://127.0.0.1:7860/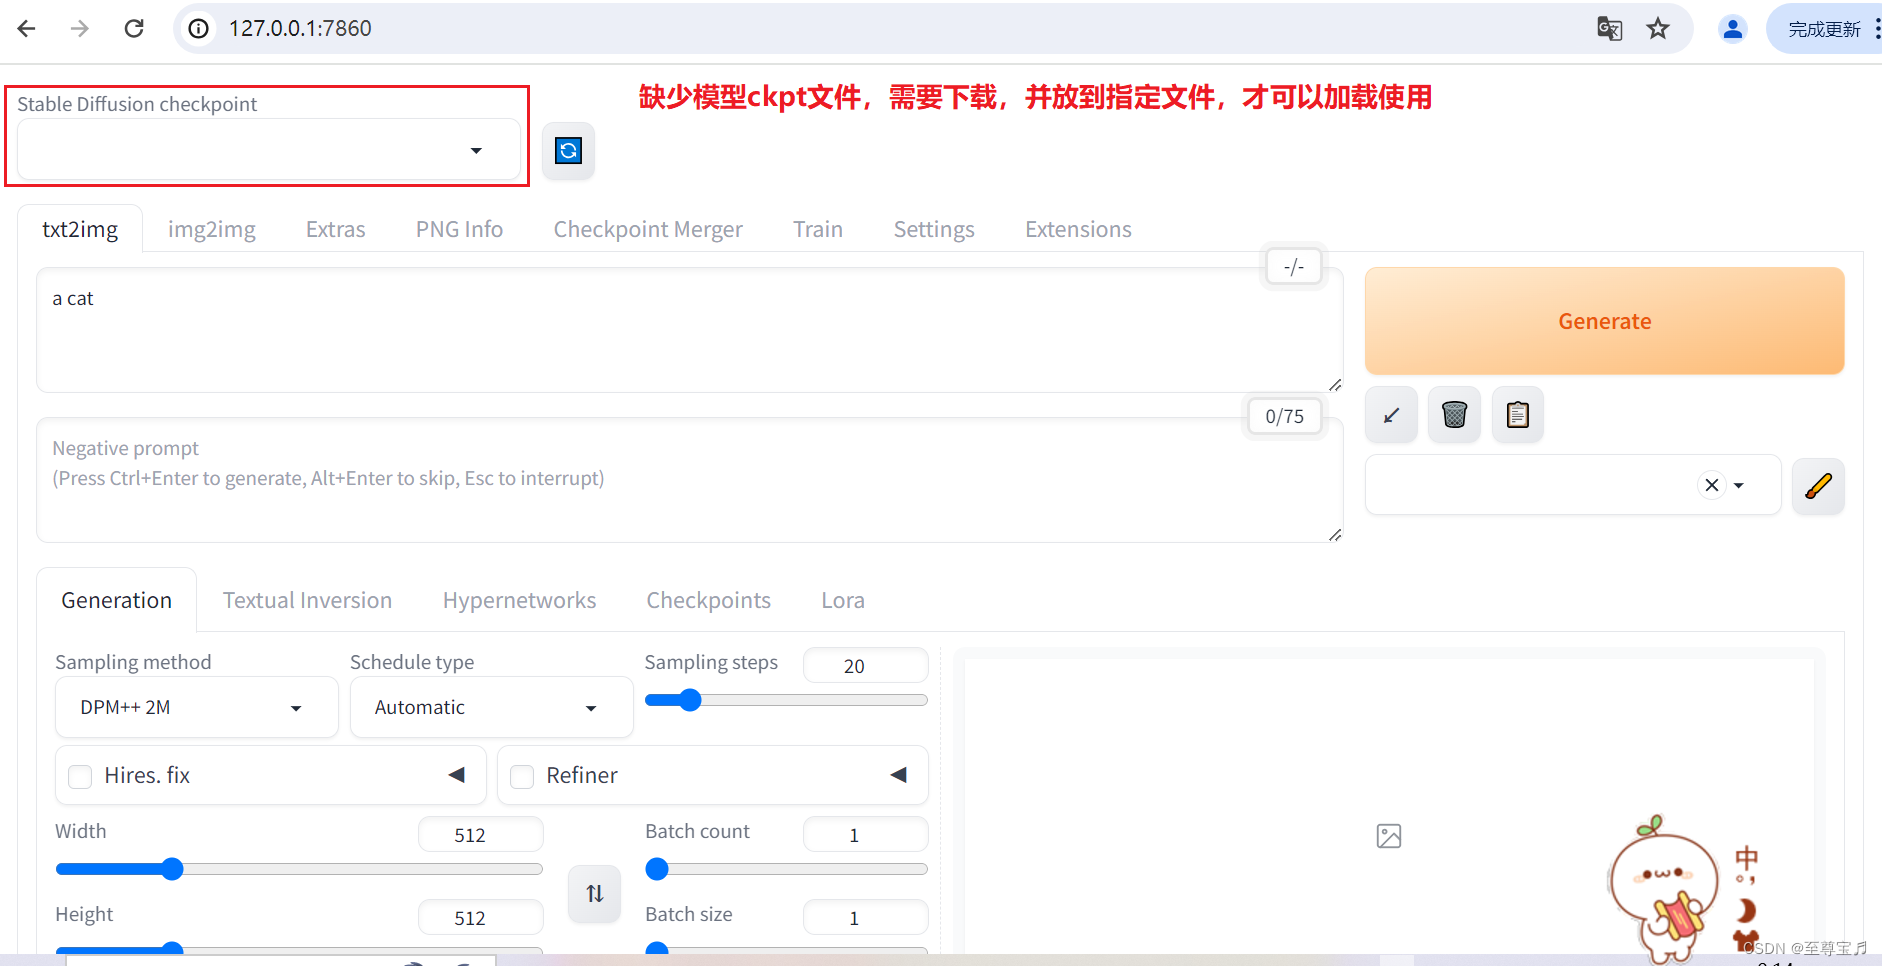

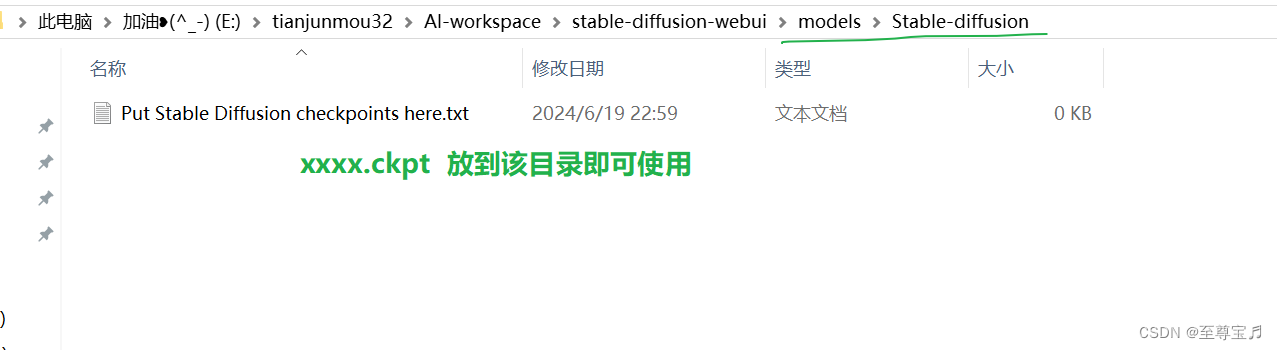
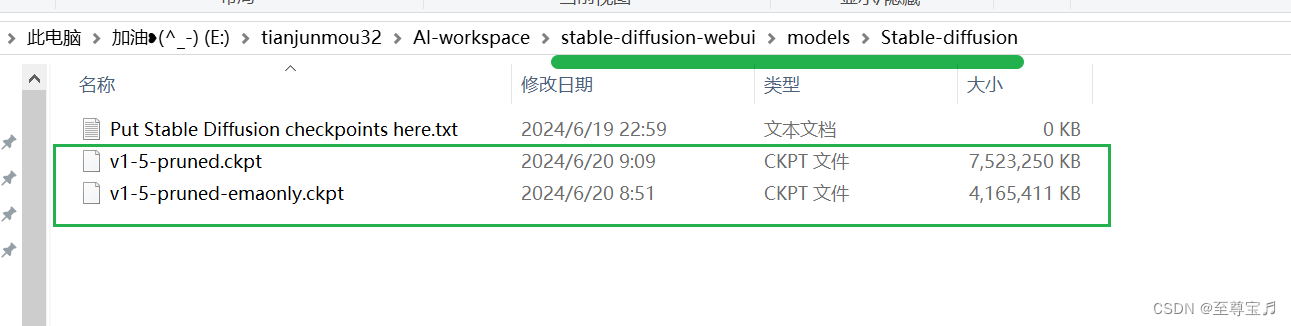
模型文件比较大,下载地址如下(用迅雷比较快):
https://hf-mirror.com/runwayml/stable-diffusion-v1-5/resolve/main/v1-5-pruned.ckpt
https://hf-mirror.com/runwayml/stable-diffusion-v1-5/resolve/main/v1-5-pruned-emaonly.ckpt


8.问题处理
8.1.AttributeError: 'NoneType' object has no attribute 'lowvram'


8.2. Can't load tokenizer for 'openai/clip-vit-large-patch14'.

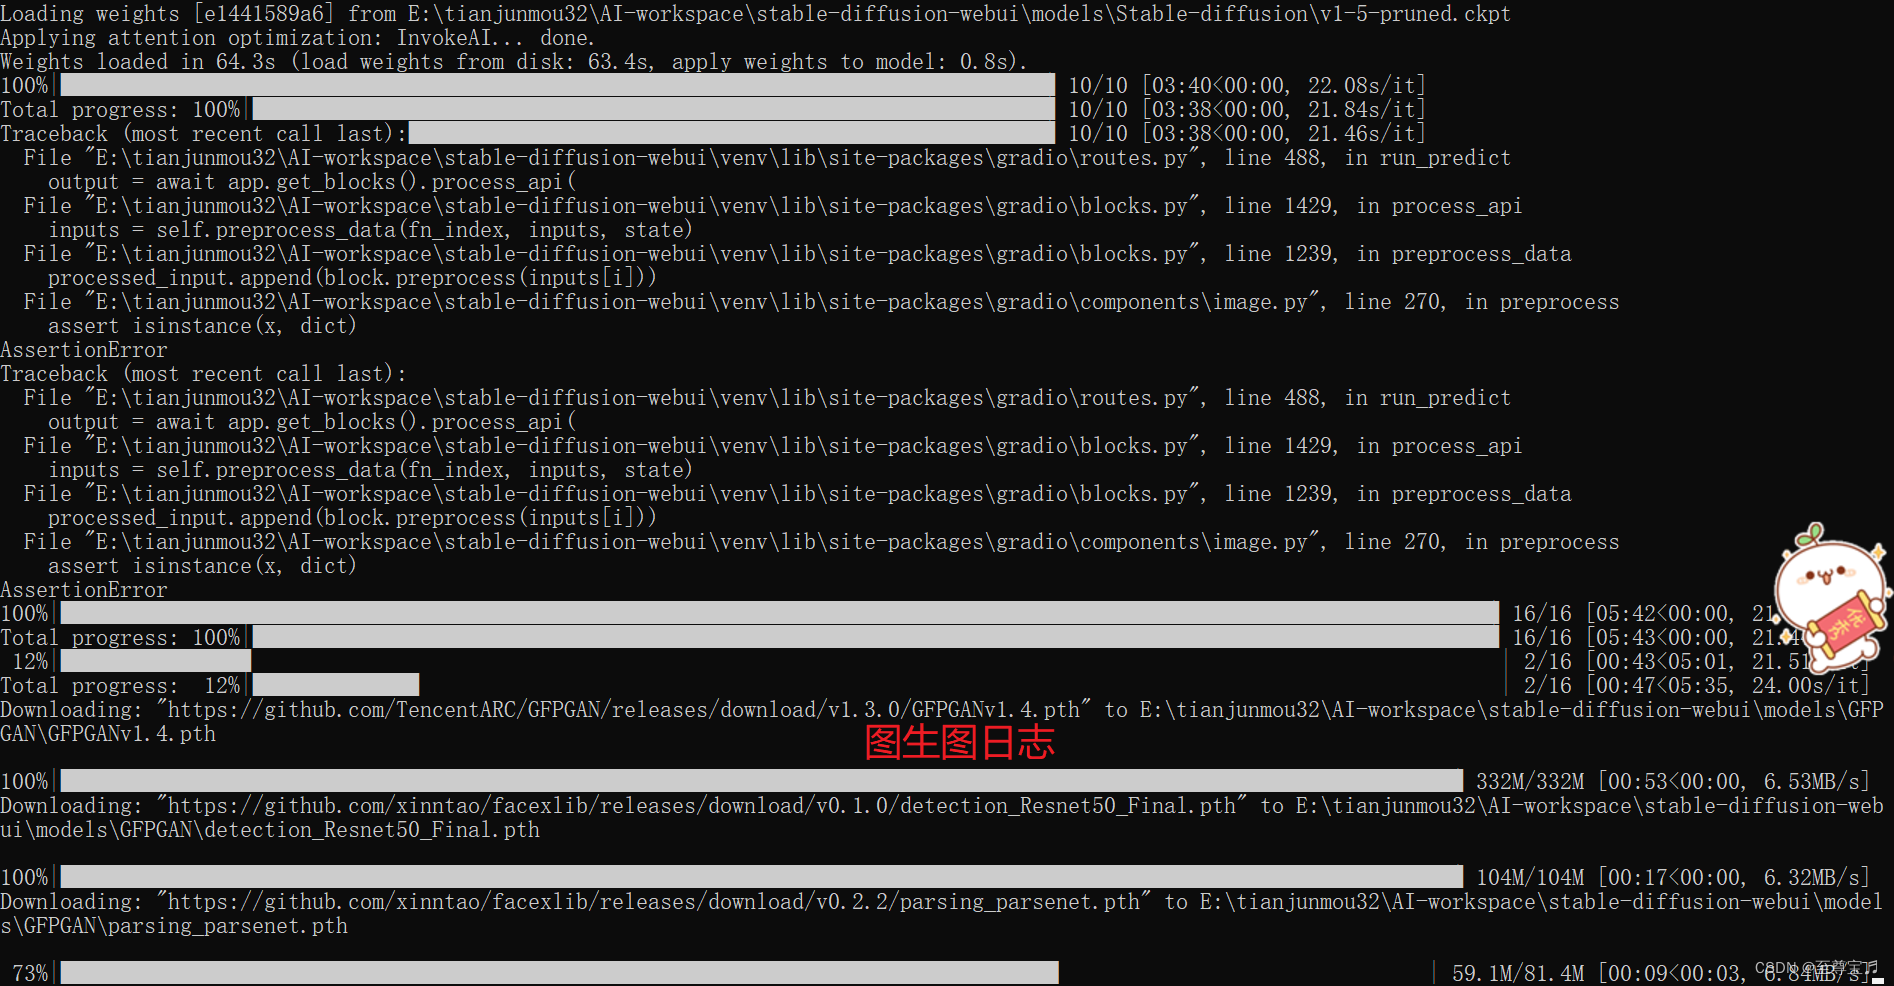
在stable-diffusion-webui根目录下新建文件夹openai,命令行中进入openai目录,输入: git clone https://www.modelscope.cn/AI-ModelScope/clip-vit-large-patch14.git

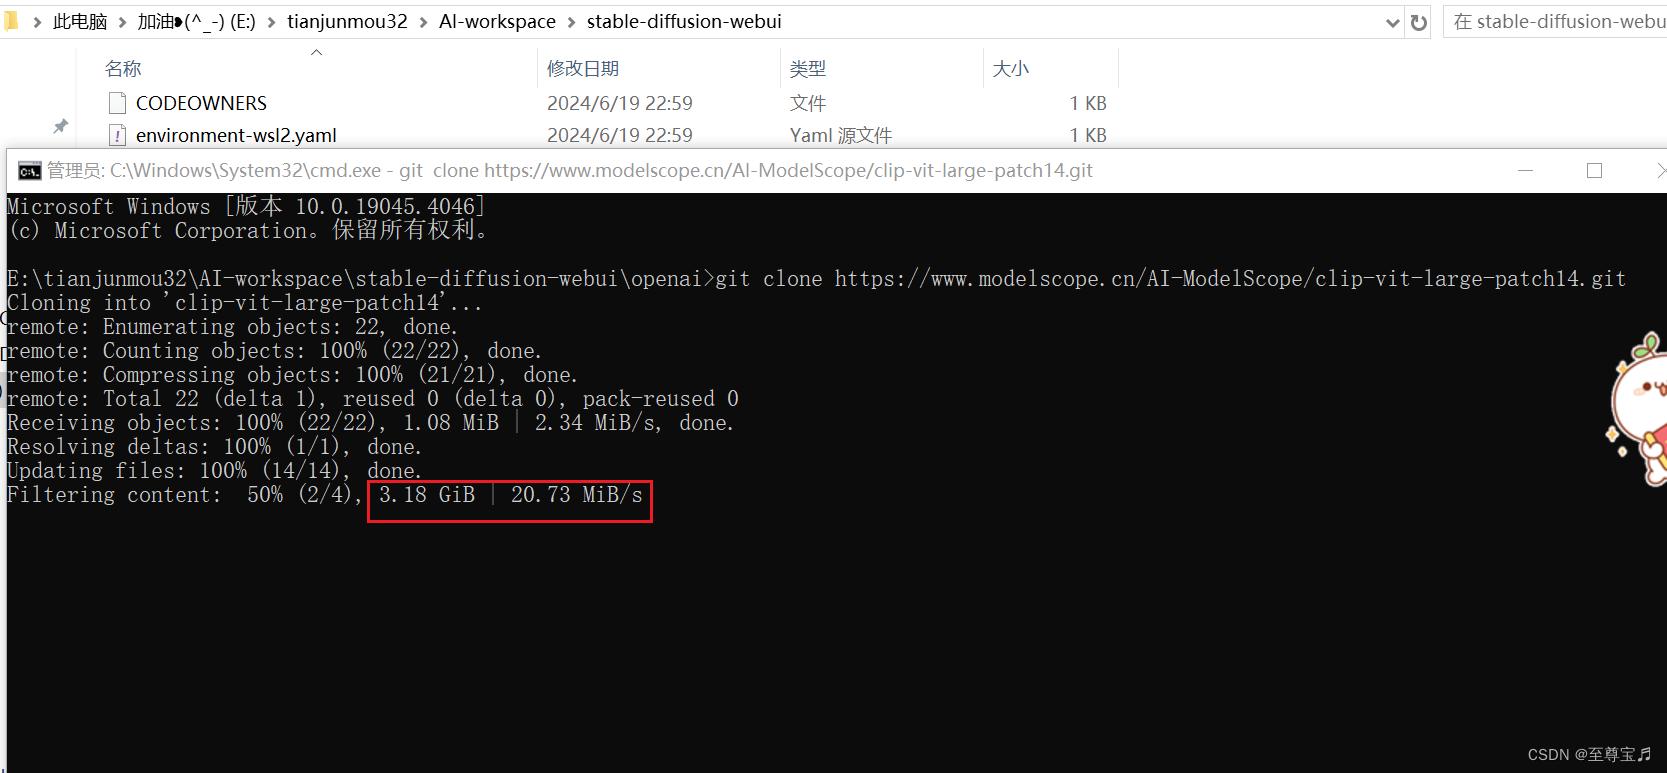
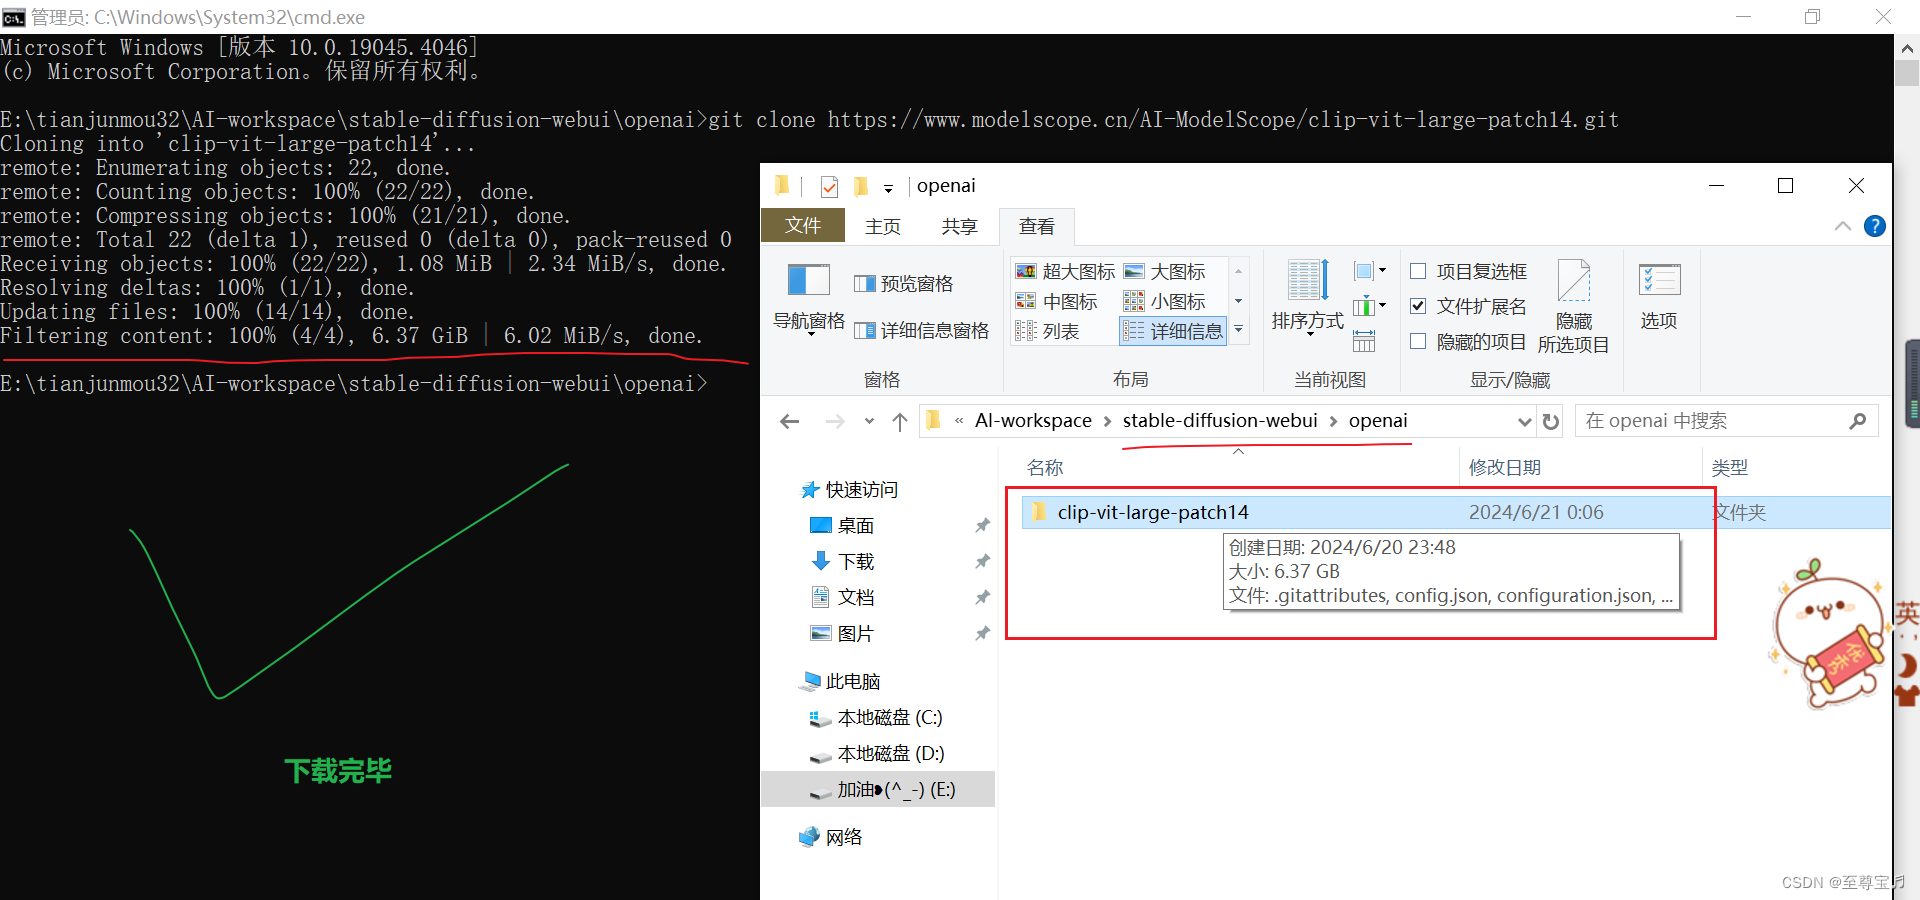
这一步有些慢,大概二十分钟下载完毕;
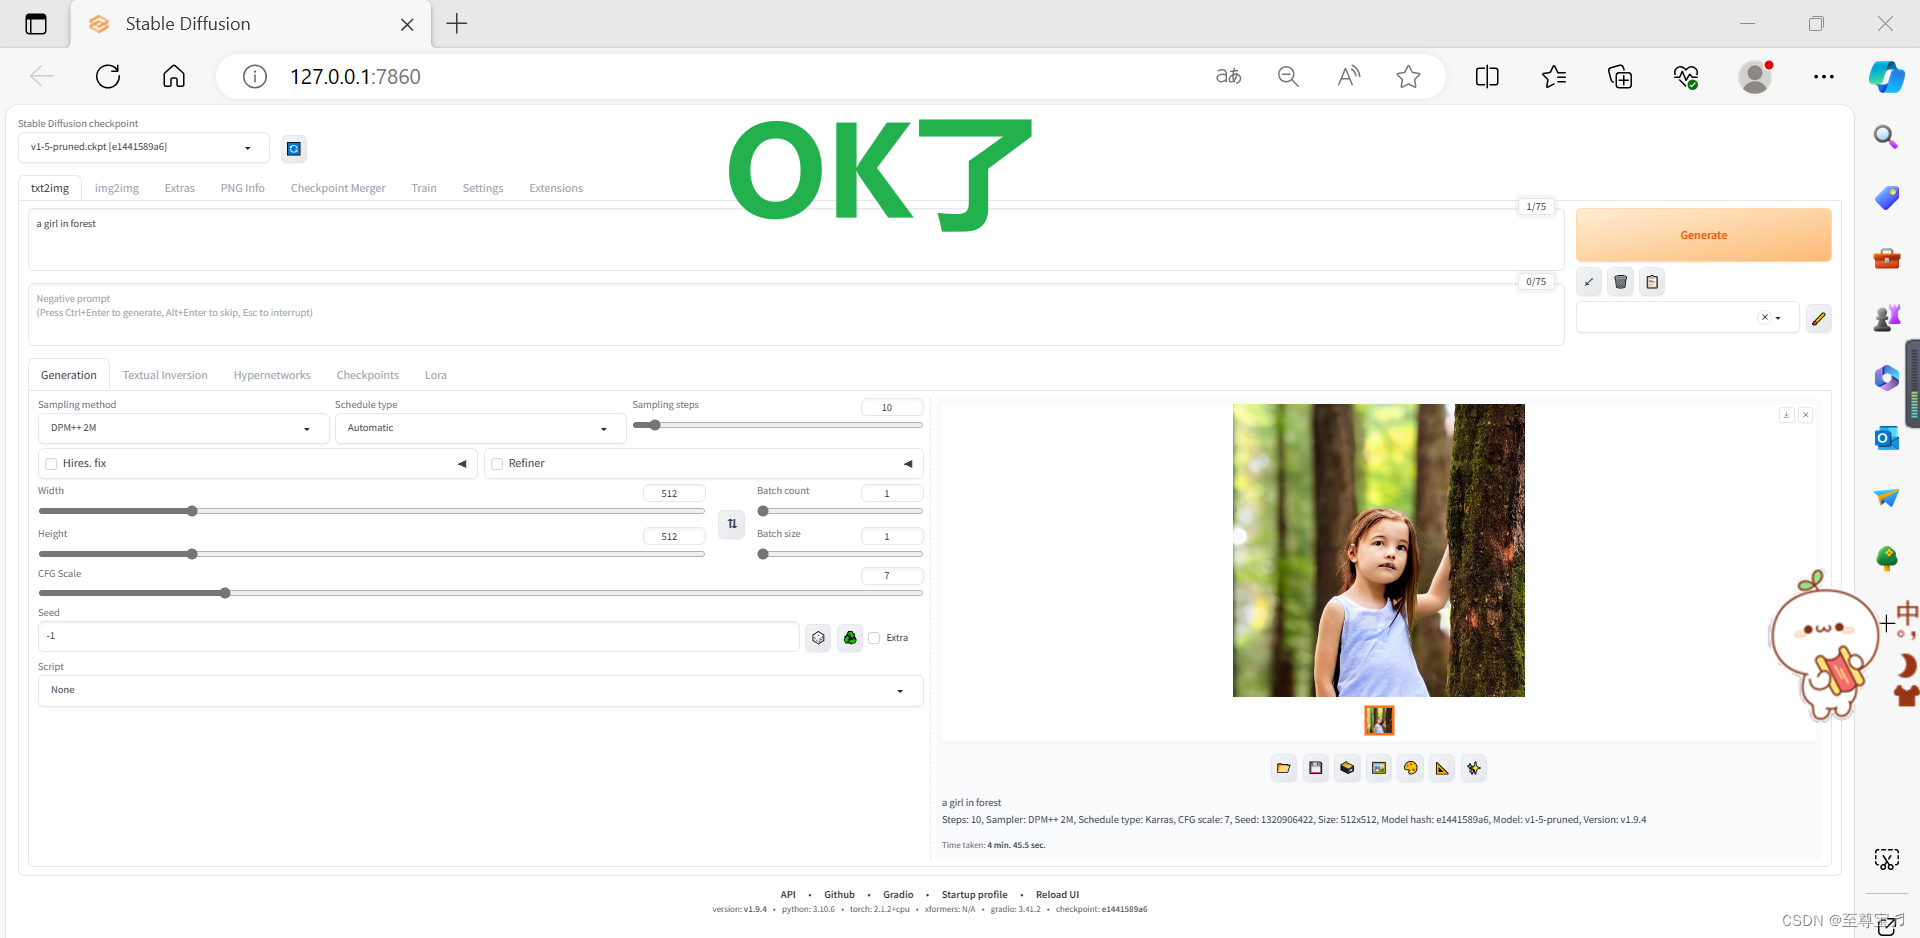
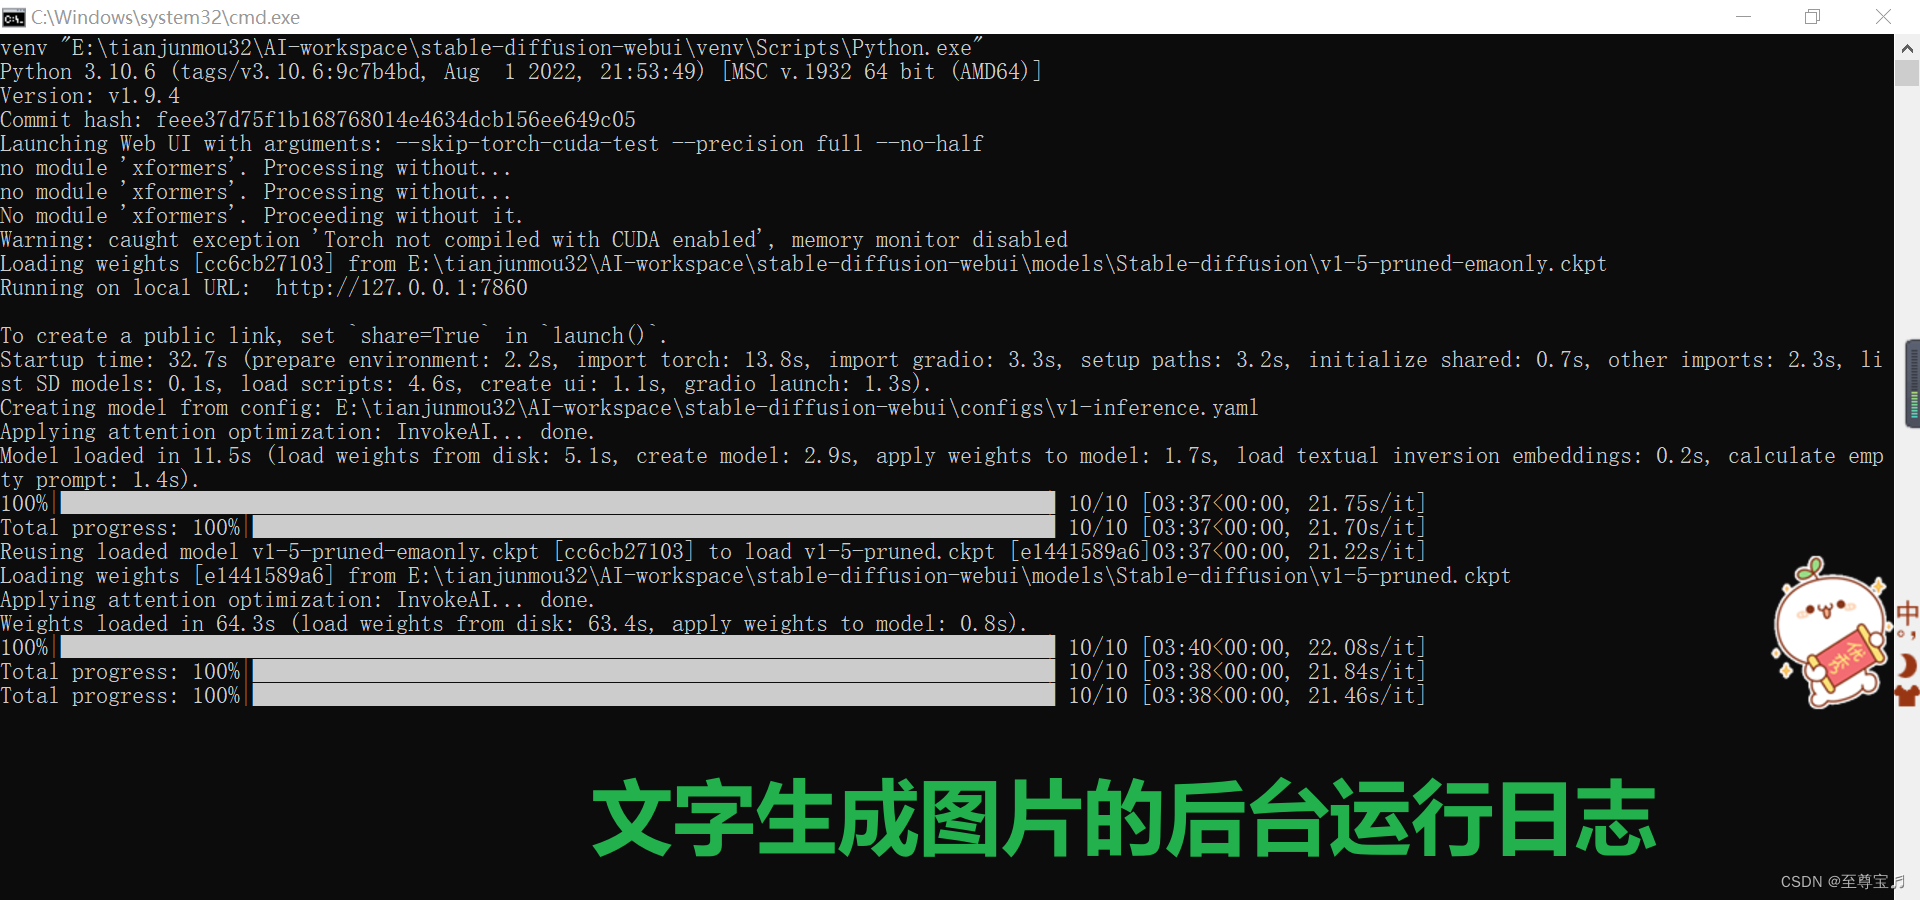
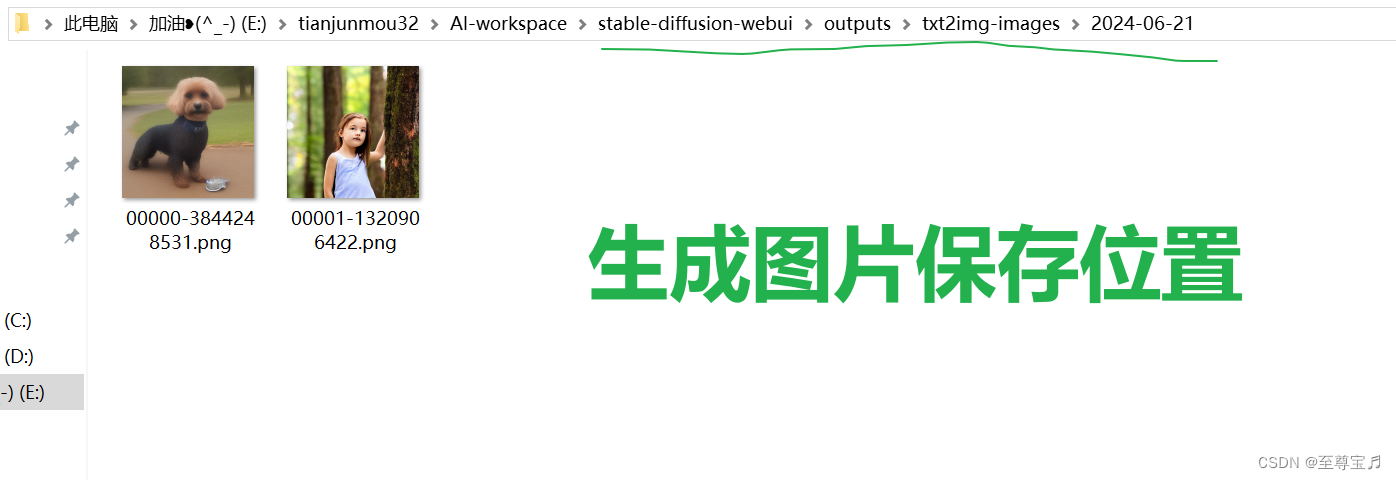
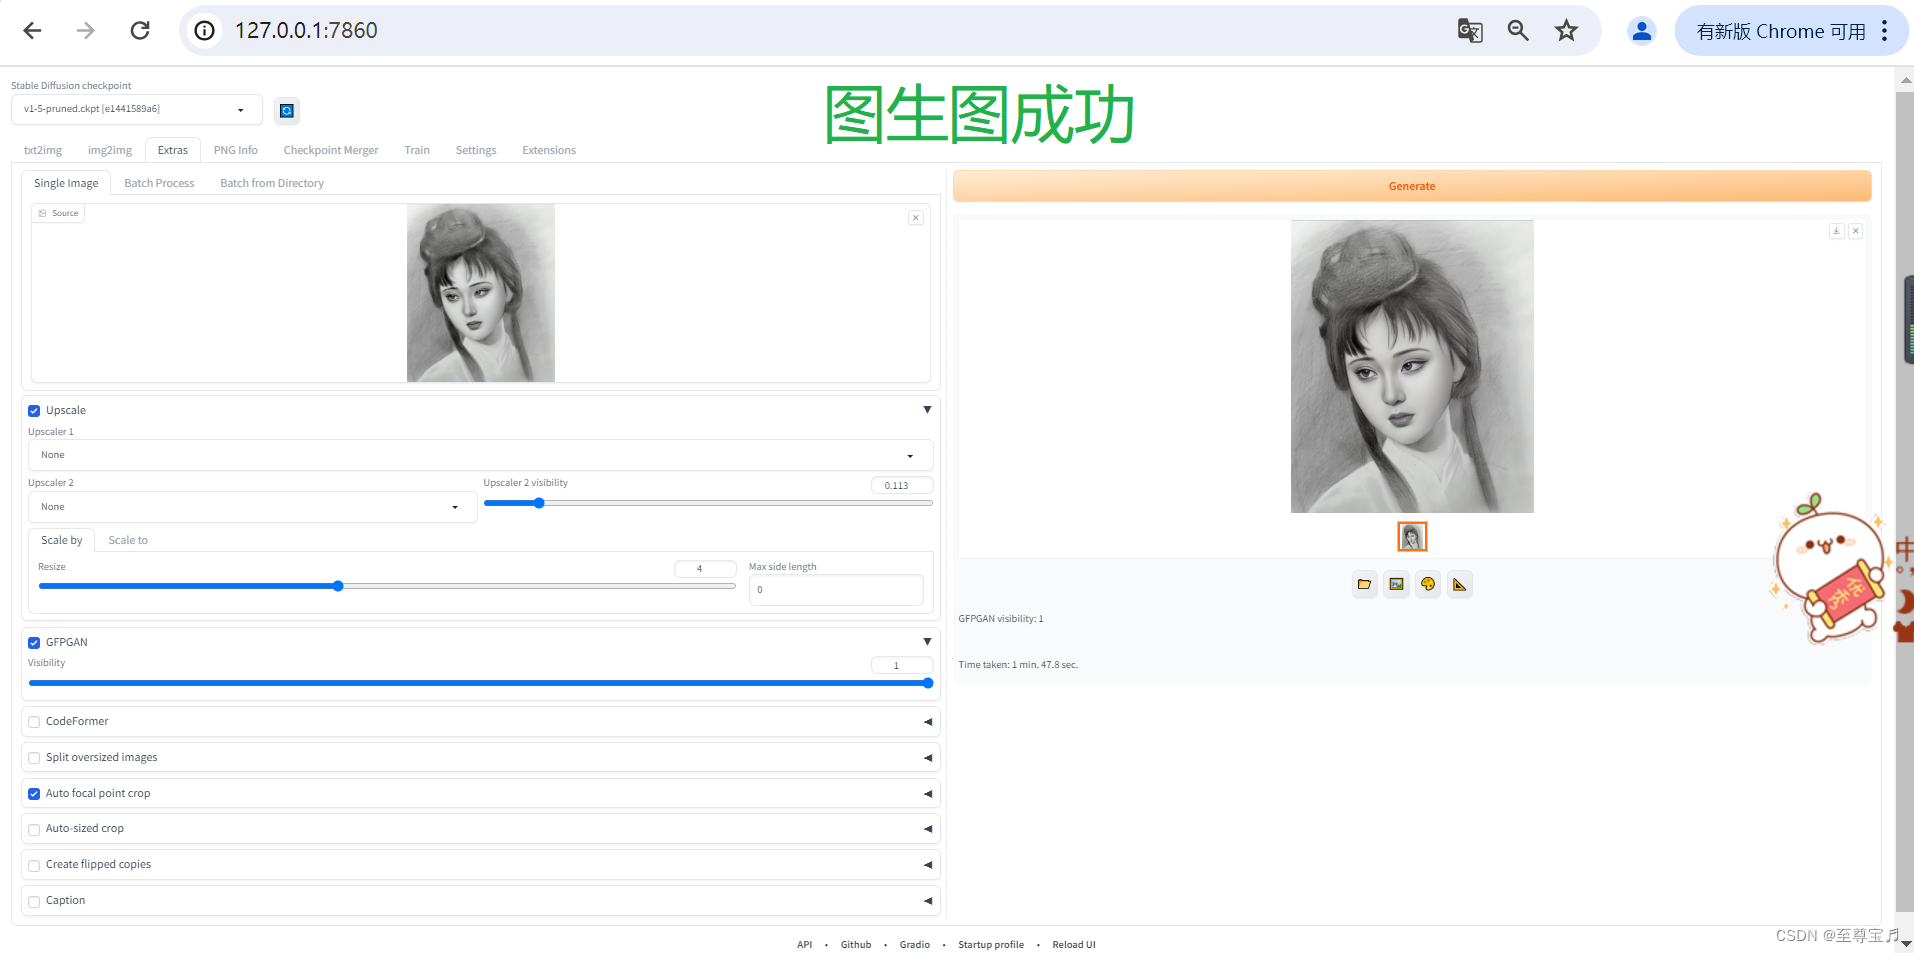
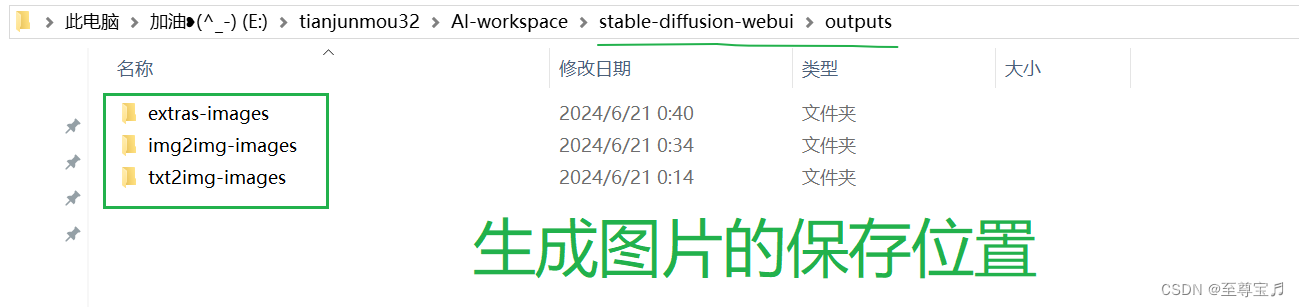
9.运行正常,文字生成图片成功
再次运行webui-user.bat,就可以加载模型了。
本机用的是CPU,所以生成图片时间有点长,后期配置CUDA环境就会快了。