OpenSSH更新
一、OpenSSH漏洞
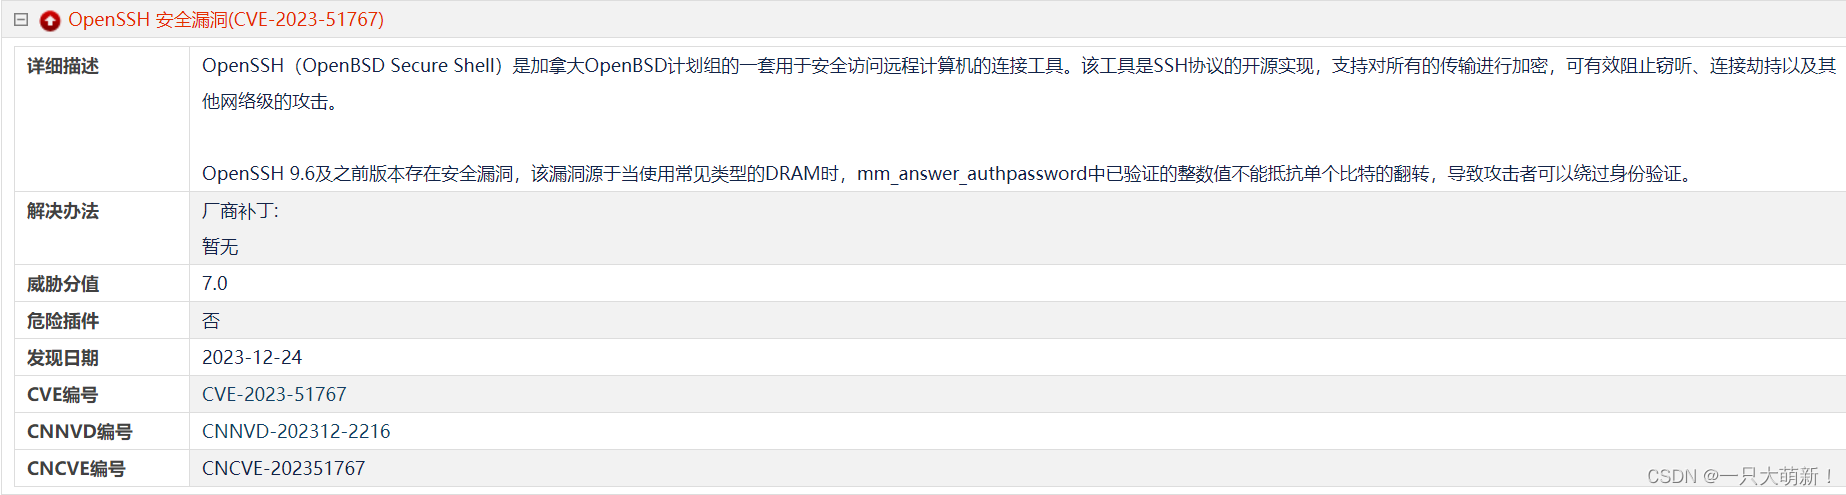
服务器被扫描出了漏洞需要修复,准备升级为最新openssh服务
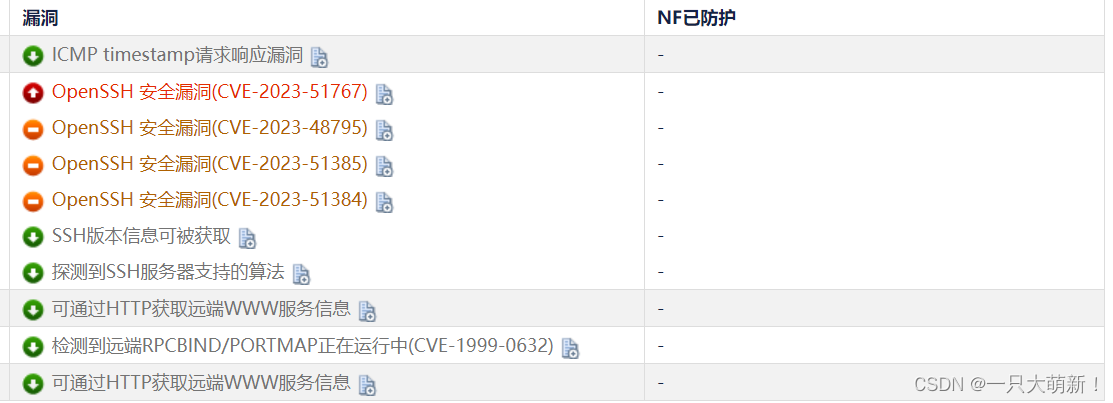
1. 使用ssh -v查看本机ssh服务版本号
shell
ssh -V虚拟机为OpenSSH7.4p1,现在准备升级为OpenSSH9.7p1

2. 准备好需要用到的安装包
shell
链接:https://pan.baidu.com/s/1fN624AdqSp7aG2QXs8nAKw?pwd=8888
提取码:8888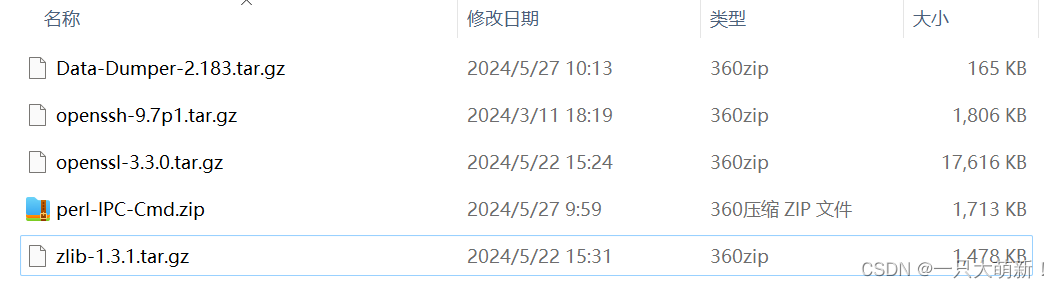
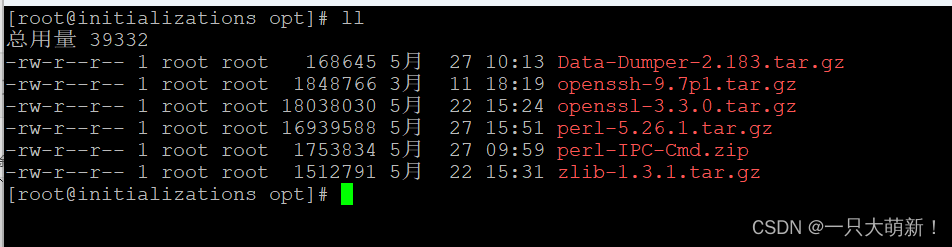
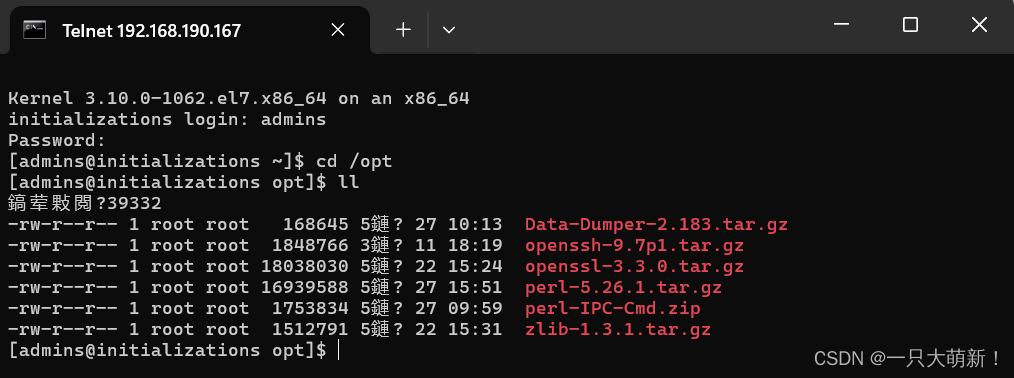
3. 将安装包全部上传至服务器/opt目录(可以是任意目录,解压时注意路径)
4. 安装telnet服务。为了保险起见,假如ssh更新失败断开又连不上我们可以使用telnet服务连接。此步骤可跳过大家根据自己实际情况来。升级OpenSSH之前多打开一个连接窗口,假如升级失败了卸载了SSH也还是能连上的,只是不能断开,断开就连不上了。
4.1 telnet服务是由xinetd管理的,需要安装xinetd服务才能启动telnet-server
shell
yum -y install telnet-server xinetd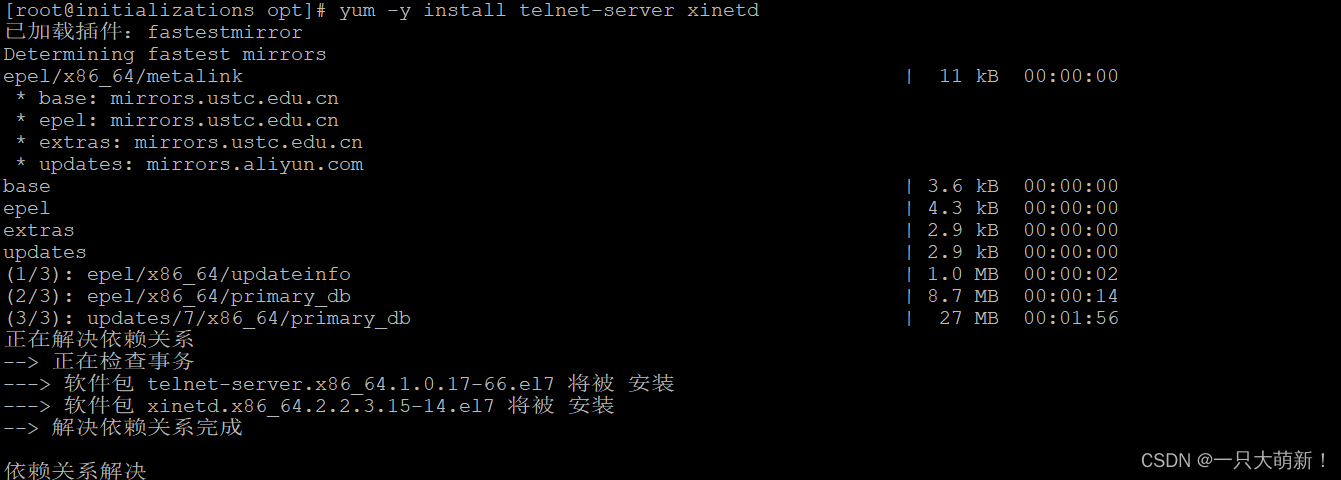
4.2 添加telnet配置文件
shell
echo "service telnet
{
    flags        = REUSE
    socket_type    = stream
    wait        = no
    user        = root
    server        = /usr/sbin/in.telnetd
    log_on_failure    += USERID
    disable        = no
}" > /etc/xinetd.d/telnet 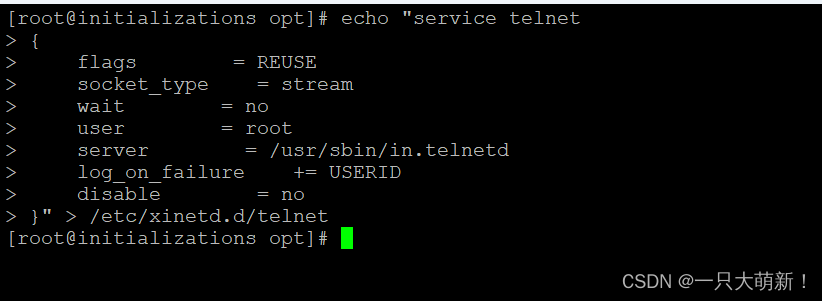
4.3 启动xinetd
shell
systemctl start xinetd && systemctl status xinetd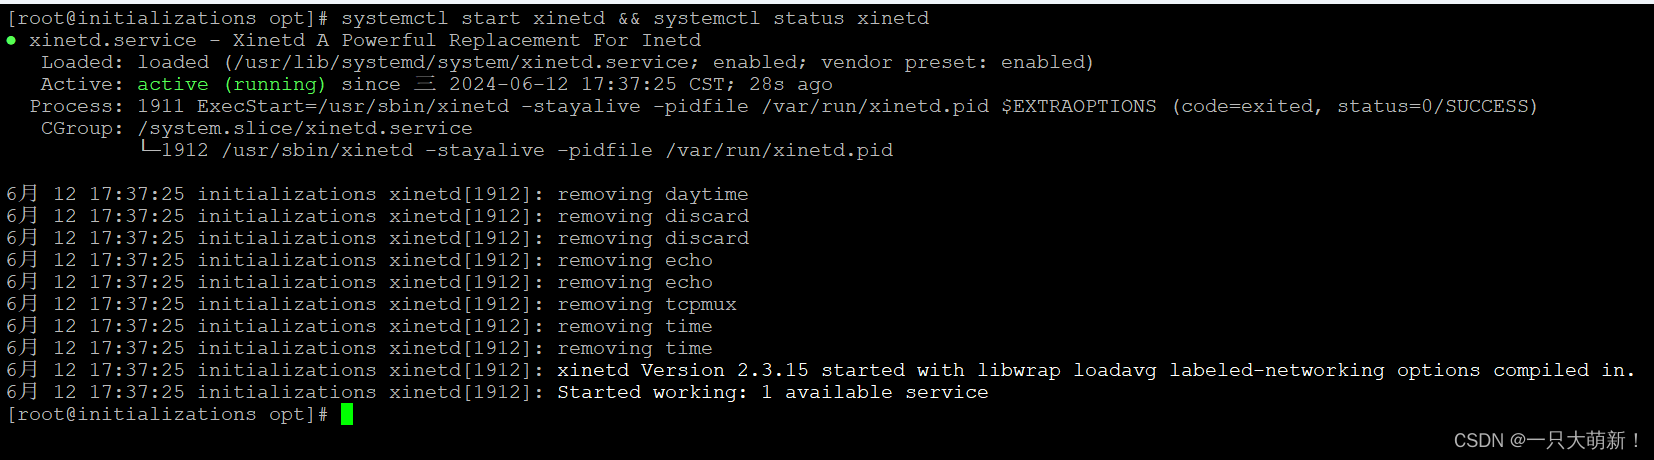
4.4 开机自启xinetd
shell
systemctl enable xinetd4.5 创建连接账号密码
shell
#创建连接账号
useradd admins
#设置连接密码
passwd admins
#设置密码
Asd123!!!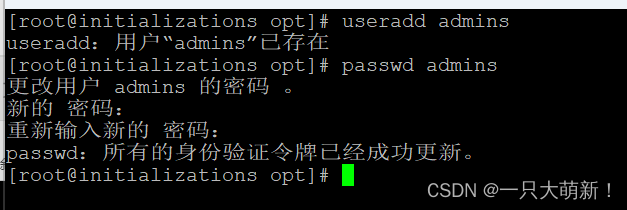
4.6 测试连接
使用win+r输入cmd打开指令板,输入telnet 服务器IP 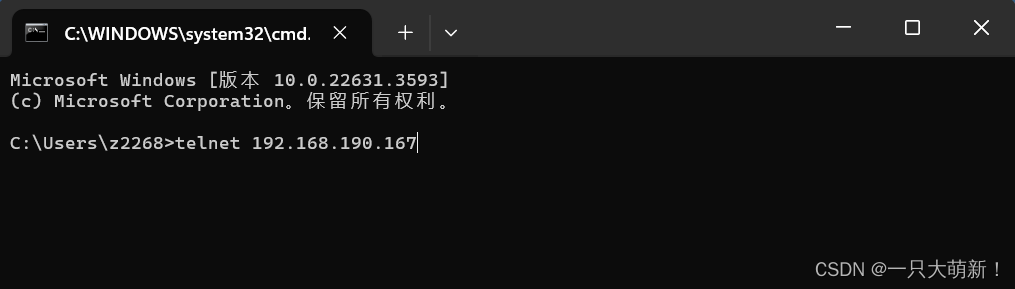
输入刚刚创建的账号密码连接,和SSH连接一样
shell
#步骤4.5创建的
账号: admins
密码: Asd123!!!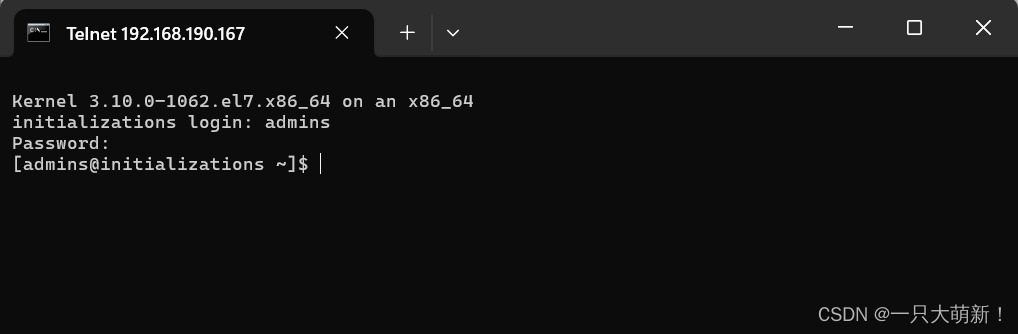
4.7 现在不需要ssh连接工具也能连接了,这样即便ssh连接失败也能用指令板操作。
5. 备份之前的SSH配置文件
shell
cp -p /etc/ssh/sshd_config /etc/ssh/sshd_config.bak
cp -p /usr/sbin/sshd /usr/sbin/sshd.bak
cp -p /usr/bin/ssh /usr/bin/ssh.bak
cp -rf /usr/bin/openssl /usr/bin/openssl.bak
cp -p /usr/bin/ssh-keygen /usr/bin/ssh-keygen.bak
cp -p /etc/ssh/ssh_host_ecdsa_key.pub /etc/ssh/ssh_host_ecdsa_key.pub.bak
cp -rf /usr/lib/systemd/system /system.bak
cp /etc/pam.d/sshd /etc/pam.d/sshd.bak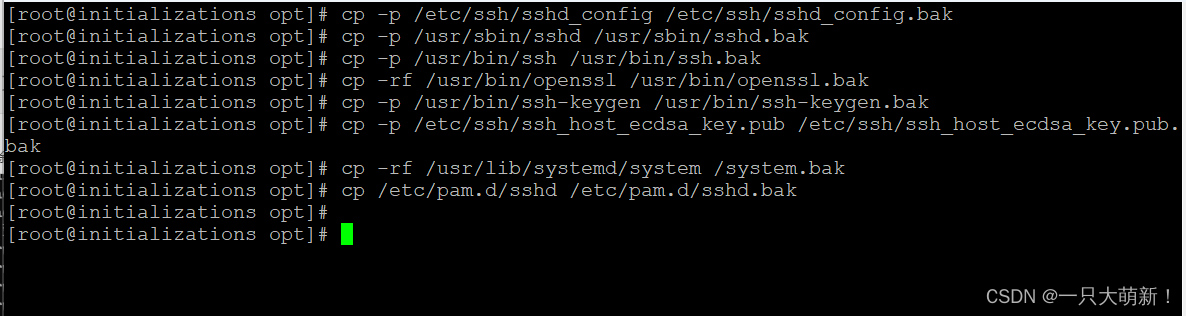
6. 依赖安装-绝大部分应该都已经装过,可以只装没装过的
shell
yum install -y gcc gcc-c++ glibc make autoconf openssl openssl-devel pcre-devel pam-devel zlib-devel perl-IPC-Cmd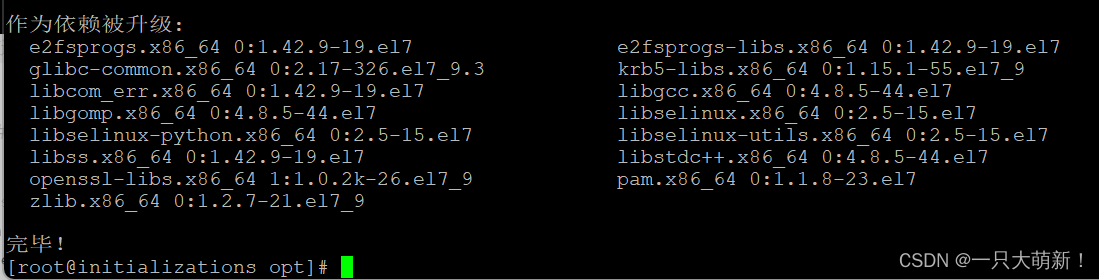
二、安装zlib
1. 解压
shell
tar -zxvf zlib-1.3.1.tar.gz -C /usr/local/
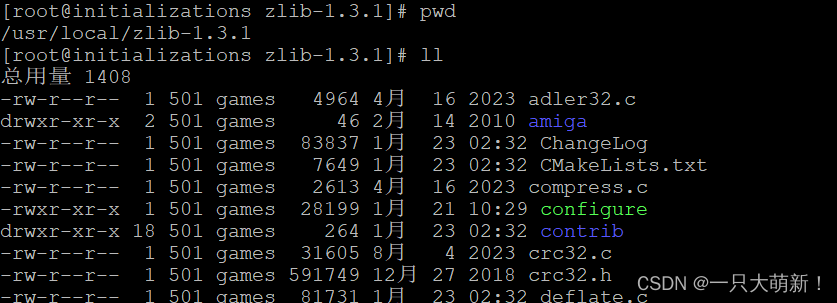
cd /usr/local/zlib-1.3.1/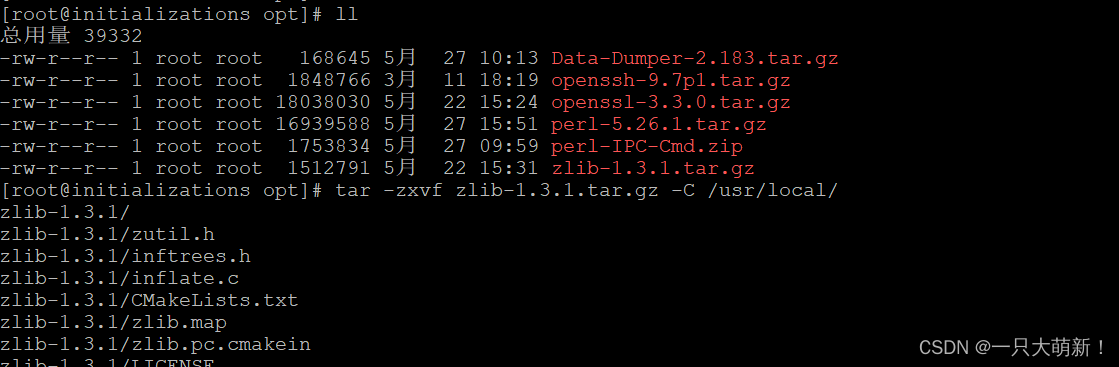
2. 编译 && 安装
shell
./configure --prefix=/usr/local/zlib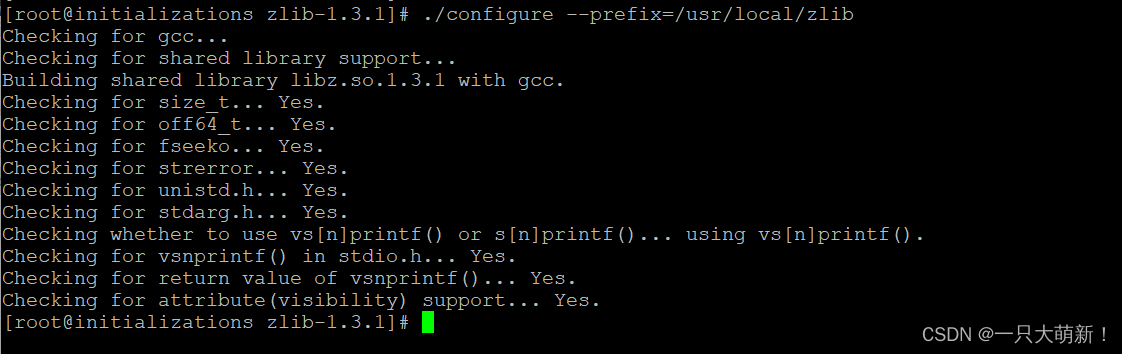
shell
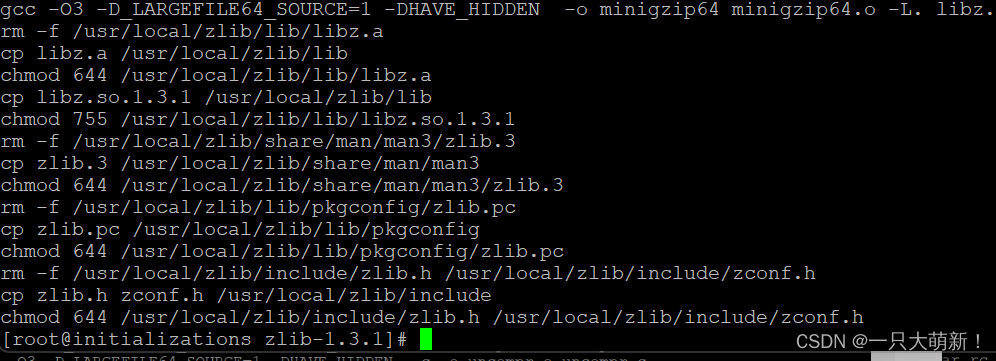
make && make install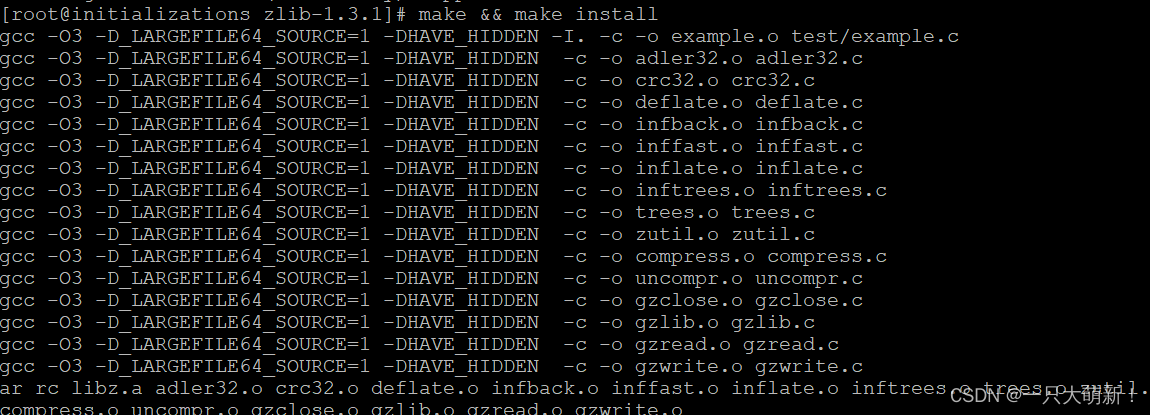
三、安装OpenSSL
1. 解压
shell
cd /opt

tar -zxvf openssl-3.3.0.tar.gz -C /usr/local/

cd /usr/local/openssl-3.3.0
2. 安装依赖
shell
yum install -y perl-CPAN perl-ExtUtils-CBuilder perl-ExtUtils-MakeMaker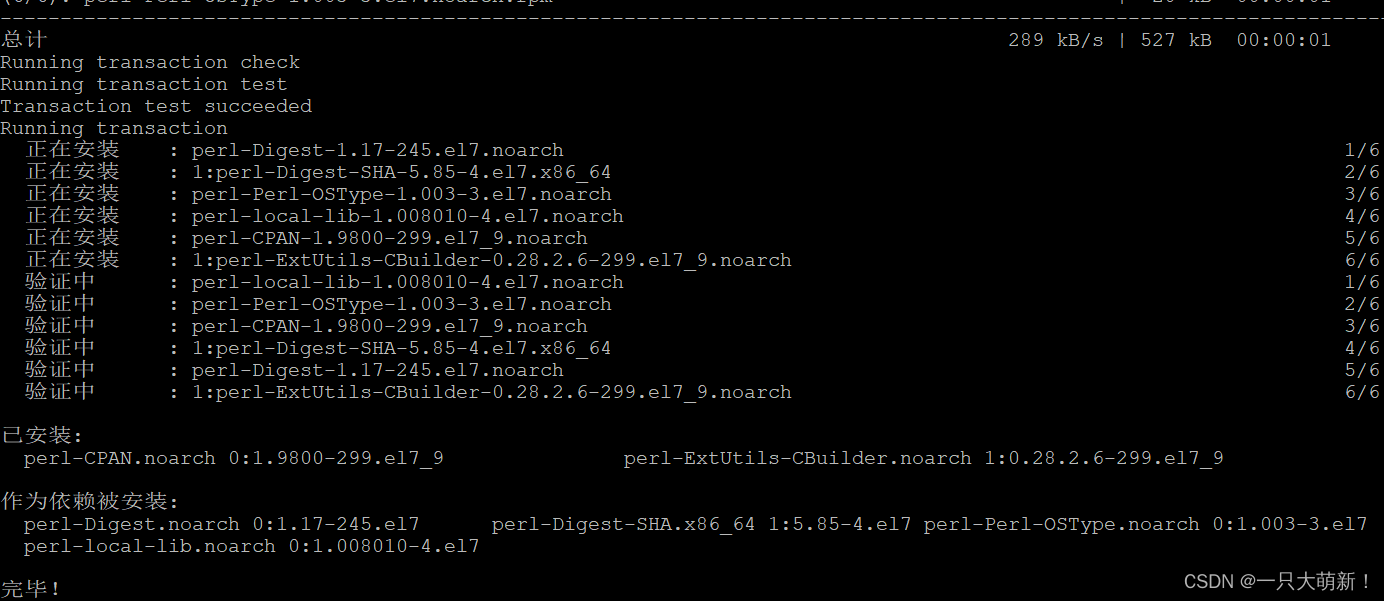
perl-IPC-Cmd,Data-Dumper-2不装直接安装openssl会报错,可能是虚拟机比较老,正常服务器应该有安装,可先跳过,如果报错在回来装
3. 安装perl-IPC-Cmd
shell
cp /opt
unzip perl-IPC-Cmd.zip -d /usr/local/
cd /usr/local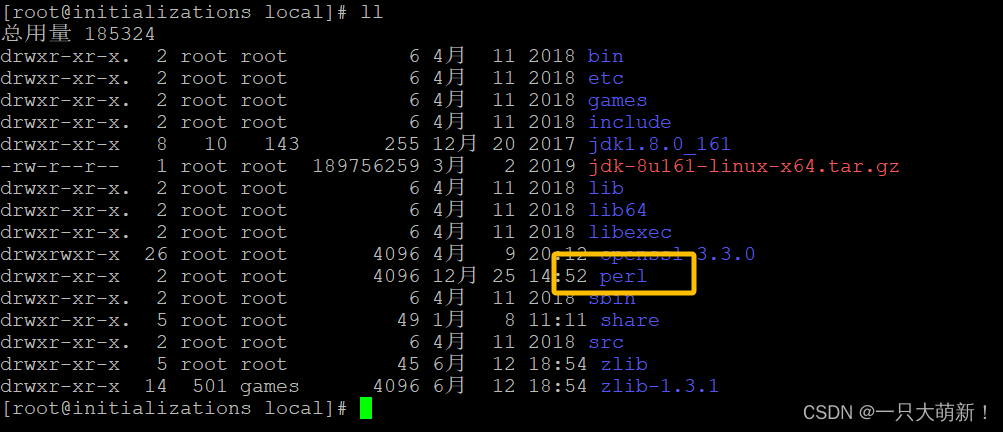
shell
cd perl
rpm -ivhU * --nodeps --force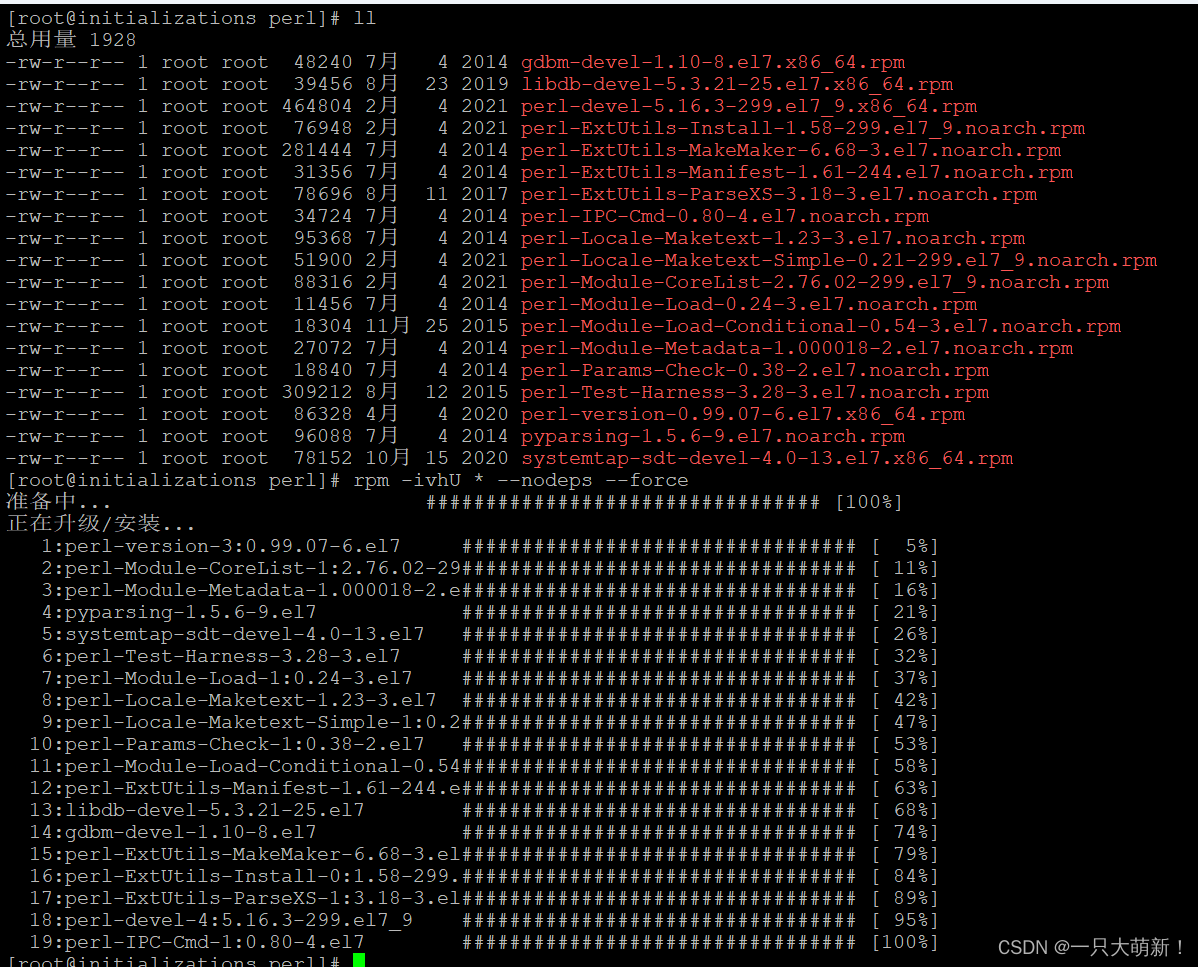
4. 安装Data-Dumper-2.183
shell
cp /opt
tar -zxvf Data-Dumper-2.183.tar.gz -C /usr/local
cd Data-Dumper-2.183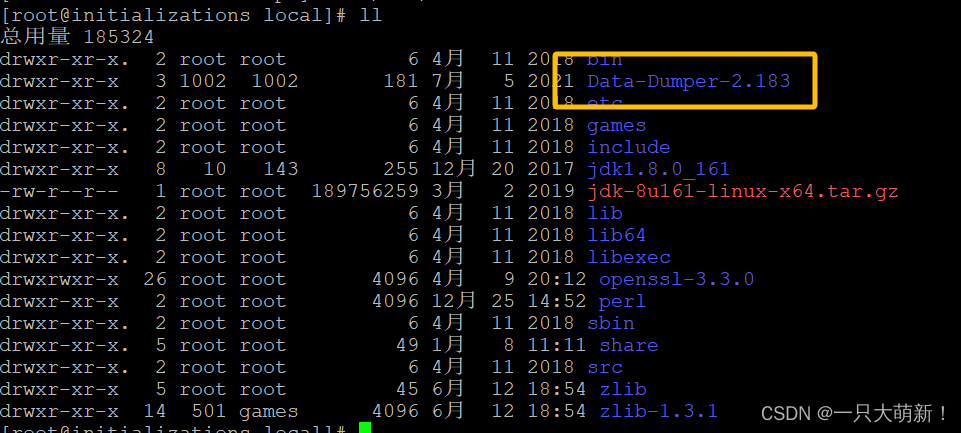
shell
cd Data-Dumper-2.183
perl Makefile.PL
make
make install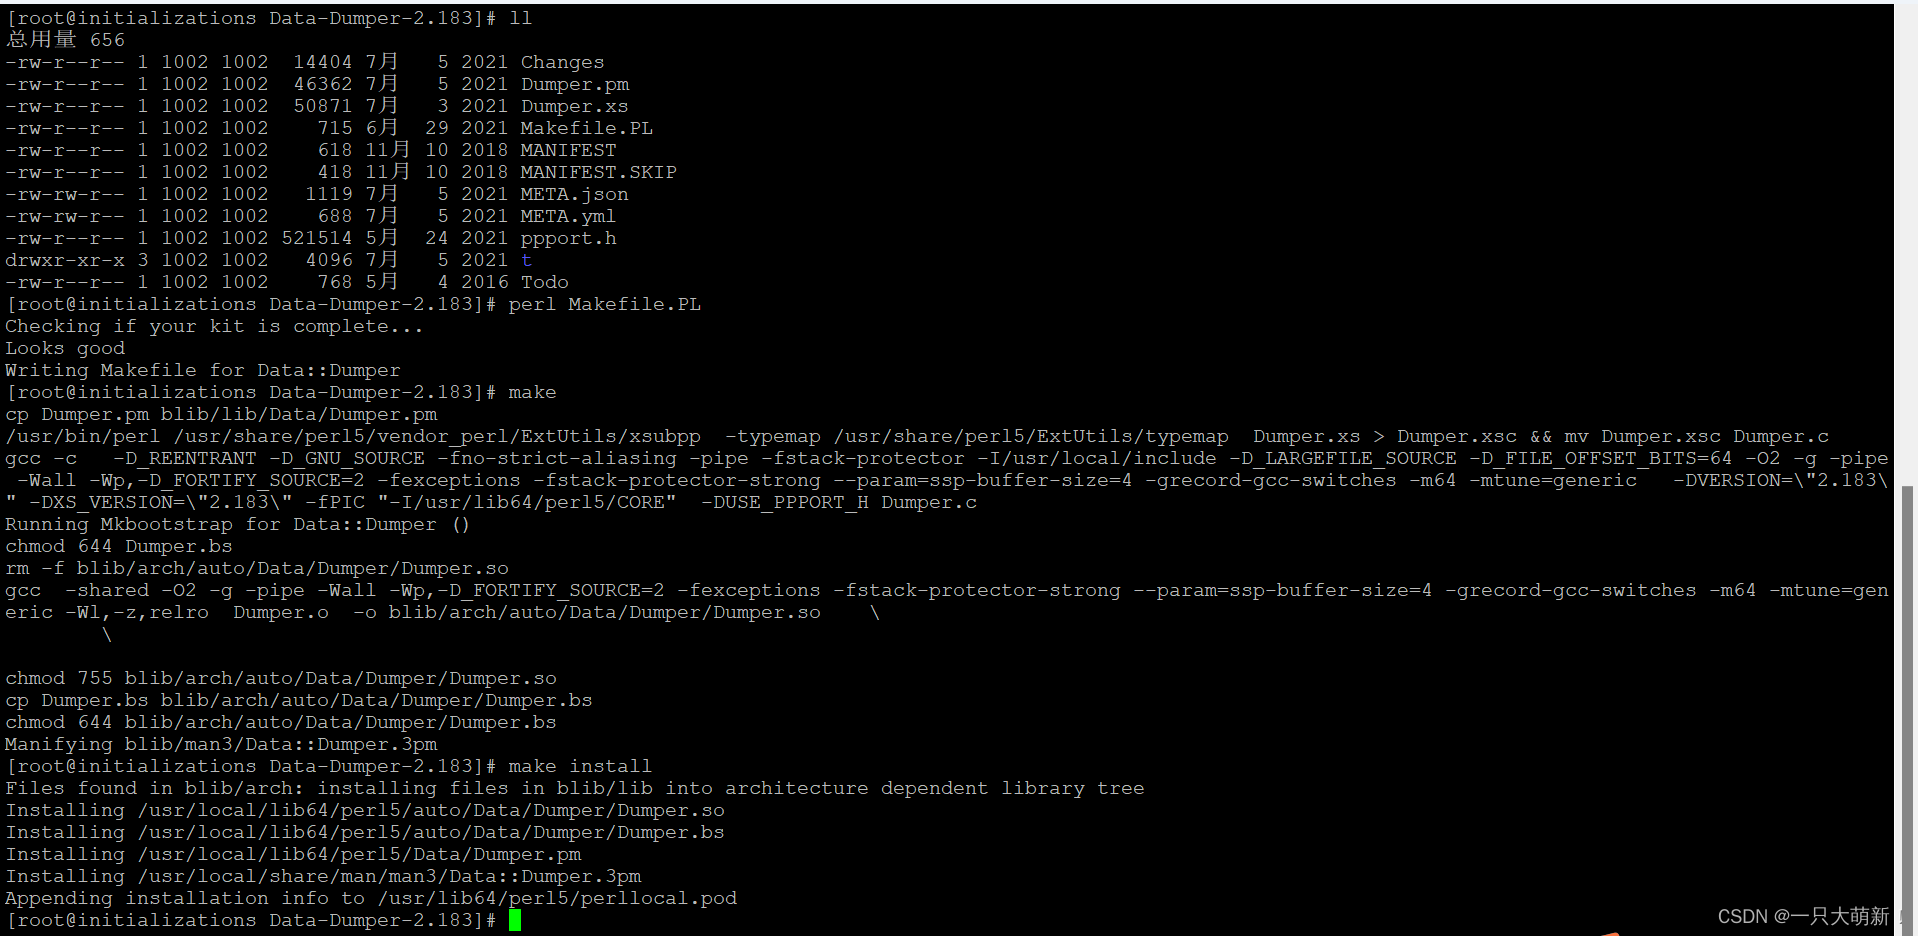
5. 安装openssl
shell
cd /opt
tar -zxvf openssl-3.3.0.tar.gz -C /usr/local/
cd /usr/local/openssl-3.3.0/

./config  --prefix=/usr/local/ssl  --shared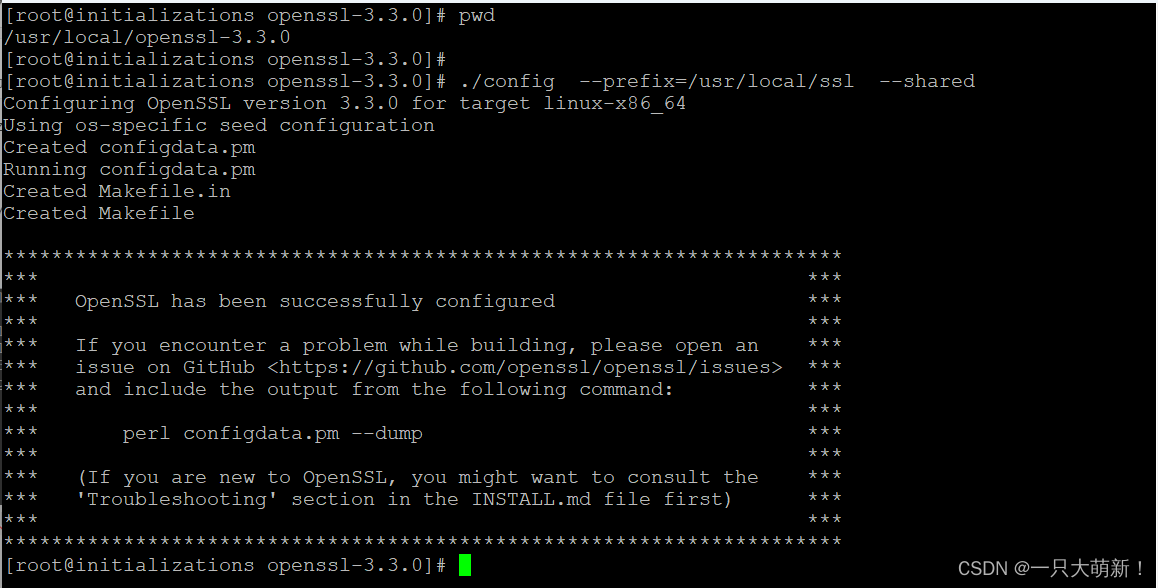
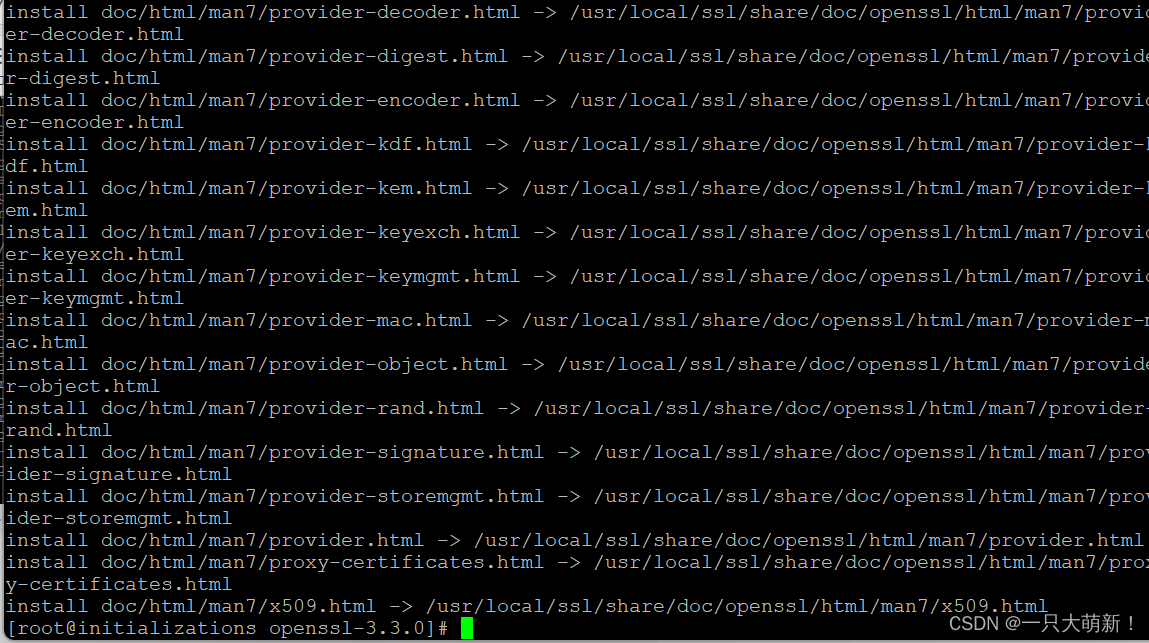
6. 编译安装,过程比较久,大概十来分钟
shell
make && make install
编译安装完成
7. 配置
shell
#依次执行
mv /usr/bin/openssl /usr/bin/oldopenssl
ln -s /usr/local/ssl/bin/openssl /usr/bin/openssl
ln -s /usr/local/ssl/lib64/libssl.so.3 /usr/lib64/libssl.so.3
ln -s /usr/local/ssl/lib64/libcrypto.so.3 /usr/lib64/libcrypto.so.3

echo "/usr/local/ssl/lib64" >> /etc/ld.so.conf

ldconfig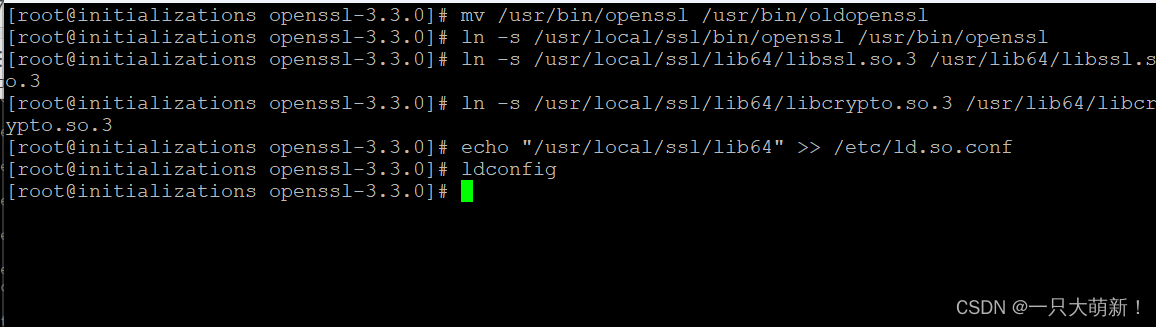
8. 查看更新后的版本
shell
openssl version -v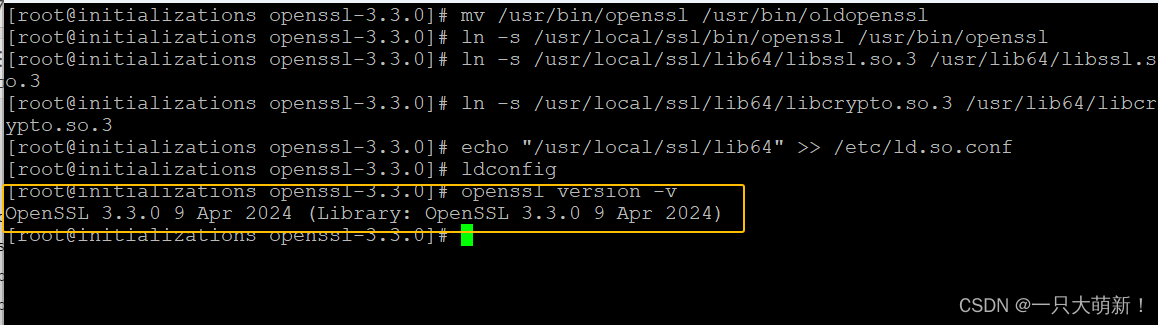
四、安装OpenSSH
1. 卸载旧版本openssh7.4p1 ,注意:卸载完千万不能断开,断开就连不上了
shell
yum remove -y openssh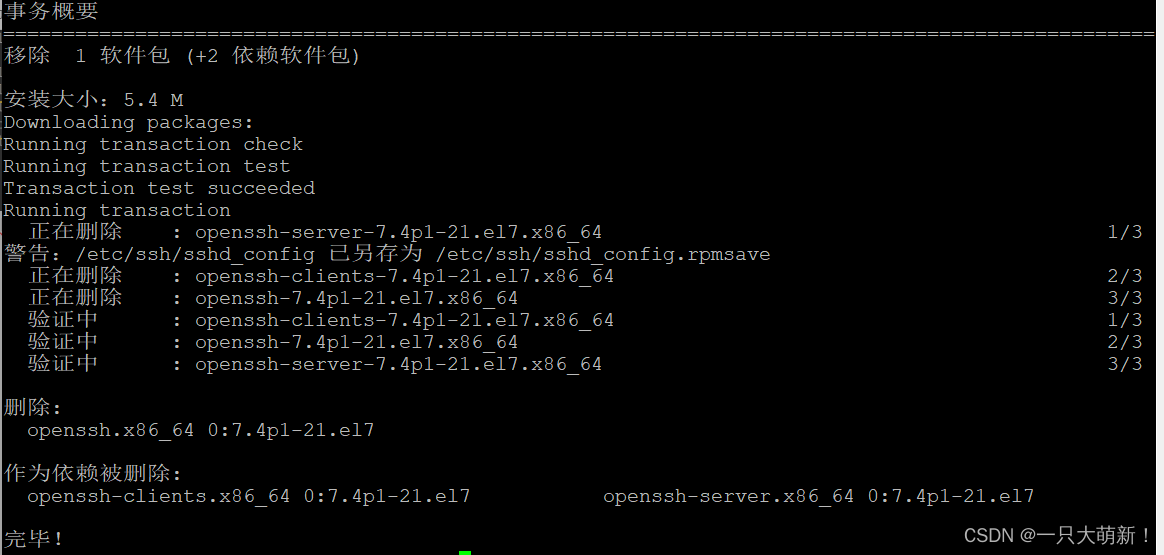
2. 清理残余文件
shell
rm -rf /etc/ssh/*
3. 解压
shell
cd /opt
tar -zxvf openssh-9.7p1.tar.gz -C /usr/local/
cd /usr/local/openssh-9.7p1
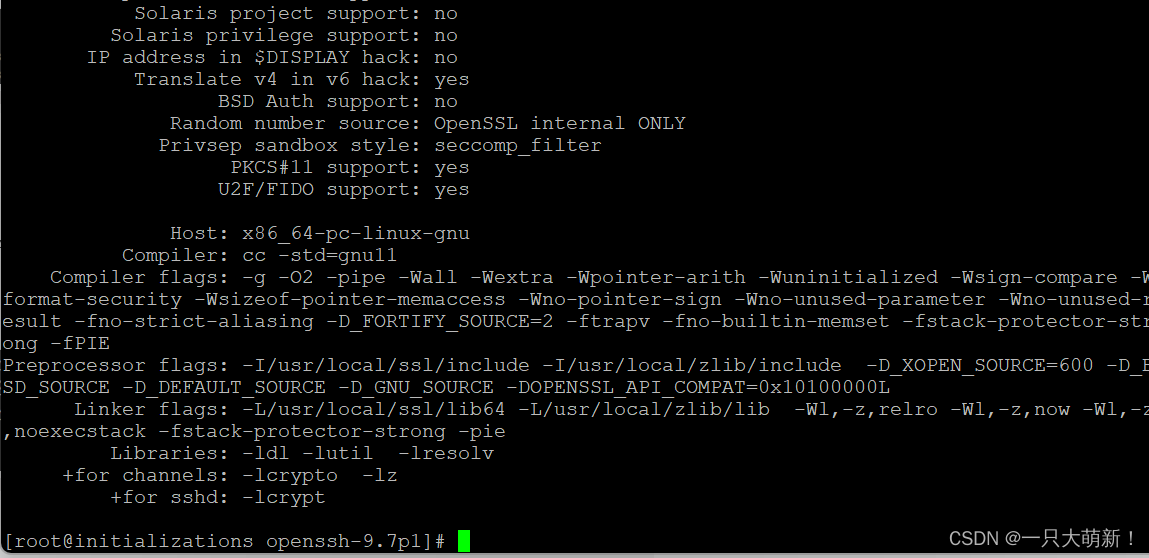
4. 编译安装
shell
./configure --prefix=/usr/local/openssh --with-zlib=/usr/local/zlib --with-ssl-dir=/usr/local/ssl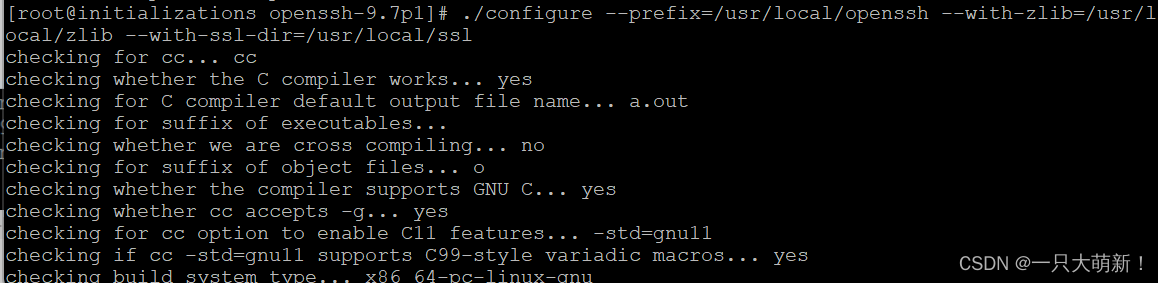
shell
make && make install 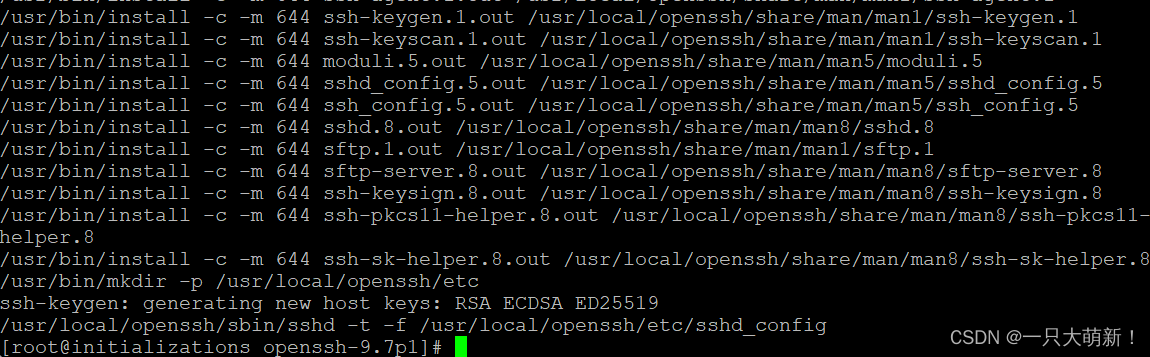
5. 配置ssh
shell
#ssh允许root登录、需要密码进行验证
echo 'PermitRootLogin yes' >>/usr/local/openssh/etc/sshd_config
echo 'PubkeyAuthentication yes' >>/usr/local/openssh/etc/sshd_config
echo 'PasswordAuthentication yes' >>/usr/local/openssh/etc/sshd_config

#将编译安装的新配置文件   拷贝到原路径下
cp /usr/local/openssh/etc/sshd_config /etc/ssh/sshd_config
cp /usr/local/openssh/sbin/sshd /usr/sbin/sshd
cp /usr/local/openssh/bin/ssh /usr/bin/ssh
cp /usr/local/openssh/bin/ssh-keygen /usr/bin/ssh-keygen
cp /usr/local/openssh/etc/ssh_host_ecdsa_key.pub /etc/ssh/ssh_host_ecdsa_key.pub

#拷贝启动脚本
cp -p contrib/redhat/sshd.init /etc/init.d/sshd
#给sshd添加可执行权限
chmod +x /etc/init.d/sshd
#设置开机自启
systemctl enable sshd
#重新启动sshd服务
systemctl restart sshd
#查看sshd服务状态
systemctl status sshd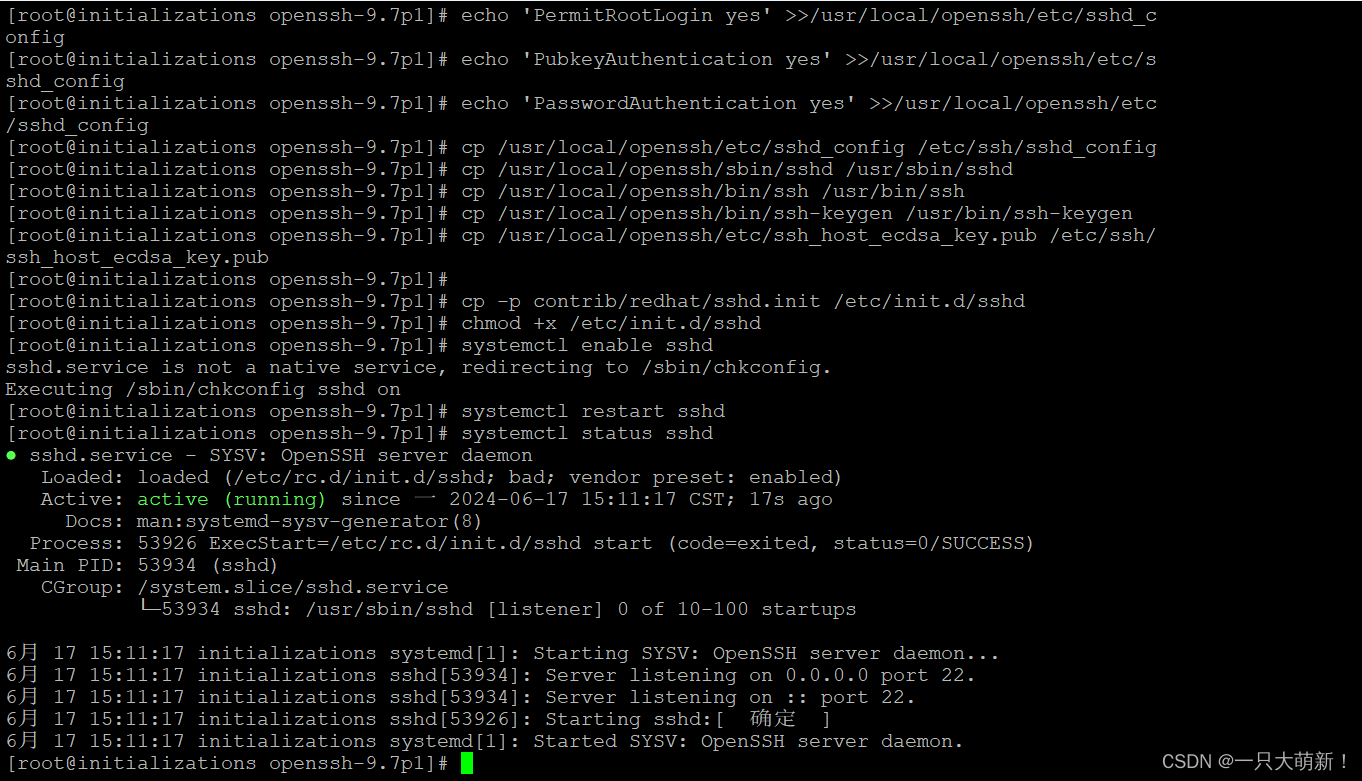
6. 查看OpenSSH版本,显示新版本就是升级成功了,如果显示还是旧的话断开重连一下再查看版本,可能没刷新
shell
ssh -V