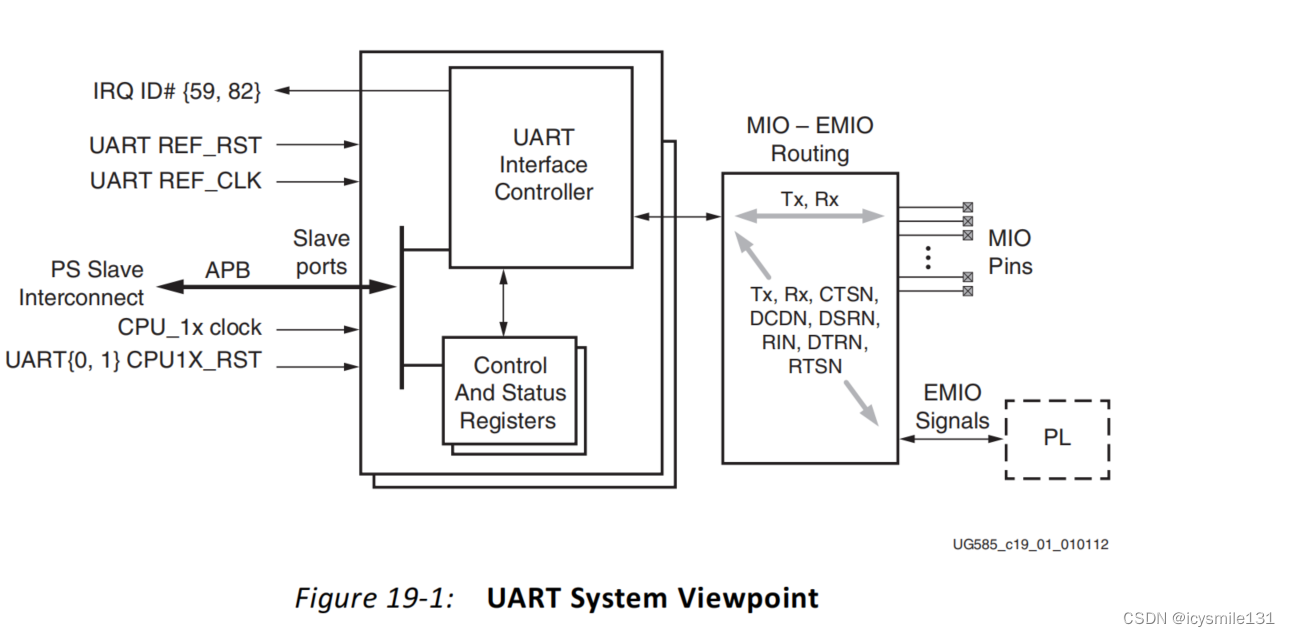
在ZYNQ7 Processing System IP核中集成的UART控制器是一个中全双工异步接收器和发送器,支持广泛的可编程波特率和I/O信号格式,可以适应自动奇偶校验生成和多主机检测模式。
UART操作由配置和模式寄存器控制。使用状态寄存器、中断状态寄存器和调制解调器状态寄存器来读取FIFO队列、调制解调器信号以及其他控制器功能的状态。
UART控制器的系统视图如下图所示。
其在PL侧的用法如下:
1 配置IP核
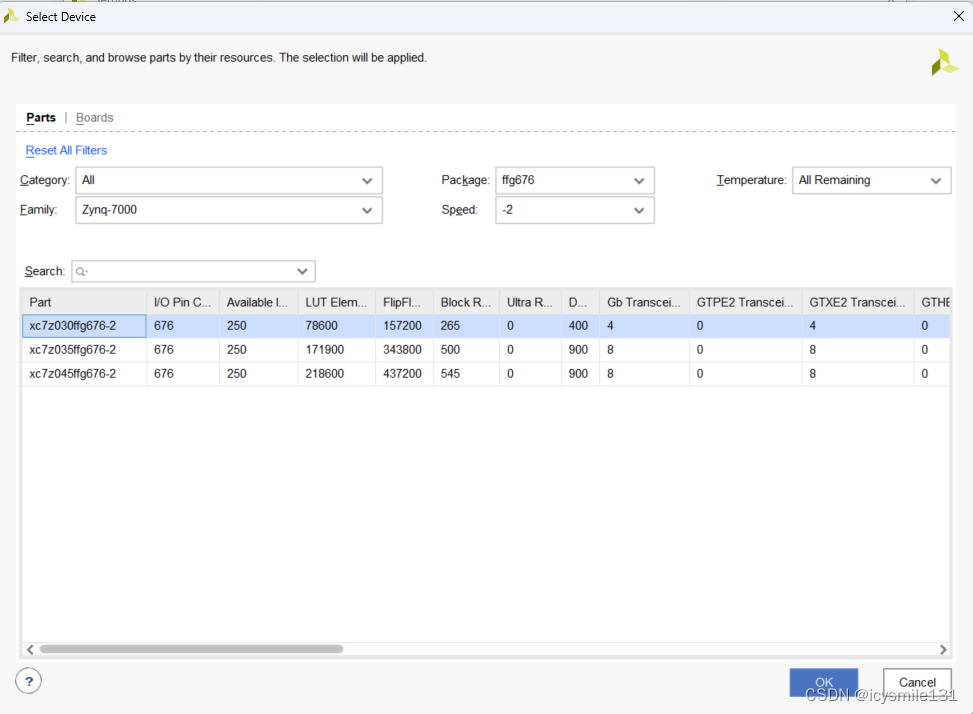
新建工程,FPGA芯片选择xc7z030ffg676-2,
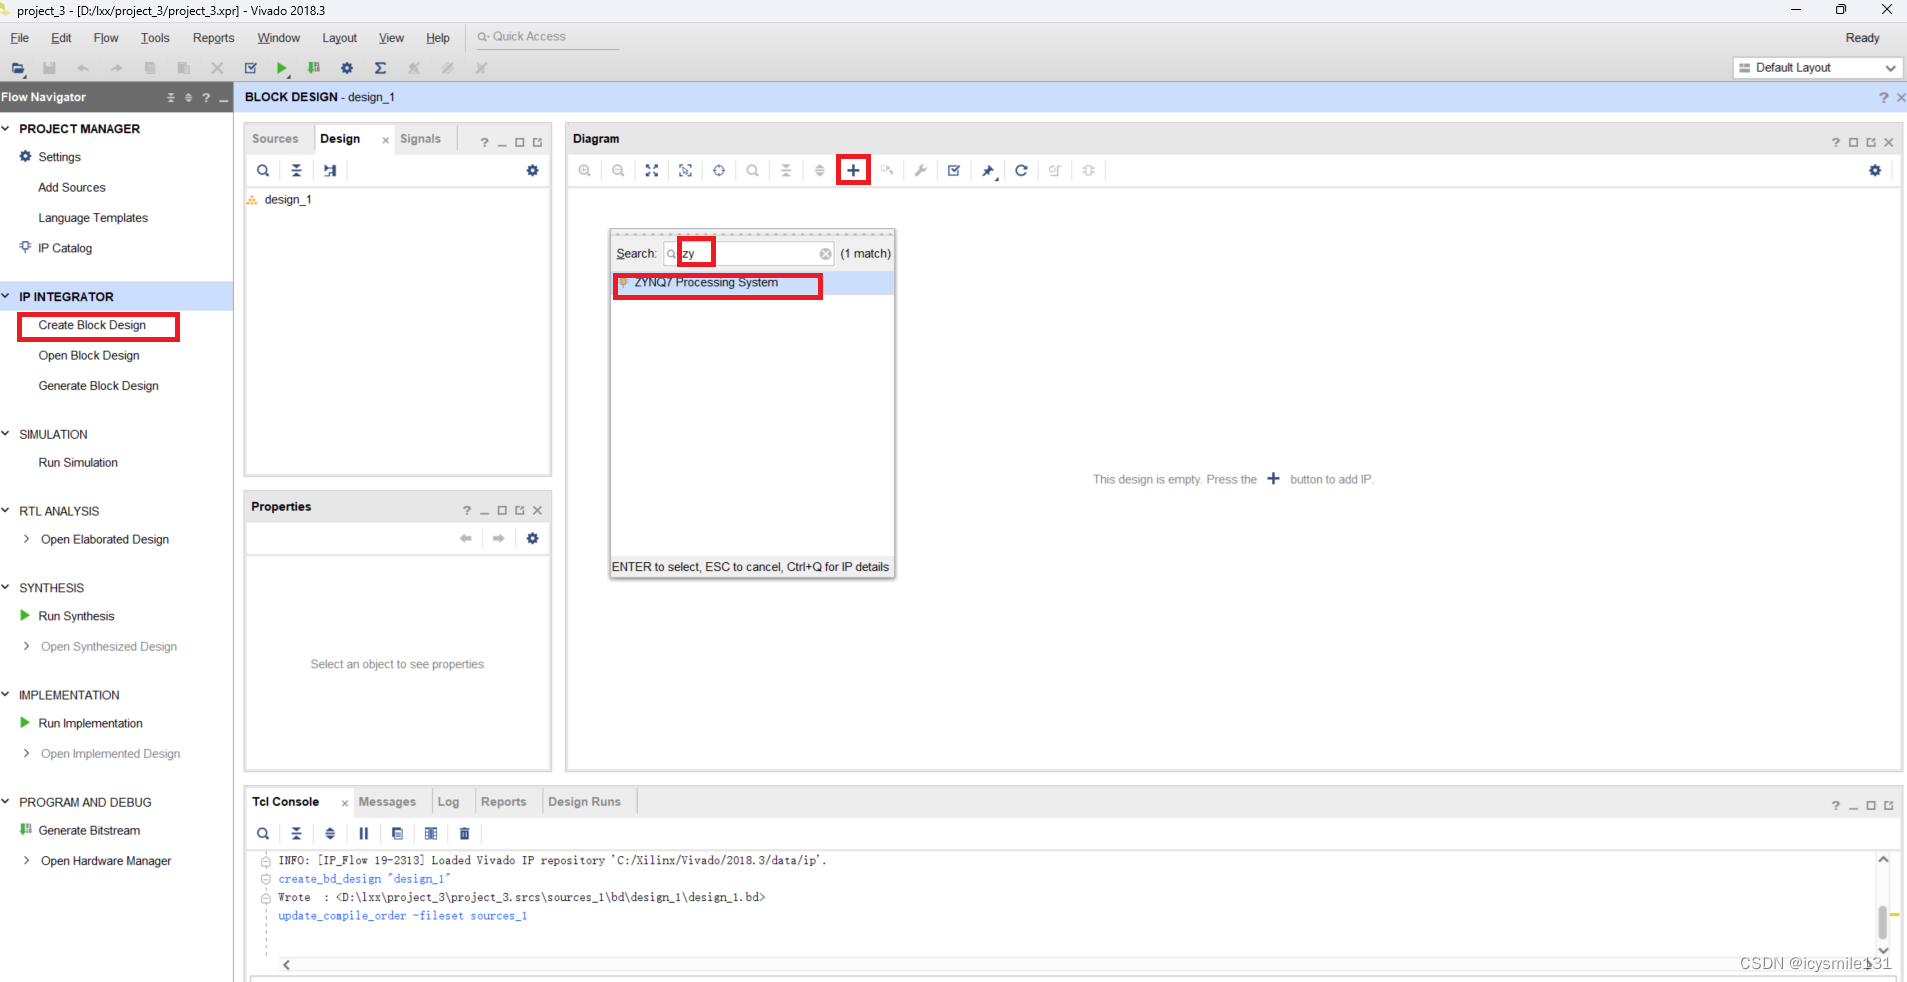
创建一个Block Design,添加ZYNQ7 Processing System IP核,
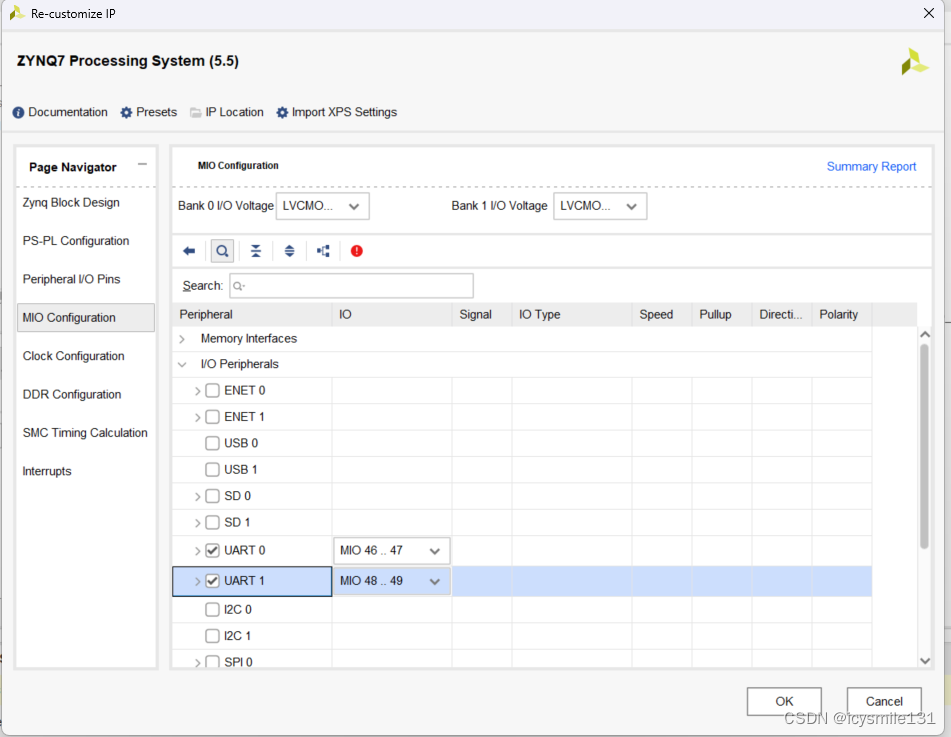
双击ZYNQ7 Processing System IP核,点击MIO Configuration,选择右侧的UART0并配置其管脚,
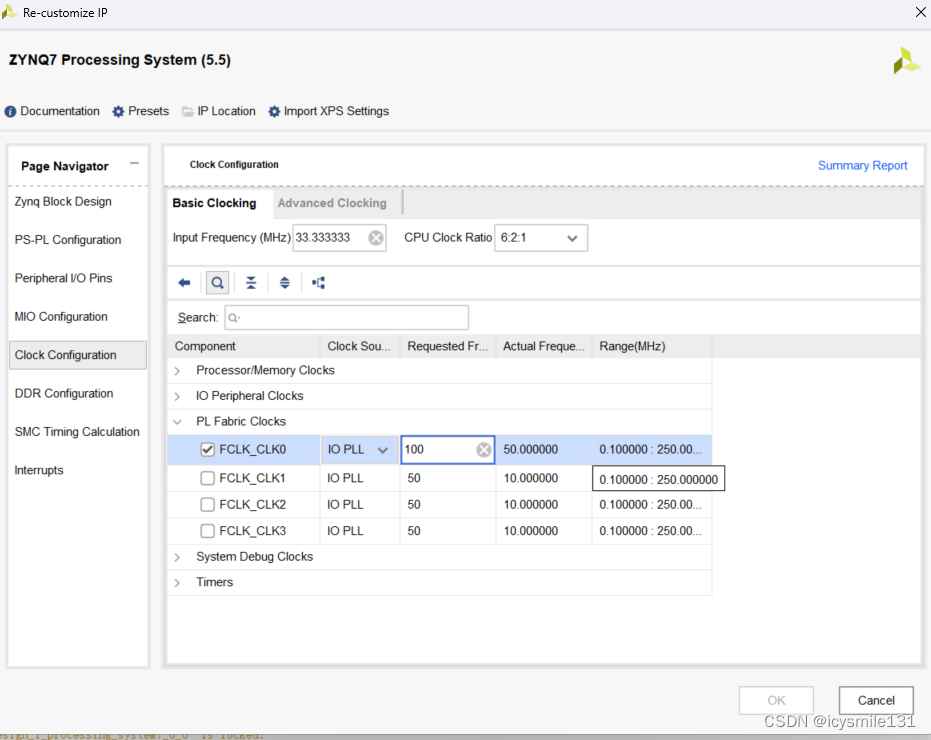
点击Clock Configuration,选择右侧的FCLK_CLK0,并将其输出时钟改为100MHz。
点击Run Block Automation,选中processing_system7_),点击OK。

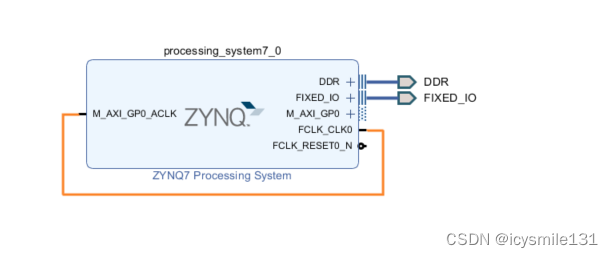
将ZYNQ7 Processing System IP核输出的FCLK_CLK0连接到其输入M_AXI_GP0_ACLK上。
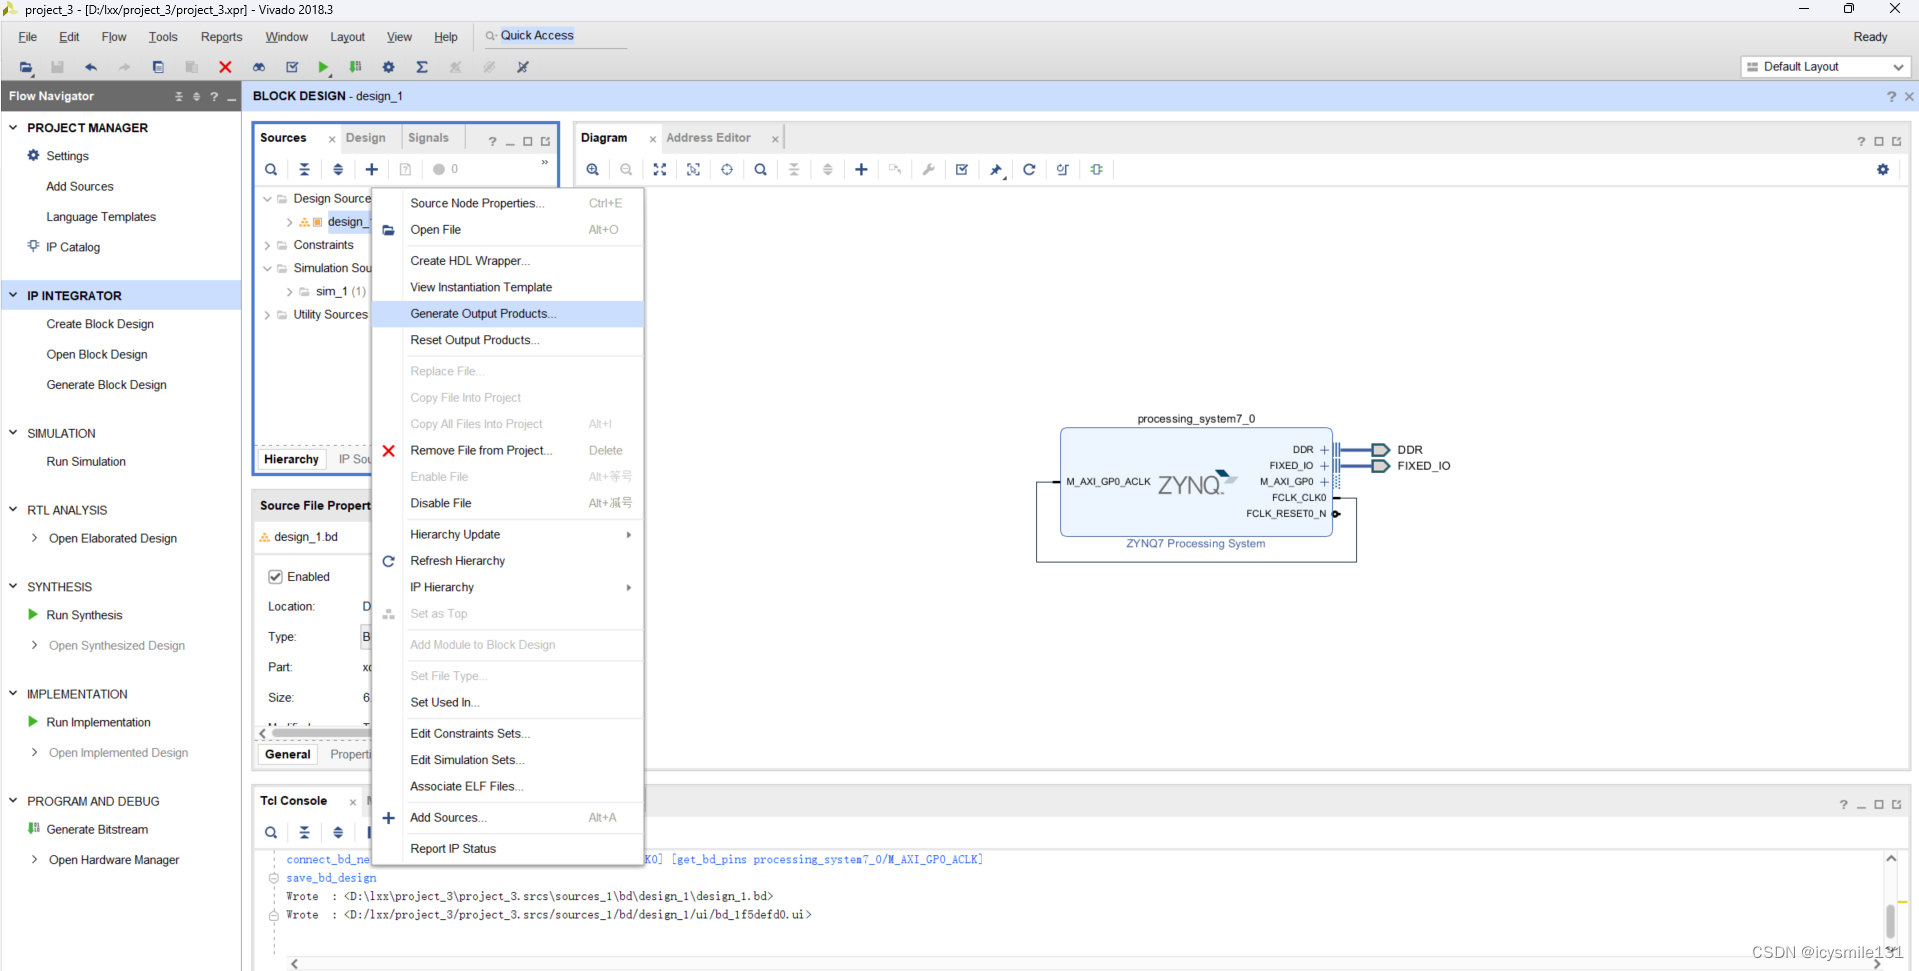
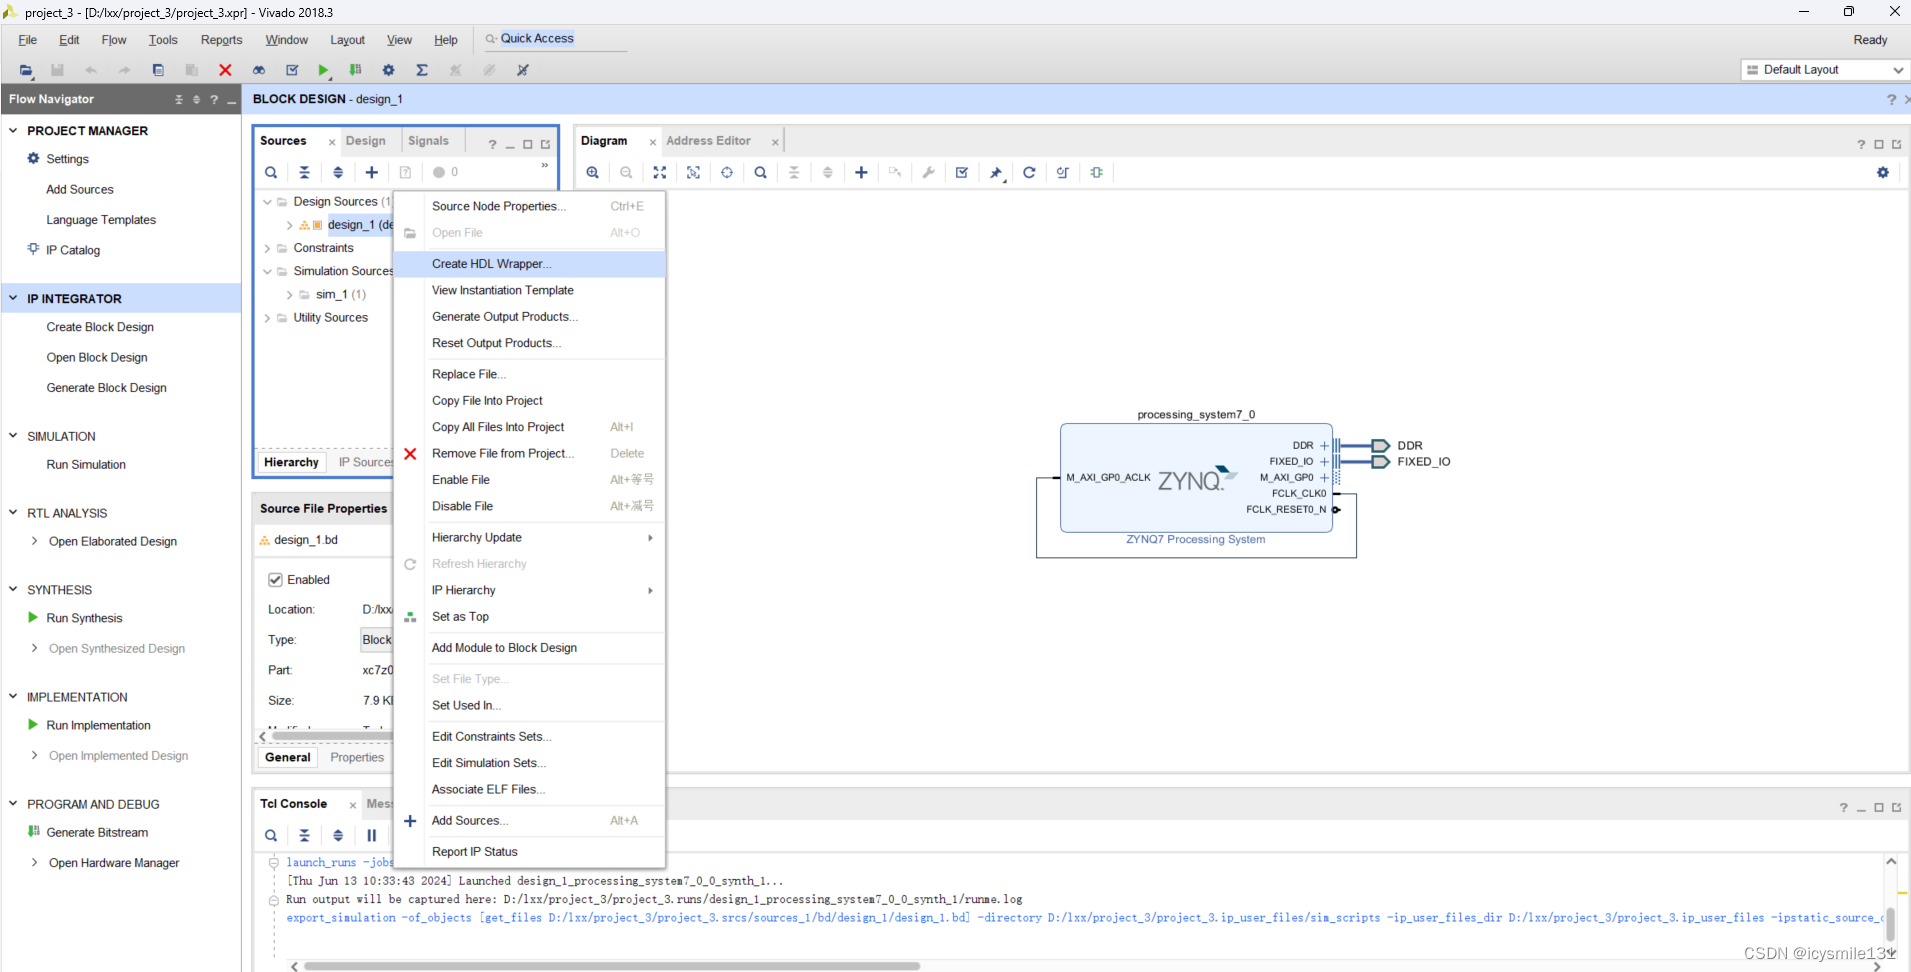
保存工程,右键点击design_1,点击Generate Output Products...
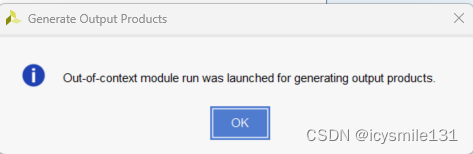
点击Generate,
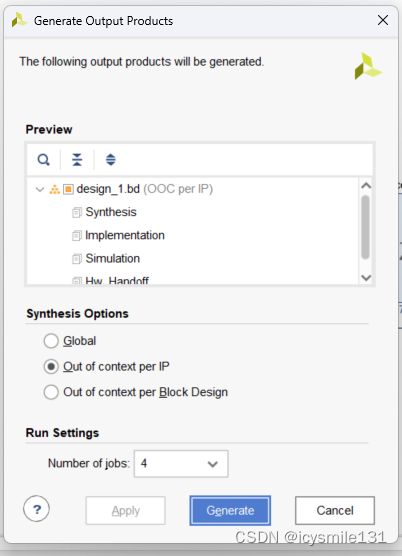
等Generate Output Product完成,如下图所示
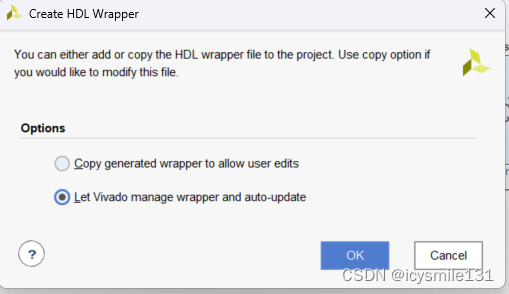
右键点击design_1,点击Create HDL Wrapper...
选择默认的Let Vivado manage wrapper and auto-update,
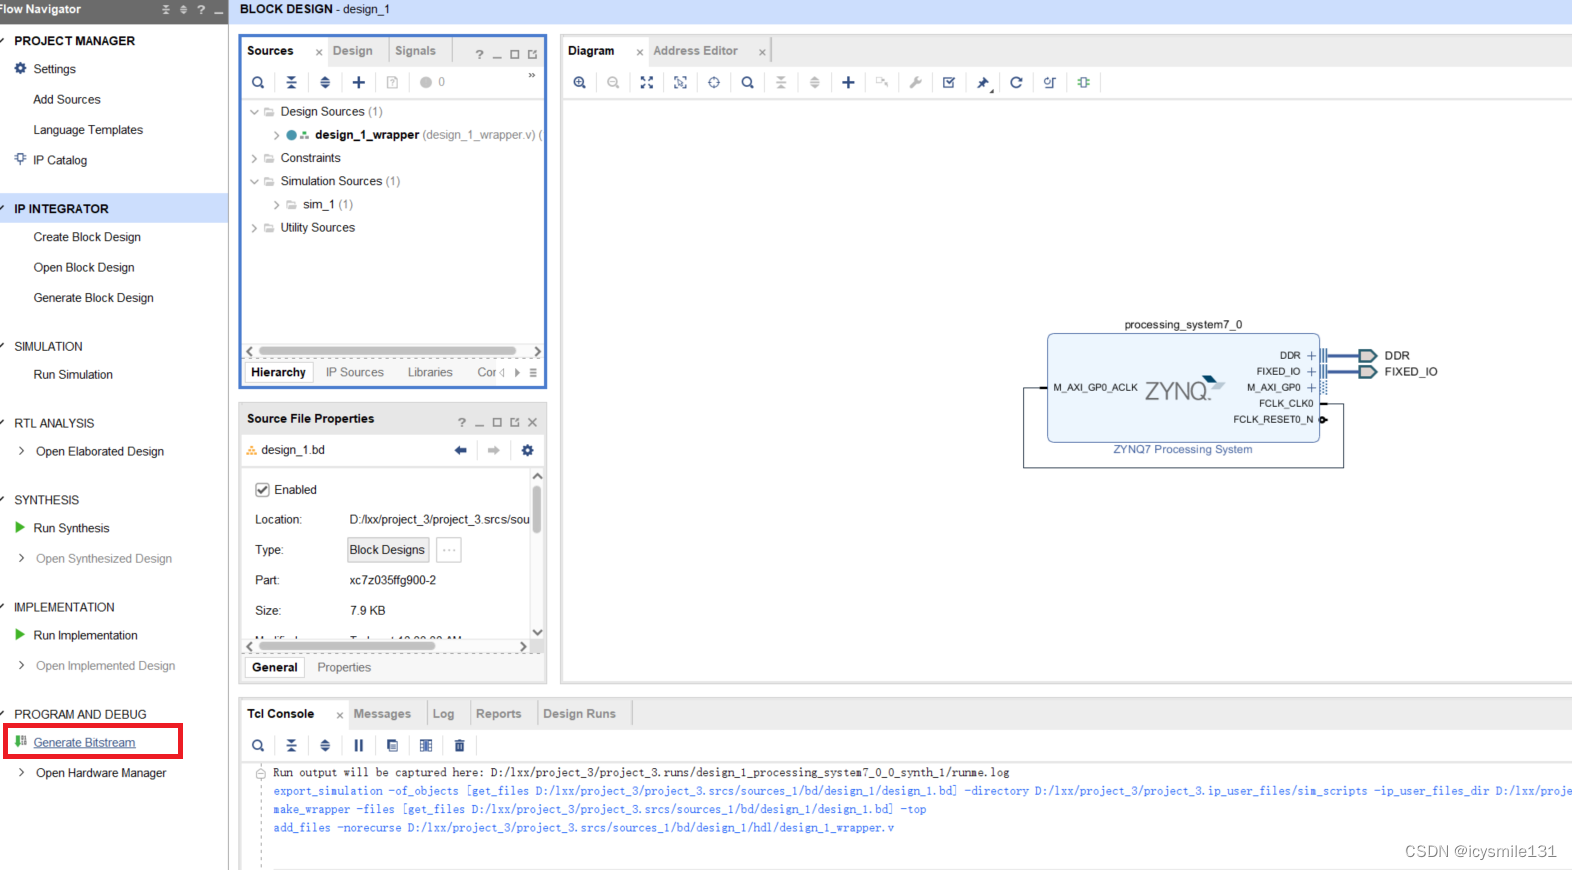
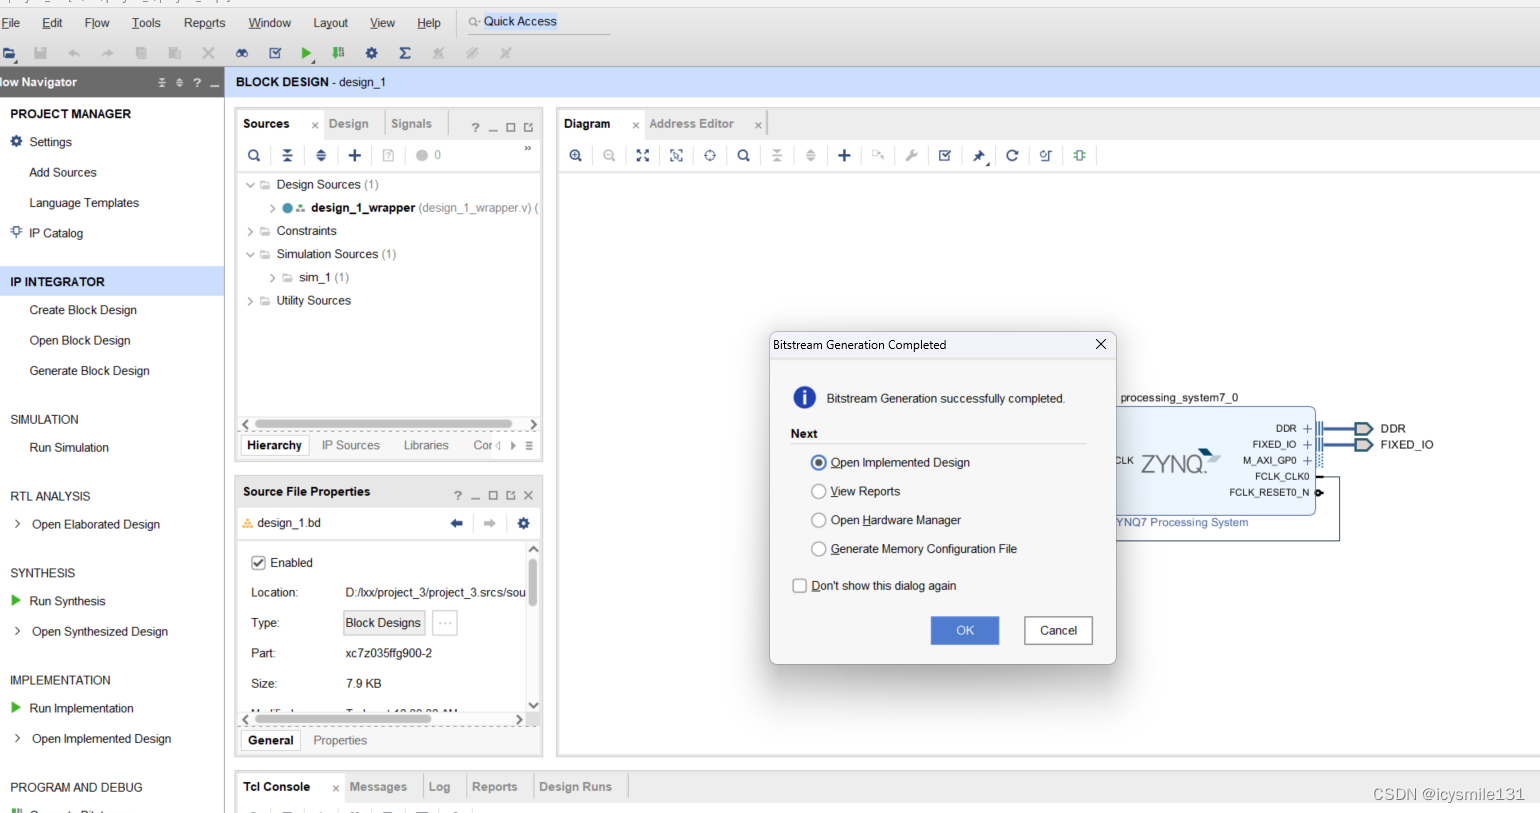
点击Generate Bitstream,
成功生成bit文件后,点击Cancel。
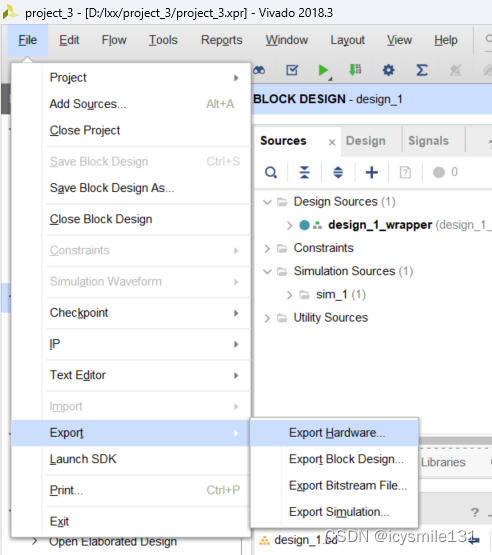
点击File------Export------Export Hardware...
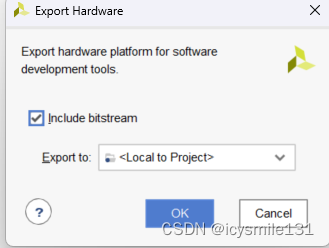
选中Include bitstream,点击OK。
2 在SDK上搭建工程
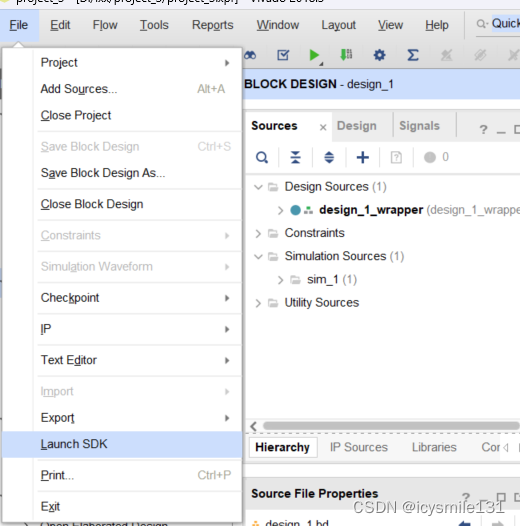
点击File------Launch SDK。
在SDK中点击File------New------Application Project,
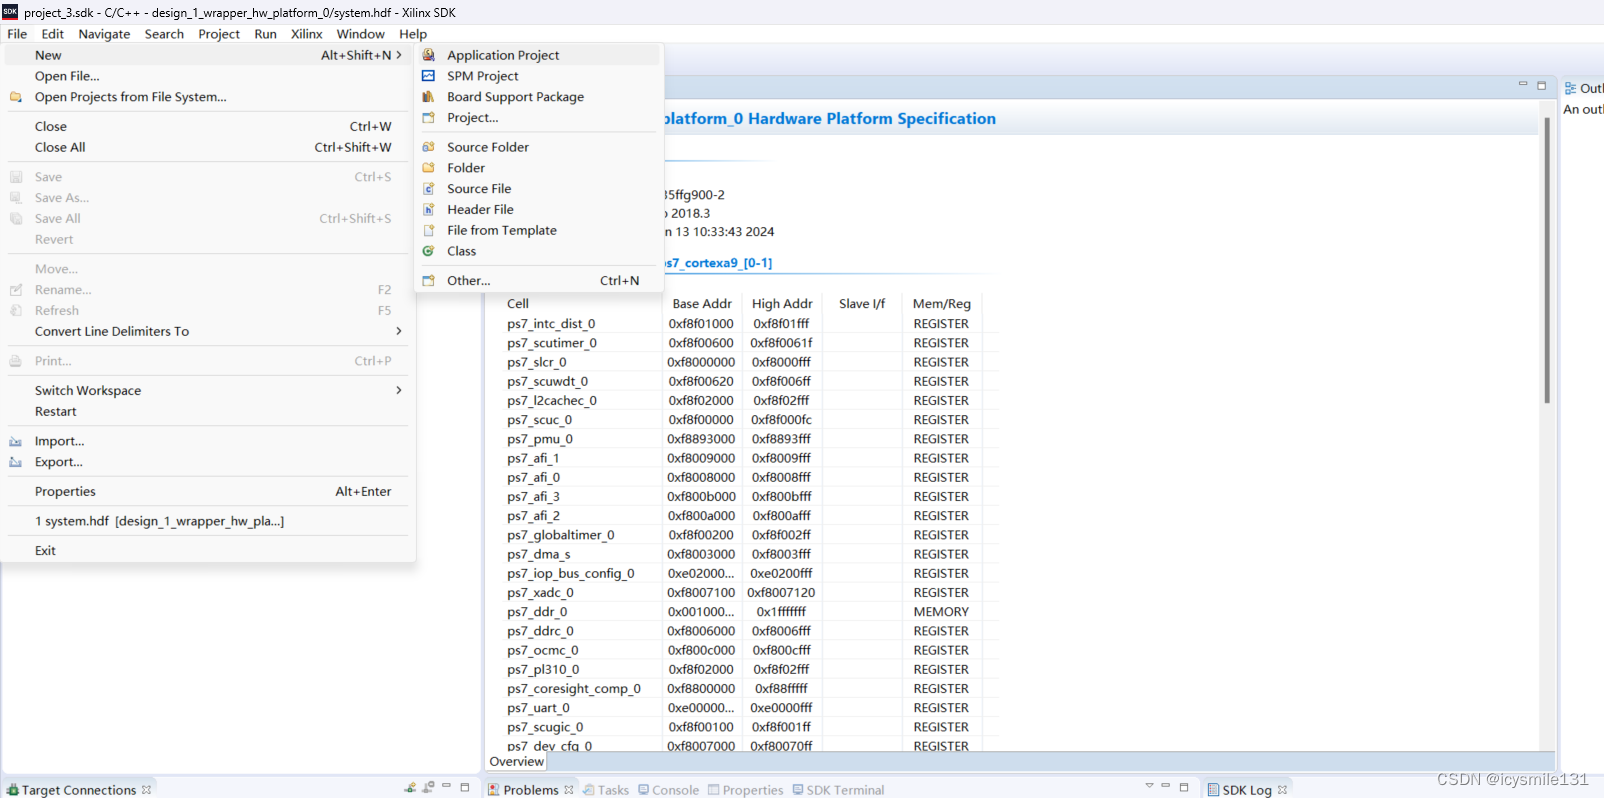
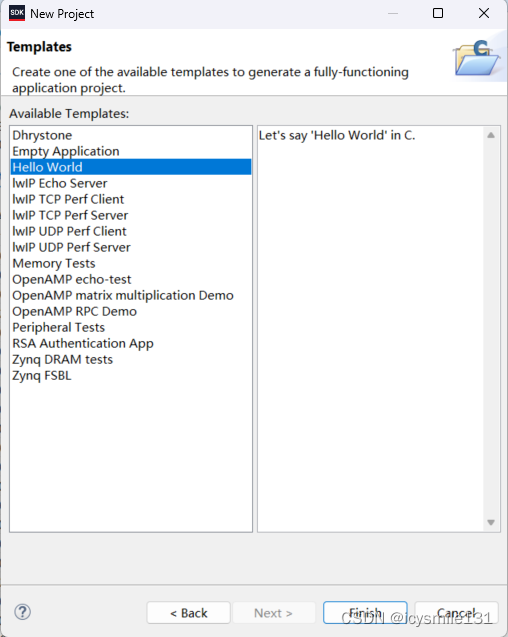
输入工程名,点击Next,

选择Hello World,点击Finish。
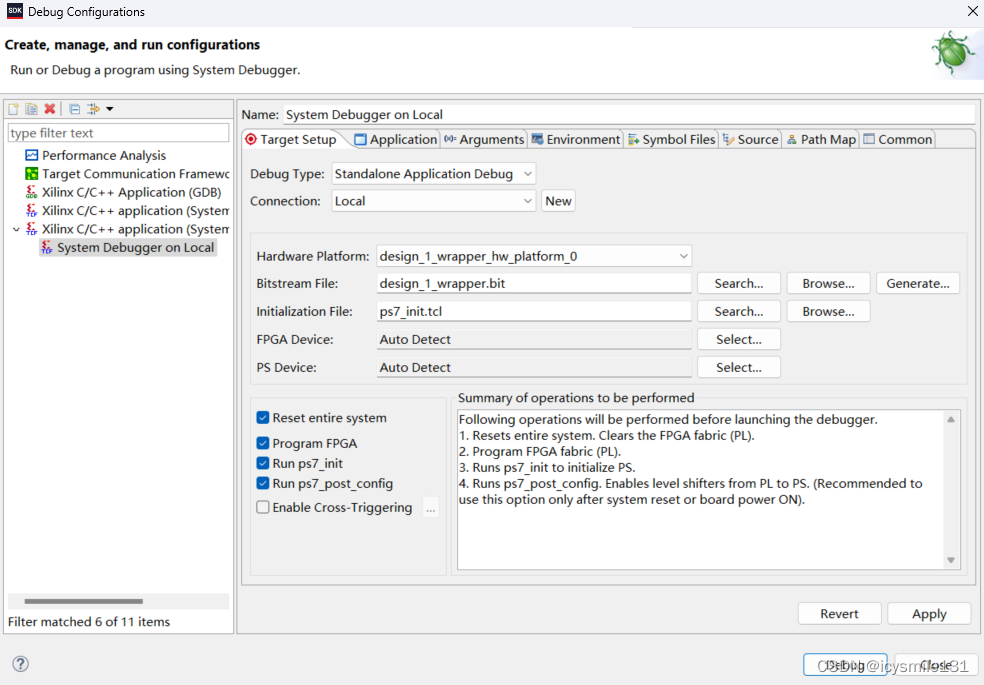
点击Run------Debug Configuration,点击Xilinx C/C++ application(System Debugger)下的System Debugger on Local,配置如下:
3 加电运行
按《Xilinx SDK操作步骤详细介绍》一文详细操作步骤,波特率设置为115200,会接收到hello world字符串显示界面。