整合项目
创建config-bus-server和config-bus-consumer
启动RabbitMQ,修改demo的配置属性
使用Actuator服务推送BUS变更
1.config-bus-server项目:
(1)相关依赖:
    <dependency>
        <groupId>org.springframework.cloud</groupId>
        <artifactId>spring-cloud-config-server</artifactId>
    </dependency>
    <dependency>
        <groupId>org.springframework.cloud</groupId>
        <artifactId>spring-cloud-starter-netflix-eureka-client</artifactId>
    </dependency>
    <dependency>
        <groupId>org.springframework.cloud</groupId>
        <artifactId>spring-cloud-starter-bus-amqp</artifactId>
    </dependency>
    <dependency>
        <groupId>org.springframework.boot</groupId>
        <artifactId>spring-boot-starter-actuator</artifactId>
    </dependency>
(2)application.yml文件配置
java
spring:
  application:
    name: config-bus-server
  rabbitmq:
    host: #ip地址
    port: 5672
    username: guest
    password: guest
    virtual-host: /
    connection-timeout: 15000
  cloud:
    config:
      server:
        git:
          uri: #你的项目地址
          # 强制拉取资源文件
          force-pull: true
          default-label: main
eureka:
  client:
    serviceUrl:
      defaultZone: http://localhost:20000/eureka/

server:
  port: 60002

# actuator
management:
  endpoints:
    web:
      exposure:
        include: '*'
  security:
    enabled: false
(3)启动类
java
@SpringBootApplication
@EnableDiscoveryClient
@EnableConfigServer
public class ConfigBusServerApplication {

    public static void main(String[] args) {
        new SpringApplicationBuilder(ConfigBusServerApplication.class)
                .web(WebApplicationType.SERVLET)
                .run(args);
    }
}
(4)启动项目,进行测试:
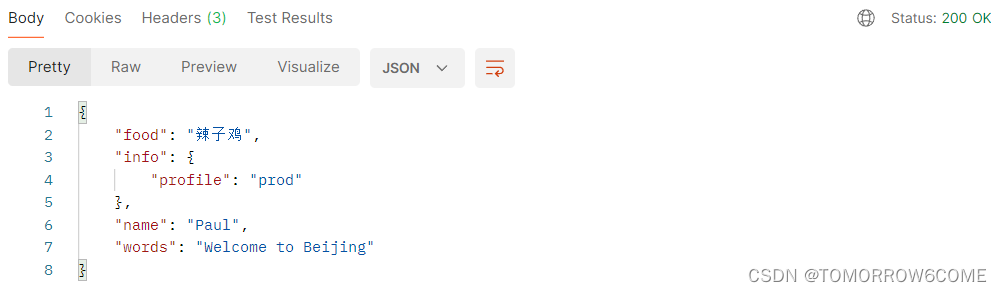
postman测试:

成功获取自定义配置的信息:
查询开放的端口信息:
http://localhost:60002/actuator
信息截图:

2.config-bus-client
(1)相关依赖
<dependency>
    <groupId>org.springframework.boot</groupId>
    <artifactId>spring-boot-starter-web</artifactId>
</dependency>

<dependency>
    <groupId>org.springframework.cloud</groupId>
    <artifactId>spring-cloud-starter-config</artifactId>
</dependency>

<dependency>
    <groupId>org.springframework.boot</groupId>
    <artifactId>spring-boot-starter-actuator</artifactId>
</dependency>

<dependency>
    <groupId>org.springframework.cloud</groupId>
    <artifactId>spring-cloud-starter-netflix-eureka-client</artifactId>
</dependency>

<!-- rabbit mq -->
<dependency>
    <groupId>org.springframework.cloud</groupId>
    <artifactId>spring-cloud-starter-bus-amqp</artifactId>
</dependency>

<!-- kafka -->
<!--<dependency>-->
<!--<groupId>org.springframework.cloud</groupId>-->
<!--<artifactId>spring-cloud-starter-bus-kafka</artifactId>-->
<!--</dependency>-->
(2).bootstrap.yml配置文件
java
spring:
  application:
    name: config-bus-client
  rabbitmq:
    host: ip地址
    port: 5672
    username: guest
    password: guest
    virtual-host: /
    connection-timeout: 15000
  cloud:
    stream:
      default-binder: rabbit
    config:
#      uri: 项目ip
      discovery:
        enabled: true
        service-id: config-bus-server
      profile: prod
      label: main
      name: config-consumer

server:
  port: 61002

myWords: ${words}

eureka:
  client:
    serviceUrl:
      defaultZone: http://localhost:20000/eureka/

management:
  security:
    enabled: false
  endpoints:
    web:
      exposure:
        include: "*"
(3)启动类
java
@SpringBootApplication
@EnableDiscoveryClient
public class ConfigBusClientApplication {

    public static void main(String[] args) {
        new SpringApplicationBuilder(ConfigBusClientApplication.class)
                .web(WebApplicationType.SERVLET)
                .run(args);
    }
}
(4)Controller
java
@RestController
public class Controller {

//    直接从外部的配置文件加载
    @Value("${name}")
    private String name;

//    首先将外部的属性注入到自己项目中的配置文件,再从配置文件中加载
    @Value("${myWords")
    private String words;

    @GetMapping("/name")
    public String getName(){
        return name;
    }

    @GetMapping("/words")
    public String getWords(){
        return words;
    }
}
(5)RefreshController
java
@RestController
@RequestMapping("/refresh")
@RefreshScope
public class RefreshController {

    @Value("${words}")
    private String words;

    @Value("${food}")
    private String food;

    @GetMapping("/words")
    public String getWords() {
        return words;
    }

    @GetMapping("/dinner")
    public String dinner(){
        return "May I have one " + food;
    }
}
(6)测试:
因为要测试批量的消息变更,所以config-bus-client需要启动多实例。
没有变更配置信息之前。
测试端口:
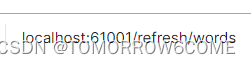
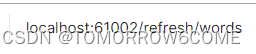
测试的结果都为:

修改配置中心配置文件。
触发刷新:

重新测试获取配置:


信息已经发生变动:

再次更新配置信息。
这次只更新61001节点

同时,61001与61002的配置信息都发生了变更。

说明:刷新请求不管是发送到配置中还是配置中心下面的节点,都会完美触发刷新动作。