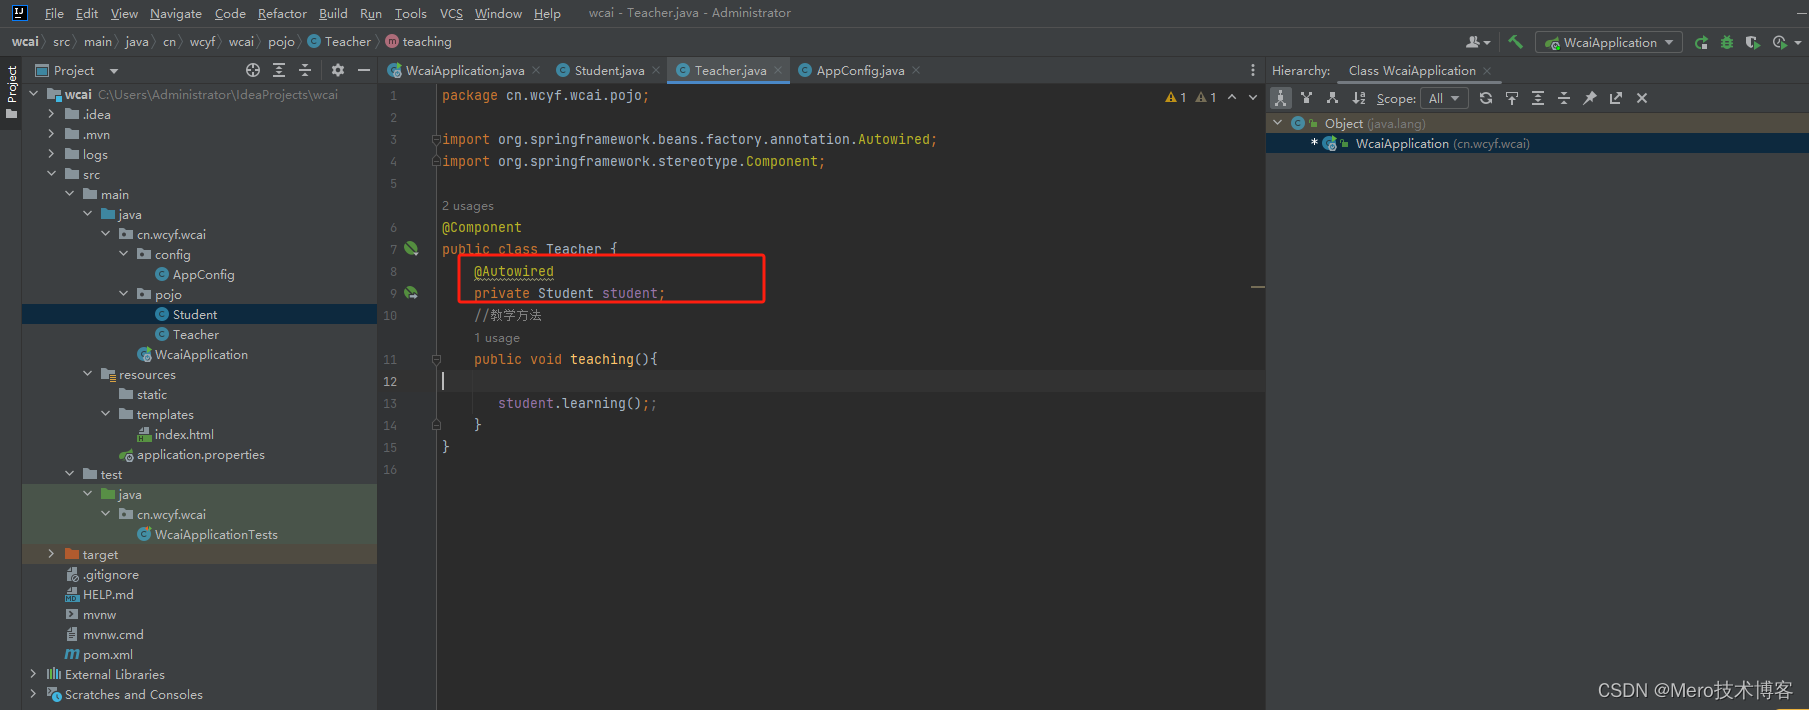
大家好,我是网创有方,今天我开始学习spring boot的第一天,一口气写了这么多。
这节通过一个非常浅显易懂的列子来讲解依赖注入。
在Spring Boot 3.x中,依赖注入(Dependency Injection, DI)是一个核心概念,它允许你定义和配置对象之间的依赖关系,而不需要显式地在代码中创建这些对象。这样可以使代码更加模块化、可测试和可维护。
下面是一个用浅显易懂的语言解释Spring Boot 3.x中依赖注入的例子:
角色和任务:
假设你有一个"学生"(Student)类和一个"教师"(Teacher)类。老师负责教学生,学生负责学习
- 学生 (
Student):学习。 - 教师 (Teacher):用来教学生学习。
手动方式(不推荐)
public class Teacher {

    //教学方法
    public void teaching(){
       Student student = new Student();
       student.learning();;
    }
}
自动注入(推荐)

第一步:声明一个Teacher类
通过@Autowired注入Student对象
Teacher.java
@Component
public class Teacher {
    @Autowired
    private Student student;
    //教学方法
    public void teaching(){

       student.learning();;
    }
}
第二步:声明一个Student类
Student.java代码如下:
@Component("student")
public class Student {
    @Value("小明")
    String  name;//姓名
    @Value("18")
    int age;//年龄

    public String getName() {
        return name;
    }

    public void setName(String name) {
        this.name = name;
    }

    public int getAge() {
        return age;
    }

    public void setAge(int age) {
        this.age = age;
    }
    //学习方法
    public void learning(){
        System.out.println("我正在学习");
    }

}
第三步:在Controller类中调用测试效果
通过调用teacher.teaching()方法测试下效果。
@SpringBootApplication
public class WcaiApplication {

    @Autowired
    private  Teacher teacher;
    public static void main(String[] args) {
        SpringApplication.run(WcaiApplication.class, args);
//        var ctx = new AnnotationConfigApplicationContext(AppConfig.class);
//        var student = ctx.getBean(Student.class);
//        System.out.println(student.getName());
//        System.out.println(student.getAge());

    }
    @Controller
    public  class HelloController {
        @GetMapping("/test")
        public String test() {
            teacher.teaching();
            return "index";
        }
    }


}
测试打印效果如下:
