目录
[1. 在官网直接下载安装即可](#1. 在官网直接下载安装即可)
[2. 安装中文插件](#2. 安装中文插件)
[1. 解压下载的压缩包,复制该文件夹下bin目录所在地址](#1. 解压下载的压缩包,复制该文件夹下bin目录所在地址)
[2. 在电脑搜索环境变量并打开](#2. 在电脑搜索环境变量并打开)
[3. 点击环境变量→选择系统变量里的Path→点击编辑按钮](#3. 点击环境变量→选择系统变量里的Path→点击编辑按钮)
[4. 点击新建](#4. 点击新建)
[5. 将刚刚复制的环境变量粘贴进去](#5. 将刚刚复制的环境变量粘贴进去)
[四. 测试环境变量配置是否成功](#四. 测试环境变量配置是否成功)
[1. win+R输入cmd进入控制台页面](#1. win+R输入cmd进入控制台页面)
[2. 输入以下代码](#2. 输入以下代码)
[3. 运行结果如下则配置成功](#3. 运行结果如下则配置成功)
[1. 安装插件C/C++](#1. 安装插件C/C++)
[2. 新建文件夹C作为C语言项目文件](#2. 新建文件夹C作为C语言项目文件)
[2.1 新建.vscode文件包括下列四个文件](#2.1 新建.vscode文件包括下列四个文件)
[2.2 c_cpp_properties.json](#2.2 c_cpp_properties.json)
[2.3 launch.json](#2.3 launch.json)
[2.4 settings.json](#2.4 settings.json)
[2.5 tasks.json](#2.5 tasks.json)
[3. 新建C++文件夹作为C++项目文件](#3. 新建C++文件夹作为C++项目文件)
[3.1 新建.vscode文件包括下列四个文件](#3.1 新建.vscode文件包括下列四个文件)
[3.2 c_cpp_properties.json](#3.2 c_cpp_properties.json)
[3.3 launch.json](#3.3 launch.json)
[3.4 settings.json](#3.4 settings.json)
[3.5 tasks.json](#3.5 tasks.json)
[1. 编写hello.c文件](#1. 编写hello.c文件)
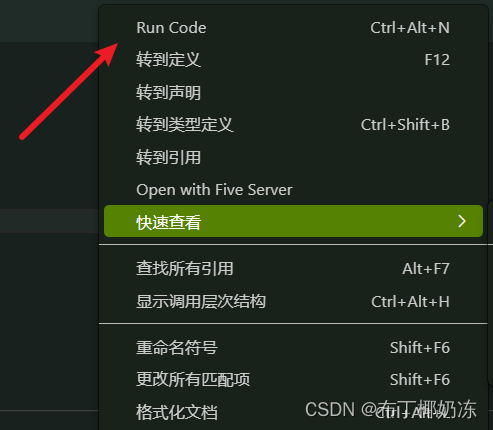
[2. 右键选择run code(需下载插件)](#2. 右键选择run code(需下载插件))
[3. 成功运行代码!](#3. 成功运行代码!)
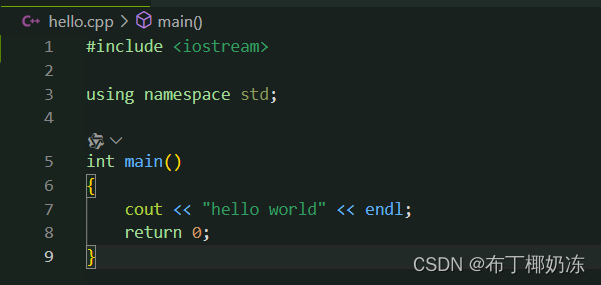
[1. 编写hello.cpp](#1. 编写hello.cpp)
[2. 右键选择run code成功运行代码](#2. 右键选择run code成功运行代码)
一、下载VScode
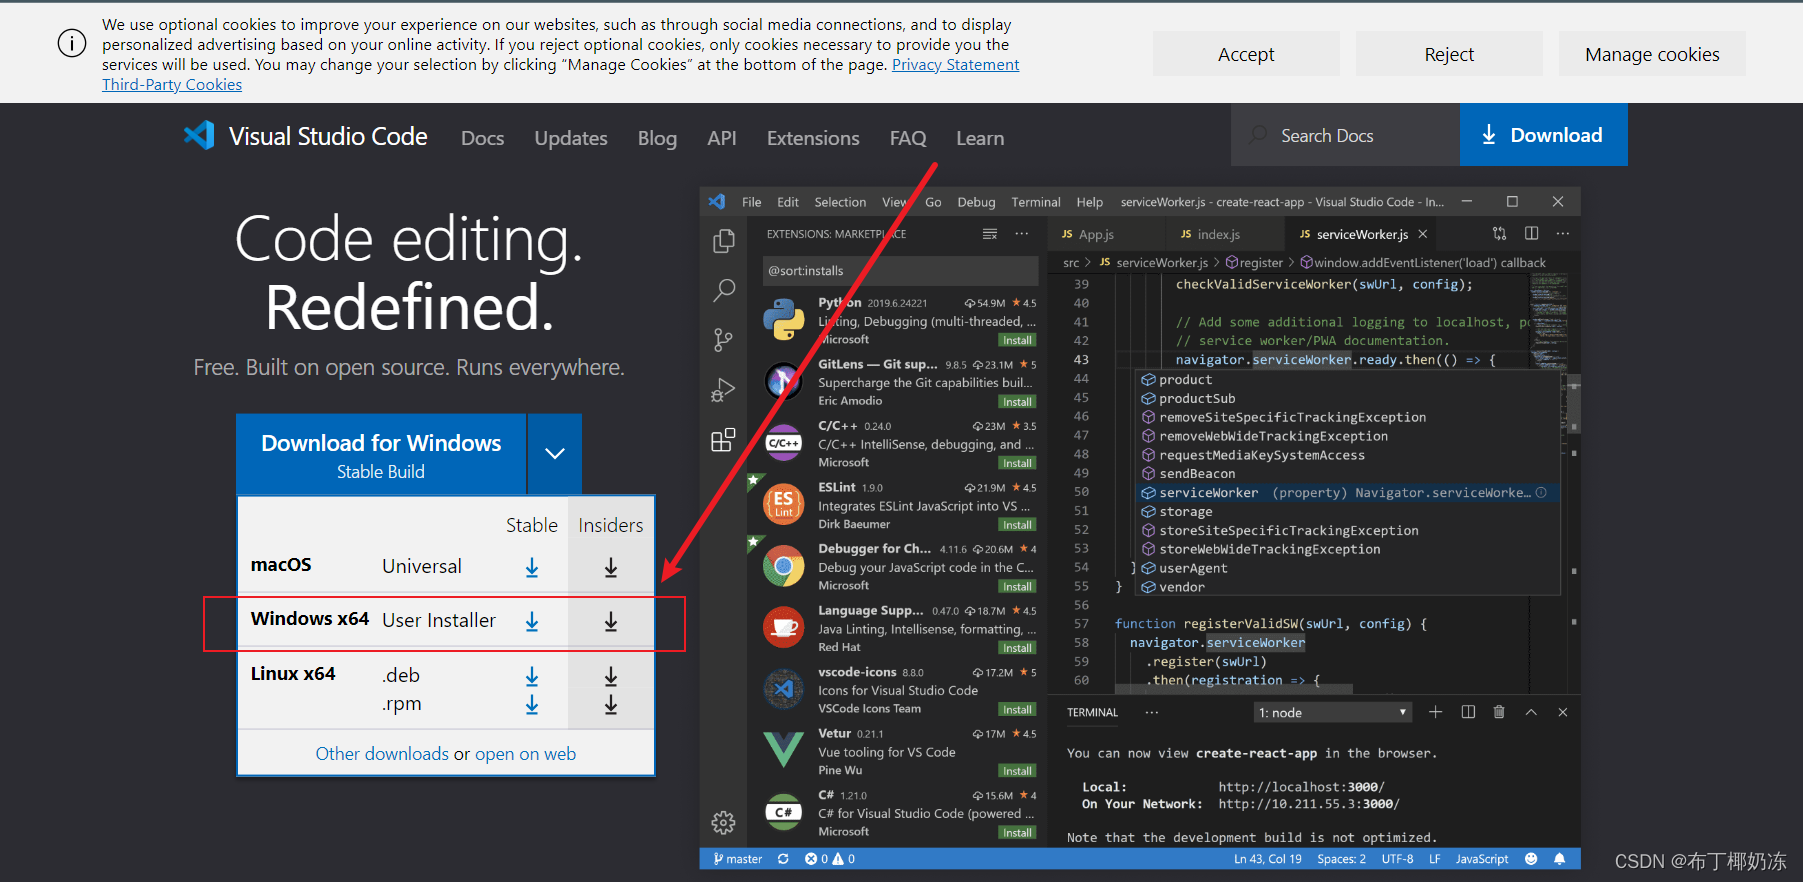
1. 在官网直接下载安装即可
Visual Studio Code - Code Editing. Redefined
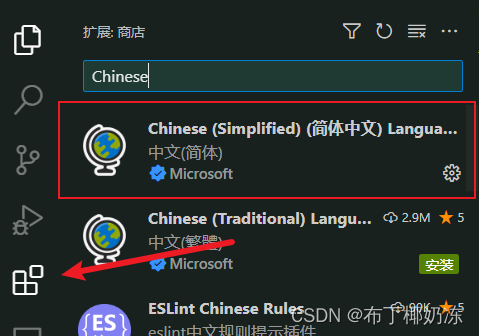
2. 安装中文插件
二、下载C语言编译器MinGW-W64
在我上传的资源中可以免费下载!!!
三、配置编译器环境变量
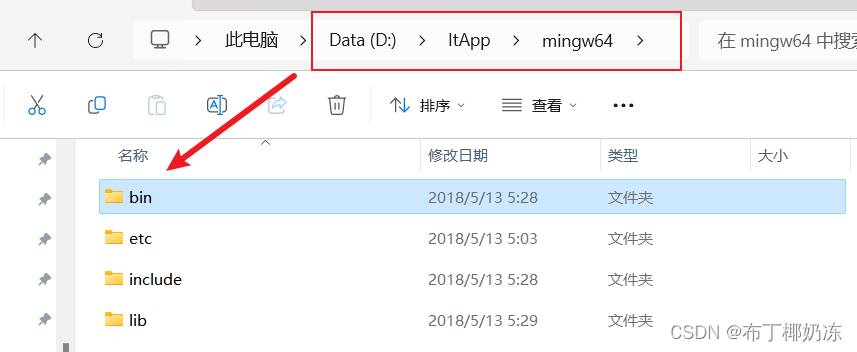
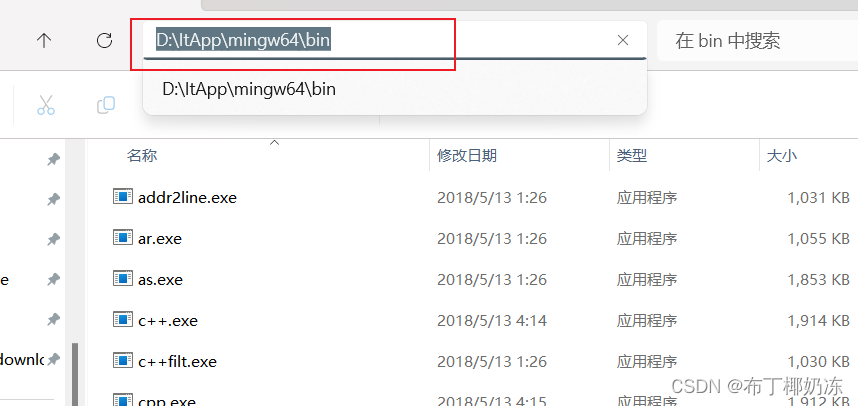
1. 解压下载的压缩包,复制该文件夹下bin目录所在地址
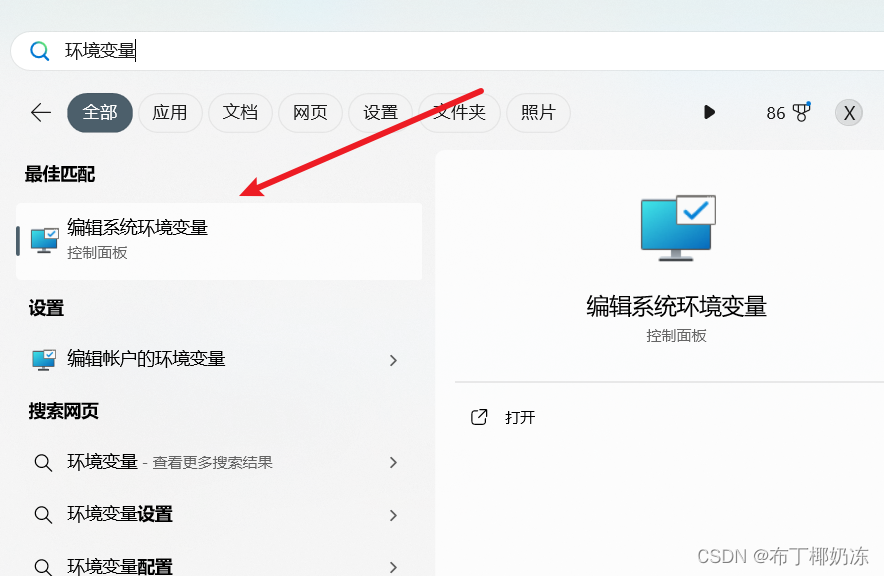
2. 在电脑搜索环境变量并打开
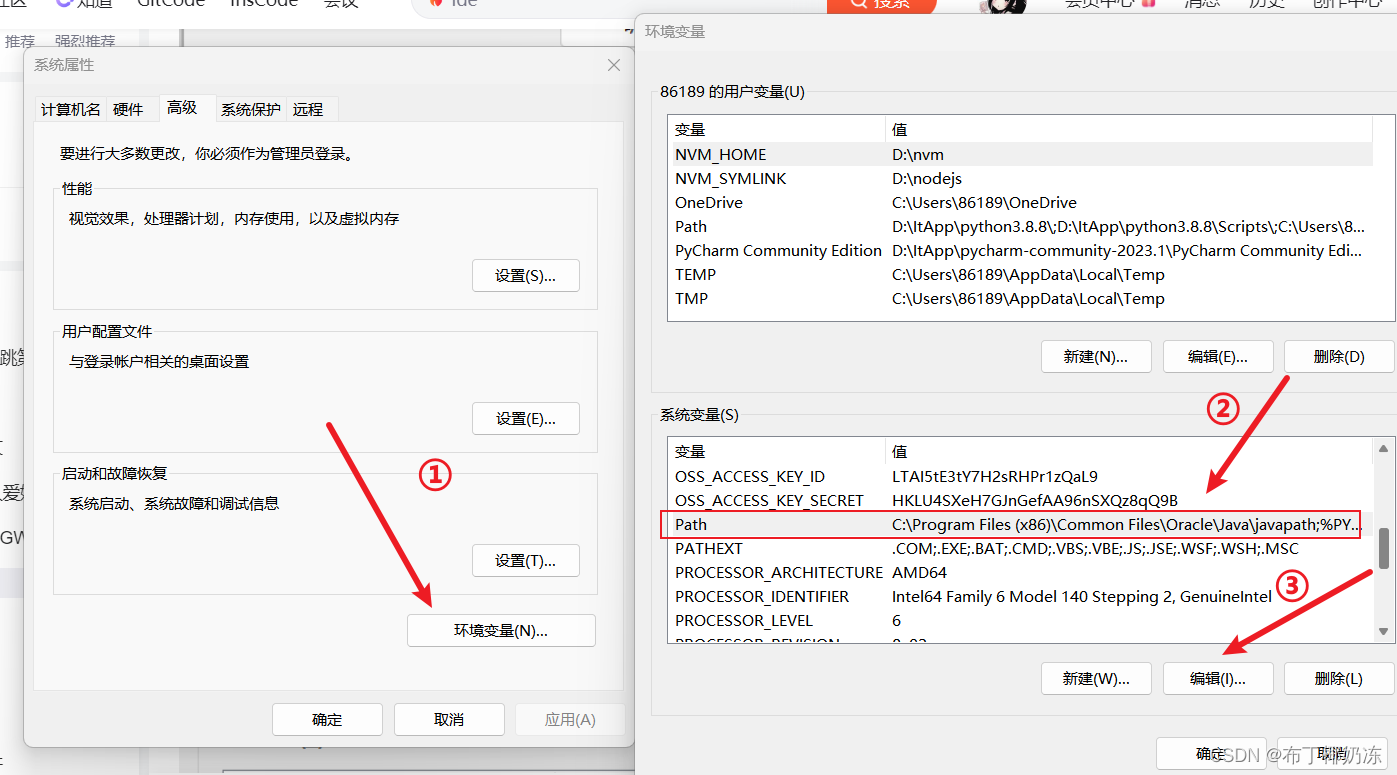
3. 点击环境变量→选择系统变量里的Path→点击编辑按钮
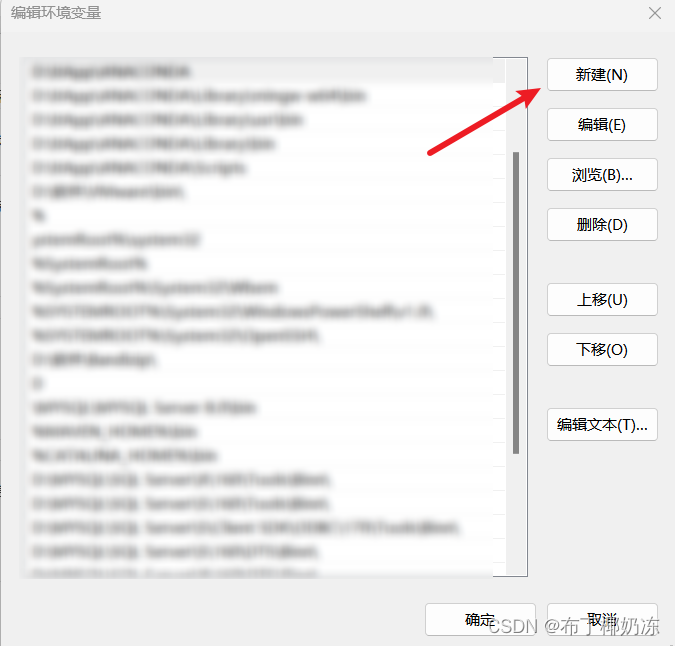
4. 点击新建
5. 将刚刚复制的环境变量粘贴进去
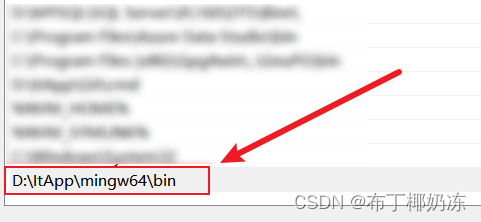
记得添加之后一路点击确认!!!
四. 测试环境变量配置是否成功
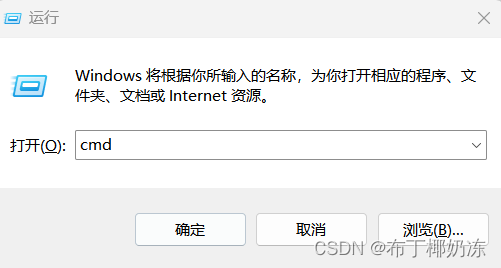
1. win+R输入cmd进入控制台页面
2. 输入以下代码
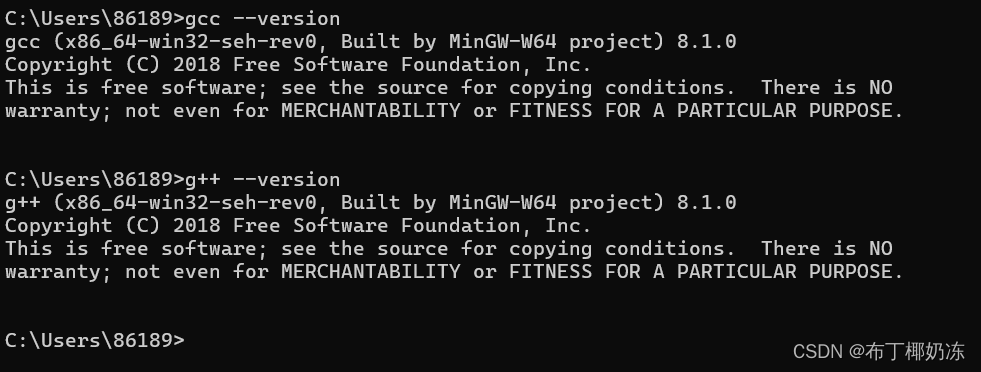
gcc --version

g++ --version
3. 运行结果如下则配置成功
五、配置VScode
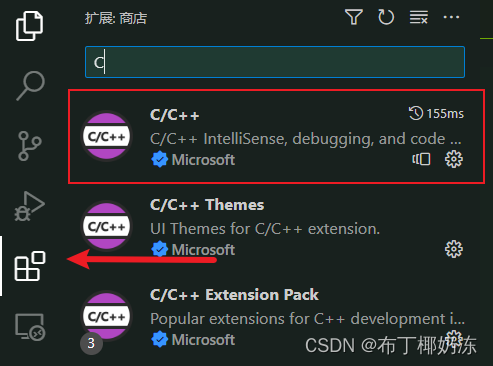
1. 安装插件C/C++
点击左上角第五个图标搜索下载
2. 新建文件夹C作为C语言项目文件
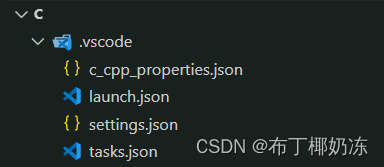
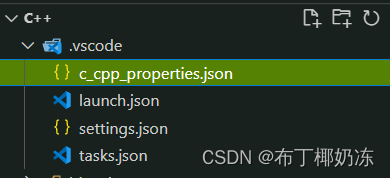
2.1 新建.vscode文件包括下列四个文件
2.2 c_cpp_properties.json
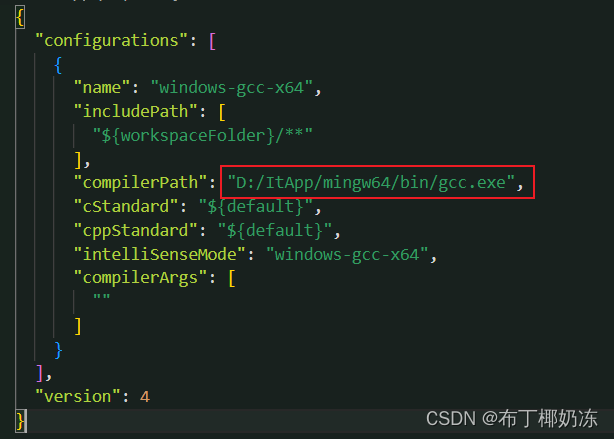
{
  "configurations": [
    {
      "name": "windows-gcc-x64",
      "includePath": [
        "${workspaceFolder}/**"
      ],
      "compilerPath": "D:/ItApp/mingw64/bin/gcc.exe",  //替换自己电脑实际路径
      "cStandard": "${default}",
      "cppStandard": "${default}",
      "intelliSenseMode": "windows-gcc-x64",
      "compilerArgs": [
        ""
      ]
    }
  ],
  "version": 4
}
2.3 launch.json
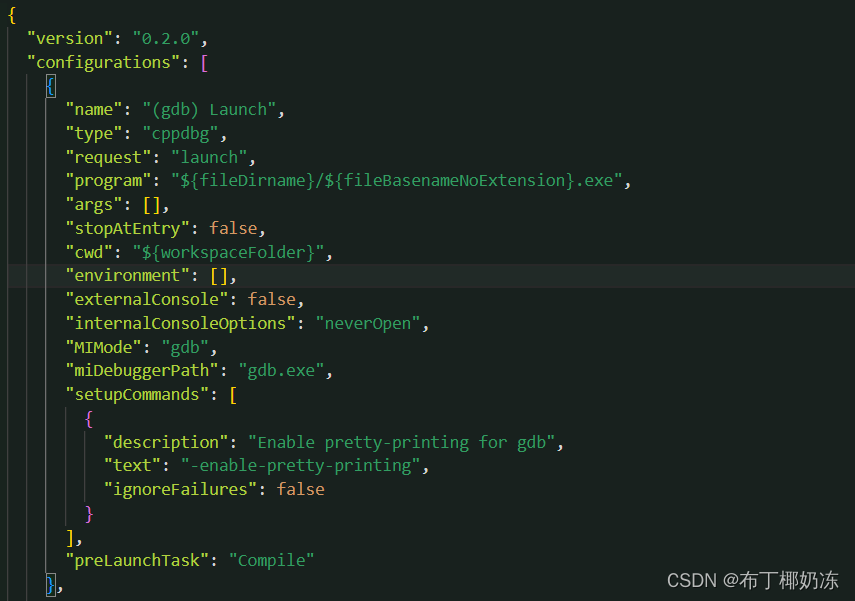
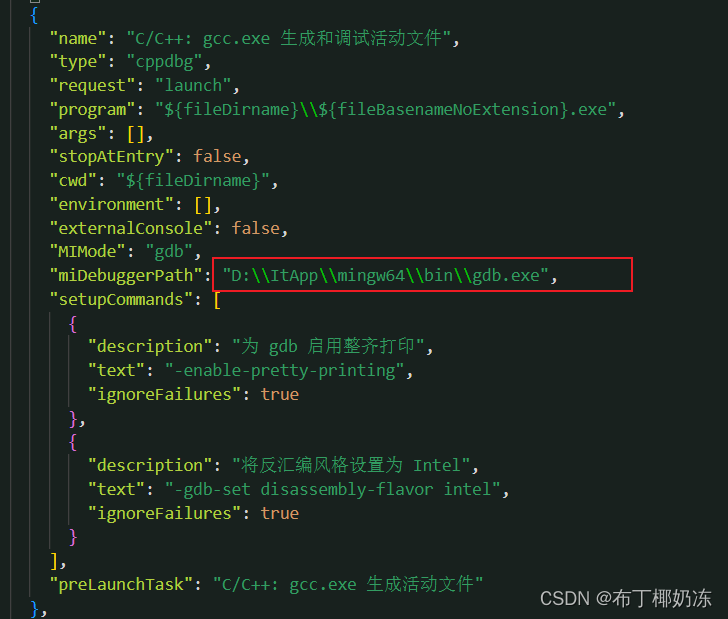
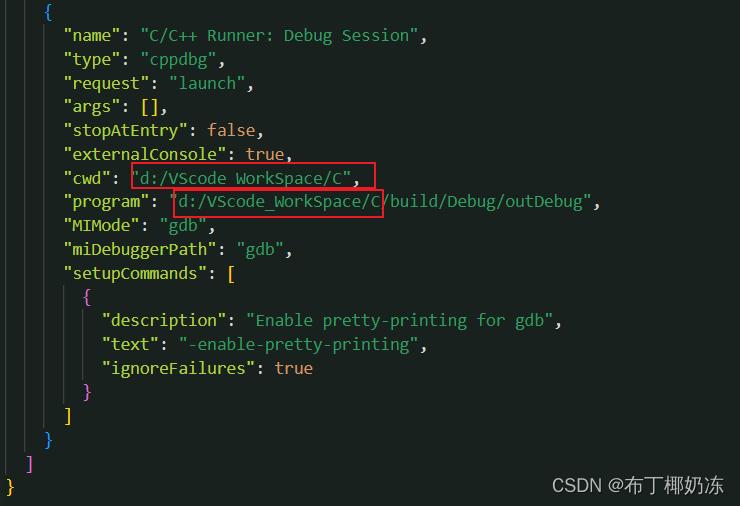
{
  "version": "0.2.0",
  "configurations": [
    {
      "name": "(gdb) Launch",
      "type": "cppdbg",
      "request": "launch",
      "program": "${fileDirname}/${fileBasenameNoExtension}.exe",
      "args": [],
      "stopAtEntry": false,
      "cwd": "${workspaceFolder}",
      "environment": [],
      "externalConsole": false,
      "internalConsoleOptions": "neverOpen",
      "MIMode": "gdb",
      "miDebuggerPath": "gdb.exe",
      "setupCommands": [
        {
          "description": "Enable pretty-printing for gdb",
          "text": "-enable-pretty-printing",
          "ignoreFailures": false
        }
      ],
      "preLaunchTask": "Compile"
    },
    {
      "name": "C/C++: gcc.exe 生成和调试活动文件",
      "type": "cppdbg",
      "request": "launch",
      "program": "${fileDirname}\\${fileBasenameNoExtension}.exe",
      "args": [],
      "stopAtEntry": false,
      "cwd": "${fileDirname}",
      "environment": [],
      "externalConsole": false,
      "MIMode": "gdb",
      "miDebuggerPath": "D:\\ItApp\\mingw64\\bin\\gdb.exe", //替换自己电脑实际路径
      "setupCommands": [
        {
          "description": "为 gdb 启用整齐打印",
          "text": "-enable-pretty-printing",
          "ignoreFailures": true
        },
        {
          "description": "将反汇编风格设置为 Intel",
          "text": "-gdb-set disassembly-flavor intel",
          "ignoreFailures": true
        }
      ],
      "preLaunchTask": "C/C++: gcc.exe 生成活动文件"
    },
    {
      "name": "C/C++ Runner: Debug Session",
      "type": "cppdbg",
      "request": "launch",
      "args": [],
      "stopAtEntry": false,
      "externalConsole": true,
      "cwd": "d:/VScode_WorkSpace/C", //替换自己电脑实际路径
      "program": "d:/VScode_WorkSpace/C/build/Debug/outDebug", //替换自己电脑实际路径
      "MIMode": "gdb",
      "miDebuggerPath": "gdb",
      "setupCommands": [
        {
          "description": "Enable pretty-printing for gdb",
          "text": "-enable-pretty-printing",
          "ignoreFailures": true
        }
      ]
    }
  ]
}
2.4 settings.json
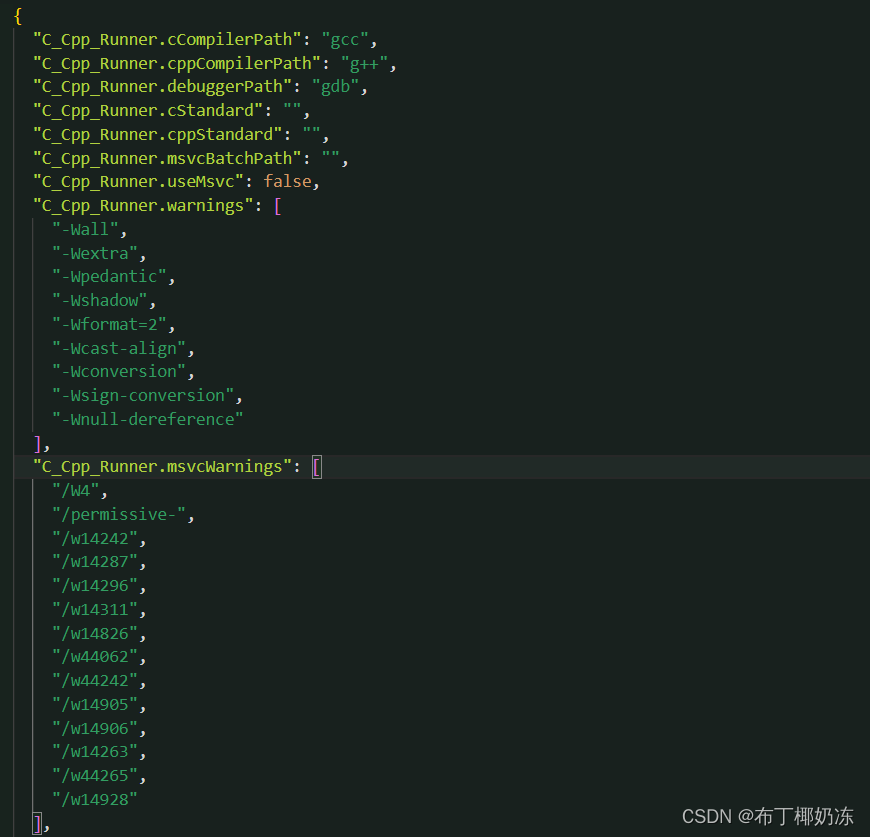
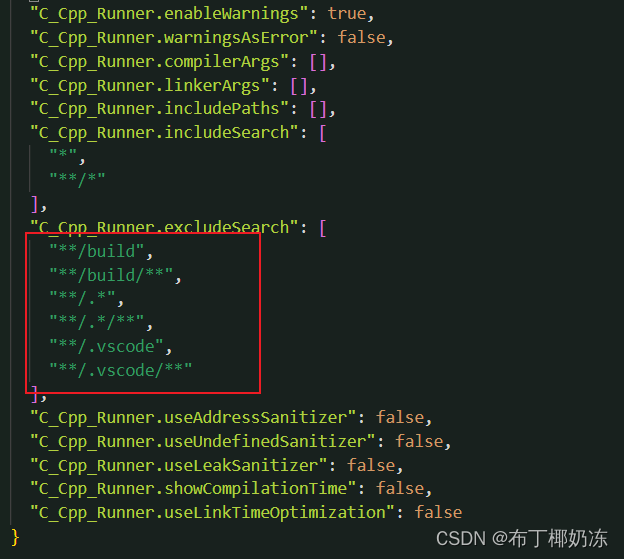
{
  "C_Cpp_Runner.cCompilerPath": "gcc",
  "C_Cpp_Runner.cppCompilerPath": "g++",
  "C_Cpp_Runner.debuggerPath": "gdb",
  "C_Cpp_Runner.cStandard": "",
  "C_Cpp_Runner.cppStandard": "",
  "C_Cpp_Runner.msvcBatchPath": "",
  "C_Cpp_Runner.useMsvc": false,
  "C_Cpp_Runner.warnings": [
    "-Wall",
    "-Wextra",
    "-Wpedantic",
    "-Wshadow",
    "-Wformat=2",
    "-Wcast-align",
    "-Wconversion",
    "-Wsign-conversion",
    "-Wnull-dereference"
  ],
  "C_Cpp_Runner.msvcWarnings": [
    "/W4",
    "/permissive-",
    "/w14242",
    "/w14287",
    "/w14296",
    "/w14311",
    "/w14826",
    "/w44062",
    "/w44242",
    "/w14905",
    "/w14906",
    "/w14263",
    "/w44265",
    "/w14928"
  ],
  "C_Cpp_Runner.enableWarnings": true,
  "C_Cpp_Runner.warningsAsError": false,
  "C_Cpp_Runner.compilerArgs": [],
  "C_Cpp_Runner.linkerArgs": [],
  "C_Cpp_Runner.includePaths": [],
  "C_Cpp_Runner.includeSearch": [
    "*",
    "**/*"
  ],
  "C_Cpp_Runner.excludeSearch": [
    "**/build",
    "**/build/**",
    "**/.*",
    "**/.*/**",
    "**/.vscode",
    "**/.vscode/**"
  ],
  "C_Cpp_Runner.useAddressSanitizer": false,
  "C_Cpp_Runner.useUndefinedSanitizer": false,
  "C_Cpp_Runner.useLeakSanitizer": false,
  "C_Cpp_Runner.showCompilationTime": false,
  "C_Cpp_Runner.useLinkTimeOptimization": false
}
2.5 tasks.json
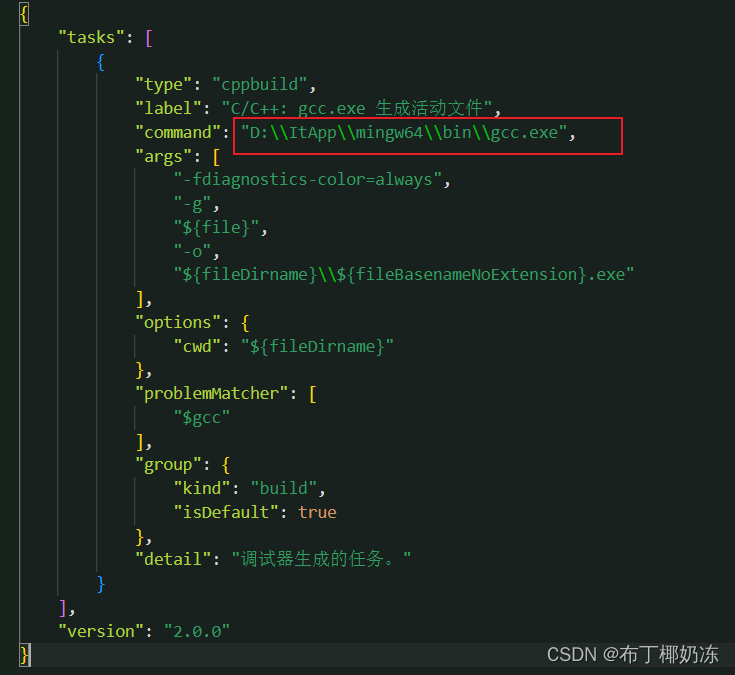
{
    "tasks": [
        {
            "type": "cppbuild",
            "label": "C/C++: gcc.exe 生成活动文件",
            "command": "D:\\ItApp\\mingw64\\bin\\gcc.exe", //替换自己电脑实际路径
            "args": [
                "-fdiagnostics-color=always",
                "-g",
                "${file}",
                "-o",
                "${fileDirname}\\${fileBasenameNoExtension}.exe"
            ],
            "options": {
                "cwd": "${fileDirname}"
            },
            "problemMatcher": [
                "$gcc"
            ],
            "group": {
                "kind": "build",
                "isDefault": true
            },
            "detail": "调试器生成的任务。"
        }
    ],
    "version": "2.0.0"
}
3. 新建C++文件夹作为C++项目文件
3.1 新建.vscode文件包括下列四个文件
3.2 c_cpp_properties.json
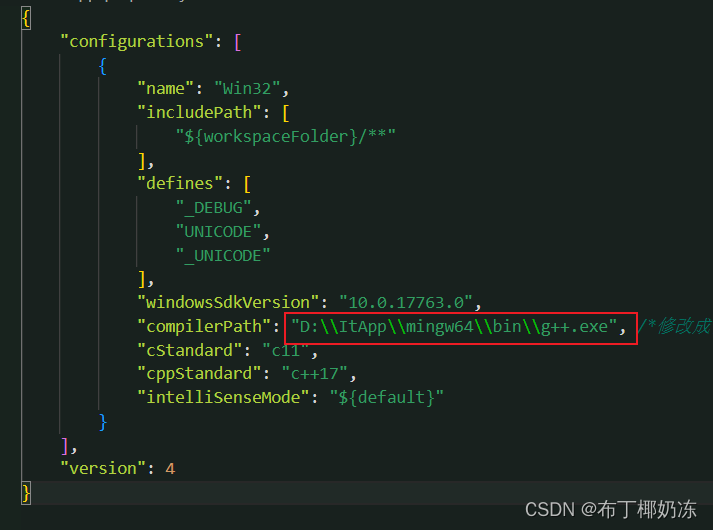
{
    "configurations": [
        {
            "name": "Win32",
            "includePath": [
                "${workspaceFolder}/**"
            ],
            "defines": [
                "_DEBUG",
                "UNICODE",
                "_UNICODE"
            ],
            "windowsSdkVersion": "10.0.17763.0",
            "compilerPath": "D:\\ItApp\\mingw64\\bin\\g++.exe", /*修改成自己bin目录下的g++.exe,这里的路径和电脑里复制的文件目录有一点不一样,这里是两个反斜杠\\*/
            "cStandard": "c11",
            "cppStandard": "c++17",
            "intelliSenseMode": "${default}"
        }
    ],
    "version": 4
}
3.3 launch.json
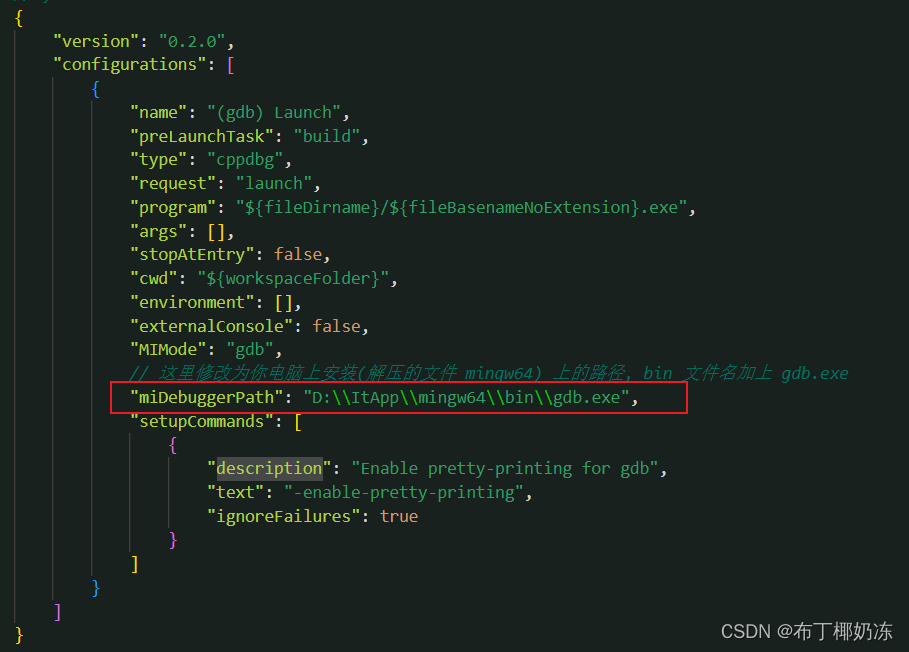
{
    "version": "0.2.0",
    "configurations": [
        {
            "name": "(gdb) Launch",
            "preLaunchTask": "build",
            "type": "cppdbg",
            "request": "launch",
            "program": "${fileDirname}/${fileBasenameNoExtension}.exe",
            "args": [],
            "stopAtEntry": false,
            "cwd": "${workspaceFolder}",
            "environment": [],
            "externalConsole": false,
            "MIMode": "gdb",
            // 这里修改为你电脑上安装(解压的文件 mingw64) 上的路径, bin 文件名加上 gdb.exe
            "miDebuggerPath": "D:\\ItApp\\mingw64\\bin\\gdb.exe",
            "setupCommands": [
                {
                    "description": "Enable pretty-printing for gdb",
                    "text": "-enable-pretty-printing",
                    "ignoreFailures": true
                }
            ]
        }
    ]
}
3.4 settings.json
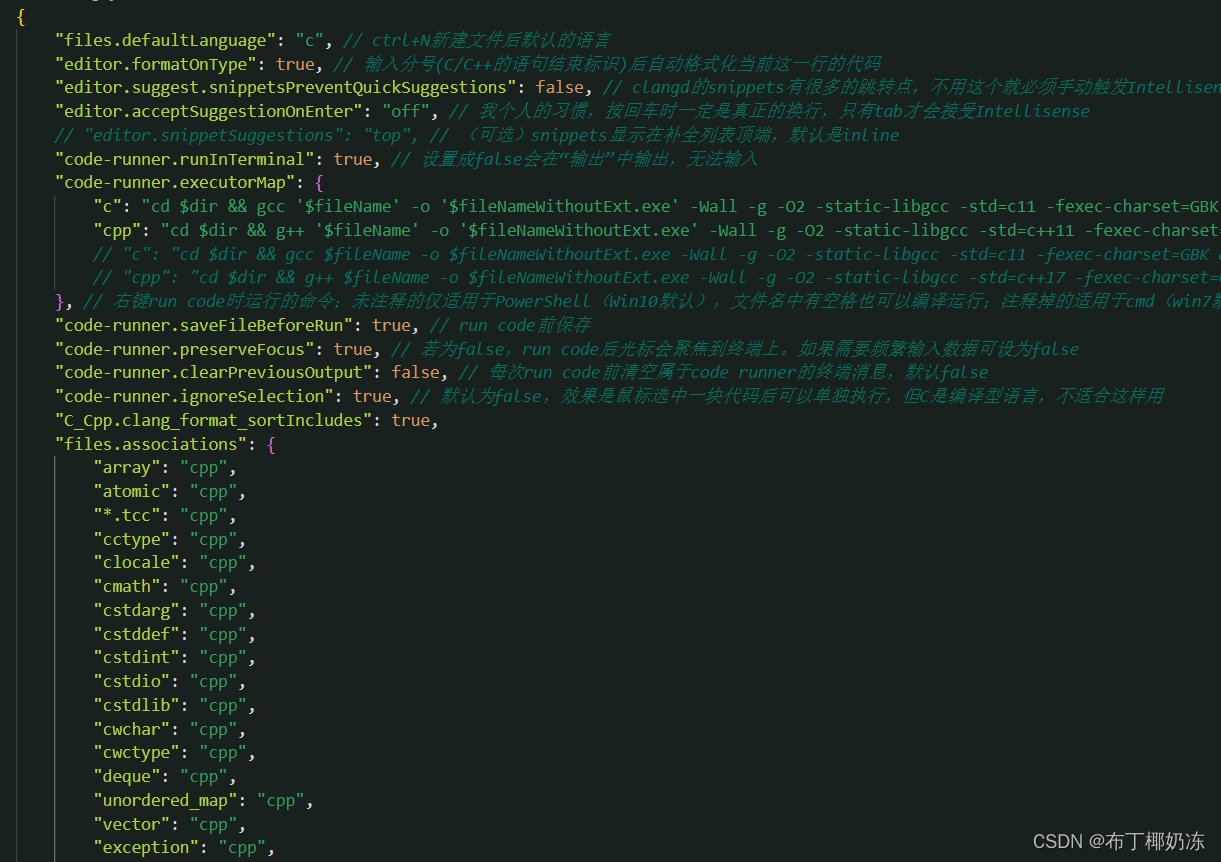
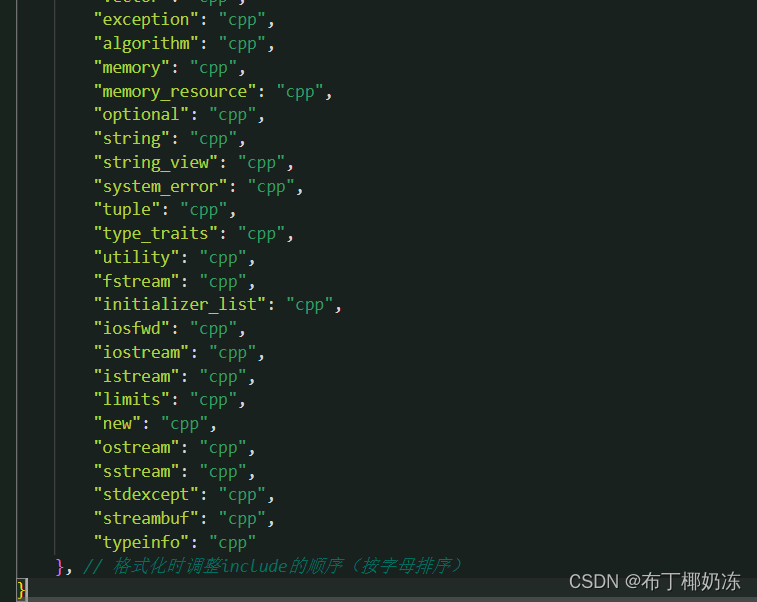
{
    "files.defaultLanguage": "c", // ctrl+N新建文件后默认的语言
    "editor.formatOnType": true, // 输入分号(C/C++的语句结束标识)后自动格式化当前这一行的代码
    "editor.suggest.snippetsPreventQuickSuggestions": false, // clangd的snippets有很多的跳转点,不用这个就必须手动触发Intellisense了
    "editor.acceptSuggestionOnEnter": "off", // 我个人的习惯,按回车时一定是真正的换行,只有tab才会接受Intellisense
    // "editor.snippetSuggestions": "top", // (可选)snippets显示在补全列表顶端,默认是inline
    "code-runner.runInTerminal": true, // 设置成false会在"输出"中输出,无法输入
    "code-runner.executorMap": {
        "c": "cd $dir && gcc '$fileName' -o '$fileNameWithoutExt.exe' -Wall -g -O2 -static-libgcc -std=c11 -fexec-charset=GBK && &'$dir$fileNameWithoutExt'",
        "cpp": "cd $dir && g++ '$fileName' -o '$fileNameWithoutExt.exe' -Wall -g -O2 -static-libgcc -std=c++11 -fexec-charset=GBK && &'$dir$fileNameWithoutExt'"
        // "c": "cd $dir && gcc $fileName -o $fileNameWithoutExt.exe -Wall -g -O2 -static-libgcc -std=c11 -fexec-charset=GBK && $dir$fileNameWithoutExt",
        // "cpp": "cd $dir && g++ $fileName -o $fileNameWithoutExt.exe -Wall -g -O2 -static-libgcc -std=c++17 -fexec-charset=GBK && $dir$fileNameWithoutExt"
    }, // 右键run code时运行的命令;未注释的仅适用于PowerShell(Win10默认),文件名中有空格也可以编译运行;注释掉的适用于cmd(win7默认),PS和bash也能用,但文件名中有空格时无法运行
    "code-runner.saveFileBeforeRun": true, // run code前保存
    "code-runner.preserveFocus": true, // 若为false,run code后光标会聚焦到终端上。如果需要频繁输入数据可设为false
    "code-runner.clearPreviousOutput": false, // 每次run code前清空属于code runner的终端消息,默认false
    "code-runner.ignoreSelection": true, // 默认为false,效果是鼠标选中一块代码后可以单独执行,但C是编译型语言,不适合这样用
    "C_Cpp.clang_format_sortIncludes": true,
    "files.associations": {
        "array": "cpp",
        "atomic": "cpp",
        "*.tcc": "cpp",
        "cctype": "cpp",
        "clocale": "cpp",
        "cmath": "cpp",
        "cstdarg": "cpp",
        "cstddef": "cpp",
        "cstdint": "cpp",
        "cstdio": "cpp",
        "cstdlib": "cpp",
        "cwchar": "cpp",
        "cwctype": "cpp",
        "deque": "cpp",
        "unordered_map": "cpp",
        "vector": "cpp",
        "exception": "cpp",
        "algorithm": "cpp",
        "memory": "cpp",
        "memory_resource": "cpp",
        "optional": "cpp",
        "string": "cpp",
        "string_view": "cpp",
        "system_error": "cpp",
        "tuple": "cpp",
        "type_traits": "cpp",
        "utility": "cpp",
        "fstream": "cpp",
        "initializer_list": "cpp",
        "iosfwd": "cpp",
        "iostream": "cpp",
        "istream": "cpp",
        "limits": "cpp",
        "new": "cpp",
        "ostream": "cpp",
        "sstream": "cpp",
        "stdexcept": "cpp",
        "streambuf": "cpp",
        "typeinfo": "cpp"
    }, // 格式化时调整include的顺序(按字母排序)
}
3.5 tasks.json
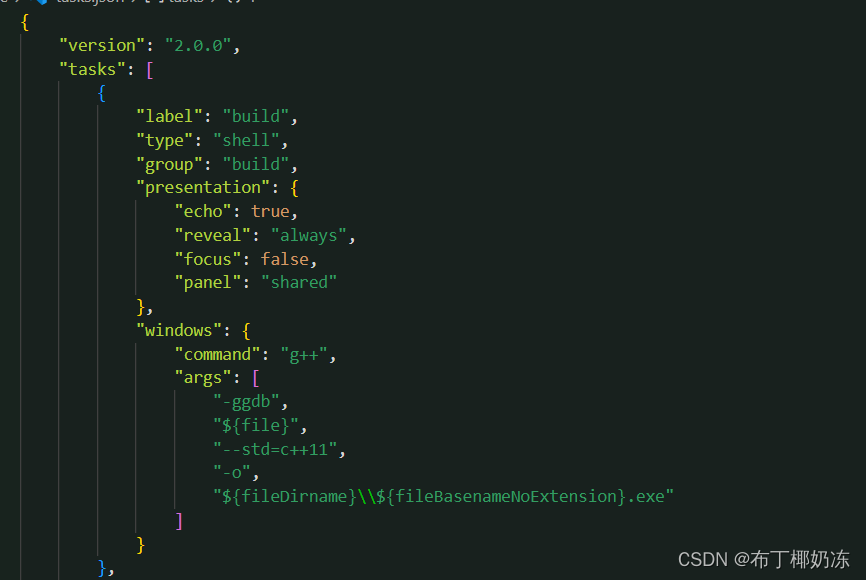
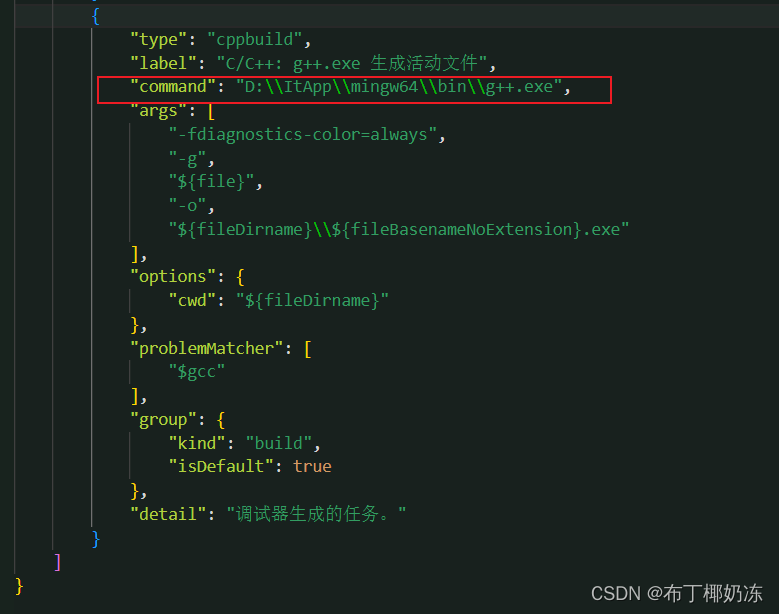
{
    "version": "2.0.0",
    "tasks": [
        {
            "label": "build",
            "type": "shell",
            "group": "build",
            "presentation": {
                "echo": true,
                "reveal": "always",
                "focus": false,
                "panel": "shared"
            },
            "windows": {
                "command": "g++",
                "args": [
                    "-ggdb",
                    "${file}",
                    "--std=c++11",
                    "-o",
                    "${fileDirname}\\${fileBasenameNoExtension}.exe"
                ]
            }
        },
        {
            "type": "cppbuild",
            "label": "C/C++: g++.exe 生成活动文件",
            "command": "D:\\ItApp\\mingw64\\bin\\g++.exe",  //替换自己电脑实际路径
            "args": [
                "-fdiagnostics-color=always",
                "-g",
                "${file}",
                "-o",
                "${fileDirname}\\${fileBasenameNoExtension}.exe"
            ],
            "options": {
                "cwd": "${fileDirname}"
            },
            "problemMatcher": [
                "$gcc"
            ],
            "group": {
                "kind": "build",
                "isDefault": true
            },
            "detail": "调试器生成的任务。"
        }
    ]
}
六、重启VScode
配置完成之后一般重启一下才会生效。
七、编写C语言程序测试
1. 编写hello.c文件
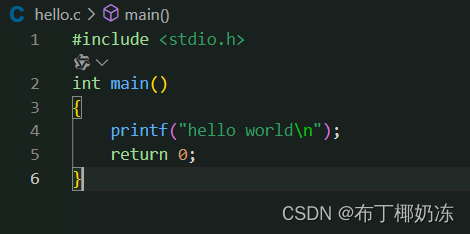
cs
// hello.c

#include <stdio.h>
int main()
{
    printf("hello world\n");
    return 0;
}
2. 右键选择run code(需下载插件)
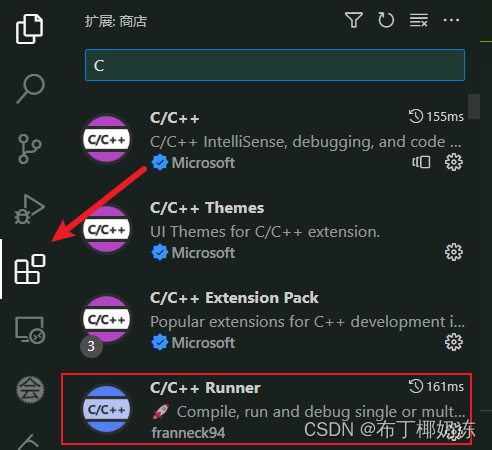
3. 成功运行代码!

八、编写C++程序测试
1. 编写hello.cpp
cs
#include <iostream>

using namespace std;

int main()
{
    cout << "hello world" << endl;
    return 0;
}
2. 右键选择run code成功运行代码
