jenkins发布java项目
- 一、环境描述
- 二、部署tomcat业务服务器
- 三、部署git服务器,上传测试代码
- 四、jenkins对接组件
- 五、创建发布java项目的任务
- 六、测试项目更新
-
- 1、手动触发更新
- 2、通过webhook自动更新
-
- [2.1 修改项目的构建触发器](#2.1 修改项目的构建触发器)
- [2.2 在git服务器上配置webhook地址](#2.2 在git服务器上配置webhook地址)
- [七、Jenkins file](#七、Jenkins file)
一、环境描述
192.168.140.10 jenkins.linux.com
192.168.140.11 git服务器,存放项目源码
192.168.140.12 tomcat业务服务器
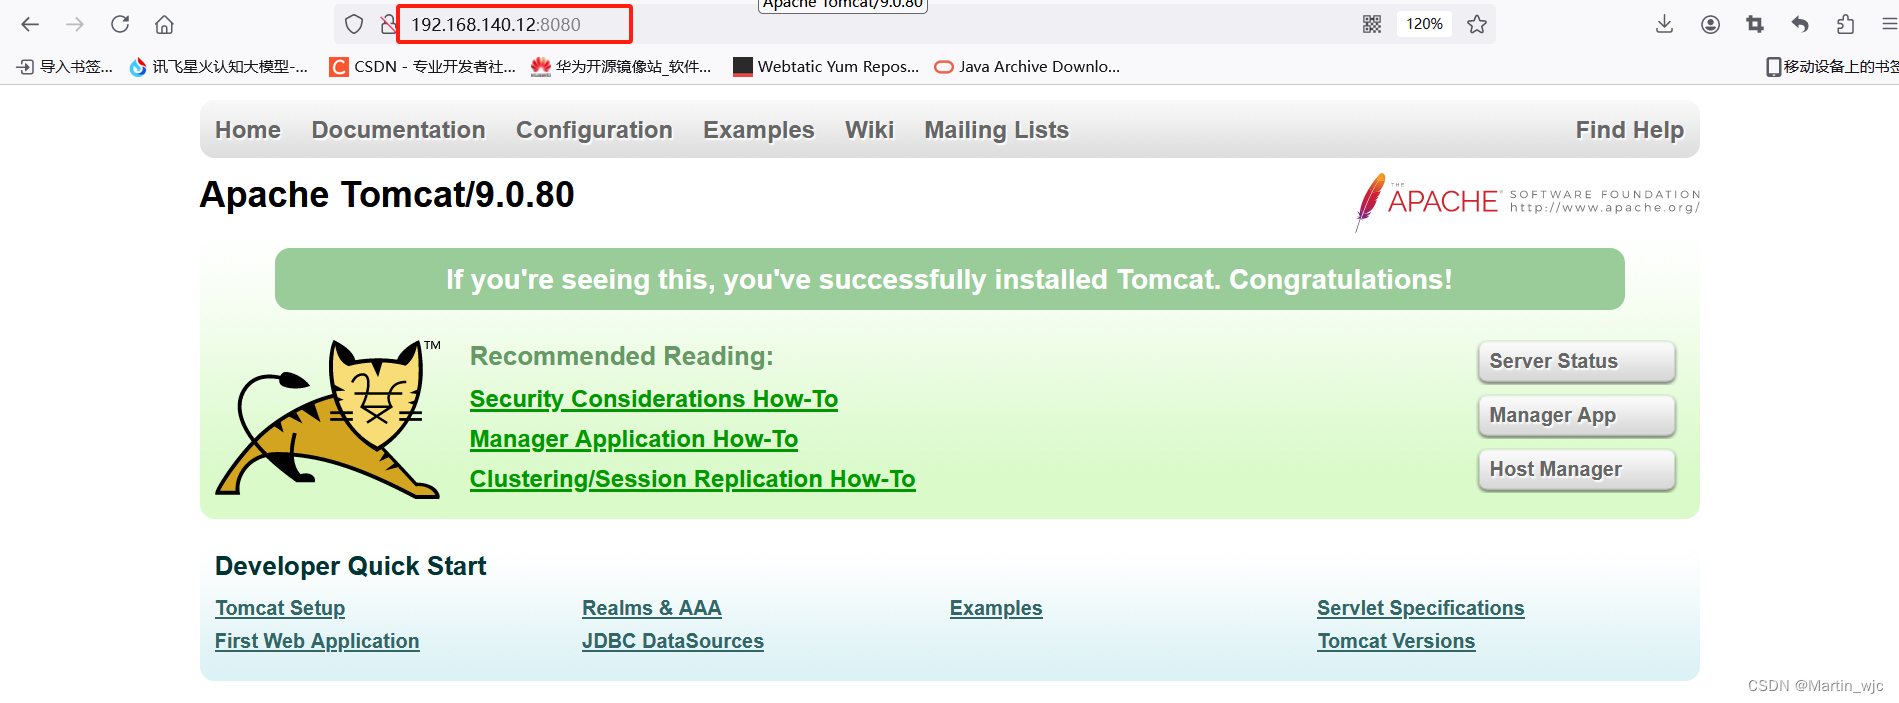
二、部署tomcat业务服务器
三、部署git服务器,上传测试代码
1、部署git服务器
bash
[root@gitlab ~]# cat /etc/hosts
127.0.0.1   localhost localhost.localdomain localhost4 localhost4.localdomain4
::1         localhost localhost.localdomain localhost6 localhost6.localdomain6

192.168.140.11	gitlab.linux.com
bash
[root@gitlab ~]# yum install -y gitlab-ce-10.1.5-ce.0.el7.x86_64.rpm

[root@gitlab ~]# vim /etc/gitlab/gitlab.rb
external_url 'http://gitlab.linux.com'

[root@gitlab ~]# gitlab-ctl reconfigure 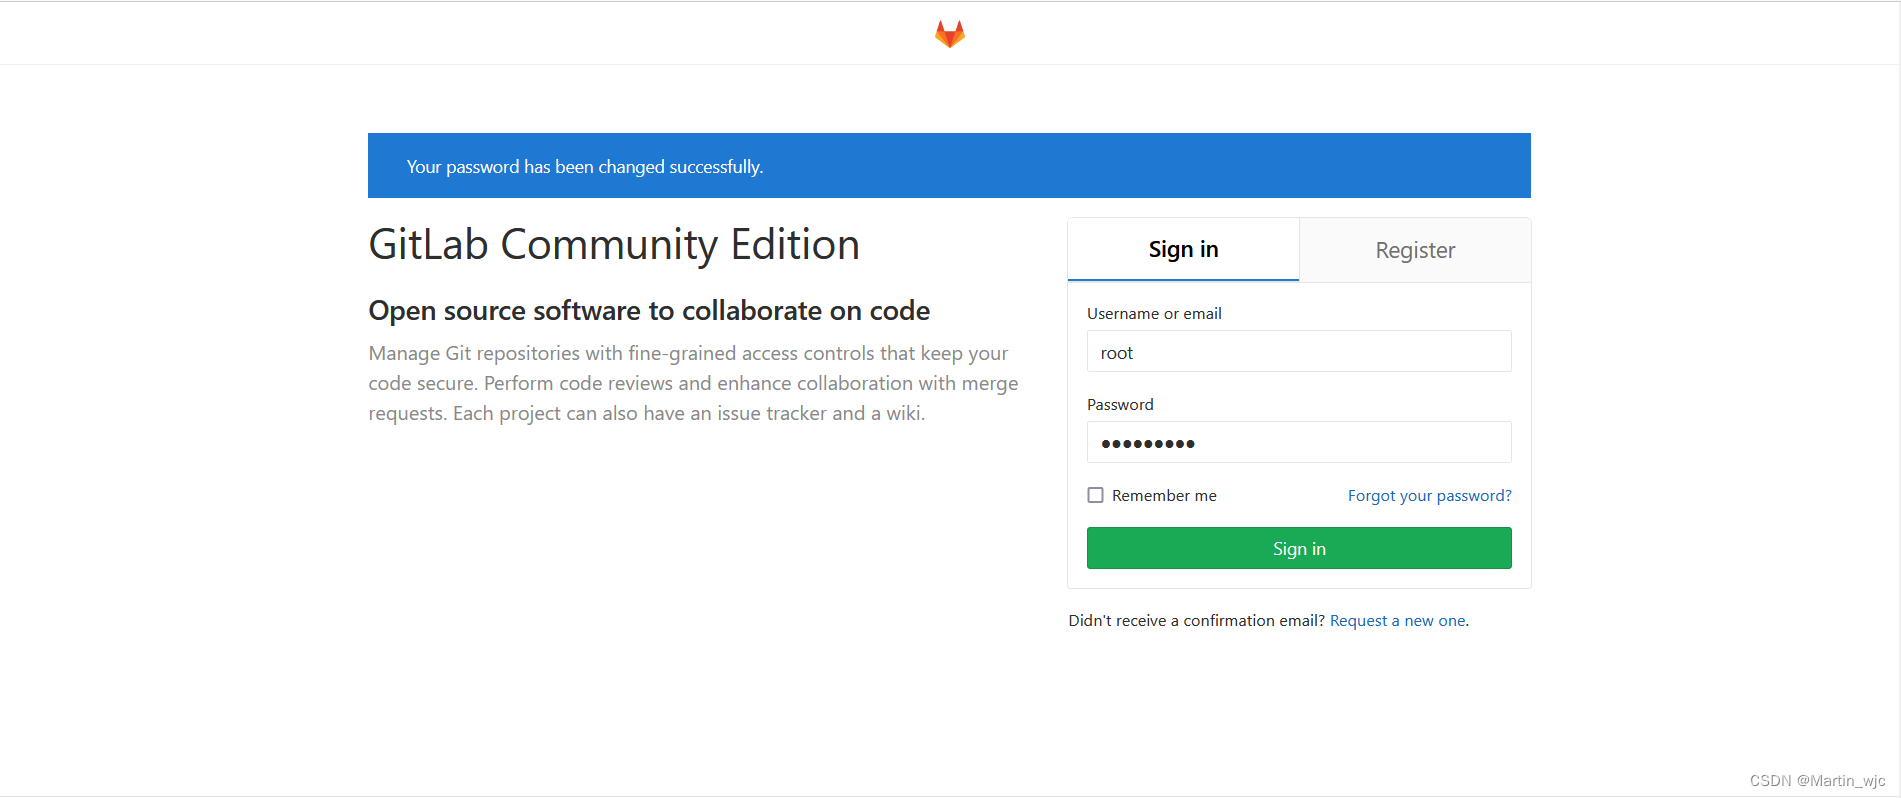

2、上传测试代码
bash
$ git init
$ git add ./*
$ git commit -m "Initial commit"

$ git remote add origin <自己的仓库地址>
$ git push -u origin master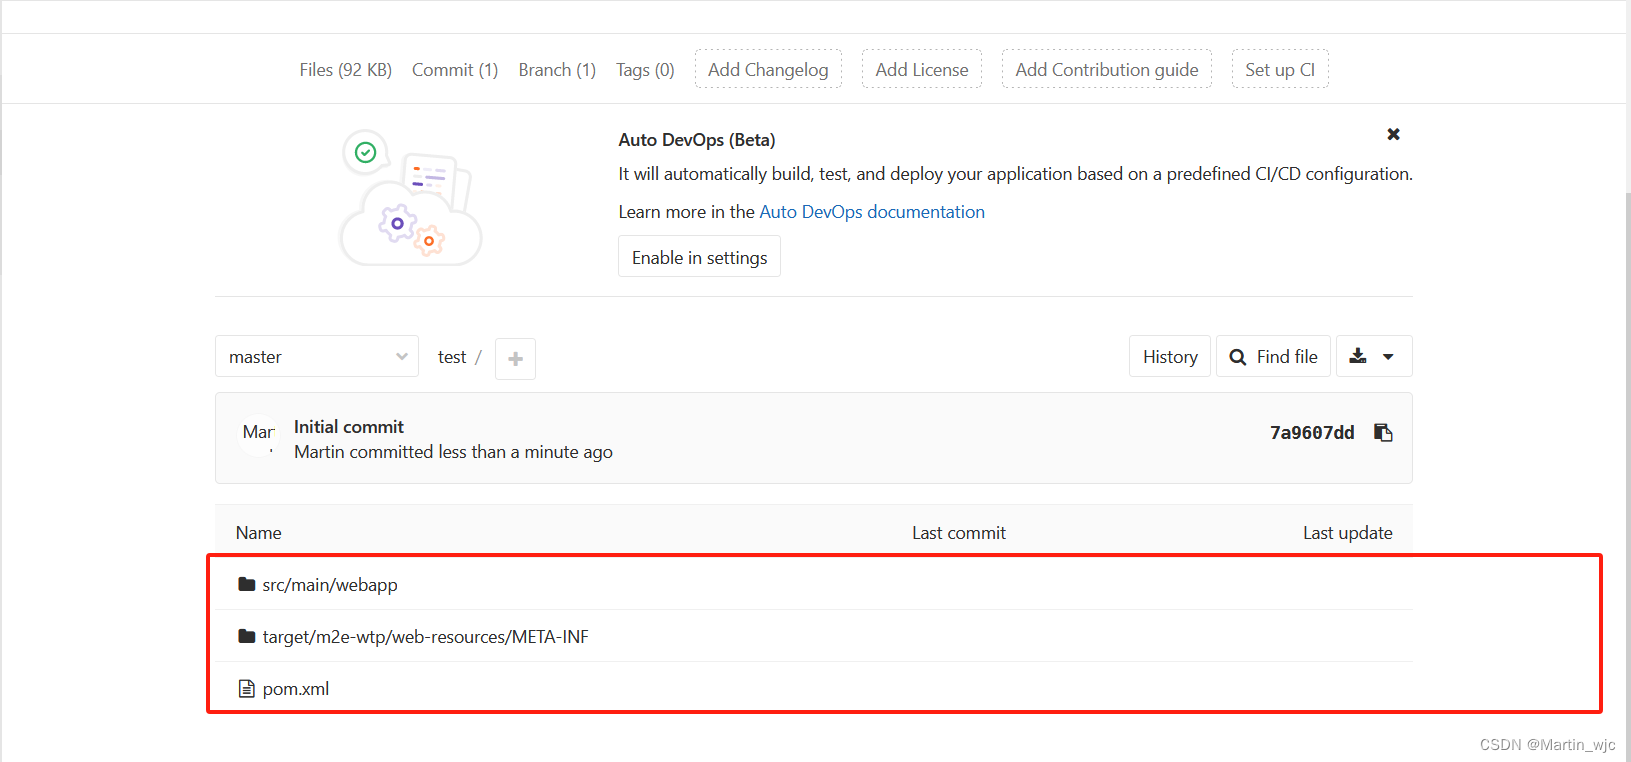
四、jenkins对接组件
1、安装必要的插件
1、git
2、gitlab
3、maven intergration
4、pushlish over ssh
2、对接git客户端
bash
[root@jenkins ~]# yum install -y git 
3、对接maven工具
bash
[root@jenkins ~]# tar xf apache-maven-3.6.3-bin.tar.gz -C /usr/local/
[root@jenkins ~]# mv /usr/local/apache-maven-3.6.3/ /usr/local/maven36

[root@jenkins ~]# vim /etc/profile
export MAVEN_HOME=/usr/local/maven36
export PATH=$PATH:$MAVEN_HOME/bin
[root@jenkins ~]# source /etc/profile

[root@jenkins ~]# mvn -version
Apache Maven 3.6.3 (cecedd343002696d0abb50b32b541b8a6ba2883f)
Maven home: /usr/local/maven36
Java version: 17.0.10, vendor: Oracle Corporation, runtime: /usr/lib/jvm/jdk-17-oracle-x64
Default locale: en_US, platform encoding: UTF-8
OS name: "linux", version: "3.10.0-1160.el7.x86_64", arch: "amd64", family: "unix"
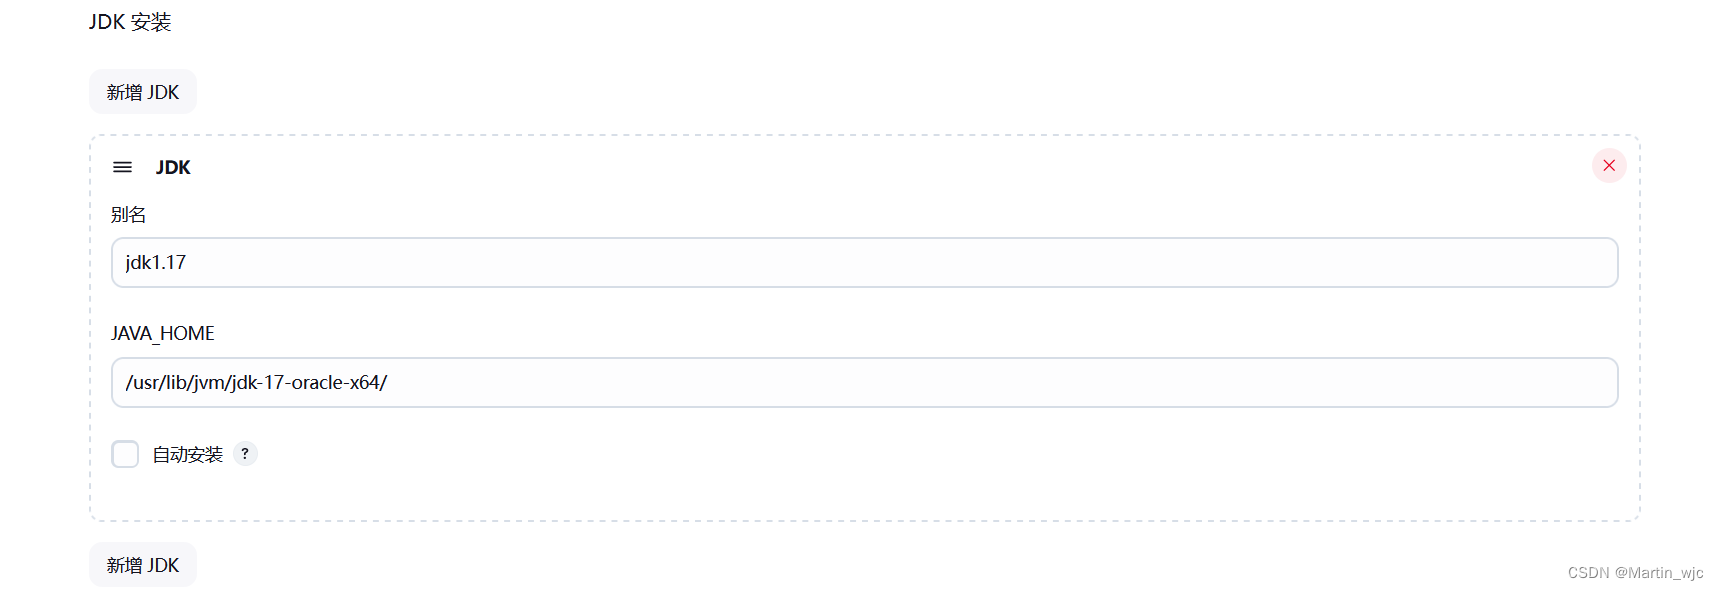
4、配置maven需要的jdk
5、配置gitlab服务器的连接


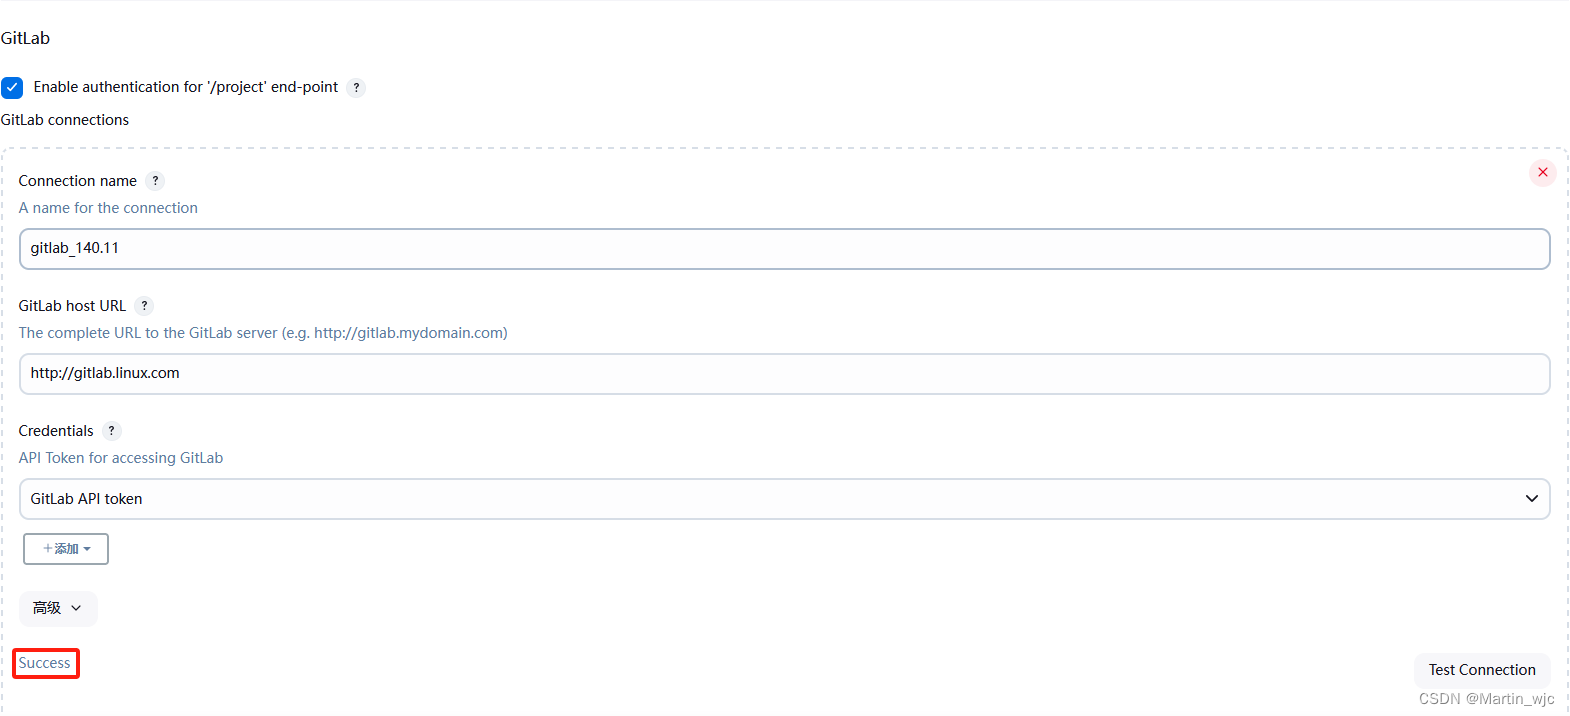
6、在jenkins上添加tomcat业务服务器地址
bash
[root@jenkins ~]# ssh-keygen -t rsa
[root@jenkins ~]# ssh-copy-id root@192.168.140.12

五、创建发布java项目的任务
1、创建maven项目
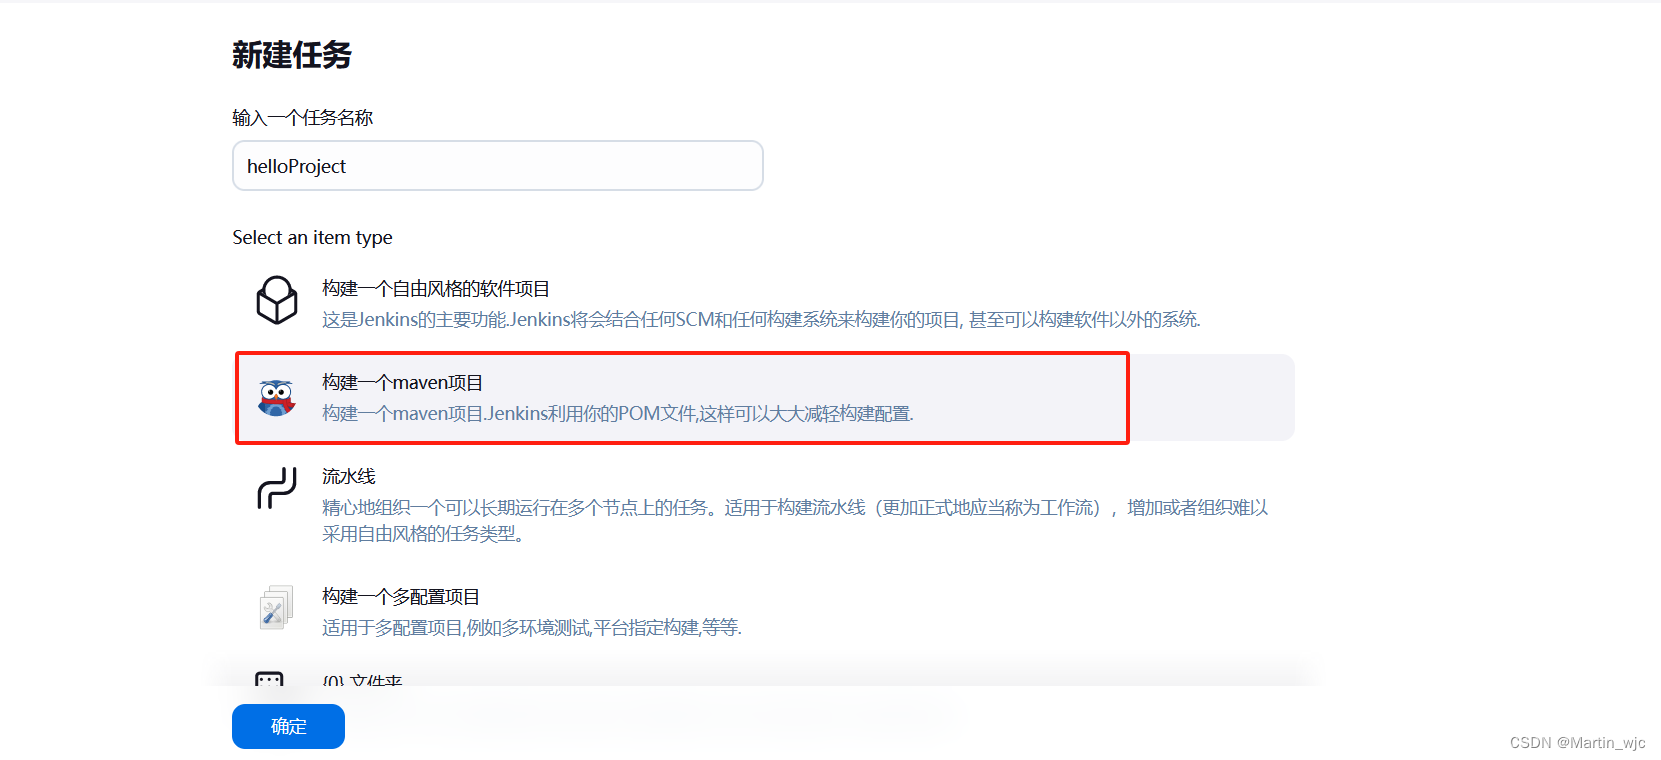
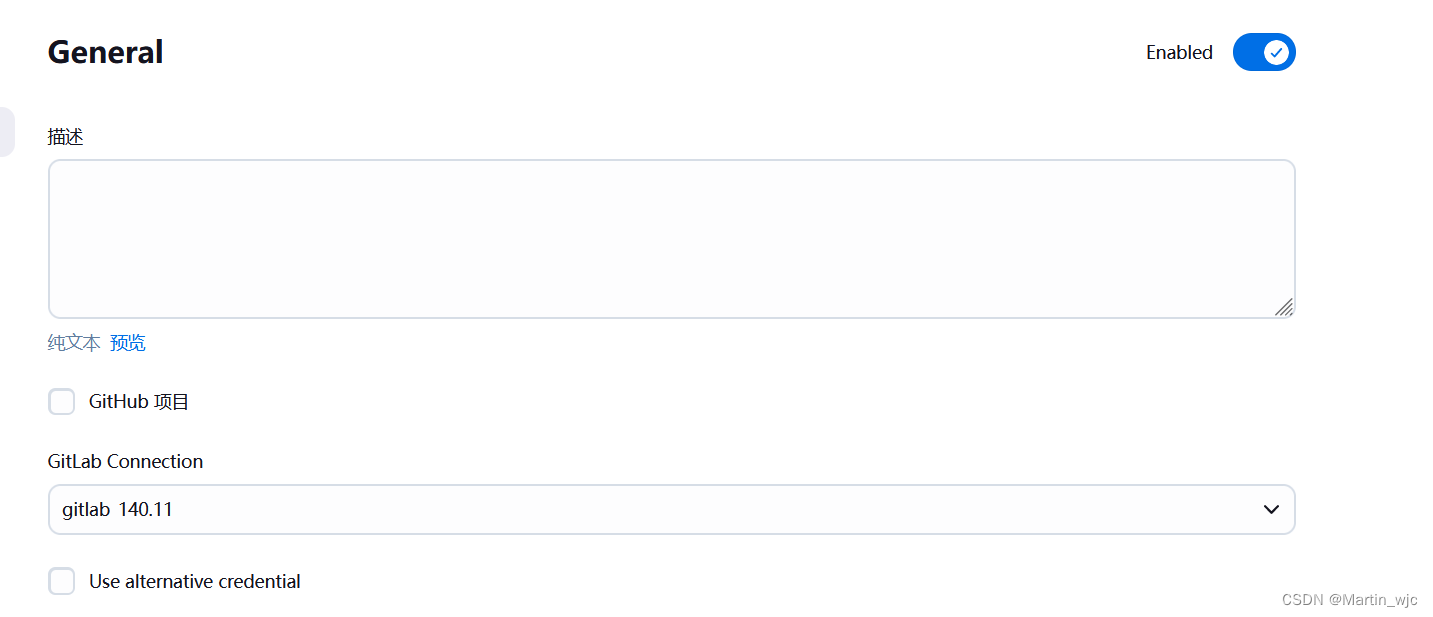
2、选择git服务器的连接地址
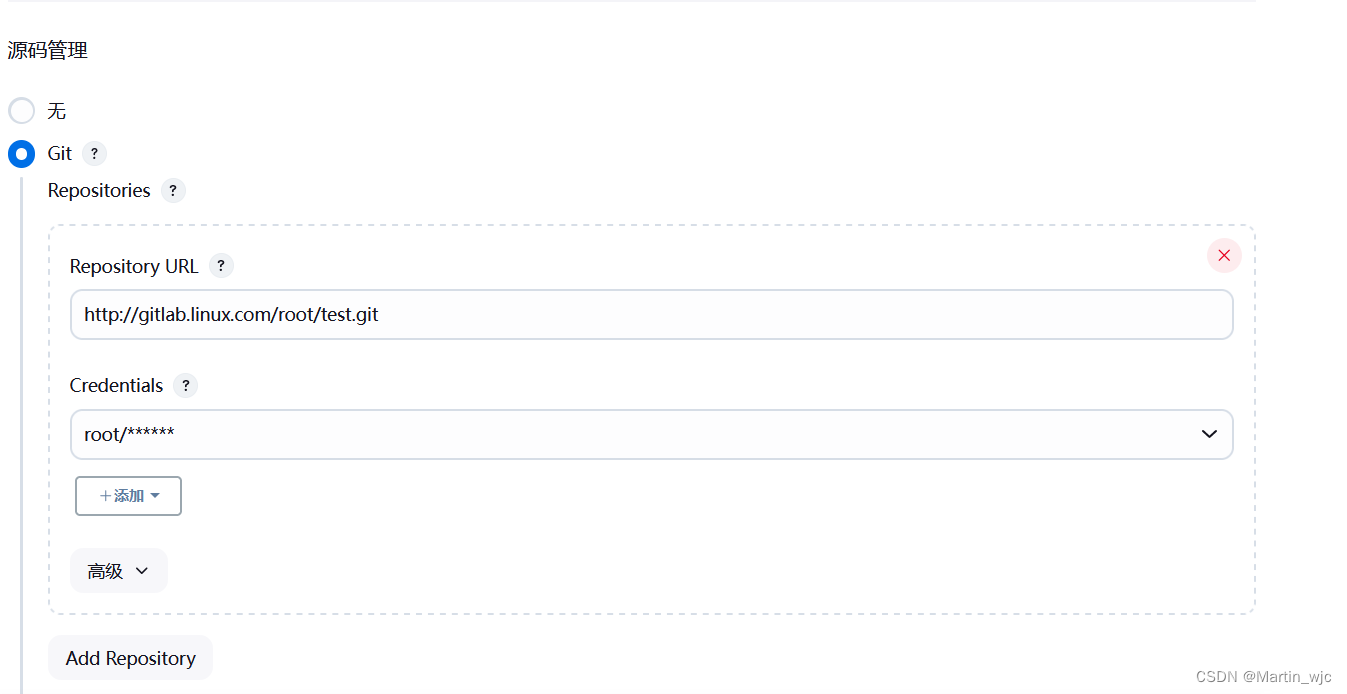
3、选定项目的源码仓库
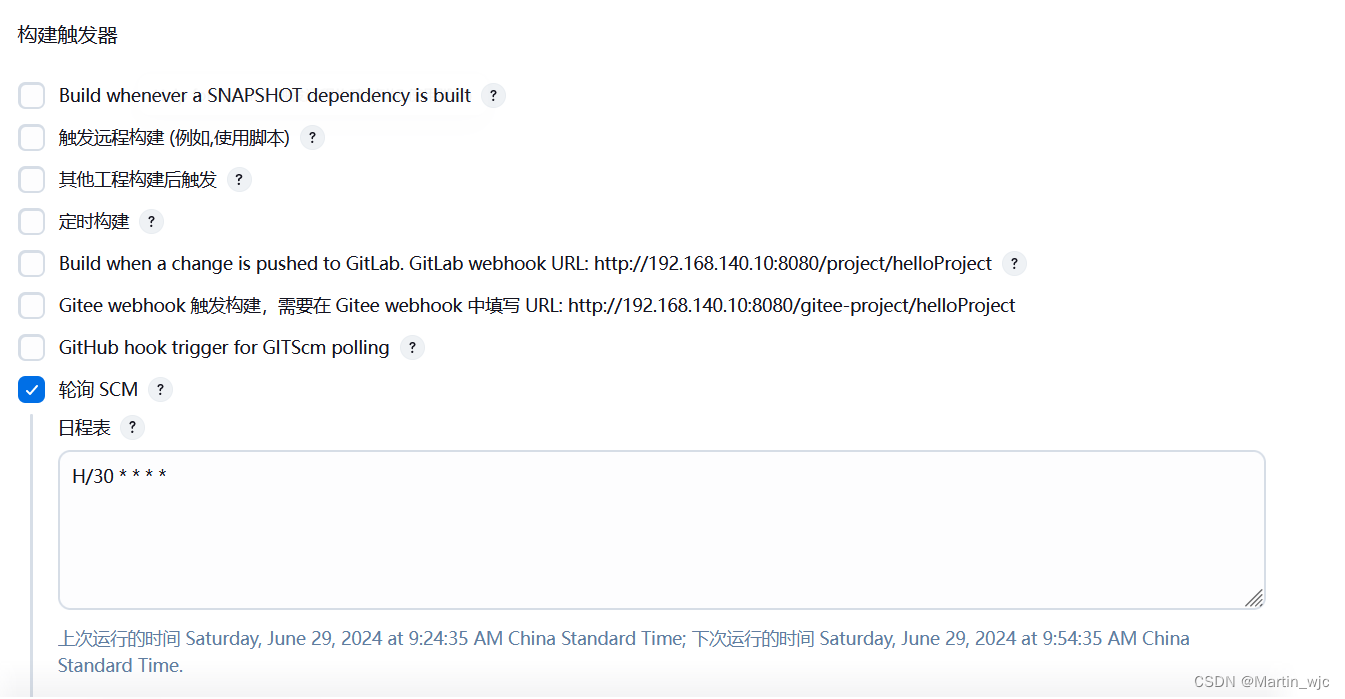
4、设置构建触发器
设置拉取代码、编译项目的条件、时间
5、指定pom.xml依赖文件位置

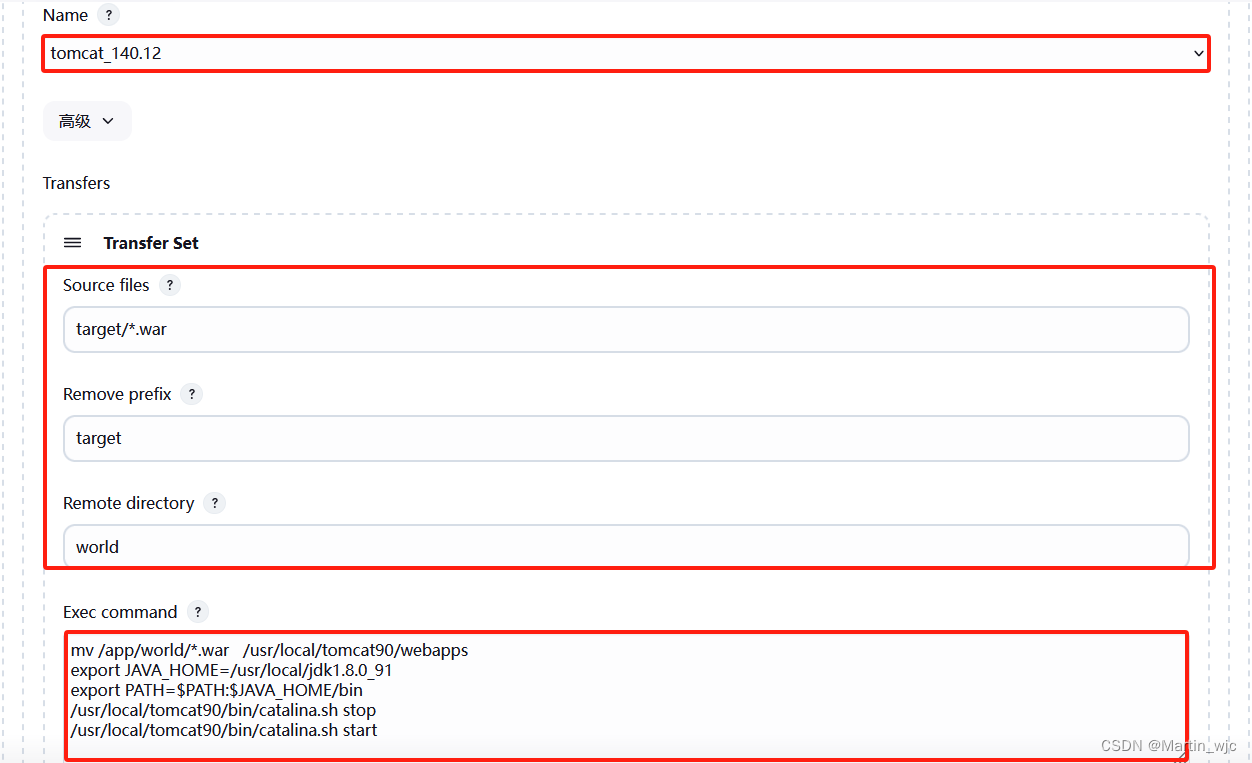
6、设置构建后的操作
发布的项目文件路径、业务服务器执行的脚本
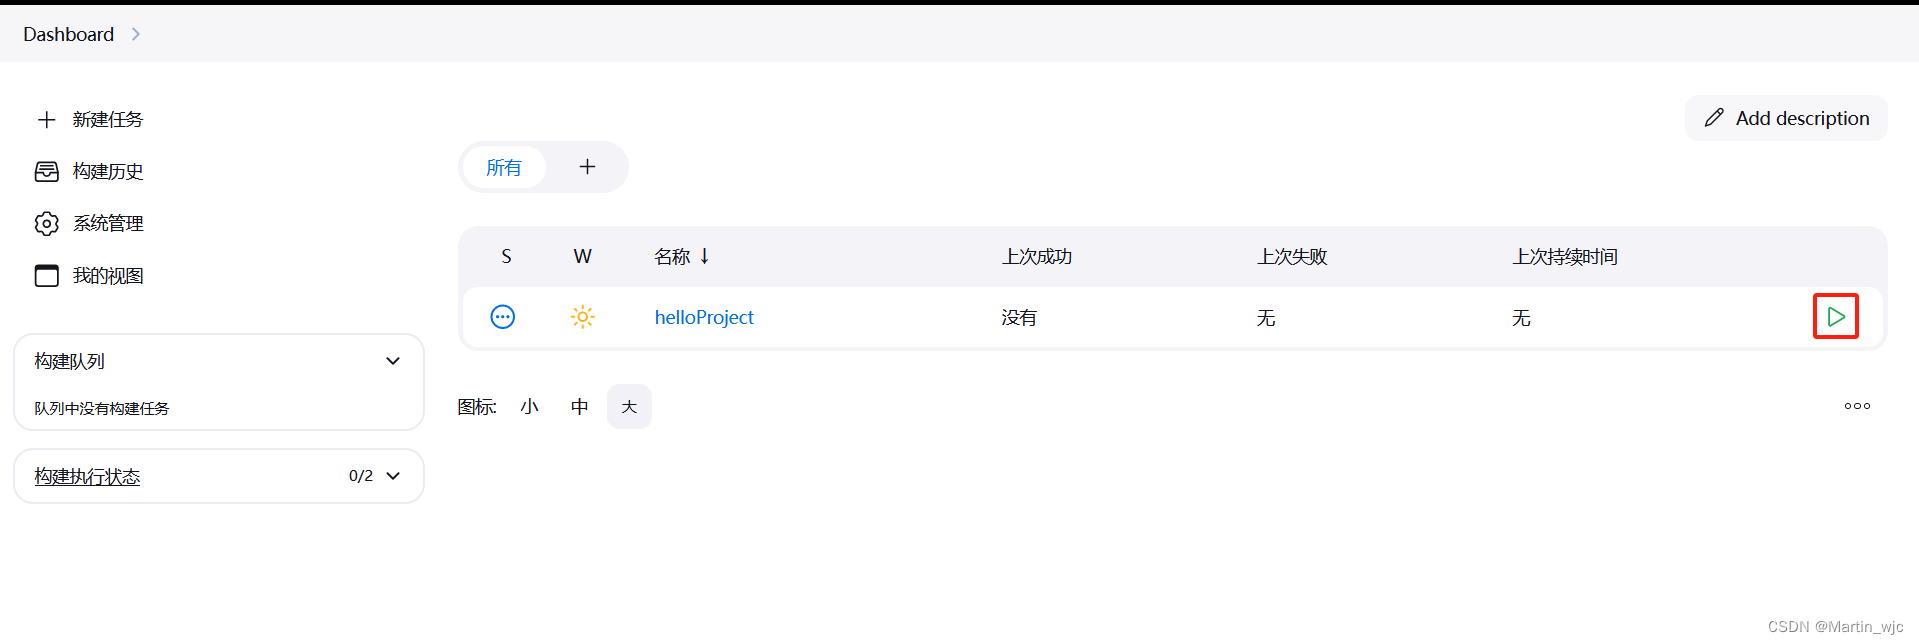
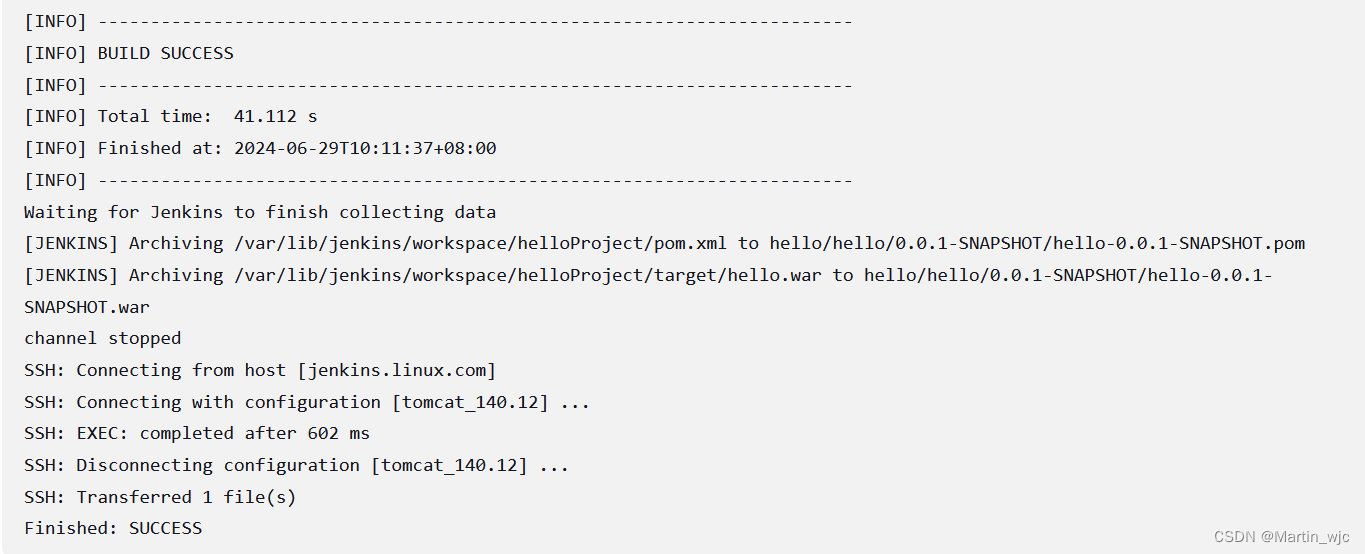
7、测试发布

六、测试项目更新
1、手动触发更新
bash
D:\test\src\main\webapp

$ git add ./*
$ git commit -m "update01"
$ git push -u origin master

项目代码push完毕后,在jenkins手动构建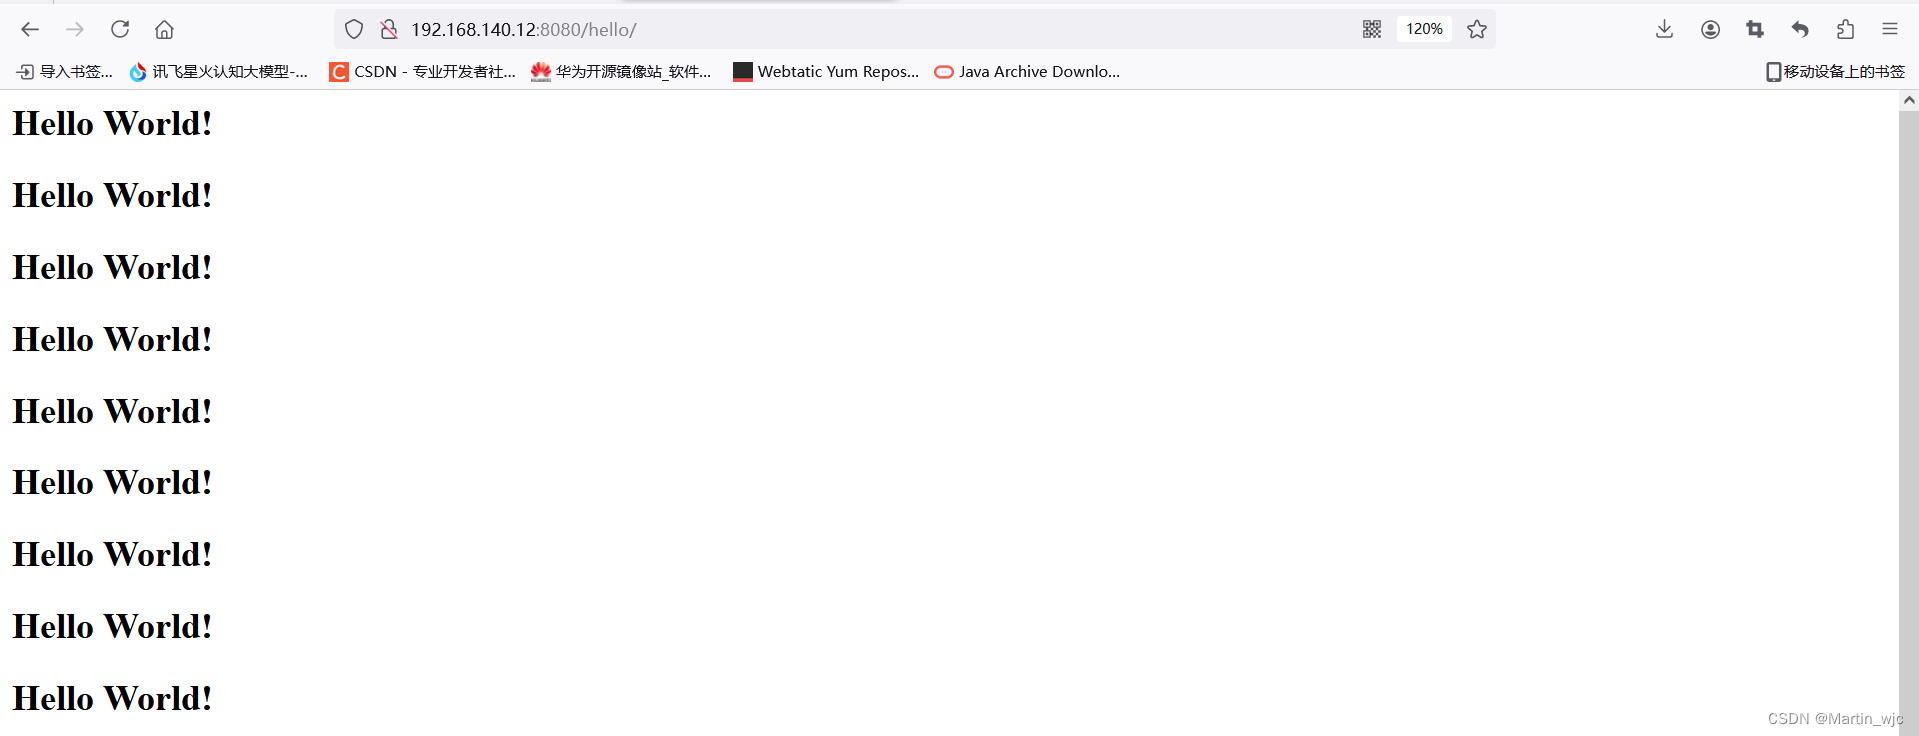
2、通过webhook自动更新
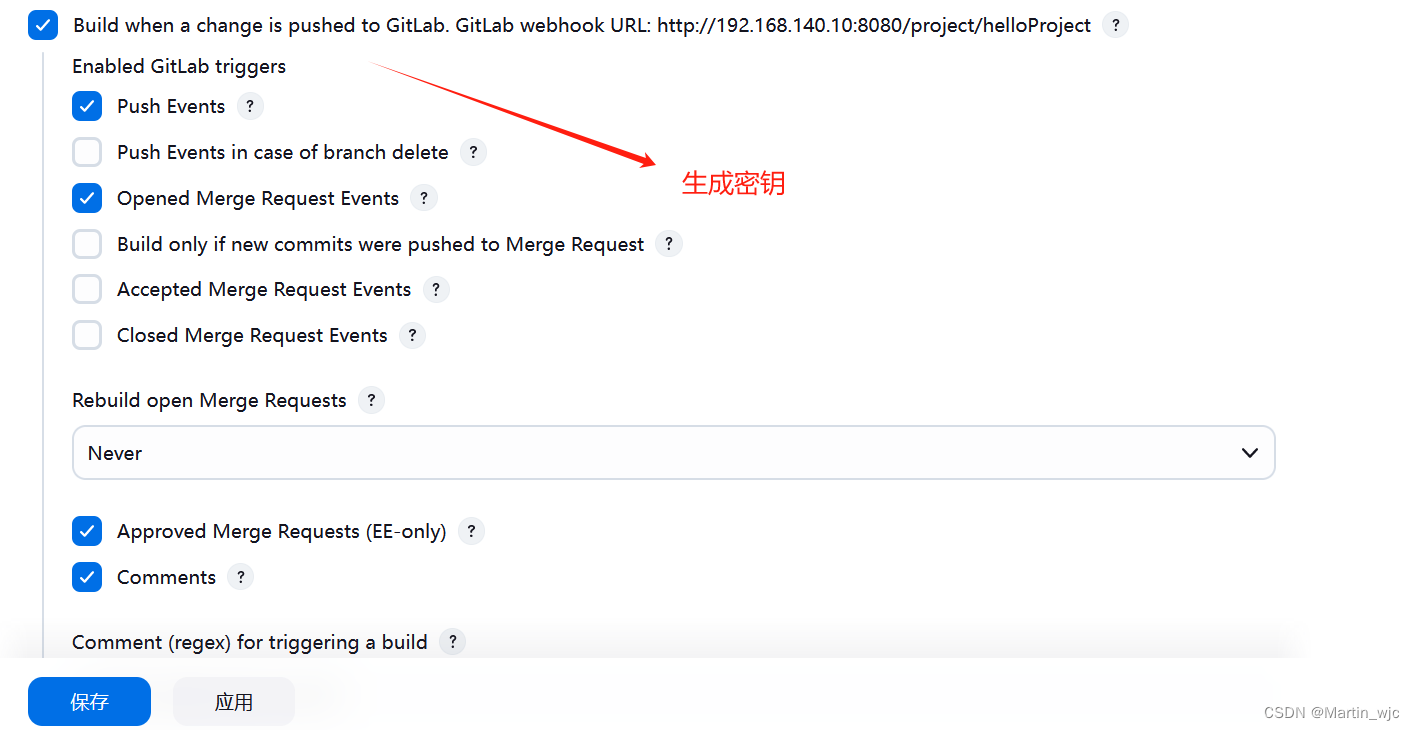
2.1 修改项目的构建触发器
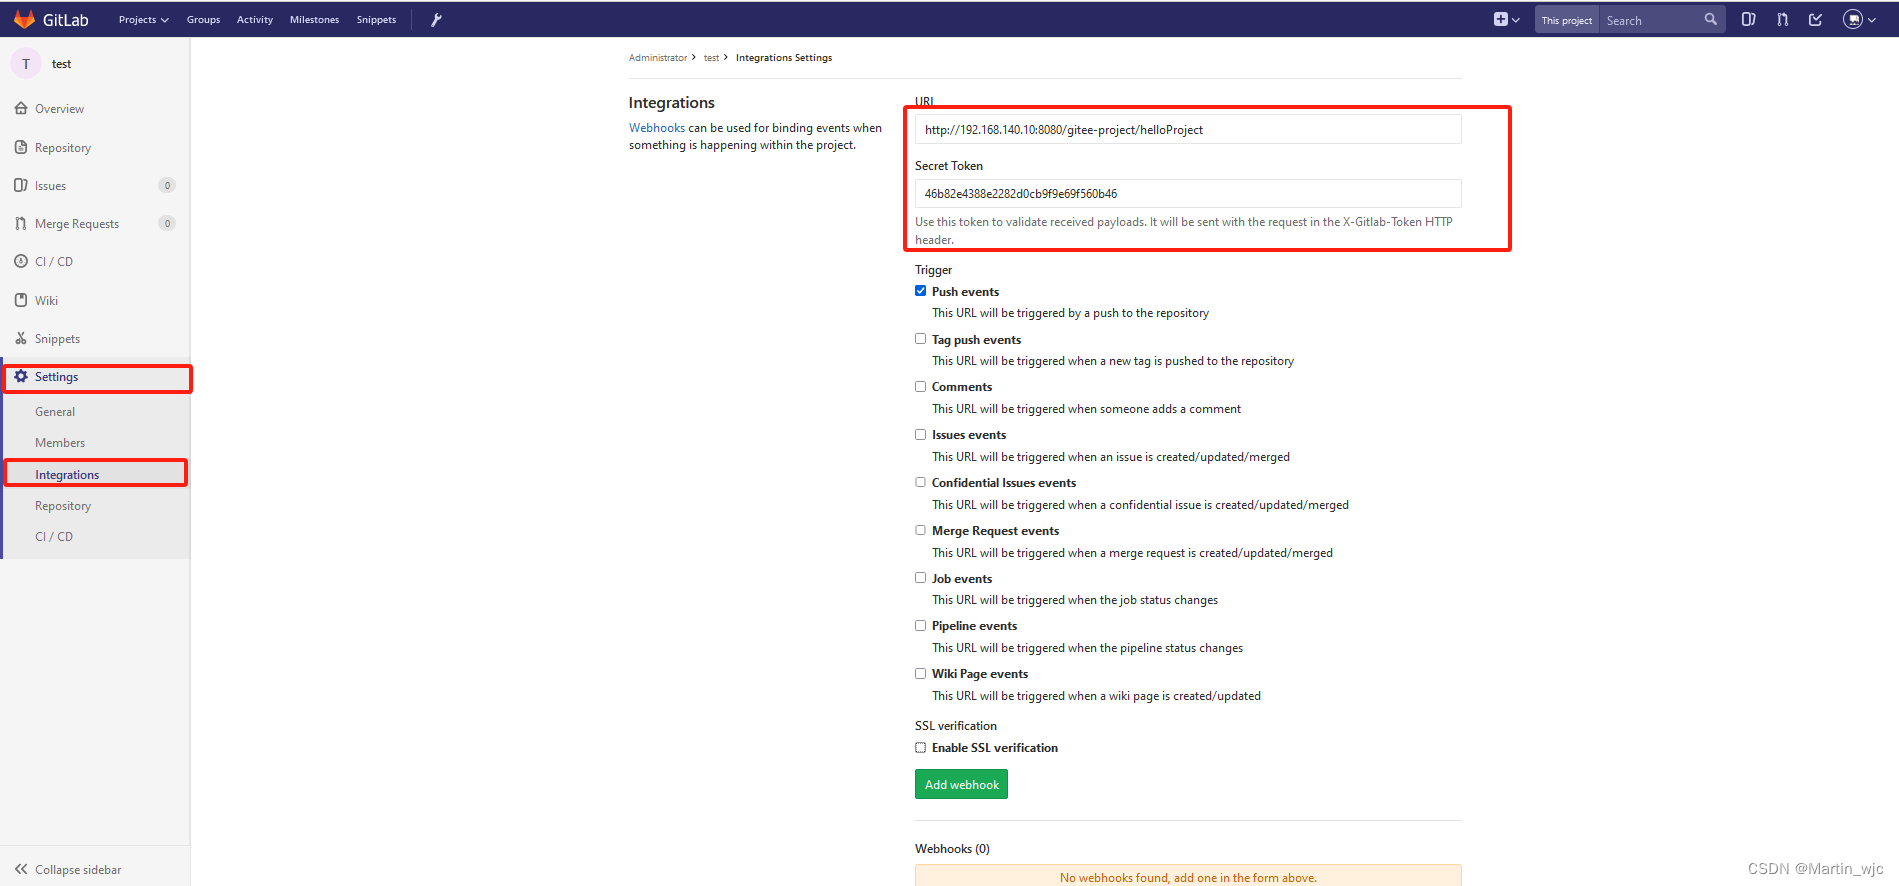
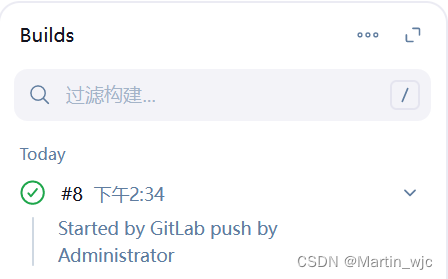
2.2 在git服务器上配置webhook地址
七、Jenkins file
https://www.jenkins.io/doc/book/pipeline/syntax/
1、介绍
Jenkins file, 也称为pipeline 流水线
依赖于pipeline插件
灵活
2、pipeline流水线语法结构
groovy
pipeline {
    agent any
    stages {
        stage('Build') {
            steps {
                //
            }
        }
        stage('Test') {
            steps {
                //
            }
        }
        stage('Deploy') {
            steps {
                //
            }
        }
    }
}
3、编写pipeline发布java项目
配置jenkins用户与业务服务器间的ssh免密
bash
[root@jenkins ~]# su - jenkins
Last login: Sat Jun 29 16:25:17 CST 2024 on pts/0

-bash-4.2$ ssh-keygen -t rsa
-bash-4.2$ ssh-copy-id root@192.168.140.12
groovy
pipeline {
    agent any

    stages {
        stage('clone') {
            steps {
                checkout scmGit(branches: [[name: '*/master']], extensions: [], userRemoteConfigs: [[url: 'http://gitlab.linux.com/root/test.git']])
            }
        }
        stage('build') {
            steps {
                sh "cd /var/lib/jenkins/workspace/helloProject"
                sh "/var/lib/jenkins/tools/hudson.tasks.Maven_MavenInstallation/maven/bin/mvn package"
            }
        }
        stage('deploy') {
            steps {
                sh "scp target/*.war root@192.168.140.12:/usr/local/tomcat90/webapps/hello.war"
            }
        }
    }
}