1,创建应用
Test/app8
python manage.py startapp app8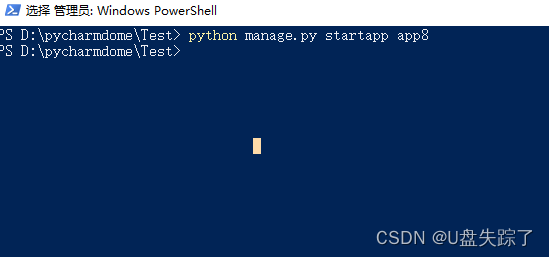
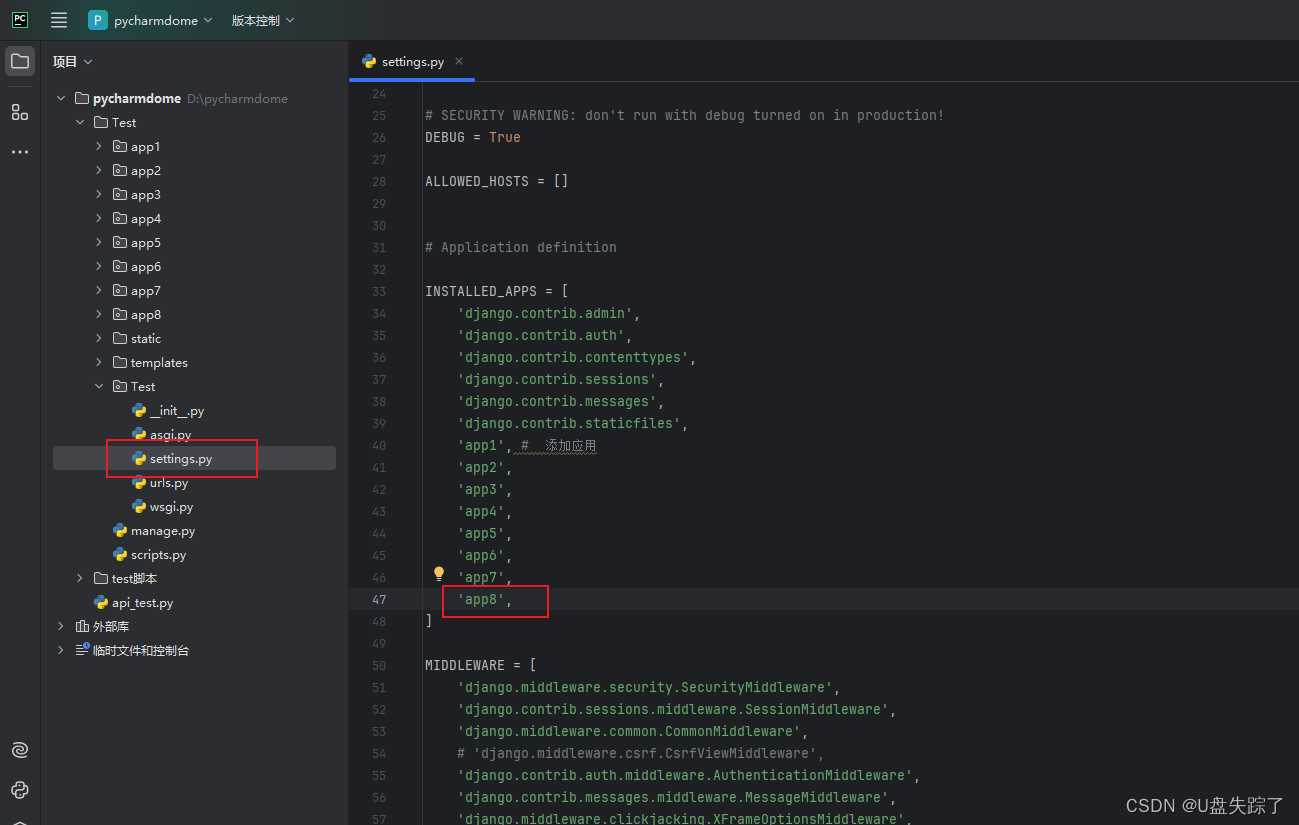
2,注册应用
Test/Test/settings.py
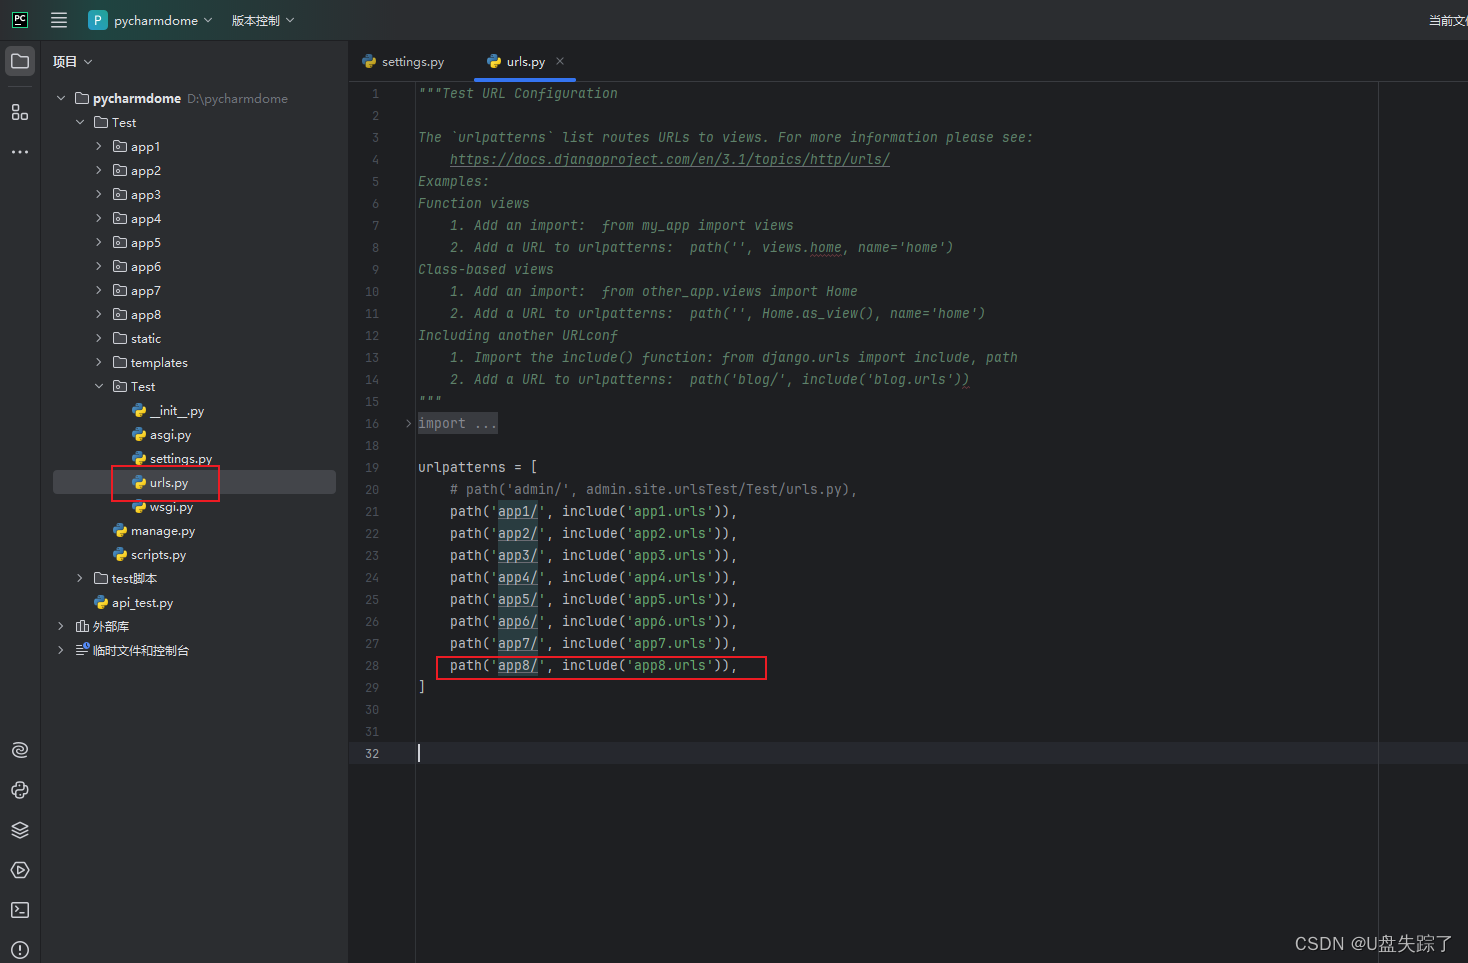
3,配置路由
Test/Test/urls.py
from django.contrib import admin
from django.urls import path, include

urlpatterns = [
    path('app8/', include('app8.urls')),
]
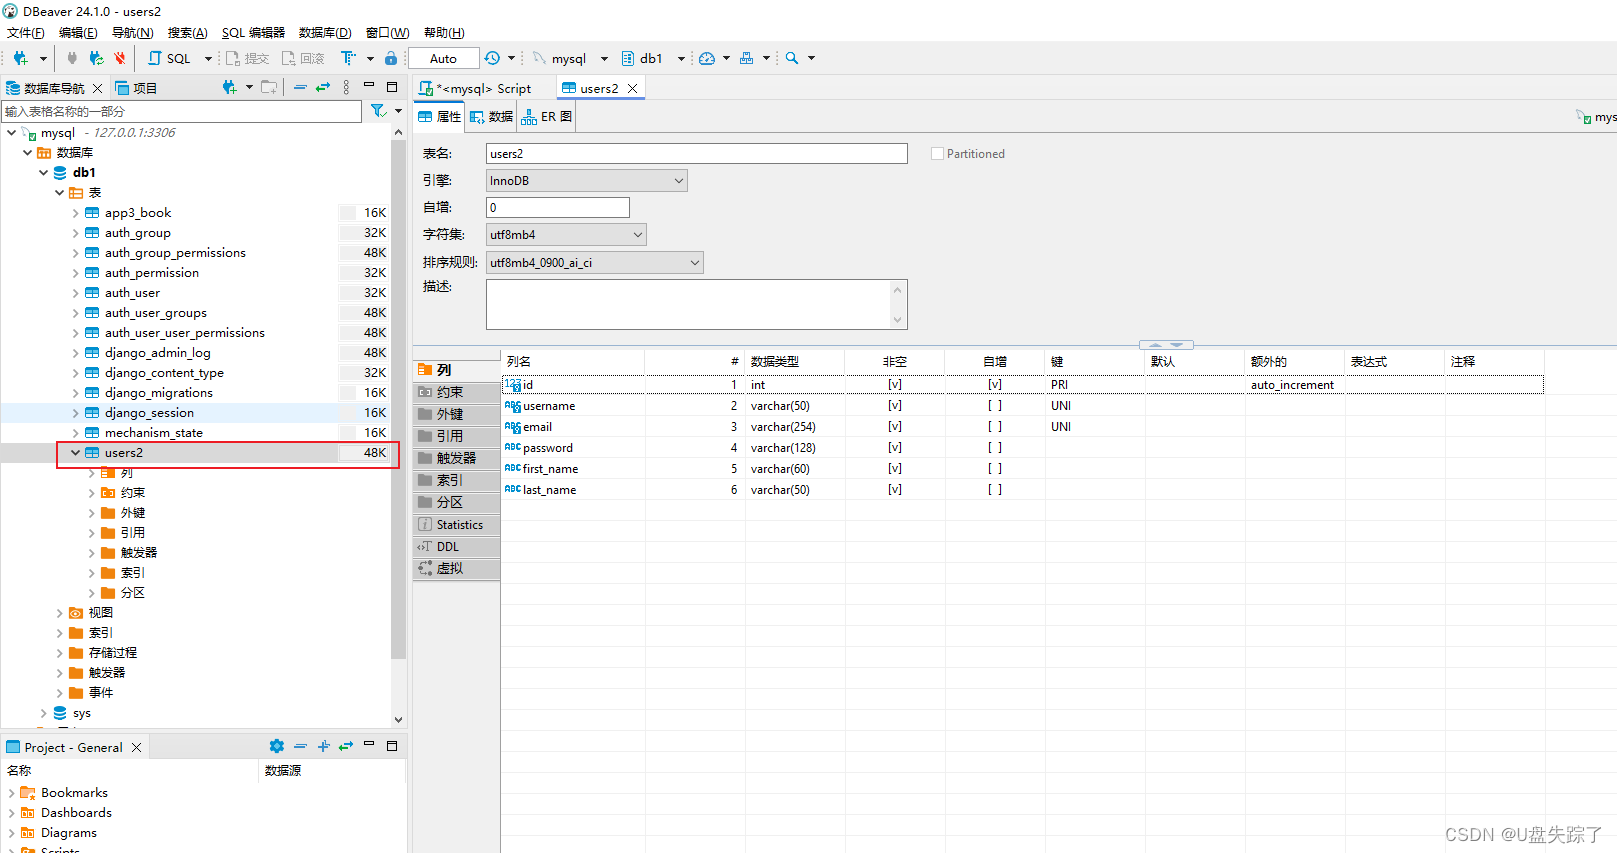
4,添加模型
Test/app8/models.py
from django.db import models

class User(models.Model):
    username = models.CharField(max_length=50, unique=True)
    email = models.EmailField(unique=True)
    password = models.CharField(max_length=128)
    first_name = models.CharField(max_length=60)
    last_name = models.CharField(max_length=50)
    # 添加其他字段,例如:
    # age = models.IntegerField()
    # bio = models.TextField()
    # ...

    class Meta:
        db_table = 'users2'

    def __str__(self):
        return self.username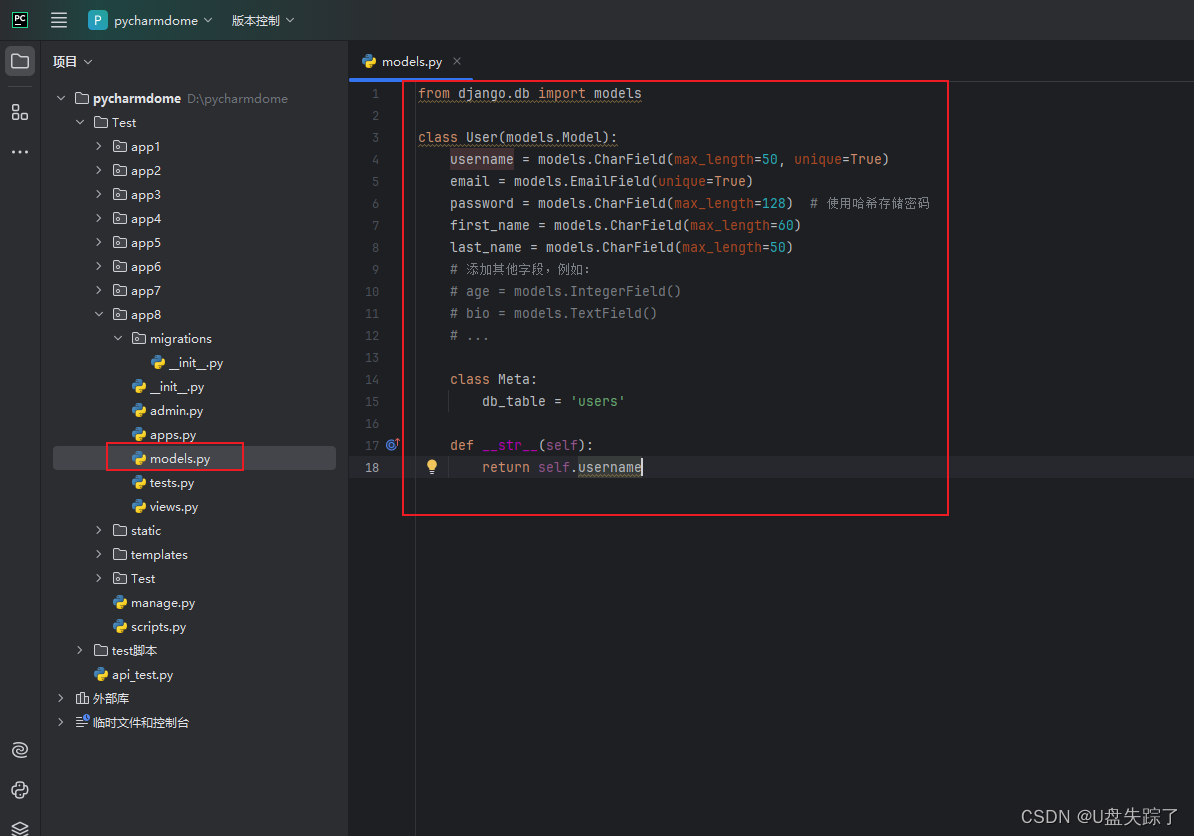
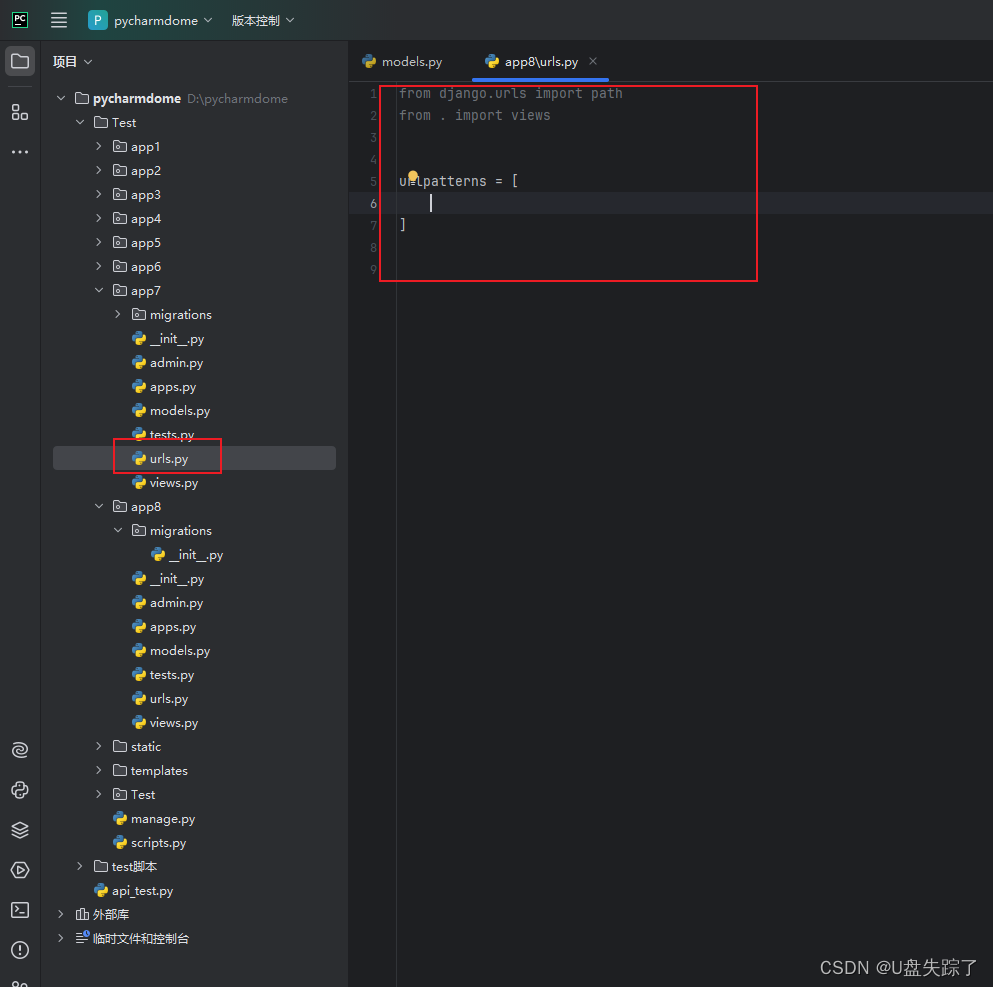
5,应用目录下创建urls.py
Test/app7/urls.py
from django.urls import path
from . import views


urlpatterns = [

]
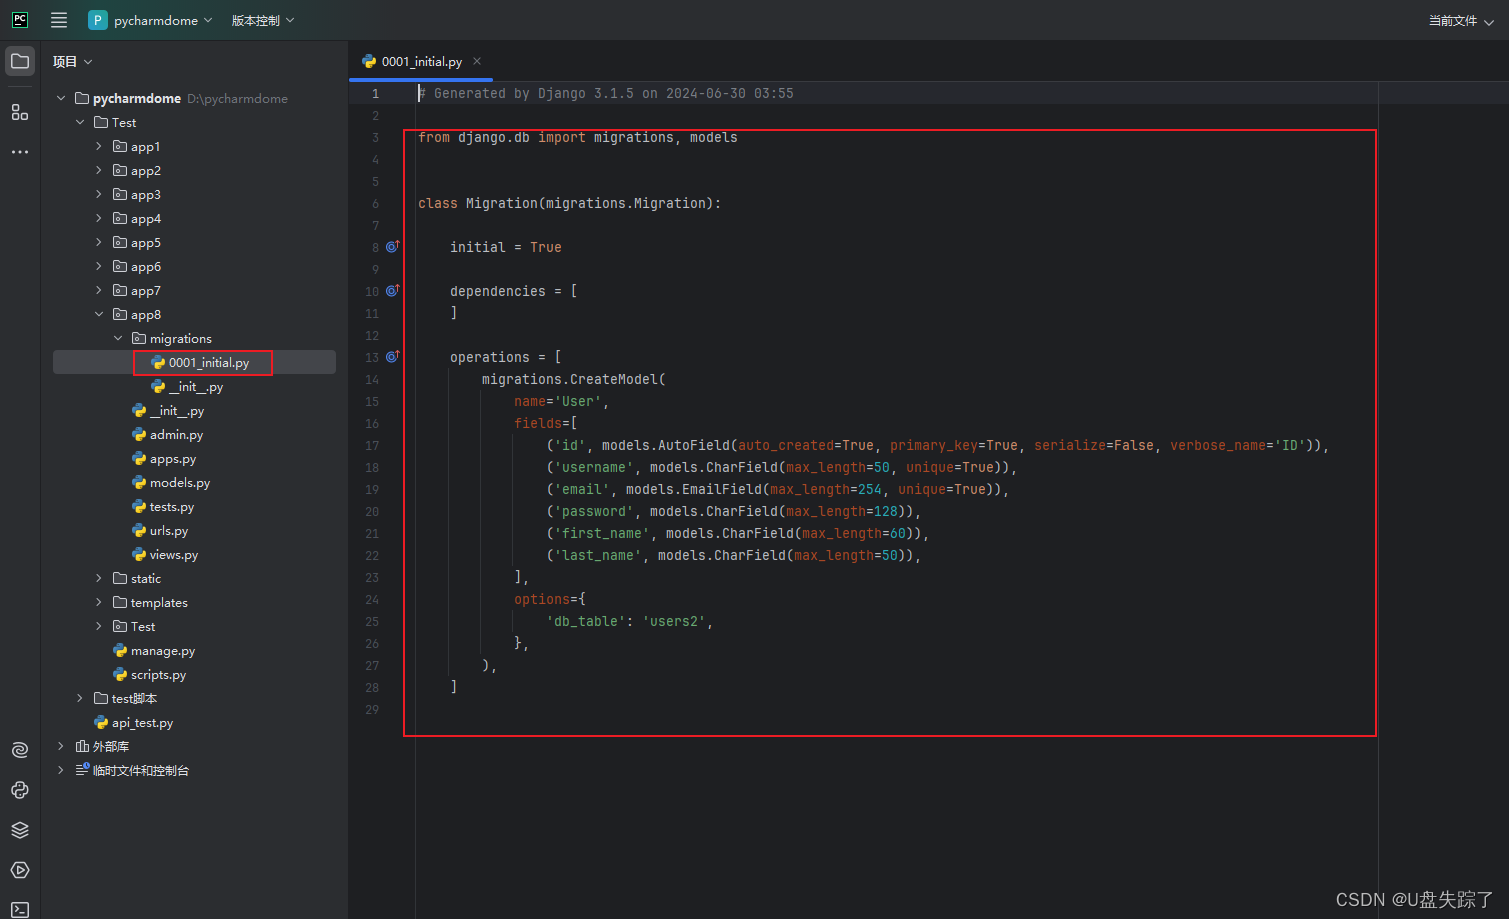
6,生成应用迁移文件
python manage.py makemigrations app8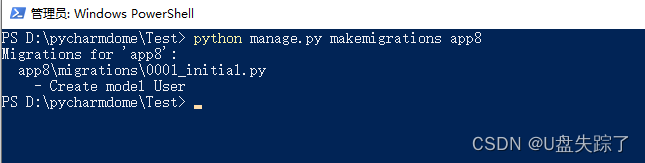
7,执行应用迁移
python manage.py migrate app8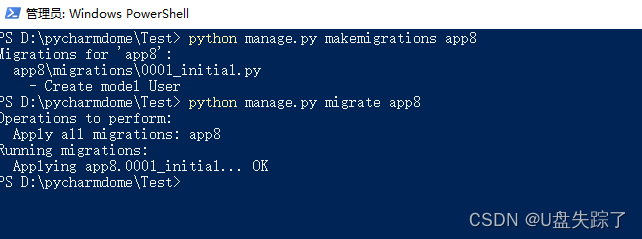
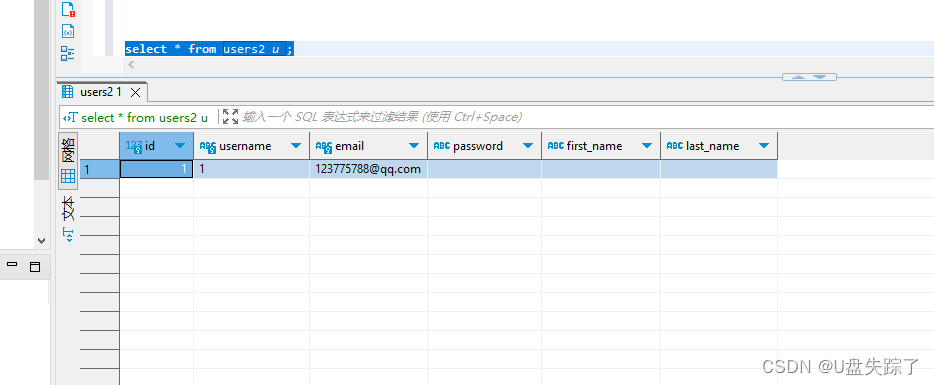
可以看到数据库已经创建了表
8,添加视图函数
Test/app8/views.py
from django.shortcuts import render
from .models import User


def create_user(request):
    if request.method == 'POST':
        username = request.POST.get('username')
        email = request.POST.get('email')
        # ... 获取其他字段的值

        # 创建用户实例
        user = User(
            username=username,
            email=email,
            # ... 填充其他字段
        )
        user.save()  # 保存到数据库
        # ... 处理成功或失败的逻辑
    return render(request, '8/1.html')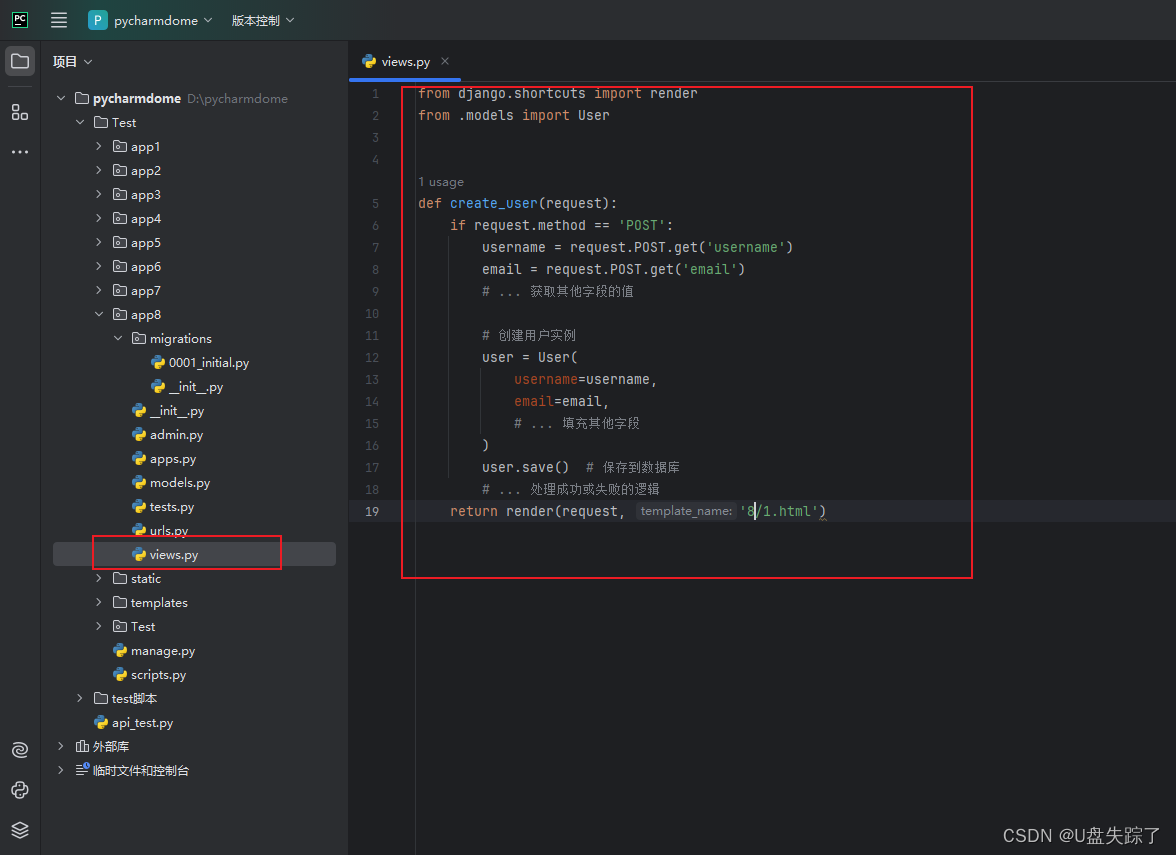
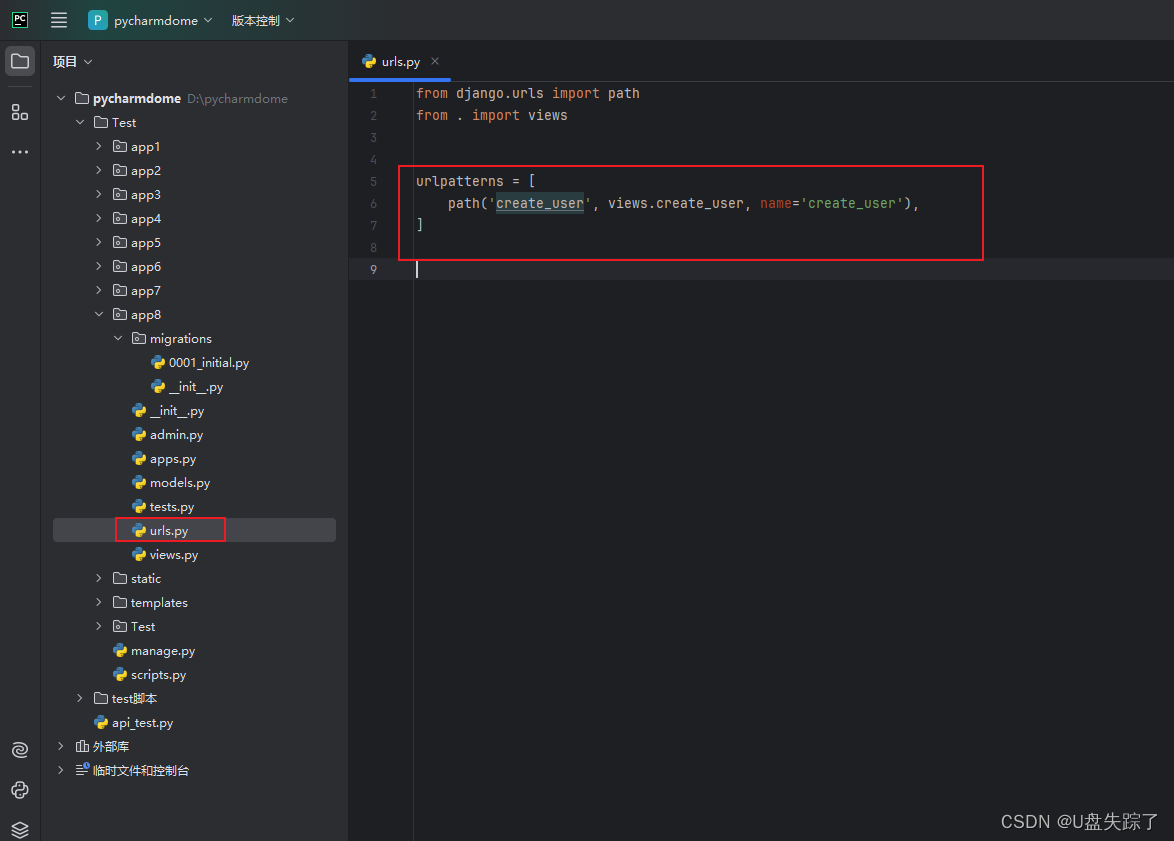
9,添加应用路由
Test/app8/urls.py
from django.urls import path
from . import views


urlpatterns = [
    path('create_user', views.create_user, name='create_user'),
]
10,添加html代码
Test/templates/8/1.html
<!DOCTYPE html>
<html>
<head>
  <title>创建用户</title>
</head>
<body>
  <form method="POST">
    {% csrf_token %}
    <label for="username">用户名:</label>
    <input type="text" name="username" id="username"><br><br>
    <label for="email">邮箱:</label>
    <input type="email" name="email" id="email"><br><br>
    # ... 添加其他字段的输入框
    <button type="submit">创建用户</button>
  </form>
</body>
</html>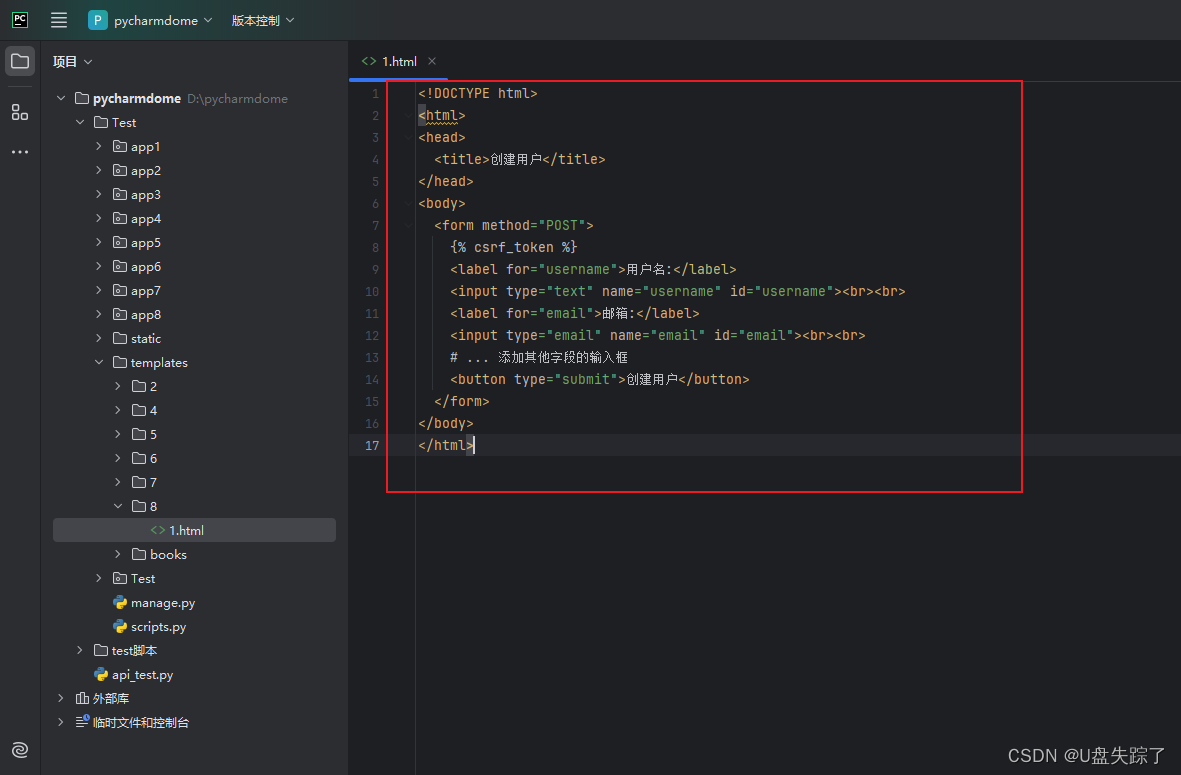
11,访问页面
http://127.0.0.1:8000/app8/create_user
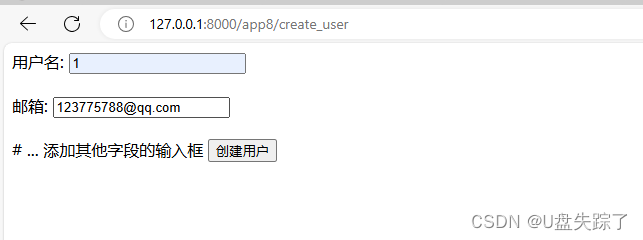
可以看到我们的数据成功存在表里面了