文章目录
要查找 torch.Tensor 的属性和方法,你可以参考 PyTorch 的官方文档。官方文档详细列出了所有的类、方法、属性以及示例代码。这是了解 PyTorch 以及学习其各种功能的最佳资源。
PyTorch 官方文档
你可以在以下网址找到 PyTorch 的官方文档:
具体到 torch.Tensor 的文档,可以访问以下链接:
使用文档和示例
在 PyTorch 的官方文档中,每个方法和属性都详细说明了其用途、参数和返回值,并提供了示例代码。你可以通过搜索具体的方法或属性名称来找到相关的文档。例如:
- torch.Tensor.abs
- https://pytorch.org/docs/stable/generated/torch.Tensor.abs.html
- torch.Tensor.mean
- https://pytorch.org/docs/stable/generated/torch.Tensor.mean.html
- torch.Tensor.size
- https://pytorch.org/docs/stable/generated/torch.Tensor.size.html
- torch.Tensor.shape
- https://pytorch.org/docs/stable/tensors.html#torch-tensor
文档结构
在文档的 torch.Tensor 部分,你会看到以下内容:
- 概述 :简要描述
torch.Tensor类及其用途。 - 构造函数 :解释如何创建张量,包括各种创建方法(如
torch.tensor、torch.zeros、torch.ones等)。 - 属性 :列出张量的常见属性,如
dtype、device、shape等。 - 方法:列出张量的常见方法,包括数学运算、形状操作、索引和切片等。
- 示例:提供一些示例代码,展示如何使用这些属性和方法。
示例
以下是如何使用官方文档来查找和使用张量方法和属性的示例:
-
查找张量的绝对值方法:
- 在文档中搜索
torch.Tensor.abs,你会找到 torch.Tensor.abs-https://pytorch.org/docs/stable/generated/torch.Tensor.abs.html 的页面。 - 查看方法的用法和示例代码。
- 在文档中搜索
-
查找张量的形状属性:
- 在文档中搜索
torch.Tensor.shape,你会找到 torch.Tensor.shape-https://pytorch.org/docs/stable/tensors.html#torch-tensor 的页面。 - 查看属性的描述和示例。
- 在文档中搜索
使用内置帮助功能
在 Python 解释器中,你也可以使用内置的 help 函数来查看 PyTorch 方法和属性的文档。例如:
python
import torch

tensor = torch.tensor([1.0, 2.0, 3.0])

# 查看 tensor.abs 方法的帮助
help(tensor.abs)

# 查看 tensor.shape 属性的帮助
help(tensor.shape)
使用 dir 函数可以列出对象的所有属性和方法:
python
import torch

tensor = torch.tensor([1.0, 2.0, 3.0])

# 列出 tensor 对象的所有属性和方法
print(dir(tensor))- 可以使用python -c直接输出,通过
python -h知道-c作用
-c cmd : program passed in as string (terminates option list)- python -c "import torch; help(torch.abs)"
- python -c "import torch; print(dir(torch.tensor([1])))"
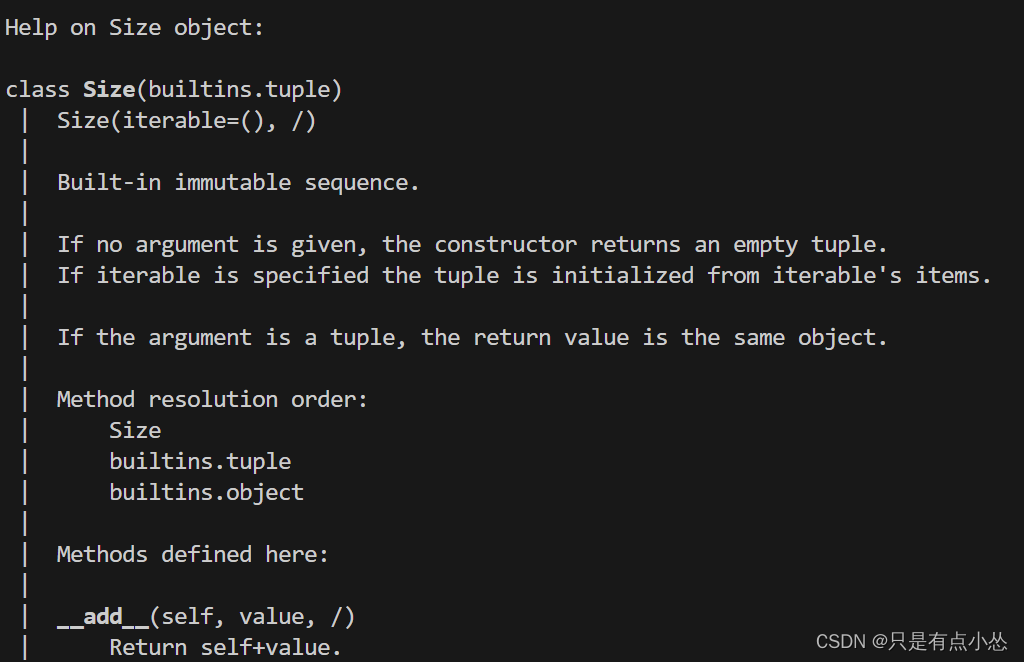
- python -c "import torch; tensor=torch.tensor([1]); print(tensor.shape)"输出torch.Size([1])
- python -c "import torch; tensor=torch.tensor([1,2,3]); help(tensor.shape)"

- python -c "import torch; tensor=torch.tensor([1,2,3]); help(tensor.dtype)"
bash
Help on dtype in module torch object:

class dtype(builtins.object)
 |  Methods defined here:
 |
 |  __reduce__(...)
 |      Helper for pickle.
 |
 |  __repr__(self, /)
 |      Return repr(self).
 |
 |  ----------------------------------------------------------------------
 |  Data descriptors defined here:
 |
 |  is_complex
 |
 |  is_floating_point
 |
 |  is_signed
(END)- python -c "import torch; help(torch.tensor)"
bash
Help on built-in function tensor in module torch:

tensor(...)
    tensor(data, *, dtype=None, device=None, requires_grad=False, pin_memory=False) -> Tensor

    Constructs a tensor with no autograd history (also known as a "leaf tensor", see :doc:`/notes/autograd`) by copying :attr:`data`.

    .. warning::

        When working with tensors prefer using :func:`torch.Tensor.clone`,
        :func:`torch.Tensor.detach`, and :func:`torch.Tensor.requires_grad_` for
        readability. Letting `t` be a tensor, ``torch.tensor(t)`` is equivalent to
        ``t.clone().detach()``, and ``torch.tensor(t, requires_grad=True)``
        is equivalent to ``t.clone().detach().requires_grad_(True)``.

    .. seealso::

        :func:`torch.as_tensor` preserves autograd history and avoids copies where possible.
        :func:`torch.from_numpy` creates a tensor that shares storage with a NumPy array.

    Args:
        data (array_like): Initial data for the tensor. Can be a list, tuple,
            NumPy ``ndarray``, scalar, and other types.

    Keyword args:
        dtype (:class:`torch.dtype`, optional): the desired data type of returned tensor.
            Default: if ``None``, infers data type from :attr:`data`.
        device (:class:`torch.device`, optional): the device of the constructed tensor. If None and data is a tensor
            then the device of data is used. If None and data is not a tensor then
            the result tensor is constructed on the CPU.
        requires_grad (bool, optional): If autograd should record operations on the
            returned tensor. Default: ``False``.
        pin_memory (bool, optional): If set, returned tensor would be allocated in
            the pinned memory. Works only for CPU tensors. Default: ``False``.


    Example::

        >>> torch.tensor([[0.1, 1.2], [2.2, 3.1], [4.9, 5.2]])
        tensor([[ 0.1000,  1.2000],
                [ 2.2000,  3.1000],
                [ 4.9000,  5.2000]])

        >>> torch.tensor([0, 1])  # Type inference on data
        tensor([ 0,  1])

        >>> torch.tensor([[0.11111, 0.222222, 0.3333333]],
        ...              dtype=torch.float64,
        ...              device=torch.device('cuda:0'))  # creates a double tensor on a CUDA device
        tensor([[ 0.1111,  0.2222,  0.3333]], dtype=torch.float64, device='cuda:0')

        >>> torch.tensor(3.14159)  # Create a zero-dimensional (scalar) tensor
        tensor(3.1416)

        >>> torch.tensor([])  # Create an empty tensor (of size (0,))
        tensor([])
(END)
通过这些方法,你可以轻松地查找和学习 PyTorch 中的各种方法和属性,帮助你更好地使用这个强大的深度学习框架。
要查找 Python 命令行参数的详细信息,包括 -c 参数以及其他可用参数,可以使用以下方法:
-
使用帮助文档:
在命令行中直接运行
python -h或者python --help命令,会显示 Python 解释器的帮助信息,包括可用的命令行选项和参数说明。bashpython -h这会输出详细的帮助文档,包括
-c参数的说明和用法示例。 -
查看官方文档:
可以访问 Python 官方文档网站,查找有关命令行选项和参数的详细信息。通常在文档中有完整的参数列表和用法说明。
通过这些方法,你可以轻松找到 Python 解释器命令行选项 -c 及其它参数的相关信息。