【实验目的】
- 掌握Oracle数据库的创建方法
- 使用DBCA创建数据库
- 在数据库中装入SCOTT用户及其表
【实验内容】
- 使用DBCA创建数据库,名为MYDB,找到其初始化文件(文本型和服务器型文件都要找到),查看各类默认位置并记录下来(包括物理文件所在目录,该数据库相关的各个目录等),登录到mydb数据库。
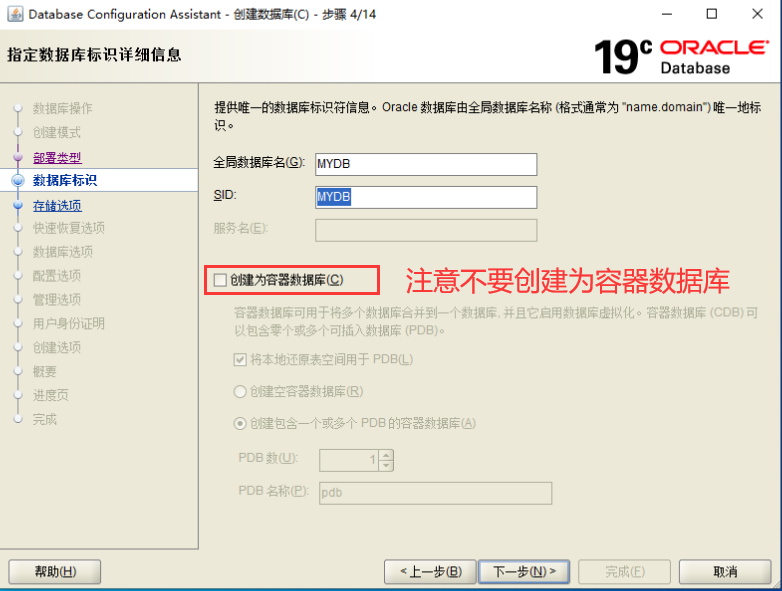
注意:不要勾选"容器数据库" - 在DBCA中删除MYDB数据库。
- 在实验一中建立的启动数据库orcl中装入scott用户及其拥有的表
- 创建scott用户并设置其密码为tiger
- 运行scott的脚本用户创建其所有表及数据
- 用scott/tiger登录sqlplus
- 查询emp表和dept表中的数据
【实验记录】
使用DBCA创建数据库,名为MYDB,找到其初始化文件(文本型和服务器型文件都要找到),查看各类默认位置并记录下来(包括物理文件所在目录,该数据库相关的各个目录等),登录到mydb数据库。
注意:不要勾选"容器数据库"
答:(1)使用DBCA创建名为MYDB的数据库
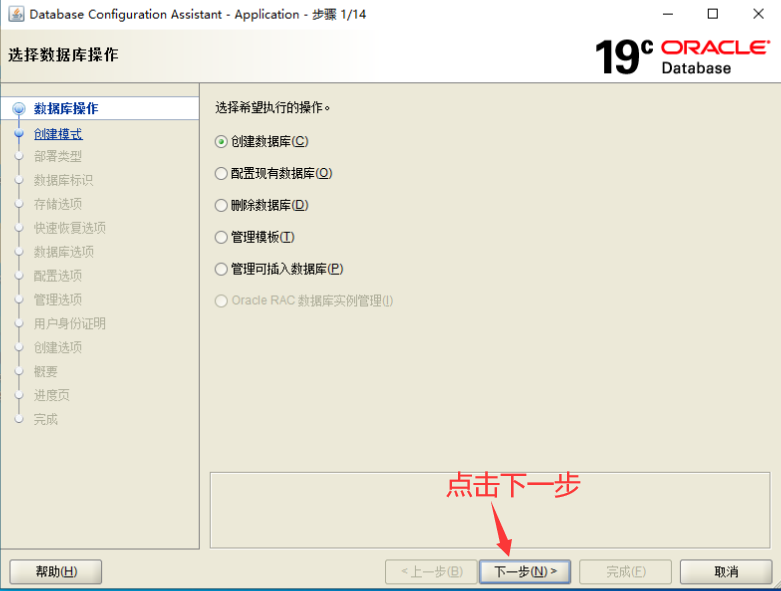
1.创建数据库
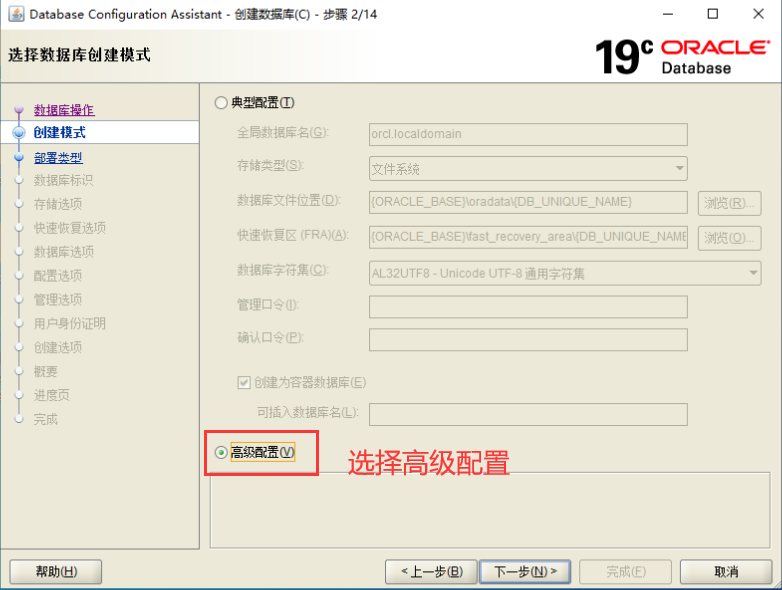
2.选择数据库创建模式
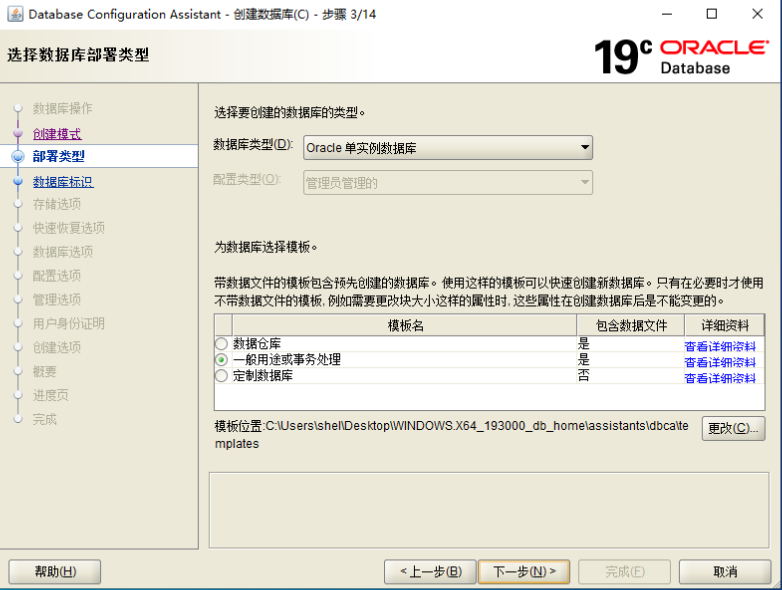
3.选择数据库部署类型
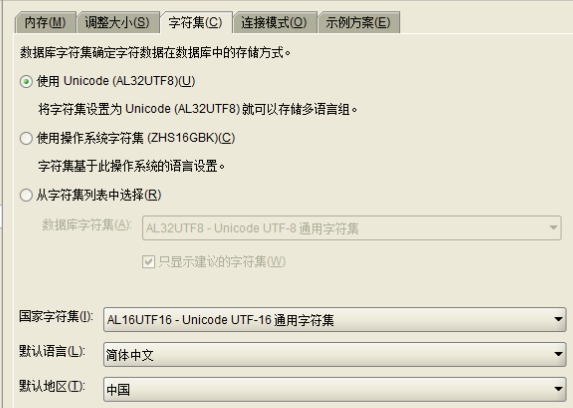
4.指定数据库标识详细信息
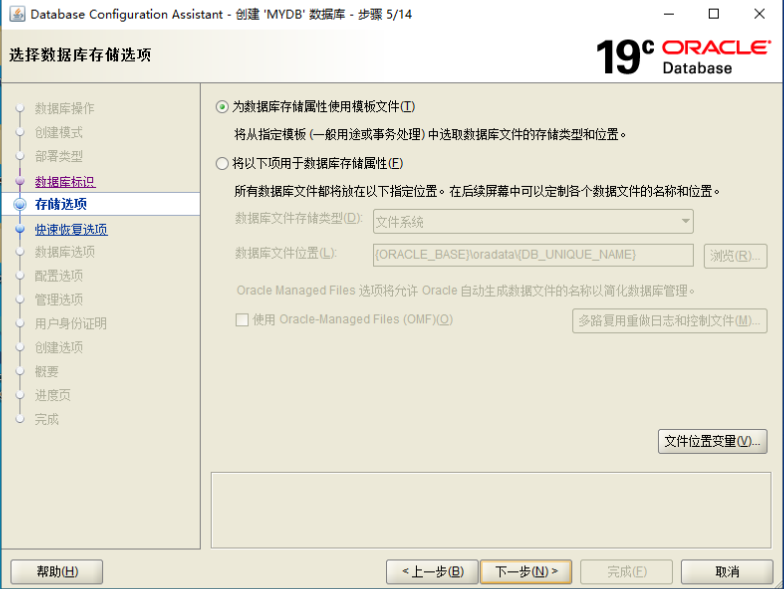
5.选择数据库存储选项
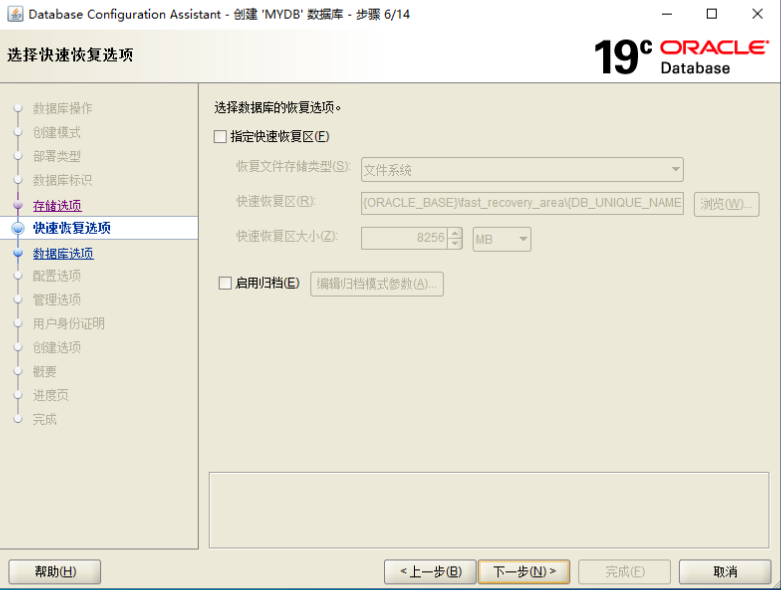
6.选择快速恢复选项
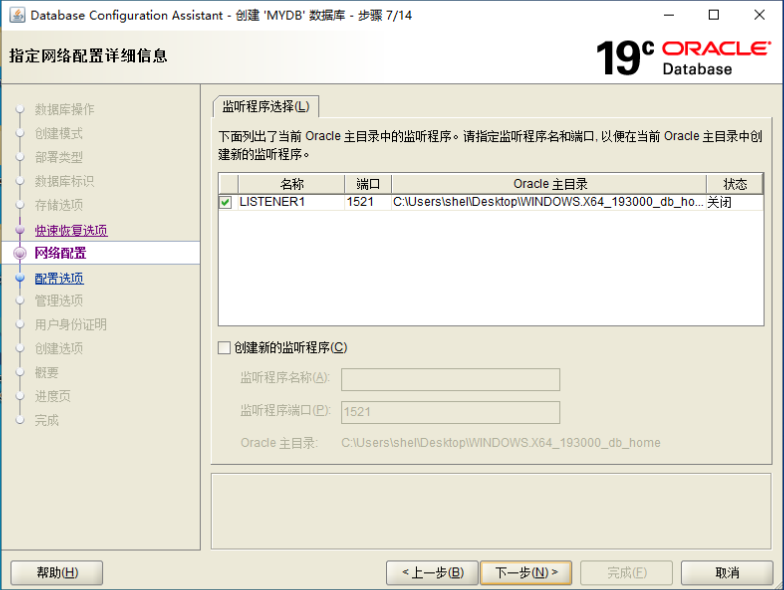
7.指定网络配置详细信息
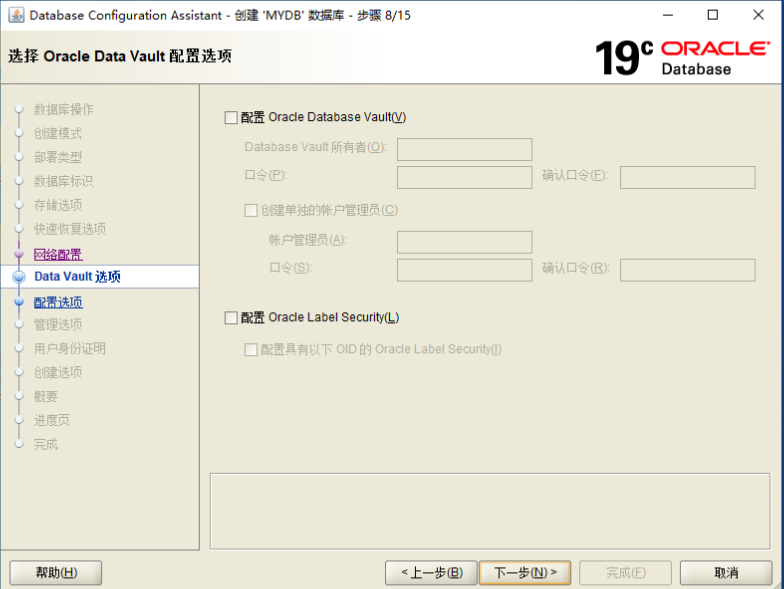
8.选择Oracle Data Vault配置选项
9.指定配置选项


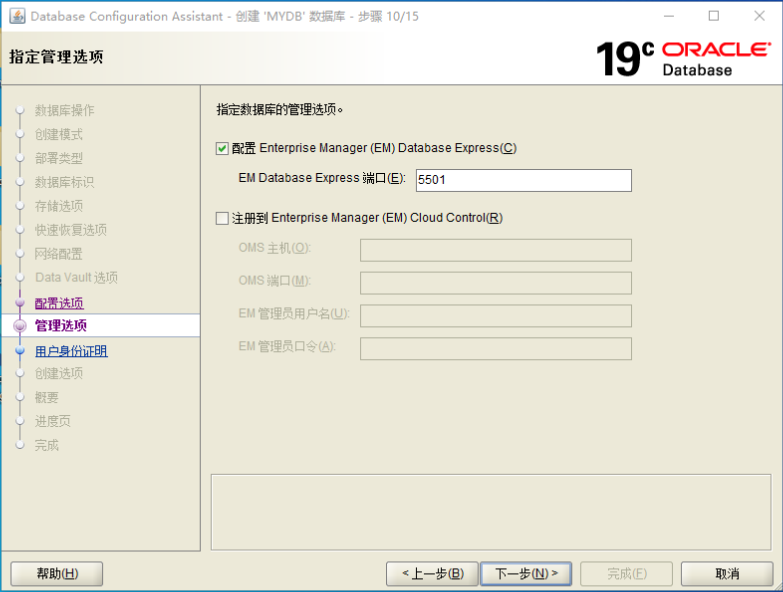
10.指定管理选项
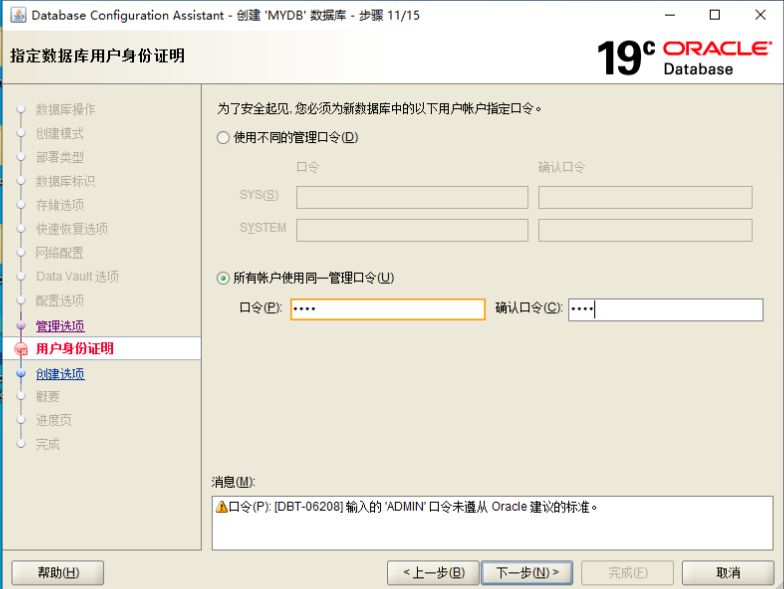
11.指定数据库用户身份证明
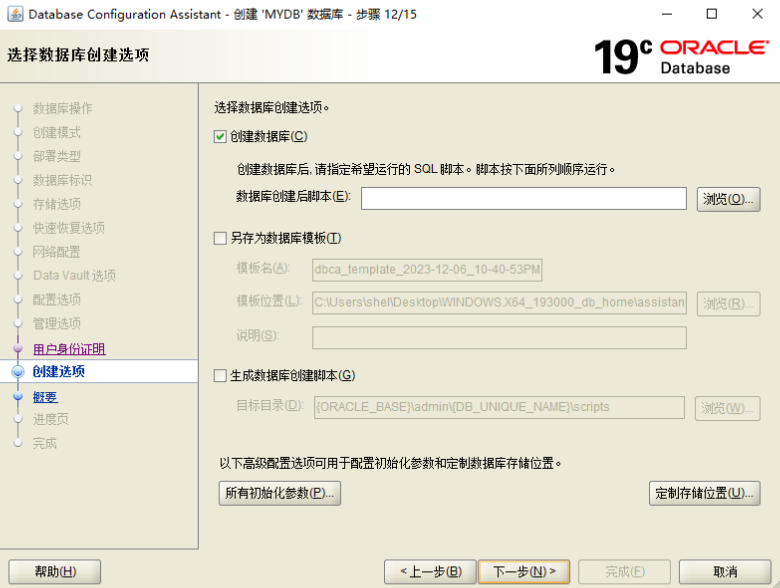
12.选择数据库创建选项
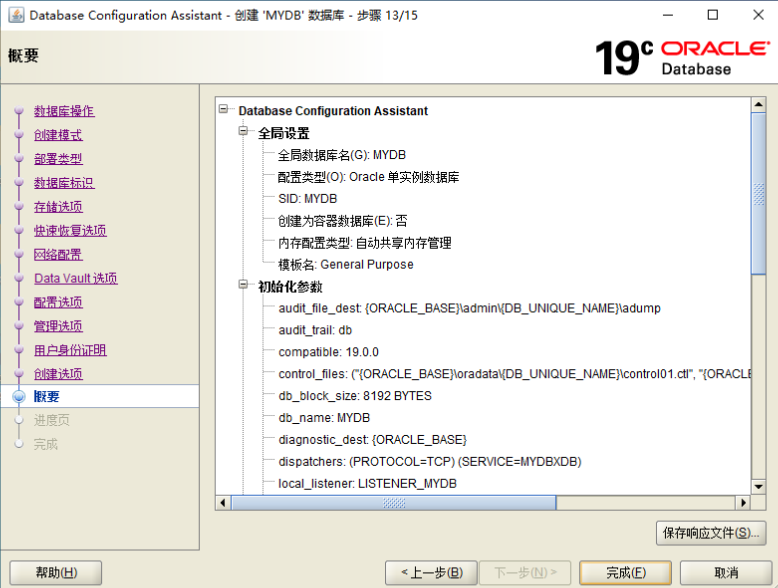
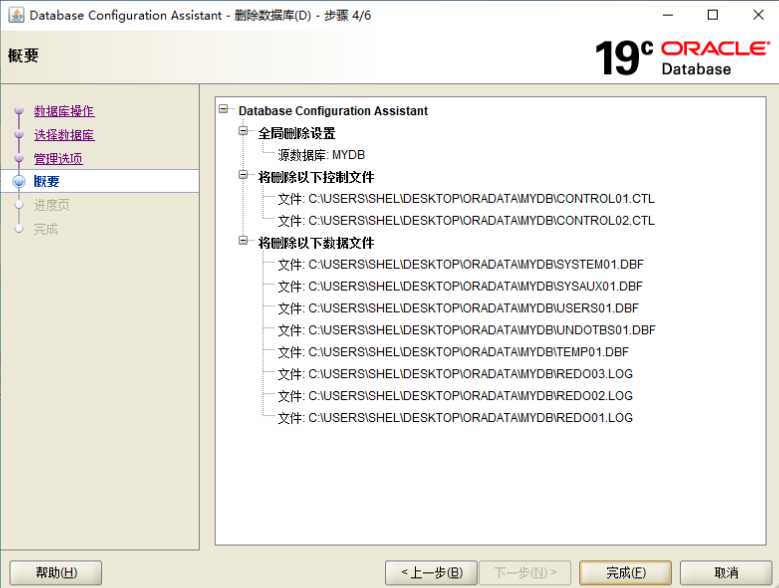
13.查看概要
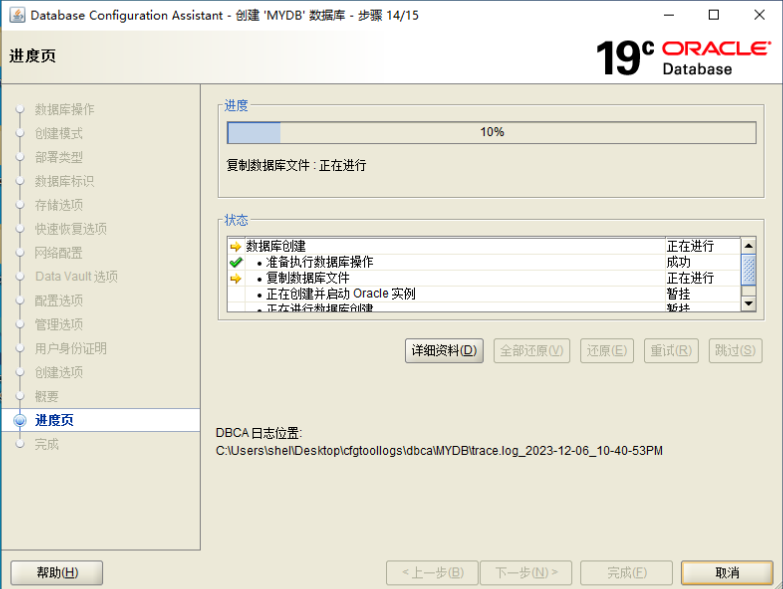
14.等待创建
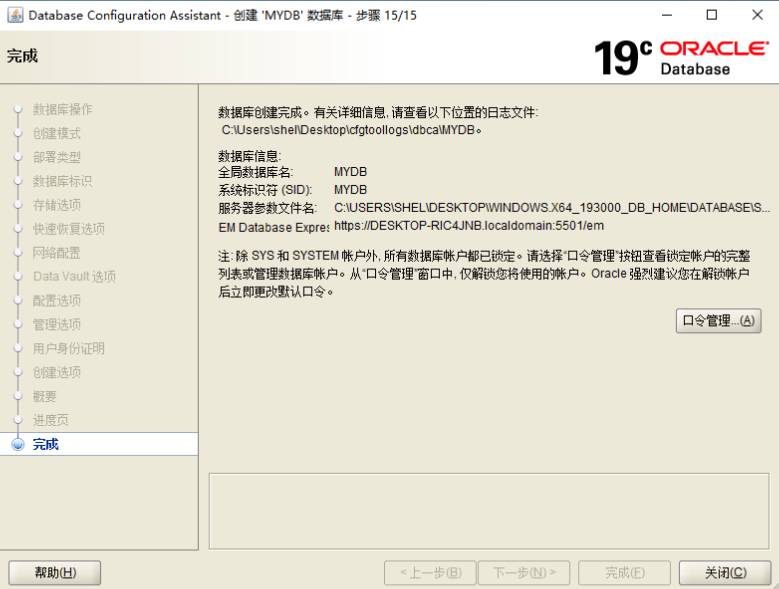
15.完成安装
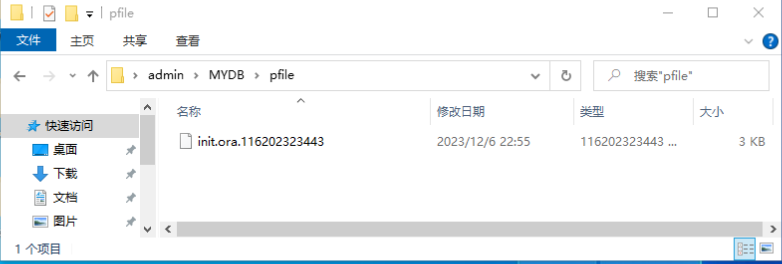
(2)找到MYDB数据库的初始化文件
文本型:
服务器型:

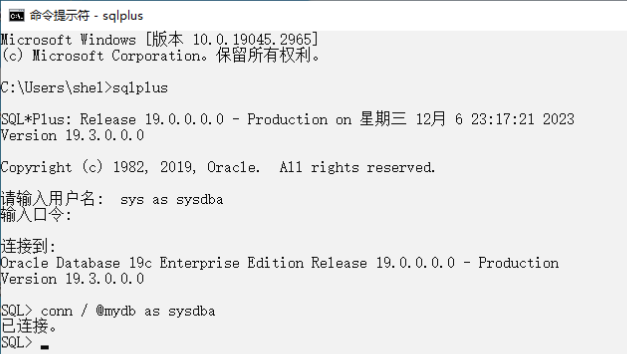
③登录到MYDB数据库
在DBCA中删除MYDB数据库。
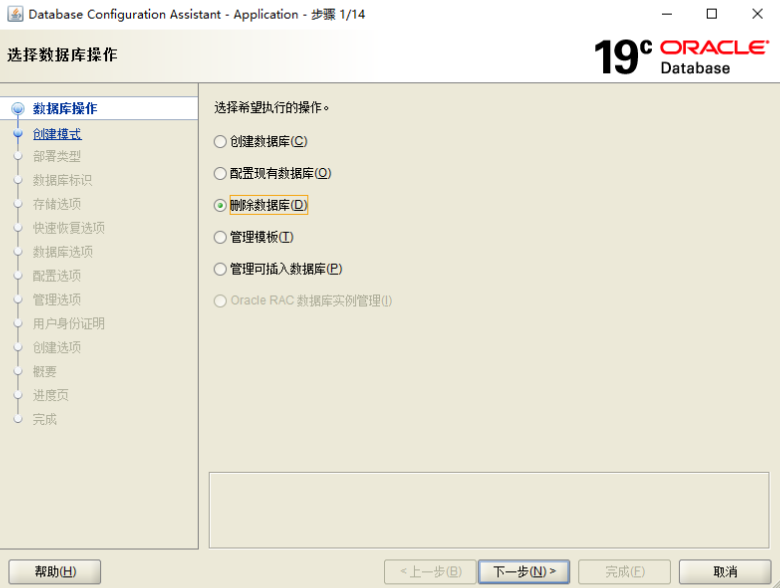
答:1.选择删除数据库
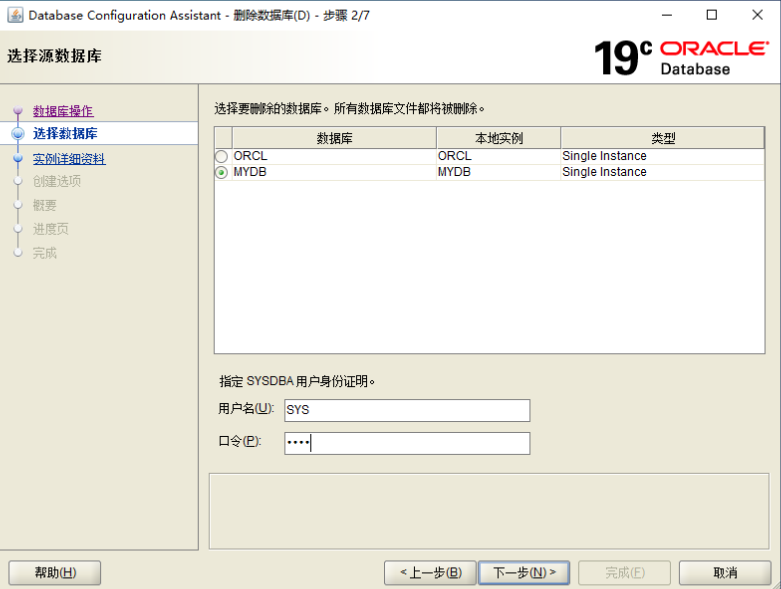
2.选择要删除的数据库,并指定SYSDBA用户身份证明
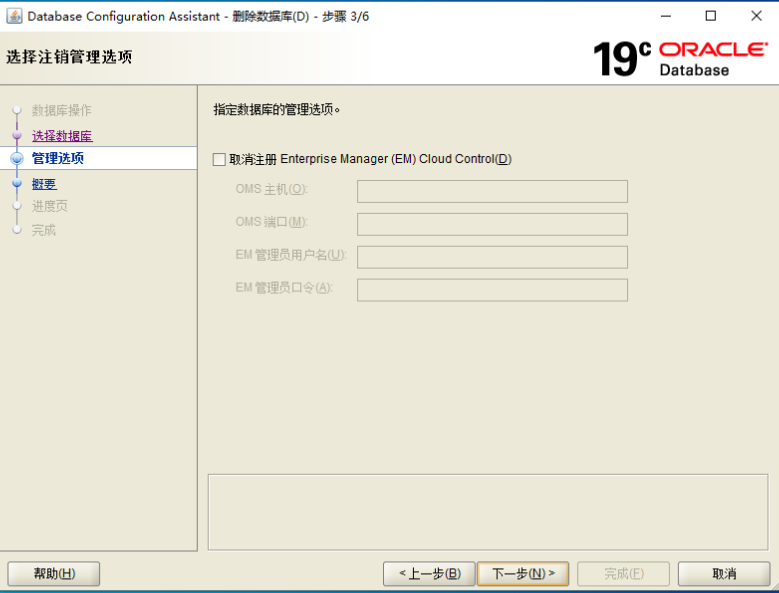
3.选择注销管理选项
4.查看概要
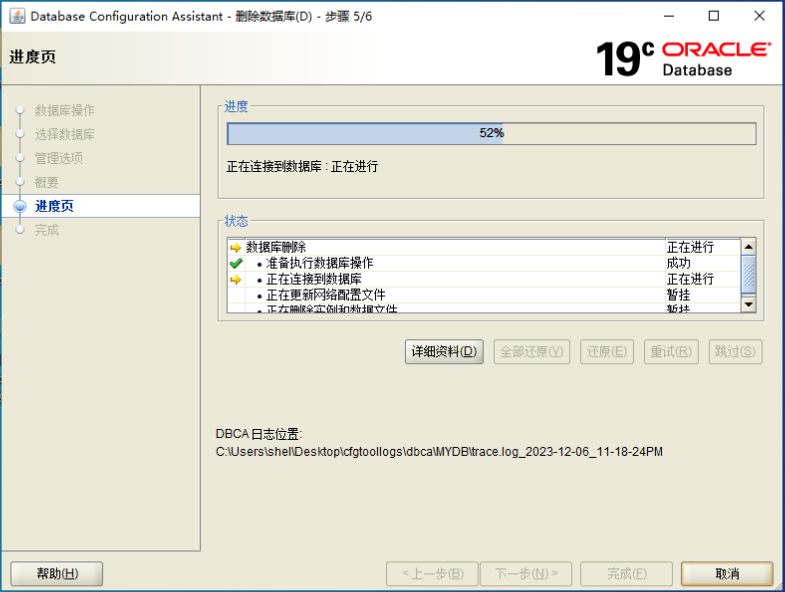
5.等待删除
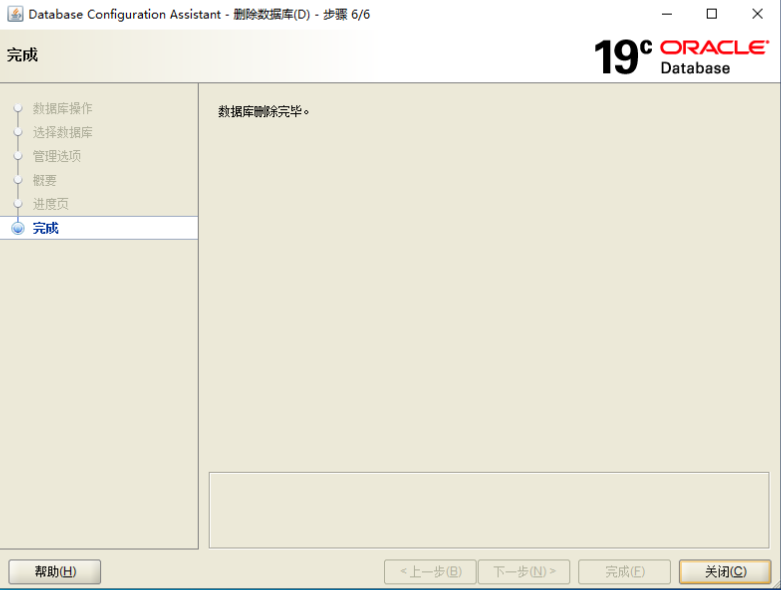
6.删除完成
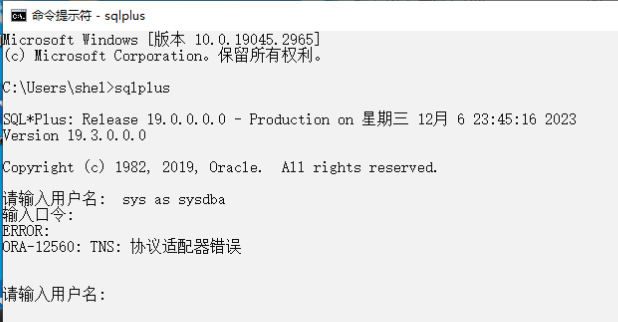
7.尝试登录数据库,发现因删除导致数据库无法登录
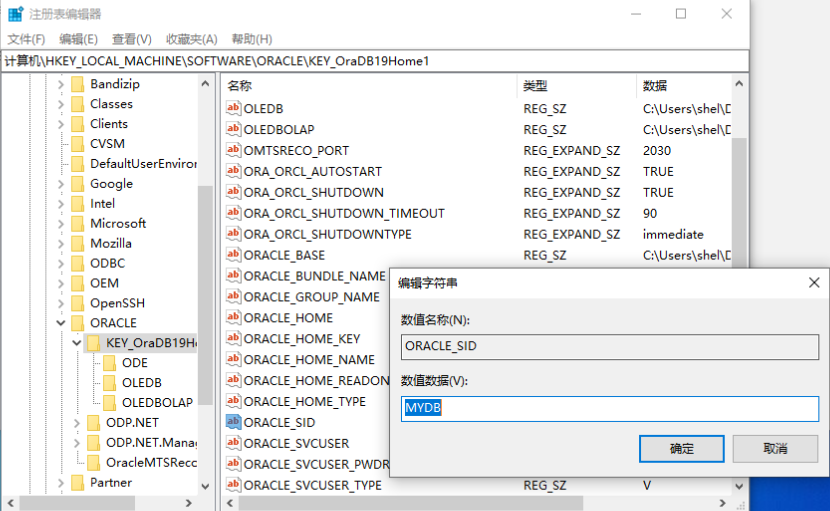
8.为正常登录,需要修改注册表
原值为MYDB
修改为ORCL
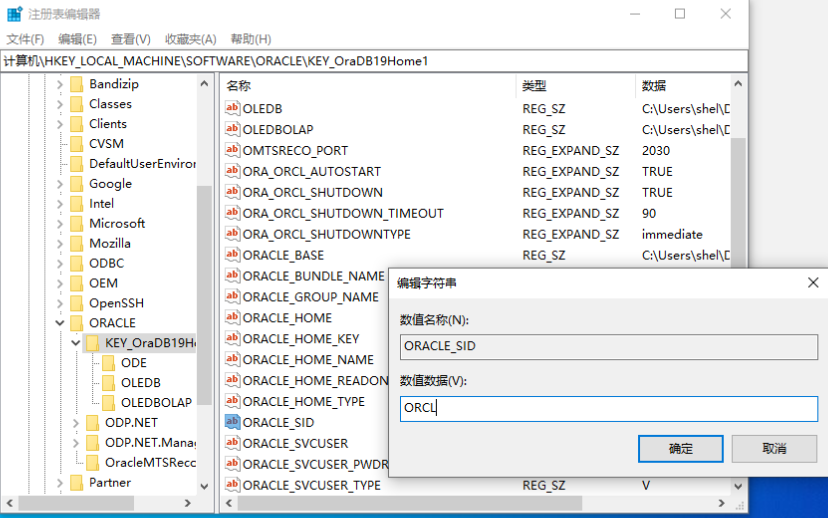
9.再次登录,发现可以正常连接了

在实验一中建立的启动数据库orcl中装入scott用户及其拥有的表【注:在实验1中已经装入scott用户,现再次补充部分步骤】
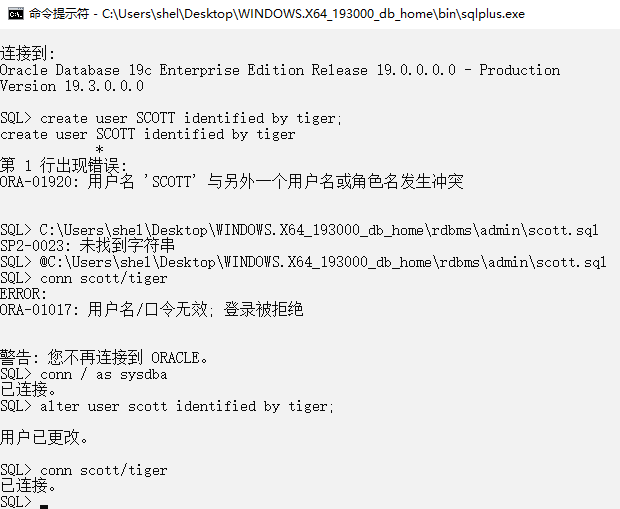
- 创建scott用户并设置其密码为tiger
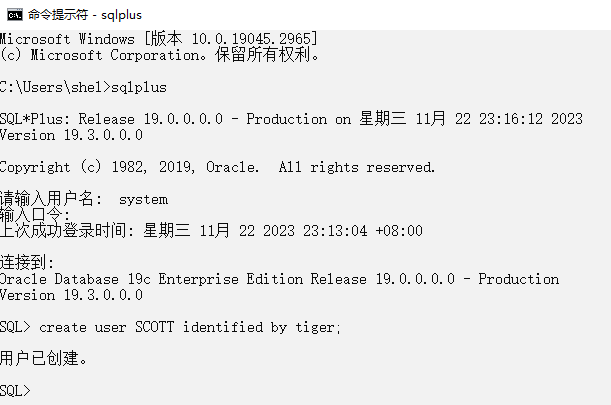
- 运行scott的脚本用户创建其所有表及数据

- 用scott/tiger登录sqlplus
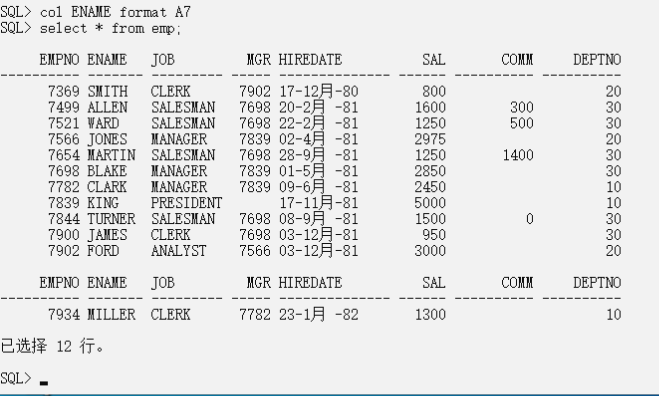
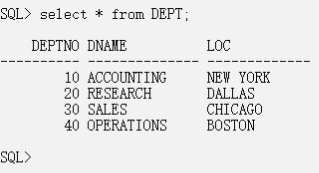
- 查询emp表和dept表中的数据
emp表:
dept表:
【实验总结】
- 在本实验中,我们主要掌握了Oracle数据库的创建方法,练习使用DBCA创建数据库和删除数据库,并在数据库中装入SCOTT用户及其表;
- 在本实验中遇到的主要问题有两个,一是删除数据库后登录失败,需要到注册表中修改ORACLE_SID的值,二是尝试使用scott/tiger登录数据库时登录不成功,此时重置密码后可以完成登录;