这个工具有两种主要模式:它可以直接通过提示创建视频,或者它可以对现有视频进行风格化。还有方法可以提高视频的分辨率。
正如工具名称所示,它的一个主要特点是"提示旅行"。这意味着你可以例如使用特定的提示用于前20帧,接下来的10帧使用不同的提示,以此类推。它显然还使用附近的帧作为上下文,使它们看起来彼此接近,以减少闪烁并使视频更平滑。
在对现有视频进行风格化时,该工具从视频中分离出一组帧,检测每个帧的内容,使用可配置的ControlNets集合以及自动检测和用户配置的提示组合,在每个帧上进行操作,然后将风格化的帧组合成一个新的视频。
Github: https://github.com/s9roll7/animatediff-cli-prompt-travel
安装(适用于 Windows)
CUDA Toolkit下载安装:
https://developer.nvidia.com/cuda-downloads
git下载:
https://git-scm.com/download/win
设置加速:
Bash
git clone https://github.com/s9roll7/animatediff-cli-prompt-travel.git
cd animatediff-cli-prompt-travel
conda create --name myenv python=3.10.11
conda activate myenv
#设置编码utf-8
set PYTHONUTF8=1
python -m pip install --upgrade pip

#01安装triton(只兼容linux平台,需下载编译好的版本安装
pip install triton-2.0.0-cp310-cp310-win_amd64.whl
#或克隆到本地 编译安装
git clone https://github.com/openai/triton.git
cd triton
# build-time dependencies
pip install ninja cmake wheel
pip install -e python

#02安装xformers
pip install xformers==v0.0.23.post1

# 03安装 PyTorch(大概2.5G)
#根据自己的系统调整版本 (https://pytorch.org/get-started/locally/)
pip install torch==2.1.2+cu121 torchvision torchaudio -f https://download.pytorch.org/whl/torch_stable.html
pip install onnxruntime

#如需重新安装,按顺序卸载triton、xformers、torch
pip uninstall triton
pip uninstall xformers
pip uninstall torch


#命令用于在当前目录(包含 setup.py 文件的目录)以可编辑模式安装 Python 包
python -m pip install -e .

# If you want to use the 'stylize' command, you will also need
python -m pip install -e .[stylize]

# If you want to use use dwpose as a preprocessor for controlnet_openpose, you will also need
python -m pip install -e .[dwpose]
# (DWPose is a more powerful version of Openpose)

# If you want to use the 'stylize create-mask' and 'stylize composite' command, you will also need
python -m pip install -e .[stylize_mask]
视频风格化
Bash
cd animatediff-cli-prompt-travel
conda activate myenv

# If you want to use the 'stylize' command, additional installation required
python -m pip install -e .[stylize]

# create config file from src video
animatediff stylize create-config YOUR_SRC_MOVIE_FILE.mp4
#示例:
animatediff stylize create-config video\1.mp4

# create config file from src video (img2img)
animatediff stylize create-config YOUR_SRC_MOVIE_FILE.mp4 -i2i
#示例:
animatediff stylize create-config video\1.mp4 -i2i

#模型下载:
mm_sd_v15_v2.ckpt
https://huggingface.co/guoyww/animatediff/blob/main/mm_sd_v15_v2.ckpt

mistoonAnime_v20.safetensors(已更新到V30)
https://civitai.com/models/24149/mistoonanime
#注意运行过程会自动去huggingface下载所需其他模型

# If you have less than 12GB of vram, specify low vram mode
animatediff stylize create-config YOUR_SRC_MOVIE_FILE.mp4 -lo

# Edit the config file by referring to the hint displayed in the log when the command finishes
# It is recommended to specify a short length for the test run

# generate(test run)
# 16 frames
animatediff stylize generate STYLYZE_DIR -L 16

# 16 frames from the 200th frame
animatediff stylize generate STYLYZE_DIR -L 16 -FO 200

# If generation takes an unusually long time, there is not enough vram.
# Give up large size or reduce the size of the context.

# generate
animatediff stylize generate STYLYZE_DIR
测试文升图

Bash
conda activate myenv
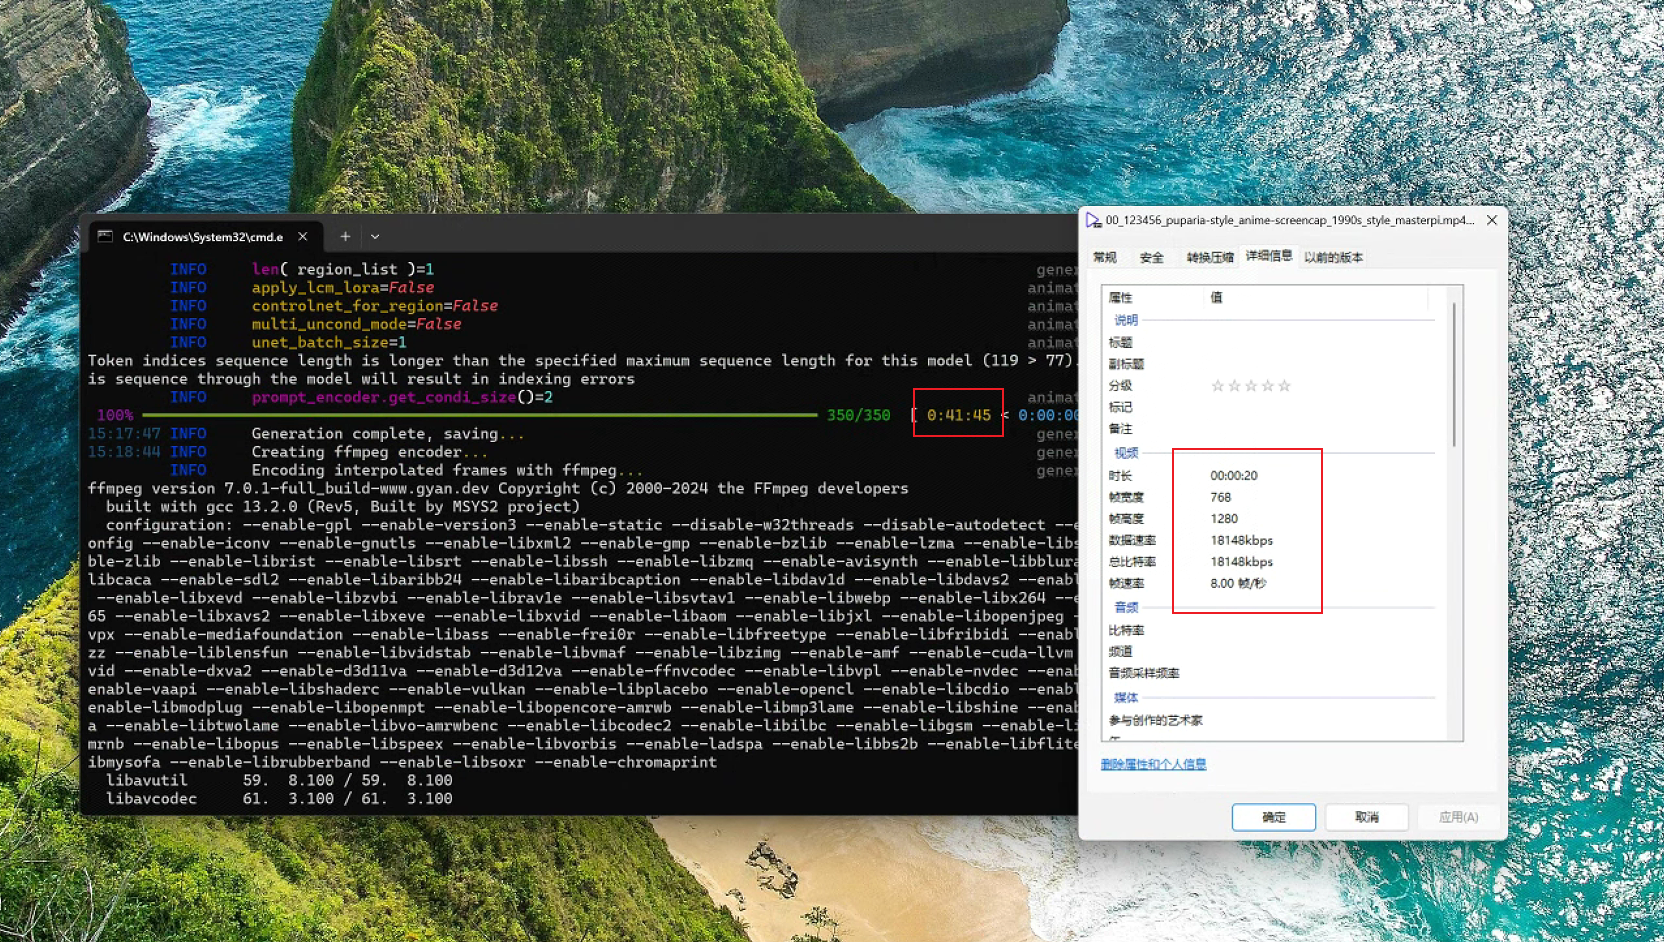
animatediff generate -c config/prompts/prompt.json -L 160 -W 768 -H 1280
测试绘画:
Bash
animatediff stylize create-config video\1.mp4 -gh

animatediff stylize create-region stylize\2024-07-01T10-22-34-sample-mistoonanime_v20
animatediff stylize generate stylize\2024-07-01T10-22-34-sample-mistoonanime_v20
配置:
Bash
19:14:44 INFO     diffuser_ver='0.23.0'                                                                                     cli.py:100
19:14:45 INFO     org_movie=WindowsPath('video/1.mp4')                                                                  stylize.py:230
         INFO     config_org=WindowsPath('config/prompts/prompt_travel.json')                                           stylize.py:231
         INFO     ignore_list=WindowsPath('config/prompts/ignore_tokens.txt')                                           stylize.py:232
         INFO     out_dir=WindowsPath('stylize')                                                                        stylize.py:233
         INFO     fps=8                                                                                                 stylize.py:234
         INFO     duration=-1                                                                                           stylize.py:235
         INFO     offset=0                                                                                              stylize.py:236
         INFO     aspect_ratio=-1.0                                                                                     stylize.py:237
         INFO     size_of_short_edge=512                                                                                stylize.py:238
         INFO     predicte_interval=1                                                                                   stylize.py:239
         INFO     general_threshold=0.35                                                                                stylize.py:240
         INFO     character_threshold=0.85                                                                              stylize.py:241
         INFO     with_confidence=True                                                                                  stylize.py:242
         INFO     is_danbooru_format=True                                                                               stylize.py:243
         INFO     is_img2img=False                                                                                      stylize.py:244
         INFO     low_vram=False                                                                                        stylize.py:245
         INFO     gradual_latent_hires_fix=False                                                                        stylize.py:246
         INFO     Will save outputs to ./stylize\2024-06-30T19-14-45-sample-mistoonanime_v20
配置:
Bash
         INFO     config = stylize\2024-06-30T19-14-45-sample-mistoonanime_v20\prompt.json                              stylize.py:463
         INFO     stylize_dir = stylize\2024-06-30T19-14-45-sample-mistoonanime_v20                                     stylize.py:464
         INFO     !!!!!!!!!!!!!!!!!!!!!!!!!!!!!!!!!!!!!!!!!!!!!!!!!!!!!!!!!!!!                                          stylize.py:466
         INFO     Hint. Edit the config file before starting the generation                                             stylize.py:467
         INFO     !!!!!!!!!!!!!!!!!!!!!!!!!!!!!!!!!!!!!!!!!!!!!!!!!!!!!!!!!!!!                                          stylize.py:468
         INFO     1. Change 'path' and 'motion_module' as needed                                                        stylize.py:469
         INFO     2. Enter the 'head_prompt' or 'tail_prompt' with your preferred prompt, quality prompt, lora trigger  stylize.py:470
                  word, or any other prompt you wish to add.
         INFO     3. Change 'n_prompt' as needed                                                                        stylize.py:471
         INFO     4. Add the lora you need to 'lora_map'                                                                stylize.py:472
         INFO     5. If you do not like the default settings, edit 'ip_adapter_map' or 'controlnet_map'.                stylize.py:473
                  If you want to change the controlnet type, you need to replace the input image.
         INFO     6. Change 'stylize_config' as needed. By default, it is generated twice: once for normal generation   stylize.py:474
                  and once for upscaling.
                  If you don't need upscaling, delete the whole '1'.
         INFO     7. Change 'output' as needed. Changing the 'fps' at this timing is not recommended as it will change  stylize.py:475
                  the playback speed.
                  If you want to change the fps, specify it with the create-config option
t recommended as it will change  stylize.py:475
                  the playback speed.
                  If you want to change the fps, specify it with the create-config option